
CONCEPT
You know when you sit at your desk, open up your assignments on your laptop, and after thinking about what it is you have to do, you finally come to the conclusion: “Man, I could really go for a walk right now”? I know it all too well. I did the same with my midterm project, going on walks on and around campus, beyond the barriers across the welcome center (definitely not trespassing), above the highway behind campus, below the tunnel across the highway, but not starting my project. I’d listen to my playlist on Spotify while looking at the stars in the light-polluted Abu Dhabi sky, or at the stunning night skyline from the bridge on the highway (again don’t call the cops). Struggling to settle on an idea, I finally thought of making the exact thing that I was using to procrastinate on starting work in the first place – an interactive music library interface, just like Spotify. Now I could procrastinate while working, if that makes sense.
WORKFLOW
I had come up with an idea, sure, but I soon realized that to actually bring my idea to life, it was ME who would have to work, to write code endlessly, to face disappointment because of errors, to fix said errors, to do it all over again God knows how many times. Grappling with the truth, I started first with loading whatever I would need for my project: album cover art, that font Spotify uses, the actual songs I would have in the library (definitely not downloaded from a sketchy website that might as well have phished me). I picked the songs very intricately to kind of form a parallel with the stages of procrastination as experienced by me:
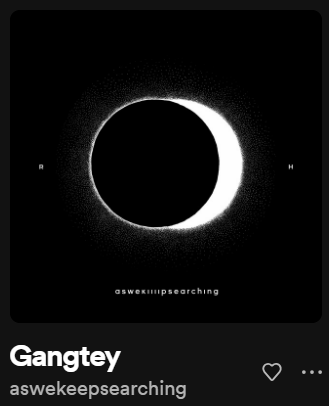 Gangtey- aswekeepsearching
This song by Indian band aswekeepsearching represents for me the stage where my assignment’s deadline is far away and not thinking about it poses no immediate threat. The repeated mystifying chants are melancholic, but calm.
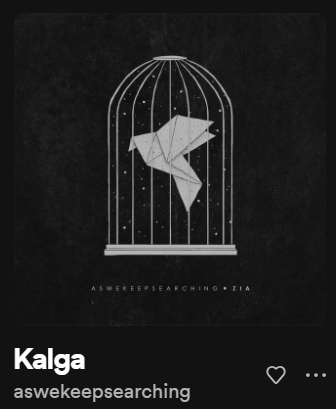 Kalga – aswekeepsearching
By the same band, this one represents the shift from the calm to the storm. It starts off calm but is then interrupted by loud drums and vocals, representing the interruption of calm by dread when the realization of incoming deadlines hits.
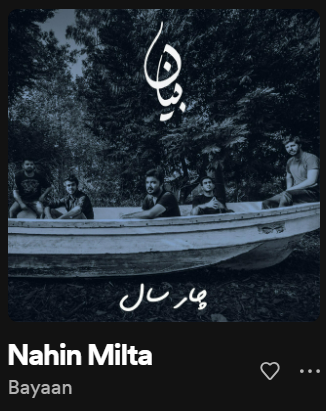 Nahin Milta – Bayaan
Nahin Milta, by Pakistani bad Bayaan, is a song about acceptance following hopelessness. Which in the sense of procrastination is pretty self-explanatory…
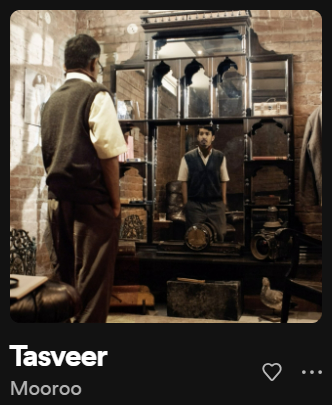
Tasveer – Mooroo
Another melancholic but calm song, this one you’d listen to while finally working on your assignment, maybe even singing along with it. Maybe don’t look too much into the lyrics though, because it can get sad. Tasveer means picture, and Mooroo sings about spent memories only living in pictures after they are lived.
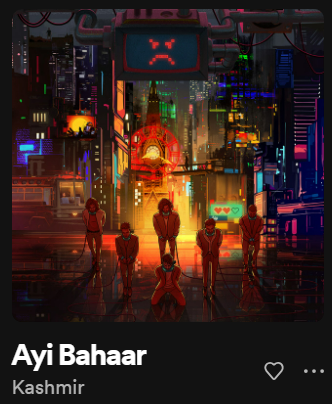 Ayi Bahaar – Kashmir
This upbeat song is about the coming of spring. You guessed it – you’ve finally finished your assignment, and things aren’t too bad after all. There is still good in the world.
Here is the playlist that I’ve used in my sketch:
After loading everything, I had to think of the logic behind different functions of a music player: play, pause, skip, go back, add to favorites, etc. At one point I was convinced that I would in no way be able to do all that because I could not for the life of me figure out how to implement it. A few long walks later, I decided to start writing in the hopes that it would come to me itself; and come to me it did. I implemented the whole music player as a class with methods for displaying relevant information like images, shapes, text, etc. It starts at a screen that introduces the concept and requires you to click to begin the experience. You can return to the screen from the music player by pressing any key on the keyboard. In the player, you can pause and play songs, skip to the next song, go back to the previous song, repeating the same 5 songs without going out of bounds. The code aspect can be understood using the comments on my sketch, the link to which I have provided below:
https://editor.p5js.org/haroonshafi/sketches/9mTUs7KrB
SKETCH
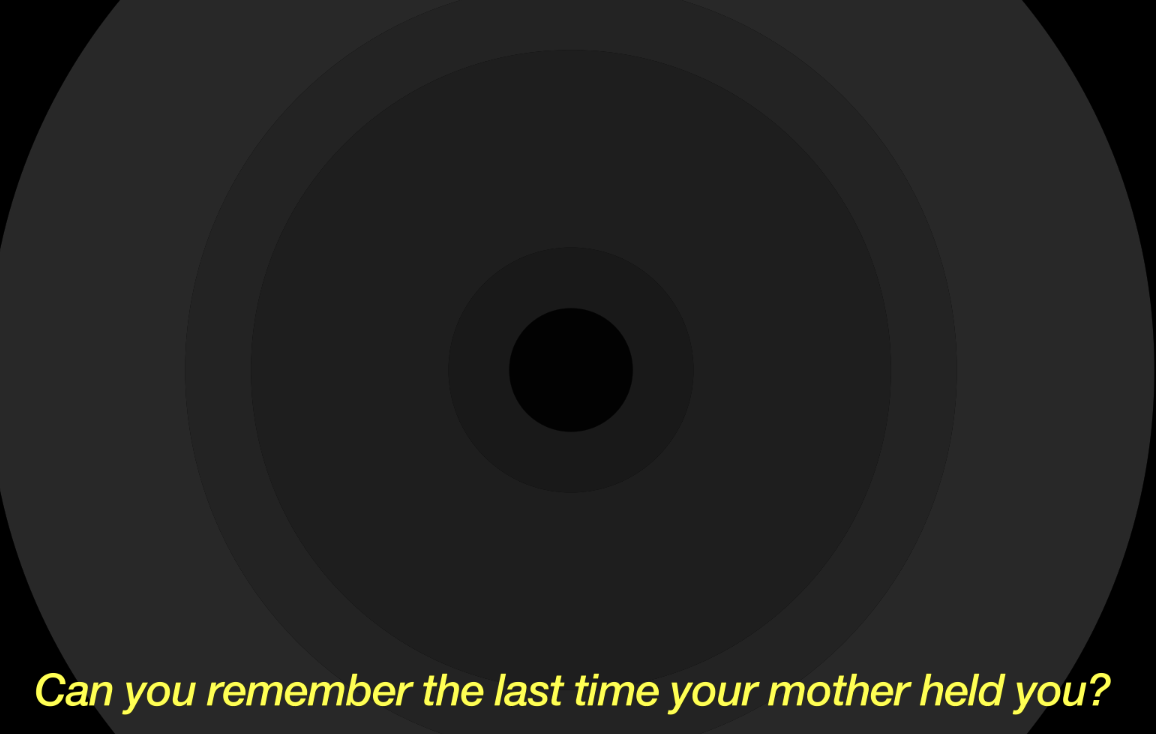
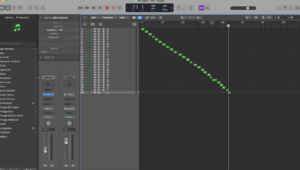
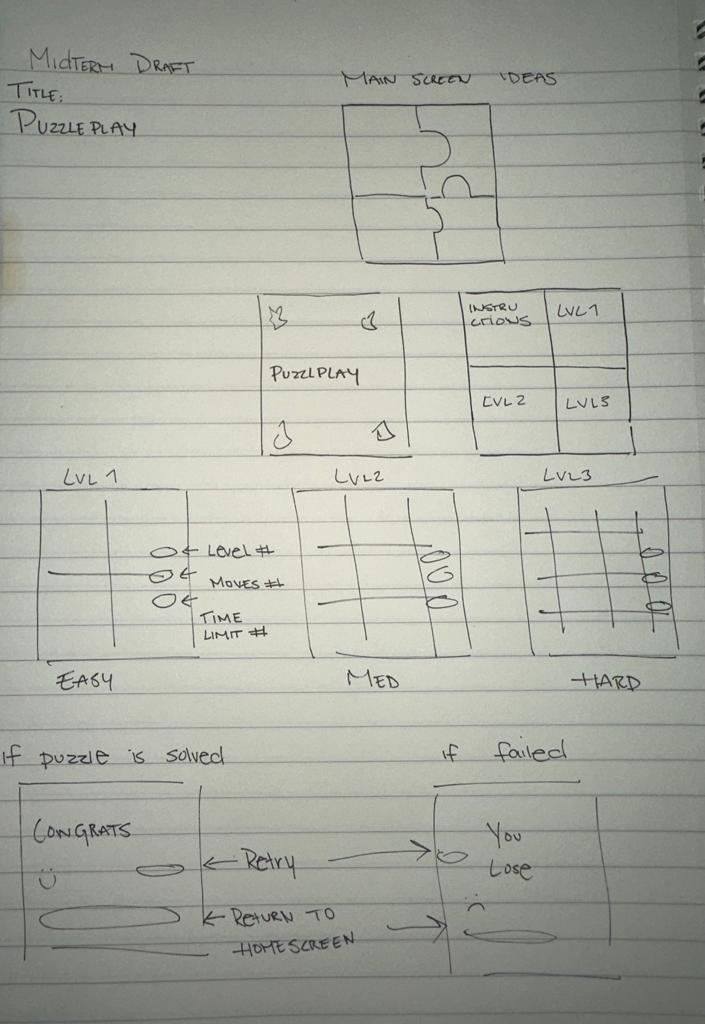
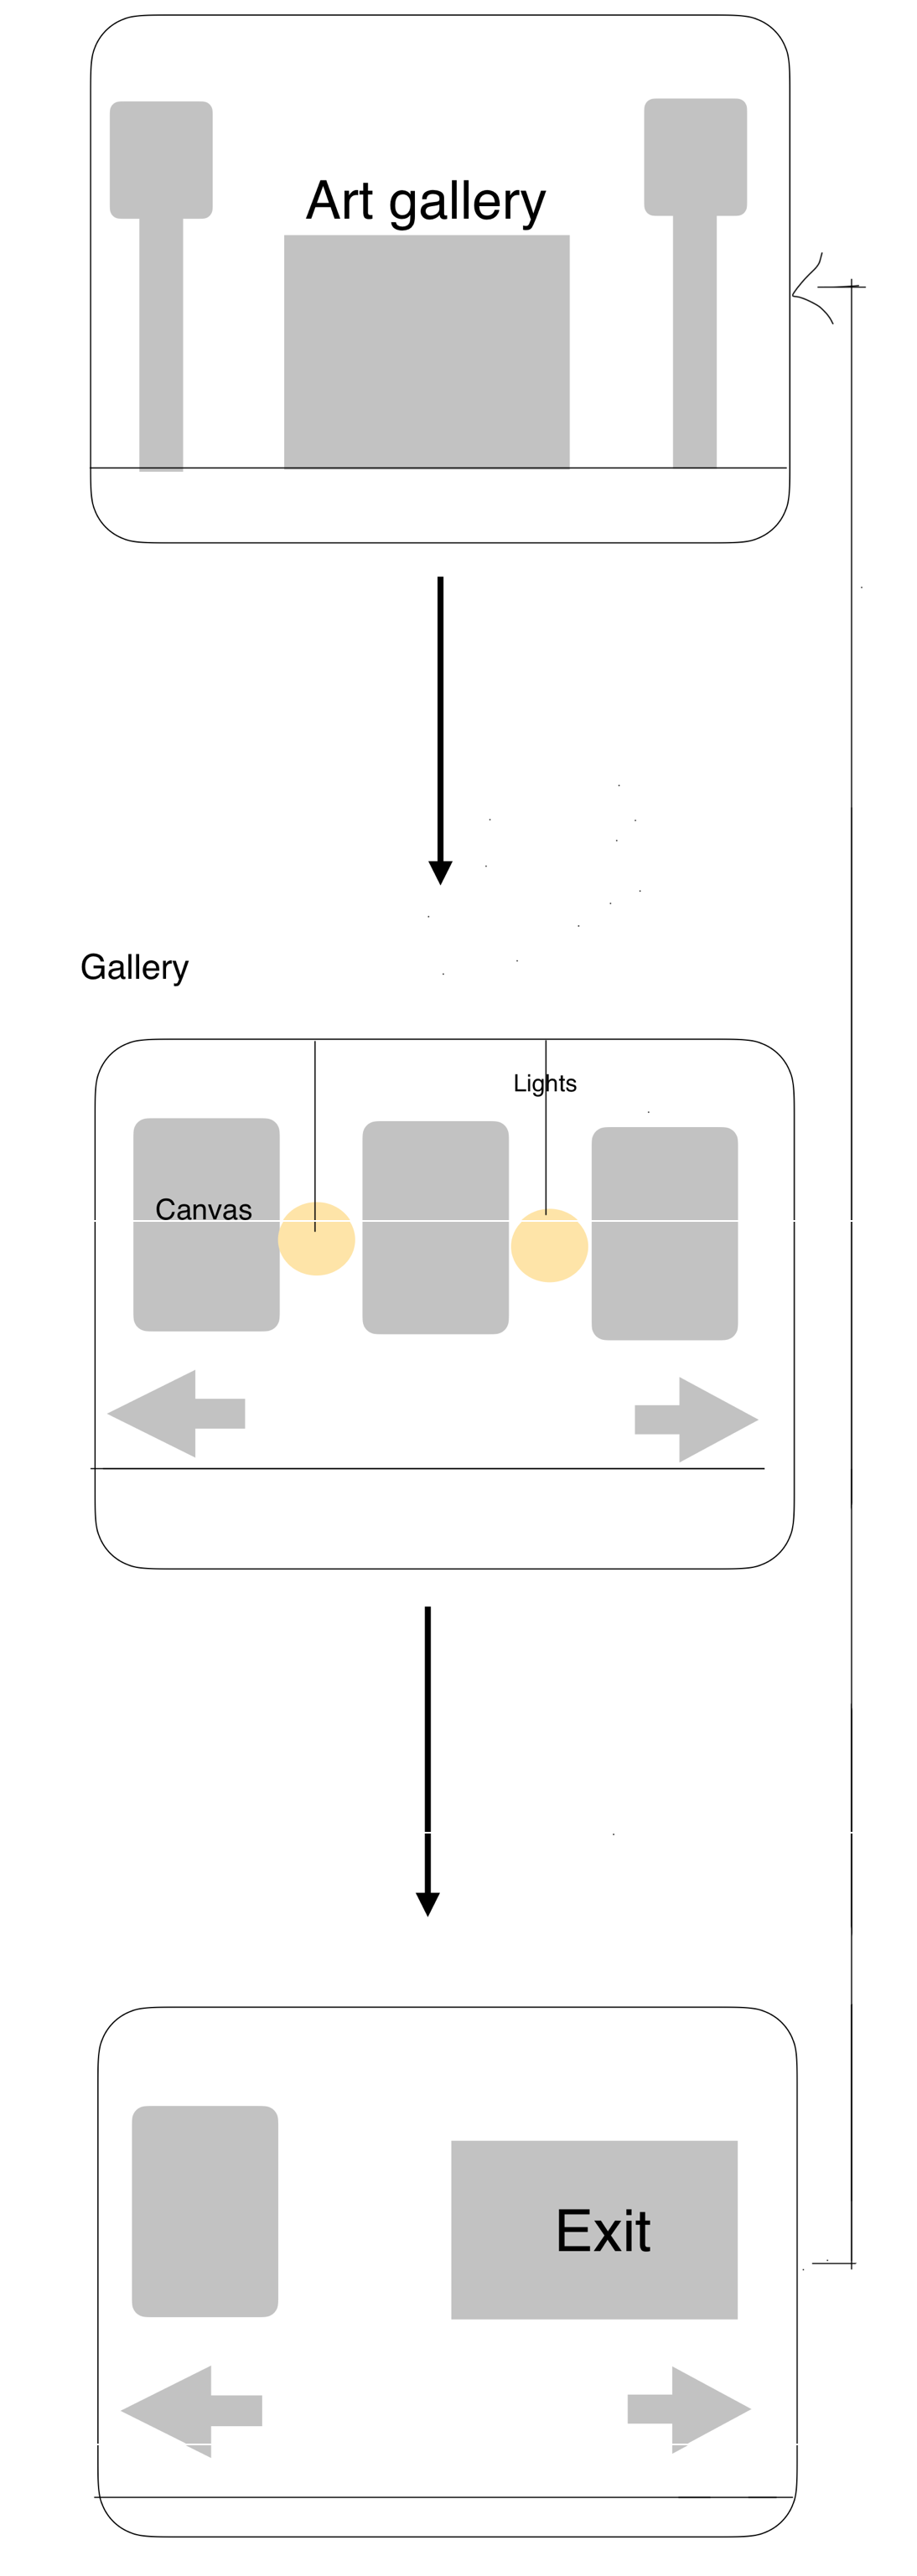
Here is how I wanted my sketch to look like:
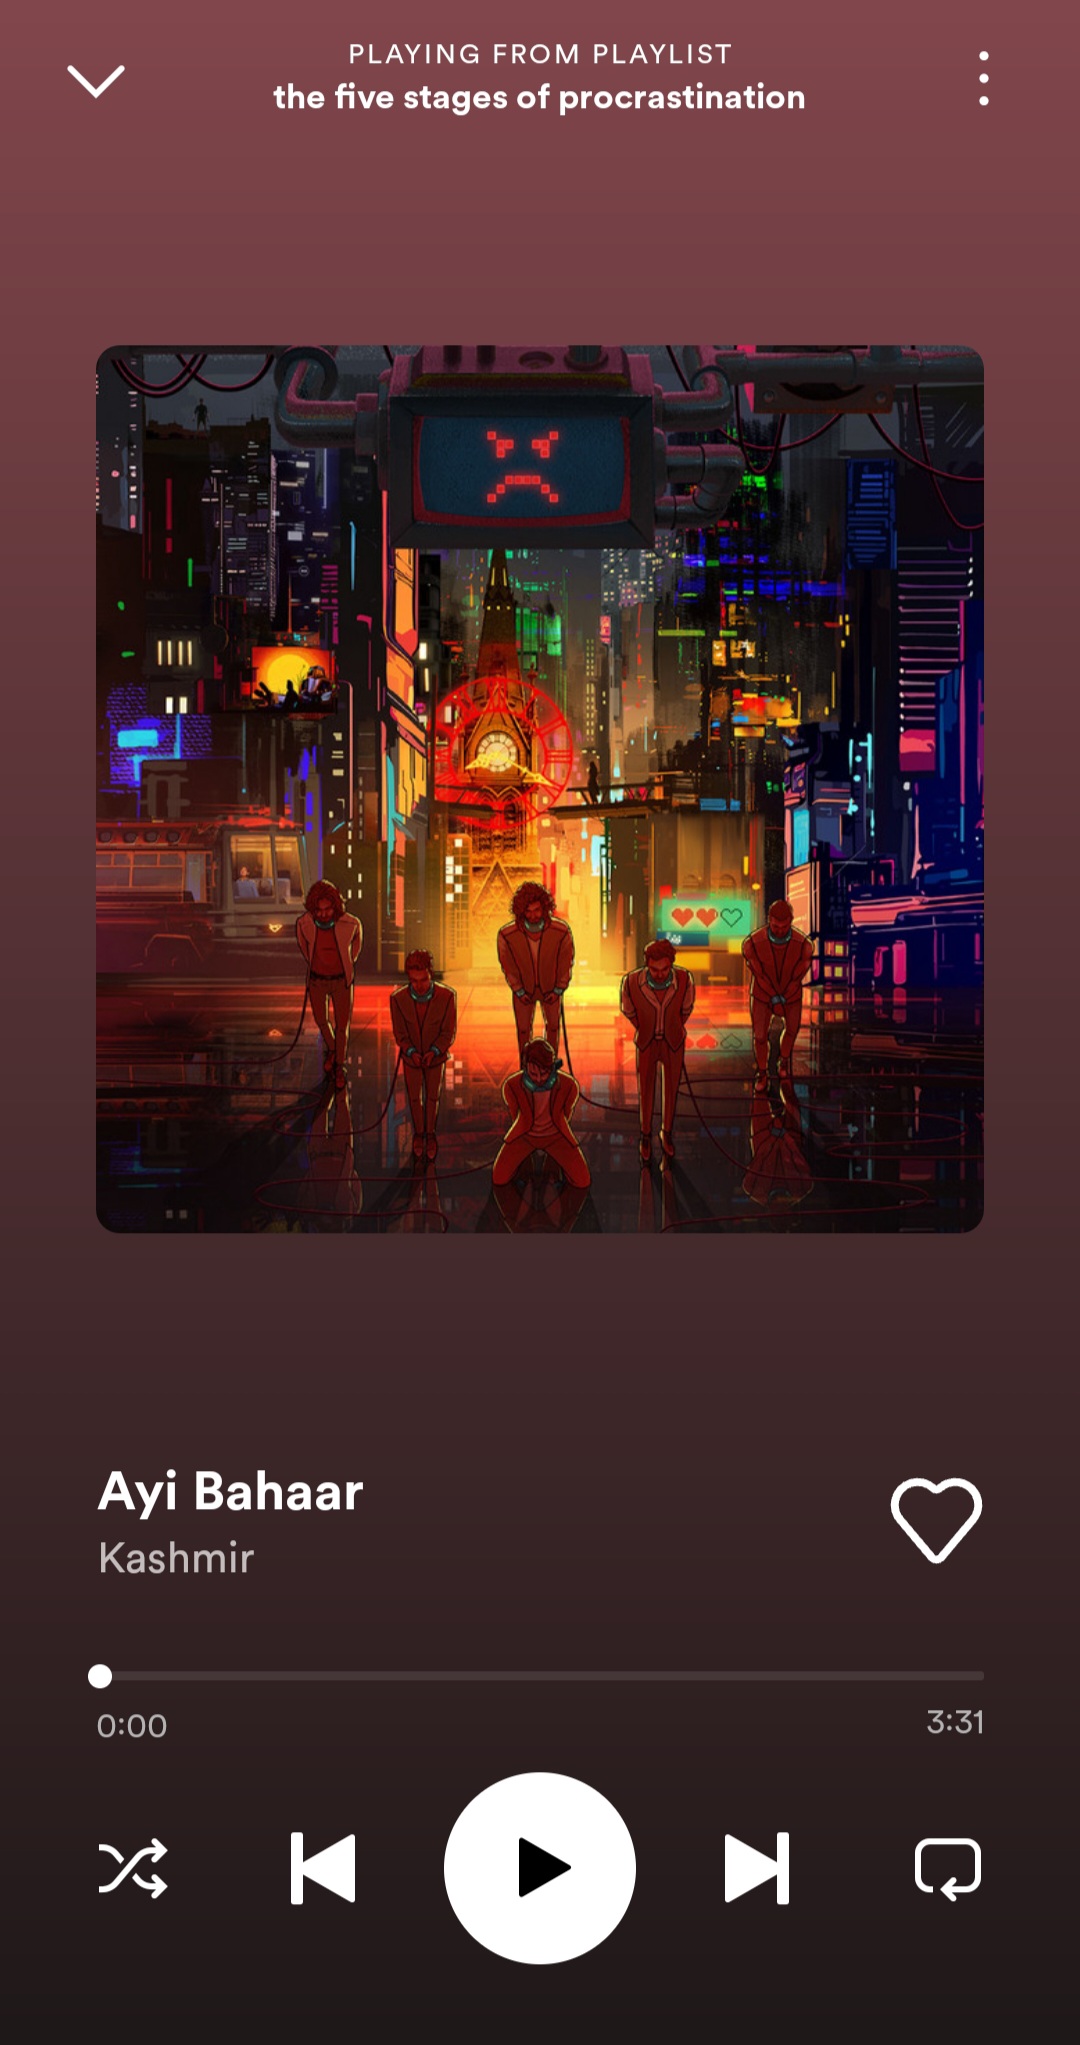
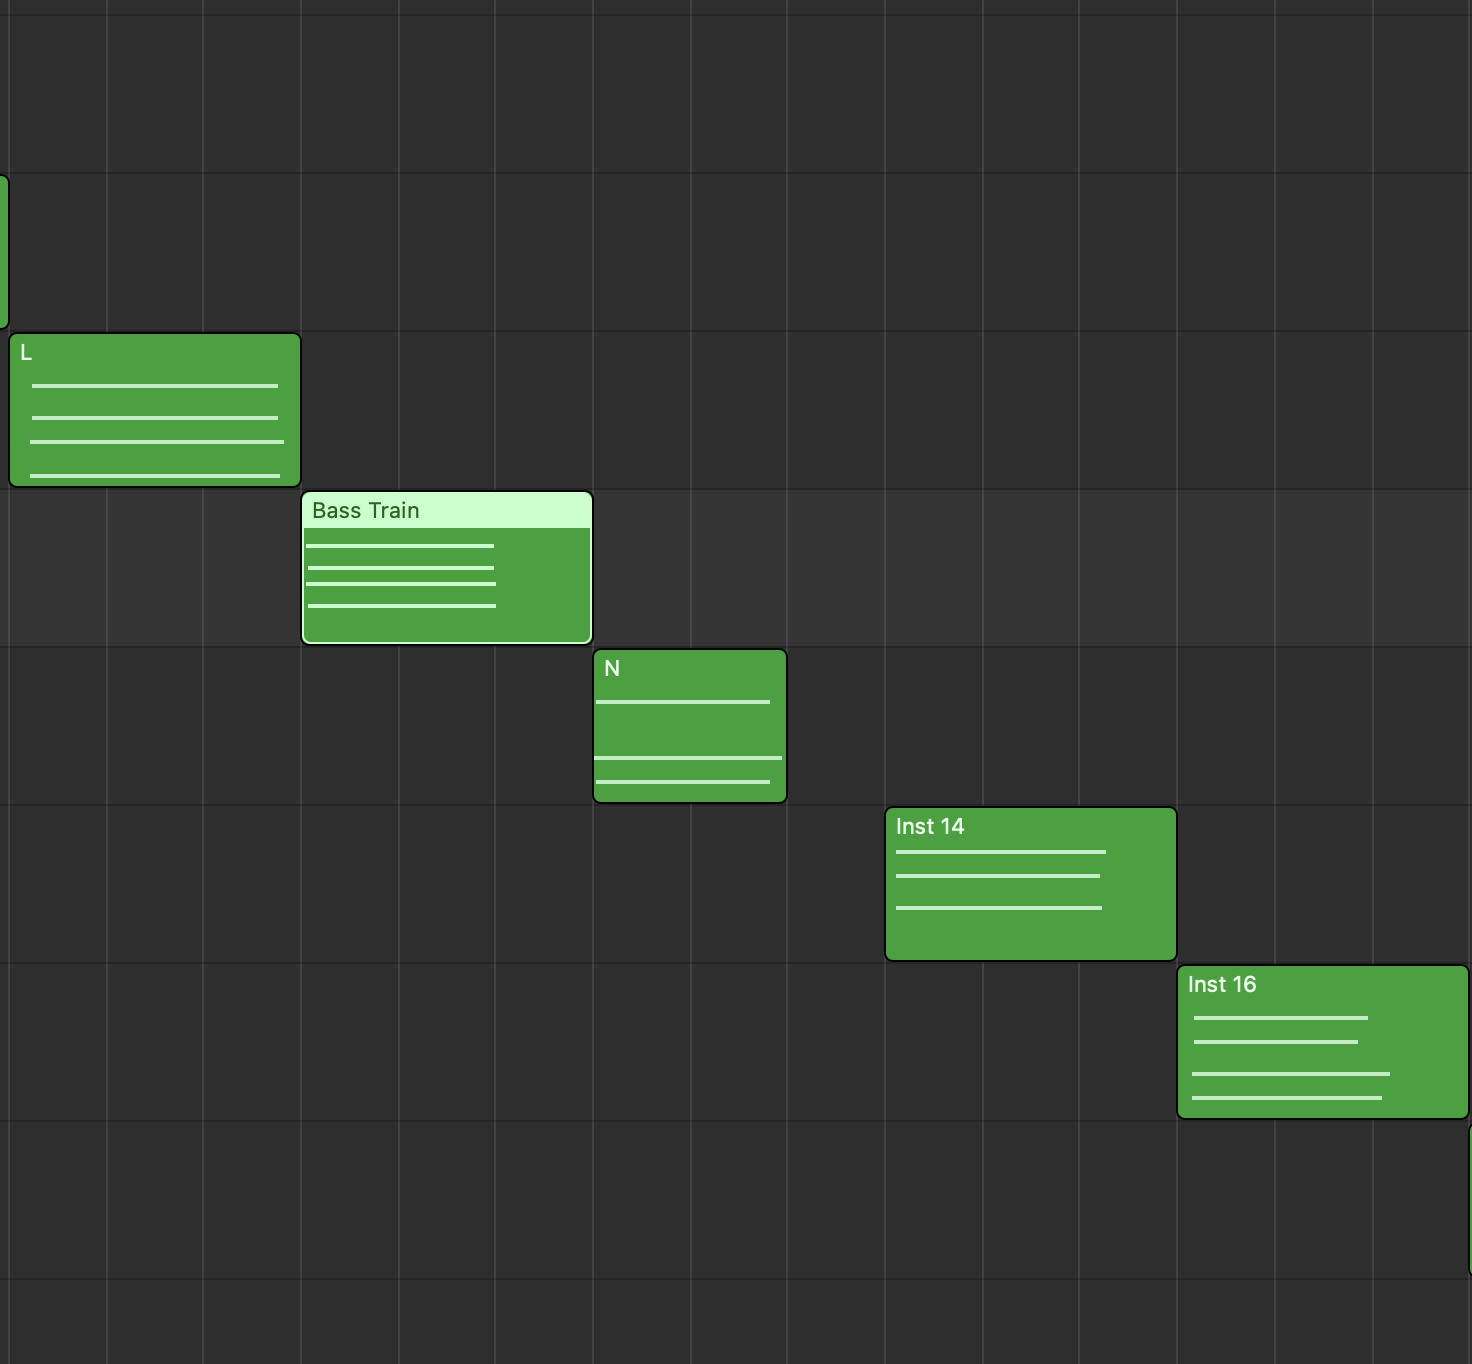
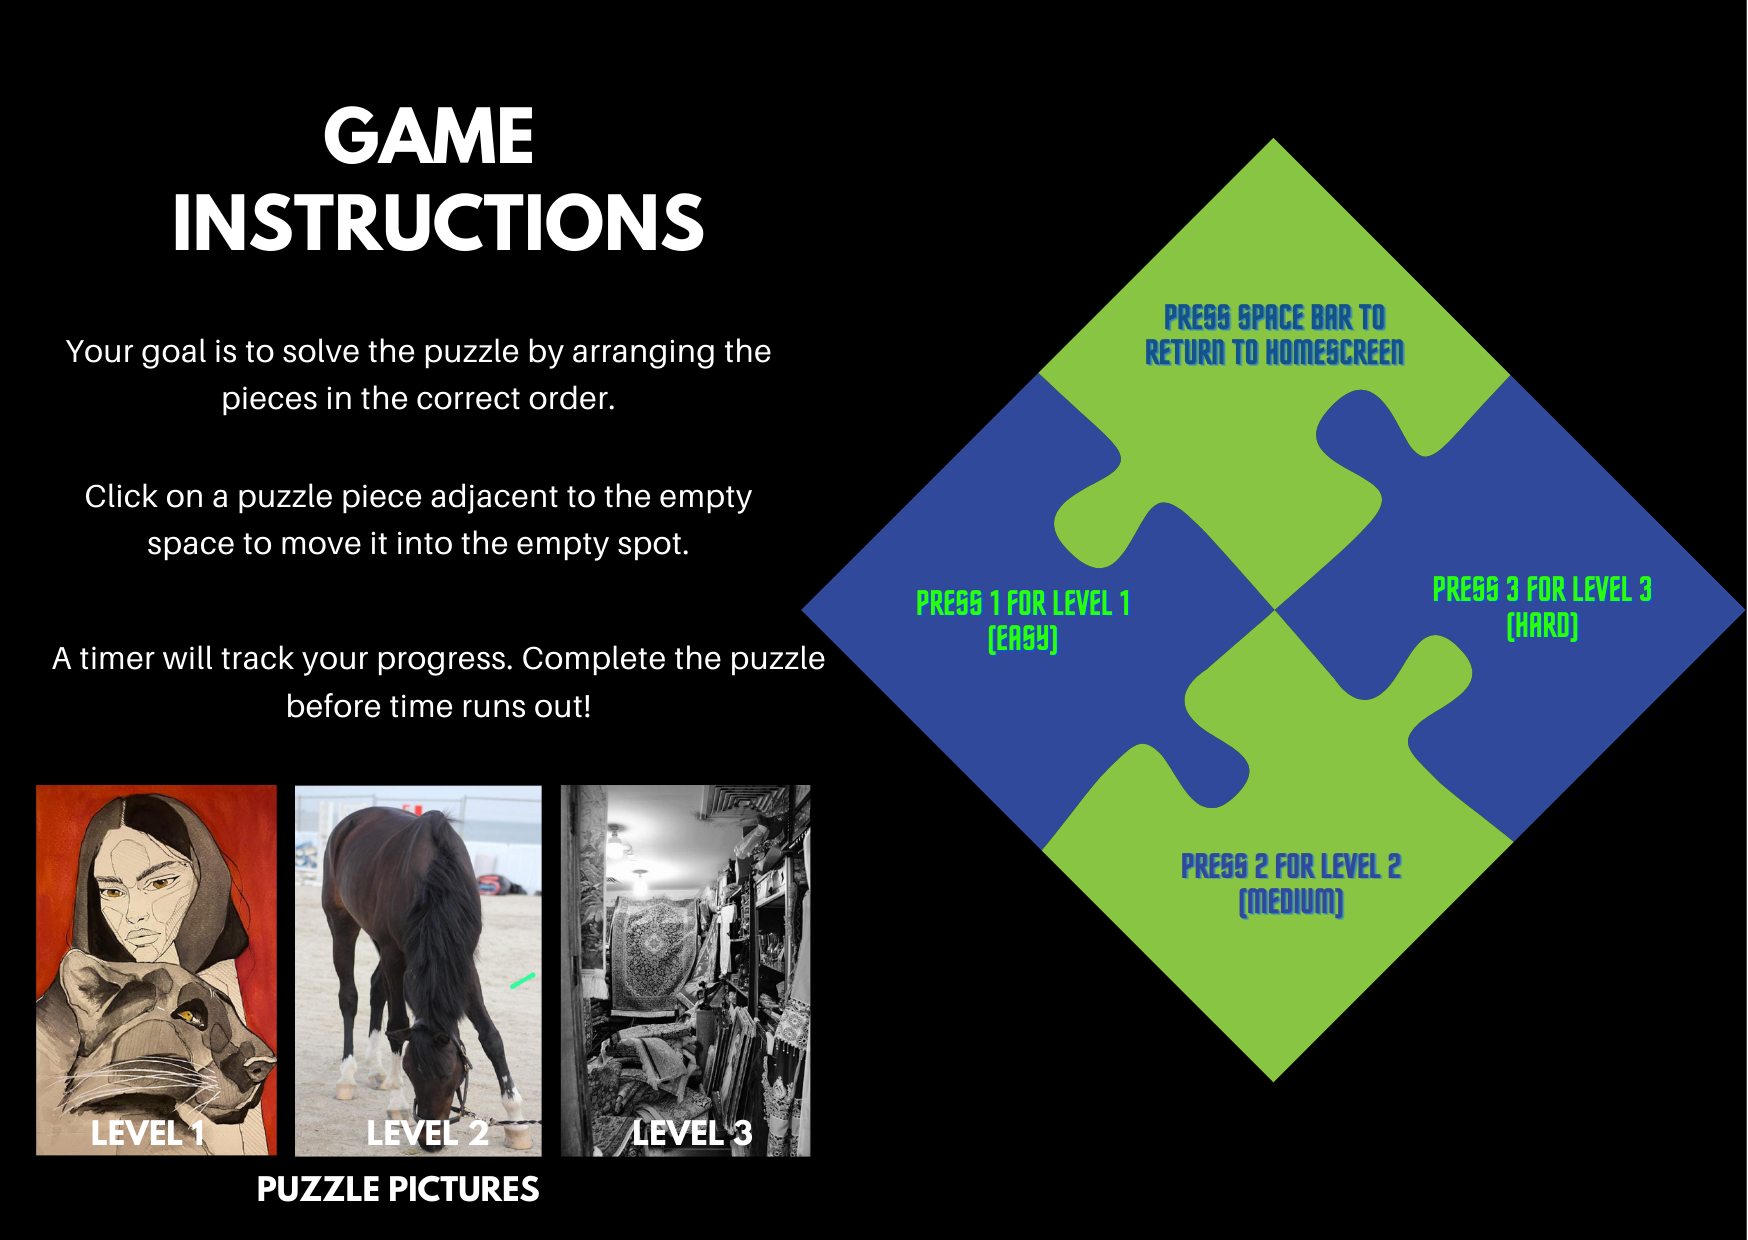
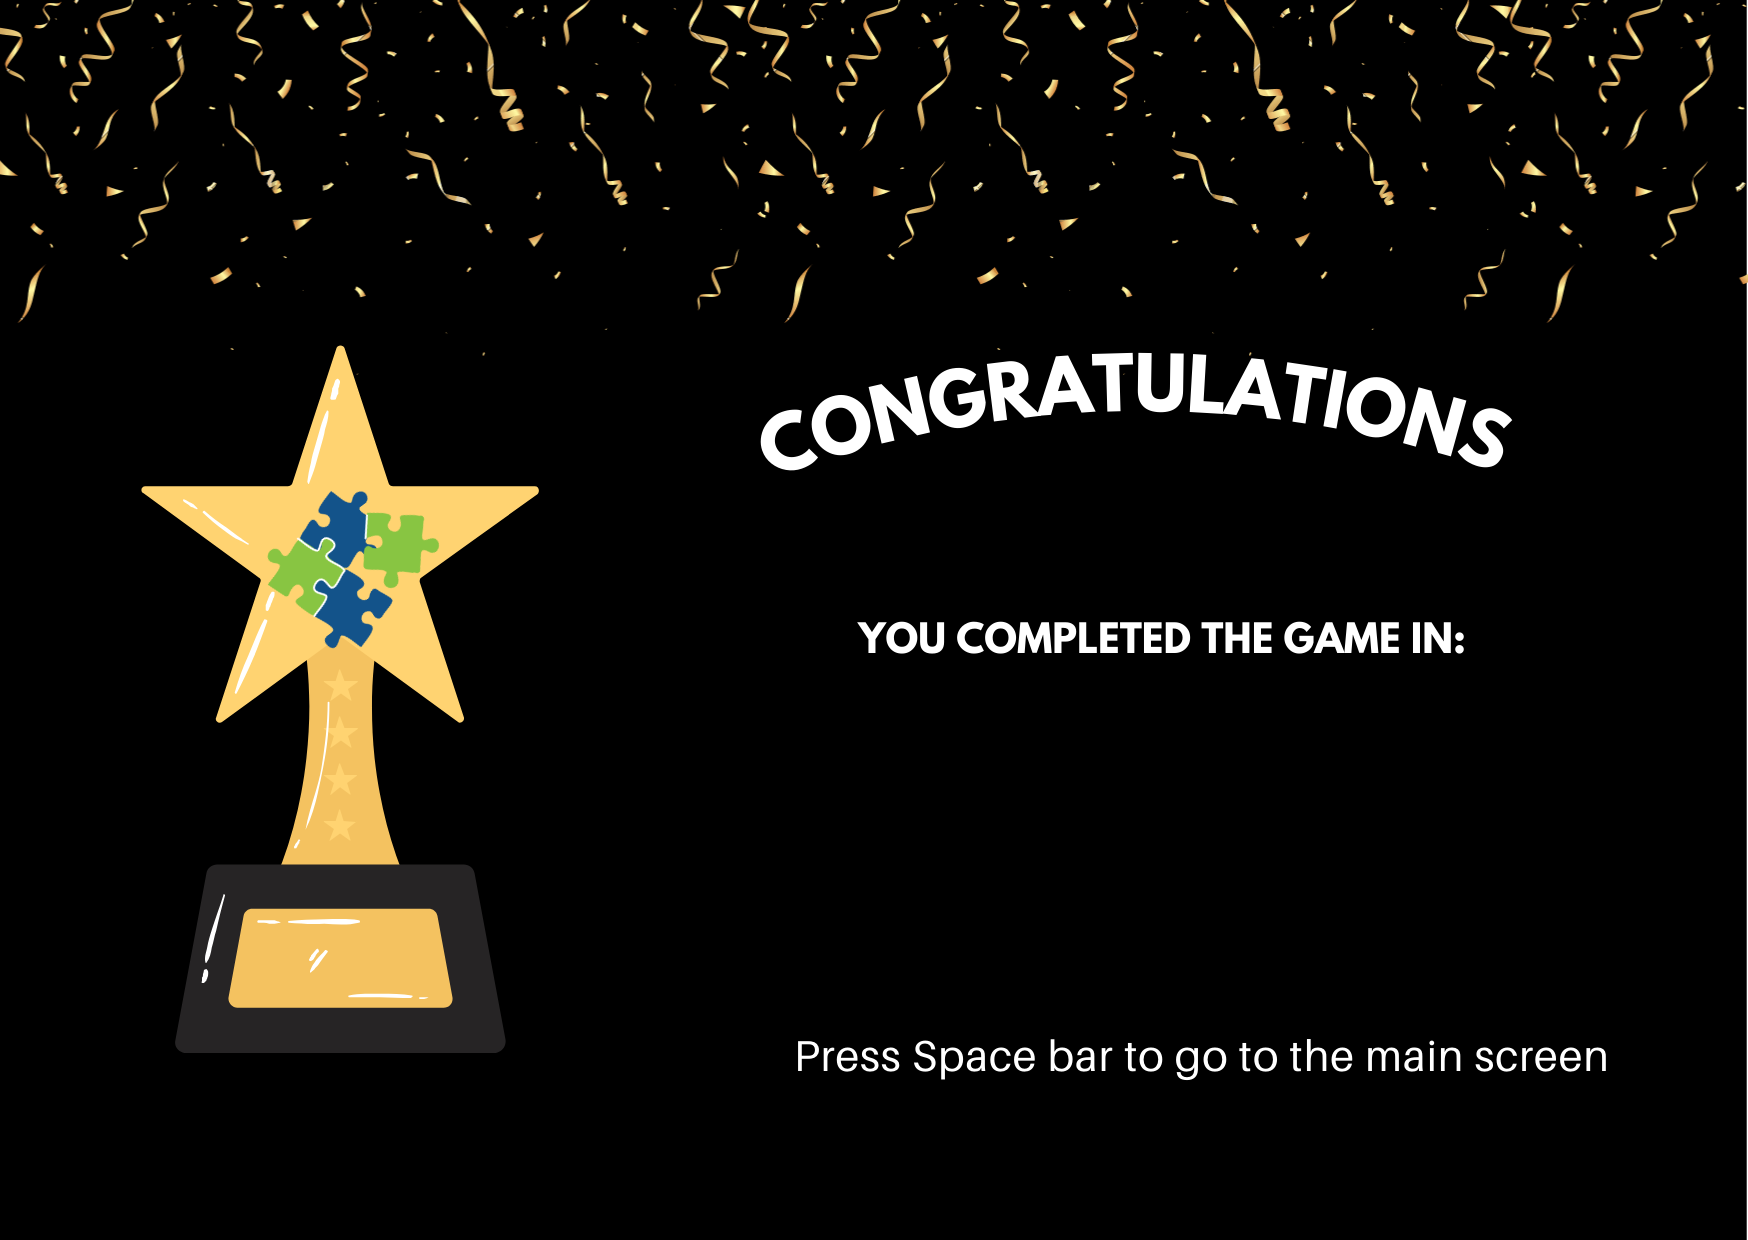
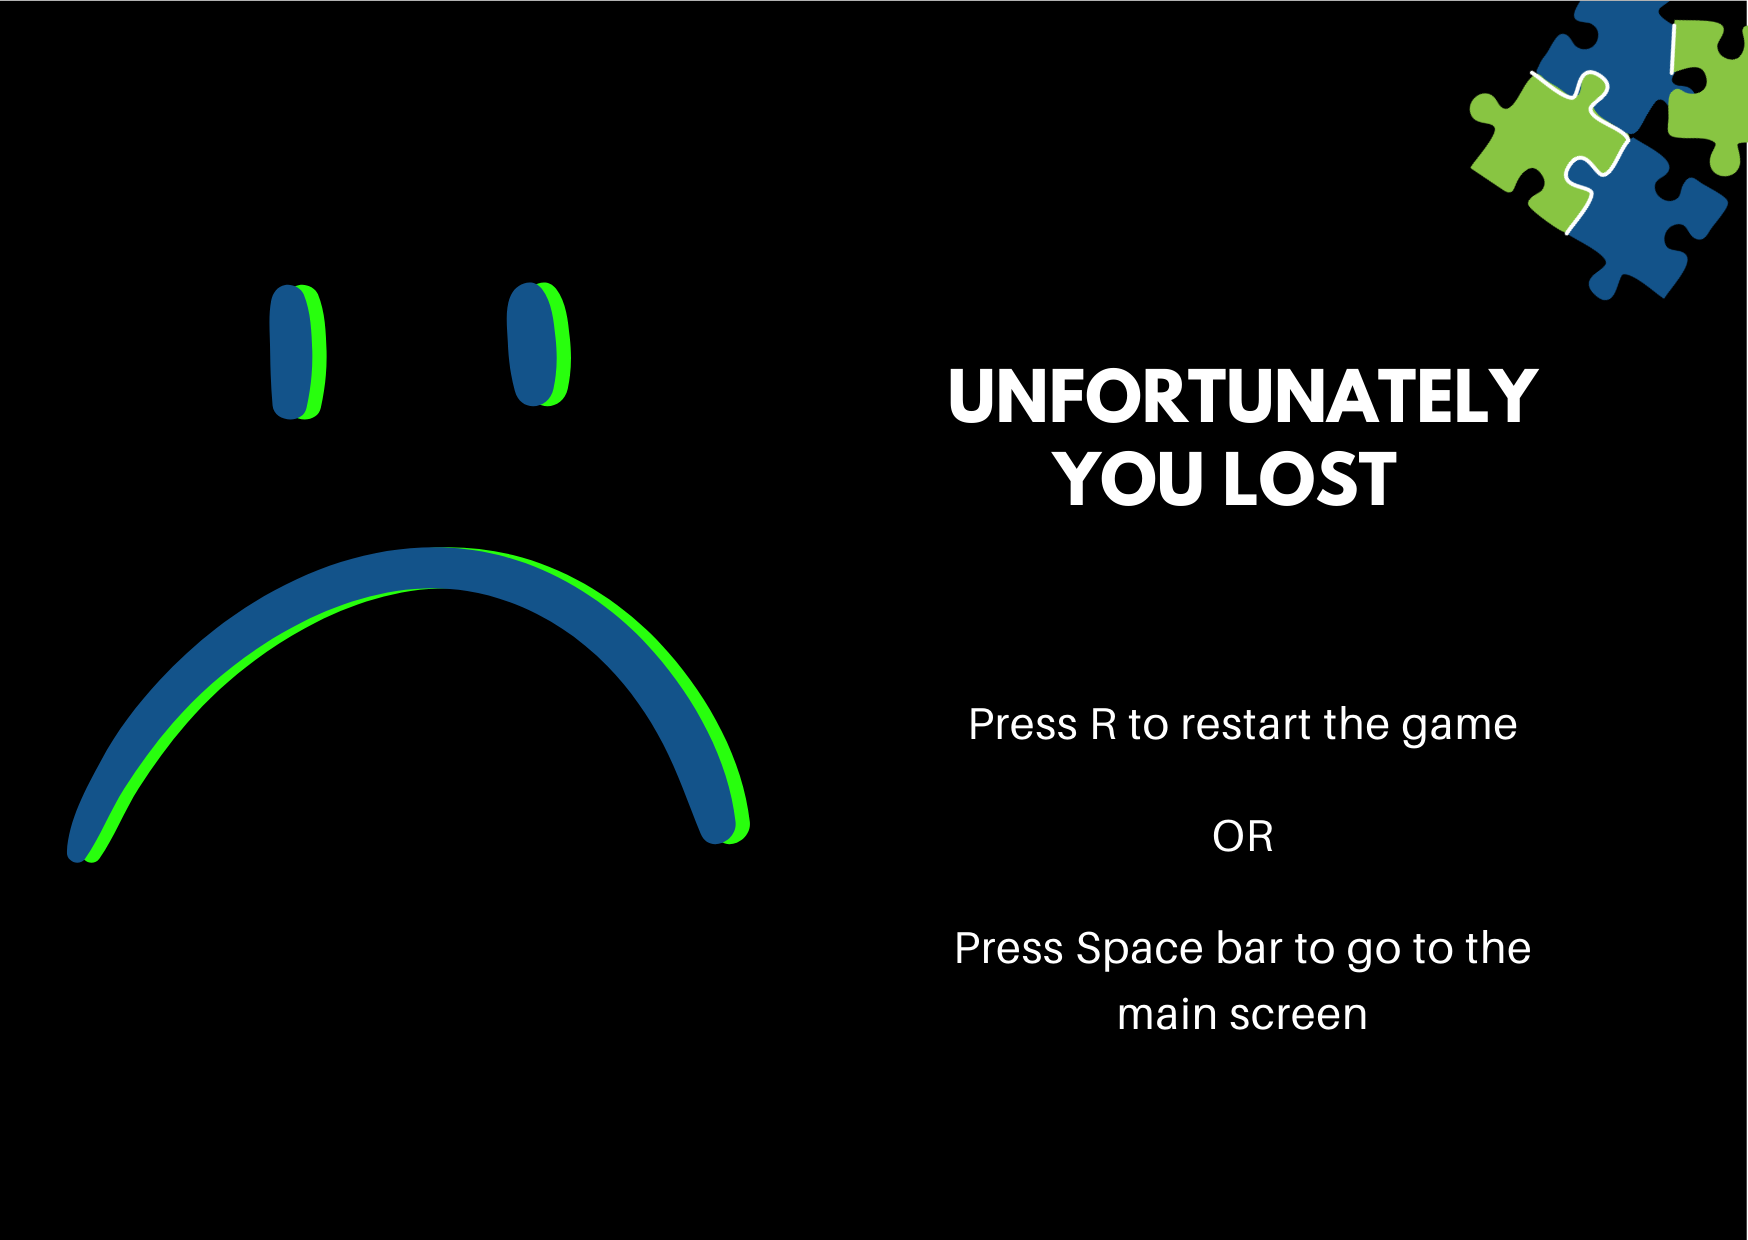
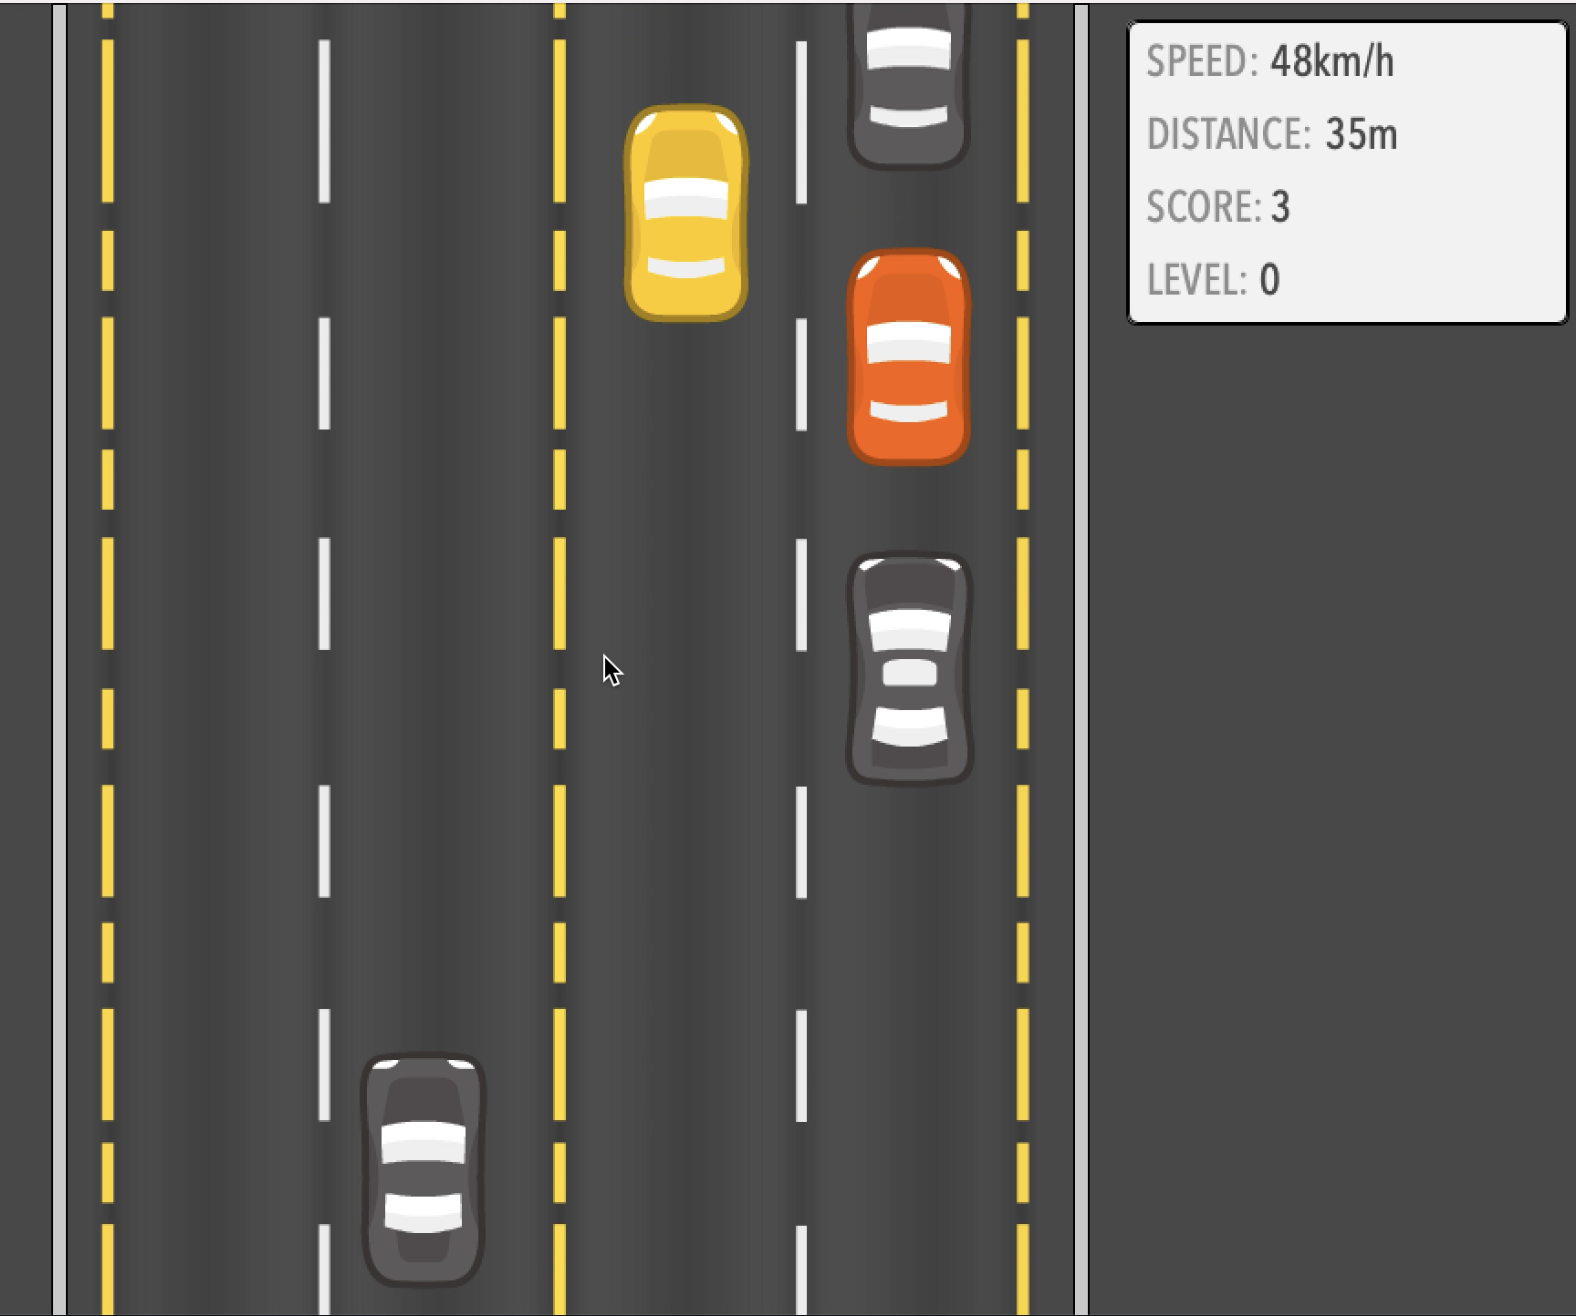
Here is the sketch:
I am quite proud of finally figuring out the million conditions for implementing playback options. Embedded below are specific parts of the code: the first one that displays the details for a single song and the second skips the current song.
case 0:
        background("#484848"); // set background according to colour of album cover

        push(); // drop down icon
        strokeWeight(4);
        stroke("#373737");
        line(this.x, 0.7 * height, (width * 8) / 9, 0.7 * height);
        stroke(220);
        line(
          // duration slider constantly updating as time passes using the ratio of two methods as follows
          this.x,
          0.7 * height,
          (gangteyAudio.currentTime() / gangteyAudio.duration()) *
            (7 / 9) *
            width +
            (1 / 9) * width,
          0.7 * height
        );
        pop();

        textFont(gothamBlack);
        textSize(16);
        fill(240);
        text(songNames[songNum], this.x, this.y); // displaying name of song
        textFont(gothamThin);
        textSize(12);
        fill(220, 220, 220, 150);
        text(artistNames[songNum], this.x, this.y + 20); // displaying artist name

        textSize(10); // the following code displays the time of the song and its duration in minutes and instead of showing it in seconds by default by using modulus and integer division functions
        text(
          Math.floor(gangteyAudio.currentTime() / 60),
          this.x,
          0.7 * height + 15
        );
        text(":", this.x + 7, 0.7 * height + 15);
        if (Math.floor(gangteyAudio.currentTime() % 60) < 10) {
          text("0", this.x + 10, 0.7 * height + 15);
          text(
            Math.floor(gangteyAudio.currentTime() % 60),
            this.x + 17,
            0.7 * height + 15
          );
        } else {
          text(
            Math.floor(gangteyAudio.currentTime() % 60),
            this.x + 10,
            0.7 * height + 15
          );
        }
        text(
          Math.floor(gangteyAudio.duration() / 60),
          (8 / 9) * width - 15,
          0.7 * height + 15
        );
        text(":", (8 / 9) * width - 8, 0.7 * height + 15);
        text(
          Math.floor(gangteyAudio.duration() % 60),
          (8 / 9) * width - 5,
          0.7 * height + 15
        );

        if (gangteyAudio.isPlaying()) {
          // for alternating between the pause/play icon shape
          fill(220);
          noStroke();
          circle(width * 0.5, height * 0.85, 60);
          fill(0);
          rect(width * 0.5 - 8, height * 0.85 - 12, 4, 24);
          rect(width * 0.5 + 4, height * 0.85 - 12, 4, 24);
        } else {
          fill(220);
          noStroke();
          circle(width * 0.5, height * 0.85, 60);
          fill(0);
          triangle(
            width * 0.5 - 6,
            height * 0.85 + 10,
            width * 0.5 - 6,
            height * 0.85 - 10,
            width * 0.5 + 10,
            height * 0.85
          );
        }

        image(
          // displaying album cover
          gangteyImage,
          (1 / 9) * width,
          0.2 * width,
          (7 / 9) * width,
          (7 / 9) * width
        );
        break;
if (
      // if forward icon pressed
      mouseIsPressed &&
      mouseY > height * 0.85 - 12 &&
      mouseY < height * 0.85 + 12 &&
      mouseX > width * 0.7 - 10 &&
      mouseX < width * 0.7 + 12
    ) {
      greenFlag = 1; // reset heart flag to clear as song changes
      switch (
        songNum // stop song currently playing
      ) {
        case 0:
          if (gangteyAudio.isPlaying()) {
            gangteyAudio.stop();
          }
          break;
        case 1:
          if (kalgaAudio.isPlaying()) {
            kalgaAudio.stop();
          }
          break;
        case 2:
          if (nahinMiltaAudio.isPlaying()) {
            nahinMiltaAudio.stop();
          }
          break;
        case 3:
          if (tasveerAudio.isPlaying()) {
            tasveerAudio.stop();
          }
          break;
        case 4:
          if (ayiBahaarAudio.isPlaying()) {
            ayiBahaarAudio.stop();
          }
          break;
      }
      if (songNum == 4) {
        // update index to next index by incrementing
        songNum = 0;
      } else {
        songNum += 1;
      }
      switch (
        songNum // play song from next index
      ) {
        case 0:
          if (gangteyAudio.isPlaying() == false) {
            gangteyAudio.play();
          }
          break;
        case 1:
          if (kalgaAudio.isPlaying() == false) {
            kalgaAudio.play();
          }
          break;
        case 2:
          if (nahinMiltaAudio.isPlaying() == false) {
            nahinMiltaAudio.play();
          }
          break;
        case 3:
          if (tasveerAudio.isPlaying() == false) {
            tasveerAudio.play();
          }
          break;
        case 4:
          if (ayiBahaarAudio.isPlaying() == false) {
            ayiBahaarAudio.play();
          }
          break;
      }
    }
I think it is possible to enhance the functionality even more, for example by enabling shuffle, but this specific playlist is meant to be listened to in its exact order so maybe next time! Other than that, I am quite satisfied that even though I didn’t think it possible in the beginning, by revisiting the concepts and spending hours revising everything we’ve learnt so far and even checking out some other concepts, in the end I was able to bring my concept to life. Also, you guys should definitely put this playlist on while on a walk and maybe tell me what you thought about it! Hope you like the experience!


