Concept:

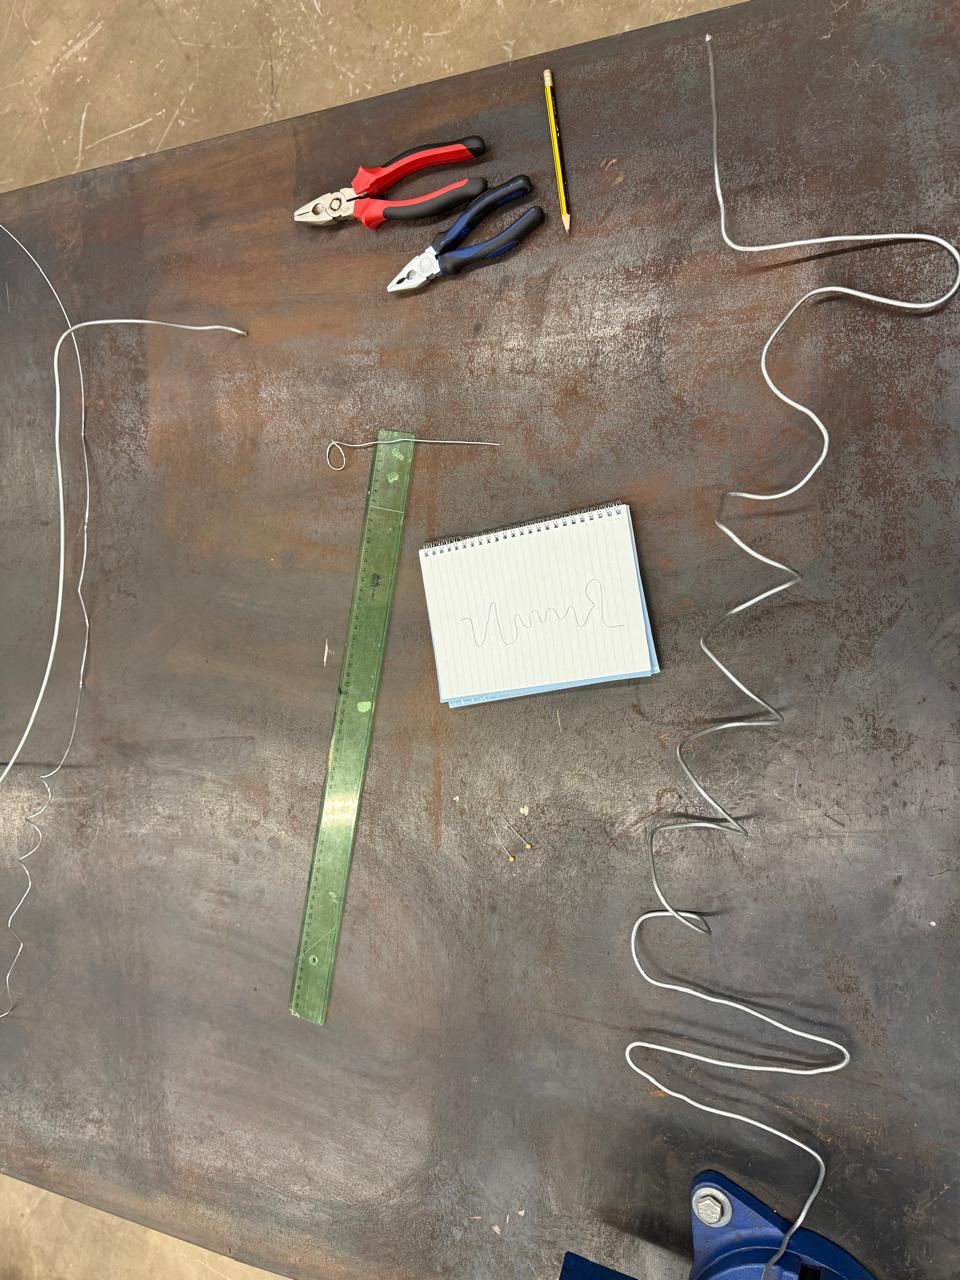
This game incorporates two key concepts. The first concept, which inspired the creation of this game, is the maze itself—an idea drawn from my midterm project. In the game, the user starts at one end of the maze’s wire frame and navigates through it without touching the wire, aiming to reach the endpoint before time runs out. The maze is uniquely designed to resemble the word “Robinson,” with the first letter forming an “R,” the last letter forming an “N,” and the middle section creatively looped to provide a more engaging and challenging experience for players.
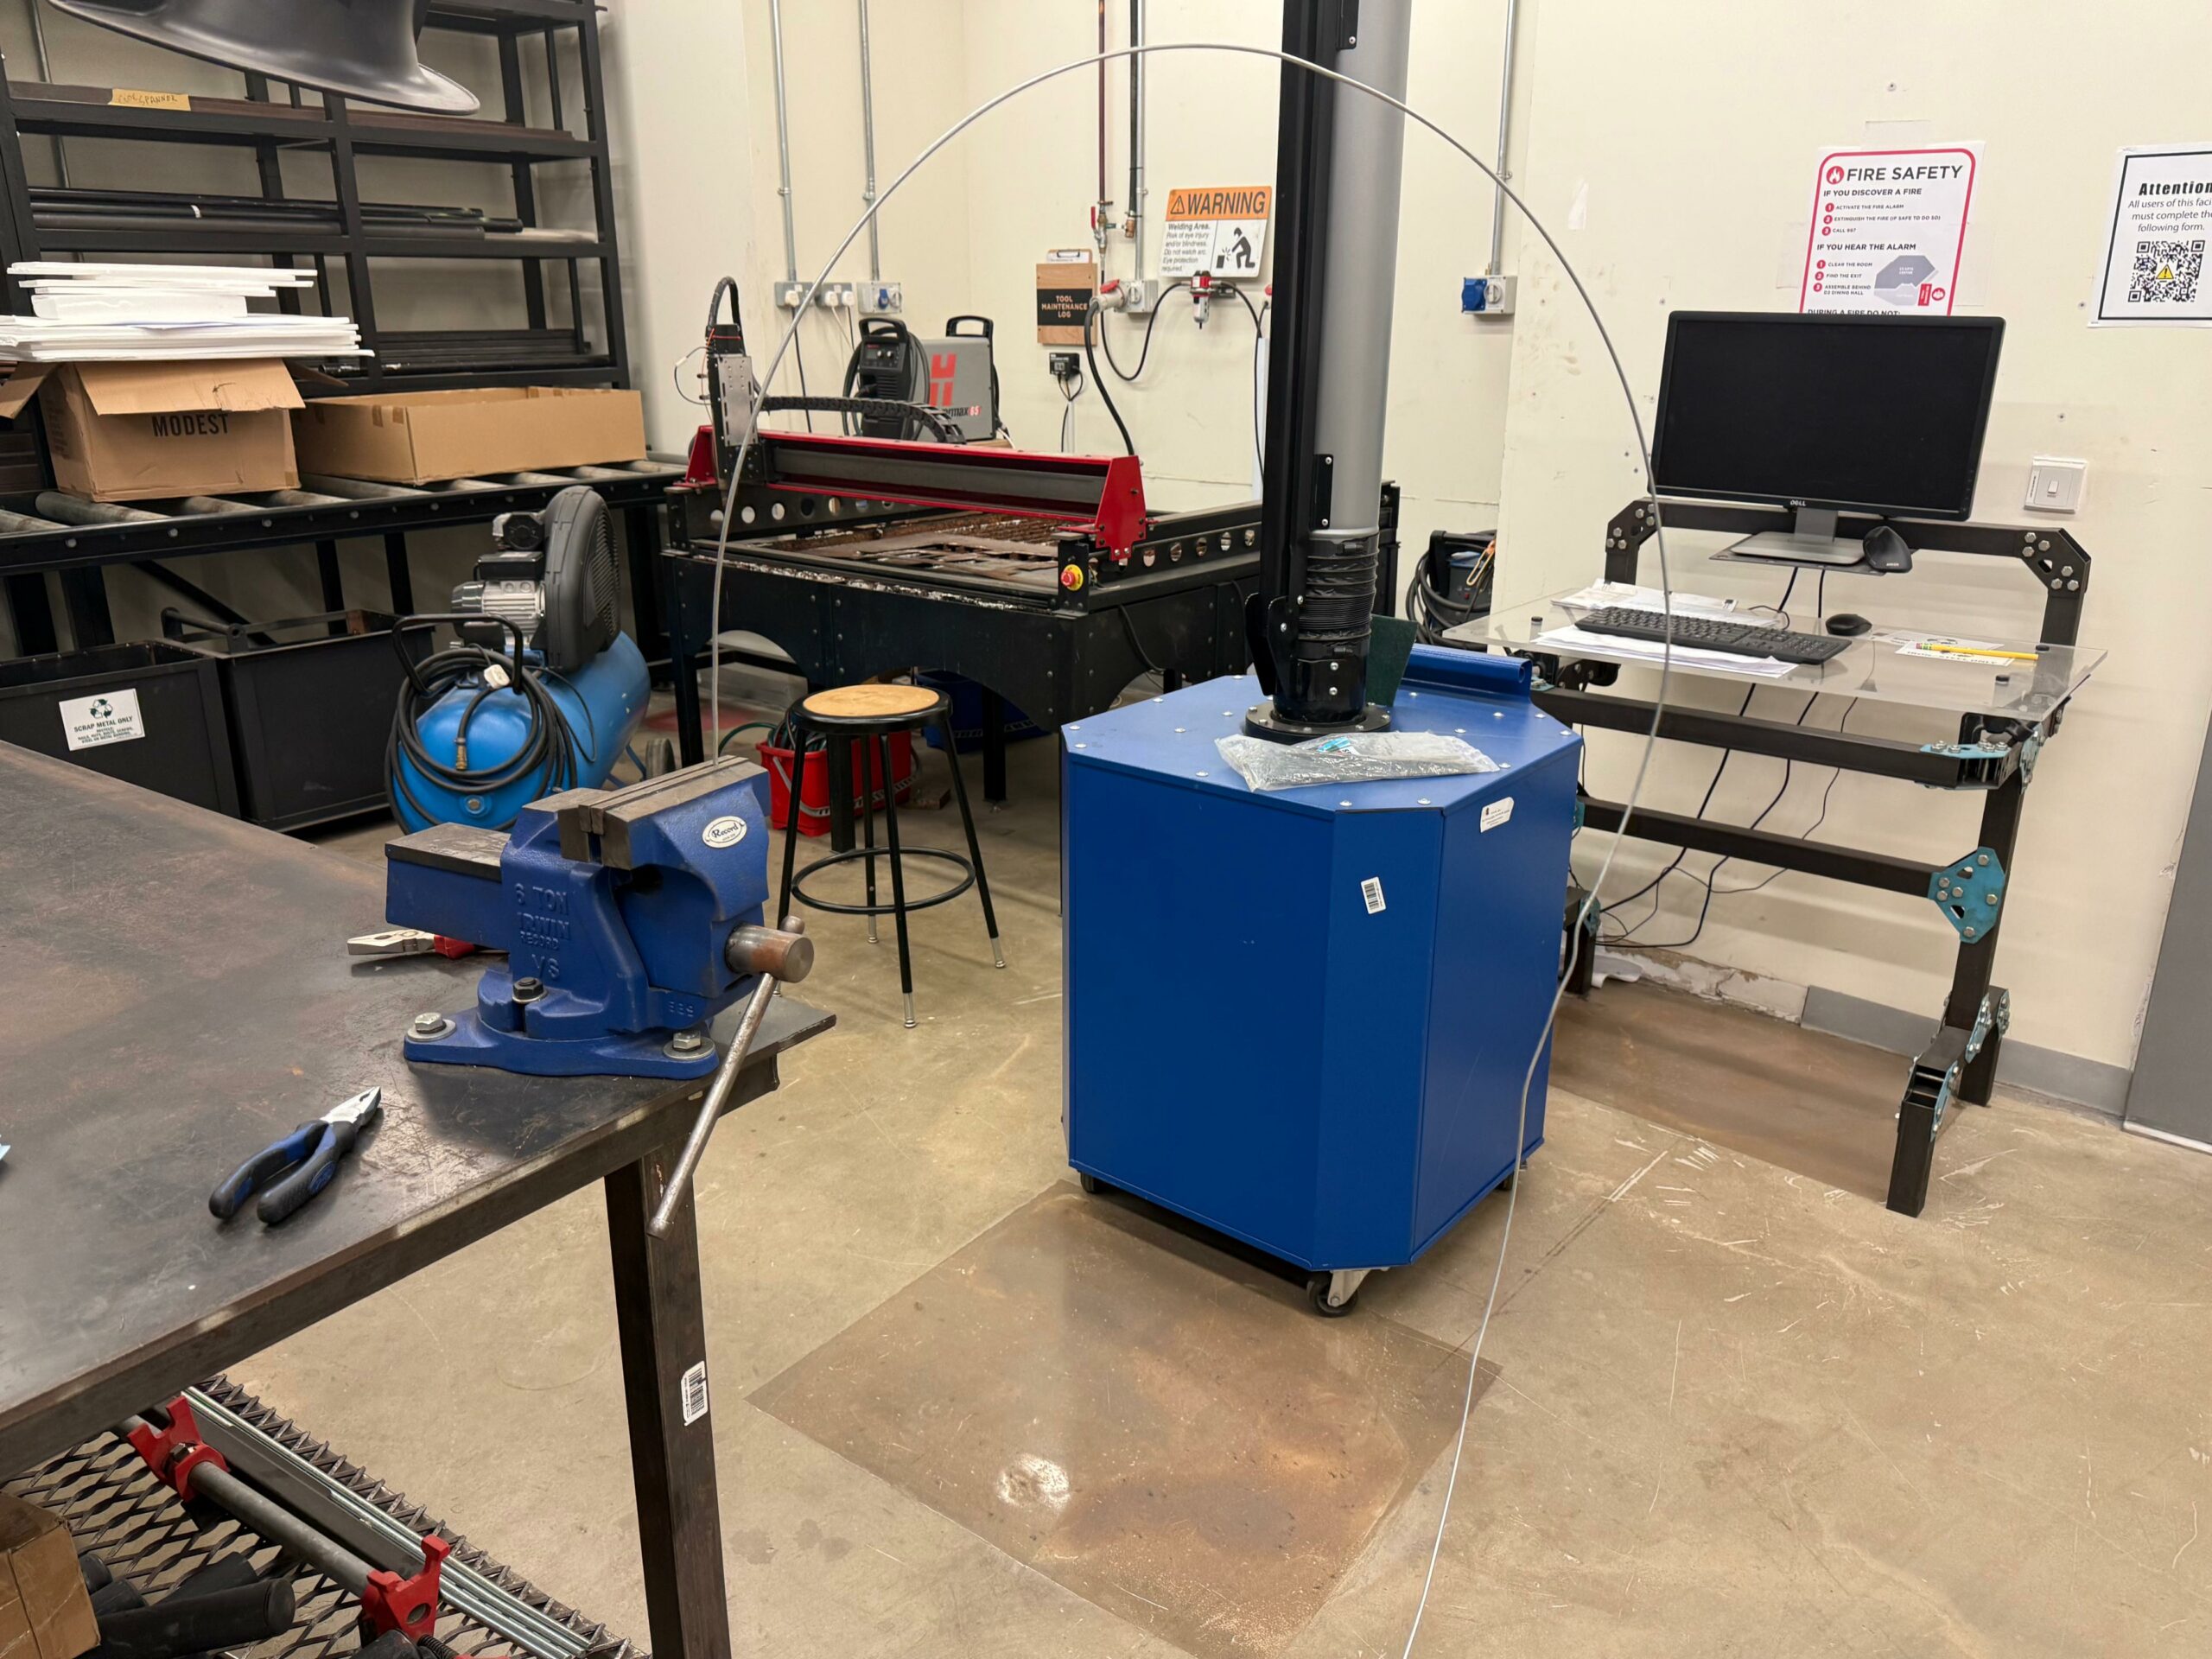
The second concept is inspired by urban design. The maze is mounted on two wooden blocks designed to resemble buildings, giving the entire structure the appearance of a miniature cityscape. This combination of gameplay and aesthetic design enhances the overall experience by integrating storytelling with visually appealing architecture.
Project Interaction:
Do you remember the person I used for my user testing? Well, they’re back again for another round to interact with the program, this time after addressing and resolving any misconceptions about how the game functions. Below is a video of Vladimir testing my game once again:
How Does the Implementation Work?
1. Description of Interaction Design
The interaction design focuses on creating a seamless and engaging user experience. The game begins with a welcome screen that introduces the user to the interface. It includes options to view instructions or start playing the game.
- Instructions Screen: The instructions explain the rules of the game, such as the objective of navigating through the maze without touching the conductive walls and what happens when the wire is touched. A “Back” button is provided to return to the main menu.
- Timer Selection: Players can choose their preferred play duration (30 seconds, 1 minute, or 2 minutes). After selecting a timer, the game transitions to a countdown preparation phase.
- Game Play: During the game, the player must navigate the maze using the loop object without touching the maze walls. Touching the walls triggers a red glow effect and reduces the remaining time by 5 seconds. The player wins by reaching the endpoint (connected to the A3 pin) before the timer runs out. If the timer reaches zero before the endpoint is touched, the player loses.
- Win/Lose Feedback: Winning triggers celebratory fireworks visuals, while losing displays visuals indicating failure. Both states return the user to the main menu after 5 seconds.
2. Description of Arduino Code
The Arduino code handles two primary functions:
- Touch Detection (A0): When the loop object touches the maze walls, the Arduino sends a ‘Touch Detection’ message to p5.js. It also briefly activates the buzzer to provide immediate audio feedback.
- Win Detection (A3): When the loop object reaches the endpoint, the Arduino sends a ‘win’ message to p5.js to indicate success.
The code integrates digital input from the A0 and A3 pins and sends serial messages to the p5.js sketch, allowing the game to react accordingly. The following code is my entire self-written code (including comments) that I used to bring the project to life using the Arduino IDE:
#define TOUCH_PIN A0
#define WIN_PIN A3
#define BUZZER_PIN 8

bool gamePlaying = false; // Flag to track if the game is currently active

void setup() {
  Serial.begin(9600);

  pinMode(TOUCH_PIN, INPUT);  // Touch detection
  pinMode(WIN_PIN, INPUT);    // Win detection
  pinMode(BUZZER_PIN, OUTPUT); // Buzzer feedback

  Serial.println("Setup Complete. Monitoring touch and win states...");
}

void loop() {
  // Check for serial messages from p5.js
  if (Serial.available() > 0) {
    String command = Serial.readStringUntil('\n');
    command.trim();

    if (command == "START") {
      gamePlaying = true; // Start the game
      Serial.println("Game started!");
    } else if (command == "STOP") {
      gamePlaying = false; // Stop the game
      Serial.println("Game stopped!");
    }
  }

  if (gamePlaying) {
    int touchValue = digitalRead(TOUCH_PIN); // Read A0
    int winValue = digitalRead(WIN_PIN);    // Read A3

    // Check if wires are touching
    if (touchValue == HIGH) {
      tone(BUZZER_PIN, 1000); // Play buzzer
      delay(100);
      noTone(BUZZER_PIN);
      Serial.println("Touch detected!"); // Notify touch
    }

    // Check if win condition is met
    if (winValue == HIGH) {
      Serial.println("WIN"); // Notify win
      delay(500);            // Avoid spamming
    }
  } else {
    noTone(BUZZER_PIN); // Ensure the buzzer is off when the game isn't active
  }

  delay(50); // Stability delay
}
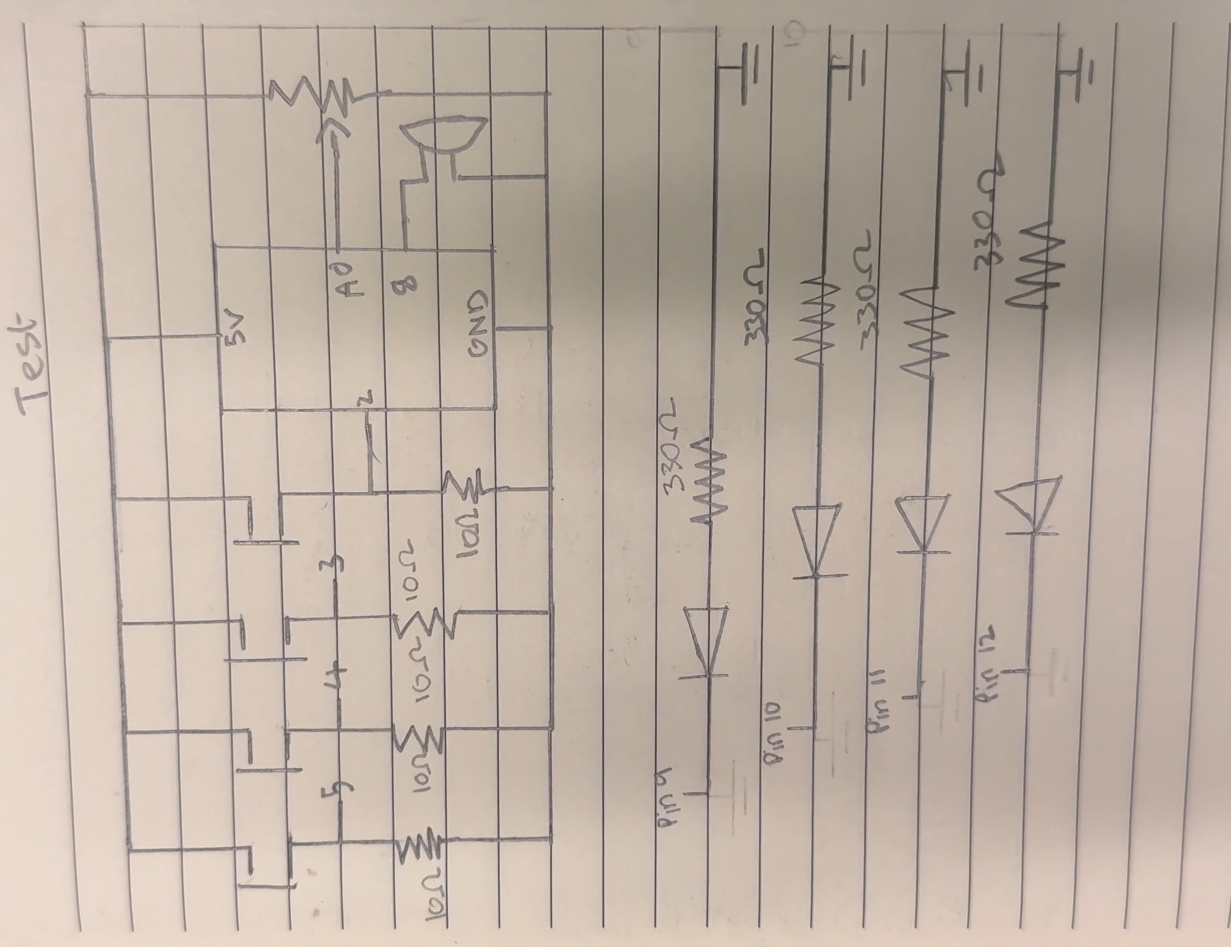
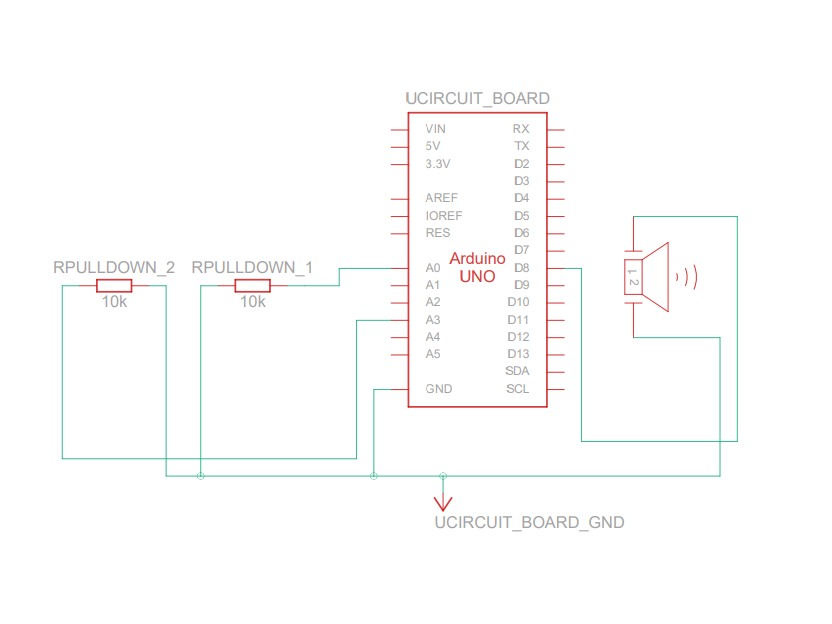
3. Schematic
The circuit consists of:
- A0: Connected to the loop object with a 10kΩ pull-down resistor.
- A3: Connected to the maze endpoint for win detection.
- D8: Connected to the buzzer for audio feedback.
- 5V and GND: Power and ground connections.
The schematic visually details how the components are connected to the Arduino board.
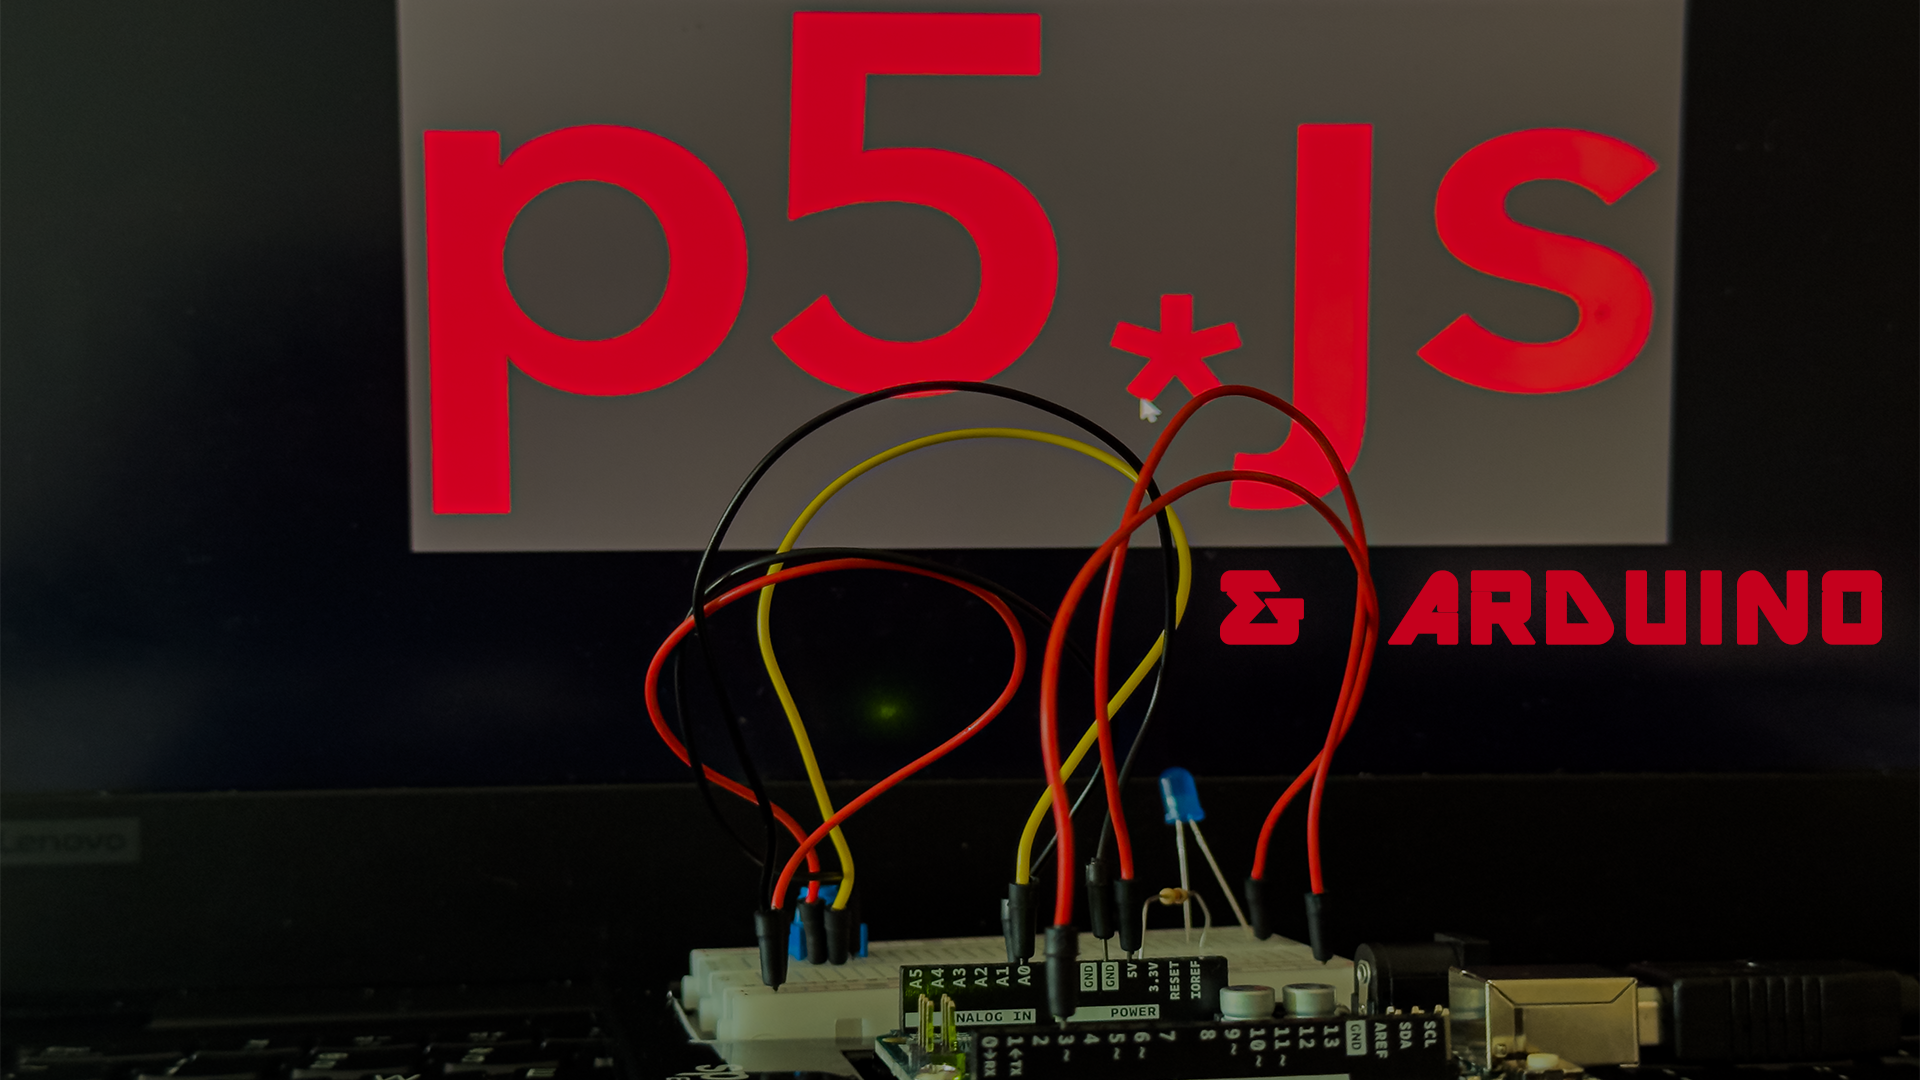
4. Description of p5.js Code
The p5.js code manages the visual interface, user interactions, and communication with the Arduino. Key functions include:
- Serial Communication: Establishes a connection with the Arduino and processes messages received from it.
- Visual Design: Displays custom backgrounds for each screen (e.g., welcome, instructions, timer selection, and game states). Buttons are styled and positioned for ease of use.
- Game Logic: Handles the countdown timer, touch detection, win/lose conditions, and visual effects for the game (e.g., the red glow for touches, fireworks for wins).
- Dynamic Transitions: Smoothly transitions between different game states and incorporates a 3-second preparation countdown to ensure the user is ready before gameplay begins.
The following is the p5 embedded code. Be sure to copy the Arduino code into the Arduino IDE, using the schematic connections on the Arduino Uno board if you would like to test this following program
for the full screen link, click here: https://editor.p5js.org/takuthulani/full/H_F1sS4qo
5. Description of Communication Between Arduino and p5.js
The communication between Arduino and p5.js is established through serial data transfer. The Arduino sends the following messages based on the game events:
- “Touch detected!”: Sent when the loop object touches the maze walls (A0 input). p5.js responds by reducing the timer and activating the red glow effect.
- “WIN”: Sent when the loop object reaches the endpoint (A3 input). p5.js displays the “You Won” message and celebratory visuals.
Additionally, p5.js sends a message to the Arduino when the game begins and a stop message when the game ends.
Aspect I am proud of:
If I am being truly honest, I feel really proud of the overall functioning of the game. The game works exactly as I imagined it would, and this is something to be proud of since we know that, from concept to final project, many things can go wrong. One often needs to make exceptions for unforeseen challenges and find creative solutions. In this case, the project works as intended, and I am particularly proud of the fact that when you touch the wire, the small speaker activates, and the screen flashes red to indicate the touch.
The serial communication was one of the trickiest parts of this project. Strangely enough, my game stopped working when the IM showcase began, requiring a few minutes of troubleshooting to get it running again. Beyond that hiccup, I am especially proud of the feature where the timer decreases whenever the user touches the wire. This functionality involved many late nights of debugging, but the result was worth it.
Lastly, I am happy that the program does not react when anyone touches the wire with the conductive loop object while the game is not being played. This demonstrates that the code I wrote provides enough control and that the communication between p5.js and Arduino is solid.
Areas of Future Improvements:
I am someone who enjoys visually stimulating designs, and one thing I would like to improve is the overall visual look of the game. The cover page seems too simple, and I would add enhancements to make it more engaging. Additionally, I would add sounds to the interface buttons so that they produce feedback whenever someone clicks them. More instructions and better visual cues for the game would greatly enhance the user experience.
For the timer, I would make it more visually apparent that the player is running out of time and that they lose time whenever they touch the wire. One improvement could be adding a louder speaker, as the sound of the small speaker was often drowned out by the environmental noise during the IM showcase. Providing users with options to enable or disable background music would also enhance the experience.
Furthermore, the physical structure of the game could use a more polished look. While not many people commented on this during gameplay, a better structure would contribute to the overall mood of the game. Lastly, I would add more engaging animations to the “You Win” screen to make users feel a greater sense of accomplishment. Implementing a high-ranking system could encourage competitiveness among players, as I noticed many users enjoyed challenging one another. Additionally, a more dramatic loss message could motivate users to replay the game more often.
Credits:
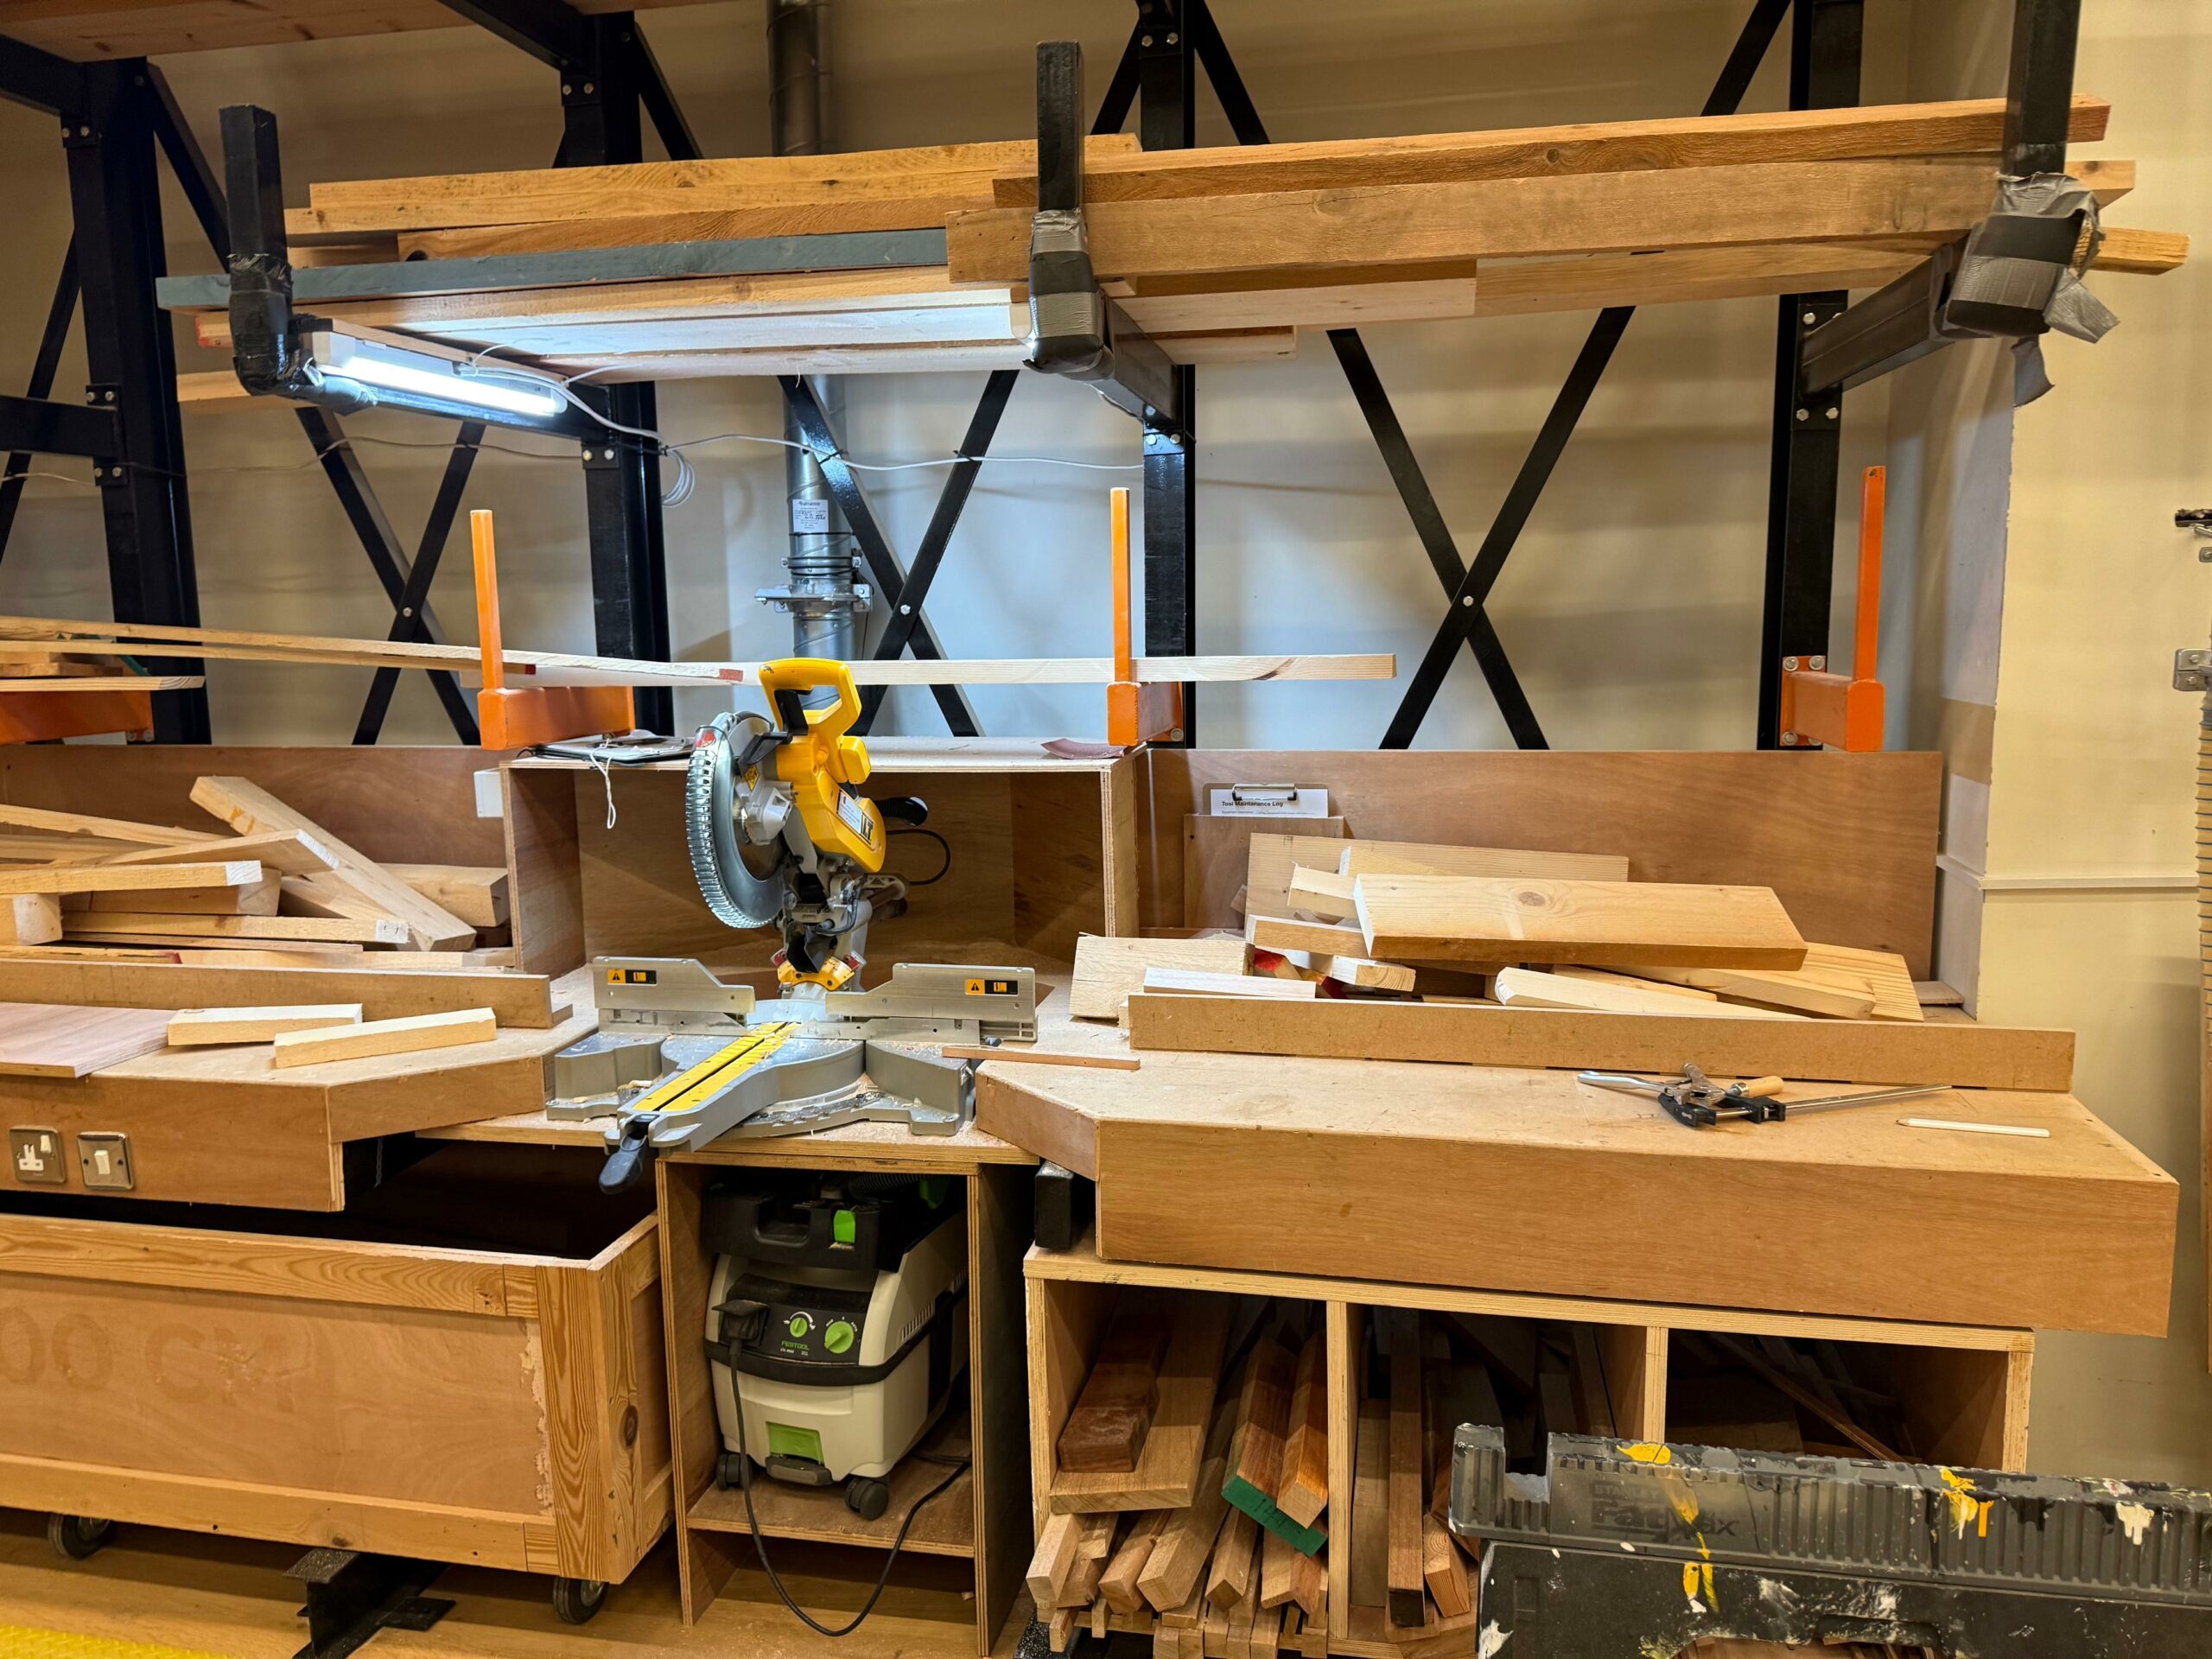
I would like to take this opportunity to thank Nelson from the scene shop for his immense help in cutting the wood for my project. I would also like to thank the lab TAs for assisting me in finding items in the lab and helping me progress through this project by supplying resources.
A special thanks to Professor Michael Shilo, whom I met in the lab. He helped me find wires in the scene shop, and I am grateful for his suggestions. Lastly, I would like to thank Professor Michael Ang for guiding me through this project from the beginning to the end, as well as for all the knowledge I gained from him throughout the semester.
Disclaimer
I use Grammarly as a browser add-on in Chrome, which assists me in fixing grammar issues while writing this blog.