Concept:
As soon as I heard that I would get to pick a topic again, I decided to go back to my old idea that did not cooperate with me during the midterm period: The Dance Dance Revolution arcade machine. I wanted to do this but in my own way. I’ve been really into looking at different aesthetics and, so far, my favorite aesthetic is the CottageCore aesthetic whic his basically the theme of living in the forest, fantasy, fairies, ..etc.
As I mentioned in my midterm, I have been really into this group named NewJeans and one of their music videos was focused mainly on the cottagecore aesthetic which I was really into. The song’s name is ASAP and I would highly recommend everyone to watch if you want your day to instantly be 1000 times better.
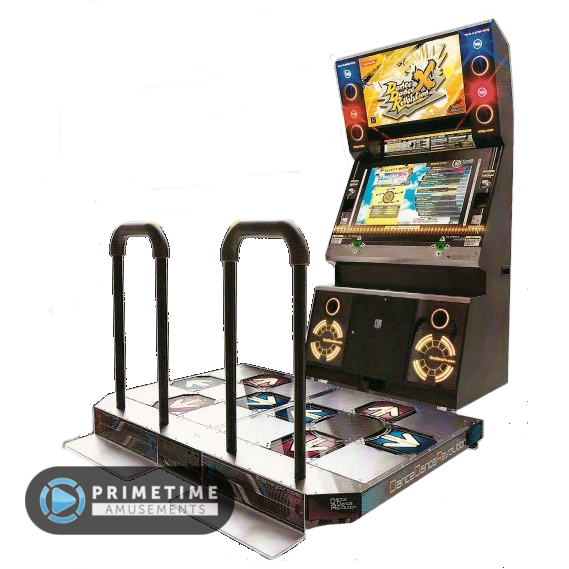
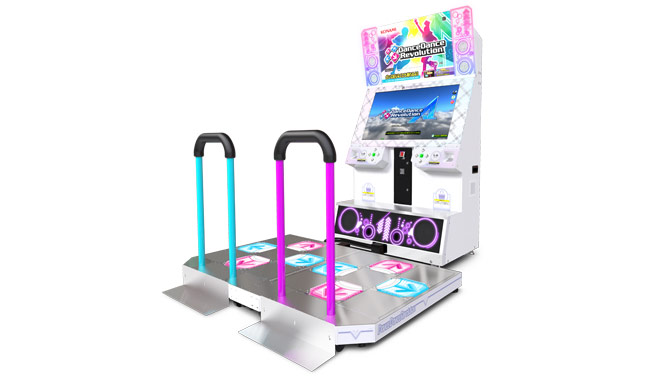
This is what a DDR machine looks like:
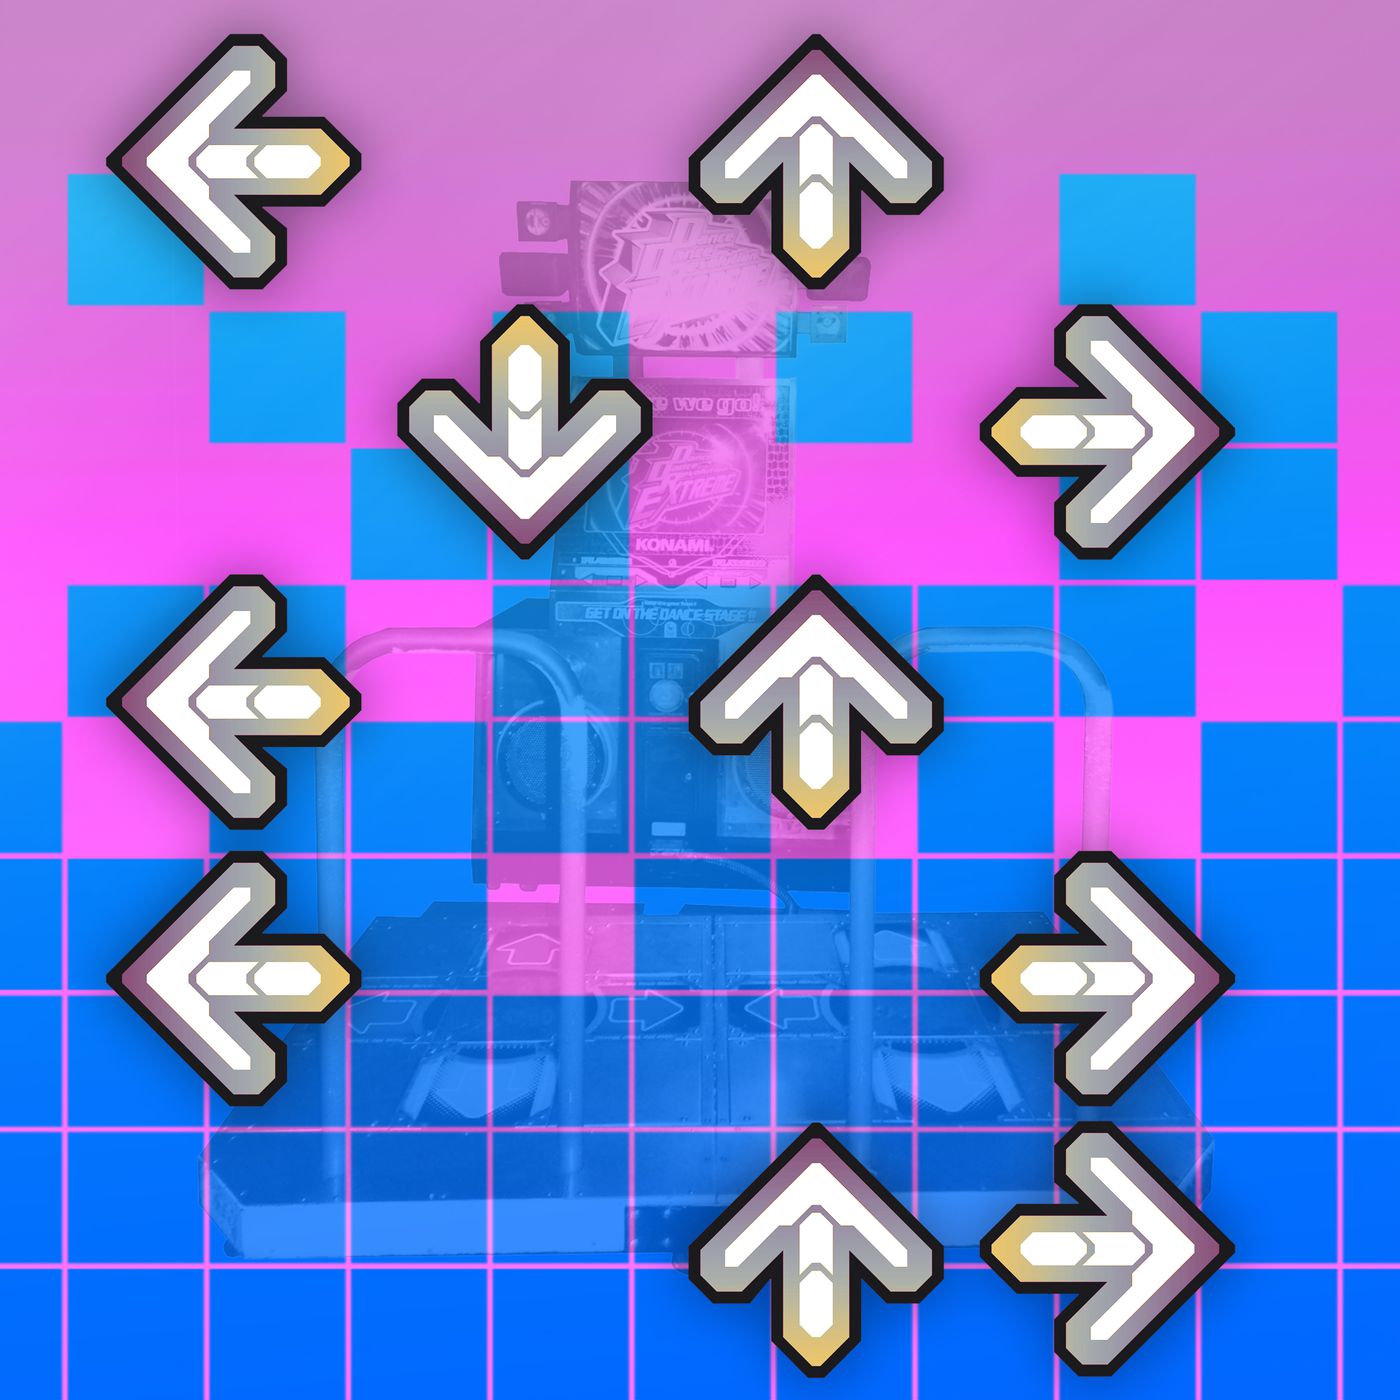
The game goes as follows:
Arrows spawn from the bottom of the screen and move to the top according to the rhythm of the song picked. The player must click/ step on the corresponding arrow button when it reaches a certain point.
NewJeans’ ASAP:
Challenges :
This project was a nightmare to make:
-
The Circle Incident:
Writing the p5 code, I wanted to first start with ellipses that would spawn in four different x coordinates and that would disappear when I would click the arrow keys as they reach y 100. However, p5 had other plans. It just would not work no matter what I tried. Turns out, I just forgot to use the term “key ==” .
2. Mapping : (
I have a past with creating beat maps for the VR game Beat Saber and I knew that people got that idea from mapping DDR games. So, I looked up what DDR mapping looks like and I created one for the song ASAP. But after countless hours of trying to add the mapping for ASAP to p5, I realized that mapping was not for p5. Is it possible? Probably. Would I have tried even longer if I just had more time? Probably.
What I did to consider time was try to have the arrows spawn according to the song’s BPM(Beats Per Minute) and I just now realized as I’m writing this that I had the arrows SPAWN with the BPM, not hit the targetZone according to the BPM which makes so much sense now but it still is very fun.
3. The Horror of Serial Communication :0
For the weekend, I decided to go home and work on this there and that was one of the biggest mistakes I have ever made because I don’t like the serial communication part. I spent the whole weekend working on something that I don’t fully understand. I spent 5 hours my first night home and made zero progress. The following day, I caved and asked my brother who has a good amount of experience with C++ and even he could not figure out a solution.
Sunday evening I’m back on campus and I see Professor Aya who told me that my p5 sketch is only receiving 2 inputs instead of 4…… She fixed it in less than 2 minutes.
4. The Forbidden Restart Button :0
After getting familiar and actually understanding what and how Serial communication work, I wanted to add a simple button. So cute, I know :3.
Little did I know that button was made in the deepest, darkest pits of hell. For some reason, it just would not register the 1. I would check my arduino code and everything would work fine on the serial monitor. I spent hours on that and after asking my very nice classmate Marcus, he looked at my arduino code and figured out I added a teensy tiny “ln” in my println function…..
Not my proudest Rashed moment.
Game Design:
my game has four states for the title screen, game, gameOver, and YouWin.
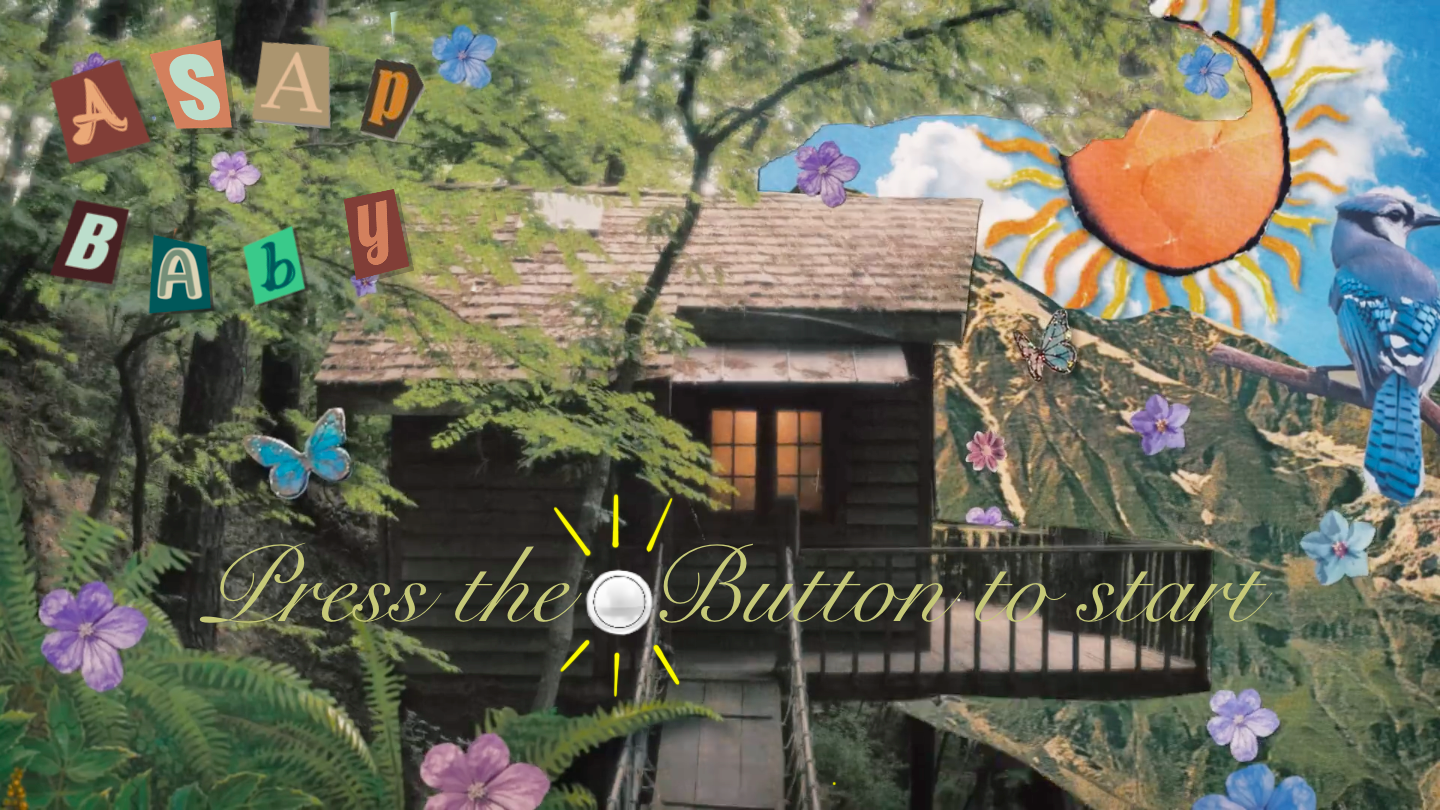
I wanted to make my own backgrounds for these states instead of using pictures from the group. I used procreate and a bunch of different elements from the theme and I just put them all together and I created these:
Title:
Game Over:
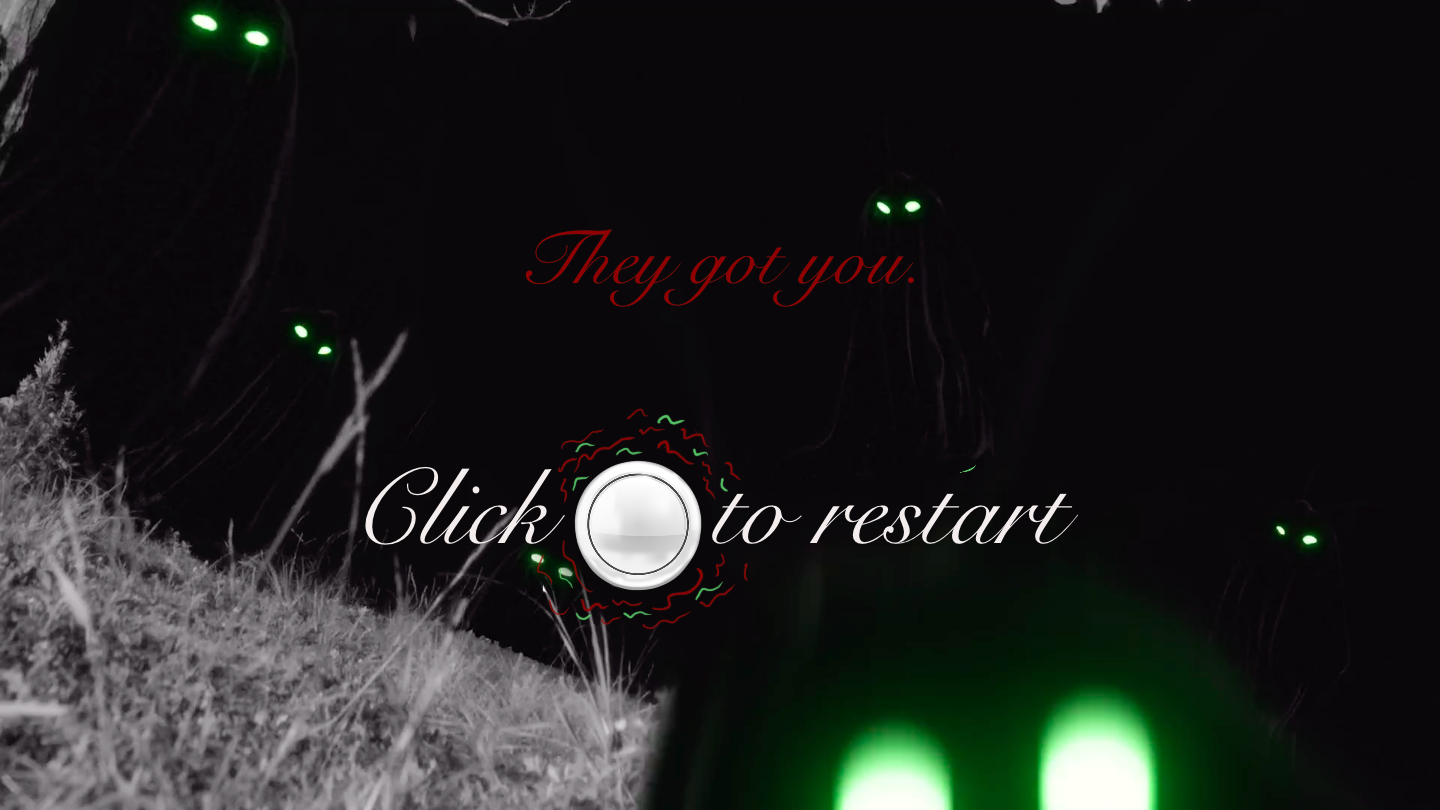
You Win:
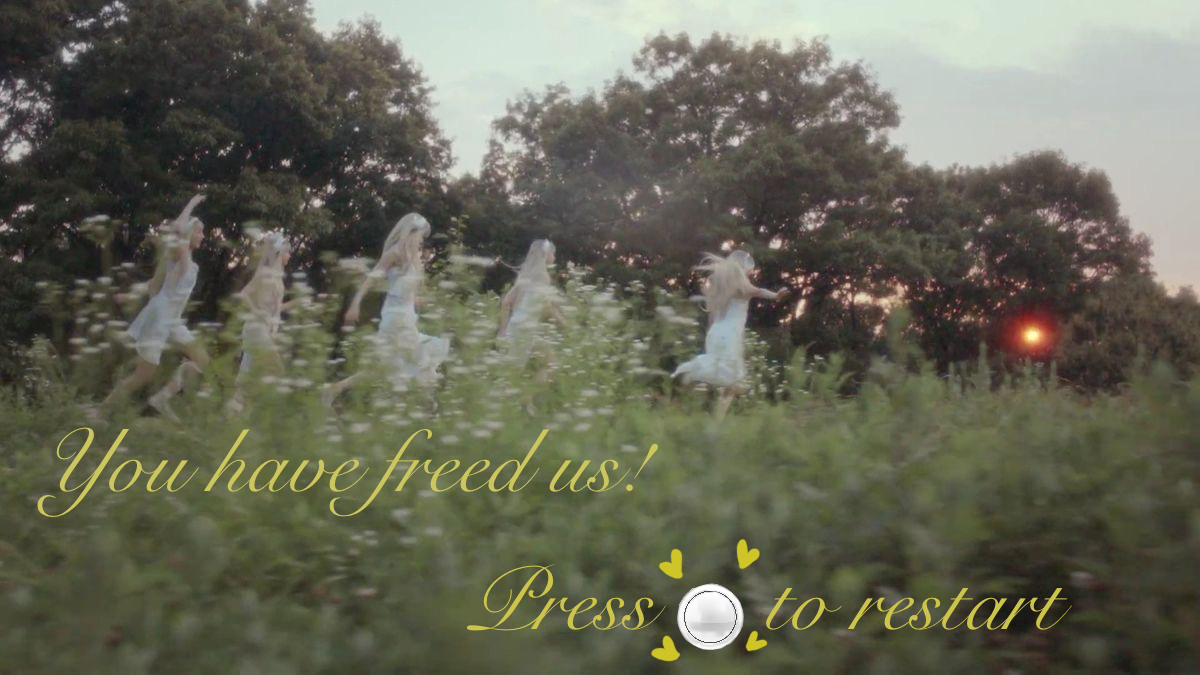
Game:
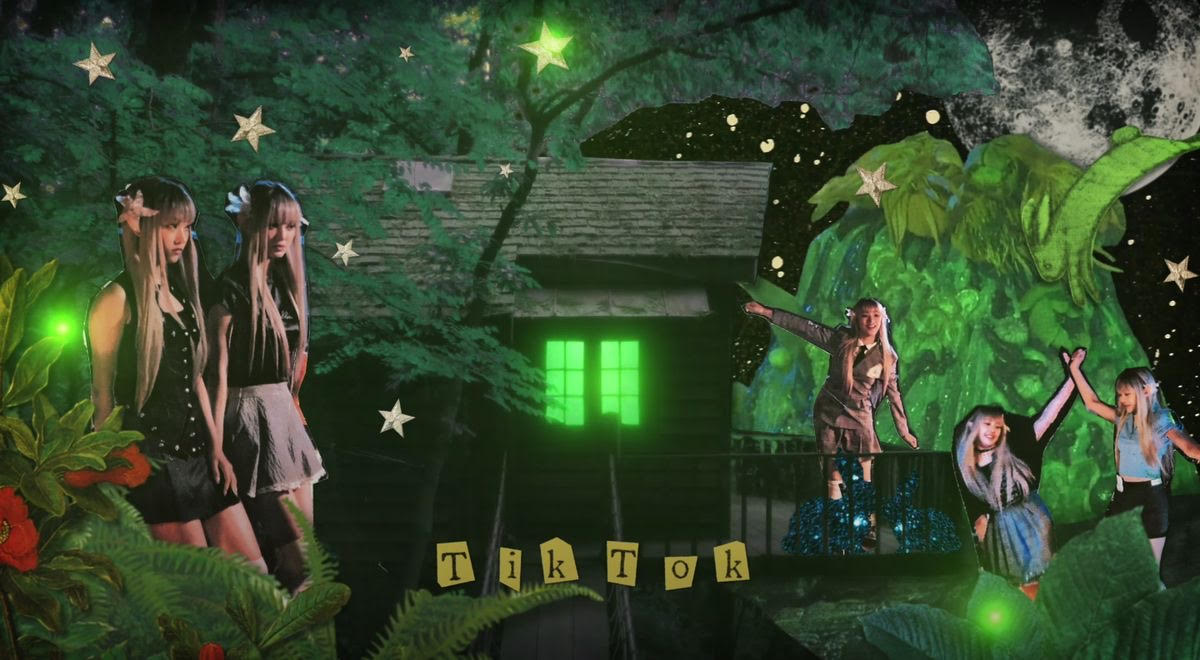
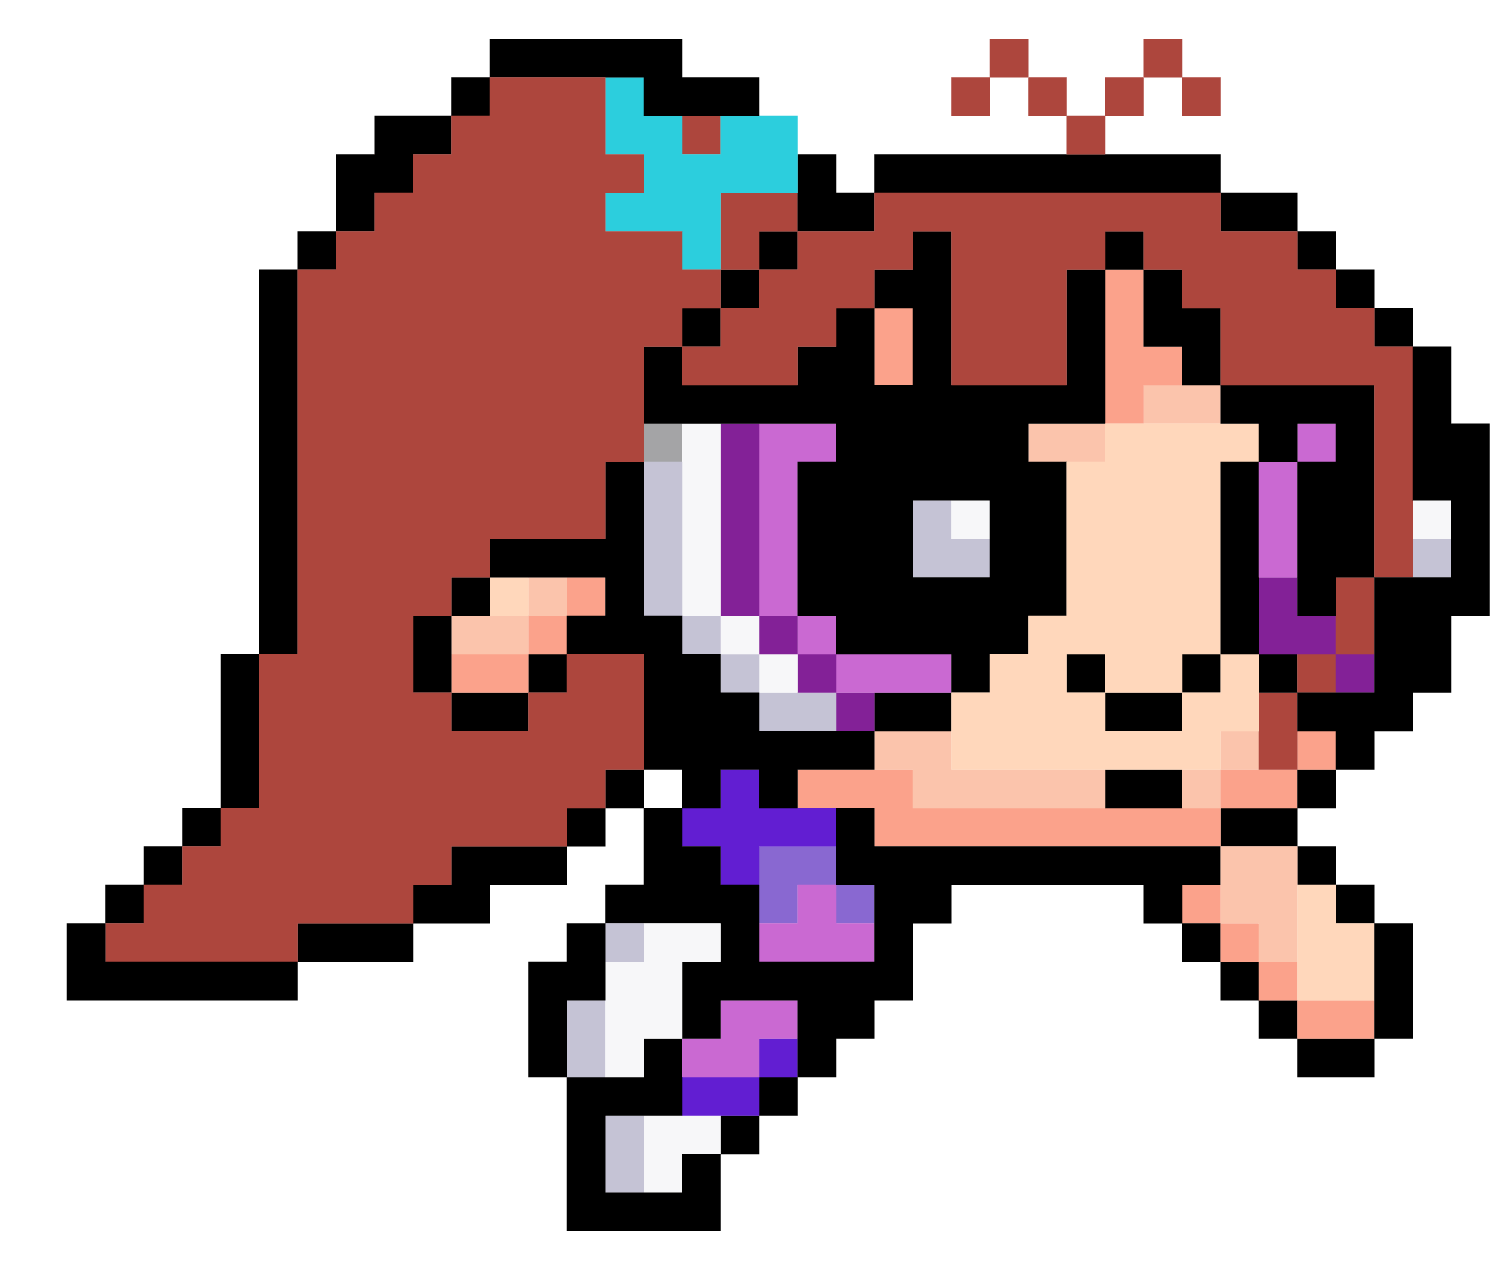
I also designed the arrows myself 🙂
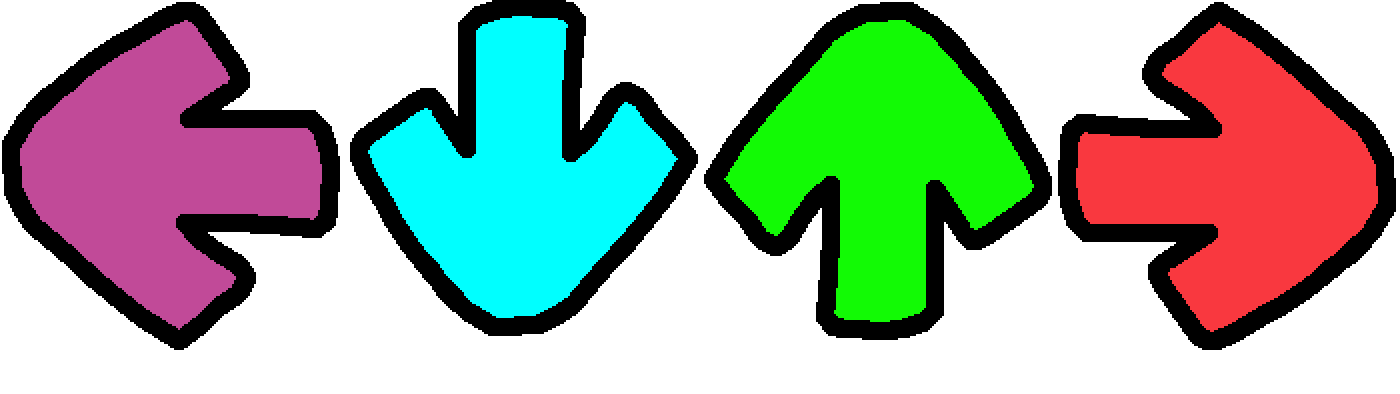
Code:
p5js Sketch:
This code outlines a rhythm-based game where players must synchronize their inputs with arrows moving on the screen to the beat of a background song. The game functions in various states such as “start,” “game,” “gameOver,” and “win,” each presenting unique visuals and interactions.
The preload function loads all necessary assets, including images and sounds, preparing the game for a smooth launch. Following this, the setup function establishes the gaming environment by creating a canvas and configuring text settings.
During gameplay, the draw function operates as the continuous loop that directs the flow of the game. It adjusts what’s displayed based on the game state and also checks the status of the serial port for hardware connectivity, crucial for linking external controllers like buttons.
Player interaction involves using buttons to accurately match onscreen arrows as they align with a designated hit zone. Successful matches increase the player’s score, whereas missed arrows result in a loss of lives. This mechanic tests both rhythm and timing.
The game mechanics are finely tuned; arrows are generated at intervals determined by the song’s BPM, creating a consistent rhythmic challenge. The game monitors for end conditions, either when the player runs out of lives or when the song concludes, leading to different game states like “win” or “gameOver.”
The integration with the Arduino through serial communication allows for the use of specialized controllers.
let arrows = [];
let images = {};
let gameState = "start";
let score = 0;
let lives = 5;
const arrowSpeed = 2;
const hitZoneY = 100;
const tolerance = 30;
let leftButton = 0;
let rightButton = 0;
let upButton = 0;
let downButton = 0;
let restartButton = 0;
let buttonispressed = 0;
// Song and BPM (beats per minute)
let song;
let songBPM = 134; // song's Beats Per Minute
// Images
let titleImage, gameOverImage, youWinImage, gameImage;
// Interval ID for arrow spawns
let arrowInterval;

// Preload function to load assets
function preload() {
  song = loadSound("NewjeansASAP.mp3");
  images.left = loadImage("Left.PNG");
  images.up = loadImage("Up.PNG");
  images.down = loadImage("Down.PNG");
  images.right = loadImage("Right.PNG");
  titleImage = loadImage("TitleBG.PNG");
  gameOverImage = loadImage("GameOverBG.PNG");
  youWinImage = loadImage("YouWinBG.PNG");
  gameImage = loadImage("GameBG.JPG");
}

// Setup function
function setup() {
  // Create canvas
  createCanvas(windowWidth, windowHeight);
  textAlign(CENTER, CENTER);
  textSize(32);
}

function draw() {
  // Display connection status if serial port is not active
  if (!serialActive) {
    text("Press Space Bar to select Serial Port", 20, 30);
  } else {
    text("Connected", 20, 30);
  }
  background(0);

  // Draw different game screens based on game state
  switch (gameState) {
    case "start":
      image(titleImage, 0, 0, width, height);
      drawStartScreen();
      break;
    case "game":
      image(gameImage, 0, 0, width, height);
      playGame();
      break;
    case "gameOver":
      image(gameOverImage, 0, 0, width, height);
      drawGameOver();
      break;
    case "win":
      image(youWinImage, 0, 0, width, height);
      drawWin();
      break;
  }
}

// Function to draw start screen
function drawStartScreen() {
  if (gameState === "start" && restartButton == 1 && buttonispressed == 0) {
    startGame(); // Start the game when restart button is pressed
    buttonispressed = 1;
  } else if (restartButton == 0 && buttonispressed == 1) {
    buttonispressed = 0;
  }
}

// Function to play the game
function playGame() {
  //Read data from input

  if (gameState === "game") {
    // Check if the key pressed matches the arrow type
    for (let i = arrows.length - 1; i >= 0; i--) {
      let arrow = arrows[i];
      if (arrow.y >= hitZoneY - tolerance && arrow.y <= hitZoneY + tolerance) {
        if (
          (leftButton == 1 && arrow.type === "left") ||
          (upButton == 1 && arrow.type === "up") ||
          (downButton == 1 && arrow.type === "down") ||
          (rightButton == 1 && arrow.type === "right")
        ) {
          arrows.splice(i, 1); // Successful hit, remove arrow
          score++; // Increment score
        }
      }
    }
  }

  // Draw hit zones
  fill(255, 255, 255, 100);
  ellipse(width * 0.2, hitZoneY, 70);
  ellipse(width * 0.4, hitZoneY, 70);
  ellipse(width * 0.6, hitZoneY, 70);
  ellipse(width * 0.8, hitZoneY, 70);

  // Display score and lives
  fill(255);
  text(`Score: ${score}`, 70, 30);
  text(`Lives: ${lives}`, width - 70, 30);

  // Move and display arrows
  for (let i = arrows.length - 1; i >= 0; i--) {
    let arrow = arrows[i];
    image(images[arrow.type], arrow.x - 35, arrow.y - 35, 70, 70);
    arrow.y -= arrowSpeed;

    // Remove arrow if it goes out of screen and reduce lives
    if (arrow.y < 0) {
      arrows.splice(i, 1);
      lives--;
    }
  }

  // Check for game over or win conditions
  if (lives < 1) {
    gameState = "gameOver";
    song.stop(); // Stop the song if the player loses
  } else if (song.isPlaying() === false) {
    gameState = "win";
  }
}

// Function to draw game over screen
function drawGameOver() {
   if (restartButton == 1 && buttonispressed == 0){
    gameState = "start"
     buttonispressed = 1;
  } else if (restartButton == 0 && buttonispressed == 1){
    buttonispressed = 0;
  }
}

// Function to draw win screen
function drawWin() {
   if (restartButton == 1 && buttonispressed == 0){
    gameState = "start"
     buttonispressed = 1;
  } else if (restartButton == 0 && buttonispressed == 1){
    buttonispressed = 0;
  }
}

// Function to handle key presses
function keyPressed() {
  if (key == " ") {
    // Start the serial connection
    setUpSerial();
  }
}

// Function to start the game
function startGame() {
  gameState = "game";
  restartButton = 0;
  score = 0;
  lives = 5;
  arrows = [];
  clearInterval(arrowInterval); // Clear any existing interval
  initiateArrowSpawns();
  song.play(); // Start playing the music when the game starts
}

// Function to restart the game
function restartGame() {
  gameState = "start"; // Change gameState to 'start' to return to title screen
  score = 0;
  lives = 5;
  arrows = [];
  clearInterval(arrowInterval); // Clear any existing interval
  initiateArrowSpawns();
  restartButton = 0; // Reset restart button state
}


// Function to initiate arrow spawns
function initiateArrowSpawns() {
  let interval = 60000 / (songBPM / 2 ); // Halve the BPM to spawn arrows at a slower rate
  arrowInterval = setInterval(() => {
    let direction = random(["left", "up", "down", "right"]);
    spawnArrow(direction);
  }, interval);
}

// Function to spawn an arrow
function spawnArrow(direction) {
  let xPosition;
  switch (direction) {
    case "left":
      xPosition = width * 0.2;
      break;
    case "up":
      xPosition = width * 0.4;
      break;
    case "down":
      xPosition = width * 0.6;
      break;
    case "right":
      xPosition = width * 0.8;
      break;
  }
  arrows.push({ x: xPosition, y: height, type: direction });
}

// This function will be called by the web-serial library
// with each new *line* of data. The serial library reads
// the data until the newline and then gives it to us through
// this callback function
function readSerial(data) {
  //////////////////////////////////////////////////
  // READ FROM ARDUINO HERE
  //////////////////////////////////////////////////

  if (data != null) {
    // Make sure there is actually a message
    // Split the message
    let fromArduino = split(trim(data), ",");
    // If the right length, then proceed
    if (fromArduino.length == 5) {
      // Only store values here
      // Do everything with those values in the main draw loop

      // We take the string we get from Arduino and explicitly
      // convert it to a number by using int()
      // e.g. "103" becomes 103
      leftButton = int(fromArduino[0]);
      upButton = int(fromArduino[1]);
      downButton = int(fromArduino[2]);
      rightButton = int(fromArduino[3]);
      restartButton = int(fromArduino[4]);
      //console.log("left button is" + leftButton);
      //console.log("right button is" + rightButton);
      //console.log("up button is" + upButton);
      //console.log("down button is" + downButton);
      //console.log("restart is" + restartButton);
    }

    /////////////////////////////////////////////////
    // SEND TO ARDUINO HERE (handshake)
    /////////////////////////////////////////////////
    let sendToArduino = "\n";
    writeSerial(sendToArduino);
  }
}
Arduino Code:
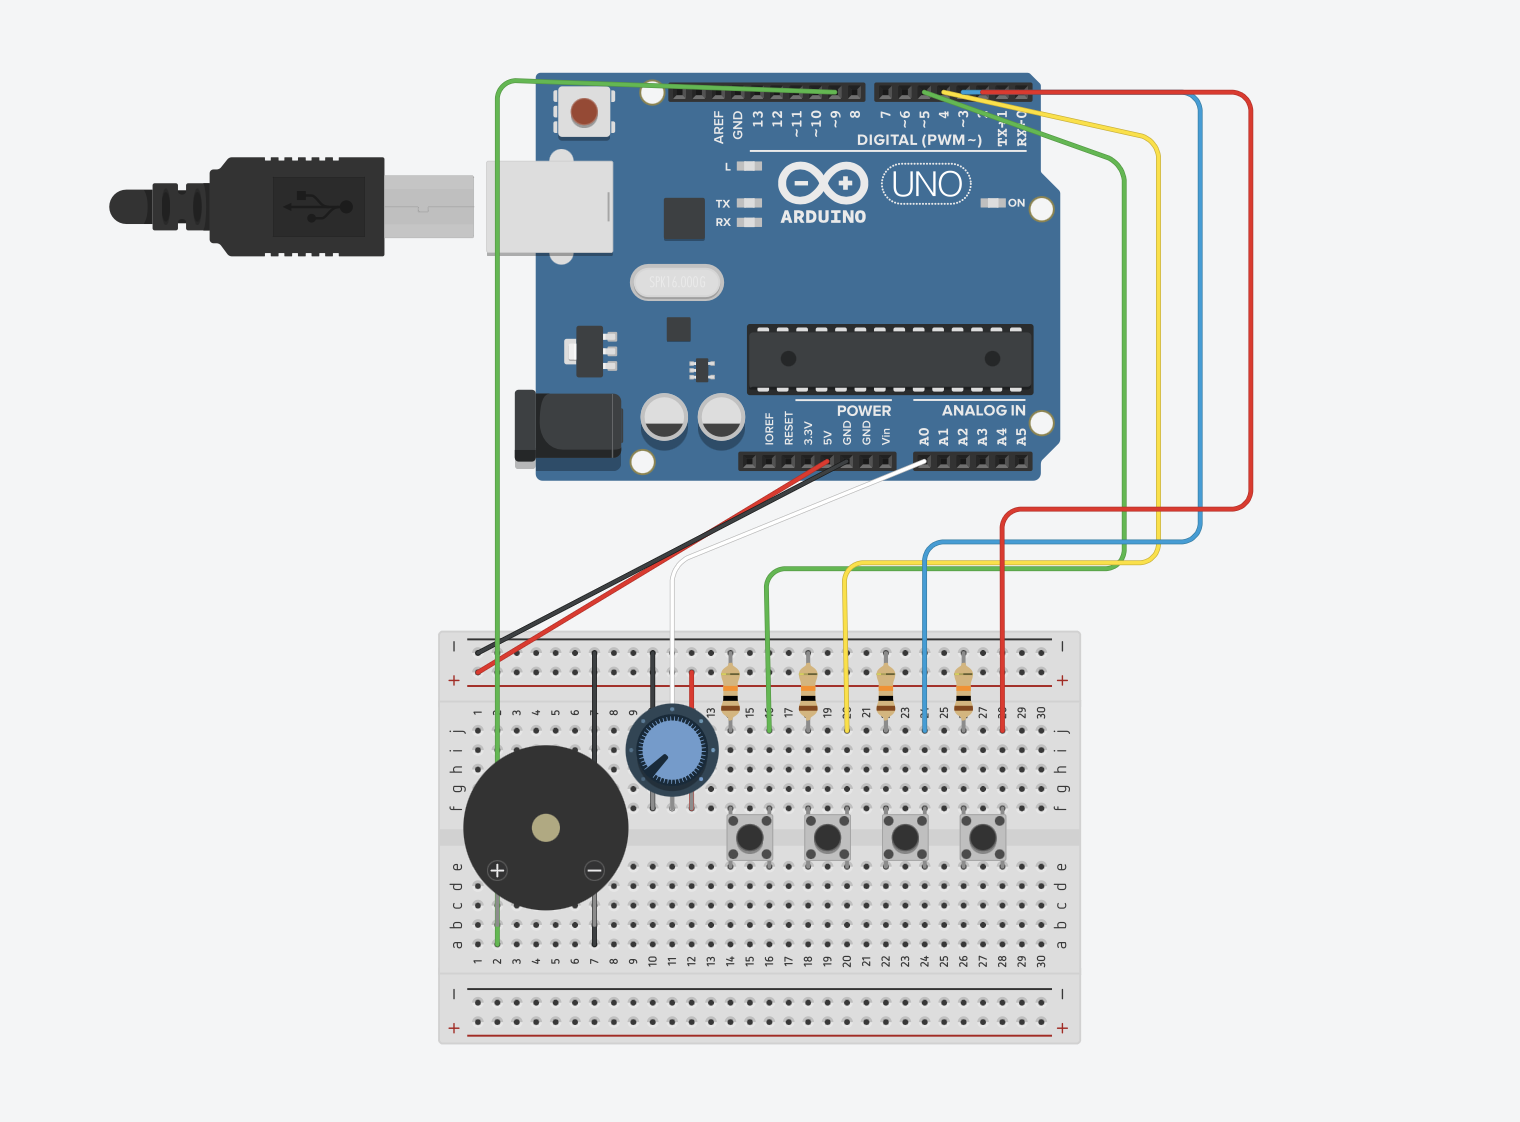
This section of code is designed to interface with hardware buttons, specifically set up for a gaming application. It starts by defining pin numbers connected to various buttons on an Arduino board: left, up, down, right, and a restart button. Each button is associated with a specific pin number ranging from 2 to 6.
The setup() function initializes the serial communication at a baud rate of 9600 to enable data transfer between the Arduino and a computer. It also configures each button pin as an input, preparing the Arduino to read the states of these buttons.
In the `oop() function, the code continuously reads the state of each button using the digitalRead() function. It checks whether each button is pressed or not, producing a digital high or low signal. These states are then formatted into a comma-separated string and sent over the serial connection. This allows another system, such as a computer running a game, to receive real-time input from these hardware buttons, integrating physical interactions into digital applications.
// Define pin numbers for buttons
const int leftButtonPin = 2;
const int upButtonPin = 3;
const int downButtonPin = 4;
const int rightButtonPin = 5;
const int restartButtonPin = 6;


void setup() {
  Serial.begin(9600);
  // Set button pins as inputs
  pinMode(leftButtonPin, INPUT);
  pinMode(upButtonPin, INPUT);
  pinMode(downButtonPin, INPUT);
  pinMode(rightButtonPin, INPUT);
  pinMode(restartButtonPin, INPUT);
}

void loop() {
  // Read button states and send data over serial
  int leftButton = digitalRead(leftButtonPin);
  int upButton = digitalRead(upButtonPin);
  int downButton = digitalRead(downButtonPin);
  int rightButton = digitalRead(rightButtonPin);
  int restartButton = digitalRead(restartButtonPin);

  // Send button states to serial
  Serial.print(leftButton);
  Serial.print(",");
  Serial.print(upButton);
  Serial.print(",");
  Serial.print(downButton);
  Serial.print(",");
  Serial.print(rightButton);
  Serial.print(",");
  Serial.println(restartButton);

}
The Game:
Here’s a video of my friend playing it:
FullScreen Link
Overall:
I am very proud of myself for pushing myself into an area that I previously left unexplored. Considering how I could not even make the normal game for my midterm, and I was able to do it for my final and even taking it a step further for my final. I am truly happy I was given the freedom to do this. I would like to particularly mention that without the help and support I got from professor Aya, I would have given up a long time ago.
I feel like one thing I wanted to do with this project that I could not was upload my own custom map for the songs and have different difficulties and songs (just like a normal DDR arcade machine). I think that would be important for me as it allows to input even more of my creativity into this project.