Week 3: Game Assignment using OOP


Description:

This project consisted of creating a game using Object Oriented Programming.


Idea:

For this assignment, I first wanted to create an artwork with OOP. However, I later changed my mind to create a game as I thought it would be better for me to understand the concept of OOP. I liked the idea of using cars in the assignment so I decided to recreate a game I had seen before. The game consisted of a car on a road with the objective of avoiding being hit by an obstacle.


Challenges:

I had a lot of challenges with this assignment. First, it was very challenging for me to come up with an idea to make the obstacles appear repeatedly. I tried several ways by investigating how an array in Java worked. In the end, I decided to use one obstacle and make it repeatedly appear on the screen. The next challenge was that I had trouble coming up with a way to check if the car was colliding with an obstacle. This was hard to do because I was unaware of the distance function. After the class I had on Monday, I was able to use the dist() function to accomplish what I wanted to do. I also had a big challenge trying to figure out how to use the keys to accomplish the movement of the car. Finally, the last challenge I had was finding a way to make the scene move. The yellow marks in the road make an effect to make it look as if the car is moving. However, calculating the timing and distance of this took me a long time. 


Process: 

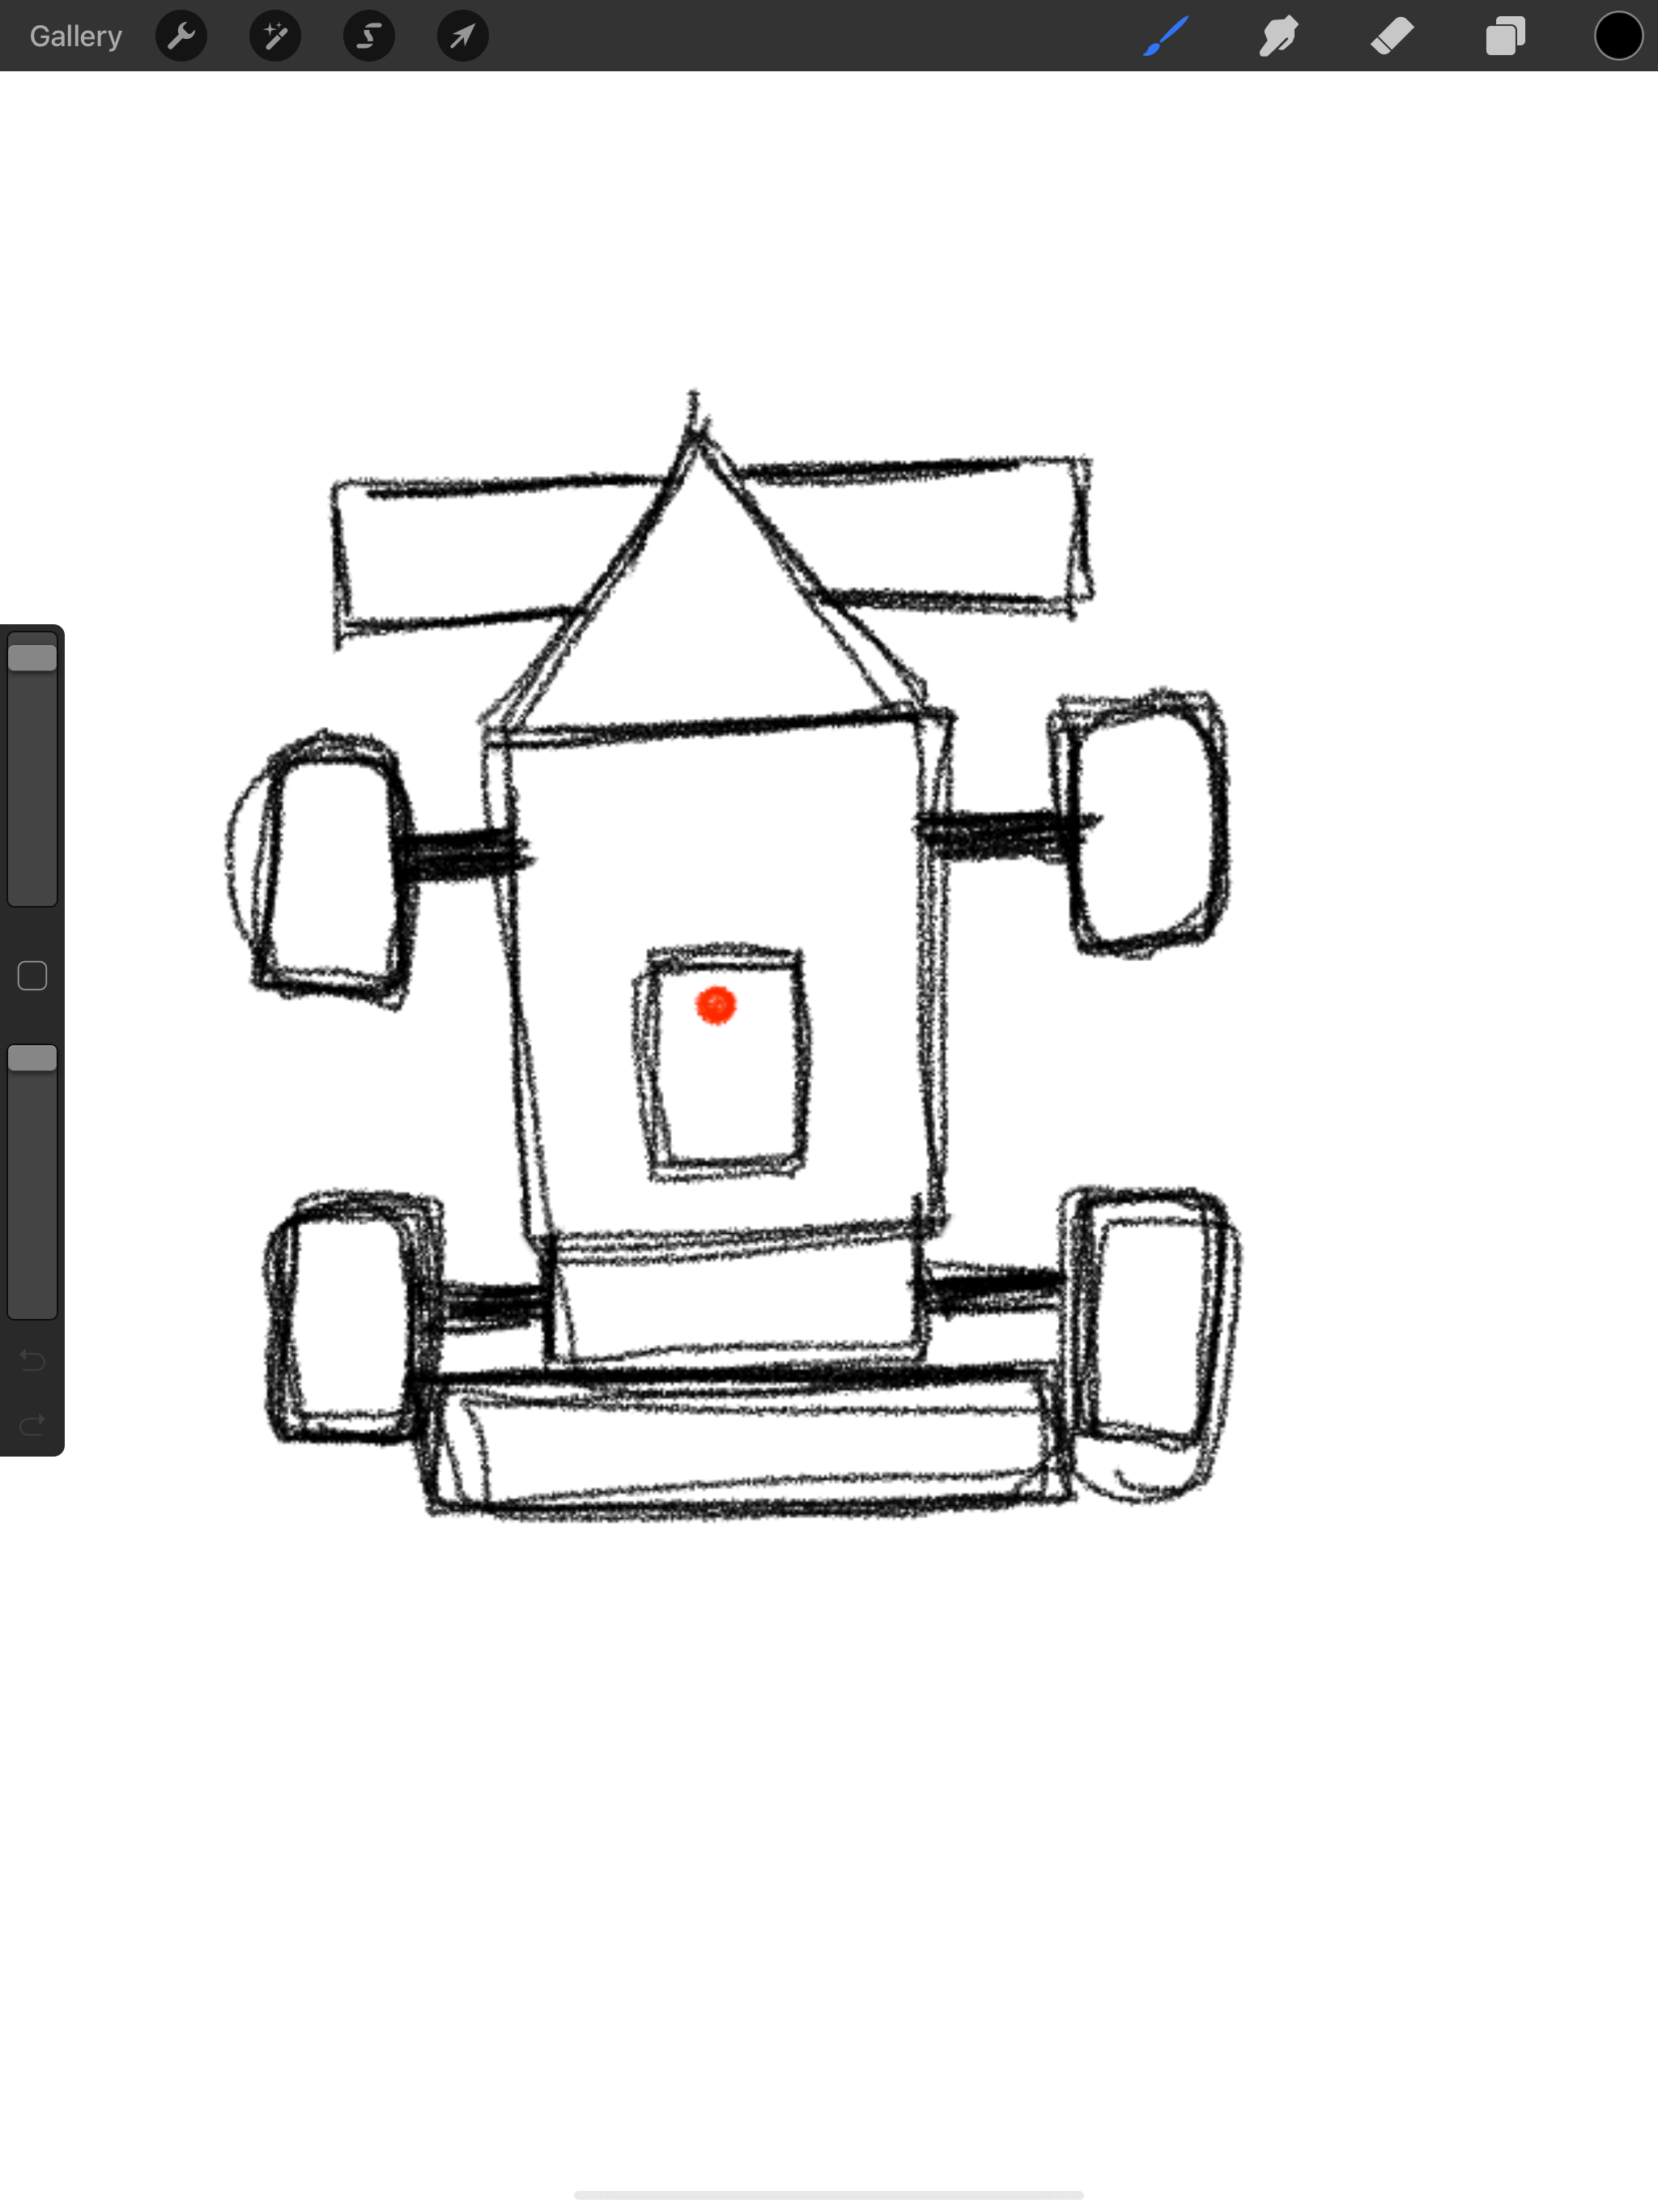
For this project, I first designed the car with basic shapes so that I could recreate it on Processing using the shape functions. Then I tried to plan what kind of classes I needed and the attributes and methods linked to the class. Then I tried to finish all the methods and make sure they were working properly. At the end, I decided to add a background to make the game seem more interesting. However, I realized that the scene was not really engaging and it looked like the car was not moving. Therefore I decided to implement a way to make the scene more active by creating the road with yellow marks. 

LINK to VIDEO:

Conclusion:

Overall I think I failed to manage my time on this project and I underestimated the difficulty in working with Object-Oriented Programming. As the code gets longer, it gets harder to fix errors that appear. I had a hard time fixing various errors because I didn’t know what they meant by such errors. On the other hand, I think I worked well with the attributes part and avoiding hardcode. Although I hardcoded some numbers throughout this assignment, I think I have improved a lot on this part of the class. Although I am not very proud of the outcome in terms of design, I think I am satisfied with the functionality of the methods. The methods worked exactly as I expected initially.


Car car;
Obstacle obs;
Environment env;

void setup(){
  size(600,600);
  car = new Car(color(random(255),random(255), random(255)));
  obs = new Obstacle();
  env = new Environment();
}

void draw(){
  background(255);
  //Environment
  fill(0,255,0); //Green Parts
  rect(0, 0, width, height);
  
  fill(220); //Gray parts
  rect(100, 0, 50, height);
  rect(300, 0, 50, height);
  rect(500, 0, 50, height);
  
  env.drawenv();
  car.drawCar();
  obs.obsdraw();
  
  float distance = dist(car.posX, car.posY, obs.posX, obs.posY);
    if ( distance <= car.carHeight){
      obs.obsnew();
      car.live--;
      car.gameloss();
    }
}

void keyPressed(){
  if(keyCode == RIGHT){
    if(car.roadpos < 1){
      car.changetoright();
    }
  }
  if(keyCode == LEFT){
    if(car.roadpos >= 0){
      car.changetoleft();
    }
  }
}
class Car {
  float posX, posY, roadpos;
  float velocity; 
  float direction;
  color carcolor;
  float carWidth, carHeight;
  float wheelWidth, wheelHeight;
  float positioncarroad;
  float live; //Counter for the lives remaining

  Car(color c) {
    posX = width/2;
    posY = height/2 + height/3;
    roadpos = 0;
    carWidth = 20;
    carHeight = 35;
    wheelWidth = 5;
    wheelHeight = 10;
    carcolor = c;
    live = 3;
  }
    
  void drawCar() {
    advanceposition();
    noStroke();
    rectMode(RADIUS);
    //Wheels
    rect(posX, posY-carHeight*0.5, carWidth*1.4, carHeight*0.05); //Wheel Supporter
    rect(posX, posY+carHeight*0.6, carWidth*1.4, carHeight*0.05); //Wheel Supporter
    fill(0);
    rect(posX-carWidth*1.5, posY-carHeight*0.5, wheelWidth, wheelHeight);
    rect(posX+carWidth*1.5, posY-carHeight*0.5, wheelWidth, wheelHeight);
    rect(posX-carWidth*1.5, posY+carHeight*0.6, wheelWidth, wheelHeight);
    rect(posX+carWidth*1.5, posY+carHeight*0.6, wheelWidth, wheelHeight);
    //Car Body
    fill(carcolor);
    rect(posX, posY, carWidth, carHeight); //Main big rectangle of car
    fill(240);
    rect(posX, posY, carWidth*0.4, carHeight*0.4); //Window inside big rectangle
    fill(230);
    rect(posX, posY+carHeight, carWidth, carHeight*0.2); // Back of the car
    fill(150);
    rect(posX, posY+carHeight*1.2, carWidth*1.5, carHeight*0.2); //back of the Car
    triangle(posX-carWidth, posY-carHeight, posX+carWidth, posY-carHeight, posX, posY-carHeight*1.7); //front triangle of the car
    rect(posX, posY-carHeight*1.35, carWidth*1.4, carHeight*0.15); //Front Rectangle of the Car
  }
  
  void changetoleft(){ //Changing to left with keyboard
    posX -= width*0.33;
    roadpos--;
  }
  
  void changetoright(){ //Changing to right with keyboard
    posX += width*0.33;
    roadpos++;
  }
  
  void advanceposition(){ //Record the position of the car
    positioncarroad += 1;
  }
  
  void gameloss(){
    if(live == 0){
      fill(255);
      rect(0, 0, width, height);
      noLoop();
      textSize(32);
      fill(0);
      textAlign(CENTER);
      text("Game Over", width/2, height/2);
    }
  }
}
class Environment {
  float posY1 = 0;
  float posY2 = 200;
  float posY3 = 400;
  
  void movinglines(){ //Drawing the lines
    fill(255, 239, 0);
    rect(100, posY1, 10, 50);
    rect(300, posY1, 10, 50);
    rect(500, posY1, 10, 50);
    rect(100, posY2, 10, 50);
    rect(300, posY2, 10, 50);
    rect(500, posY2, 10, 50);
    rect(100, posY3, 10, 50);
    rect(300, posY3, 10, 50);
    rect(500, posY3, 10, 50);
  }
    
    
  void movement(){ //Making the lines move
    posY1 += 5;
    posY2 += 5;
    posY3 += 5;
  }
    
    
  void drawenv(){
    movinglines();
    movement();
    if(posY1 > 600){
      posY1 = 0;
    }
    if(posY2 > 600){
      posY2 = 0;
    }
    if(posY3 > 600){
      posY3 = 0;
    }
}

}
class Obstacle{
  float posX, posY;
  float velocity;
  float direction;
  float obsWidth, obsHeight;
  color obscolor;
  
  Obstacle() {
    posX = (width/2)-(width*0.3)-20+int(random(0, 3))*(width/3);
    posY = 0;
    velocity = 5;
    obsWidth = 20;
    obsHeight = 20;
    obscolor = color(255, 0, 0); 
  }
    
  void velocityobs(){ //Update the object Y position
    posY += velocity;
  }
  
  void obsdraw(){
    rect(posX, posY, obsWidth, obsHeight);
    fill(255, 0, 0);
    circle(posX, posY, 30);
    
    velocityobs();
    if(posY > height){
      obsnew();
    }
  }
  void obsnew(){
    posY = 0;
    posX = (width/2)-(width*0.3)-20+int(random(0, 3))*(width/3);  
  }
  
}


Week 2: Simple Work of Art

Description:

This project consisted of creating a simple work of art using for() or while() loops. 


Idea:

For this assignment, I had a hard time coming up with an idea so I decided to take a look at the old computer magazines provided for inspiration. I found an interesting piece of art called “Structure” by Zdenek Sykora in the Computer Graphics and Art Magazine. I really liked the composition and I thought it would accurately represent the use of for loops. While I was coming up with the composition of the artwork, I heard my friend talking about Euphoria and I saw an image. This inspired me to use the color palette represented by this television series. 

Challenges:

One of the main challenges in this project was calculating the initial and final angle of the arc. I am still learning how to calculate the angles of the circle to make the arc I want to make. Another significant challenge was coming up with randomizing the colors of the square in the background. After trying to include specific colors in the program I found a website for color palettes. Through this website, I realized that I could get the colors I wanted by keeping the blue and green values in the RGB constant while changing the red value within a specific range. 


Process: 

For this project, I first tried to recreate several squares using for loops. Then I tried to create several arcs of the same angle and design. After accomplishing this I worked on randomizing the angles of the arcs to have different positions of arcs while maintaining the same size. Finally, I worked on the randomizing of colors for the squares and circles. 


Conclusion:

Overall I think I got to practice with the for loop and how to think about two-dimensional art. Also, this project helped me work with random numbers and use RGB colors. Last assignment I mentioned that I struggled with hardcoding. However, I think for this assignment I improved on using more variables instead of constant numbers in my code. Although I haven’t been able to completely fix the habit of hardcoding, I think I have significantly improved in this area. Overall, I really liked the outcome of this project because it resembled perfectly what I wanted to make initially.


int rowofSquares = 10;
int lengthofSquares = 60;
int colorcircle;

void setup(){
  size(600, 600);
  frameRate(0.5);
}

void draw(){
  background(238);
  
    for(int y = 0; y < rowofSquares; y++){
    for(int x = 0; x < rowofSquares; x++){
      color colorsquare = color(int(random(30,180)), 0, 250);
      fill(colorsquare);
      noStroke();
      rect(lengthofSquares * x, lengthofSquares * y, lengthofSquares, lengthofSquares);
    }
  }
  
  for(int y = 0; y < rowofSquares; y++){
    for(int x = 0; x < rowofSquares; x++){
      float r = random(0,4);
      int position = (int)r;
      int colorcircle = (255*int(random(0,2)));
      fill(colorcircle);
      arc(lengthofSquares * x + lengthofSquares*0.5,
      lengthofSquares * y + lengthofSquares*0.5, lengthofSquares,
      lengthofSquares, position*HALF_PI, (position+2)*HALF_PI, CHORD);
      
      if(position == 0){
        int randpos = int(random(0,2));
        if(randpos == 0){
          colorcircle = (255*int(random(0,2)));
          fill(colorcircle);
          arc(lengthofSquares * x + lengthofSquares*0.5,
          lengthofSquares * y + lengthofSquares*0.5 , lengthofSquares,
          lengthofSquares, (position+2)*HALF_PI, (position+4)*HALF_PI, CHORD);
        }
        else{
          colorcircle = (255*int(random(0,2)));
          fill(colorcircle);
          arc(lengthofSquares * x + lengthofSquares*0.5,
          lengthofSquares * y, lengthofSquares,
          lengthofSquares, (position)*HALF_PI, (position+2)*HALF_PI, CHORD);
      }
    }
  } 
  
}
}


Week 1: Self Portrait Assignment

Description:

This project consisted of creating a self-portrait based on basic shapes we learned in class. We tried basic shapes such as line, ellipse, rectangle, and circle to create a basic face. 

Challenges:

Throughout this project, I faced numerous challenges that I had to overcome. When working with processing one of the greatest challenges for me is thinking about the plane and space to work. Generally, people are used to working with the first quadrant in a Cartesian plane. However, Processing uses the fourth quadrant as space. At first, it was difficult to locate and determine when to write a minus or plus sign. However, after practicing, I could think faster about the space we are using. Another challenge I faced was the location itself. I mostly hardcoded my code as I added specific numbers for each line. I tried to avoid Hardcoding in some parts such as when I use faceCenterX and faceCenterY and I think I was able to work well with this. In the future, I hope I will be able to avoid hardcoding in every part of my code. 

Process: 

For this project, I learned several new features for processing such as the use of triangles and the arc. The use of arc was challenging as it required me to think about angles. The use of triangles was much simpler once I got used to thinking about space and location. While doing this project I made several sketches to see how I wanted the drawing to look. After several attempts, I realized it was challenging to make the hair for my portrait. I realized that I like wearing caps and I thought it would be a good idea to include this in my portrait. After drawing the character in processing, I felt the portrait lacked vividness. Therefore in the end I decided to use the fill() function to add color. 

Conclusion:

Overall I think I learned a lot through this project; however, I still think there is much more to learn. This project helped me plan something before actually doing it and it made me realize that most of the time the project does not come out to be as I expected. Still, the project also helped me get experience in calculating space and determining location. 

Final Work: 

Code: 

void setup(){
  size(640, 480);
}

void draw() {
  background(153,238,255);
  
  int faceCenterX = width/2;
  int faceCenterY = height/2;
  
  fill(255);

  //CAP
  fill(155);
  
  arc(faceCenterX, faceCenterY - 28, 200, 220, PI, 2*PI);
  
  line(faceCenterX - 100, faceCenterY-28, faceCenterX + 100, faceCenterY-28);
  
  fill(0,128,255);
  
  rect(faceCenterX-40, faceCenterY-49, 80, 20);
  
  fill(0);
  
  arc(faceCenterX, faceCenterY - 45, 80, 60, PI, 2*PI);
  
  fill(0,128,255);
  
  triangle(faceCenterX - 100, faceCenterY-28, faceCenterX - 130, faceCenterY, faceCenterX - 90, faceCenterY);
  
  
  //Neck
  fill(255,230,204);
  rect(faceCenterX - 35, faceCenterY + 100, 70, 30);
  
  //Face
  fill(255,230,204);
  
  arc(faceCenterX, faceCenterY - 27, 200, 270, 0, PI);
  
  //EYES
  
  arc(faceCenterX - 45, faceCenterY - 25, 65, 75, QUARTER_PI, HALF_PI+QUARTER_PI);
 
  arc(faceCenterX - 45, faceCenterY + 30, 65, 75, PI+QUARTER_PI, PI+HALF_PI+QUARTER_PI);
  
  arc(faceCenterX + 45, faceCenterY - 25, 65, 75, QUARTER_PI, HALF_PI+QUARTER_PI);
 
  arc(faceCenterX + 45, faceCenterY + 30, 65, 75, PI+QUARTER_PI, PI+HALF_PI+QUARTER_PI);
  
  fill(26, 13, 0);
  
  circle(faceCenterX - 45, faceCenterY + 2, 20);
  
  circle(faceCenterX + 45, faceCenterY + 2, 20);
  
  fill(0);
  
  circle(faceCenterX - 45, faceCenterY + 2, 10);
  
  circle(faceCenterX + 45, faceCenterY + 2, 10);
  
  fill(255);
  
  circle(faceCenterX - 40, faceCenterY + 2, 5);
  
  circle(faceCenterX + 50, faceCenterY + 2, 5);
  
  //NOSE
  
  line(faceCenterX + 5, faceCenterY, faceCenterX + 5, faceCenterY+ 40);
  
  line(faceCenterX + 5, faceCenterY + 40, faceCenterX + 13, faceCenterY + 47);
  
  line(faceCenterX + 13, faceCenterY + 47, faceCenterX + 5, faceCenterY + 54);
  
  line(faceCenterX + 5, faceCenterY + 40, faceCenterX + 13, faceCenterY + 47);
  
  line(faceCenterX + 3, faceCenterY + 50, faceCenterX - 2, faceCenterY + 54);
  
  line(faceCenterX - 2, faceCenterY + 54, faceCenterX - 7, faceCenterY + 50);
   
  line(faceCenterX - 18, faceCenterY + 47, faceCenterX - 10, faceCenterY + 54);
  
  line(faceCenterX - 10, faceCenterY + 40, faceCenterX - 18, faceCenterY + 47);
  
  //Mouth 
  
  line(faceCenterX - 15, faceCenterY + 75, faceCenterX + 5, faceCenterY + 75);
  
  //Shirt
  fill(0,115,230);
  rect(faceCenterX - 95, faceCenterY + 130, 200, 200);
  
  triangle(faceCenterX - 95, faceCenterY + 130, faceCenterX - 95, faceCenterY + 180, faceCenterX - 140, faceCenterY + 180);
  
  triangle(faceCenterX + 105, faceCenterY + 130, faceCenterX + 105, faceCenterY + 180, faceCenterX + 150, faceCenterY + 180);
  
  //Arms
  fill(255,230,204);
  
  rect(faceCenterX - 127, faceCenterY + 180, 32, 60);
  
  rect(faceCenterX + 105, faceCenterY + 180, 32, 60);
  
  
}