Concept
Initially, I had planned on making a project with gravity manipulation as a core mechanic. However, I did not particularly like the ideas that I came up with. One particular idea was to create a voxel-based game where players could create objects that would fall to the ground. Upon impact, the land would be destroyed based on the momentum of impact. However, this proved to be difficult. I might attempt this for a future project, but the idea I settled on took its roots in this idea of a voxel-based landscape, where a voxel is a 3-dimensional pixel.
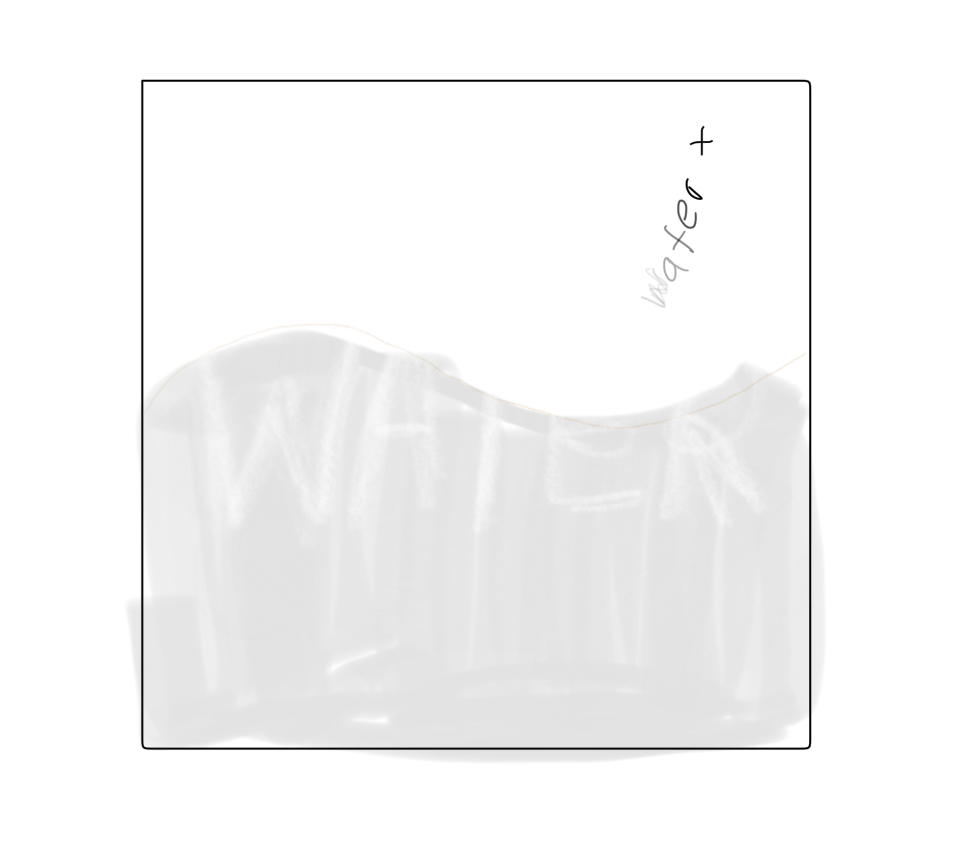
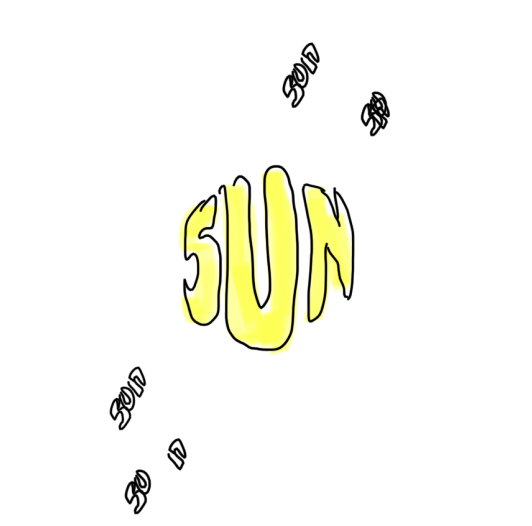
My idea was to implement a landscape constructed with voxels, and the player could play around with. For ease of computation and aesthetic preferences, I decided to make the voxels change height instead of stacking voxels to create the terrain. Additionally, I gave the players the ability to change from 3D to 2D and vice versa.
Lastly, to complete the experience, I added sounds that vary based on the nature of the landscape. The user can control different attributes of the landscape, and experience what it sounds like.
Note: Please enter Fullscreen mode to view the controls.
P.S: Headphones are recommended!
Design
I really enjoy pixel art, which is why I wanted my landscape to be pixel-based instead of being a continuous plane. Some of my previous projects have had the same style, so I wanted to stick to something that I knew design-wise.
To move from 3D to 2D and vice versa, I decided to implement the landscape to be comprised of boxes whose height varies according to Perlin noise. The noise depends on the spatial coordinates of each box in the space, as well as their height in the previous frame. The noise also depends on time, so the landscape evolves right in front of your eyes.
I particularly like the way I transition from the 2D view to the 3D view. The plane rotates as it grows and morphs into a landscape, which is a sleek effect and adds to the experience in my opinion.
The above video is an early sample from the project, where the project was supposed to be a landscape editor with physical interactions.
Code Highlights
Although I’m proud of many parts of the code, there are a few pieces that add a functionality that ties the entire project together.
For example, the following code changes the soundscape by calculating the percentage of each type of terrain on the current landscape and sets the volume of each corresponding sound based on how much of that terrain is present.
//set soundstage according to the composition of the landscape
 if (timeEvolution) {
   playSounds();
   //set audio volume based on the number of tiles of each type
   waterSound.setVolume(
     map(landscape.waterCount, 0, landscape.totalGridPoints, 0, 0.2)
   );
   sandSound.setVolume(
     map(landscape.sandCount, 0, landscape.totalGridPoints, 0, 0.2)
   );
   landSound.setVolume(
     map(landscape.landCount, 0, landscape.totalGridPoints, 0, 0.2)
   );
   mountainSound.setVolume(
     map(landscape.mountainDirtCount, 0, landscape.totalGridPoints, 0, 0.6)
   );
   mountainRockSound.setVolume(
     map(landscape.mountainRockCount, 0, landscape.totalGridPoints, 0, 0.1)
   );
   snowSound.setVolume(
     map(landscape.snowCount, 0, landscape.totalGridPoints, 0, 0.2)
   );
 } else {
   stopSounds();
 }
Despite it being a very simple case of using the map() function, the depth this code snipped creates for the overall piece is amazing, giving the whole experience a much-needed atmospheric vibe.
Project Design — The Good
The way the land is created is by creating a Landscape object, which is a container that manages multiple Tile objects. Each Tile is represented as a box with a particular height. The way the height is determined is using Perlin Noise, which takes in the spatial coordinates of each tile as well as the point in time and spits out a number between 0 and 1. This number is then mapped between a minimum and maximum height-scale, and so we get a landscape comprised of multiple tiles that vary in height.
Perlin noise was the perfect tool to use for generating landscape. Landscapes are typically very smooth, with areas close to each other having similar elevation. Conveniently, Perlin noise outputs similar values for similar input values, giving us areas of higher elevation and other areas of lower ones.
The last part that makes this project come together is using the calculated noise value for different things. With some thresholds, you can specify what heights should be water and which should be grass, so on and so forth. With this, one can color the landscape differently based on the elevation, which really produced a natural looking landscape.
Also, I feel like having sliders being the only controls was a good idea. Sliders are very intuitive to use, and one can figure out how they integrate with the project in no time. I wanted to have other controls in the beginning — like a brush that allows you to morph the canvas — but realized that those controls were just muddying the experience. Instead, I decided to focus on the aesthetic choices like the sound design, which I believe added way more than the brush tool would have.
Project Design — The Not So Good
Working on this project was frustrating. Funnily enough, creating the landscape and everything related to that took no time. However, what I did not realize at that time was how difficult it would be to integrate 2D portions, like the menu and buttons, back into the project.
Firstly, I decided to use a library called EasyCam. This allowed me to easily create a camera object that could be programmed with animations so that it shifted from one perspective to another with a smooth transition, with the click of a button. However, as I started working on the 2D elements, I realized what I had gotten myself into.
Turns out, you cannot really create 2D portions when using the WEBGL renderer. My first thought was to create multiple canvases and swap them when switching to the menu, but that does not work as the renderer is still WEBGL which is 3D.
Then I tried to experiment with something known as Instance mode. Basically, everything that we run in a P5js sketch is part of a larger P5js object. What you can do is create multiple p5js objects to be able to use namespaces, which is just a larger scope that you can specify when declaring object. I did try that, and everything ran, but I was still confused on how to create the menu using instance mode. Thinking back, I realize that I should have stuck to that route, as it would have been much more elegant compared to the solution I came up with.
In the end, I decided to use an idea that I learnt from one of Daniel Schiffman’s videos of turning the menu into a texture and applying it to a plane. Here is where the use of EasyCam proved to be a bad choice. I basically had two states: a game state and a menu state, which would show either the instructions menu or the main game menu. Since the plane lives in a 3D world, the camera being at a different position when going into the menu means the menu plane will be viewed from a different angle. To top this off, the mouse coordinates are skewed when compared to the world coordinated because the world is seen through the lens of the camera. All of this made it hard to implement a menu that was in the right orientation, and buttons that were clickable.
However, I was able to make a crude solution by resetting the camera every time the game state changes. This way, the camera returns to the neutral position when in the menu, and goes back to being movable in the game state.
Overall, I’m proud of the end result, but looking at the guts of the project I see that there are many aspects that can be improved. Still, it was a project that I spent many hours working on, and I’m glad I had fun along the way.
Resources
How to set up JavaScript namespace and classes properly? — Stack Overflow
createGraphics() p5.js Tutorial — The Coding Train
createGraphics() as WebGL Texture — The Coding Train
3D Terrain Generation with Perlin Noise in Processing — The Coding Train
How to Code Procedural Terrain with Perlin Noise (JavaScript & p5.js) — RachelfTech
Font Used