The final post before freedom. Yay!
For my final project, I built a game with the final objective to open a locked box and get FREEE CANDY!!!!!!1!!!1!ONE! 😀
Continue reading “Mateo’s Final Project – Open the Box Game”

The final post before freedom. Yay!
For my final project, I built a game with the final objective to open a locked box and get FREEE CANDY!!!!!!1!!!1!ONE! 😀
Continue reading “Mateo’s Final Project – Open the Box Game”
Hi Scott. Writing stuffs. Enjoy. Or something. Yay.
So cameras, computer vision and cool stuffs! Yay! For this week, I messed around with the Video and OpenCV libraries. this resulted in two programs: 1) a program that taces the webcam capture and runs an edge-identifying algorithm to re-draw the capture in cool, computer-y ways, and 2) an attempt at a function that is able to identify the inside of a shape drawn with a black marker. Fun times.
For this week’s assignment, I took two of my earlier assignments and connected them through the magic of serial communication. I modified the code for Solo Pong to read information sent by my arduino, hence enabling me to control the game through a physical joystick controller. 😀
Solo Pong is now pretty much ready for exhibition at Open Studios! For this week’s assignment I added a boss stage, where I used object arrays and array lists to manage the boss’s attacks and a couple of particle systems. 😀
I was bored the other day and started making a Pong-like game. And it was all fun and nice until I decided to add a second ball to the game. I realized coding a second ball the same way I coded the first one would be incredibly inefficient. So then objects happened. 😀
Using classes and objects, coding games becomes way easier because we can have many instances of the same thing happening independently. Thus, once I got the basics of classes down, adding more cool stuff to the game was a relatively simple matter.
This is art:
But I felt it needed more color, so I recreated it!
Forget about Photoshop. The newest, bestest drawing software out there is none other than IM-Shop 2015! Create your own masterpieces in this OPEN SOURCE SOFTWARE!!!1!! Key features include:
I wanted to paint
Scott taught me Processing skills
Now I’m limitless
For this assignment I decided to try out the solenoids to produce linear motion. Inspired by woodpeckers (thanks, Shunya), I set out to create a device that would produce ringing noises by hitting objects with the solenoids.
First I had to get acquainted with the solenoids. To use them, I had to hook them up to a transistor in order to not fry my RedBoard. Transistors are annoyingly not labled and their wiring changes between models, so I had to look that up. The TIP120 transistors we have in the lab have, seen from the front and from left to right, the base (signal in), the collector (voltage in) and then the emitter (to ground). That way, I could use the RedBoard’s output to control the transistors, which in turn control the solenoids.
Stupid Pet Trick. What is more stupid that a machine that is completely pointless? And what is more pointless than a Rube Goldberg machine designed solely to unplug itself?
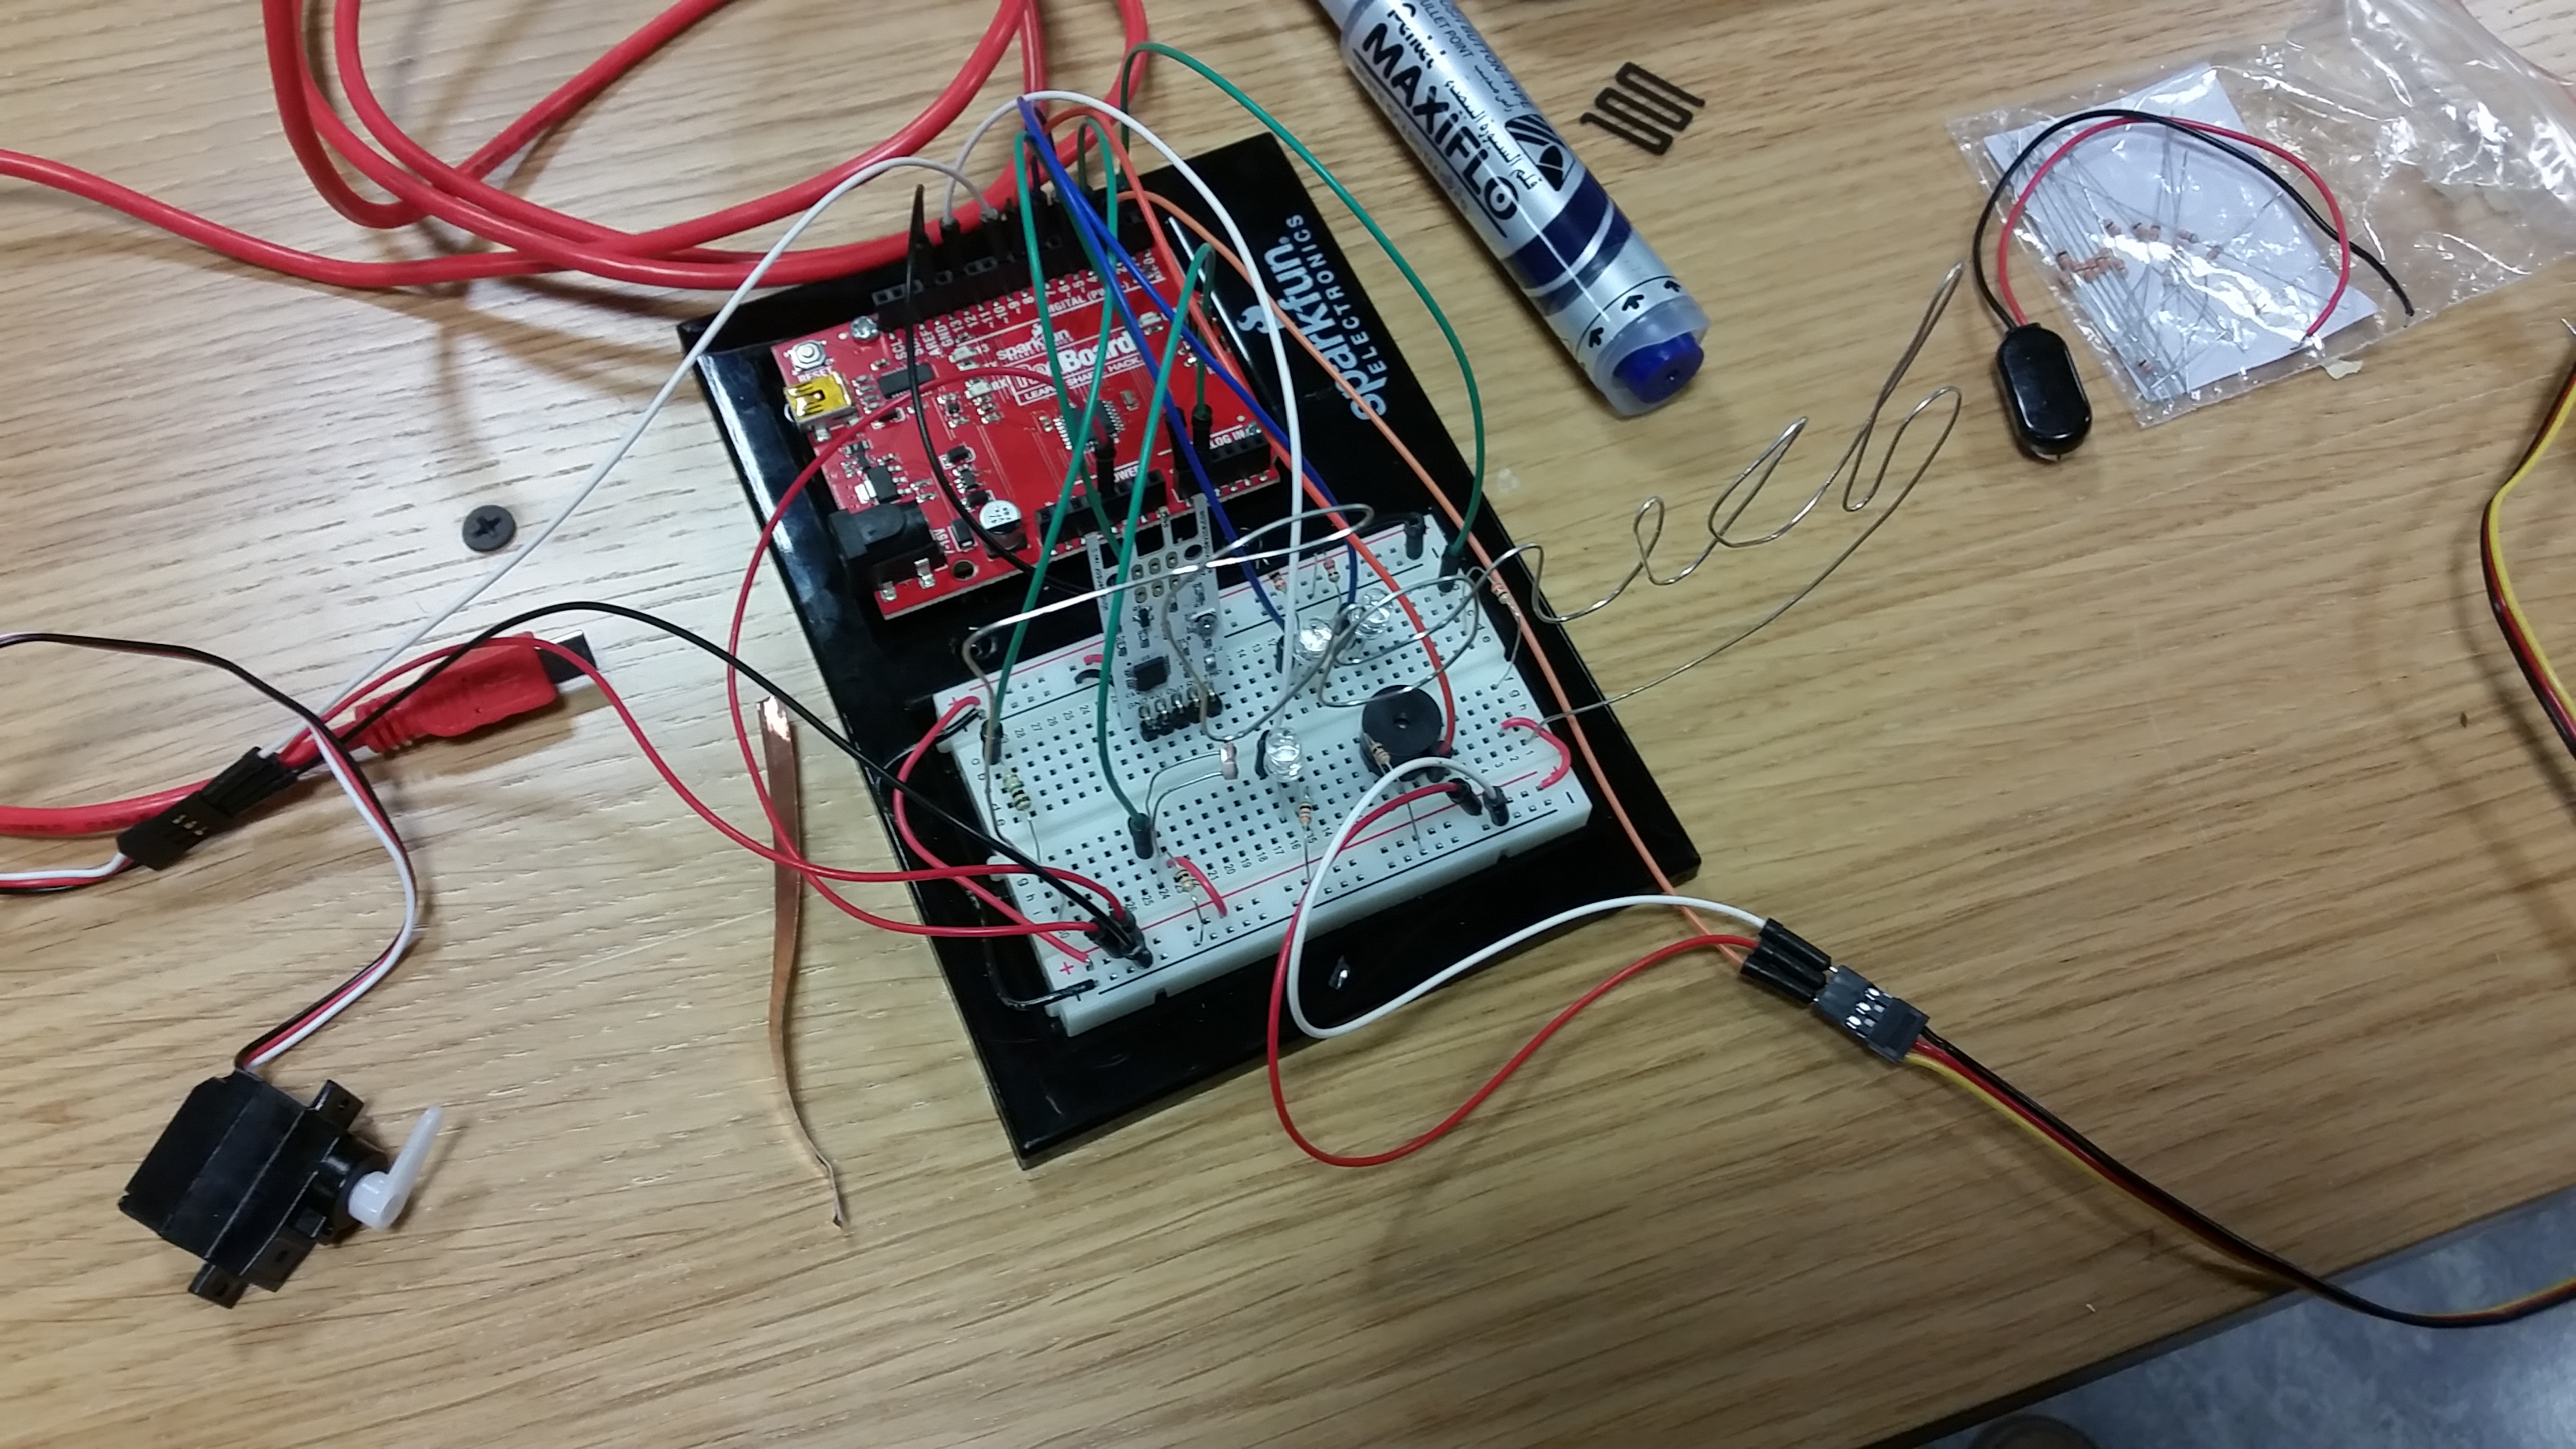
The first step was to choose the components of the chain reaction and test them:

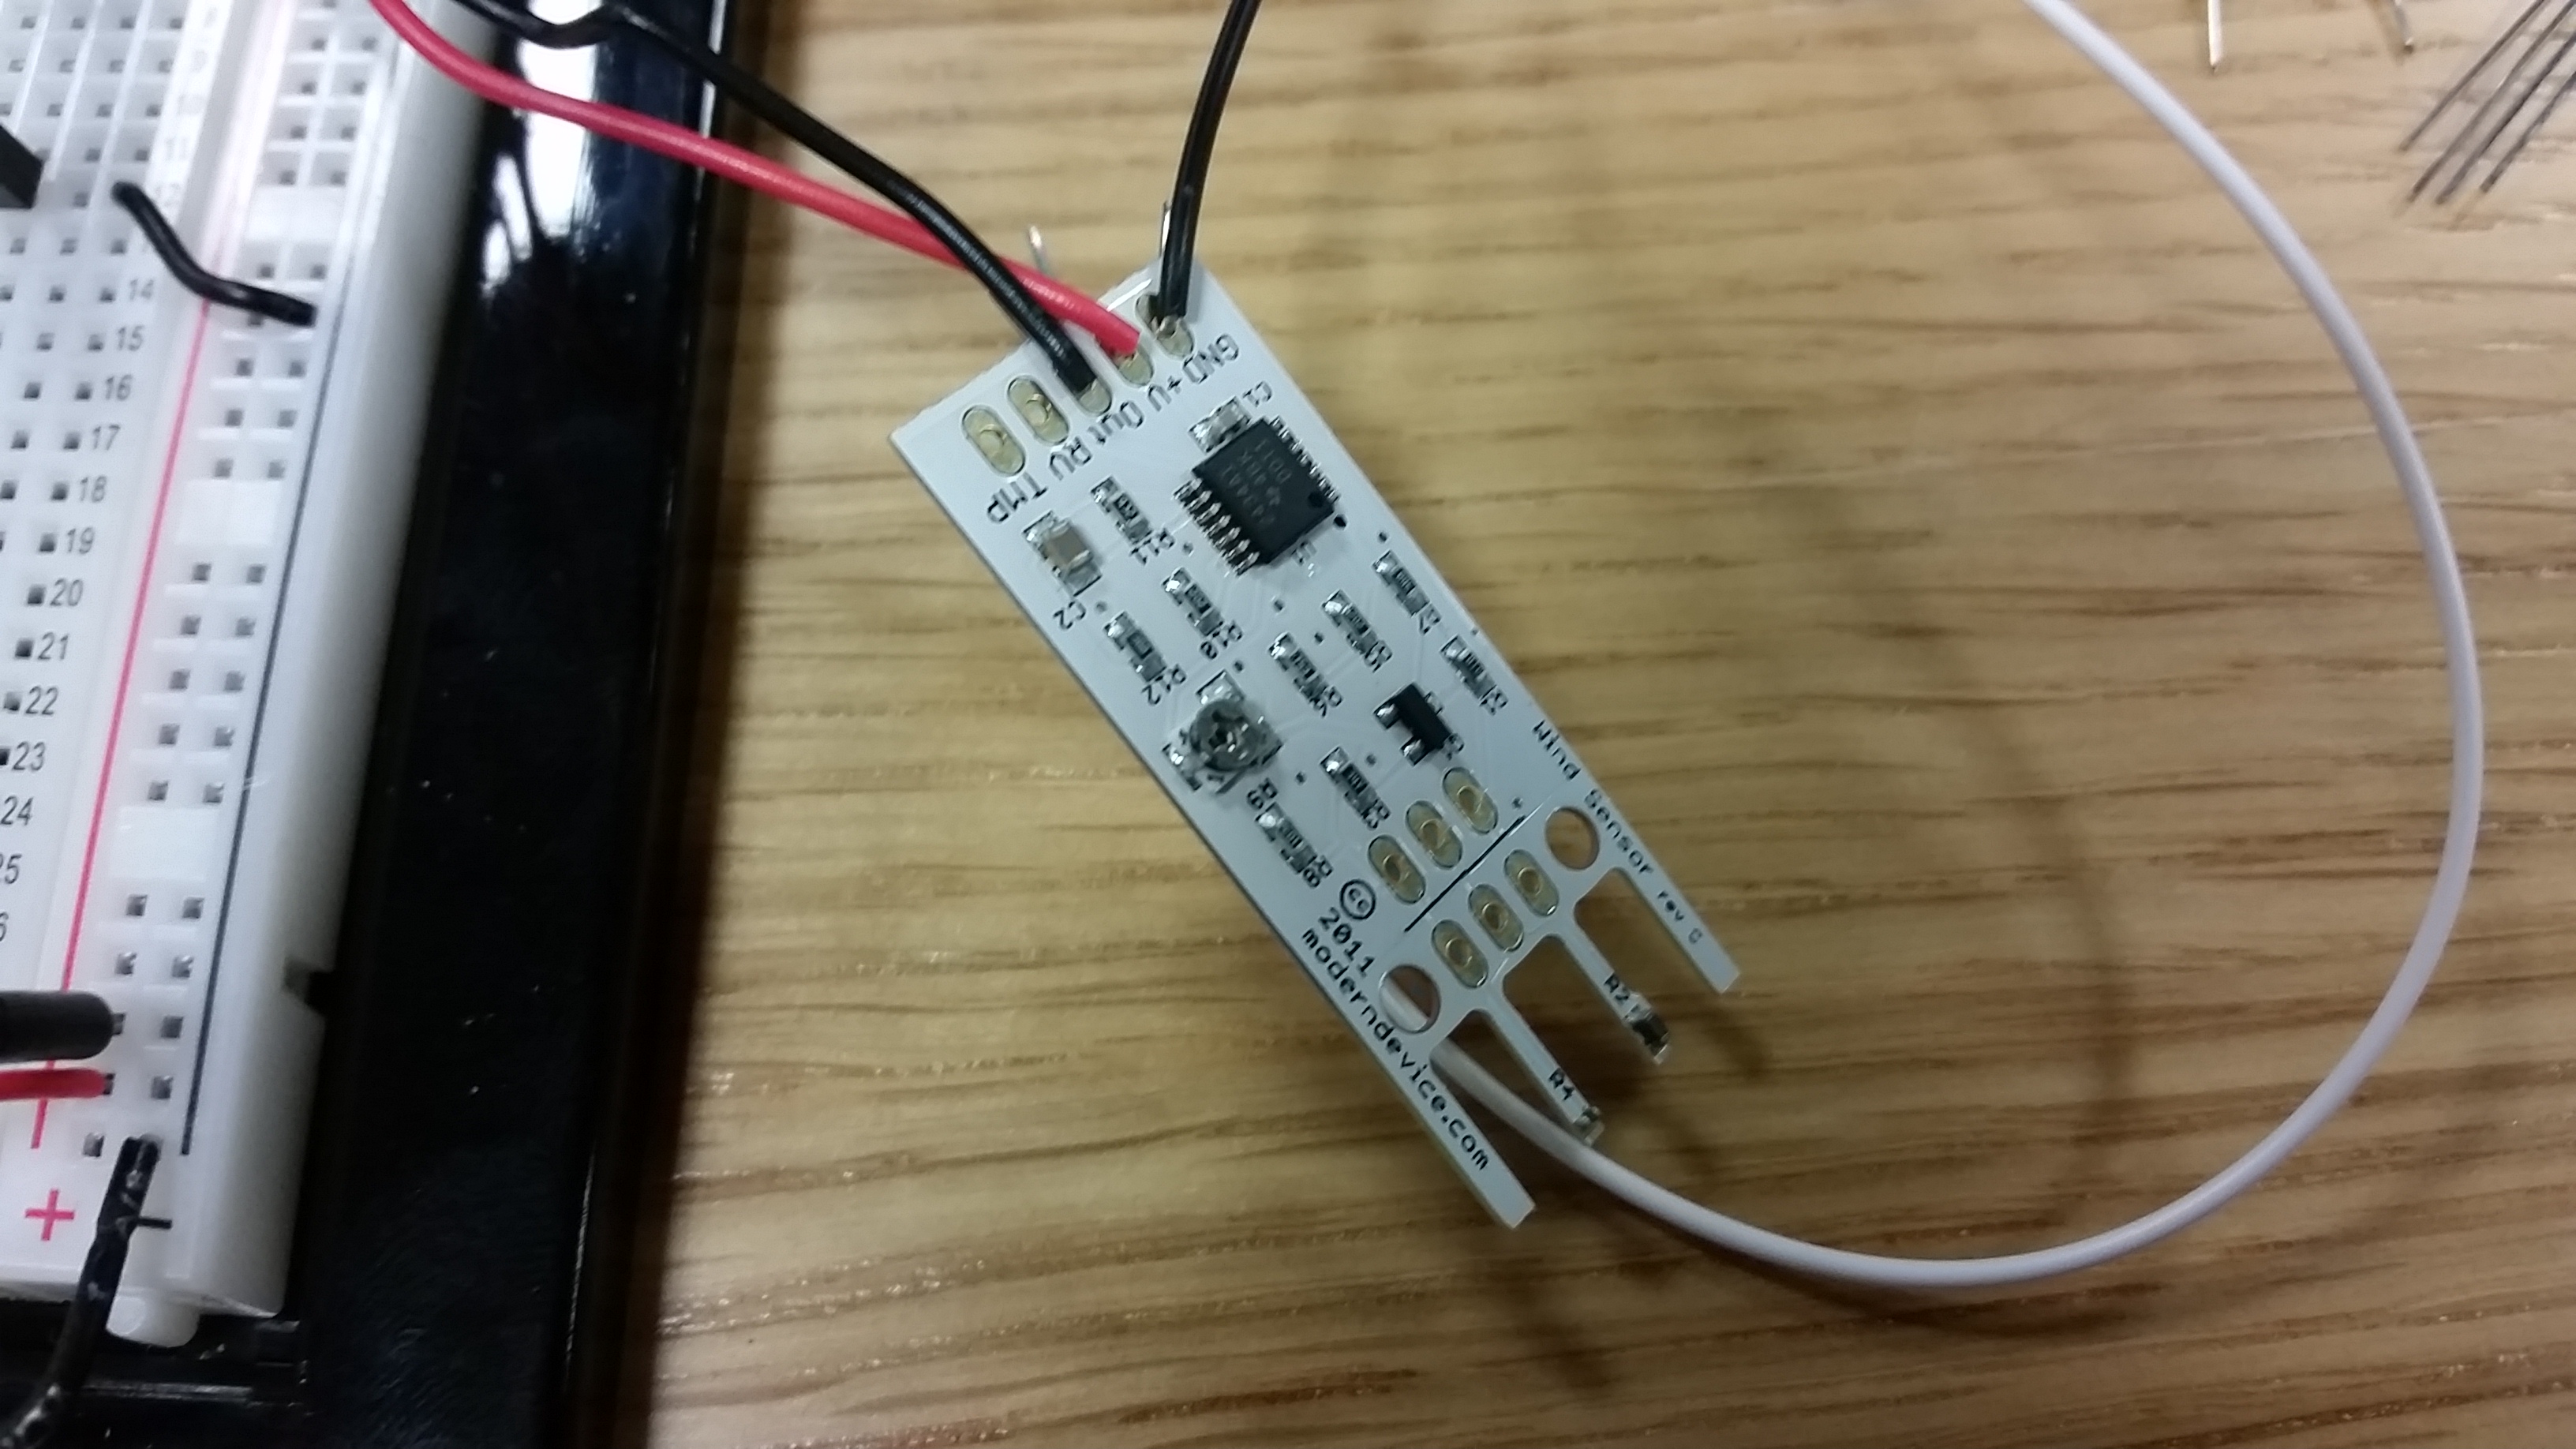
2. Photocell – I also chose to have light shone on to a photocell as a stem in the machine. I was considering covering up the photocell with a little box to block ambient light, but then I figured I might as well try calibrating the photocell taking ambient light into consideration. Turns out callibration is enough for the sensor to discern when an ultra-bright LED shines next to it, even with ambient light.

3. Capacitive sensor – Another new toy was the capacitive sensor. Using the example code, I tried my circuit to make sure it worked. Doing so I learned that the sensor area of the circuit should be between the fat resistor and the output pin. Due to the fat resistor gobbling up so much of the voltage, touching the circuit between the resistor and the sensor pin doesn’t really work. After that test, I connected a servo motor and wrote some code to control it with the capacitive sensor. It was great.
4. The final servo – Finally, I had to make sure I could actually unplug my creation with a servo. Turns out that the small servo included in our kits doesn’t have enough torque. Luckily, the bigger servos we have in the lab are powerful enough.
After testing, I just had to put everything together… and write aaaall the code, step by step. Just for fun, I used arrays to code some melodies to be played at different parts of the process (the switch() case statement helped out there). Most of the algorithm as handled by several while() loops. AND IT WORKED!
And then came part two of the project… actually building the thing. This time around, hradware was much more of a hassle than code. I brilliantly decided to build my Pointless Machine using 3D printed and laser cut pieces. Whuch was great. Except for the blood, sweat and tears that resulted from actually building the thing. And soldering. And then the capacitive sensor stopped working for no reason. And that was really infurating, which made me wish I had the foresight time to do a proper physical debug to sort that out.
But thankfully it worked in the end. Somehow. I have no clue how I fixed it. c: