Generative Text: Neon Lights!

Introduction:

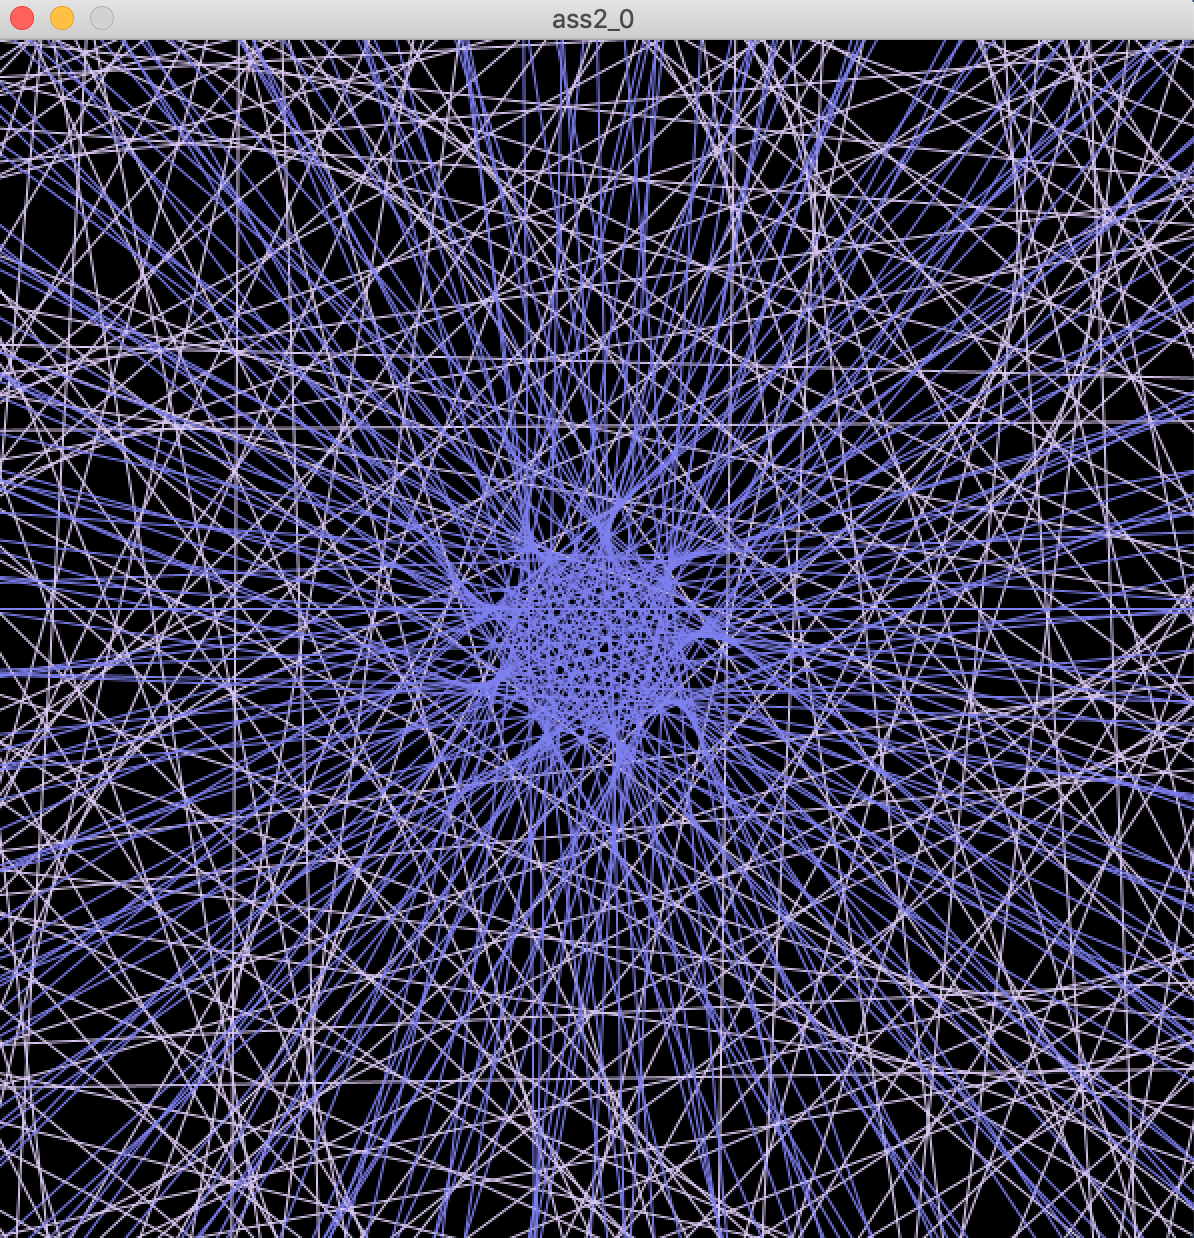
For this, weeks task I decided to try to make some sort of generative typography. My inspiration was trying to make some sort of Neon light sign.

Process:

I used the example given in class of the geomerative  basic as reference to this project.And  I  imported  geomerative  and  used  the  set  code in order to trace the word “Neon Light”.

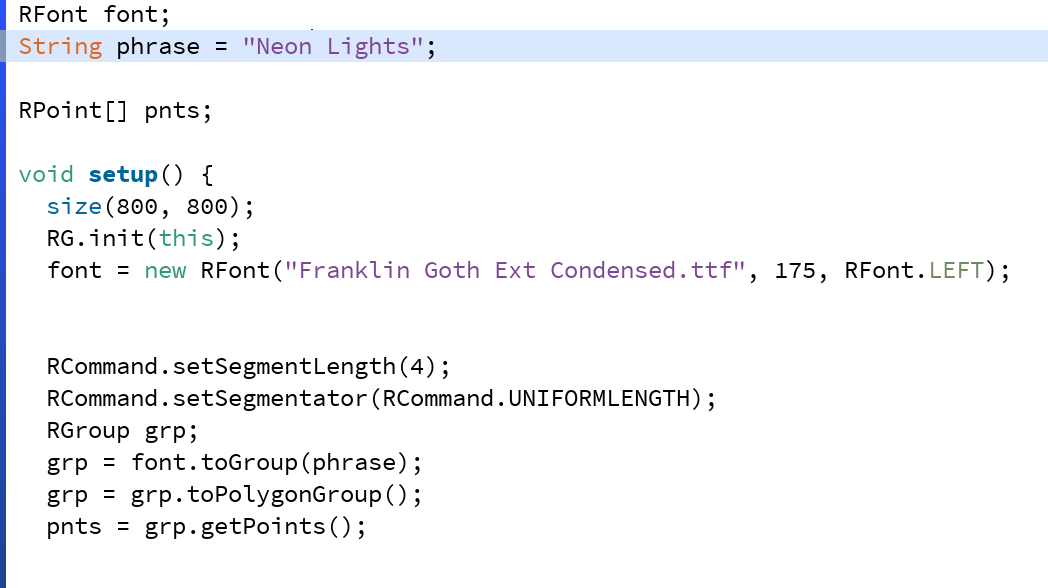
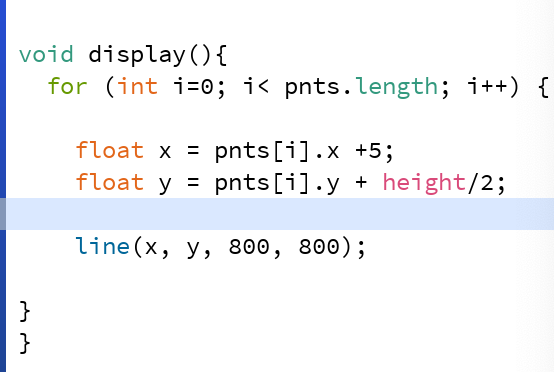
Then I started a class. I started a display function, where I used lines in a for loop in order to mimic light rays that will display the word “Neon Lights” , I added the dimensions 800,800 in order for the rays to start at the bottom of the display board.

Then I created a color change function where the lines start in a grey color as if the sign is not turned on, then used mouse events to change the color to green and pink neon colors as if the sign is turned on.

Lessons learned:

I started out wanting to make very complicated things, but in the end I decided to go with this.I think it is very simple, but is quite satisfying to look at in my opinion.


Final Project:

import geomerative.*;
RFont font;
String phrase = "Neon Lights";

RPoint[] pnts;

void setup() {
  size(800, 800);
  RG.init(this);
  font = new RFont("Franklin Goth Ext Condensed.ttf", 175, RFont.LEFT);

   
  RCommand.setSegmentLength(4);
  RCommand.setSegmentator(RCommand.UNIFORMLENGTH);
  RGroup grp;
  grp = font.toGroup(phrase);
  grp = grp.toPolygonGroup();
  pnts = grp.getPoints();


}

void draw() {
  background(0);
 display();
 colorChange();
}
class Lights{
  RFont font;
String phrase = "Neon Lights";

RPoint[] pnts;
  
}


void display(){
  for (int i=0; i< pnts.length; i++) {
   
    float x = pnts[i].x +5;
    float y = pnts[i].y + height/2;

    line(x, y, 800, 800);
  
}
}

void colorChange (){
  
   noFill();
  strokeWeight(0.3);
  
   stroke(38,41,40);
  if (keyPressed){
     stroke(67,245,94);
    
   } else if (mousePressed)
   {
     stroke(250,28,239);
   }
}


Generative Art Piece

Description& Inspiration:

I wanted to create something simple yet eye catching, the first thing that came to mind was something like this, the picture on the  left  is a picture  of   mars,  while  the  right  is  how  I  imagined  I  can  bring  it  to  life  in  processing.

Process:

My focus in this project was creating an organized code and figuring out how to use Object-Oriented Programming rather than creating a complicated design. I started out as follows,  by laying out the needed standard functions such as setup() and draw(). Then I started planning and laying out all the variables I knew I was going to need. Starting out with drawing the actual sphere, the prices was quite long and a bit confusing however, after a lot of research and a lot of help from The Coding Train, I was able to get started. In order to create a sphere like shape (without resorting to the basic sphere function on processing),  I needed a longitude value (which is 'I' in the for loop) and latitude value (which is 'j' in the for loop).

with the above code only, the screen was still blank, in order to continue drawing the sphere the formulas for converting from latitude and logitude to coordinates were needed. Where theta refers to longitude and phi refers to latitude. 
 formulas are as follows :

Then I needed to give motion to the sphere by using rotateX() and rotateY(), then I used point(x,y,z) to actually finish the drawing. 

I also wanted to change the color of the sphere from red to yellow when any key is pressed so I used the mouse clicked for red and mouse pressed for yellow.  


Final Project:

I created two versions: one where I have decreased the detail level of the sphere and how fine the resolution is and one where I increased it.


This is the increased version:


This is the decreased version:


I also really wanted to tidy up my code and make it easy to understand to I created two function, displaySphere() and colorChange(), and added them both two one big function which is runSphere(), so the final code only had sphere.runSphere() in it.

Difficulties:

I would say that this is definitely the most challenging assignment I have gotten in the course so far in my opinion, the actual design was not very easy but what I found most difficult was trying to organize my code and figuring out the class. However, the way my code looks at the end was very worth it, and I will be able to use it later in other projects much easier.


Sources: 
The Coding Train: Spherical Geometry video
Sphere sphere;


void setup(){
  size(600,600,P3D);
 sphere=new Sphere();

}


void draw(){
  background(0);
sphere.runSphere();
 
}
class Sphere{

  float r;
  int total;
float x;
float y;
float z;
float lon;
float lat;
  
  
  Sphere(){
    
  r=200;
  total=100;
  x=r*sin(lon)*cos(lat);
  y=r*sin(lon)*sin(lat);
}


 void runSphere(){
    
displaySphere();
colorChange();
 }


void displaySphere(){
    background(0);
  noFill();
  lights();
  
//I needed a longitute value (which is 'i') and latitude value (which is 'j')
  translate(width/2,height/2);
  for(int i=0;i<150;i++){
 lon=map(i,0,total,-PI,PI);
   for (int j=0;j<150;j++){
   lat=map(j,0,total,-HALF_PI,HALF_PI);
   
 //as per the formulas for converting from latitude and logitude where theta refers to longitude and phi refers to latitude. 
 // formulas are as follows :
 //x=rsin(theta)cos(phi)
 //y=rsin(theta)sin(phi)
 //z=r*cos(theta)
   x=r*sin(lon)*cos(lat);
    y=r*sin(lon)*sin(lat);
    z=r*cos(lon);
    
 //this if for the movement of the sphere (rotation) using mouse events   
   rotateX(mouseY);
   rotateY(mouseX);
  
  point(x,y,z);
}
  }
   }
   
//changing the color from yellow to red by using mouse events as well
void colorChange(){
  if (mousePressed){
     stroke(255,0,0);
   } else if (keyPressed)
   {
     stroke(142,142,62);
   }
}
  }


Simple work of Art!

Intro:

It wasn’t easy for me to do the assignment this time. I had a difficult time deciding on the simple art piece I was going to create. The self-portrait assignment was easier because I had certain guidelines and image in mind, but the creative freedom given to us in this assignment made it both exciting yet difficult at the same time.

Initial Ideas:

I wanted to do something random yet you can see the patterns and artistic idea behind it, I also didn’t want it to be still to make it more interesting. I decided to make a spiral art piece using lines. The steps were as follows: 1) Draw lines, 2)rotate it, 3)animate it, 4)randomize it, 5) make it look good.

Draw Line(and make more lines):

I started with one line, then used for loops to make a lot of lines for the spiral. Using the for loop, I created a lot of lines, but they are not spiraled yet.

Rotate to create spiral:

In order to create the spirals I had to change the position of the x and y in the lines. To rotate the lines so I needed an angle, so I added rotate(); then I needed an angle for rotate to function which is what dictates the patterns of the spirals, so I used float to add a random angle so that every time there is a different spiral.

Adding Motion:

After researching a lot on how to add motion to the art piece, I found that using sin waves is a good way to do so, so I declared  the variable movement sin(radians(framecount)). I plugged it in to get an infinite looping animation. But when I did this I found that the lines were moving but barley it wasn’t very visible. This is because sin waves use very small decimal points between -1 and +1 so I had to put in a mouse event that will dictate the sine wave and spiral shape, so I declared a variable m, where I multiplied movement by the new mouseX, which will also impact the speed, if I increase the 1000, to 3000 It will be much faster.


Final project:

I added a purple/blue color with white, to make it better looking.

youtube video for the motion:

https://www.youtube.com/watch?v=Uuq6_Hawb78

float randomangle=random(30,30);


void setup(){
  size(600,600);
  smooth();
  frameRate(60);
}


void draw(){

  stroke(126,128,240);
  background(0);
  translate(width/2,height/2);
  float movement=sin(radians(frameCount));
  float m = movement*map(mouseX, 0, width, 1000, 0);
  
  for (int i=0;i <400;i++){
    rotate(randomangle);
    line(850,i-m/2,-850,i++);
stroke(126,128,240);
     line(-850,-i+m,550,i++);
     stroke(220,203,245);
      line(850,i-m,-850,i++);
    
  }
}


Fun project!!

Ingy El Sheikh- Self Portrait Assignment 1

Ingy’s Self Portrait

This being my first every coding experience, I am very happy with my results and had so much fun doing this assignment. After years of doing classes where I don’t get to see my learning progress visually and feel the reward of working, I am so glad I decided to take this step towards IM even though I was skeptical at first.

I started out this assignment not knowing where to start at all, but after a few hours of research and watching youtube videos and looking at examples I was able to see the vision I had in mind.

Background:

I started off wanting to do a dynamic background but I wasn’t very successful (my next goal for sure), so I decided to resort to an outdoors background using rectangles shapes and a circle for the sun. And I used the color selector to set the colors.

Hair, Neck and Face:

Drawing my hair took me some time, because I wanted to perfect the placement of the circle and rectangle that I used to create my hair. For the neck I used the rectangle and also took some time to perfect the placement of the neck in regards to the hair. For the face I used the ellipse and used the color selector to find the best matching skin tone.

Eyes:

They eyes for me were the most time consuming part. I wanted tot draw a very detailed eye with the sclera , iris , pupil and reflection spot. I used circles for all of them but had to take some time to figure out the placement.

This was the portrayed before incorporating the further details of the eye.

And after some work this is how it looked.

This is where I really started seeing the portrait coming to life.

Nose , Mouth and Eyebrows:

At the beginning I was just going to do two circles for the nose but I decided to challenge myself and I wanted to try something different and a little bit more realistic. So using a lot of lines I created the sides of the nose and used two small circles as well inside. And for the mouth and eyebrows I used the Arc.

Shirt:

For the shirt I simply used the rectangle and colored it purple for NYUAD!

Final Product:

// Ingy El Sheikh self portrait 


int x, y;

void setup(){
 size(640,640);
 x = width/2;
 y = height/2;

 background(140, 196, 109);
}//end of setup

//Lets draw an outdoors Background! Green grass and blue sky
void draw(){
   fill(139,211,255);
  noStroke();
  rect(0, 0, 640, 400);
  
  stroke(238,255,8);
  fill(238,255,8);
 ellipse(70, 70, 100, 100);
 
 // Drawing my hair 
 noStroke();
fill(49,44,45);
rect(x-101, y-20, 202, 180);
circle(x,y-25,203);

  //Lets draw my neck
noStroke(); 
fill(241, 194, 125);
rect(x-26, y+140, 55, 60);


//Drawing my face

fill(241, 194, 125);
noStroke();
ellipse (x, y+40, 160,220 );

//Lets Draw my eyes
//Sclera(white part)
 strokeWeight(1);
 stroke(0);
  fill(255);
  ellipse(x-40, y, 50, 30);
  ellipse(x+40, y, 50, 30);


//Iris(brown part)

stroke(0);
fill(98,51,1);
  circle(x-40, y, 25);
  circle(x+40, y, 25);
  
//Pupil
stroke(0);
fill(0);
  circle(x-40, y, 13);
  circle(x+40, y,13);
  
//white reflection spot

stroke(255);
fill(255);
  circle(x-34, y-10, 5);
  circle(x+46, y-10, 5);
  
//lets draw my nose!


  stroke(0);
  noFill();


line(x +5, y+10, x + 5, y+ 40);
line(x -9, y+10, x - 9, y+ 40);


line(x + 5, y + 40, x + 13, y + 47);
line(x + 13, y + 47, x + 5, y + 54);
line(x - 18, y + 47, x - 10, y + 54);
line(x - 10, y + 40, x - 18, y + 47);
 
strokeWeight(1);
 circle(x+4, y+48, 3);
 circle(x-8, y+48, 3);

//Eyebrows time!

strokeWeight(3);
arc(x - 38, y+5 , 60, 65, PI+QUARTER_PI, PI+HALF_PI+QUARTER_PI);

arc(x + 38, y+5 , 60, 65, PI+QUARTER_PI, PI+HALF_PI+QUARTER_PI);


//Mouth

noFill();

arc(x, y+80, 80, 40, 0, PI);

//Body and shirt
stroke(0);
fill(191,17,240);
rect(x-125,y+180,250, 200);

}