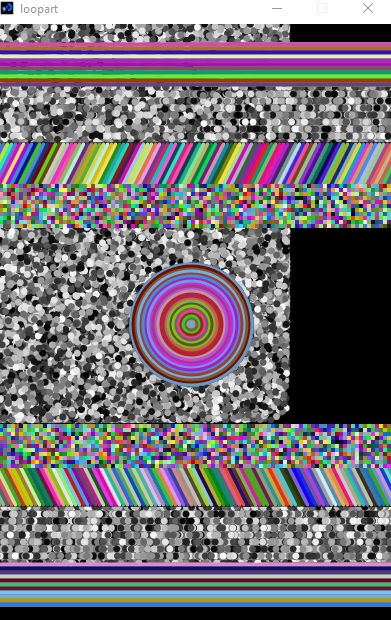
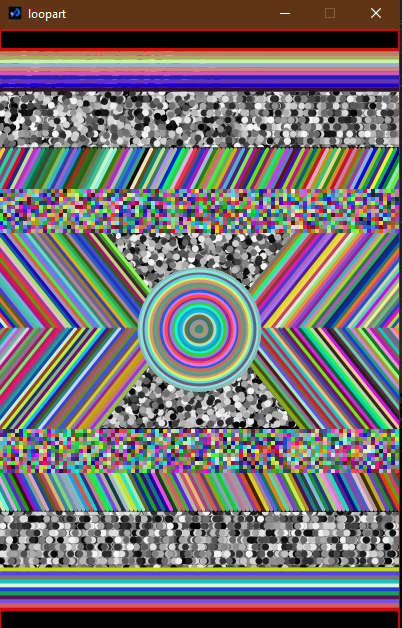
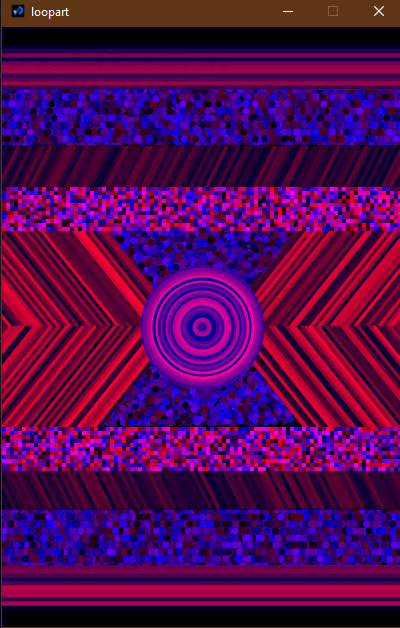
For this week, I created a generative art piece using Processing. The project involved creating a simplistic art piece while implementing Object-oriented programming principles. My artwork includes a spiral, sort of Fibonacci spiral, using rectangles that have a random stroke color with fixed opacity and no fill.
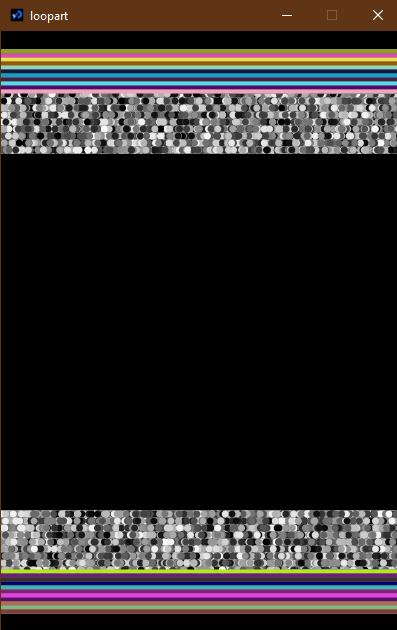
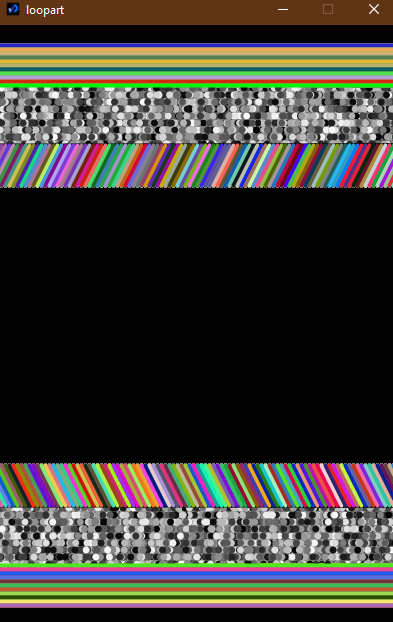
Here are some images at different times into the artwork along with a video:
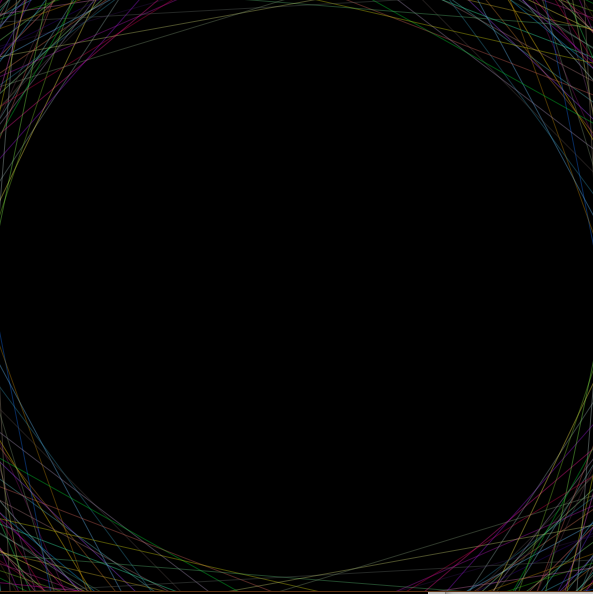
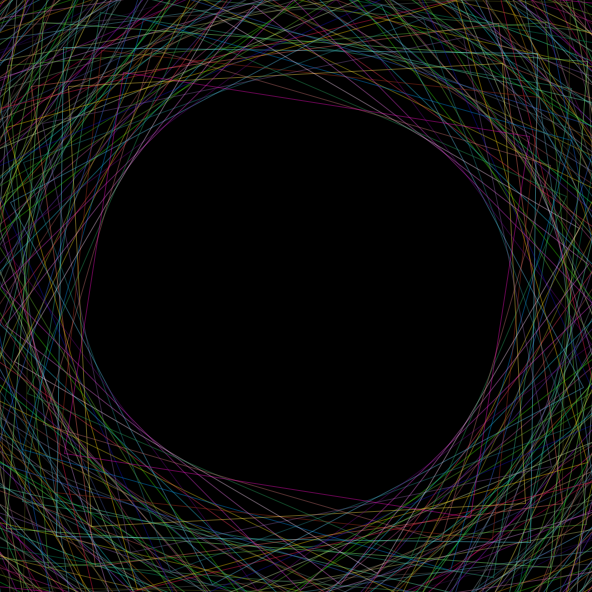
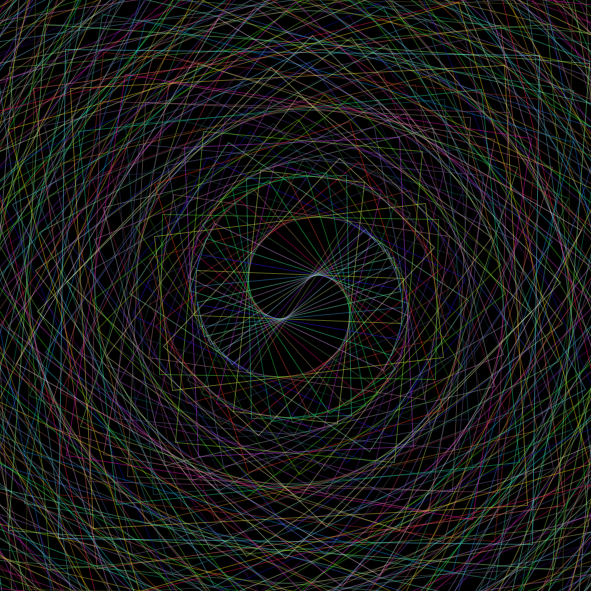
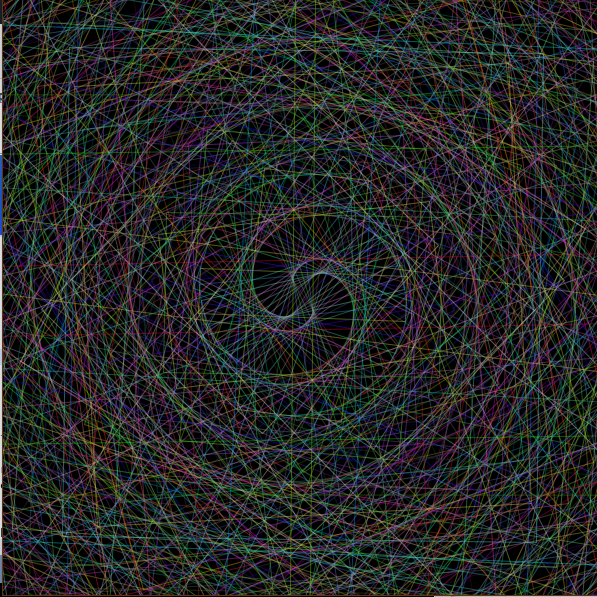
The design may seem like something very complex and difficult to implement but it actually is very simple. The only difficulty I encountered was when trying to implement it using OOP. Initially, it just would not work as intended. So, I started off by writing code in one piece and then sectioning it out. After that, I made the class and defined different functions and then played around with values to find some designs that I really like. Additionally, this time I worked on adding interactivity within the art. For this design, the user can choose to continue the spiral in the opposite direction once it has already ended. As its layout and final outcome is dependent on user liking, once the anti-clockwise spiral has completed, user can hold the mouse as long as they want until they achieve their final design.
I would happily say that this project has by far been the most fun. Even after deciding on a design initially, I tweaked the variables several times and found myself staring at amazing generative art on screen for an hour.
Here is the code for the art:
Spiral myspiral;

void setup(){
  size(600,600);
  background(0);
  noFill();
  rectMode(CENTER);
  frameRate(25);
  myspiral = new Spiral();
}

void draw(){
  //change to clockwise rotation once an anticlockwise spiral is completed
  //mouse is held
  if(mousePressed && myspiral.rect_height<=0){
    myspiral.draw_clockwise();
  }
  else{
    myspiral.draw_anticlockwise();
  }
}

public class Spiral{
  float rect_width;
  float rect_height;
  int change_width;
  int change_height;
  int initial_height;

  Spiral(){
    initial_height = 1500;
    rect_width = 0;
    rect_height = 1500;
    change_width = 3;
    change_height = 5;

  }

  void draw_anticlockwise(){
    if (rect_height>0) {
      //make it pivoted at center
      translate(width/2,height/2);
      //angle of rotation
      rotate(rect_width + noise(rect_width*0.01));
      //random color fill, fixed transparency
      stroke(random(255),random(255),random(255),100);
      //spiral series of rectangles
      rect(0,0,1080-rect_width, rect_height);
      //updating change
      rect_width += change_width;
      rect_height -= change_height;
    }
  }

  void draw_clockwise(){
    if (rect_height <= 0 && rect_height >= (-1 * initial_height)) {
      //make it pivoted at center
      translate(width/2,height/2);
      //angle of rotation
      rotate(rect_width - noise(rect_width*0.01));
      //random color fill, fixed transparency
      stroke(random(255),random(255),random(255),100);
      //spiral series of rectangles
      rect(0,0,1080 + rect_width , rect_height);
      //updating change
      rect_width -= change_width;
      rect_height -= change_height;
    }
  }

}