Concept
Throughout history glasses have developed from tool for eyesight that simply follows its function to a fashion piece that remains essential for people with poor vision. As a person who is prescribed to wear glasses, I am a big fan of the frame that I have, but I decide to wear contact lenses instead, since lenses for my glasses make my eyes seem small – at least this is what I notice a lot. Lenses for myopia and hyperopia, two most popular vision conditions, distort the look of eyes through the lenses by making them smaller or bigger, respectively. However, such changes of proportions are often noticed solely by those who wear glasses and not by others – we memorise our own face features and overlook such minor changes on the faces of others.
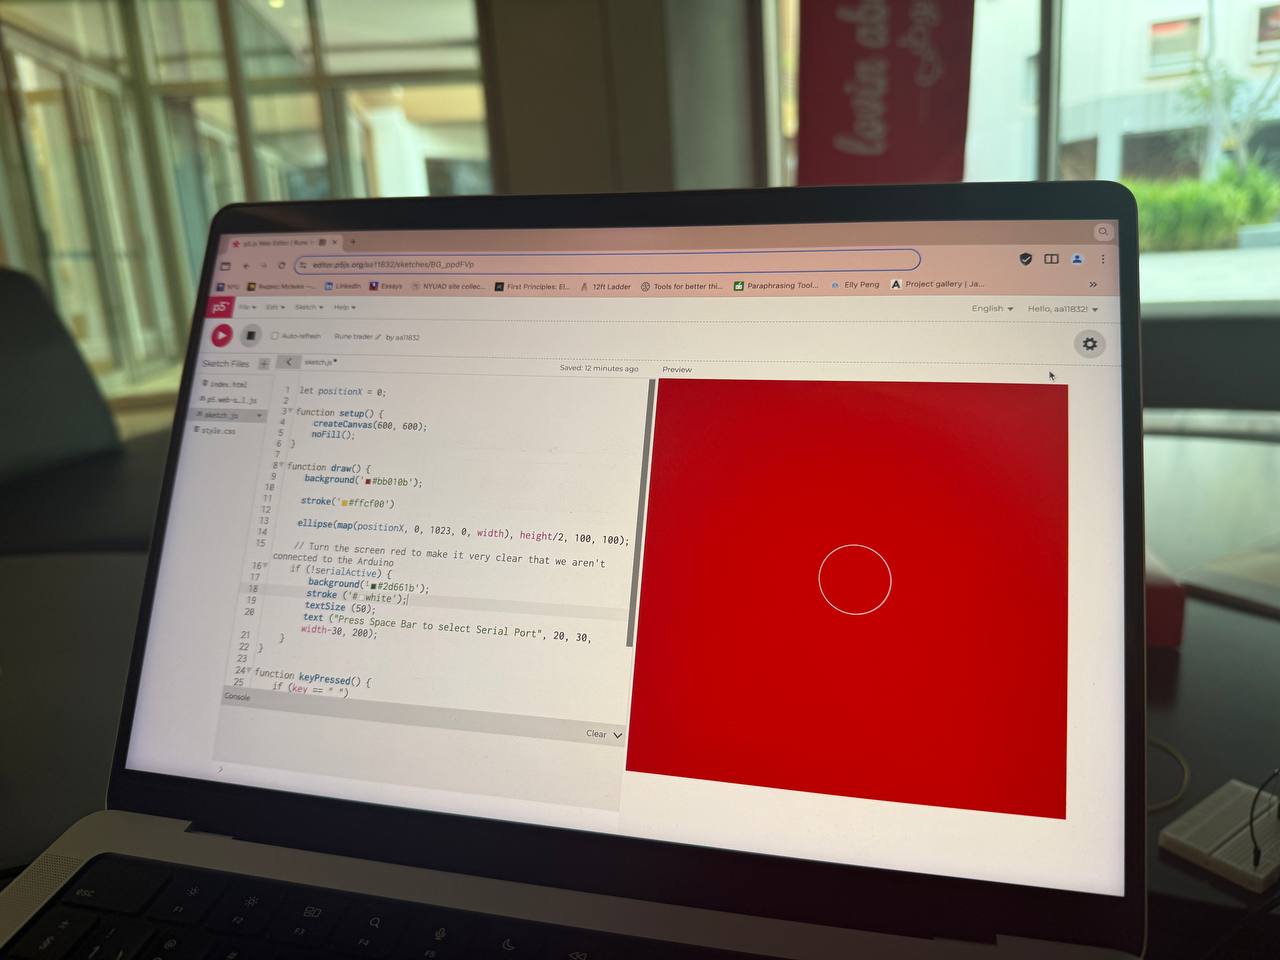
“To Gaze is Not To See” is an interactive artwork that invites the user to put on a pair of glasses to begin their experience. The frame is red, which is what allows the visuals to appear on the screen – when web camera detects red, the ornament is displayed. Unless the user puts on the glasses, they are unable to explore the work.
The glasses are equipped with two speakers located at the end of both temples, which are connected to Arduino to play sound. The chosen song is “Triangle/Gong/What” by Wolfgang Tillmans – I have decided to play it on loop to make the experience of the user more immersive and slightly disturbing due to the surreal flow of the melody. In order to attach the speakers, I have 3D modelled the glasses from scratch using Rhino, then printed them on Prusa printer, and then spray painted with the desired shade of red. Several prototypes were made and 6 pairs of glasses were printed in total, but only one was perfected and chosen for the showcase.
The electronic components were hidden in a 3d printed eyeball that featured an LED Arcade button as an iris – when it was pressed, the visuals on the screen changed from “myopia” mandala to “hyperopia” mandala. The difference between two ornaments was in the size of the eyes and their placement on the screen, creating a confusing and almost surreal imagery of changing projections of eyes.
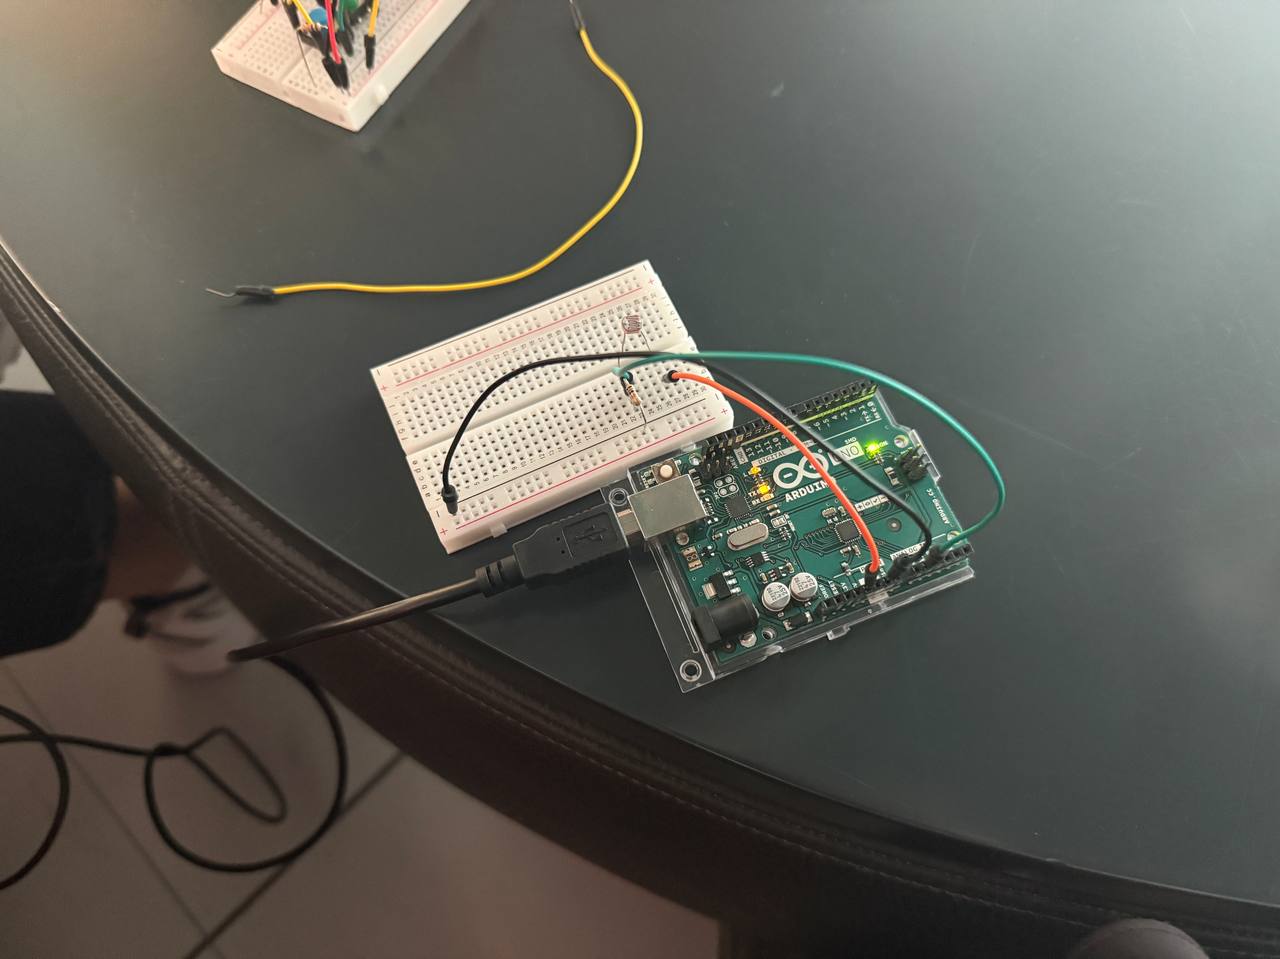
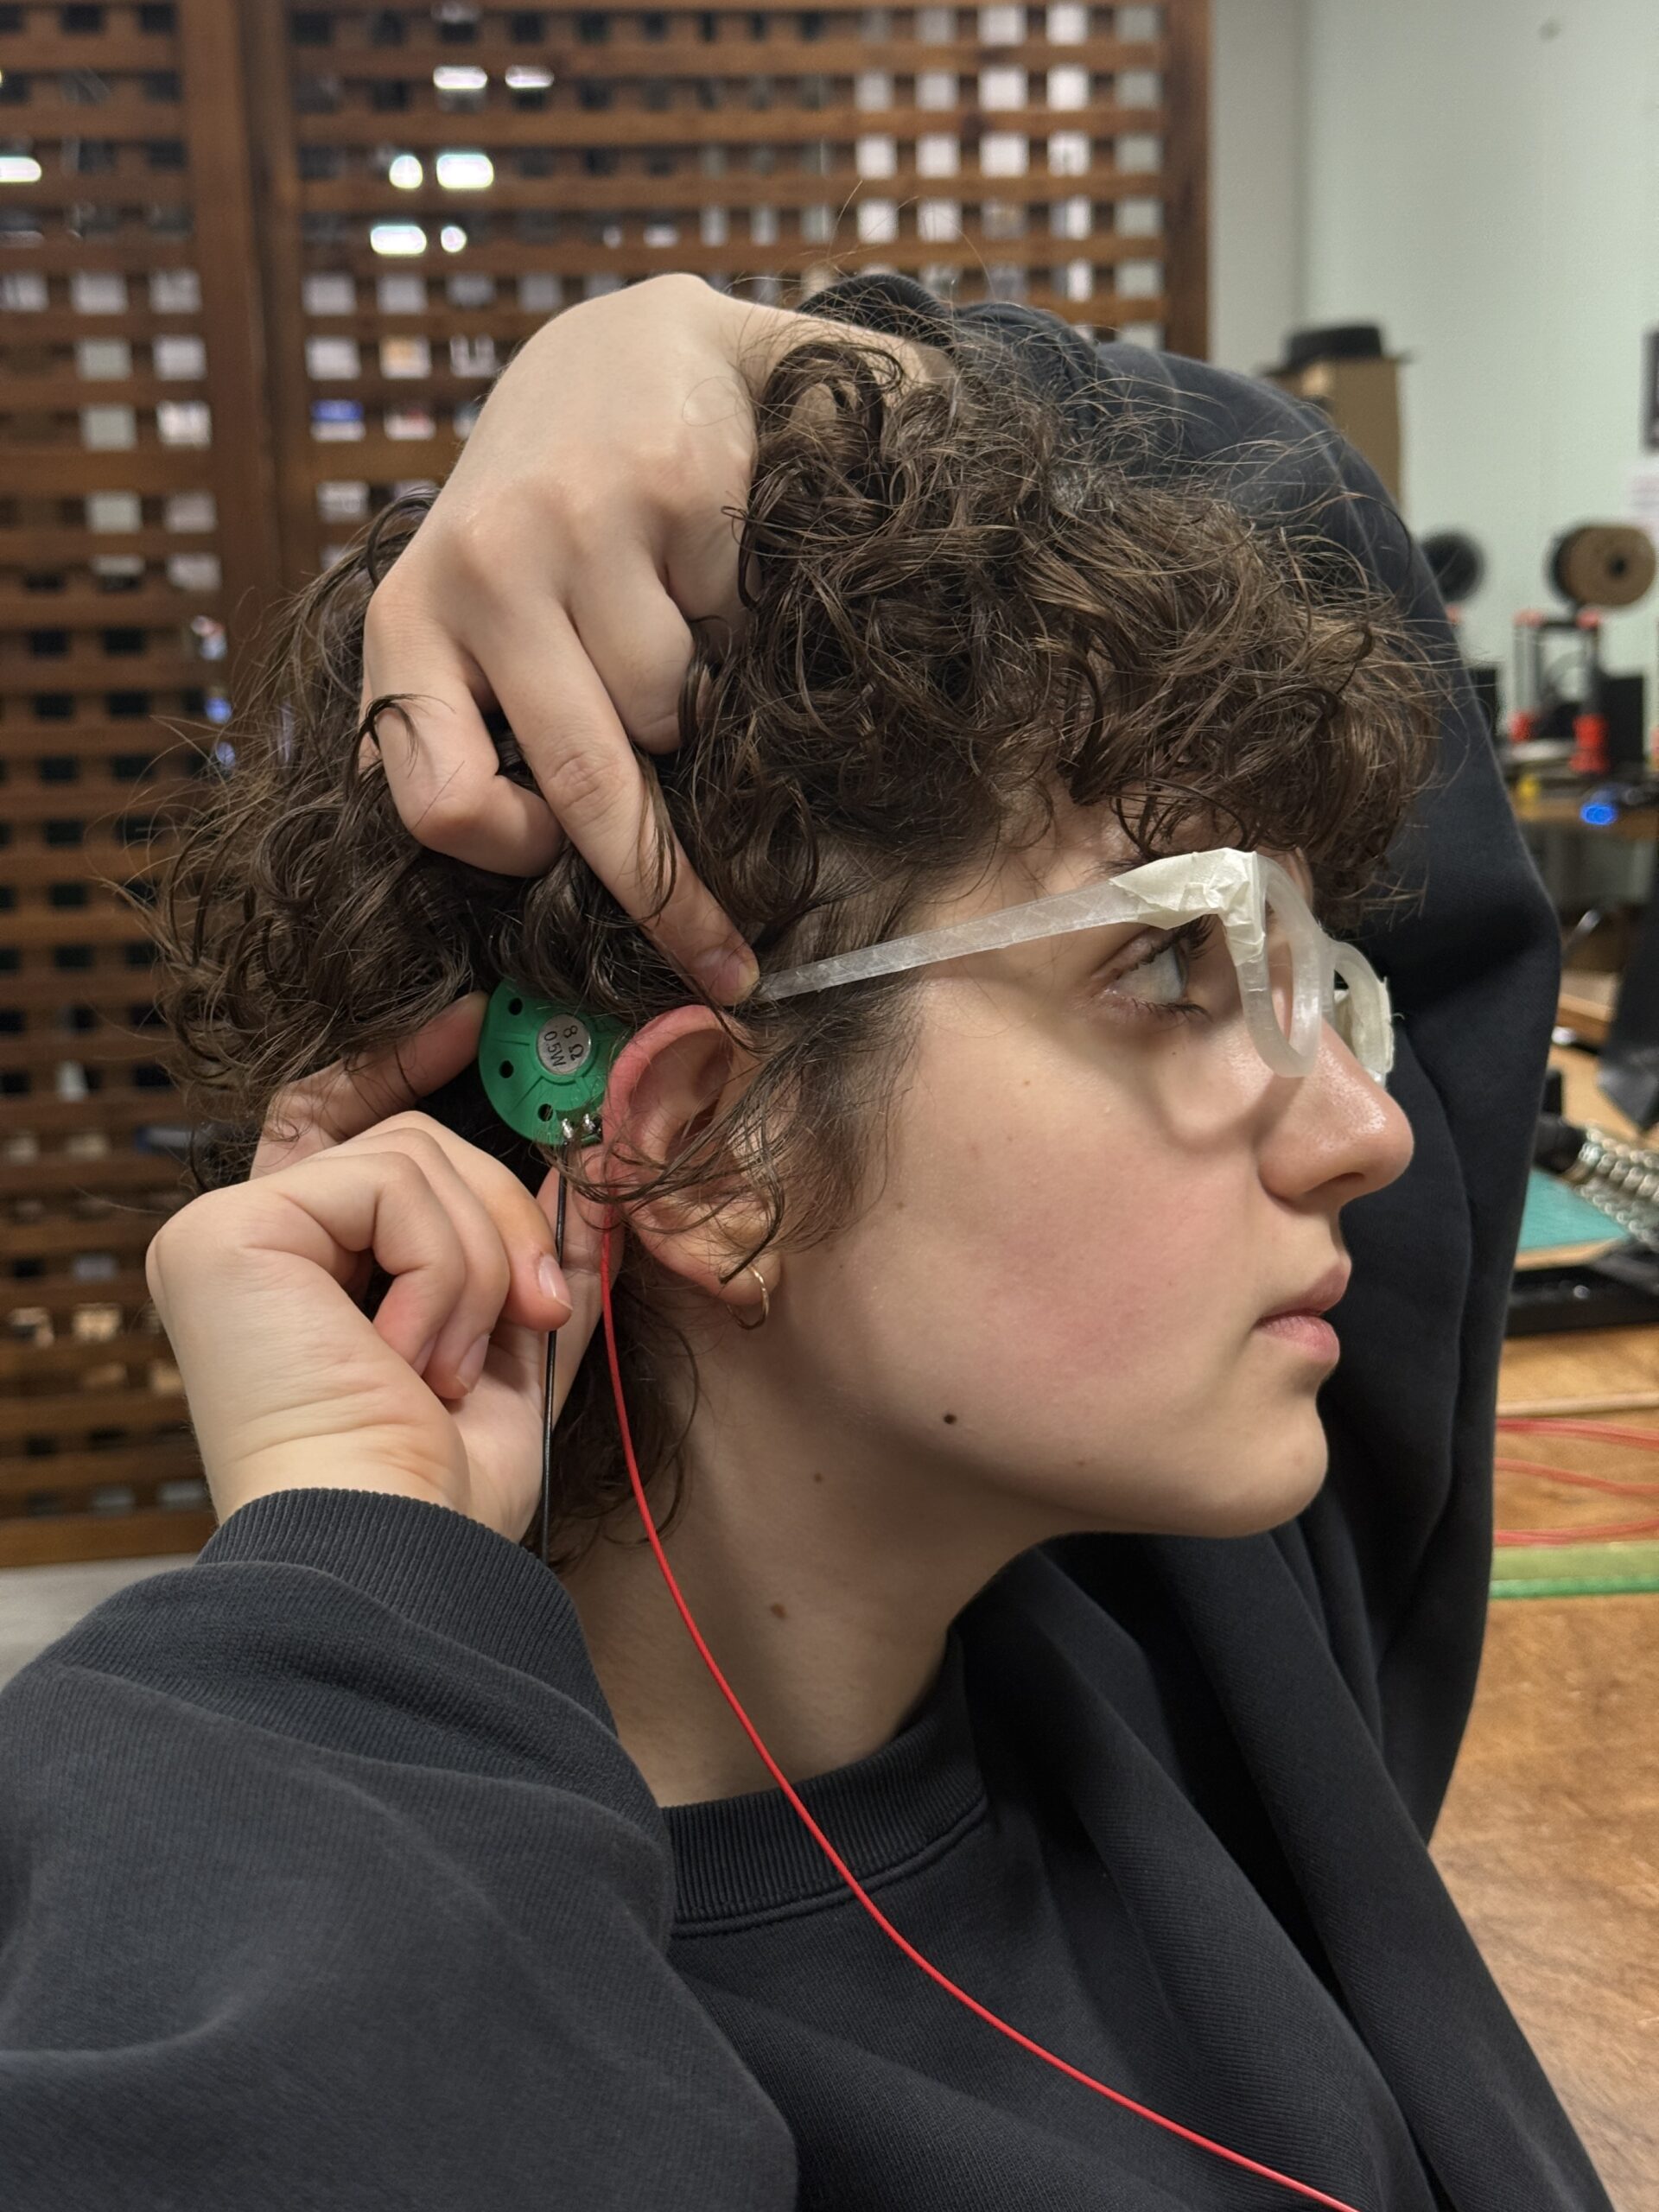 Figure 1: testing the placement of speakers
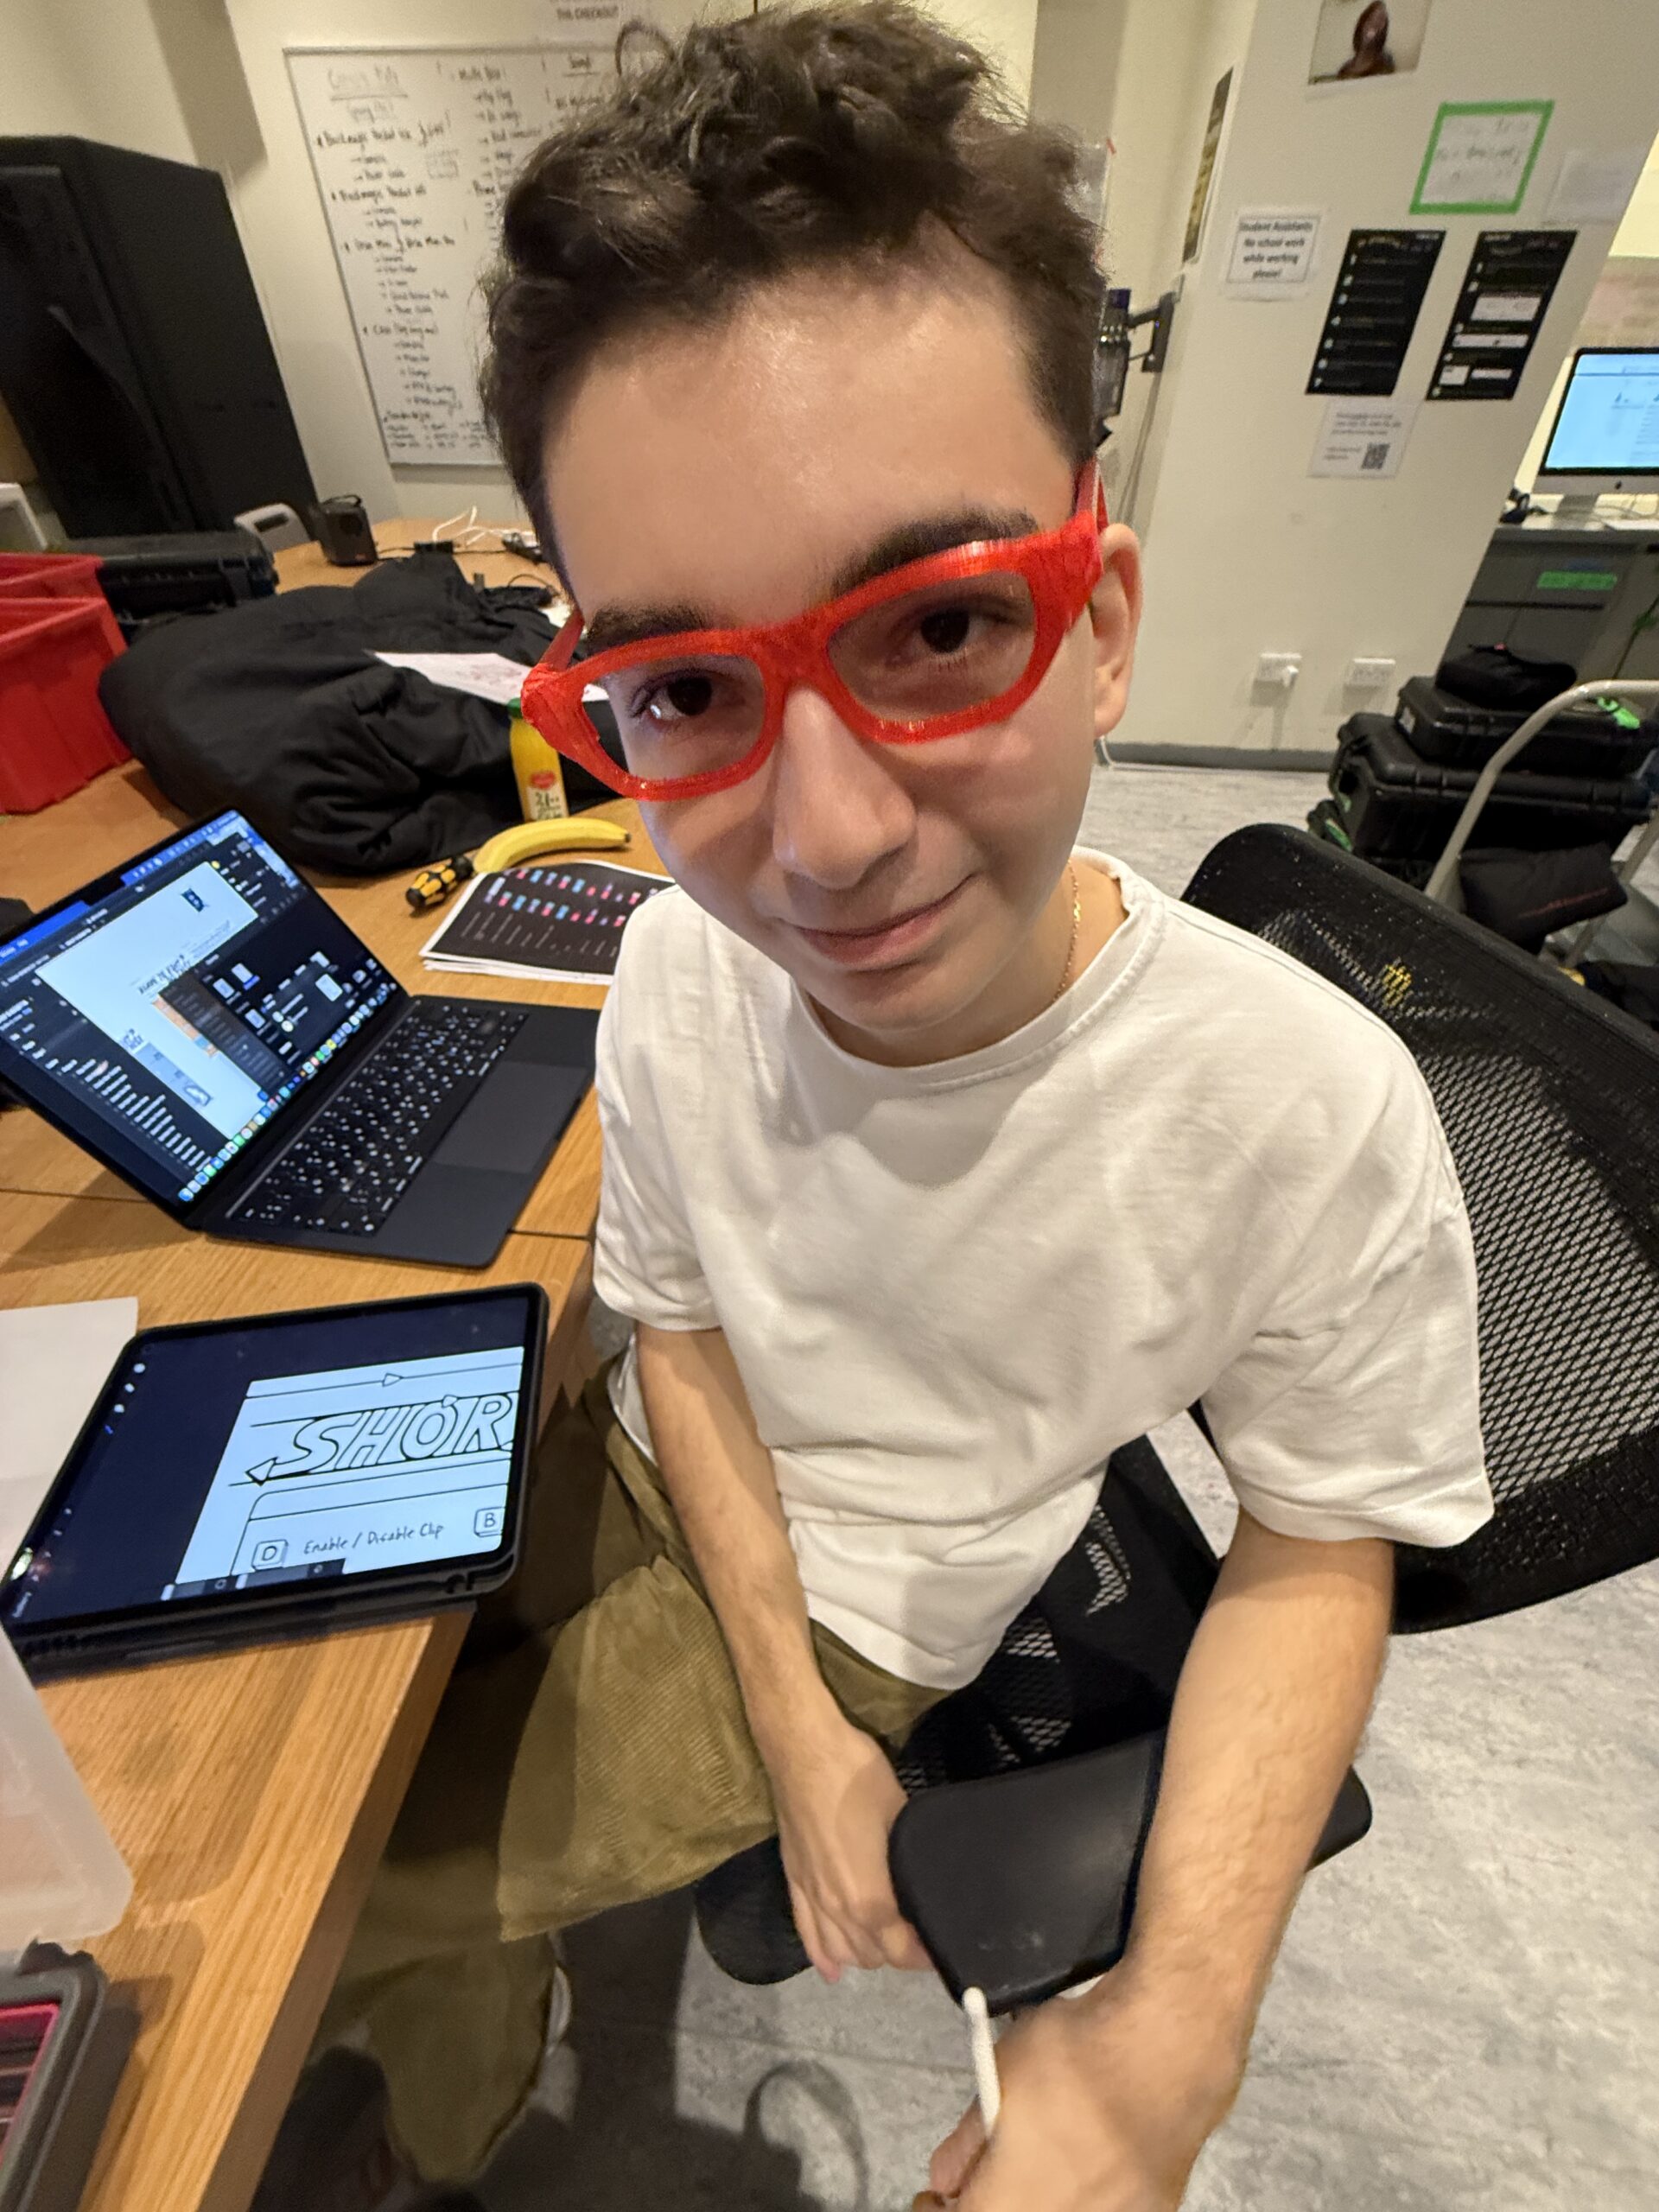 Figure 2: testing the first printed frame downloaded from outside
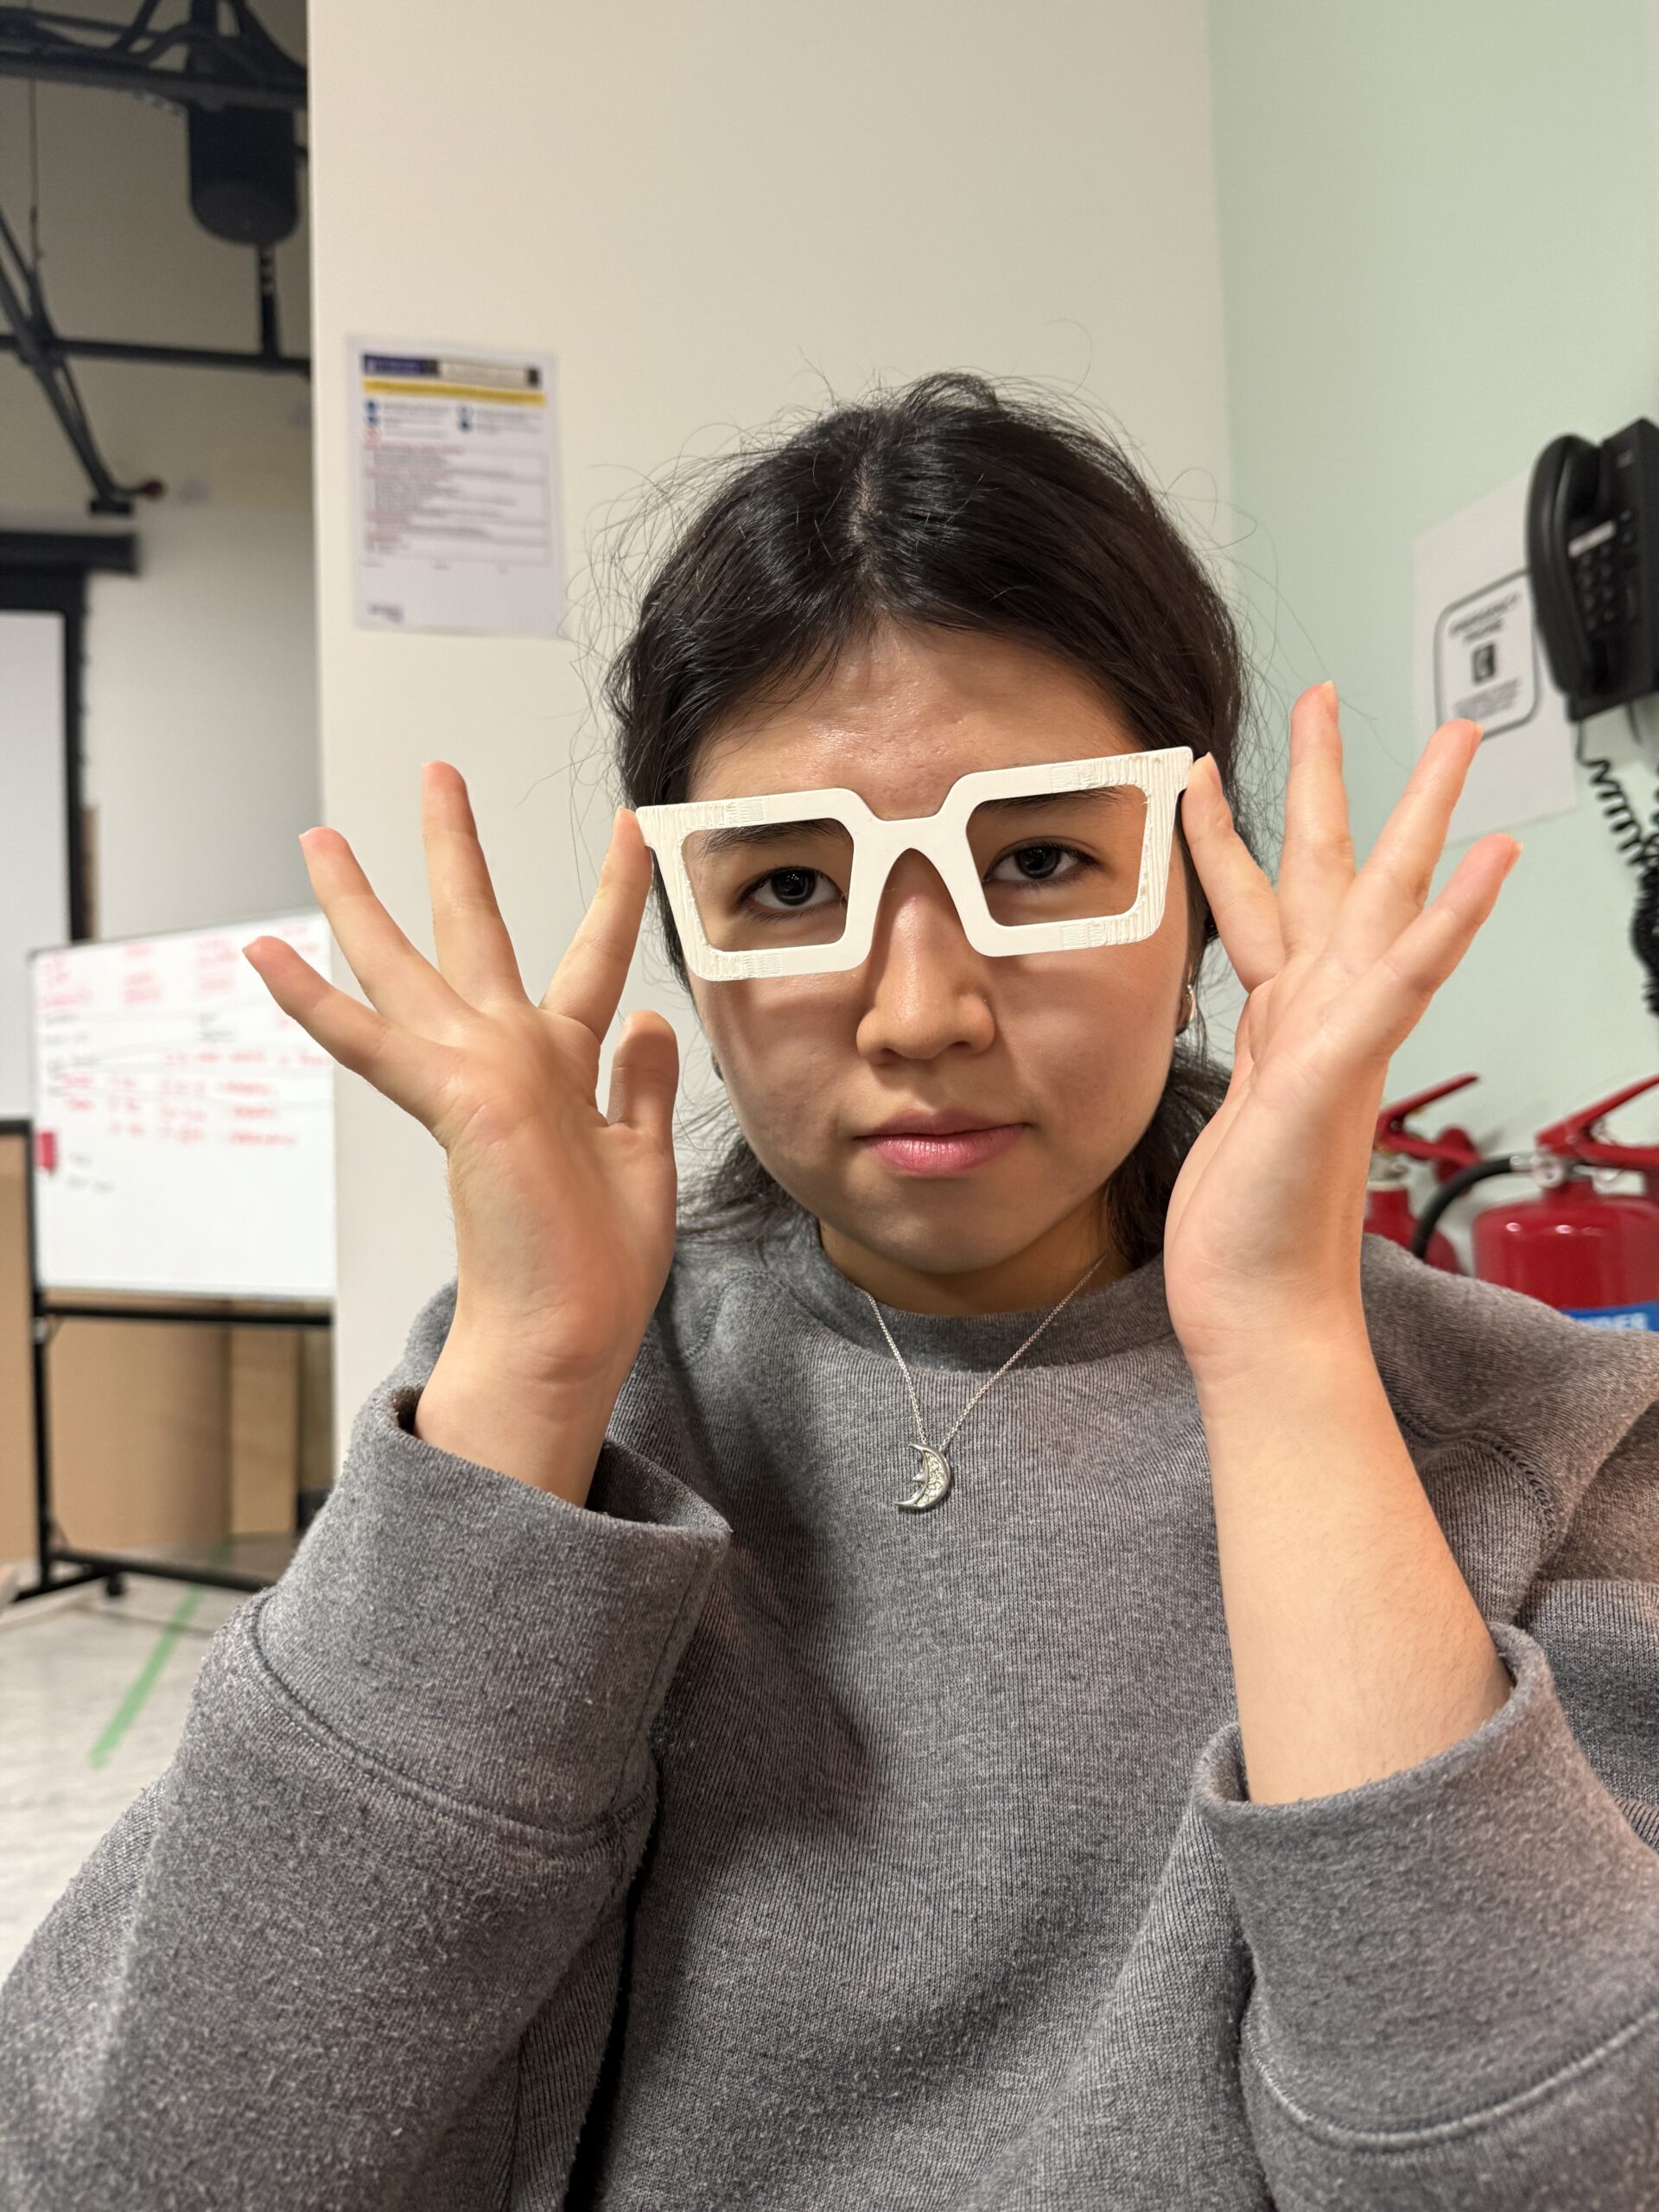 Figure 3: testing the frame modelled by me
 Figure 4: spray painting the frame
User Interaction
During the showcase more than a dozen of people came up to my project to test it. Thanks to planning the setting in advance, I have managed to set up proper light conditions to make the image captured by the web camera more clear. However, due to the loud conversations and music around, it was difficult to hear the melody playing through the glasses, so I had to adjust the volume on the spot.
All people who experienced my work were very interested by the concept and surprised by the implementation, as they did not expect to see their own eyes on the screen displayed in real time. The problem behind the concept was relatable to all participants who also wear glasses, as they have agreed that they experience the same issue.
Figure 5: User Interaction video
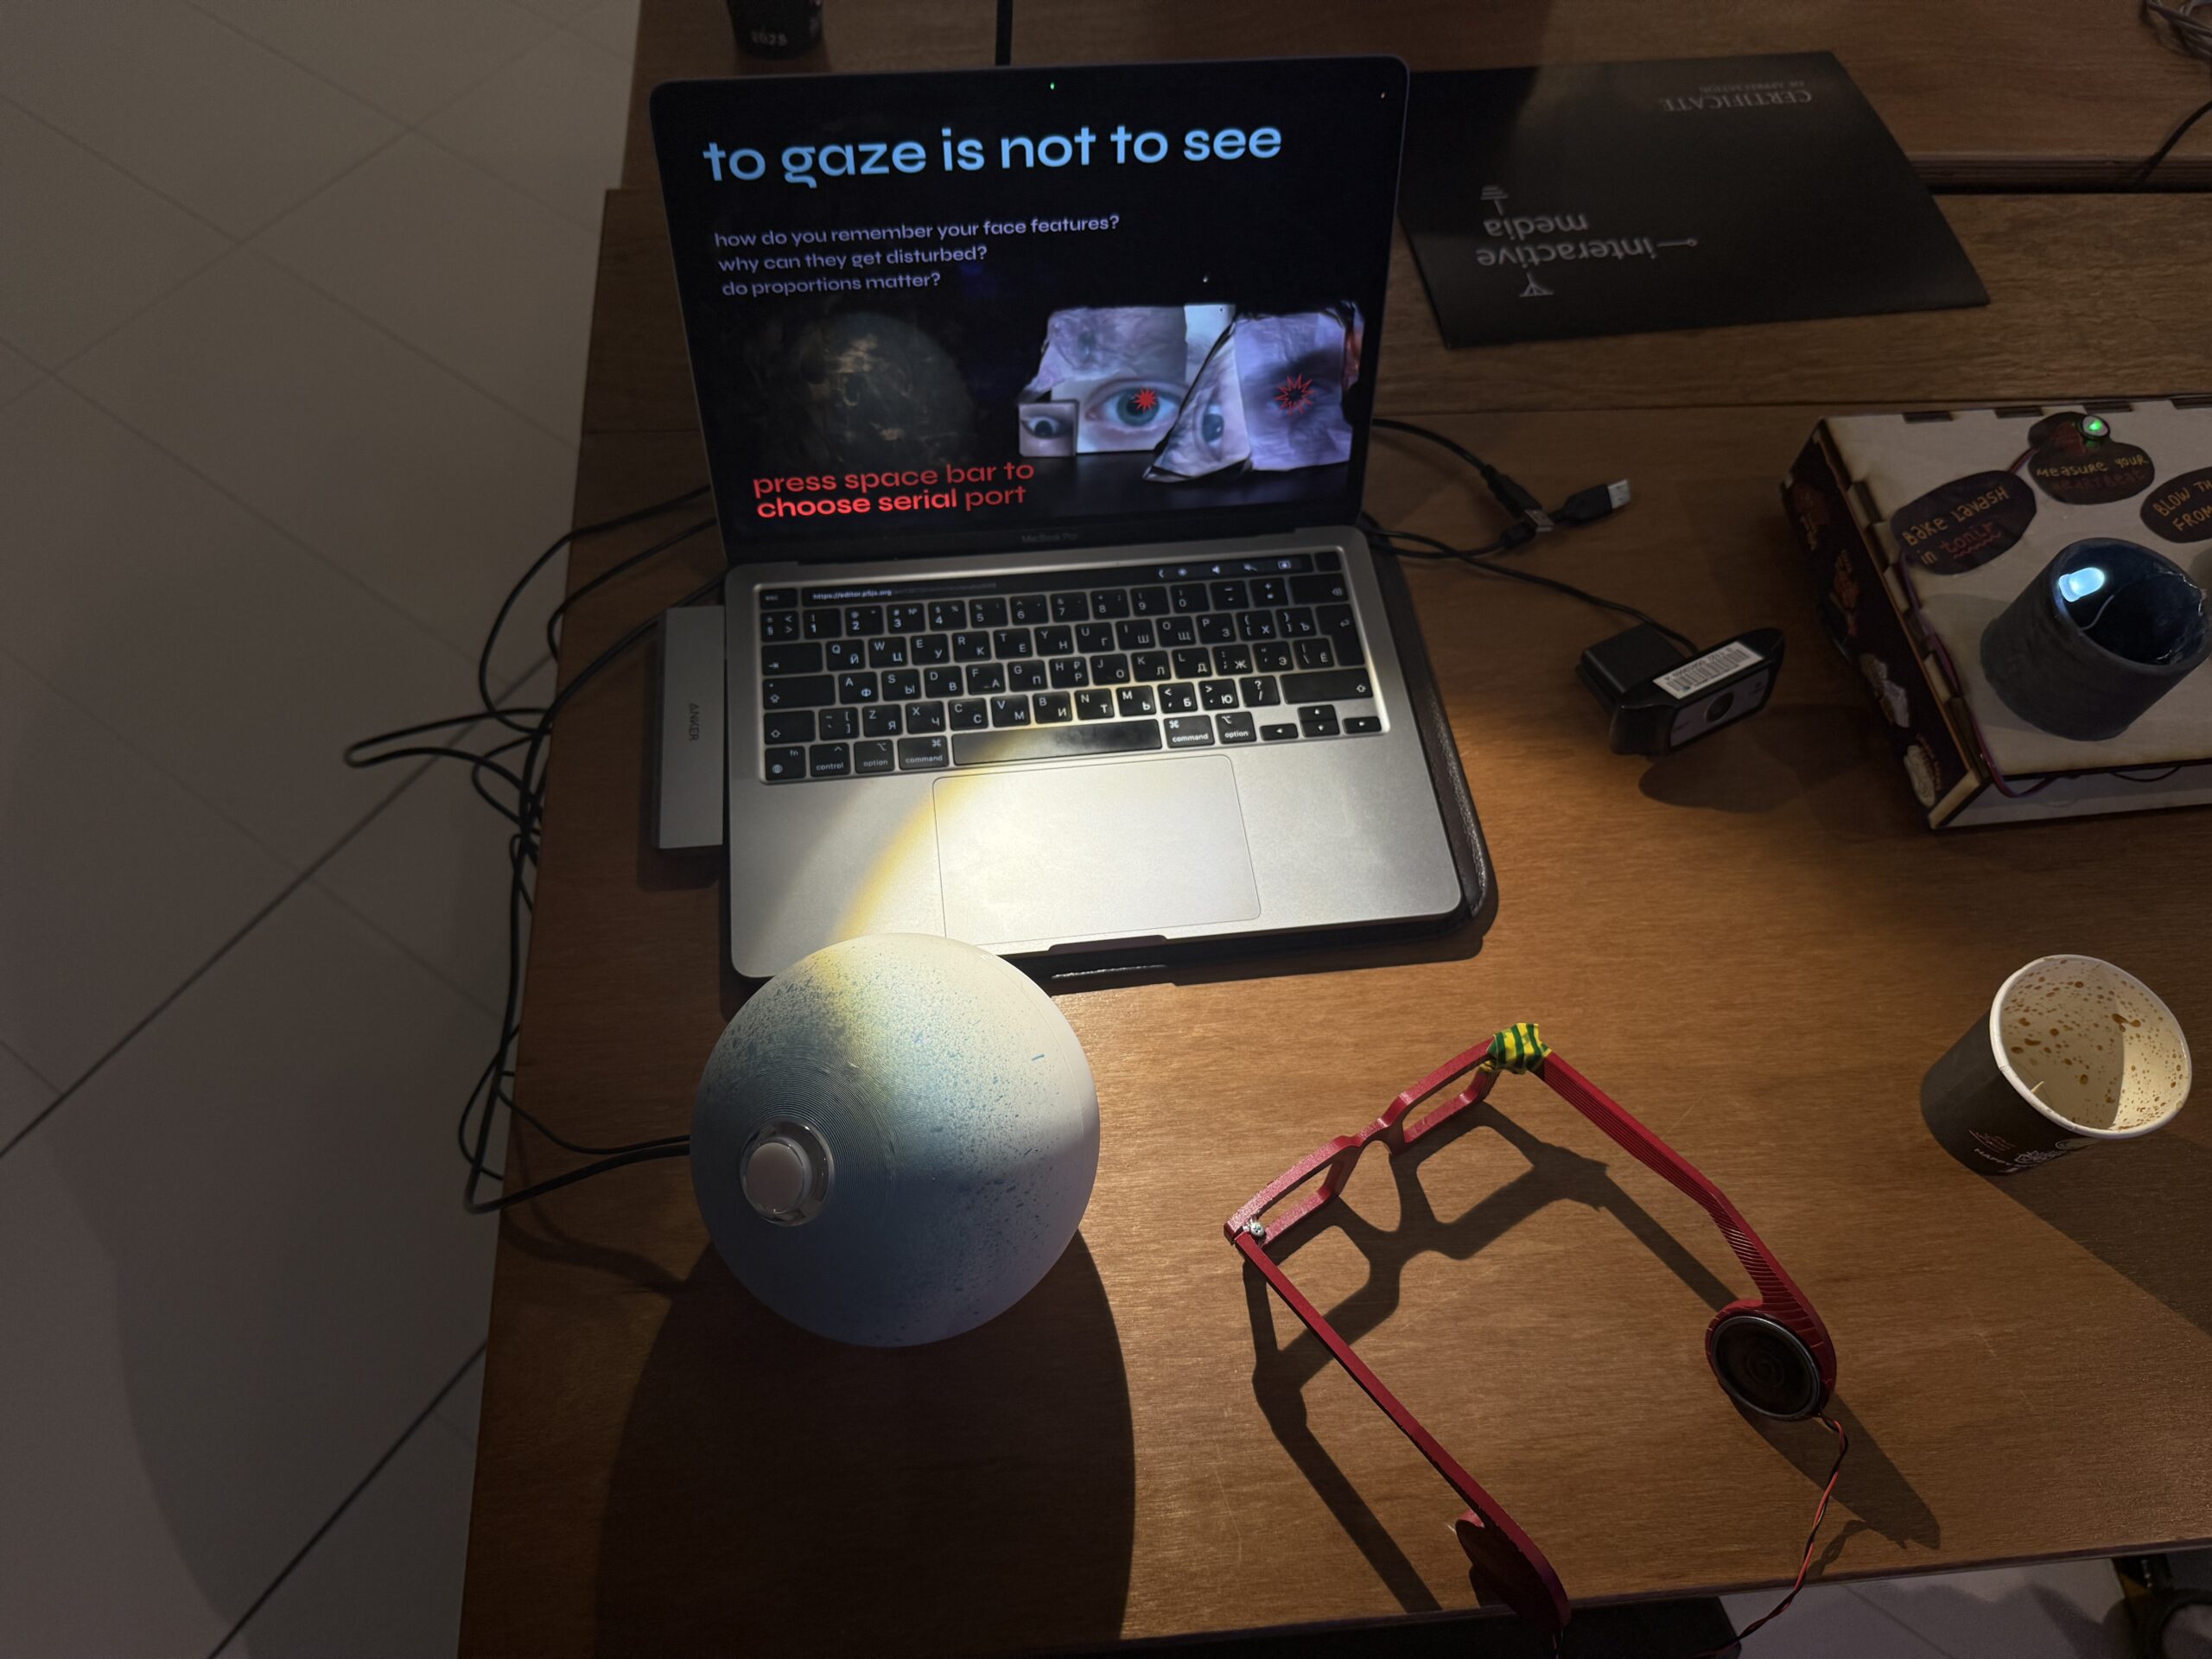 Figure 6: showcase setup
Sketch and code
GitHub Repository: https://github.com/am13870/FinalProjectIM
p5.js sketch:
What I am proud of
I was happy with my concept from the start, and I think I have managed to create a good representation of the experience I was intended to capture. The most challenging part was to connect the audio, as I was not simply using tones that would work directly with Arduino UNO, but decided to play an mp3 file with an actual song. I did not realise that I would have to use additional electronic components for this until the day before the showcase, since I was so involved into modelling of the glasses and perfecting the mandala ornament visuals. As such, I had to make urgent edits of the electronic scheme, adding an MP3 Playback Shield from Adafruit, exploring and testing the libraries that had to be added to my code, then adding an amplifier for the speakers, and finally soldering a connector from actual headphones to the speakers. Nonetheless, in the end I was satisfied with the quality of the audio, and I am very proud that I did not give up with the idea of including an mp3 file and have managed to do this.
Future improvements
While I am glad that I have managed to find and implement a proper library to work with eye tracking, I believe that the visual part could be improved even further in terms of quality of the image and variety and complexity of ornaments. I have tried to use an external web camera to extract video with a higher resolution, however, this made the sketch too heavy for my laptop to run correctly. I wish to develop this project further, as I have really enjoyed working on it and I plan to include it into my portfolio.