
Shreya and I have been busy this week creating the set of instructions and the foundations of the bomb game. We met to create the instructions that one player will have and by doing so have defined the structure of our game and Arduino. We then created a Github and split up the tasks so we could begin.
https://github.com/crb596/IntroToIMFinal
Instructions:
Here is a link to the Google doc which defines the flow of the game and the all important instructions on how to defuse the bomb.
https://docs.google.com/document/d/1IC1wbFItw18_ripscYxjerpAAywCoYI5twqY-hYIsg0/edit?usp=sharing
Cole:
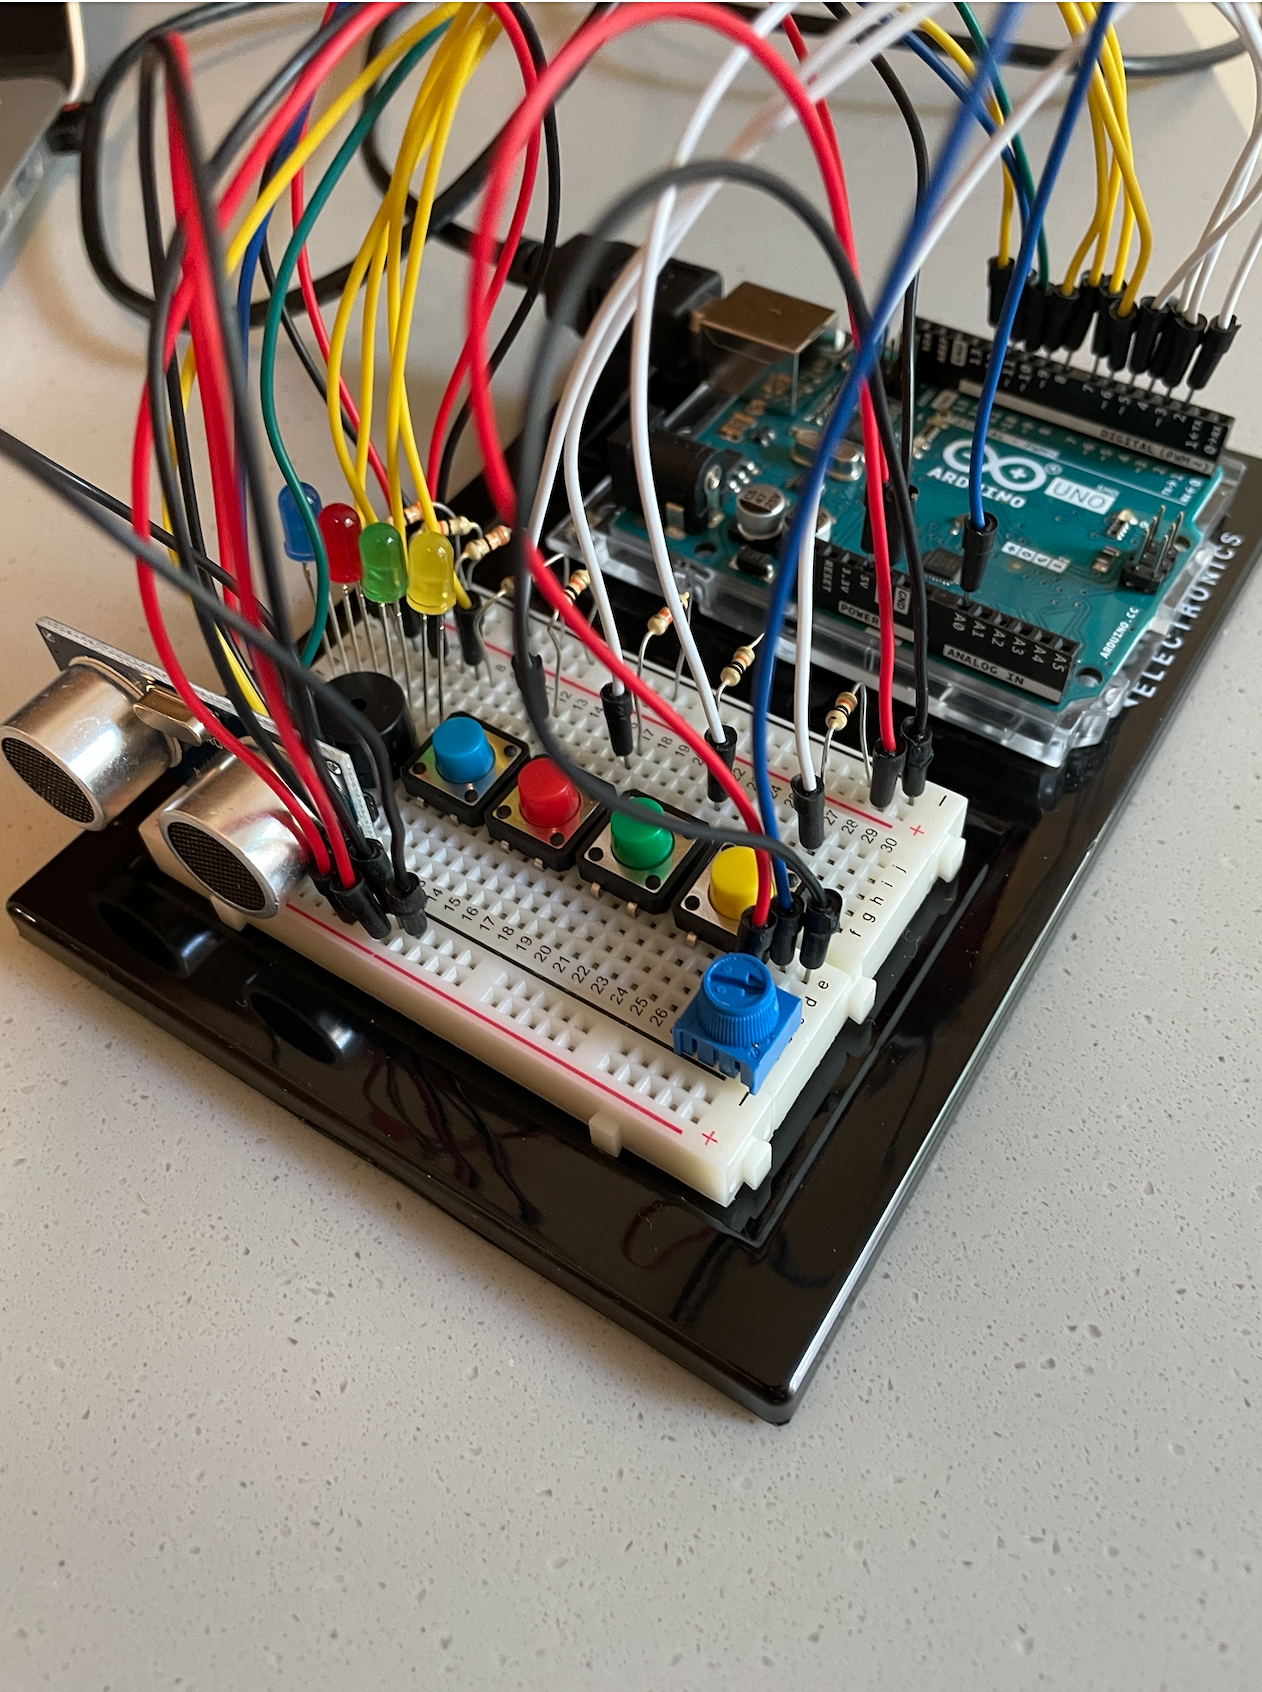
I finished creating the Arduino with all the wiring. I have on the board 4 LEDs, 4 buttons with corresponding colors to the LEDs, a potentiometer, a distance sensor, and a buzzer.
I have also created the Arduino code needed to control the whole board from Processing as well as send the inputs from the sensors back.
Here is the Arduino circuit (note the distance meter in Tinkercad is a 3 pin, not a 4 pin variant like we have so I just placed 4 wires in the top left corner where the distance meter is actually at)
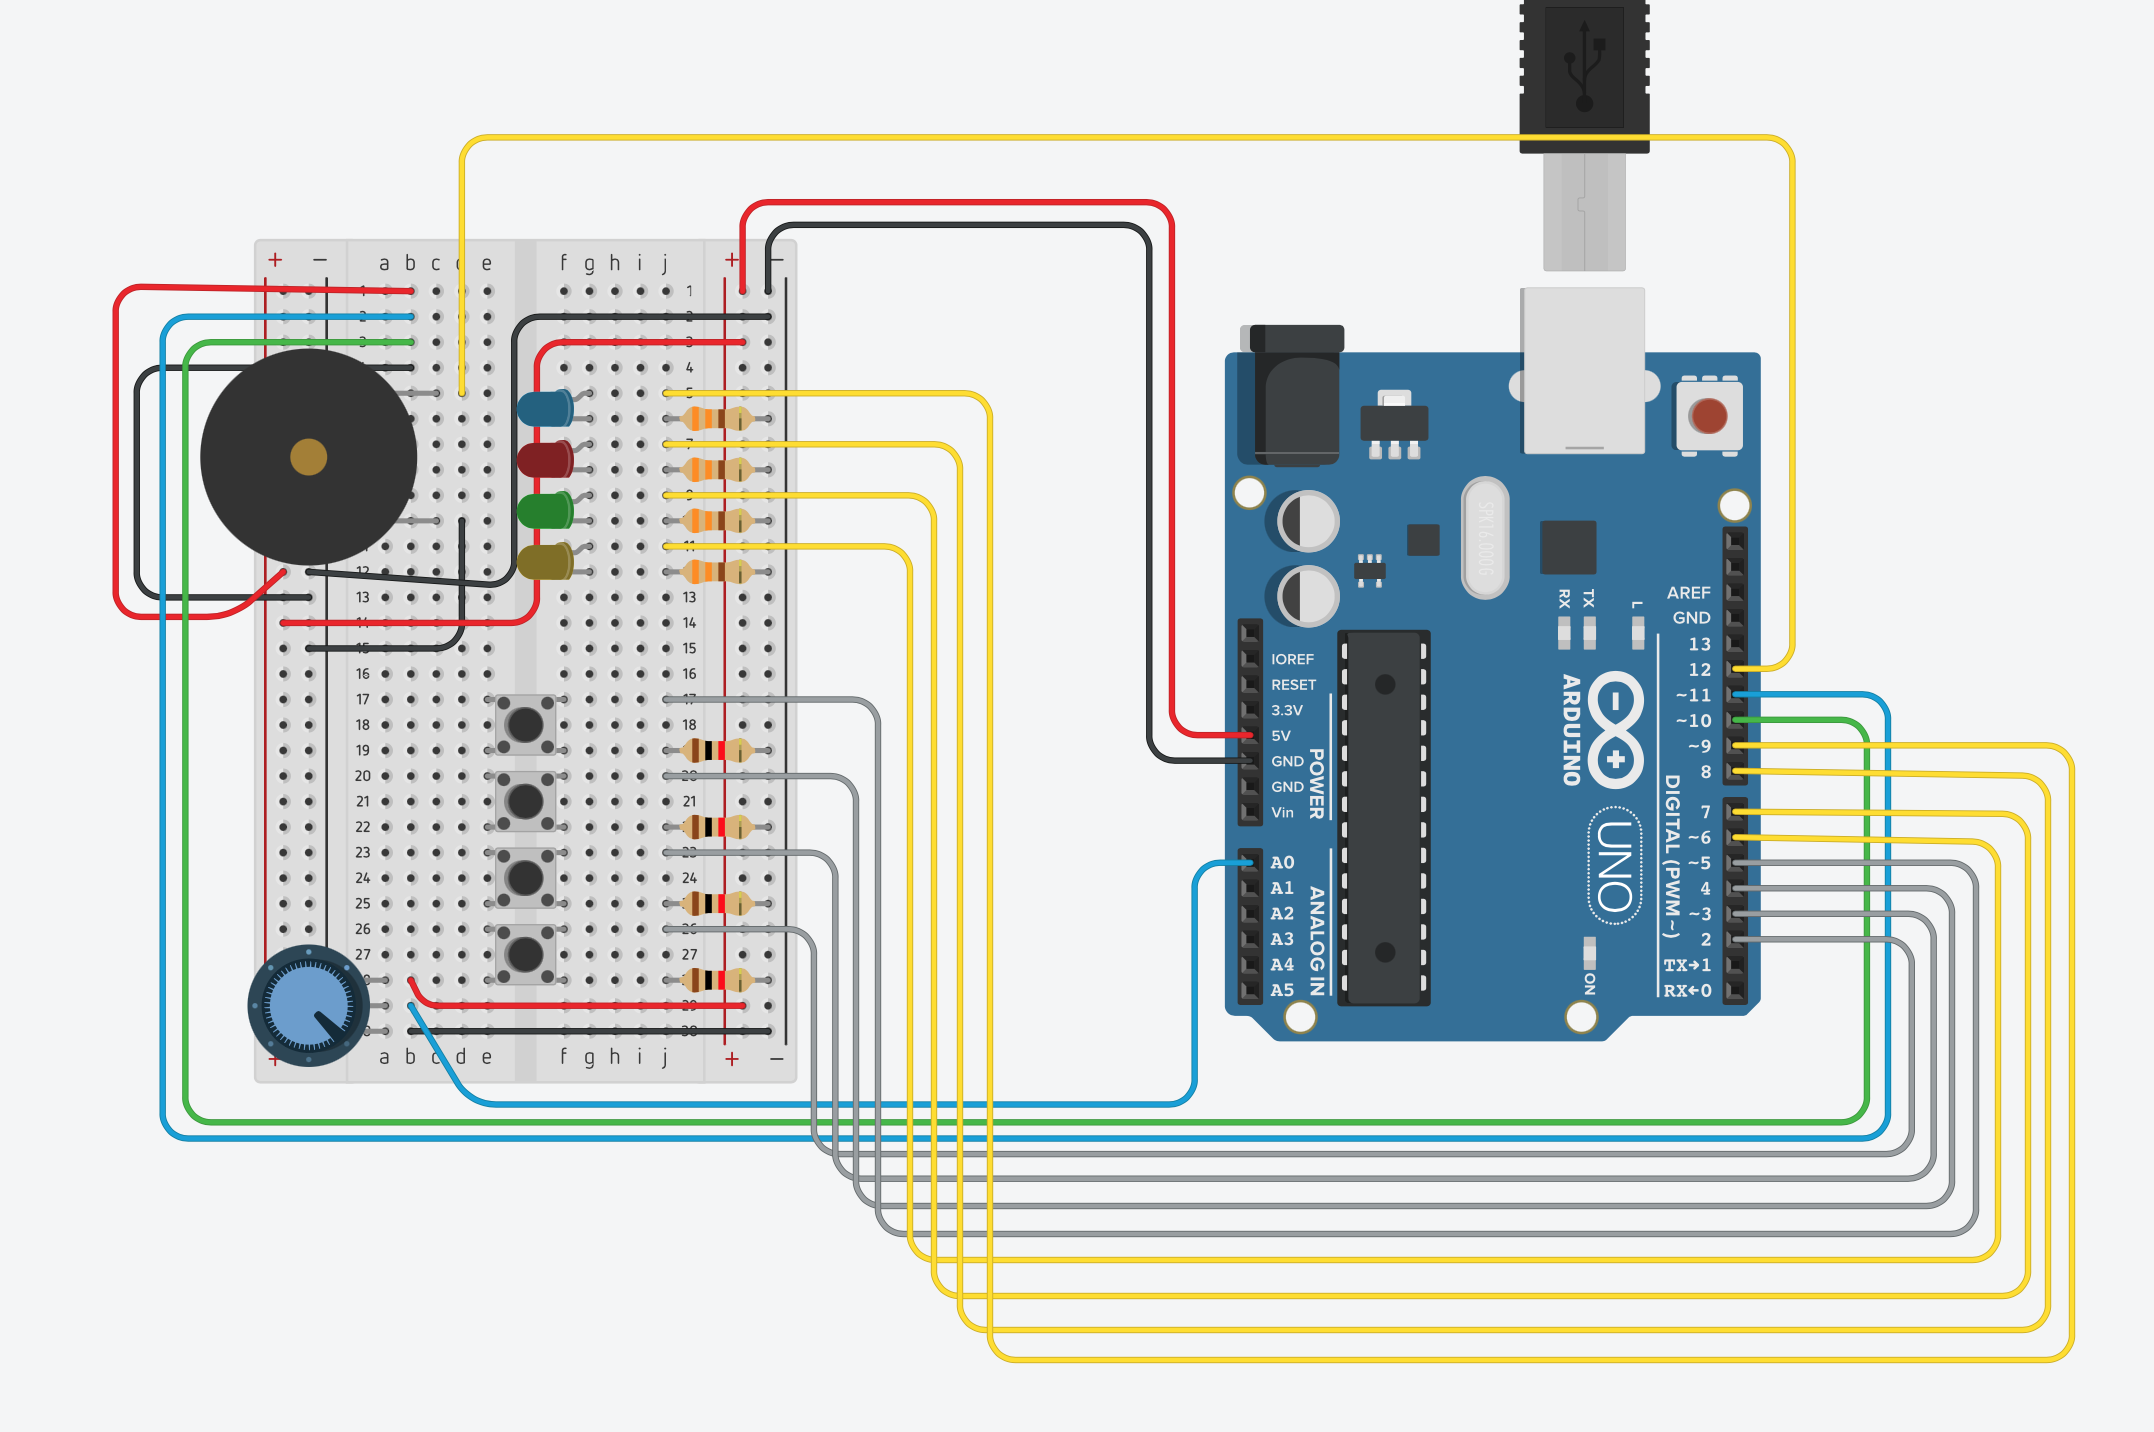
I have also written the following code to control this board and talk to Processing from our game.
(Code on WordPress no longer inserting?)
//Pins
const int blueLedPin = 9;
const int redLedPin = 8;
const int greenLedPin = 7;
const int yellowLedPin = 6;
const int potentiometerPin = A0;
const int blueButtonPin = 5;
const int redButtonPin = 4;
const int greenButtonPin = 3;
const int yellowButtonPin = 2;
const int echoPin = 10; // Echo Pin of Ultrasonic Sensor
const int pingPin = 11; // Trigger Pin of Ultrasonic Sensor
const int buzzerPin = 12;
//On or off values for led
int blue = 0;
int red = 0;
int green = 0;
int yellow = 0;
//Has the bomb gone off
int alarm = 0;
//Are the buttons being pushed
int blueButton = 0;
int redButton = 0;
int greenButton = 0;
int yellowButton = 0;
void setup() {
//Setup serial communication
Serial.begin(9600);
Serial.println(“0,0”);
pinMode(blueLedPin, OUTPUT);
pinMode(redLedPin, OUTPUT);
pinMode(greenLedPin, OUTPUT);
pinMode(yellowLedPin, OUTPUT);
pinMode(blueButtonPin, INPUT);
pinMode(redButtonPin, INPUT);
pinMode(greenButtonPin, INPUT);
pinMode(yellowButtonPin, INPUT);
}
void loop() {
while (Serial.available()) {
//Read in input values in form “yellowLed,greenLed,redLed,blueLed,alarm”
yellow = Serial.parseInt();
green = Serial.parseInt();
red = Serial.parseInt();
blue = Serial.parseInt();
alarm = Serial.parseInt();
if (Serial.read() == ‘\n’) {
//Turn lights on from read in values
digitalWrite(yellowLedPin, yellow);
digitalWrite(greenLedPin, green);
digitalWrite(redLedPin, red);
digitalWrite(blueLedPin, blue);
//Read in potentiometer value and the distance meter value, convert to centimeters
int meter = analogRead(A0);
delay(1);
long duration;
int cm;
digitalWrite(pingPin, LOW); //Send a ping out with sensor
delayMicroseconds(2);
digitalWrite(pingPin, HIGH);
delayMicroseconds(10);
digitalWrite(pingPin, LOW); //Ping sent
duration = pulseIn(echoPin, HIGH); //Wait for return on echo Pin
cm = duration / 29 / 2; //Convert to cm
//Write to processsing in following form “potentiometer,distanceincm,yellowbuttonpressed,yellowbutton,greenbuttonpressed,greenbutton,redbuttonpressed,redbutton,bluebuttonpressed,bluebutton”
//Button pressed meaning if that button was just pressed and the value is now changing write 1
Serial.print(sensor);
Serial.print(‘,’);
Serial.print(cm);
Serial.print(‘,’);
int yellowButtonRead = digitalRead(yellowButtonPin)
if(yellowButtonRead == 1 && yellowButton == 0){
Serial.print(1);
}
else{
Serial.print(0);
}
yellowButton = yellowButtonRead;
Serial.print(‘,’);
Serial.print(digitalRead(yellowButtonRead));
Serial.print(‘,’);
int greenButtonRead = digitalRead(greenButtonPin)
if(greenButtonRead == 1 && greenButton == 0){
Serial.print(1);
}
else{
Serial.print(0);
}
greenButton = greenButtonRead;
Serial.print(‘,’);
Serial.print(digitalRead(greenButtonRead));
Serial.print(‘,’);
int redButtonRead = digitalRead(redButtonPin)
if(redButtonRead == 1 && redButton == 0){
Serial.print(1);
}
else{
Serial.print(0);
}
redButton = redButtonRead;
Serial.print(‘,’);
Serial.print(digitalRead(redButtonRead));
Serial.print(‘,’);
int blueButtonRead = digitalRead(blueButtonPin)
if(blueButtonRead == 1 && blueButton == 0){
Serial.print(1);
}
else{
Serial.print(0);
}
blueButton = blueButtonRead;
Serial.print(‘,’);
Serial.println(digitalRead(blueButtonRead));
}
}
}
Shreya
(From Shreya’s post about progress)
We decided to start with the interface first because once we have the visualization, it will be easy to display the Arduino reads on the screen and check if our code/wiring is appropriate or not. Also, it is very hard to code the entire logic with no visible output. So, once we integrate Arduino with processing, we should be able to see the results on the screen.
I started with sketching the wires. I was thinking about how it could be possible to have wires disappear once they are cut. The best way I could imagine was draw these pieces individually and then display the appropriate wires based on their state (1 for uncut and 0 for uncut).
Next, I wanted to try to make the distance meter and potentiometer reading on screen. For testing purposes, I made them map to mouseX. This will be switched to Arduino readings later. The rotation of the needle was a little hard to achieve because I wanted it to pivot over a very particular point in the image. With a little trial and error and some calculations, I think I got that right!
Video: https://youtube.com/watch?v=-L6e0BAwrrE&t=14s
I am currently working on displaying the bomb timer/countdown on the screen. This is proving to be a bit challenging. After this, I will start with the driver program for the game which is the LED sequences, and randomizing those. Based on that, the code for the rest of the game will follow. Each LED sequence needs to wait for input and update multiple flag variables and then change the sequence to give the next signal. I have charted out a plan on how this will work… implementation will hopefully follow soon 🙂