
Idea:
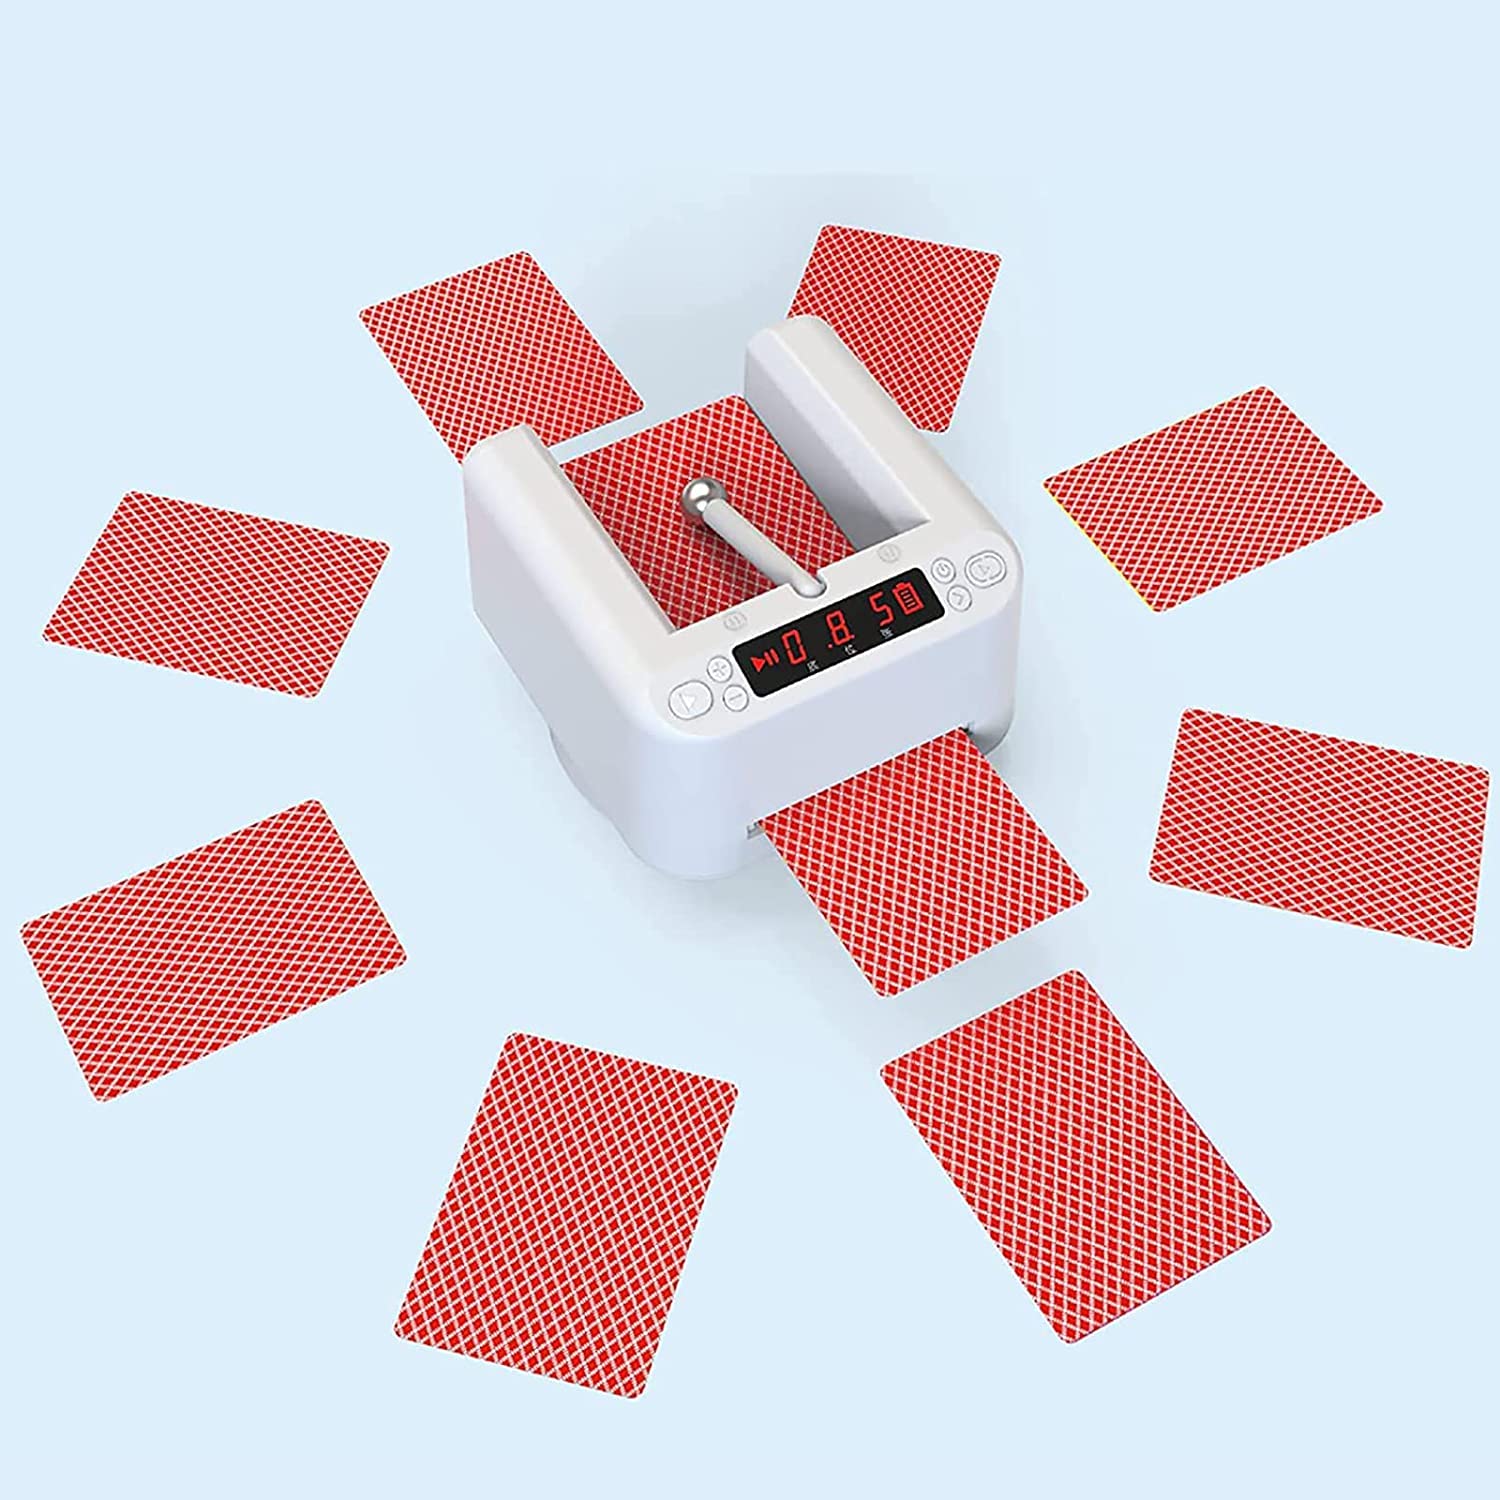
Starting from my very first Intro to IM assignment, I have been trying to combine the possibilities of Interactive Media and my passion for card magic. The initial idea for a project like this came to me as I remembered when once I saw an automatic card dealer that swiftly deals the appropriate number of cards to the selected number of players, and some models even shuffle the cards before dealing! Some of these models are sold commercially, but I wanted to go a step further – to try to make a card dealing machine that would help the user get a competitive edge over the other players – which is a natural extension to a device like this for a magician. Here is an example of one of those machines that are sold commercially.
Although there was a handful of card-dealer projects online, I could not find any project that would combine card detection and dealing except one, which was not feasible to make in the scope of the class. I had to find projects and information from all over the web and put them together into a cohesive whole, which was a challenging and a time-consuming task.
Physical Parts:
I found this video on YouTube that employs a close mechanism to what I wanted to create. Hence, I used some of the models that they created to 3D print a tray to hold the cards, a wheel that will dispense the cards, and the handle to hold the motor that the wheel is going to be attached to. I had to learn some use of a 3D modeling software to design my project accordingly, and I used FreeCAD to make all the necessary measurements. After some issues with 3D printing and with the help of Professor Aya the 3D models were successfully completed. I would some rubber string in the IM Lab that was the only fitting component that could be glued to the 3D printed wheel to dispense the cards. The rubber material was necessary to provide enough friction for the cards to be caught and moved.
The bottom platform I used is from this project (https://www.instructables.com/Rotating-Table-Tutorial-In-Progress/). The scale was modified to fit the project better.
After all the models were ready, I used the drills in the Lab to adjust the hole dimensions to fit every piece snugly. I have never worked with 3D printers before, therefore this part was quite challenging in terms of finding the right models and modifying them physically or digitally to make every piece work together. Gladly, everything was fitting in the end and it was time for time digital implementation.
Here is the final design of the device.
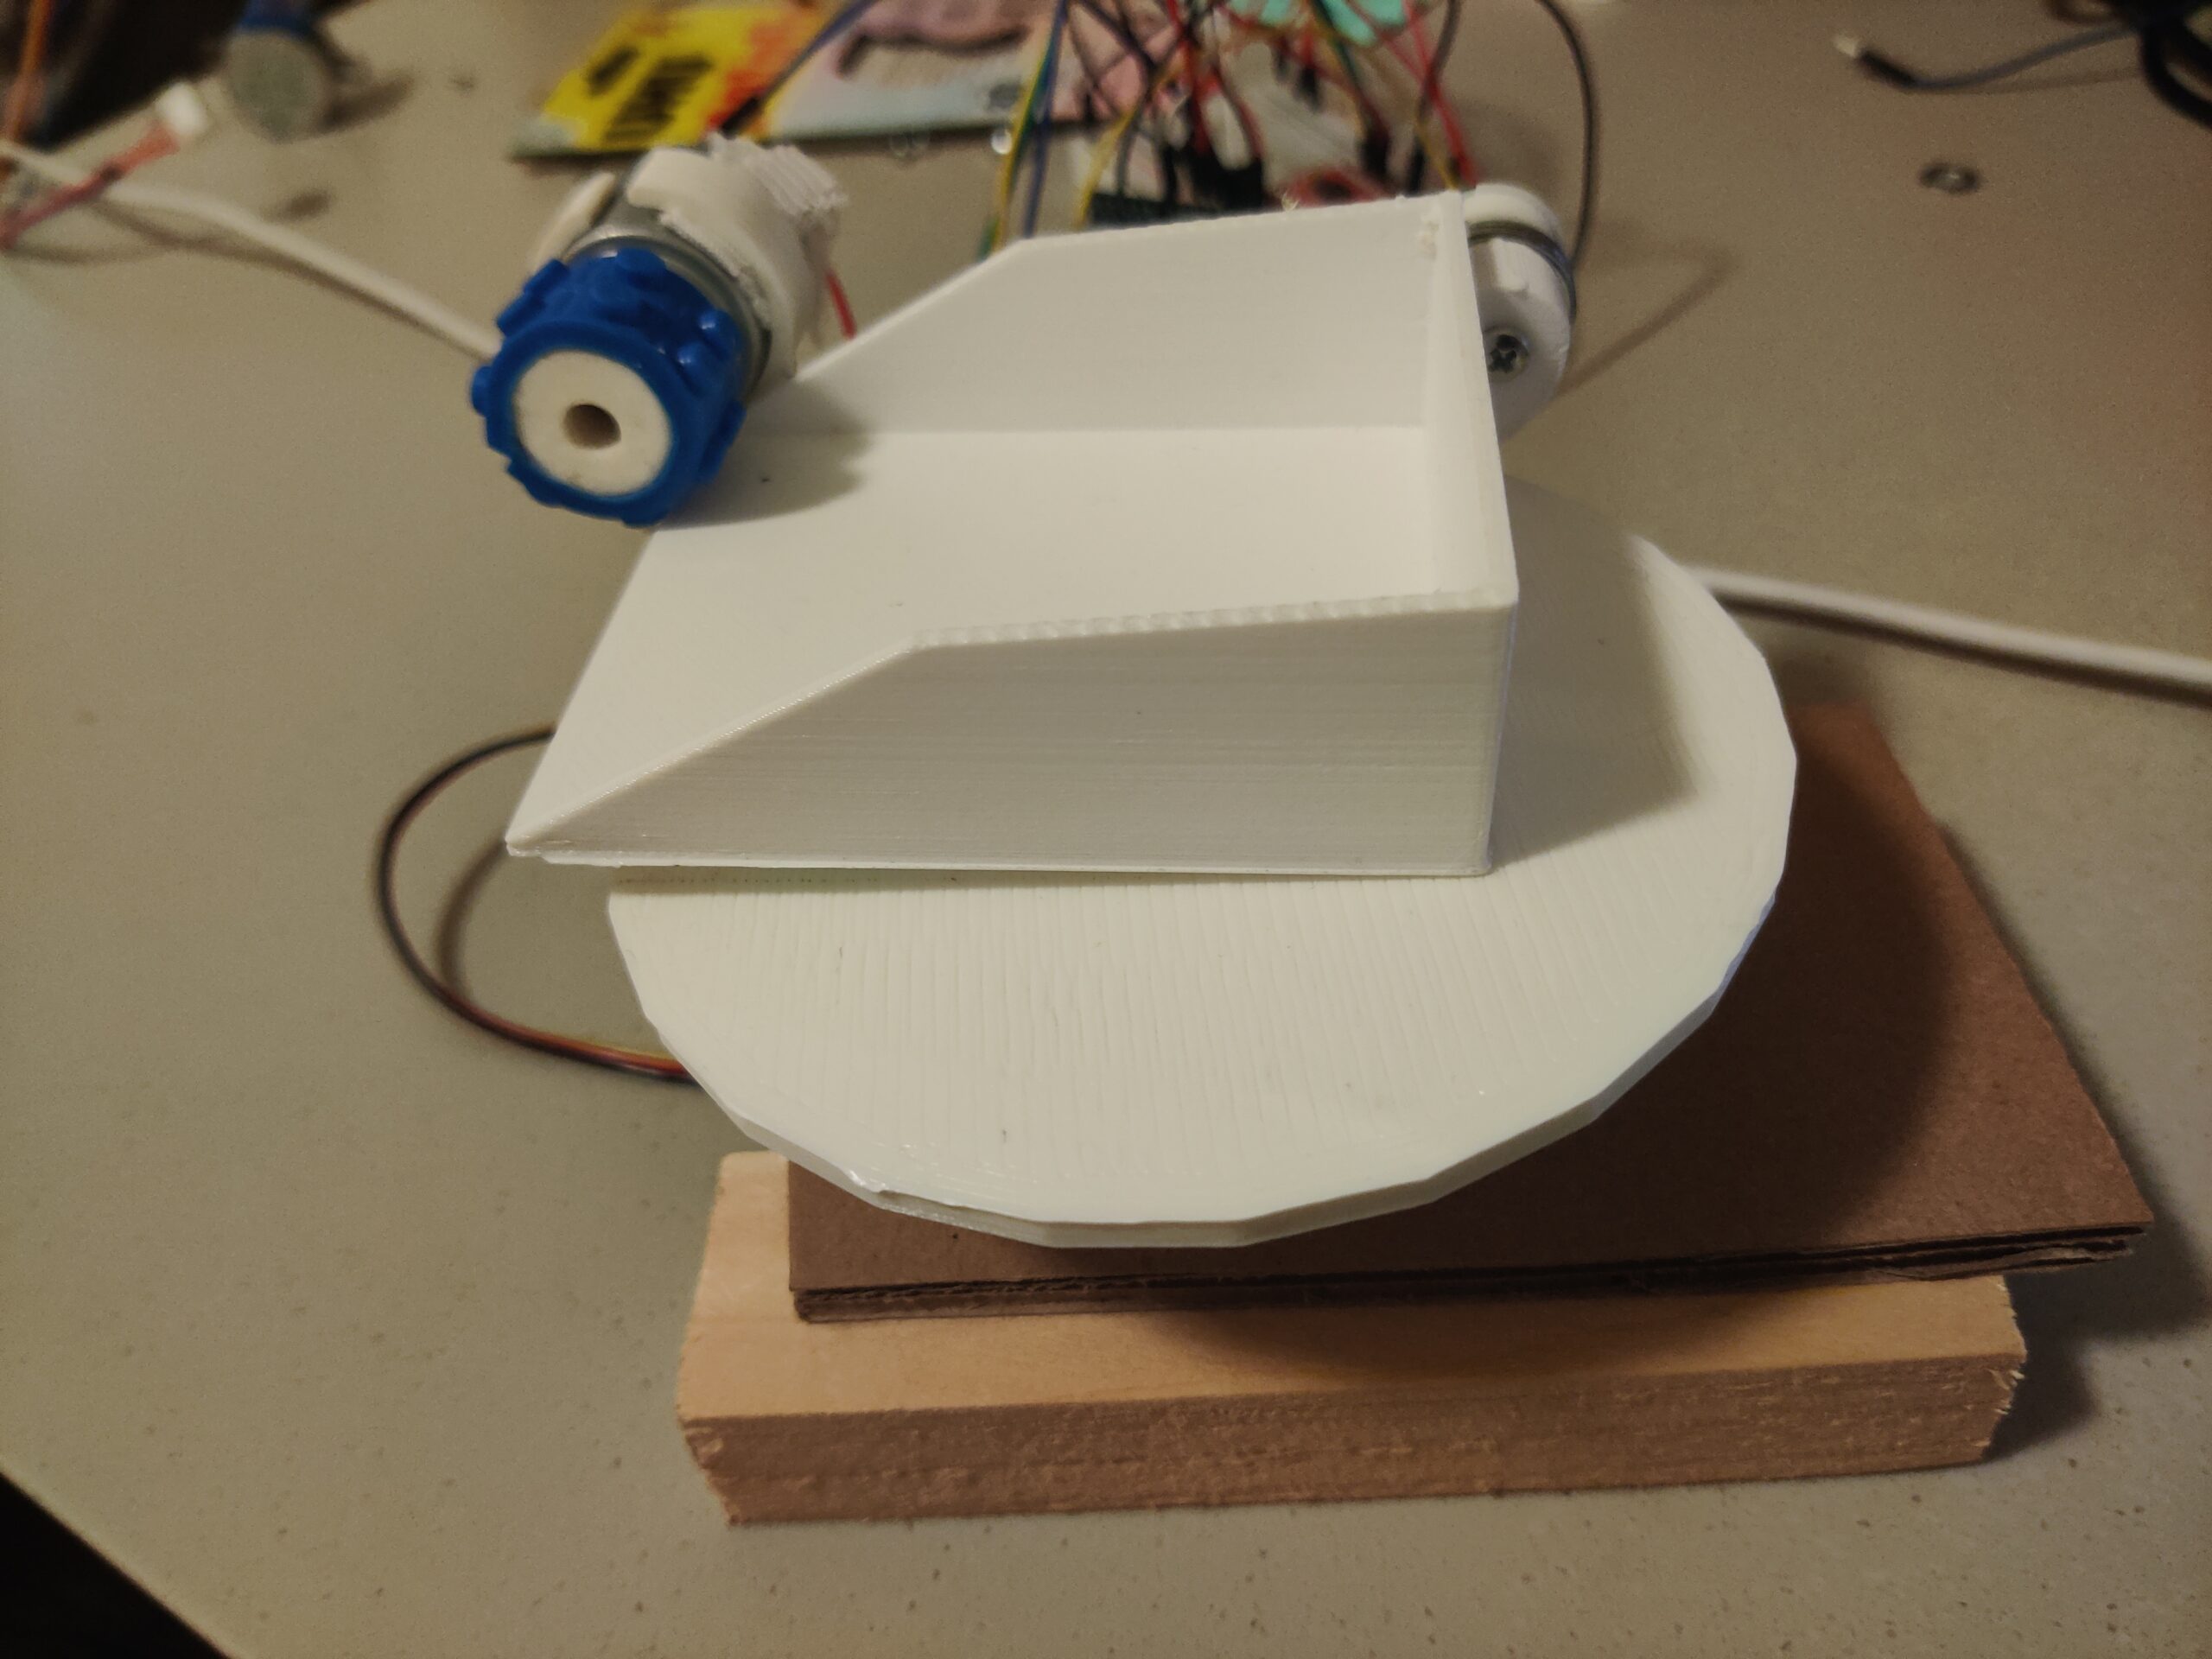
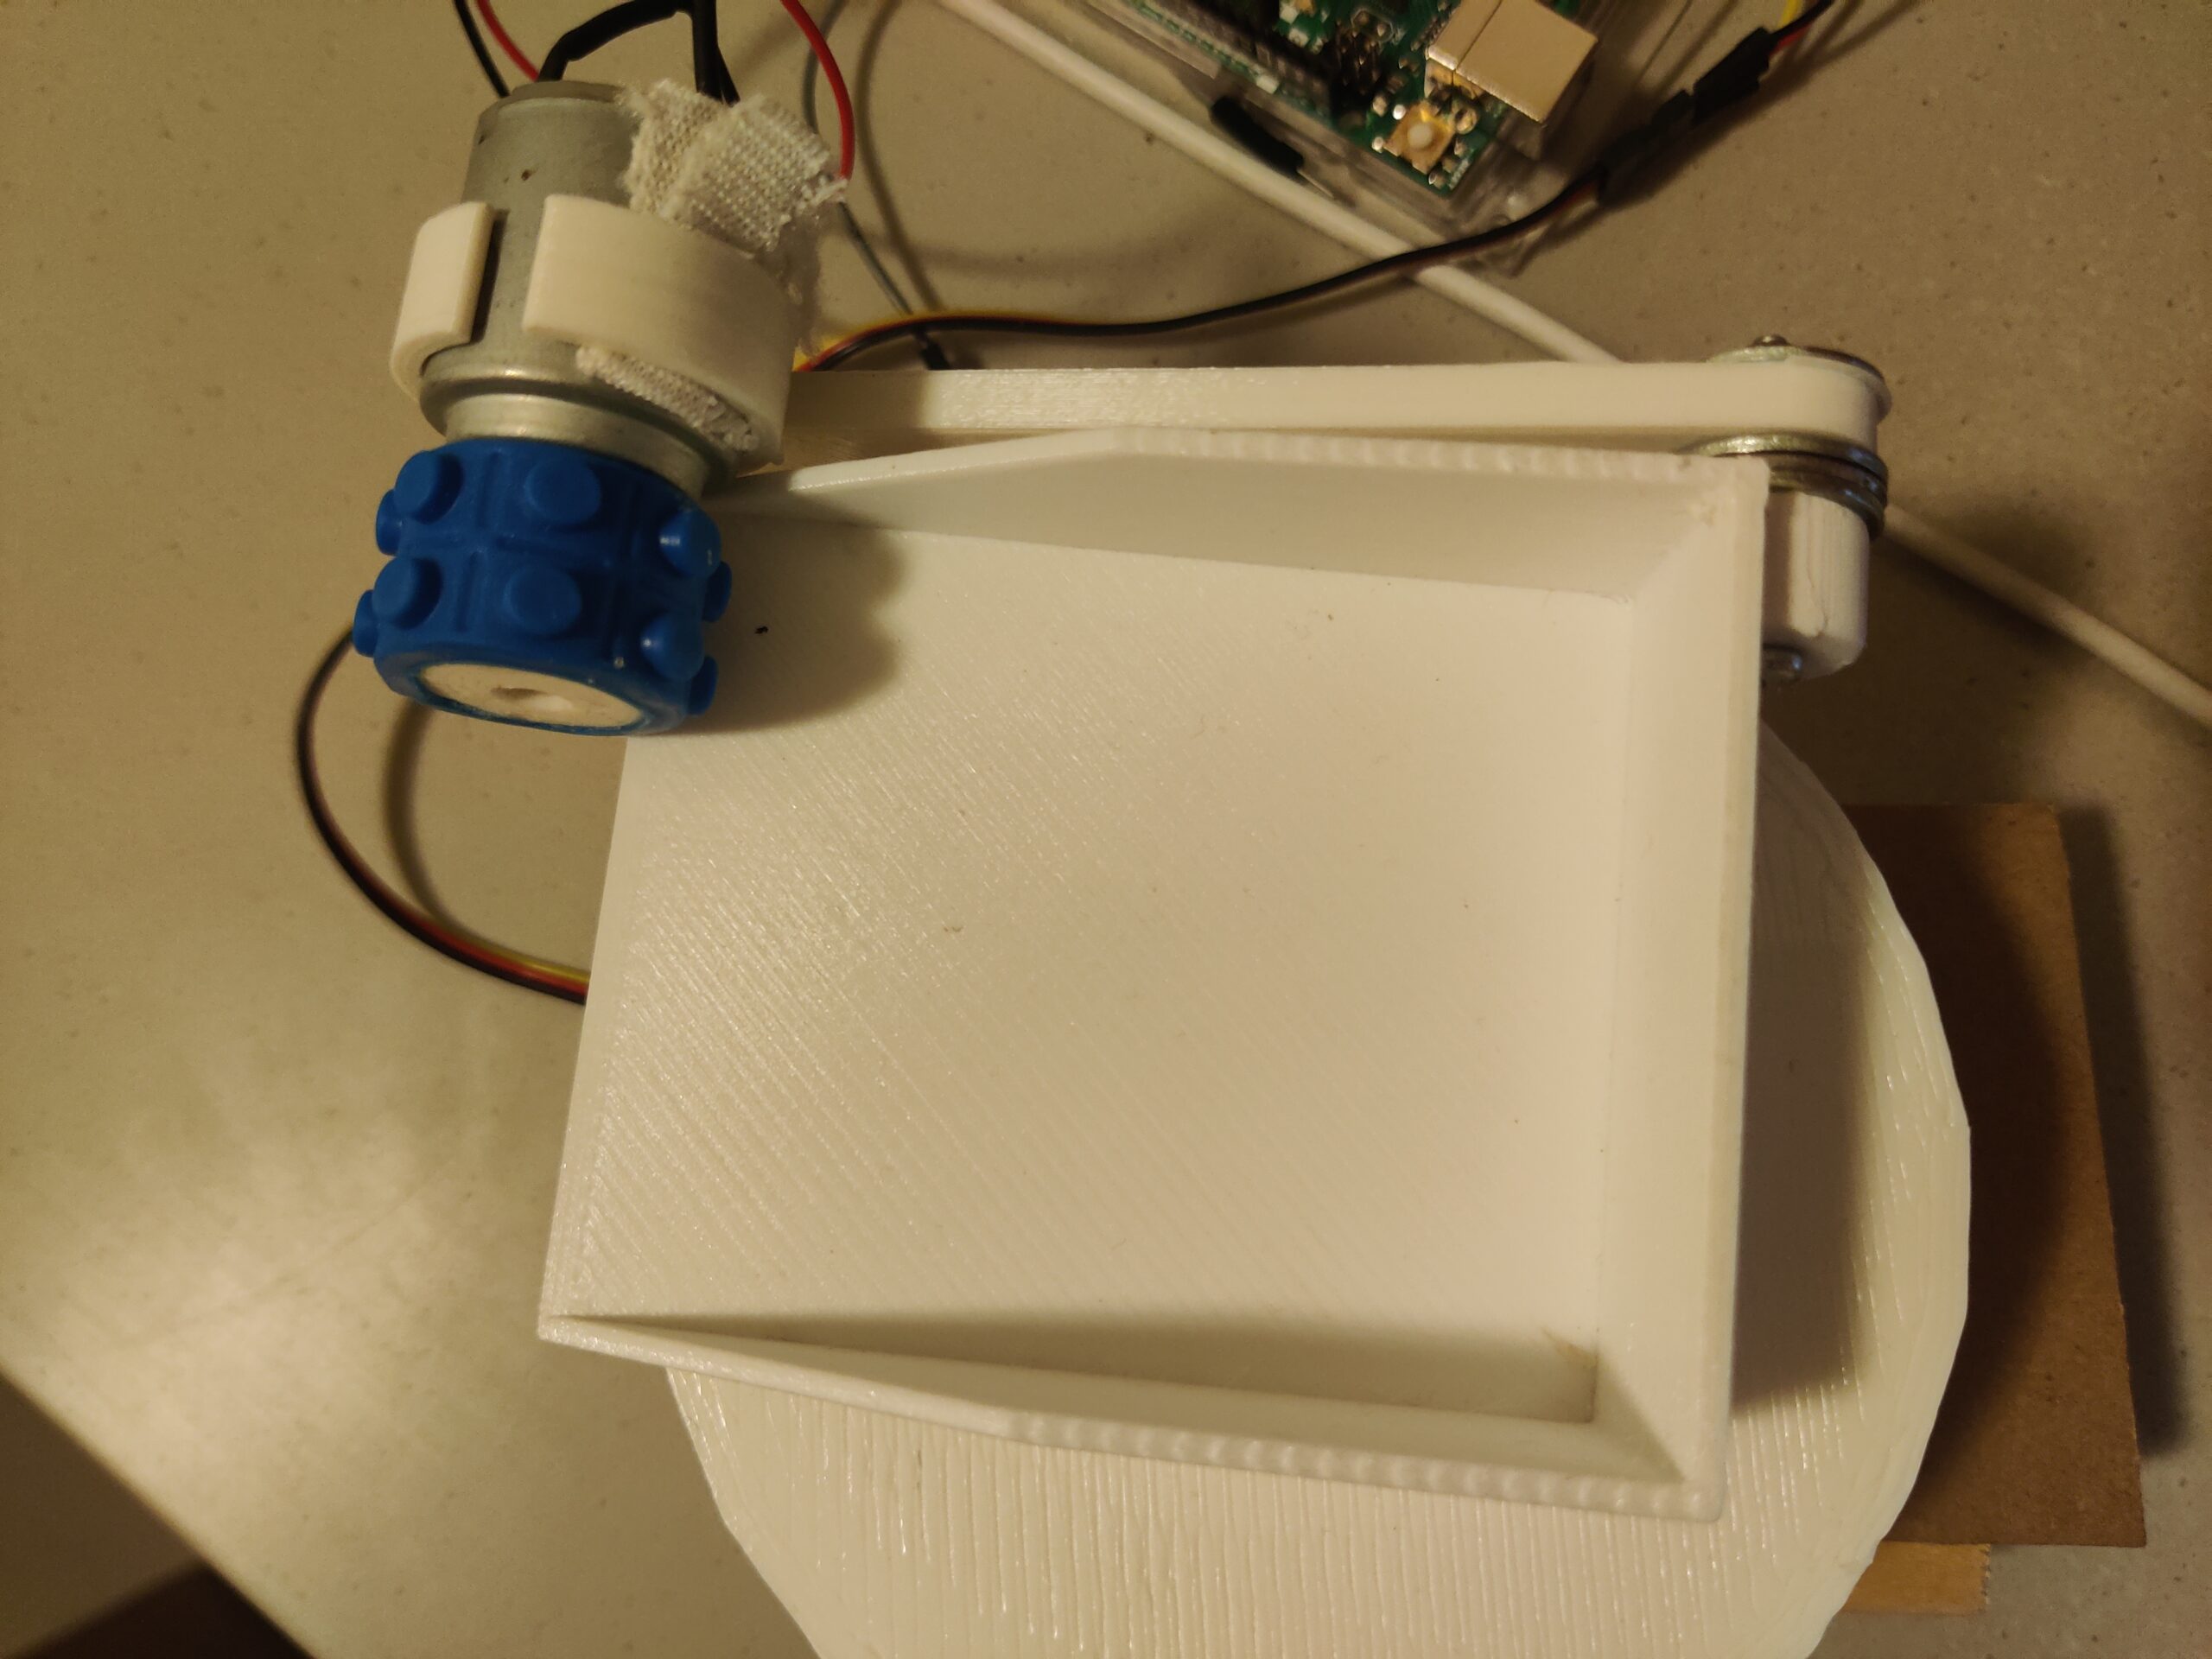
The servo motor for the base is fixed using cardboard and wooden blocks glued to the motor for stabilization. 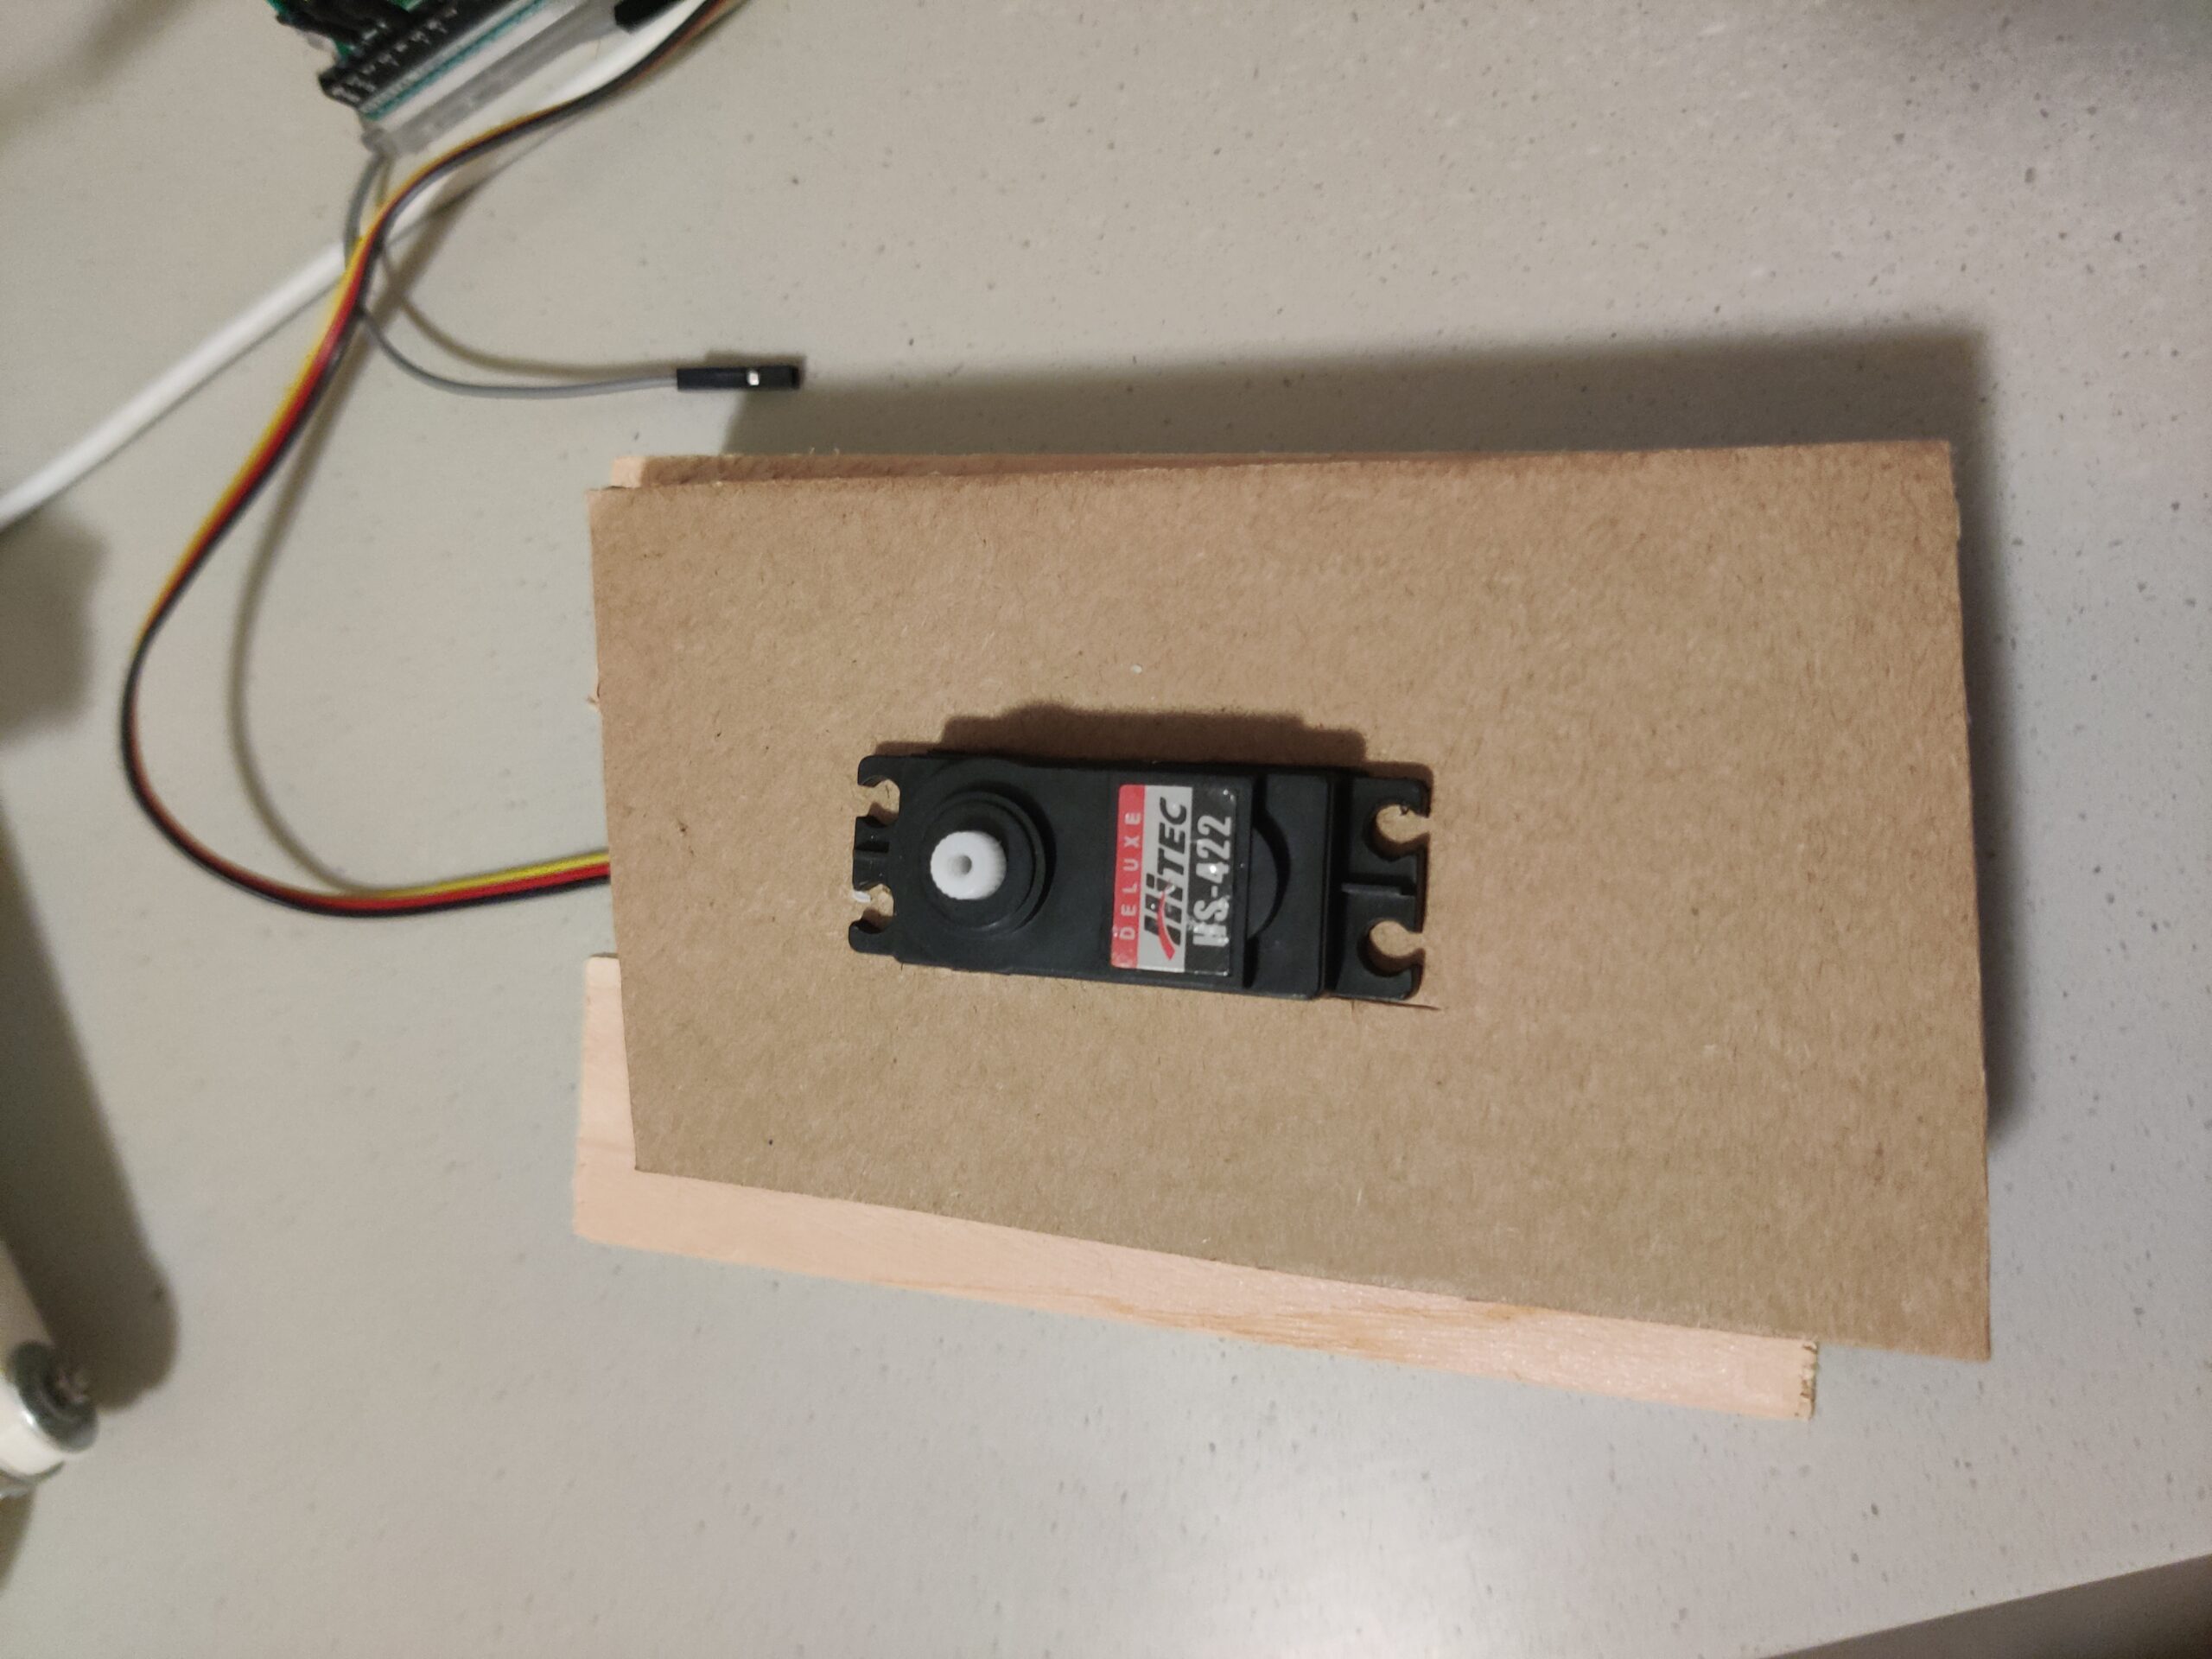
The detection model: This was undoubtedly the most challenging and novel part in this project. I went through a lot of options among training models myself and searching for pre0trained models until I found a pre-trained model on Roboflow for playing card detection (https://universe.roboflow.com/augmented-startups/playing-cards-ow27d/model/4). During this learning process I understood how to use pre-trained models and understood the process of training a model myself, but I am glad that I found a pre-trained one as training it myself would be a possible, but hugely a time-consuming process. Another major challenge arose during the deployment of the model on the website. I faced a lot of technical issues until making the model work on the website that I made for the project.
P5.js:
I went with a web-implementation route for the project as the Roboflow model did not work on the web editor for P5. There a couple major parts.
if (cardValue == choice && actionDone == 0) {
    found = 1;
    console.log("FOUND");
    sendToArduino();
    actionDone = 1;
  }
This part of the code is used to signal a write once to Arduino after the detection model sees the card chosen by the user.
function sendToArduino() {
  datatosend = 1 + "\n";
  writeSerial(datatosend);
  console.log("SENT TO ARDUINO: " + datatosend);
}
This function sends a true value to Arduino once the right card is detected.
var prediction = predictions[i];
    //console.log(prediction.class);
    cardValue = prediction.class;
    var x = prediction.bbox.x - prediction.bbox.width / 2;
    var y = prediction.bbox.y - prediction.bbox.height / 2;
    var width = prediction.bbox.width;
    var height = prediction.bbox.height;
This part of the code is getting the prediction of the model, which is a string value of two characters, the first one is the value of the card – either a number or a letter, the second one indicates the suit (Heart, Club, etc.). For instance, if the card chosen by the user is the Queen of Spades, the prediction model would detect the card and output “QS”, if the card is 7 of Hearts, the model would output “7H”. Because the user is choosing the card by inputting the string value into the website, they have to use the right syntax – two characters, no spaces, all capitalized.
Arduino:
The Arduino code is working with a DC motor, as a positional Servo motor did not have enough range to push the card over the edge of the deck to dispense it. The hardship here was to set exact timing and power to the motor to dispense one card only and not more. The motor also needed to push back the rest of the cards once the needed card is pushed out.
void launchCard(){
  analogWrite(pwmAPin, 200);
  digitalWrite(ain1Pin, HIGH);
  digitalWrite(ain2Pin, LOW);
  delay(140);
  digitalWrite(ain1Pin, LOW);
  digitalWrite(ain2Pin, LOW);
  delay(1000);
  analogWrite(pwmAPin, 200);
  digitalWrite(ain1Pin, LOW);
  digitalWrite(ain2Pin, HIGH);
  delay(300);
  digitalWrite(ain1Pin, LOW);
  digitalWrite(ain2Pin, LOW);
  delay(1000);
}
This is the function that does exactly that.
while (Serial.available()) {
     digitalWrite(LED_BUILTIN, HIGH); // led on while receiving data
     int found = Serial.parseInt();
      if (Serial.read() == '\n') {
       if (found == 1){
        base.write(120);
        delay(1000);
        launchCard();
        base.write(60);
        delay(1000);
       }
       found = 0;

       }
  }
This part of the code is in the main loop function. Once the user’s card is found, the Servo motor rotates the tray to a different angle, dispenses the user’s card, then comes back and continues to dispense the rest of the cards.
Final Thoughts:
The goal that was set in the beginning of the project was met: a card dispensing machine that can also modify the dealing by detecting cards. The expansions on this idea can be multiple in the realm of card handling. As a magician, I can use this accessory to enrich my tricks to make the machine the machine pick the right selection by the user.
Using only the Arduino part, the machine can work as a normal dealing machine if the deck is put face-down in the machine and 2-5 people are playing a game and need cards to be dealt to them. The device can also be used to sort cards with little modification to the code. In addition to that, if the detection is to be used in an actual game where cards are being dealt face-down, a simple solution would be to cover the device from the top and sides, attach a platform in front of the tray so that the cards are dealt on top of it one by one, then simply rotate the platform 180 degrees to drop the card face down on the table. That way the dealing would seem fair, but the camera can still see the cards from the top and make manipulations accordingly.
The most challenging part of the project was finding and learning how to use a machine learning model and integrating it into my program. However, after a long time of trying to figure it out, I learned the necessary skills of using it which will undoubtedly help me in my future projects.
I also faced some technical difficulties which I became aware of late in the project, i. e. the motor that I used had faulty wiring and was giving me inconsistent results when I thought the code of the motor was incorrect. I had to hold the wire with one of my hands during the showcase, however I was somewhat glad to find that the main issue was easily fixable with a new pair of wires. In the video below, the 3 of Clubs did not jump out at the end like the other cards because the base turned and weakened the wire connection by displacing the handle with the motor.
Overall, I reached the goal that I had set in the conception of the project idea, and I think the project was a success overall.