
Concept
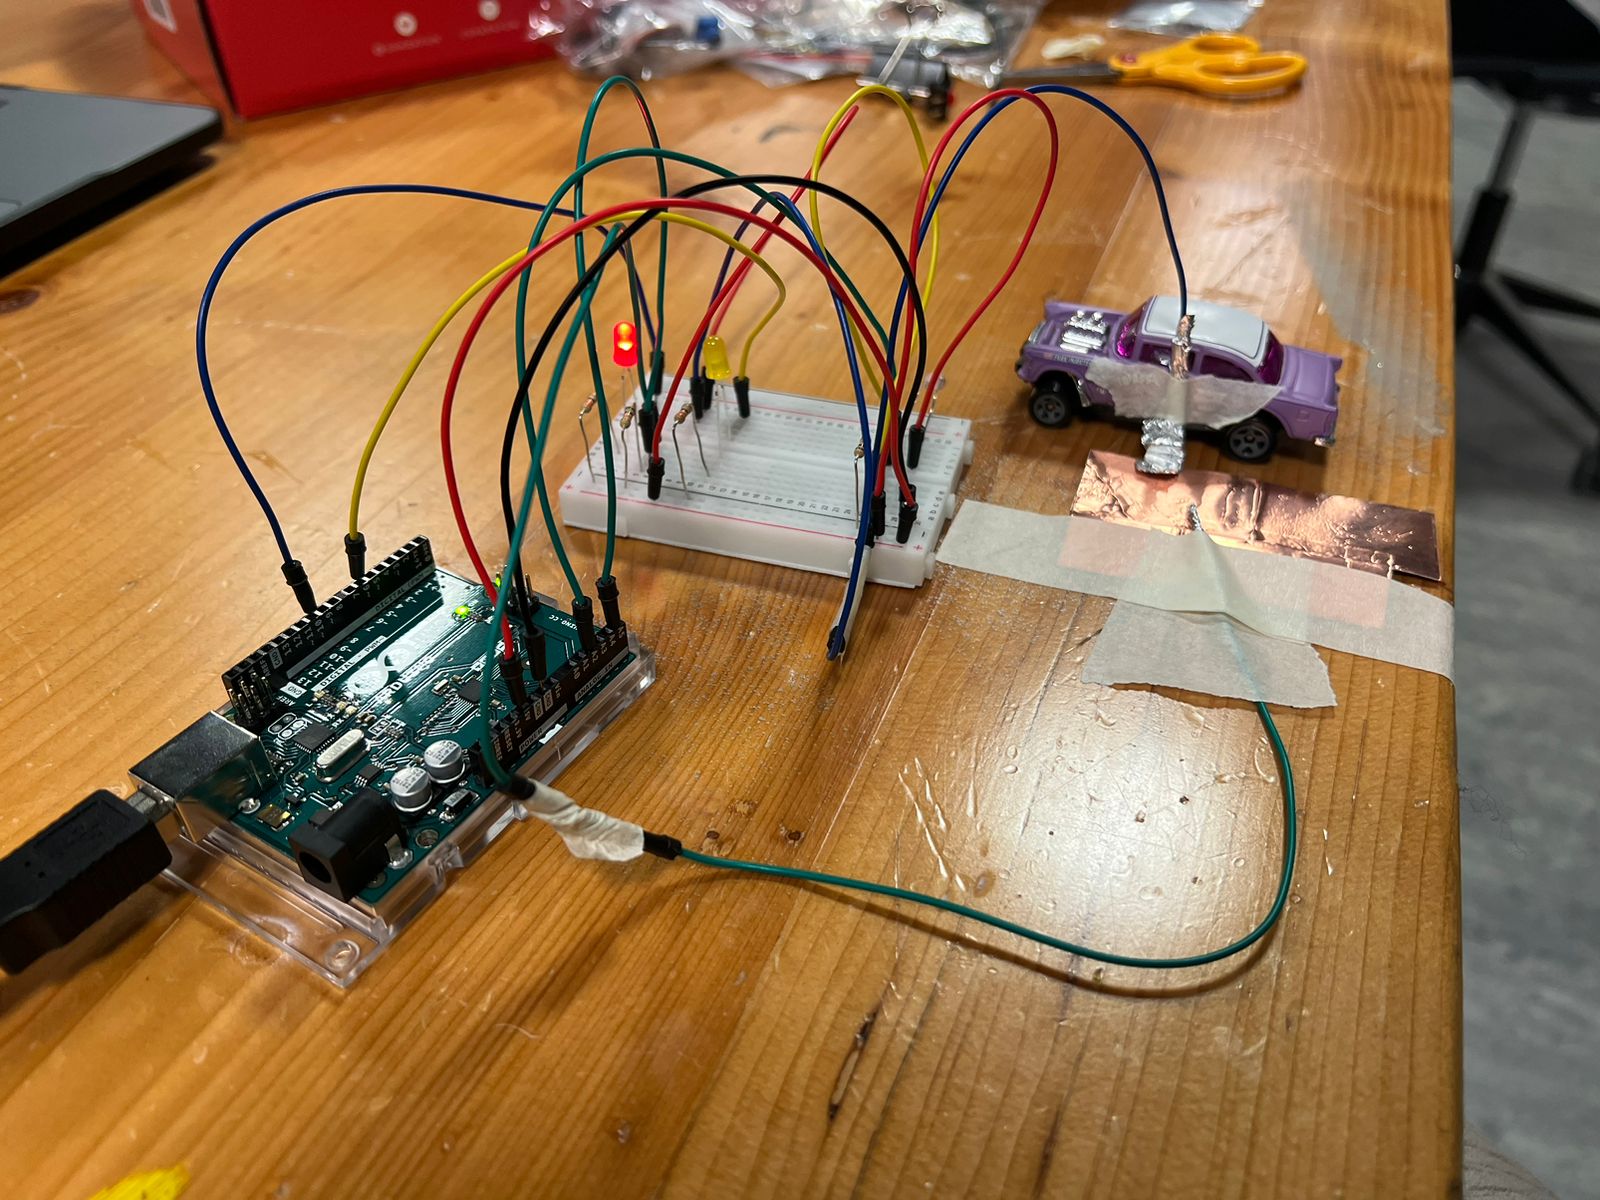
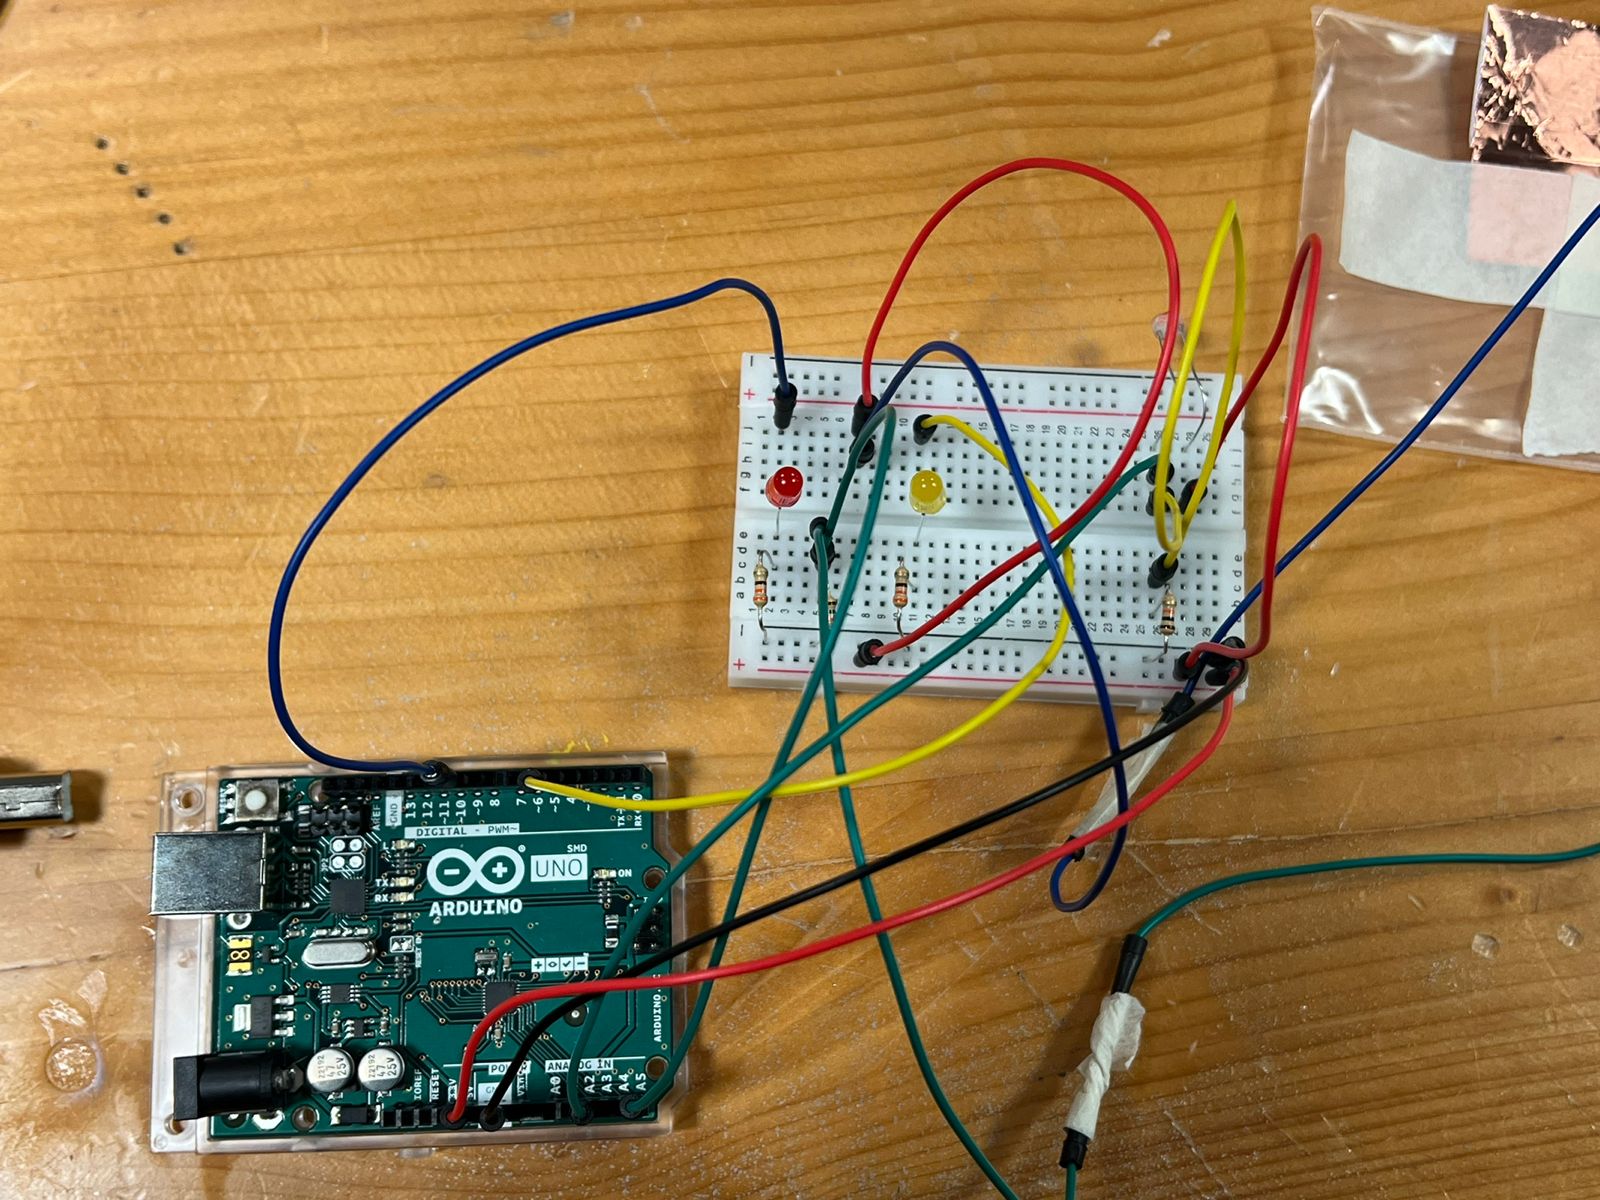
I wanted to do some kind of distance sensor, so I tried to use the ultrasonic sensor, however I didn’t fully understand how it works yet, so I opted to use the photoresistor as my sensor. The reading from the photoresistor will affect the brightness of the yellow LED: the less light there is (the closer the car is tot he sensor), the brighter the yellow LED is, thus lighting up as a warning. As for my switch, I attached one connection to a strip of copper tape and the other to the car: whenever the car is in contact with the copper tape, the red LED lights up.
Photos and Videos
Code Snippet
// constraining and mapping sensor reading to range 0 - 255
sensorVal = constrain(sensorVal, 700, 725);
brightness = map(sensorVal, 725, 700, 0, 255);
This is a snippet of a code that I’m proud of: it’s when I used the map function to convert the sensor readings into analog output values, however I had to use the reverse logic since I want the LED to get brighter when there is low readings from the sensor (inverse relationship).
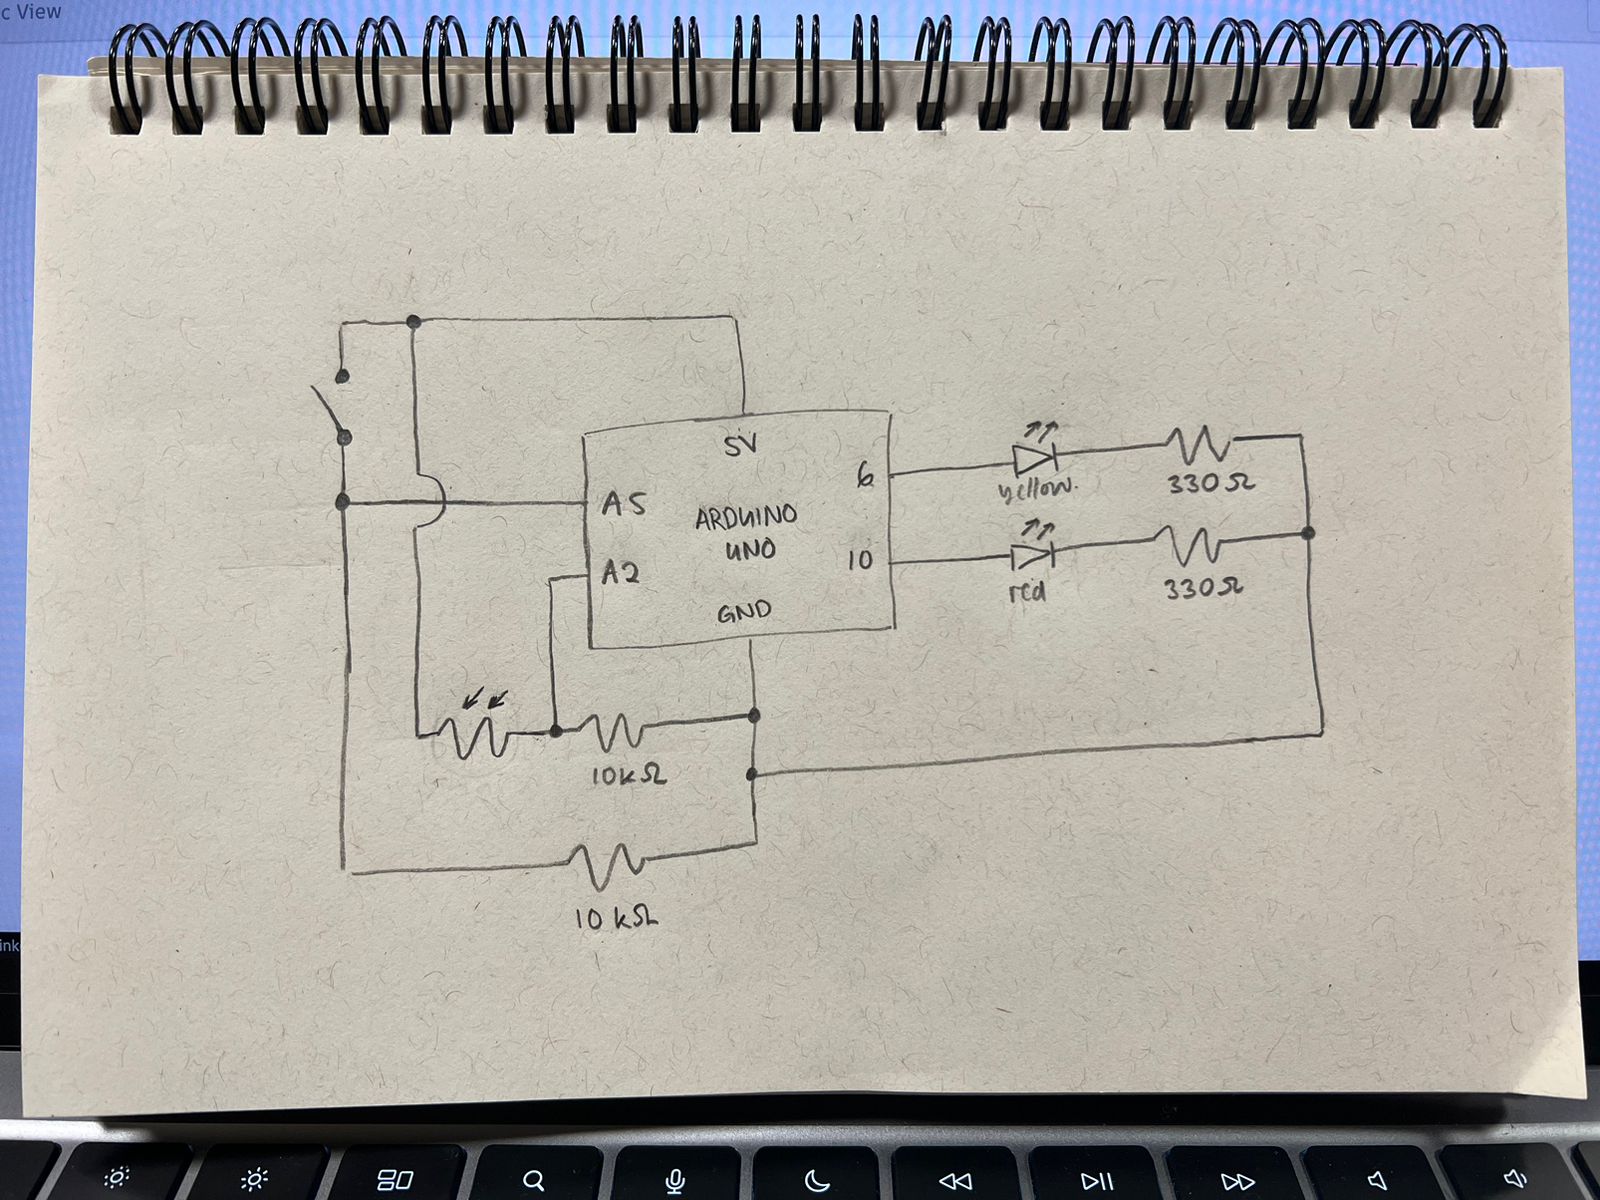
Circuit Illustration
Arduino Setup
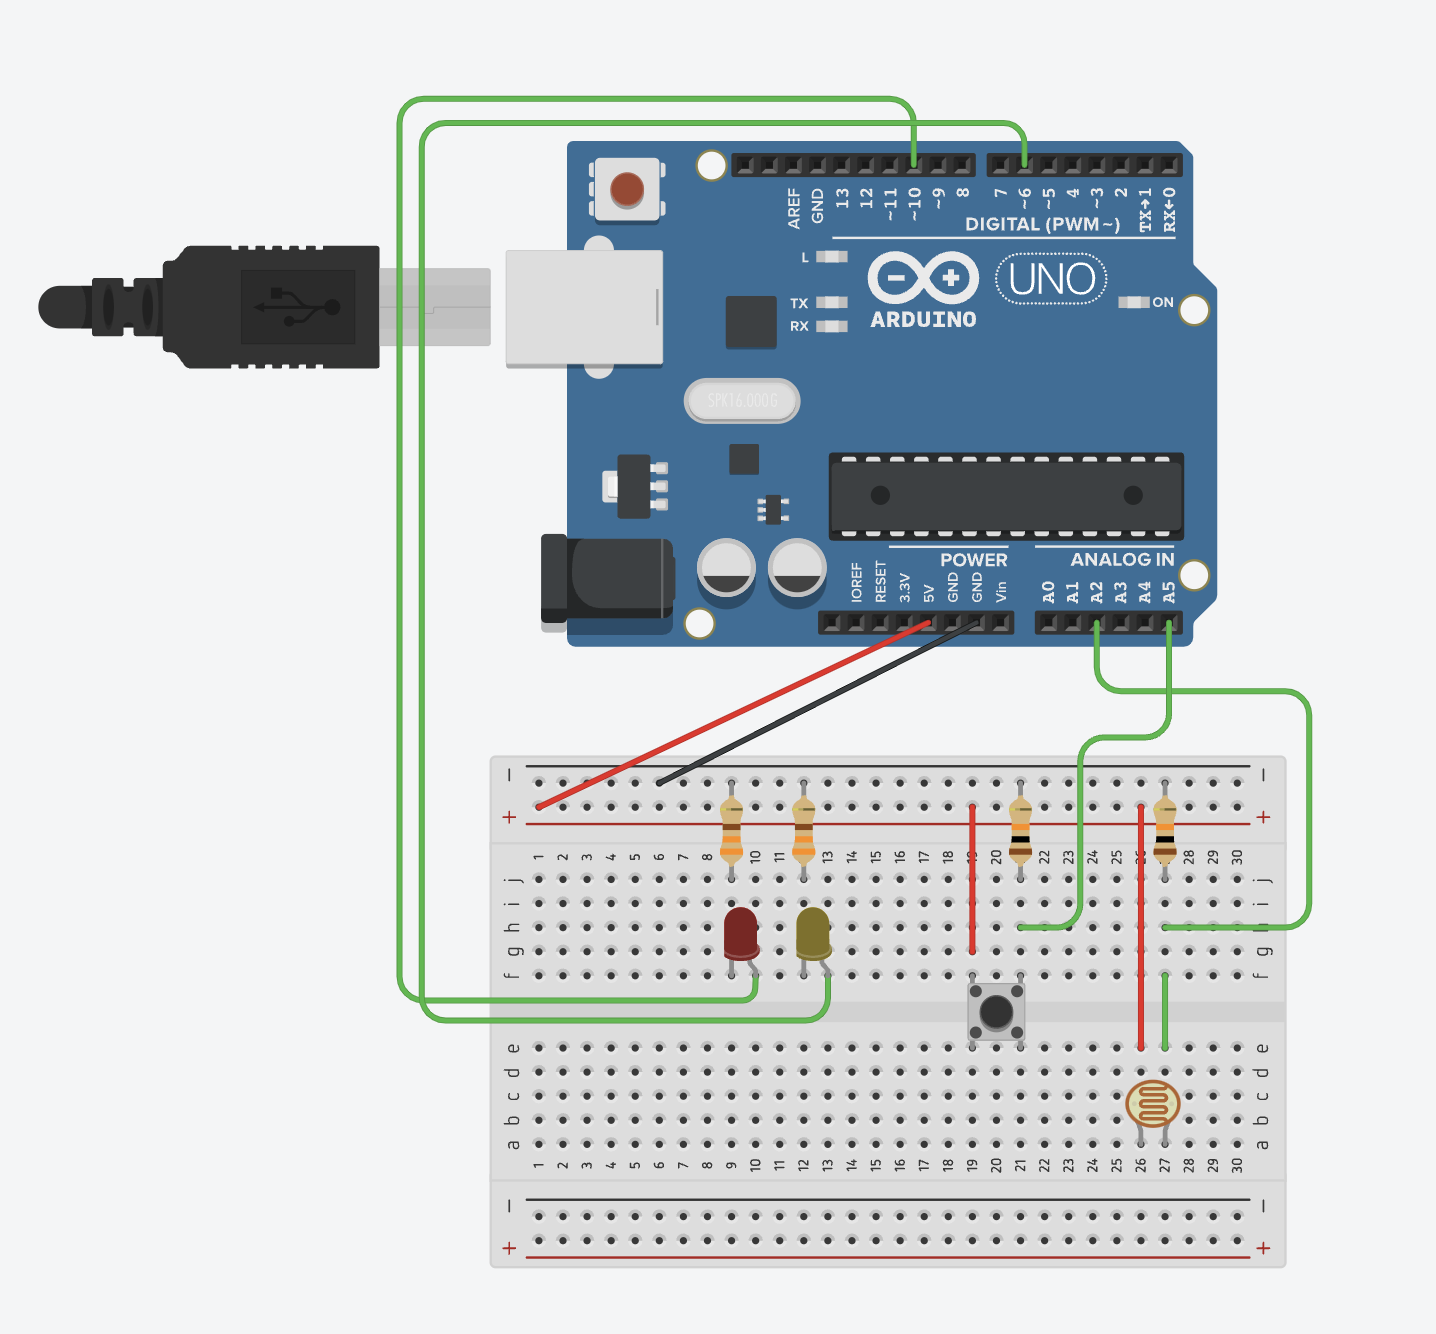
This was made using Tinkercad.
Code
Reflection
I want to try to fully understand the Ultrasonic sensor and then using it next time for projects regarding ranges.