
# Jump To:
# Introduction & Inspiration
Hey everyone, welcome back! 👋
For my second week’s project, I was thinking about a simple project that embodied loops. Something, which would make someone think about loops, but not too directly obvious. Just thinking about loops, an action that keeps repeating, the first 2 ideas that popped into my head (after a grid of images) were those circle drawing toys (idk what they’re called 🤷♂️), and L-system trees (huh? but that’s recursive! So, we’ll save that for later 😉 ). I guess we’re doing the first one. Remember these toys?
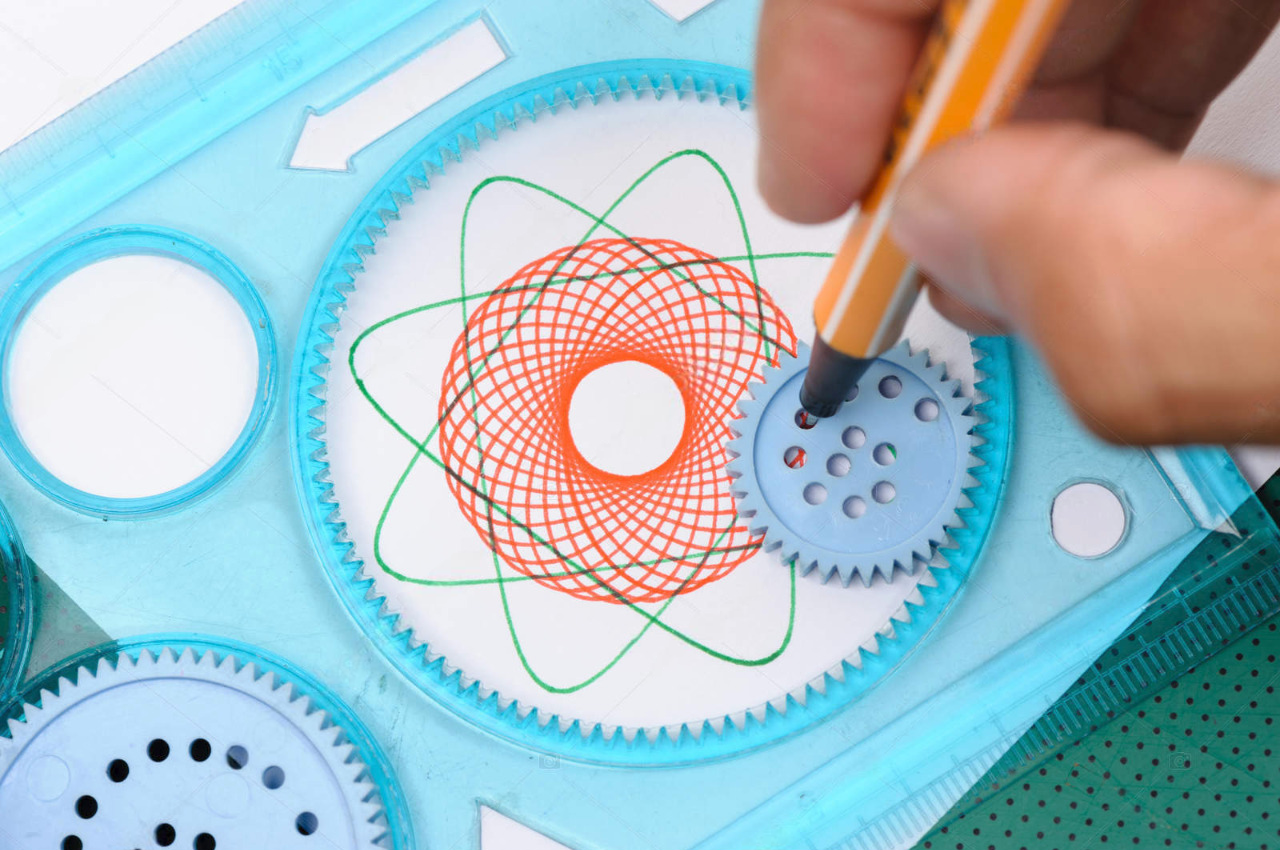
Ohh, a spirograph! That’s what they’re called 😅. Anyways, yes, those things. They reminded me of a loop because the person carries out the action (moving their hand in a circular motion) again and again (although surprisingly, the result is mesmerising).
I wanted to build something similar, but a bit simpler (idk why, but while building this sketch, I initially felt like I was teaching someone about loops 😅).
# Implementation
Let’s start by first drawing 1 line on a circle. More specifically, the endpoints of the line should lie on the circumference of the circle. We can use the handy unit circle and basic trigonometry to find out that we can get the x and y position of a point, by just supplying an angle and radius/length. This might not seem like a better deal, after all, we’re getting 2 (possibly more confusing) variables, for 2 (simple) variables, however, it makes the maths mucchhhh simpler.

As you can see, the formulas are: x = cos(angle) & y = sin(angle) (but note, that angle must usually be in radians, as p5.js’s default angle mode is radians).
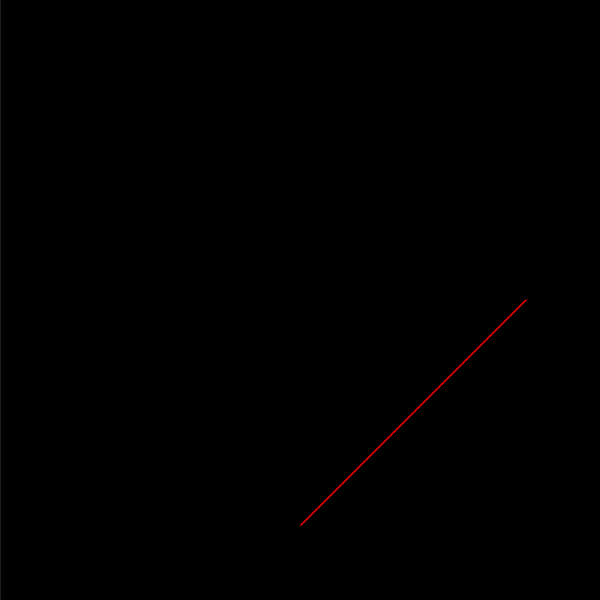
translate(width/2, height/2)

a1 = radians(0)
a2 = radians(90)
r = 300

x1 = cos(a1) * r
y1 = sin(a1) * r
x2 = cos(a2) * r
y2 = sin(a2) * r

line(x1, y1, x2, y2)
That gives us the following (I styled the background black, and the line red)
Ok, but how can we tell this is actually on a circle, and not just some random line? Let’s draw a circle outline and check (I used noFill() and stroke(255));
circle(0, 0, r)
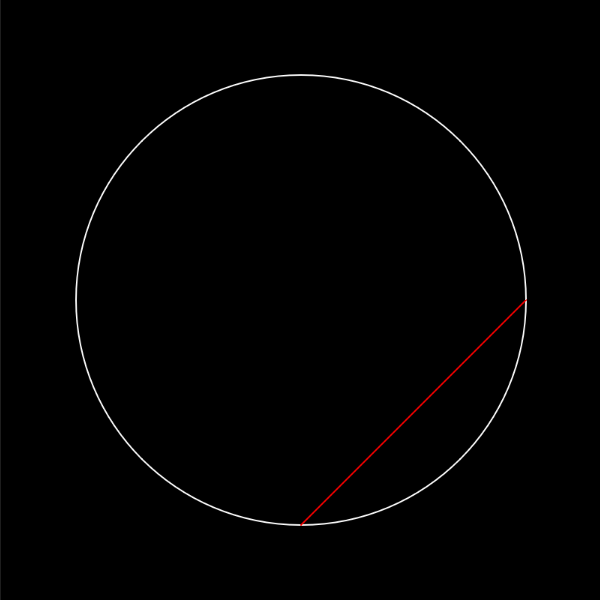
Yay! We can clearly see it’s on the line, and also control the angle! We can add a dot to the center, and also control the line using our mouse.
fill(255);
circle(0, 0, 25);

// ...

a1 = radians(map(mouseX, 0, width, 0, 360));
a2 = radians(map(mouseY, 0, height, 0, 360));

Now let’s use a loop to add many more lines.
angle = frameCount/2000 + 1000.07 // Just a random nice looking starting point
num = 50

for (let i=0; i<num; i++) {
  x1 = cos(angle * (i-1)) * r;
  y1 = sin(angle * (i-1)) * r;
  x2 = cos(angle * i) * r;
  y2 = sin(angle * i) * r;

  strokeWeight(1);
  stroke(255, 0, 0, 255);
  line(x1, y1, x2, y2);
}
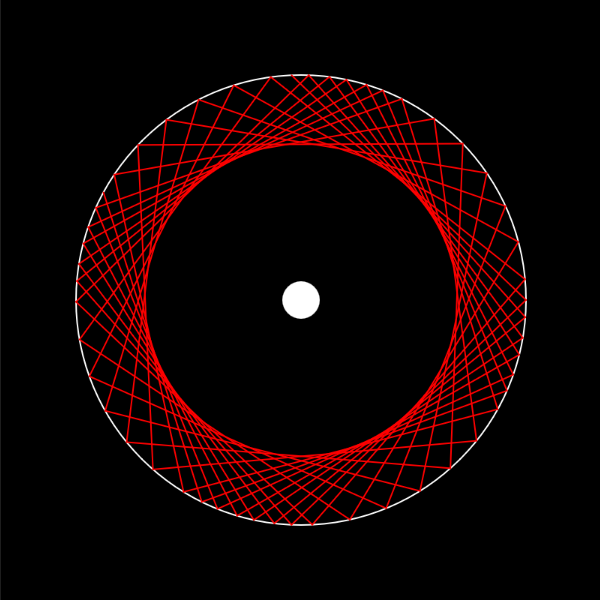
Oo, it’s already a bit mesmerising! (certainly enough for me to at least sit by and watch it for several minutes 😅). You’ll notice that the shape keeps changing, and this is due to the angle changing, which we did by tagging its value to number of frames that had passed since the sketch’s start frameCount (just be sure to slow it down a lot (eg. I used 2000), since there are usually 60 frames per second, so it’ll become too crazy!). Setting a variable based on the frame count like this is an incredibly helpful trick to animate the variables over time.
Another helpful trick is to be able to pause the sketch, which can sometimes help you to debug or understand your sketch better. We can achieve this by calling loop() and noLoop() respectively, based on isLooping()‘s output. It’s important to keep in mind that this stops our draw() function from running, so don’t try to restart the loop from within there! Instead, a better approach is to use a key press, which can be achieved like so:
function keyPressed(event) {
  (event.key == "p" && isLooping()) ? noLoop() : loop();
}
I just used a ternary operator to make it shorter, but it corresponds to:
function keyPressed(event) {
  if (event.key == "p") {
    if (isLooping()) {
      noLoop();
    } else {
      loop();
    }
  }
}
Now, it’s up to you on how you wanna style it, and what features you wanna add! For example, here’s how mine now looks like:
The end.
…
## Drawing Context
Ok ok, fine, I’ll explain a bit, but just a BIT more. You see the cool glow effect? How did I do that? (well, I could just say the function I used, but that’s no fun, nor will you learn much).
p5.js exposes something called the rendering context, through a variable, aptly named (can you guess?)… drawingContext! (better luck next time). But what is that, and where does p5 get the value from?
The rendering context, in short, is basically what p5.js uses to actually draw the stuff on screen (part of the canvas API). For example, when write this:
strokeWeight(10);
noFill();
rect(x, y, w, h);
That might get executed as:
drawingContext.lineWidth = 10;
drawingContext.strokeRect(x, y, w, h);
Note: This is just a hypothetical example, and is probably not how p5.js actually works. For starters, drawingContext is exposed by them as you’ll read now.
And where does it get the value from? Well, it’s the “CanvasRenderingContext2D” (for the default 2D sketches), which it gets by calling .getContext('2d') on the canvas element.
“*Grumble grumble*, yada yada, why does this rendering wendering scherending context even matter?”
Well, firstly, rude, but secondly, good question. It’s because, while p5.js does provide easier functions for most things, it doesn’t expose everything that the rendering context has. Remember the glow effect from earlier? Well, it’s actually done through the .shadowBlur and .shadowColor properties, which aren’t exposed.
In addition to making it much easier to draw shadows/glows, there’s also a MUCH faster (hardware accelerated) blur function! (through the .filter property, which supports more than just blur.) This means we can finally use blur in our sketches, without our performance instantly tanking! (though it still has to be used with caution, as it’s still a heavy effect (similar to the shadows), so too much can still cause performance to drop.)
Also, we can easily make gradients! That’s right, linear, radial, conic, you name it, gradient! I’d recommend checking out these 3 videos to learn more:
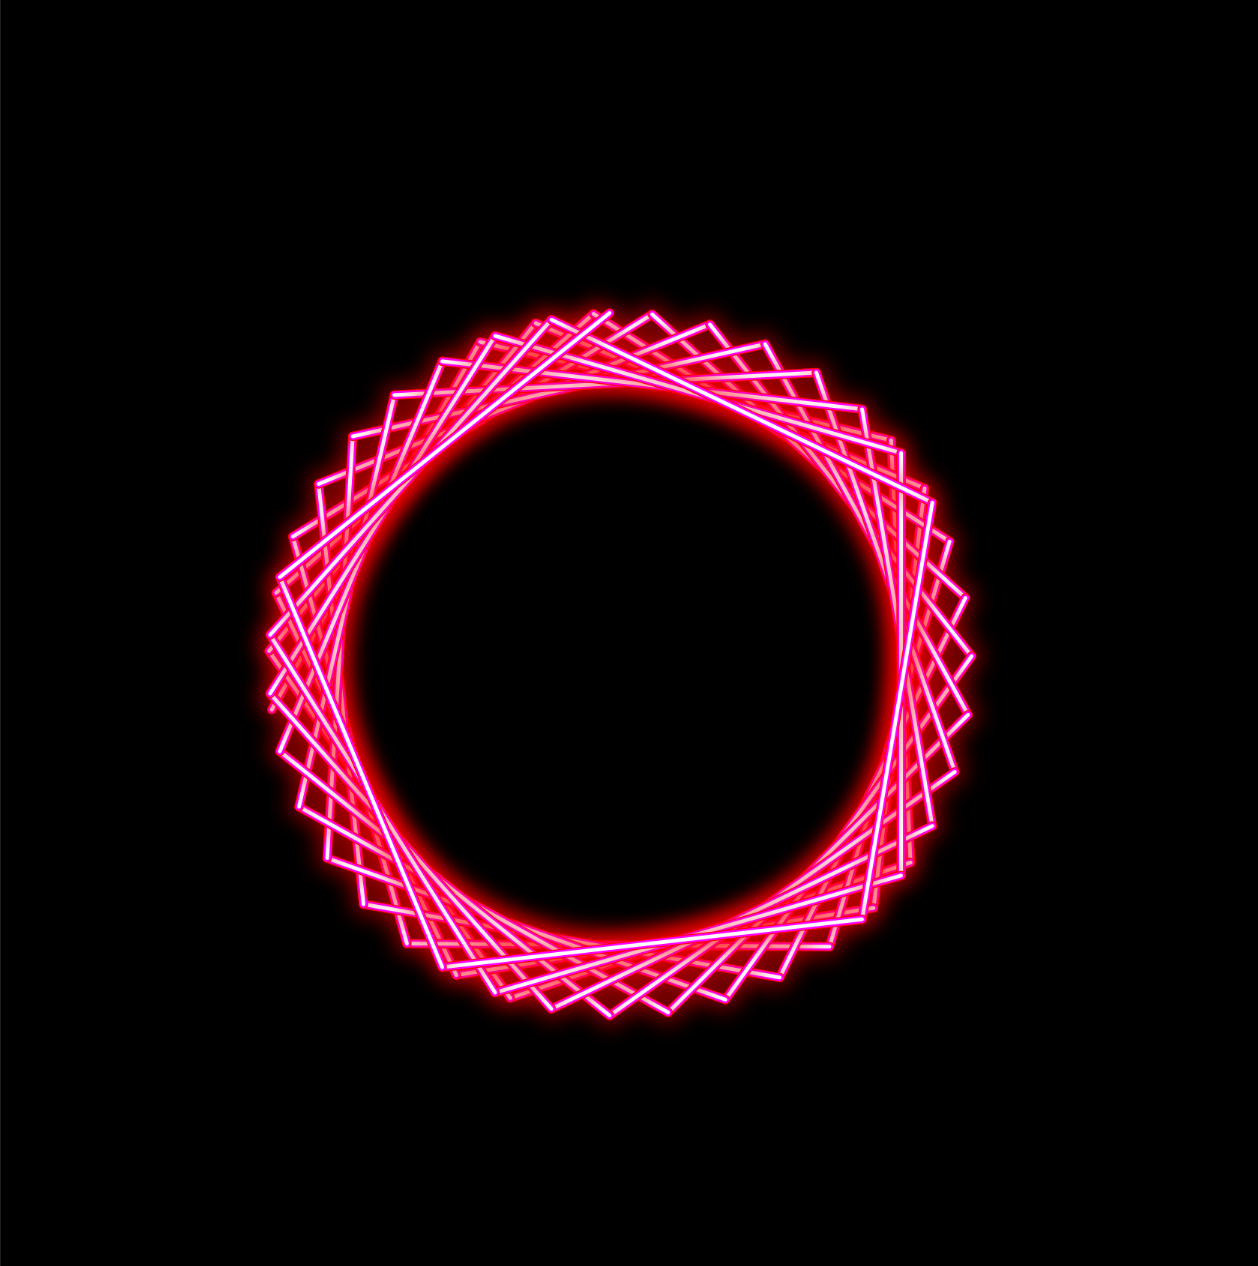
For my circle, I added 3 layers of lines. The first one is red and has a stroke weight of 5, with a red glow. The next 2 don’t have any glow, and are blue (with a stroke weight of 4) and white (with a stroke weight of 2) respectively. I also changed a few things, like making it spawn and follow the user’s cursor, and the ability to change it’s size. It also reminded me of Dr. Strange’s “circle-magic-thingies” and similar, so I added another circle to lean into that.
So that’s mostly it! Anyways, without further ado, I present, the final result!
# Final Result
Controls:
- Mouse click (press & hold)
 : Spawn and continue circular magic spell
 - Mouse move
 : Move magic spell
 - Up arrow (press & hold)
 : Grow its size
 - Down arrow (press & hold)
 : Shrink its size
# Additional Thoughts
I really like how the end result looks like, especially the colours and glow, and how it animates (hope others find it cool too). Although, I wish I could implement some of my other ideas too (and make it look more like the circular spells you see), but unfortunately that’s all I have time for right now, so we’ll have to end it here. Until next time!

(hehe, maybe I’m liking this neon style too much 😅)
Nice glow effect! Something you could consider is having the shape be able to be non-symmetrical. Right now with the symmetrical shape your brain locks onto the shape very quickly since the pattern is repeated so many times. If you could morph to a shape that’s not symmetrical it would add a kind of dissonance / irregularity that could be fun to play with and make the shape more dynamic. Nice!