
# Jump To:
# Introduction & Conception
Welcome everyone! 👋
This is my first blog post on the IIM website!
I was wondering about what to create, since I wanted it to both be impressive, and interactive. I had several ideas:
1.
Initially, I thought about an intro sequence where a little square is formed out a material in a factory/assembly line like style, and then it falls into the right spot below, completing a picture (my stylised portrait). This sequence would only last maybe 5-10 seconds. Then, either a flying spaceship or TRON lightcycle would come breaking through the 2D picture, and then you could control it on a 3D grid (with the elevation generated with perlin noise). After the set time runs out, it would fade to a screen with the player model standing alongside the spaceship/lightcycle, and the path traced out by the player would be the emblem/symbol on the player’s shirt and also be animated below.
While this is a pretty cool idea, it didn’t exactly fit in. Not to mention, it seems wayy higher effort than even sensible for a first post (but that wasn’t my primary concern). Had I joined the course from the beginning, I might’ve done that, but with a 2 week late start, it wasn’t feasible.
2.
A sand game (like sandspiel / powder toy game), where my portrait is formed by the sand and similar particles falling from above. Then, you could control/play with it, adding and removing the sand, adding water, blowing the sand around, lighting fire, etc.
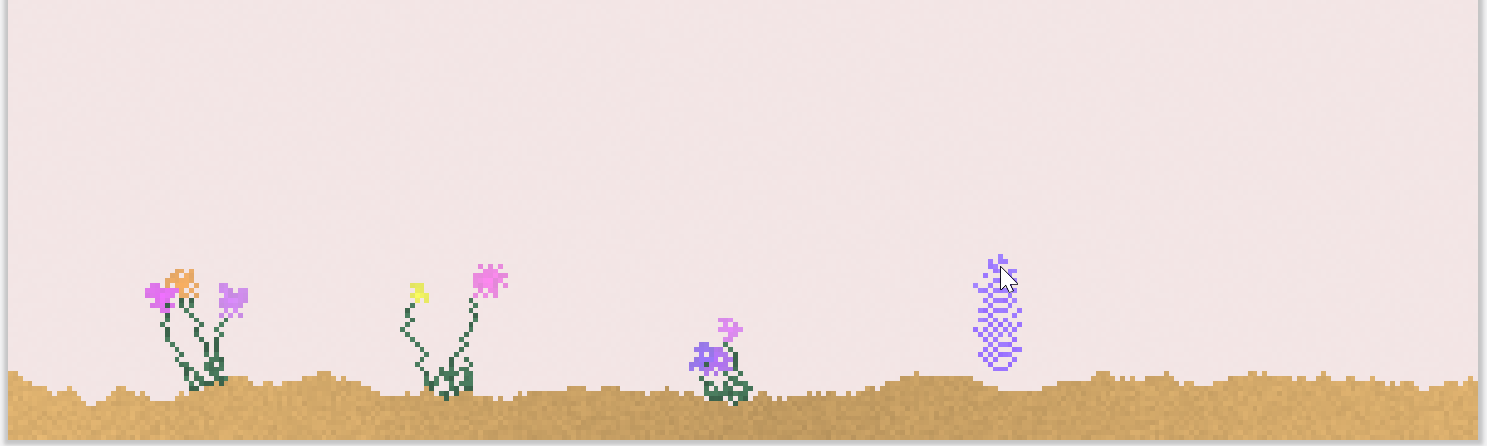
This was actually a pretty good idea, and I had even gone through a few different resources (Coding Train’s falling sand, jason.today’s blogs, etc). I could even put the rest of the action from the point above after this, if time permitted. Ultimately, idk why, but I wanted to do something in 3D, especially as I realised I wouldn’t have enough time to do the sequence I imagined in the first idea.
3.
So, a 3D sand game! This idea seemed perfect. My portrait could form like in the 2nd idea, and it would be incredibly interactive! I liked it a lot, and also saw many things on this (such as toad pond saga’s videos on it, and more), in fact, going into a deep dive on other voxel games. Unfortunately, what I also went into a deep dive on was performance, and I realised that I was going to need to manually code some major portions of it (like the rendering), if I wanted good performance, as p5.js’s built-in methods wouldn’t suffice (eg. I would need to dynamically build a single static mesh, cull faces using a binary greedy mesher or just a simple direction check if the camera was orthographic, GPU instancing, etc, etc, etc). In the end, despite how cool, and simply interactive it was, I had to give it up due to the amount of time it would take to optimise performance.
4.
Then (skipping a few over), this brings me to my current idea, the one I ultimately ended up going with. The dual perspective illusion. I wanted something that could represent a bit more meaning, and I found the “illusion” perfect for representing 2 different perspectives, while looking at the same object. There were 2 ways to do this, one using a classic object that many of you have probably seen before, and another, using a 3D model. I choose the latter.
Since I had to create a portrait, one of the sides had to be a portrait. The other one however was free for me to choose from. I initially thought about the text/logo of Intro to IM, and a few other things, but in the end settled on a lightbulb-heart combo, representing my love of innovation and creativity.
# Implementation
## Finding and Modifying Images
One way to create such a 3D model, is to take 2 flat surfaces (eg. images, flat models, text, etc), extrude them (add thickness), and then use a boolean intersection operation (this creates a shape only where the previous 2 intersected). There were 2 ways I could go about doing this. I could try and do them entirely using p5, but that would take a lot longer, since it wasn’t really built for this work. Or alternatively, I could use standard tools like a vector editor (in my case, I choose Inkscape) & a 3D editor (eg. Blender) to get it done much faster. Due to the aforementioned time constraints, I choose the later, but only since I knew that I could recreate this entirely in p5.js if I needed to, so I wasn’t “cheating”.
Now, the first thing I needed was a portrait, and a lightbulb-heart thingy. I thought about making them myself, but after browsing around for a while, I found a few images that were close to what I wanted.


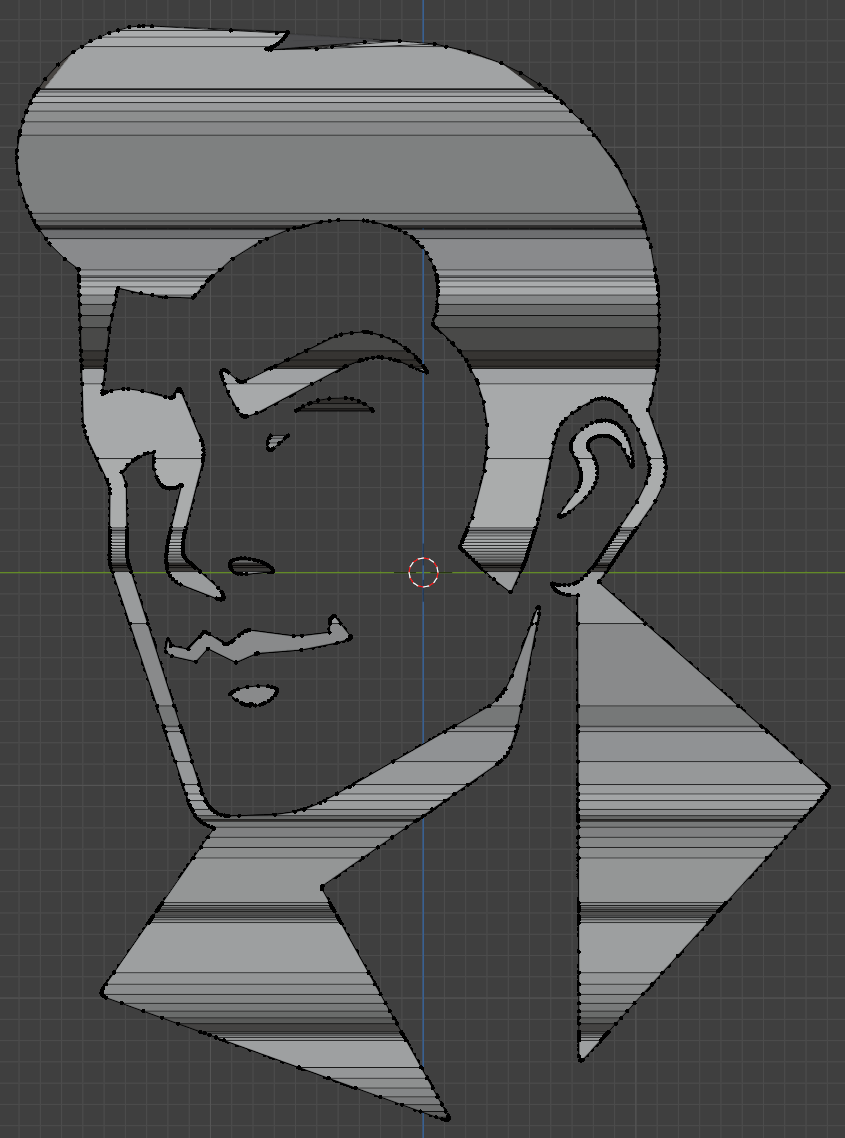
I converted the face into a vector format, and then edited it to suit my liking more. For example, I cropped it, removed the holes, cleaned it up, and I obviously didn’t like that he had a cigarette, so I tried manually editing the vertices, which to be honest makes his mouth look a bit wonky 😅, but it’s workable.

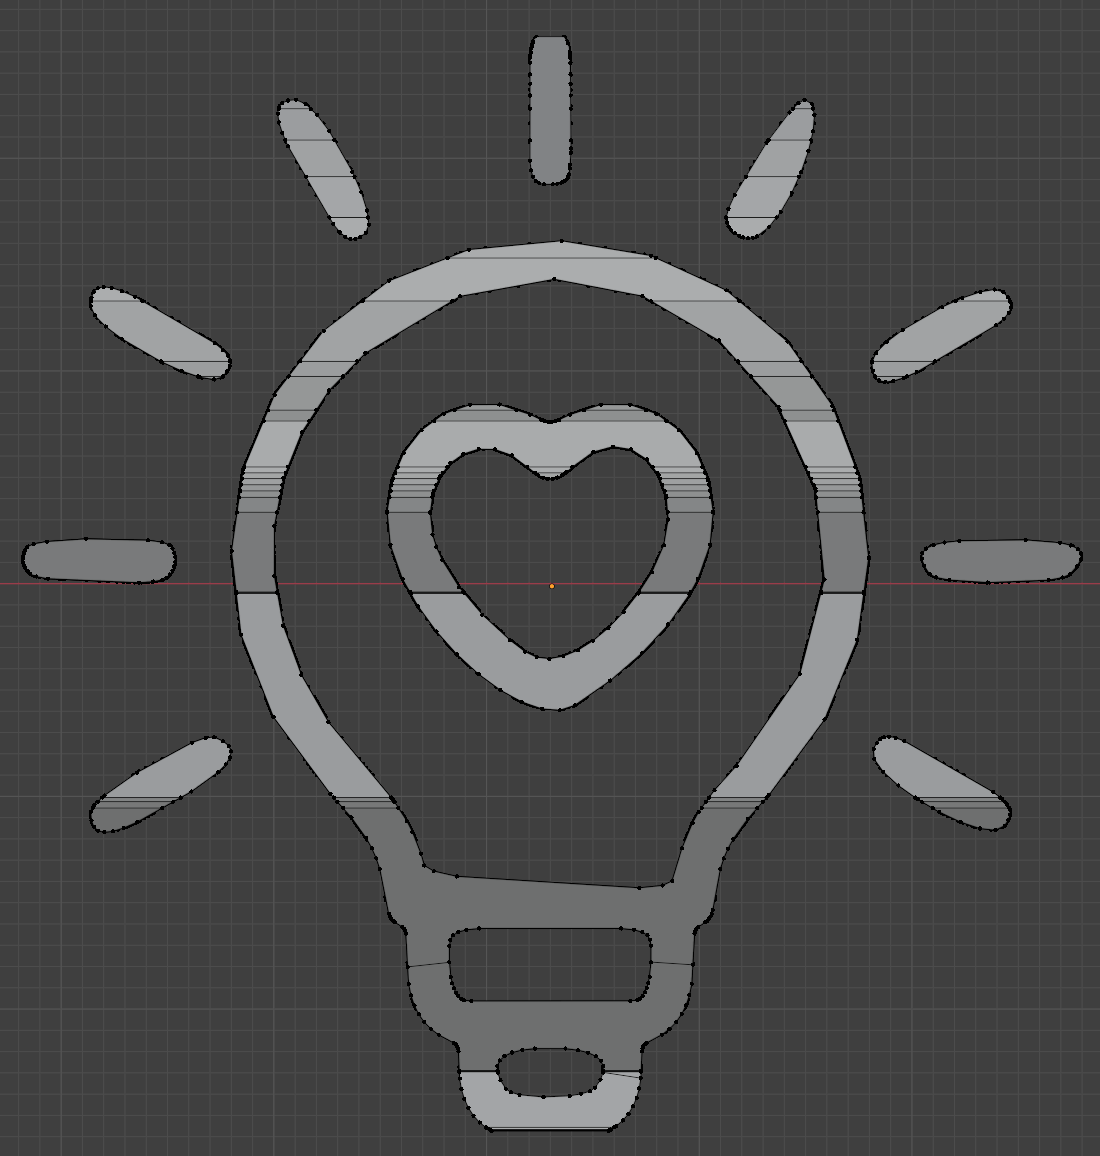
I also did a similar thing with the lightbulb-heart thingy (gosh, I have to stop calling it that), and got this:

## Creating the 3D Model
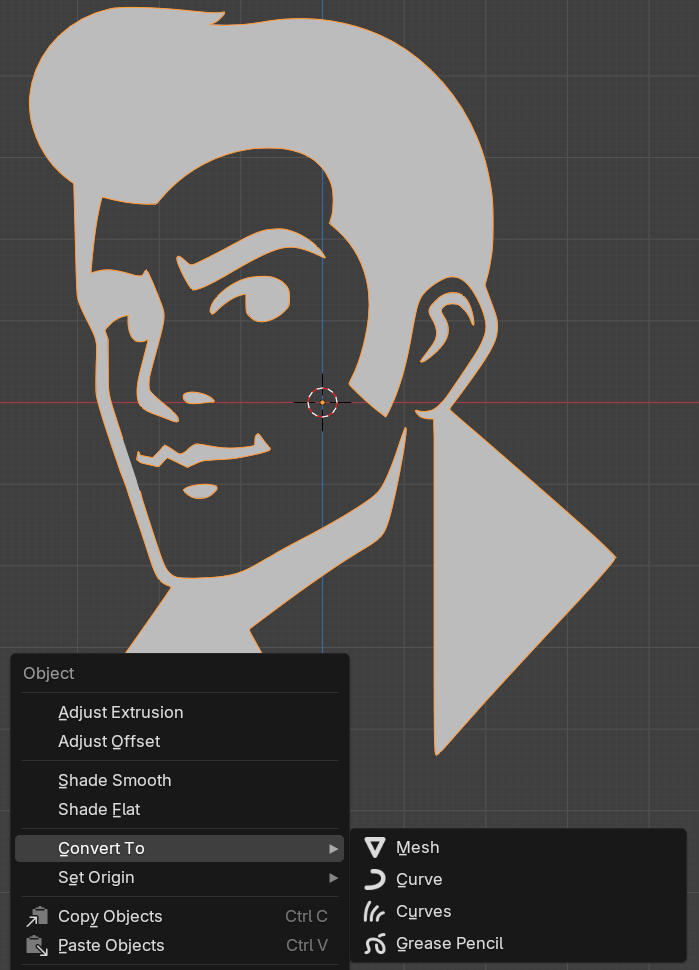
After this, I imported them into Blender, and oh, boy oh boy, this took up most of my time. For some reason, it was pretty hard to get the SVGs into the right format. When you import an SVG in Blender, it (in recent versions) gets converted into a Grease Pencil object (a type of 2D animation), but the format we need it in is a mesh (a 3D object). Unfortunately, there’s no direct route.

Luckily, I found out that you could first convert it into a curve, and then into a mesh. Simple enough. The issue is, is that it didn’t work for me. I spent a long time struggling with this, until I realised that after I had converted it, I still had the original Grease Pencil object selected, as Blender had created a new curve object, instead of converting the existing one 🤦♂️. After I selected the right one though, it was finally there!
I won’t get into the specifics, but basically I cleaned it up again (to remove some vertices, as the lower the number, the smaller the filesize and loading time, something we’ll get back to) and extruded it (solidify). Then, I did a similar thing with the lightbulb-heart thingy (gosh), but this time made multiple copies, since I had to “poke holes” for the center floating heart to come through.
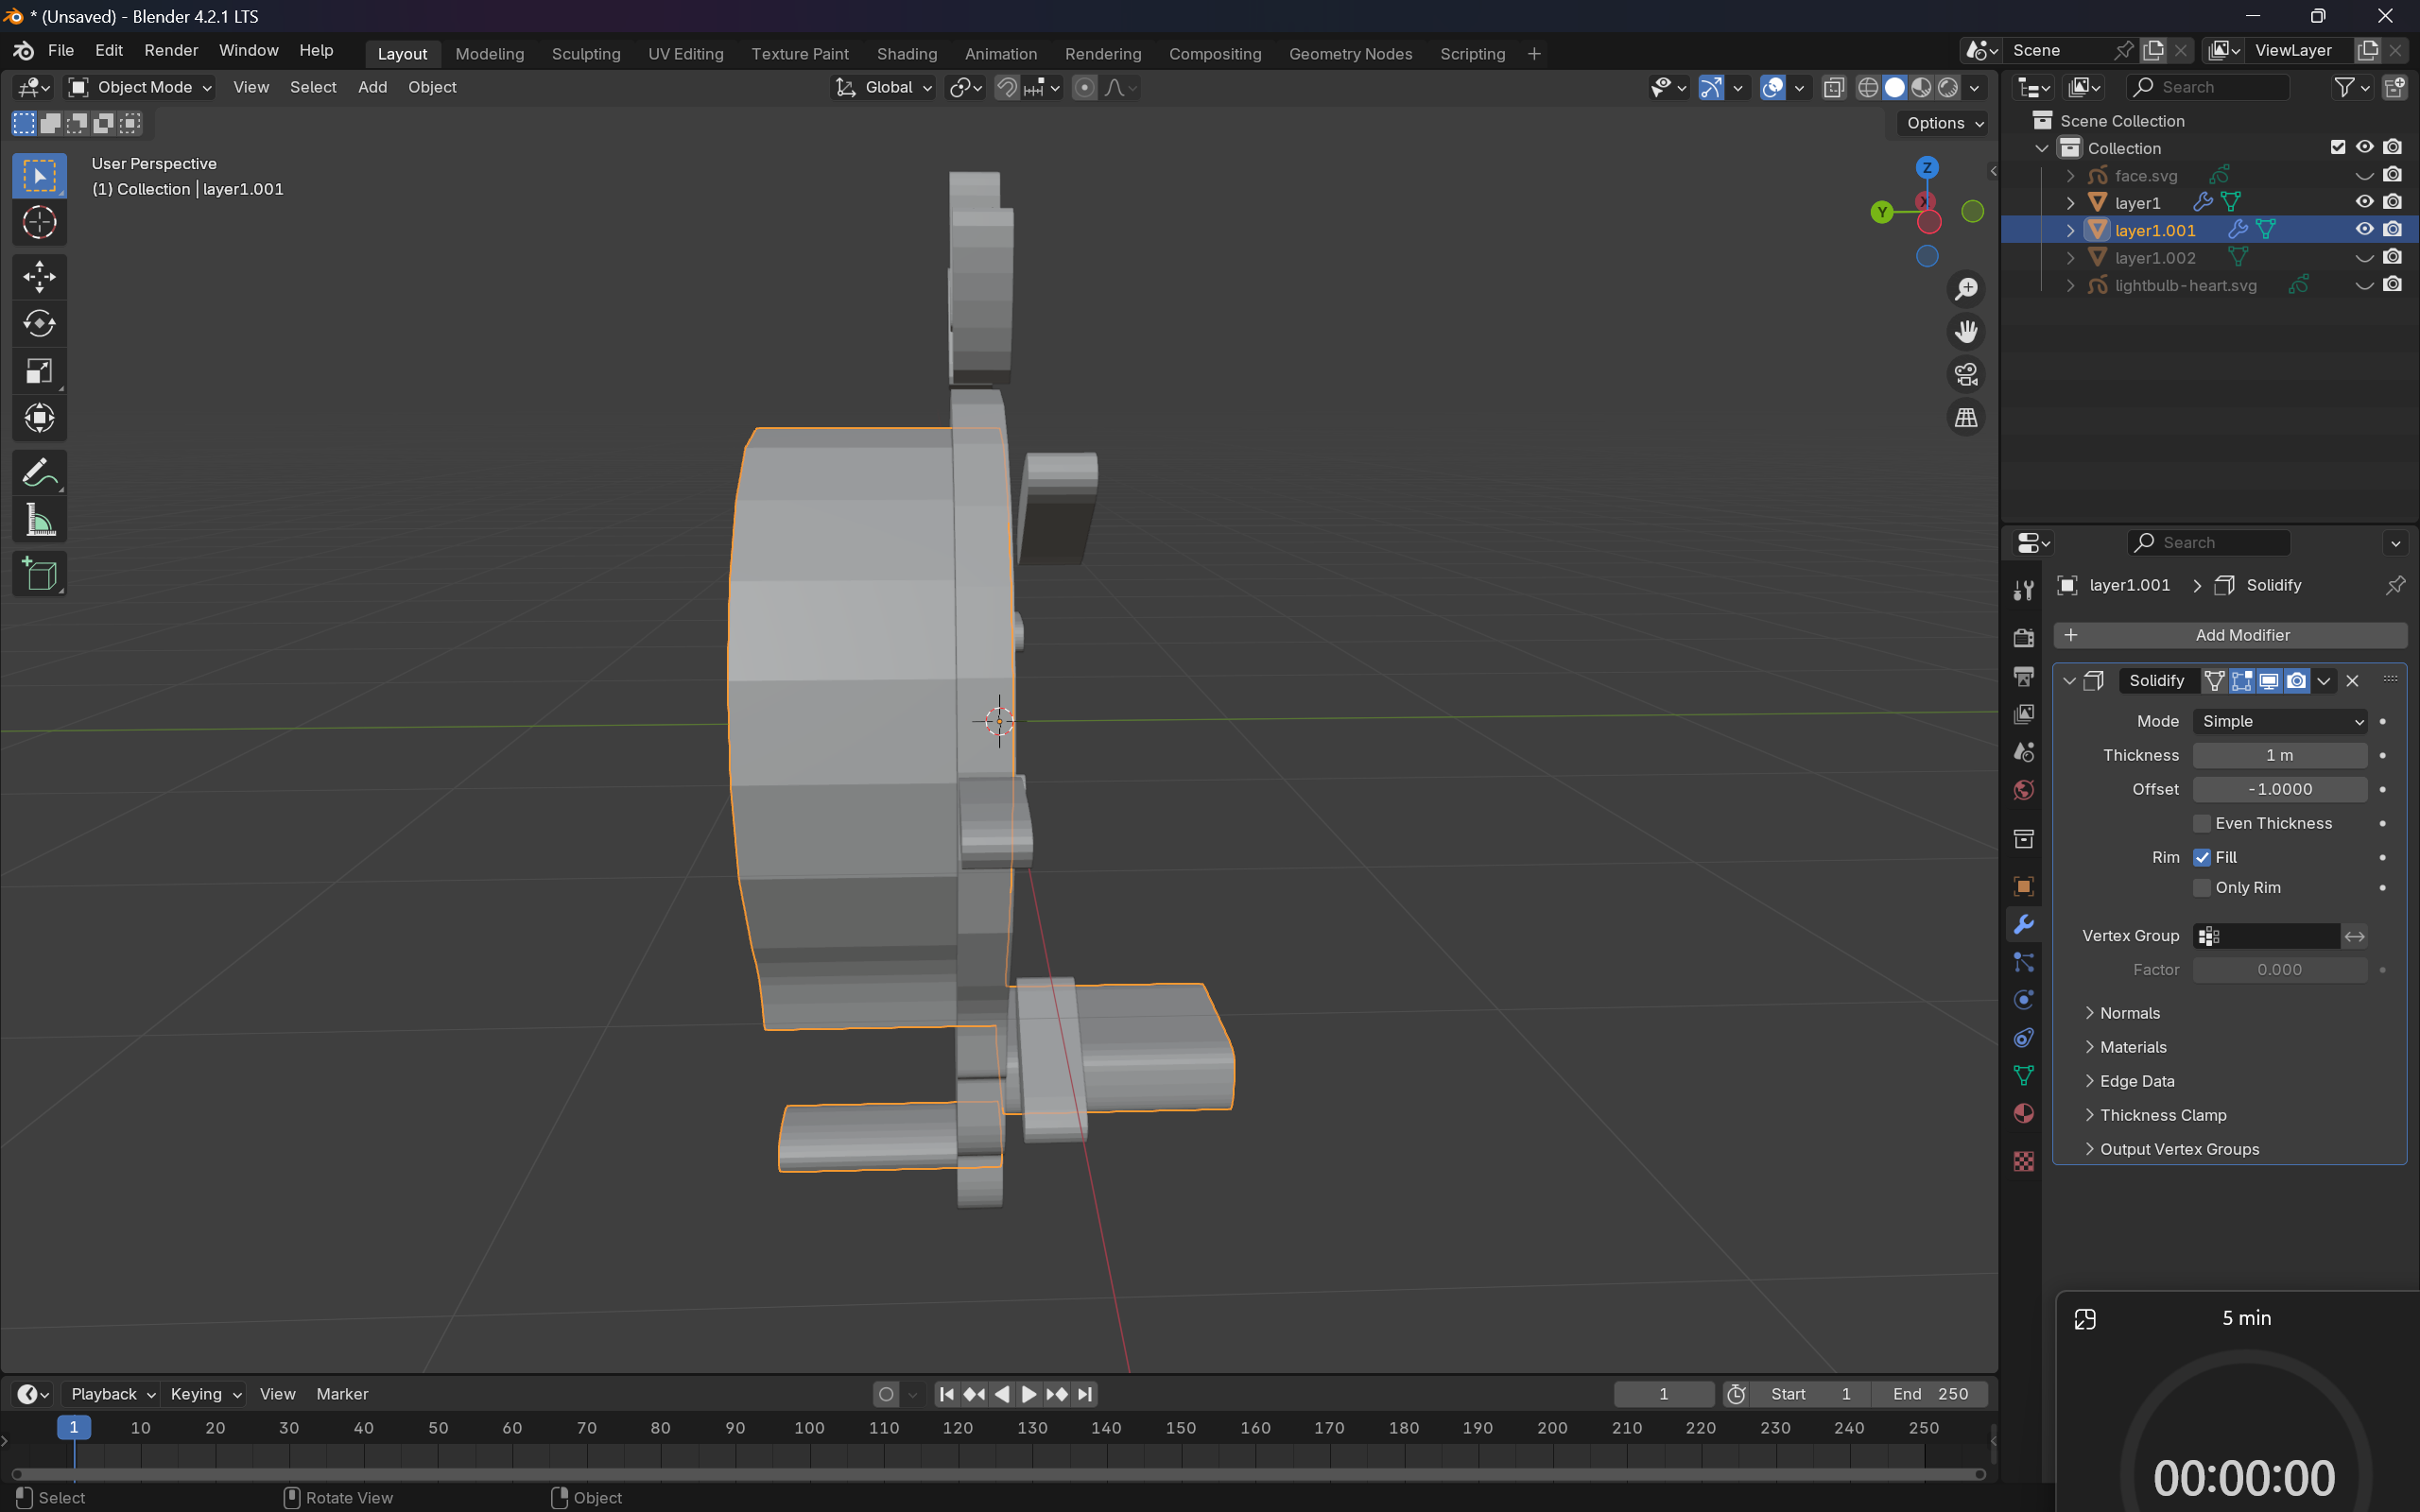
There were a few more issues I had to fix, such some missing vertices for the hair, some of the elements being extruded to the wrong side (as seen above, probably due to the orientation of vertices (clockwise vs anticlockwise) or something), an incredibly annoying one about the face’s vertices not connecting (since I edited them, even though I definitely felt like I connected them), etc.
After resolving all that, I ended with proper model!
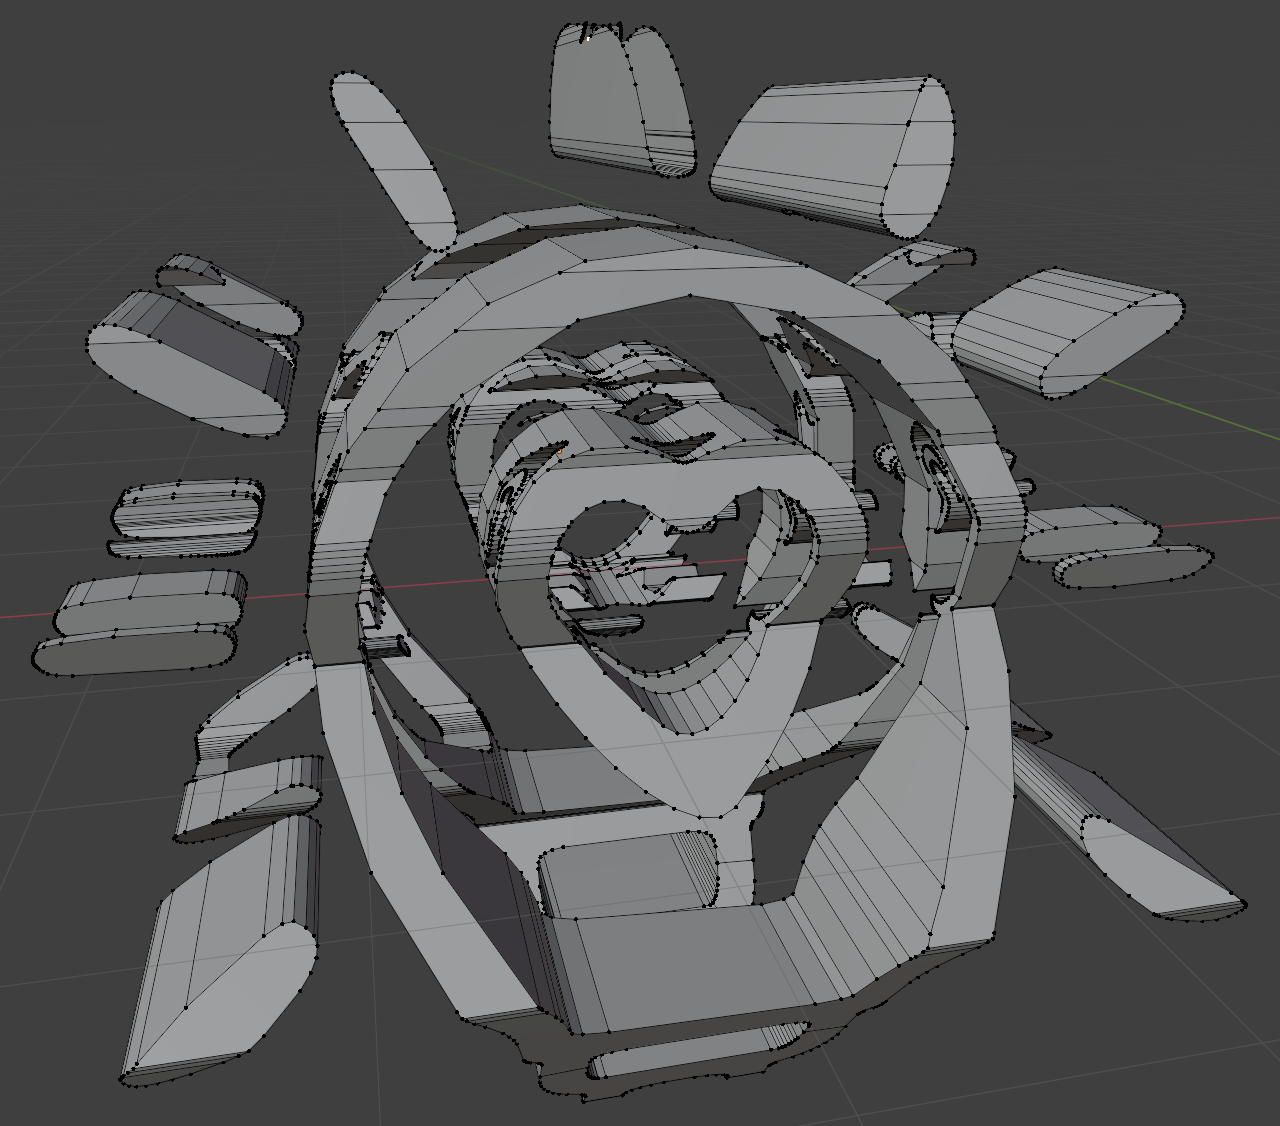
The model appears garbled from other angles, but clearly forms a face or lightbulb from a particular angle. Isn’t that so cool?!
I then thought about adding a caption, which is also double sided, and followed this tutorial (which showed the same steps), resulting in:
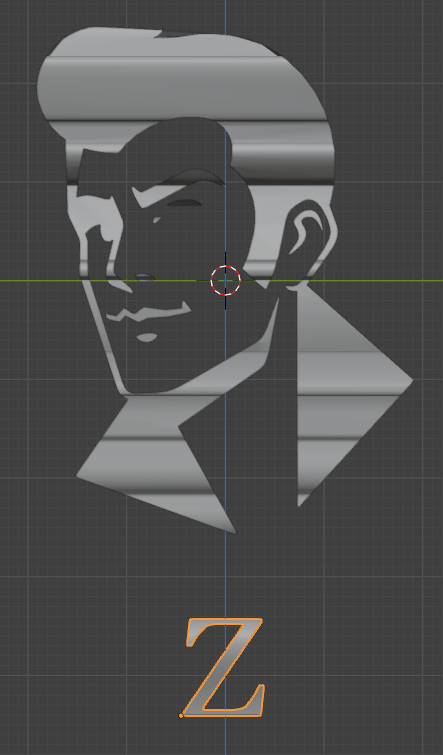
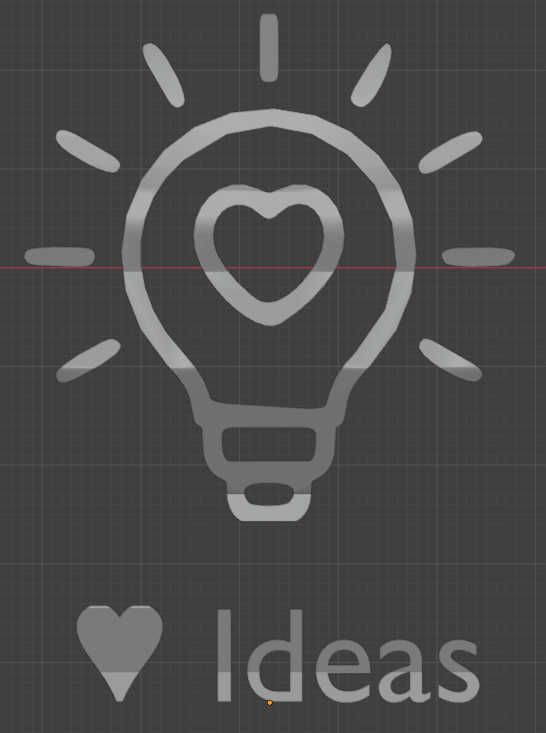
I wanted to portray the double sided meaning, by expanding or peering into the mind of the person. I wish I could’ve chosen something much more creative, but since I lack anything close to representing an artistic ability, I settled with “Z ♥ Ideas” (since innovation or creativity felt too long to fit in there).
## Creating the Sketch
This brings me to the next challenge of trying to bring it into p5.js. Boy oh boy. *deep inhalation & exhalation*. The first, unexpected, challenge was trying to import it into p5.js. I didn’t expect this to become a challenge, but for some reason, I just could not upload anything to the website. In fact, the entire menu wasn’t functional! (yes, I tried rebooting, relogging, etc, multiple times across multiple days)

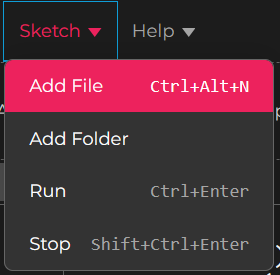
The menu that did work, was the Sketch one, but that only allowed creating files and folders.
No issue then, I thought I’ll just create a file named model.obj or something, and copy paste the entire contents of the file into it (since obj is a text based format).
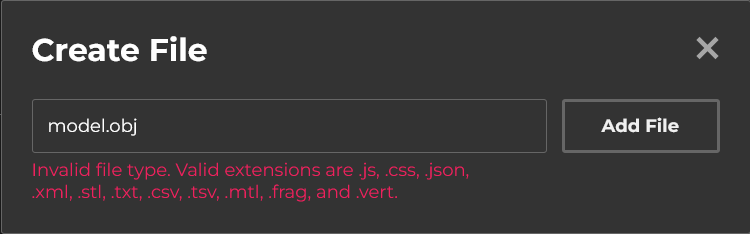
*Sigh*. p5.js only allows us to create a file with a limited set of extensions. Fortunately, we can rename files and change the name (and extension) to anything, so yay!
I also tried hosting the files locally using a webserver and fetching them from the website (which somehow worked, code below), but alas, I didn’t find a way to save the files directly, so my option was to copy and paste from the console, which didn’t provide any benefit.
function setup() {

  let models = [
    "test 3.stl",
    "test 0.obj",
    "test 0.stl",
    "test 1.obj",
    "test 2.obj",
    "test 3 (ASCII).stl",
    "test 3.obj"
   ]

  // Fetch the models from my computer and print them in the console
  for (let modelName of models) {
    fetch(`http://localhost:5500/models/${modelName}`)
      .then(res => res.text())
      .then(txt => print(`\n\nModel: ${modelName}\n`, txt))

      // Then I would manually "Copy Object" of a response (eg. test 0.obj), create the file "test 0.obj.txt" (since only a few file extensions are allowed, and for some reason obj isn't on that list), then paste the contents, then rename the file to remove the ".txt".
  }
}
(the code above also hints at multiple models, something I’ll revisit)
In fact, I actually gave up and continued on my local machine (using VS Code, with the p5.vscode extension, and npm http-server package, since I didn’t want the page constantly refreshing due to the model taking time to load), but I did later on manage to get the model on the website. After writing some quick code, I can see that… woops. The model isn’t the correct way around.
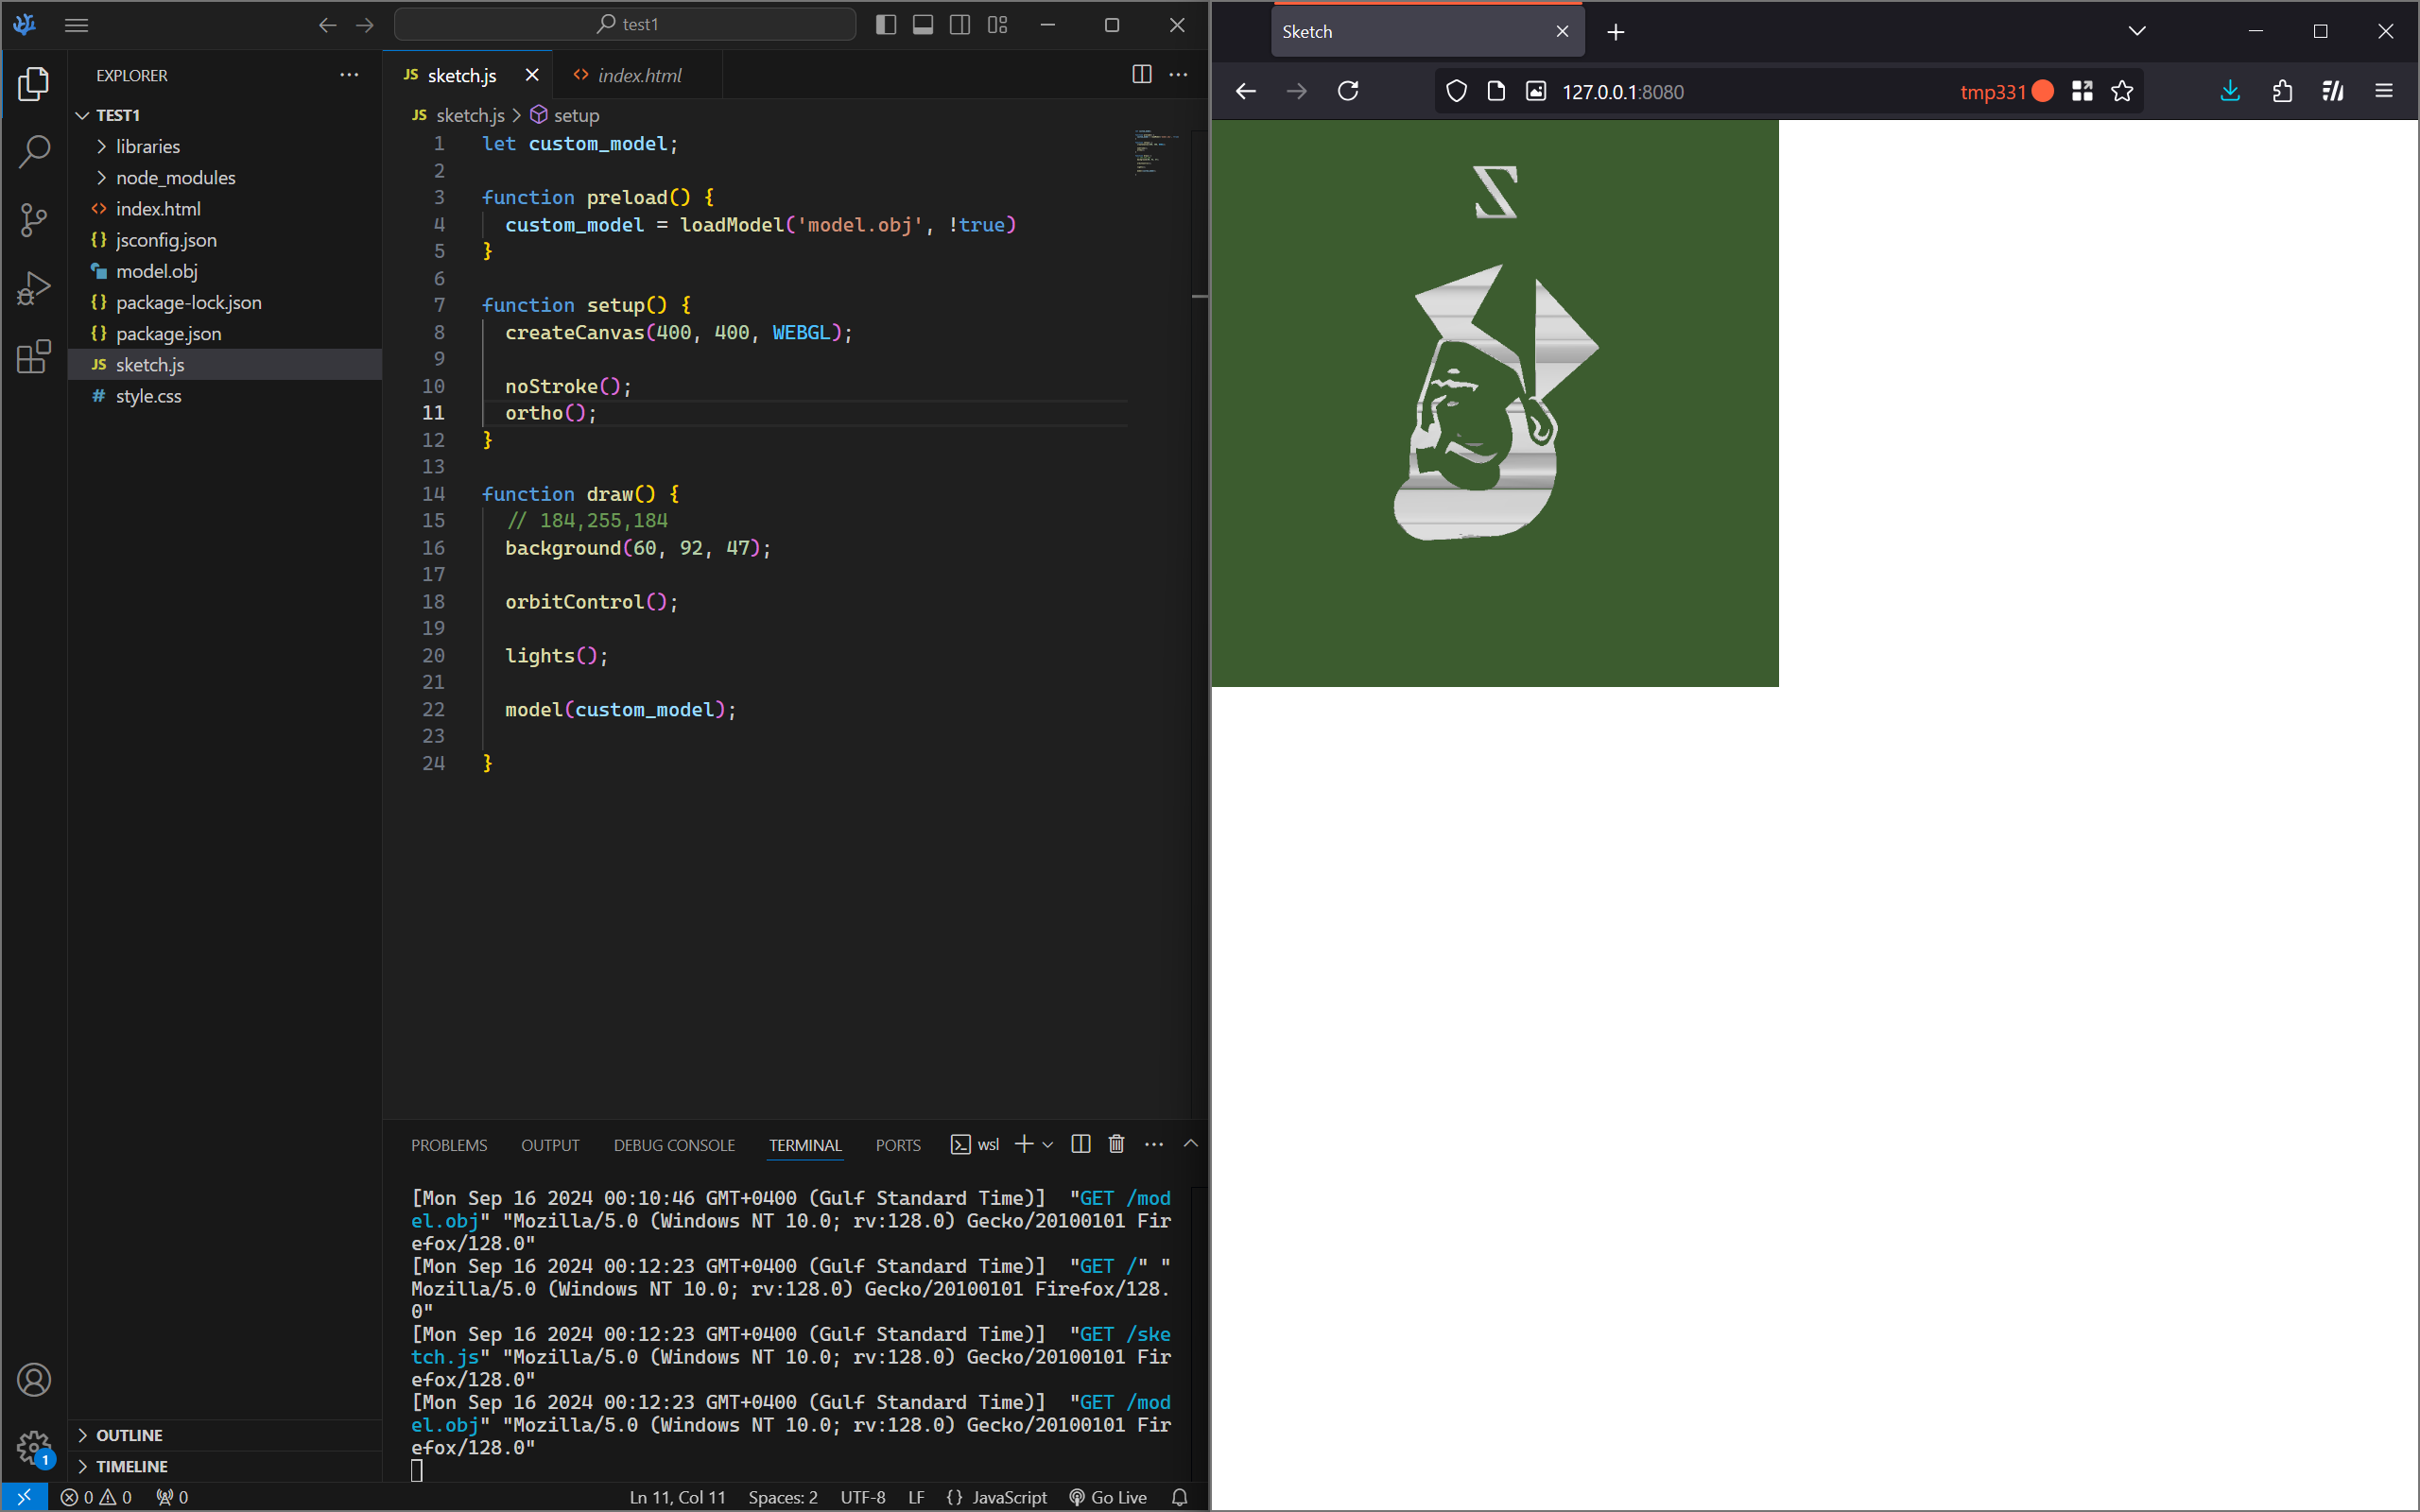
I was sort of expecting this, due to having a (very, very ) limited amount of experience with similar stuff. However, I did not expect how difficult it would be to get it the right way around!
I nearly went mad, trying out over 36 different combinations of exporting the model. In short, none of them worked, so I ended up switching tactics, just sticking with one orientation, and modifying the model directly in Blender (you might be wondering why I didn’t just rotate it in p5.js, and while that certainly is an option (and in hindsight, maybe the smarter one due to saving time), that might have caused issues later on down the line, and didn’t feel as “correct” or “clean”). I tried many more times, and skipping over all that, I, FINALLY, got it working correctly.
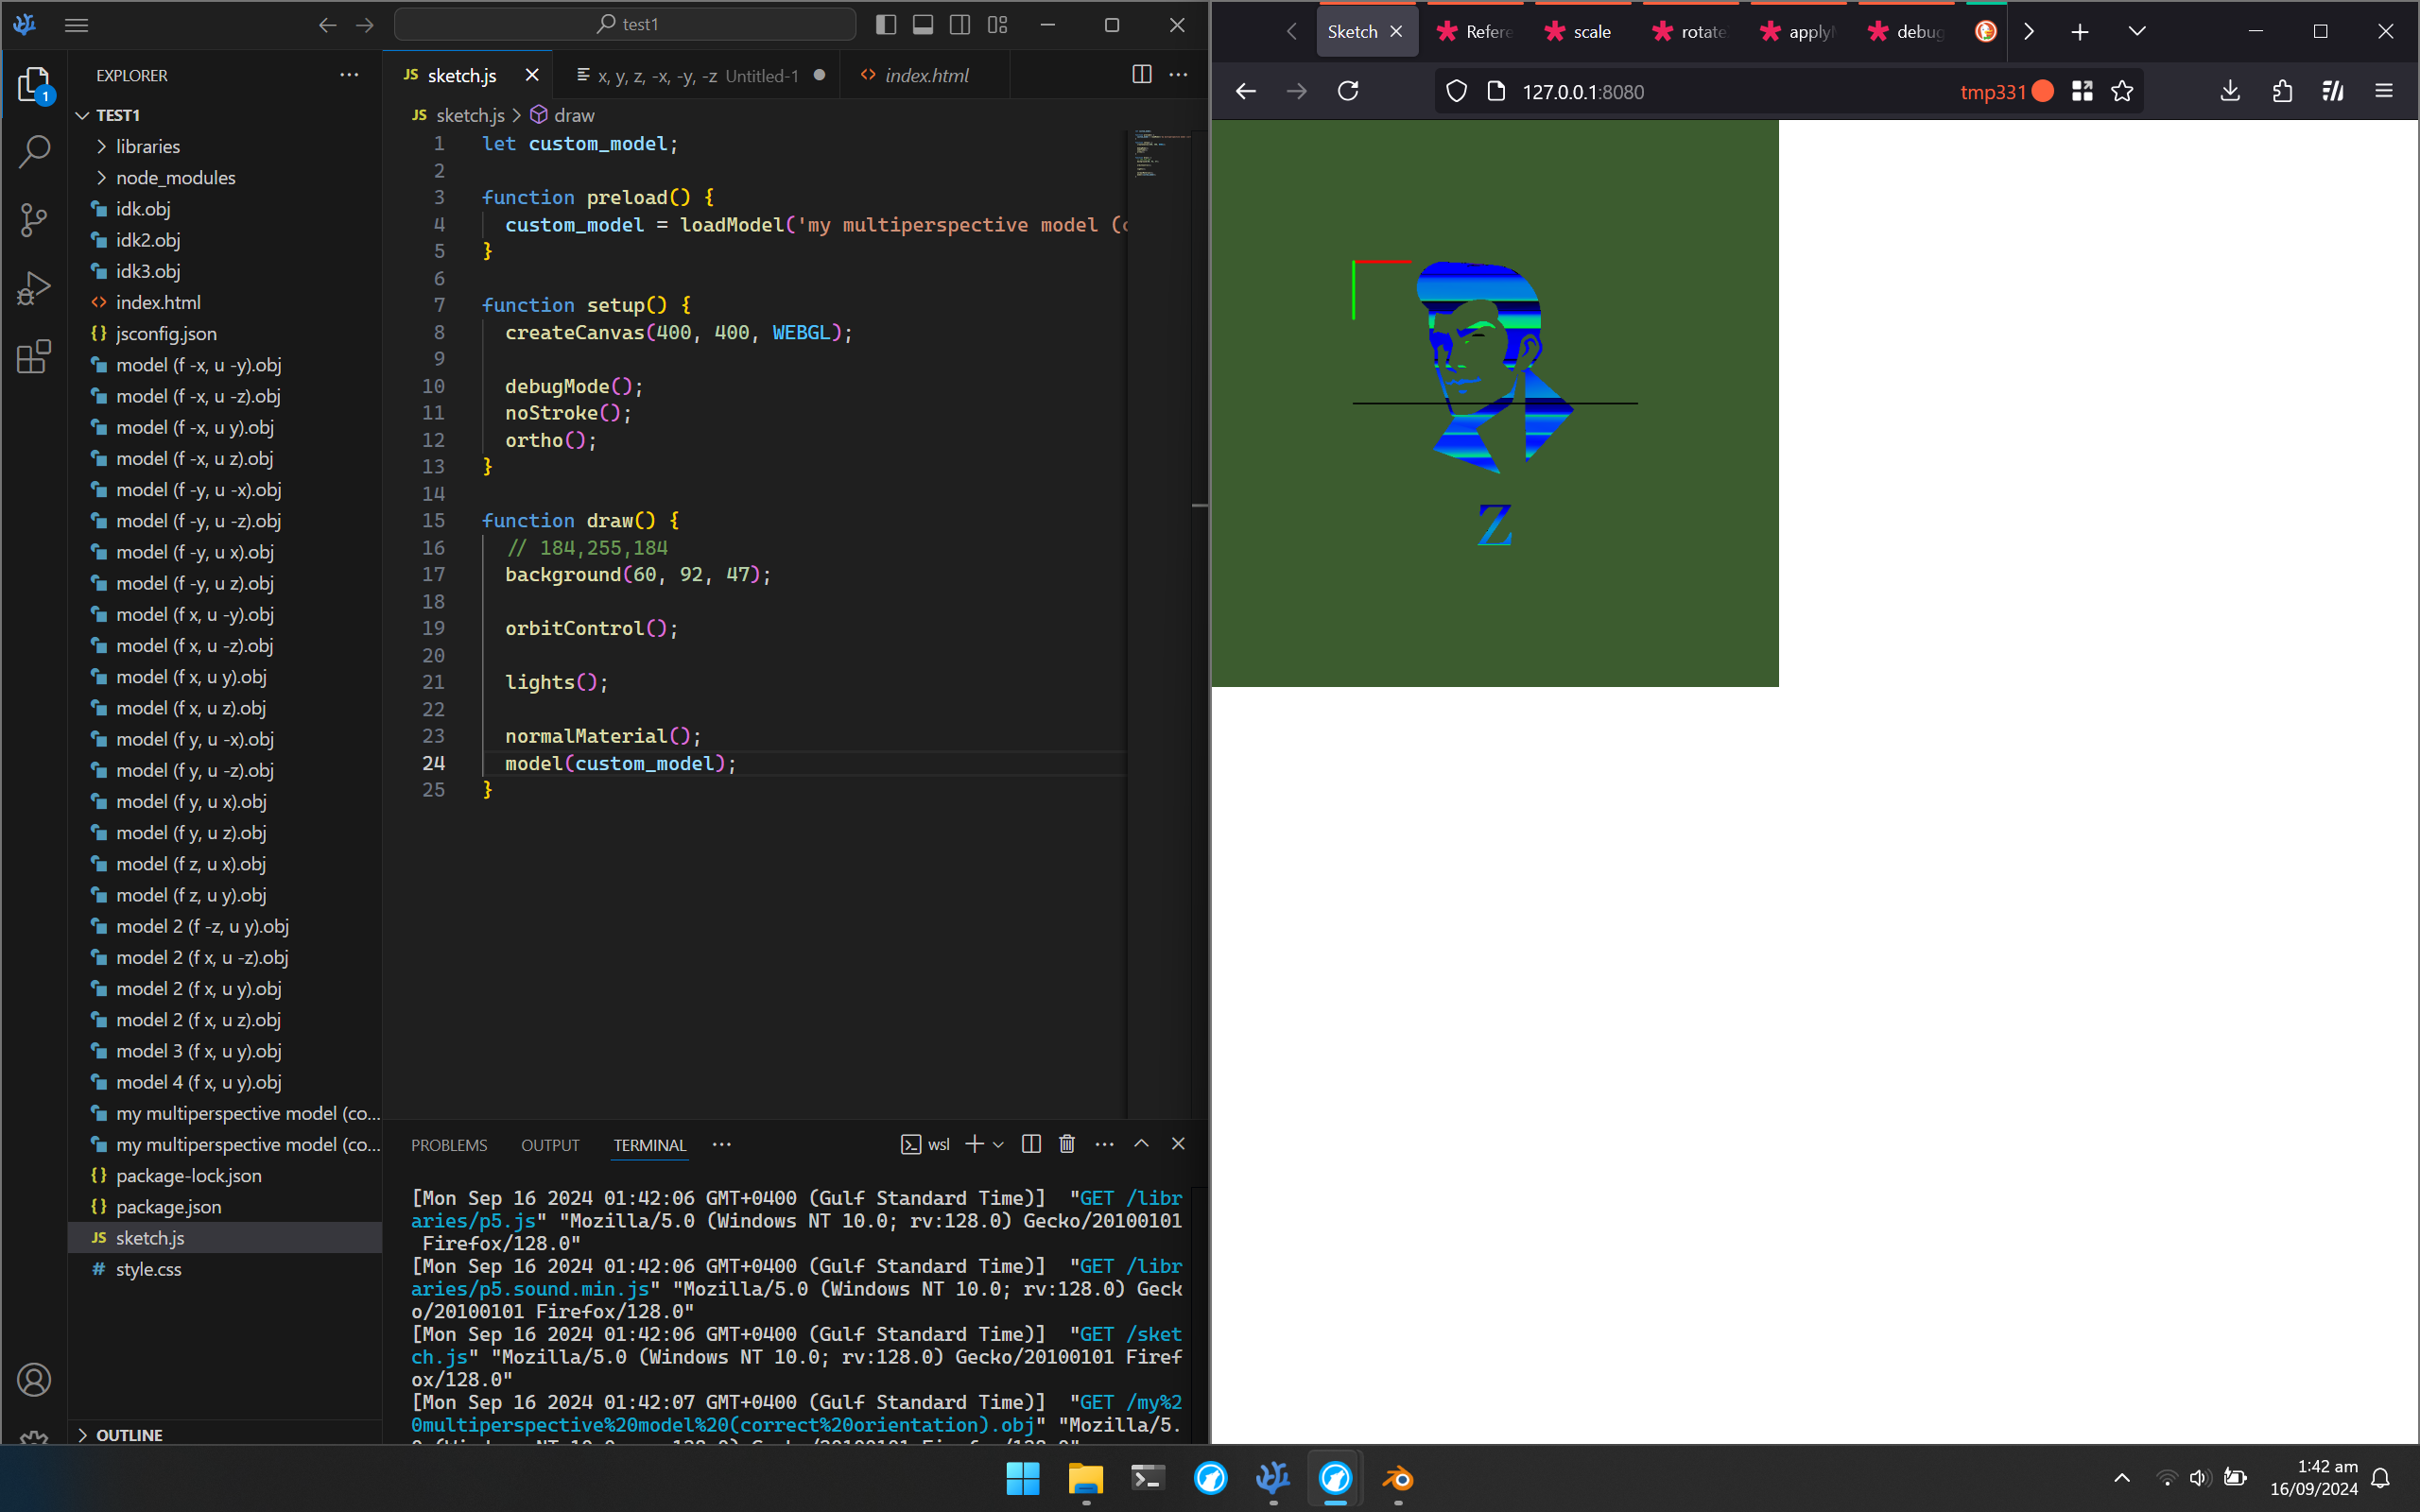
(the normal material was just to help with the orientation, though I don’t know if it actually did, or just made me more confused 😅. debugMode() was to provide the grid and axis indicator. Also, you can see some of the insanity in the small number of models shown here)
However, the model in Blender is now misaligned😅. Anyways, I got that done. Yay -_-.
### Testing performance
Now, I noticed that loading the model took a pretty long time, so I wanted to reduce the size of the model, in order to make the sketch load faster. I assumed it would, but I also wanted to test it (for some reason 🤷♂️).
To do so, I added the line:
let startTime = new Date();
And then added this as the first thing in setup() (since I loaded my model in preload(), which runs before setup()).
print(`Finished loading model in ${(new Date() - startTime)/1000} s`)
And these are the results I got:
| Model | Time 1 (s) | Time 2 (s) | Time 3 (s) | Time 4 (s) | Time 5 (s) | Avg Time (s) | Avg Time, excluding extremes (s) |
|---|---|---|---|---|---|---|---|
| Original | 10.167 | 6.850 | 17.533 | 28.484 | 1.783 | 12.963 | 6.910 |
| Optimised 1 | 10.850 | 5.366 | 4.933 | 4.683 | 0.767 | 5.320 | 2.996 |
| Optimised 2 | 2.533 | 4.133 | 16.083 | 0.850 | 0.750 | 4.870 | 1.503 |
| Optimised 3 | 9.566 | 5.400 | 3.300 | 23.067 | 0.400 | 8.347 | 3.653 |
Basically, the more optimised it was, the lower the number of vertices it had, and the lower the file size. You would logically expect the most optimised one to load the quickest, but surprisingly, that wasn’t exactly the case. While it did have the shortest time, overall, the times are scattered all over the place, and wildly inconsistent (probably due to caching, traffic/load and server availability, etc), so a much, much larger number of samples are needed to determine anything with statistical significance. Regardless, I went with the most optimised one, just out of theory and kindness too (why put extra burden sending unnecessary bits), but it does unfortunately look the worst (due to having a lower resolution, but I hope the difference isn’t much).
### Brief Explanation of Some Code
Now, a brief explanation of some of the code.
I loaded the model using loadModel() (passing true as the second argument, normalises the model)
customModel = loadModel('perspective model.obj', true)
Then I initialised the first camera by doing the following
// Initialise camera, and point to the 1st side (face)
  faceCam = createCamera();
  faceCam.ortho();
  faceCam.setPosition(0, 0, 800);
  faceCam.lookAt(0, 1, 0)
.ortho() sets the camera to be orthographic, and .setPosition & .lookAt are self-explanatory, but they position the camera to point to the face. I set up the 2nd camera similarly, and then have a main camera.
I’m able to resize the canvas to the maximum size (while maintaining a square aspect ratio) by:
let windowSize = windowWidth > windowHeight ? windowHeight : windowWidth
resizeCanvas(windowSize, windowSize)
… which corresponds to:
if (windowWidth > windowHeight) {
  resizeCanvas(windowHeight, windowHeight)
} else {
  resizeCanvas(windowWidth, windowWidth)
}
Now, I’ve also added a cool little entry animation, which causes the model to bounc-ily(?) grow and rotate till its final size, by doing the following
if (frameCount < enterAnimationFrames) {
  rotateY(lerp(0, TWO_PI*2, easeInOutElastic(frameCount/enterAnimationFrames)));
  scale(lerp(0, 1, easeInOutElastic(frameCount/enterAnimationFrames)));
}
In the code above, I interpret the scale from 0 to 1, and Y rotation from 0 to 4Π, according to the elastic ease in and out, which I found from easings.net
Similar to lerp (which stands for linear interpolation), there’s also slerp (a special spherical version), which I use in a similar manner to smoothly transition the camera to the first and second sides when the user presses ‘1’ and ‘2’ respectively.
Lastly, I just draw the model
// Draw custom model
fill(64, 112, 112);
model(customModel);
That’s mostly it. Anyways, without further ado, I present, the final sketch!
# The Final Sketch
Controls:
- Mouse drag: Orbit camera
- Mouse scroll: Zoom
- 1: Face the face 😀
- 2: Face the light bulb
# Additional Thoughts
I had planned to also some nice rustling orange leaves and ambient music, alongside an option with the model on a 3D background, but that unfortunately had to be cut due to time (alongside a huge portion of what I wanted to tell on his blog).
Additionally, I would like to implement the orbital controls myself, so that I can properly restrain the camera from going too far or crossing (flipping) over, improving the user experience, as well as add buttons to switch to the 2 views (in addition to the current key shortcuts).
Also, I would’ve liked to actually move parts of the model, so that it could transition between different states.
I know you’re really enjoying reading such a long post, but fortunately or unfortunately, that’s all the time I’ve got, so we’ll have to end it here. Until next time!
