
Concept:
When I look at how F1 drivers train their reflexes, one of the machines inspired me to create this game. However, this game is not to train your reflexes but your memory. Inspired by this, my project, “SpongBlob” aims to enhance users’ color memory skills through an interactive game developed using Arduino and p5.js. This game not only serves as an entertaining experience but also as an educational tool to study color perception and memory. The game is also aimed for kids who are at risk of losing their focus span to the developing social media and short video world, which makes this game a tool for them to gain their focus back. This inspired the SpongeBob theme, so that it is more kid friendly.
Game setup:
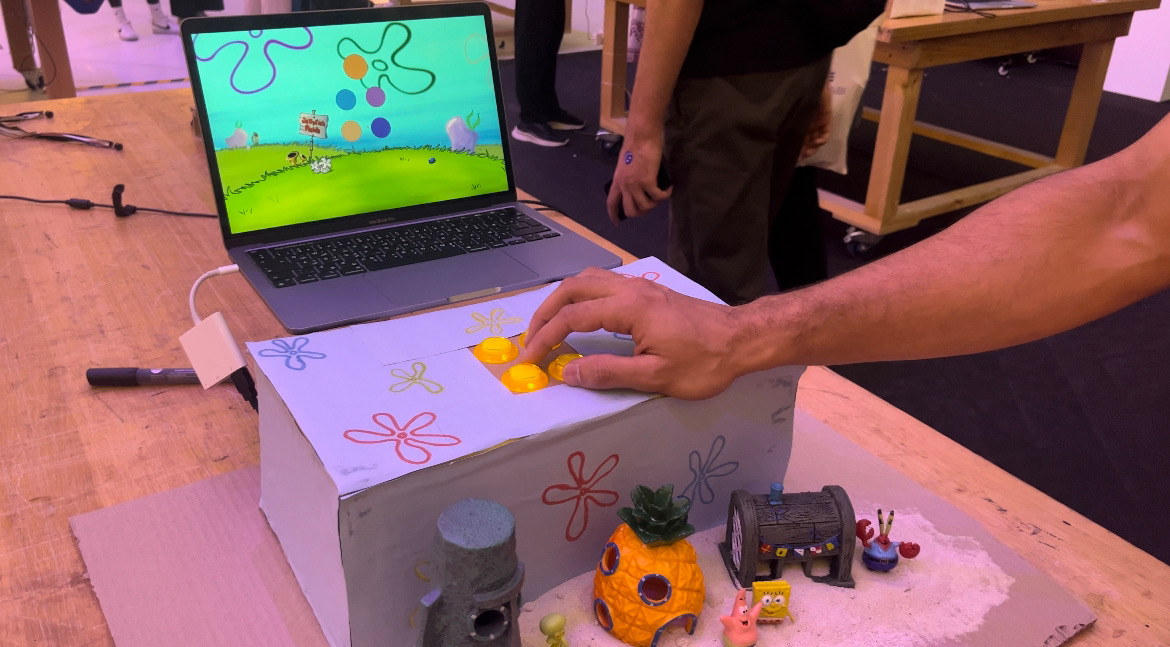
The game has an interactive set up with 4 buttons replacing the keys on the keyboard. By pressing the buttons, the players are interacting with the game on the P5 sketch. This is shown in the following pictures:
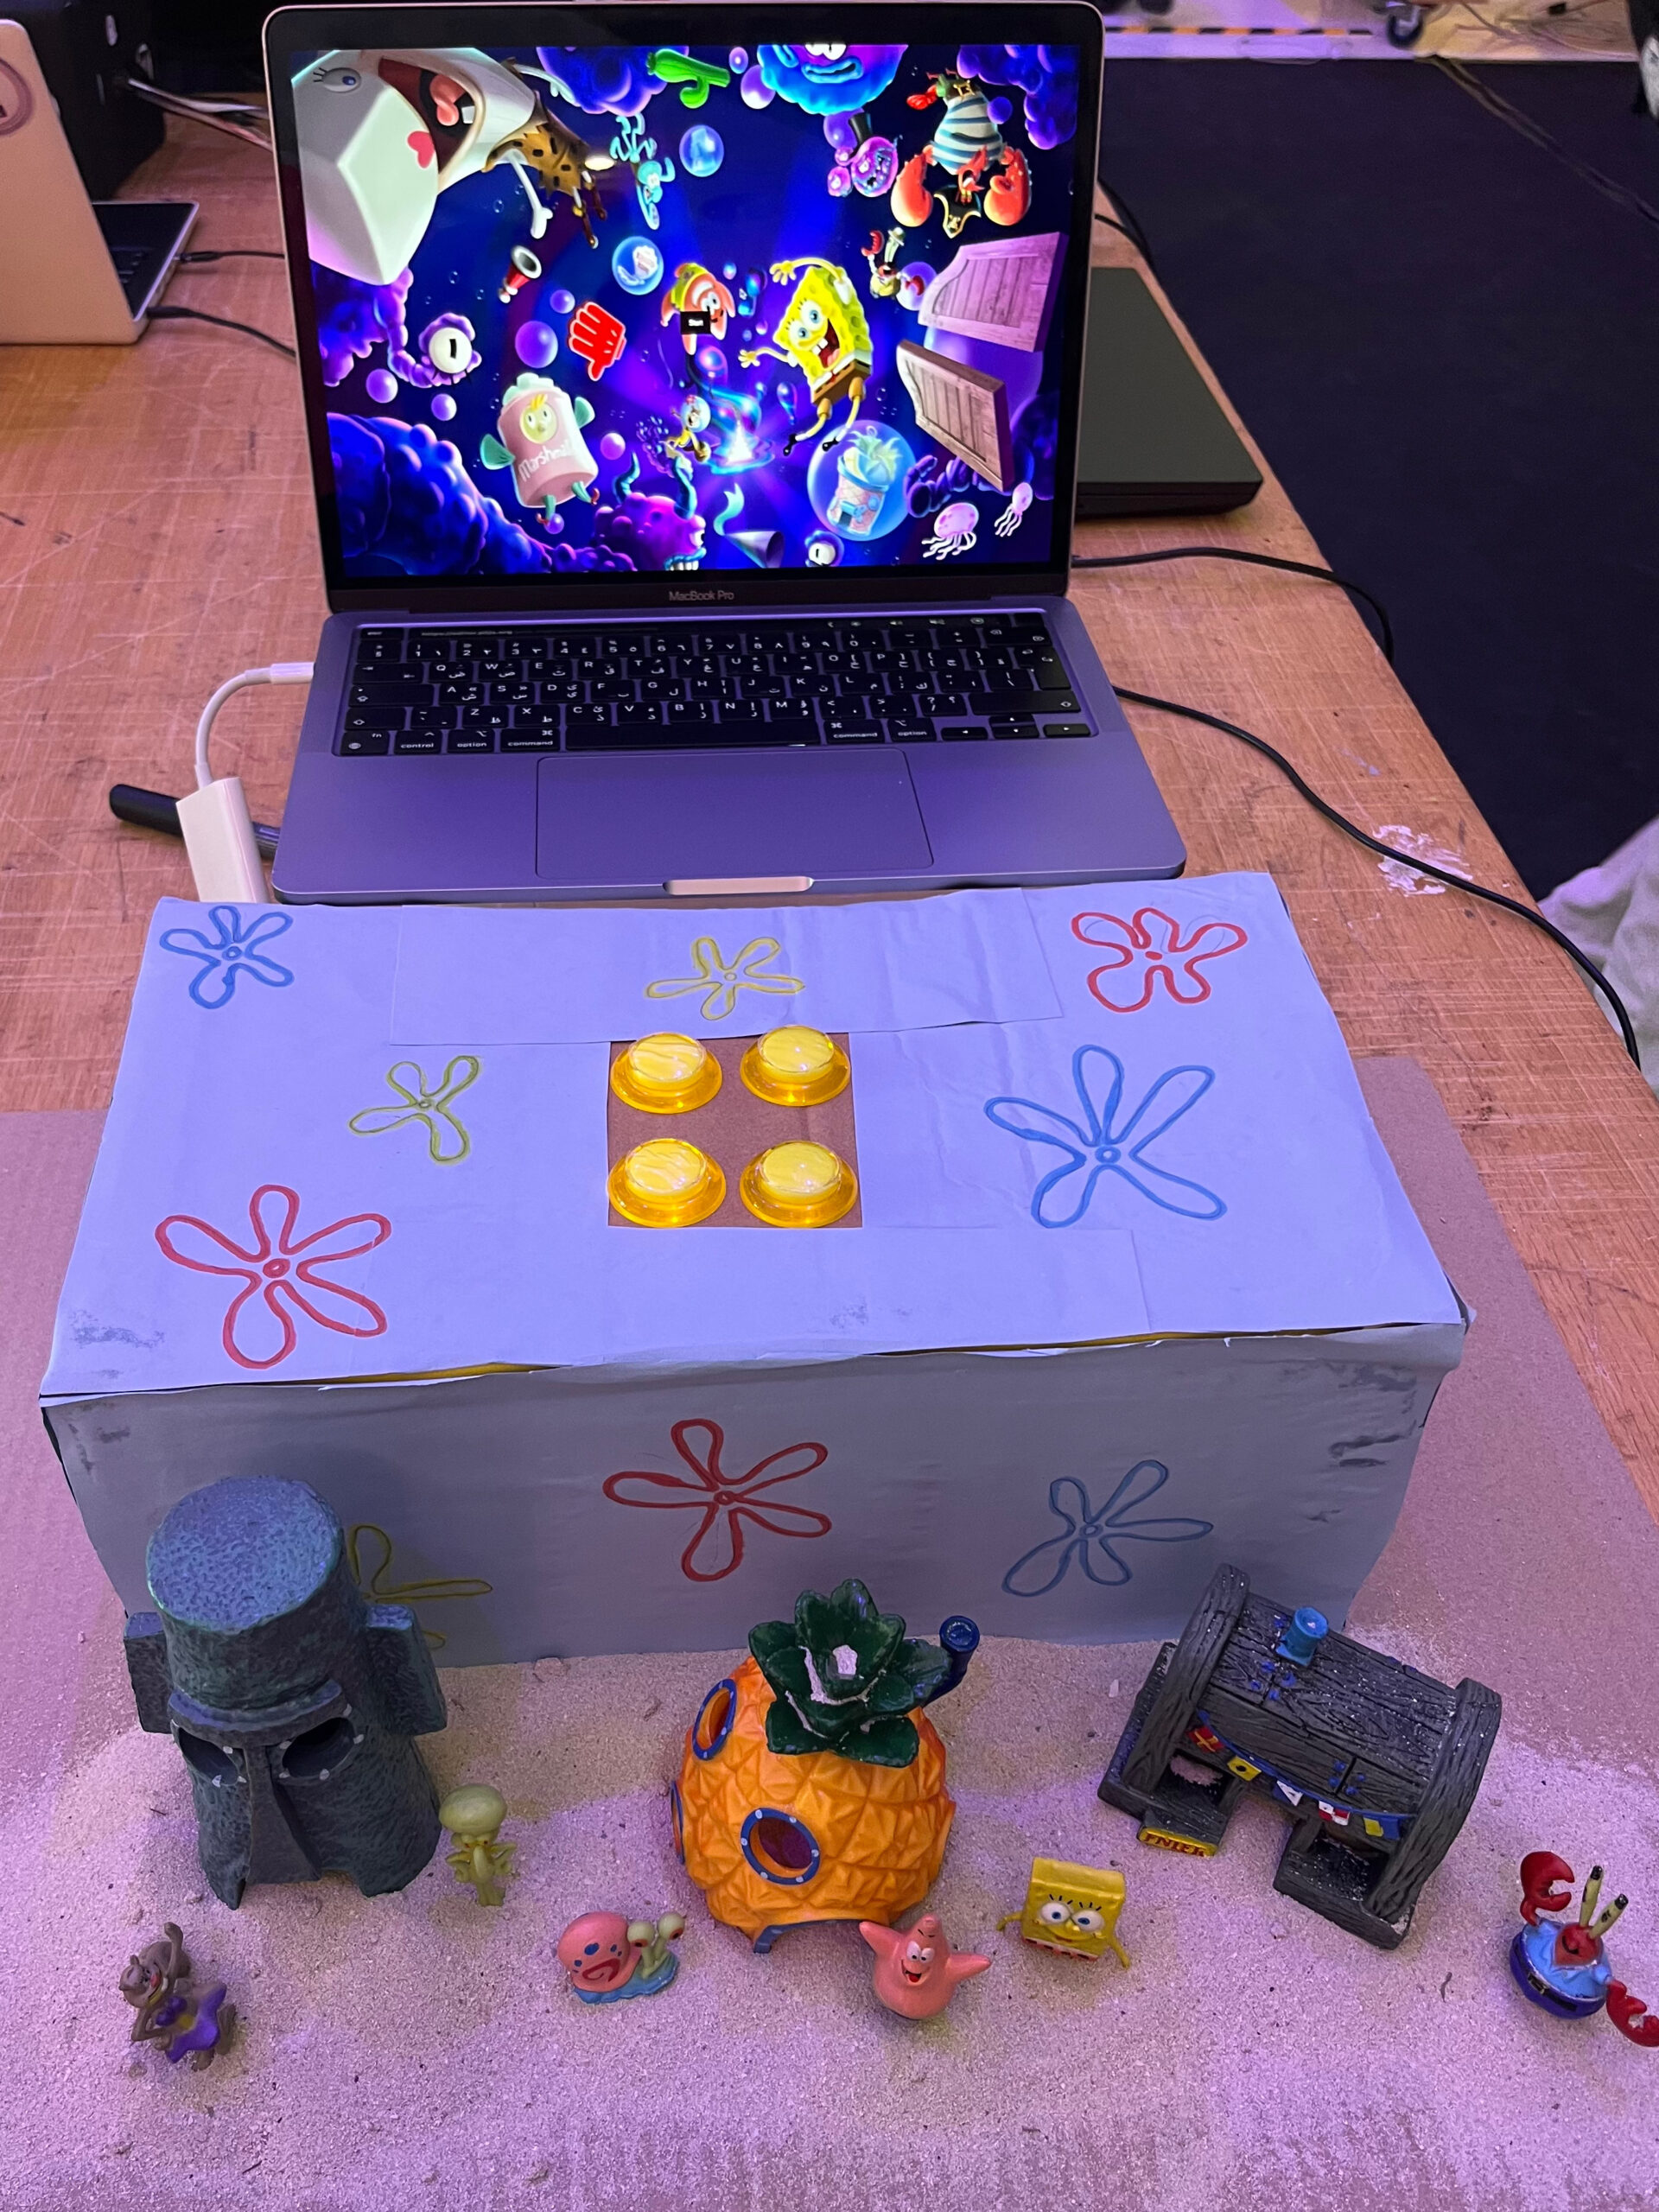
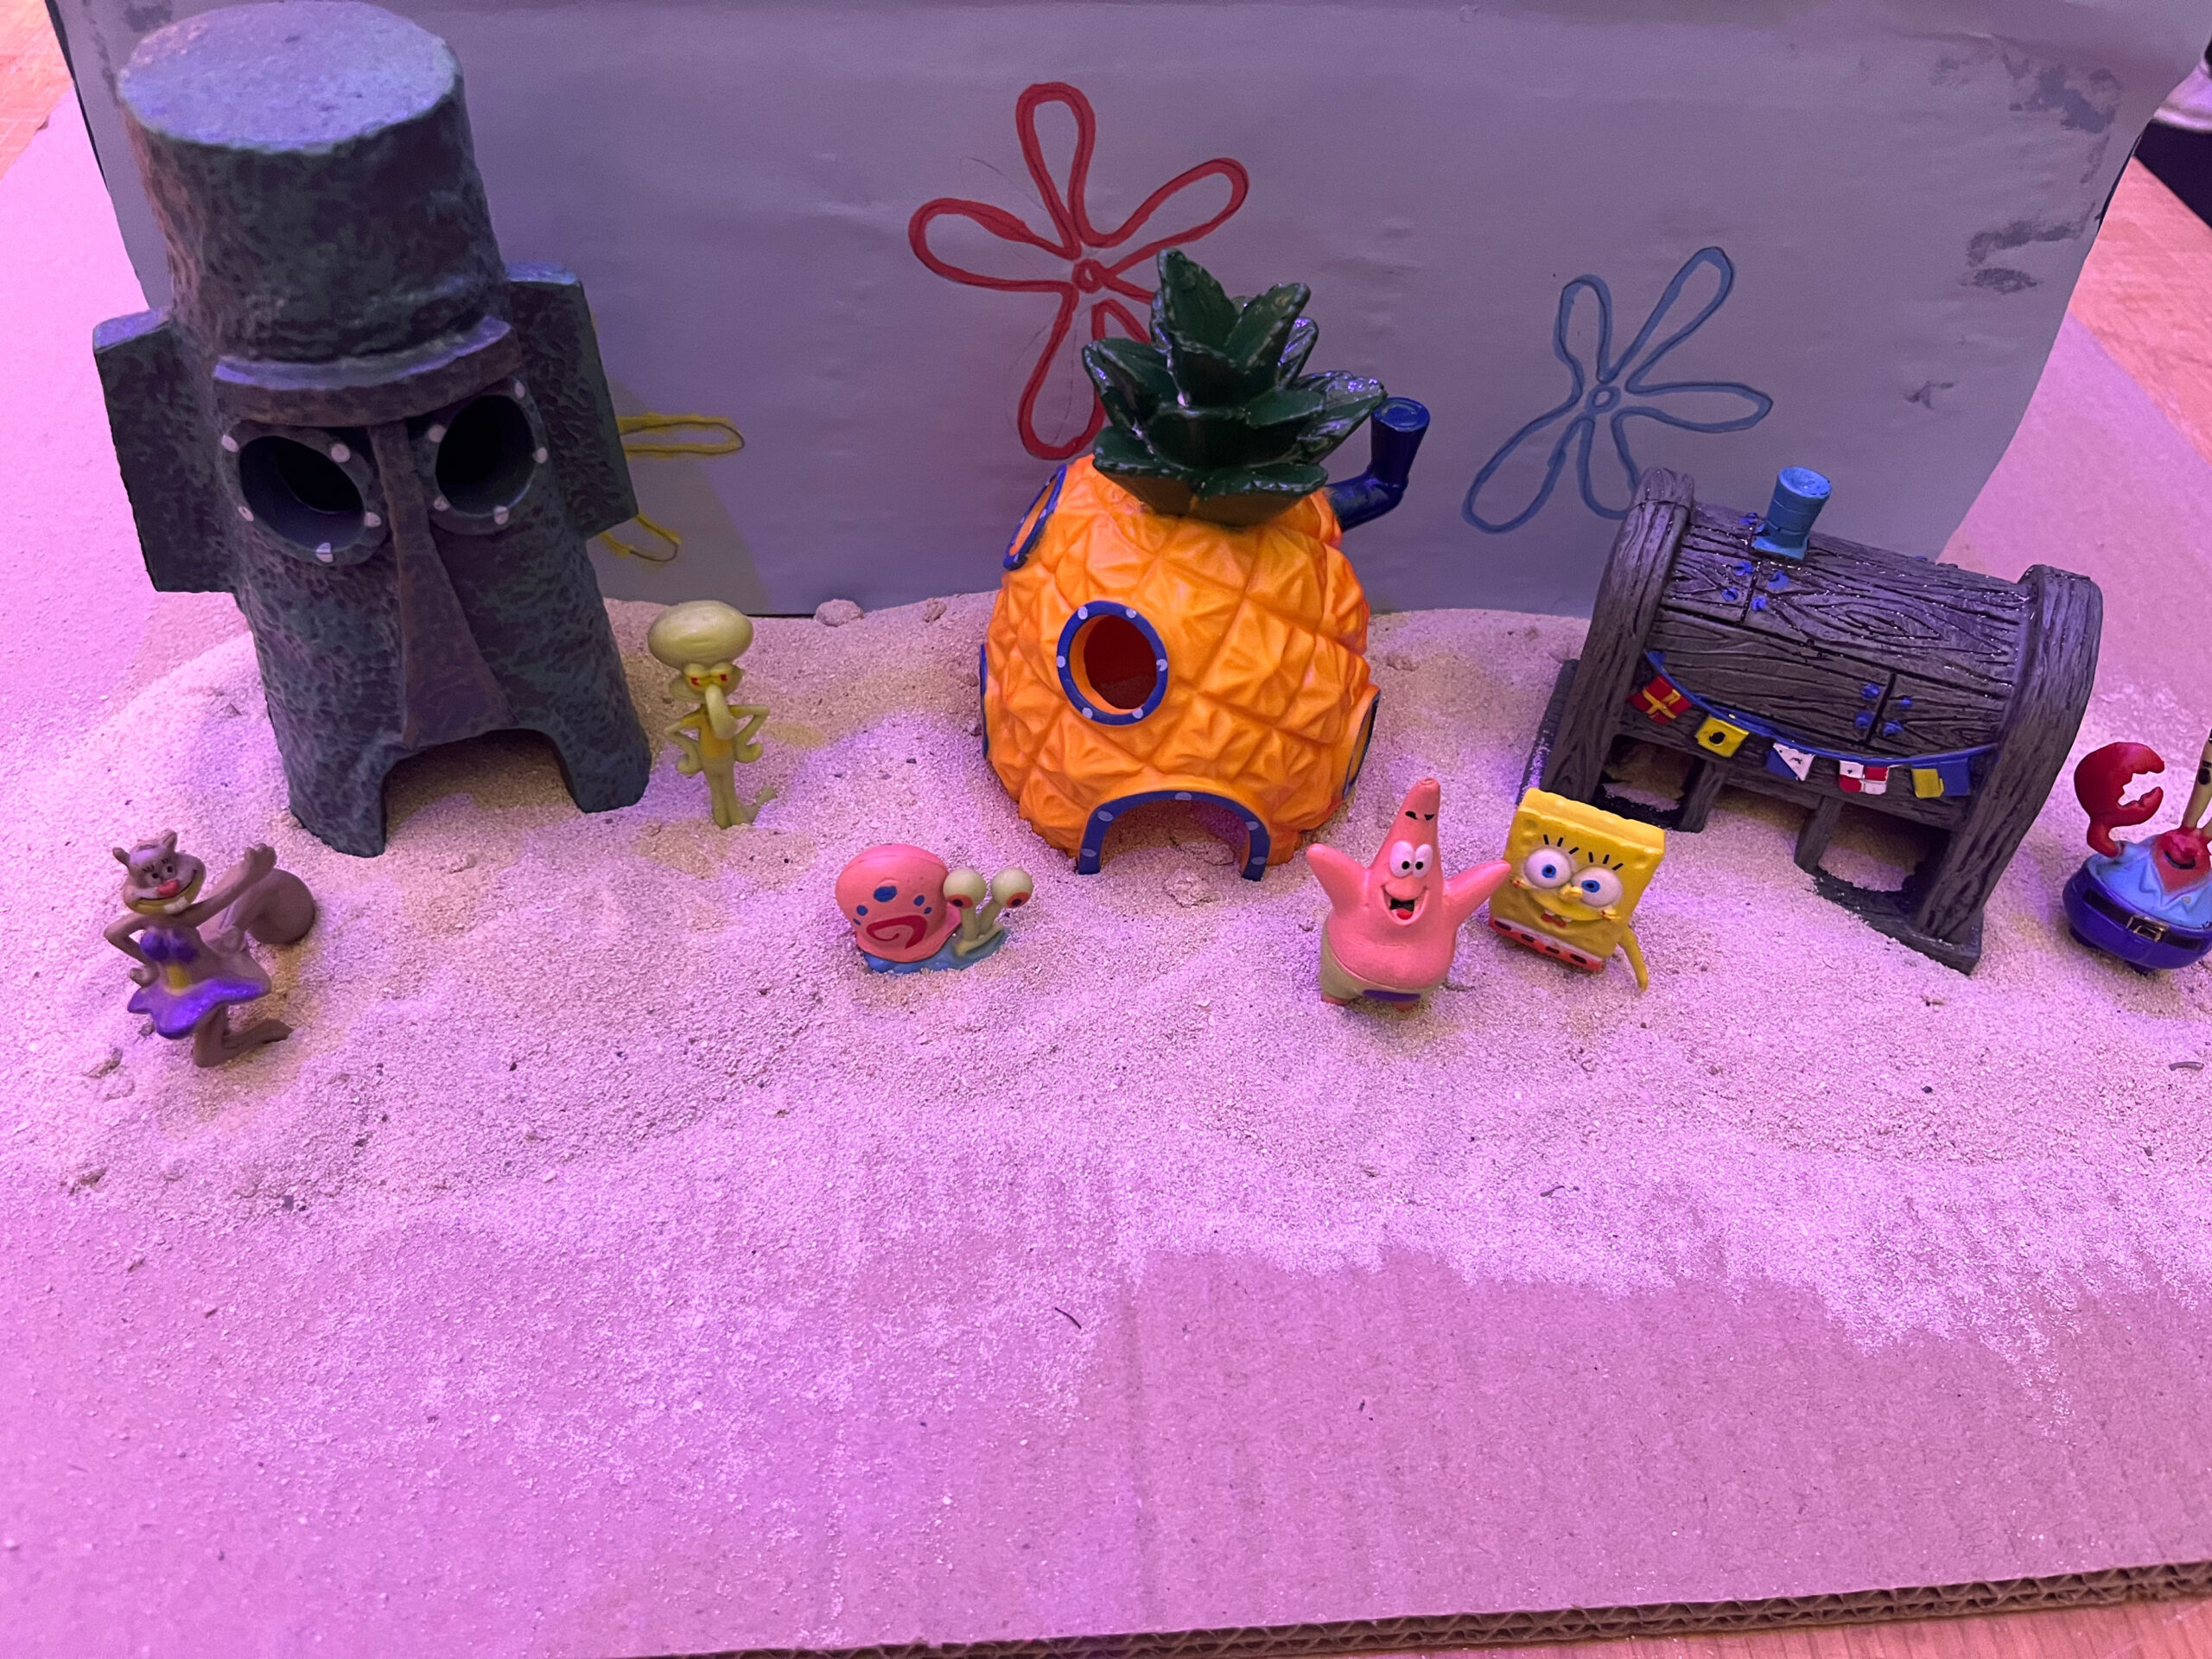
As shown in the picture, the aesthetics of the game are really important especially since this game is also targeting kids. Having a nice set up of “Bikini Bottom” was really important in my opinion to make sure that the game is not just functioning well but also looks appealing to the players.
The use of these buttons makes it so much easier than the keyboard according to the users that tested the game. Moreover, when user testing, most of the students suggested having a less hectic and messy background so that the player can focus and memorize the colors of the circles without getting distracted by the background. There was some debate over whether the users should get to see the score they achieved or not. Since it is a memory game, I thought the players should focus more on memorizing and enhancing their focus span than focus on the score, so I did not make it visible to the players.
P5 Sketch Full Screen Link: https://editor.p5js.org/jana_mohsen/full/Vymgnruow
Code:
// Define pin numbers for buttons
const int leftButtonPin = 2;
const int upButtonPin = 3;
const int downButtonPin = 4;
const int rightButtonPin = 5;

void setup() {
  Serial.begin(9600);
  // Set button pins as inputs
  pinMode(leftButtonPin, INPUT);
  pinMode(upButtonPin, INPUT);
  pinMode(downButtonPin, INPUT);
  pinMode(rightButtonPin, INPUT);
}

void loop() {
  // Read button states and send data over serial
  int leftButton = digitalRead(leftButtonPin);
  int upButton = digitalRead(upButtonPin);
  int downButton = digitalRead(downButtonPin);
  int rightButton = digitalRead(rightButtonPin);

  // Send button states to serial
  Serial.print(leftButton);
  Serial.print(",");
  Serial.print(upButton);
  Serial.print(",");
  Serial.print(downButton);
  Serial.print(",");
  Serial.println(rightButton);

  // Delay to control the rate of data transmission
  delay(100);
}
This Arduino sketch manages four buttons connected to the board, using pins 2, 3, 4, and 5 for left, up, down, and right buttons respectively. The setup() function initializes serial communication at 9600 baud and sets the button pins to input mode. The loop() function continuously reads the state of each button using digitalRead() and sends these states over the serial connection using Serial.print(). Each button state is outputted sequentially and separated by commas, with a newline at the end of each set via Serial.println(). A delay(100) is included to control the rate of data transmission, preventing data overflow and ensuring manageable communication speeds.
function drawGamePage() {
  //song.play();
  background(backgroundImage);
  if (currentPage == 2 || currentPage == 3) {
    let selected = -1;

    // Map arrow keys to grid positions
    if (ArrowUp == 1 && ButtonPressed == 0) {
      selected = 0; // Top-left
      ButtonPressed = 1;
    } else if (ArrowDown == 1 && ButtonPressed == 0) {
      selected = 1;
      ButtonPressed = 1; // Top-right
    } else if (ArrowRight == 1 && ButtonPressed == 0) {
      selected = 2;
      ButtonPressed = 1; // Bottom-left
    } else if (ArrowLeft == 1 && ButtonPressed == 0) {
      selected = 3;
      ButtonPressed = 1; // Bottom-right
    } else if (
      ArrowLeft == 0 &&
      ArrowRight == 0 &&
      ArrowUp == 0 &&
      ArrowDown == 0
    ) {
      ButtonPressed = 0;
    }

    // Check if the selected color matches the currentColor
    if (selected != -1) {
      if (gridColors[selected] == currentColor) {
        prepareNextLevel();
      } else {
        currentPage = -1;
      }
    }
  }

  fill(nextColor);
  ellipse(windowWidth / 2, 200, 120, 120);
  let padding1 = windowWidth / 2 - 75;
  let padding2 = windowHeight / 2 - 100;
  for (let i = 0; i < gridSize; i++) {
    for (let j = 0; j < gridSize; j++) {
      fill(gridColors[i * gridSize + j]);
      ellipse(
        padding1 + j * (ellipseSize + 50),
        padding2 + i * (ellipseSize + 50),
        ellipseSize,
        ellipseSize
      );
    }
  }
}

function drawOverPage() {
  //laugh.play();
  background(gameOverImage);
  textAlign(CENTER, CENTER);
  textSize(32);
  fill(0);
  text("Game Over", width / 2, height / 2 - 100);

  // Draw "Again" button
  fill(200); // Light grey button background
  rect(width / 2 - 100, height / 2, 200, 50);
  fill(0); // Black text
  text("Again", width / 2, height / 2 + 25);

  // Draw "Home" button
  fill(200); // Light grey button background
  rect(width / 2 - 100, height / 2 + 70, 200, 50);
  fill(0); // Black text
  text("Home", width / 2, height / 2 + 95);
}

function drawInstructionPage() {
  //song.play();
  background(instructionsImage);
  fill(0);
  textSize(24);
  textAlign(LEFT, LEFT);
  text("Instructions", width - 810, height - 710);
  textSize(16);
  text("Welcome to the Memory Game! Here's how to play:", width - 840, height - 655);
  text("1. Memorize the colors shown on top of the screen.", width - 840, height - 625);
  text("2. Use the buttons to select the correct color from the grid.", width - 840, height - 595);
  text("3. Match the colors correctly to advance to the next level.", width - 840, height - 565);
  text("Press Space Bar to select Serial Port", width - 840, height - 535);
  textAlign(CENTER, CENTER);
  rect(width - 780, height / 2 - 40, 80, 40);
  fill(200);
  text("Continue", width - 740, height / 2 - 20);
}


function draw() {
  background(220);
  if (!serialActive) {
    text("Press Space Bar to select Serial Port", 20, 30);
  } else {
    text("Connected", 20, 30);
  }

  if (currentPage == 0) {
    drawStartPage();
  } else if (currentPage == 1) {
    drawInstructionPage();
  } else if (currentPage == 2) {
    drawFirstPage();
  } else if (currentPage == 3) {
    drawGamePage();
  } else if (currentPage == -1) {
    drawOverPage();
  }
}
The P5 sketch code is maily about the game page which has the conditions that make the game more interesting. The drawGamePage() function in this p5.js code is designed for a memory game, where it handles the game logic and user interactions during gameplay. It first sets the background and checks if the game is on specific pages (like a game level). The function maps arrow key inputs to grid selections, managing state with a ButtonPressed flag to avoid repeated selections. If a selected color from the grid matches a target color (currentColor), the game progresses to the next level; otherwise, it switches to a game over page. It dynamically renders colored ellipses on a grid, representing game elements. Additionally, other functions like drawOverPage() handle the game over screen, displaying buttons for restarting or returning to the home screen, and drawInstructionPage() displays the game instructions. The main draw() function coordinates these pages based on the current game state, updating the display and handling transitions between different parts of the game, such as starting, instructions, gameplay, and game over scenarios.
Aspects of the project I am proud of:
Game Logic Implementation: The effective mapping of user inputs (arrow keys) to game actions and the incorporation of game state management ensures that the gameplay is both challenging and engaging.
Serial Communication: The use of serial communication to connect Arduino inputs to the p5.js game logic demonstrates a robust application of cross-platform communication techniques, vital for interactive media projects.
Areas for Future Improvement:
Complexity and Features: Introducing additional levels of difficulty, more complex game mechanics, or multiplayer capabilities could increase the game’s replay value and appeal to a broader audience. Also having new shapes, characters to memorize and not just the circles can be fun!
Extensive Testing and Debugging: Conducting more thorough testing across different platforms and setups could identify and resolve any existing bugs or issues with user interactions, ensuring a smooth and reliable user experience.