
Concept and the Game Description
Inspired by one of my childhood favorite games, Cooking Mama, I aimed to create a cooking simulation game called Sizzling Steak. Sizzling Steak is an interactive game simulating the experience of the whole steak cooking process from buying the ingredients to putting the sauce on the stake. This game simulates the experience of buying ingredients, cooking a steak on a grill, and putting sauce on the steak through a series of mini-games using various sensors and resistors.
First, the user has to buy ingredients for making the steak. This stage simulates the experience of shopping for ingredients. The player controls the cart using the button switch to avoid obstacles and collect necessary ingredients.
Once the user collects some ingredients, the user proceeds to the cooking the steak stage. In this stage, the player uses a potentiometer to control the fire level on the grill, which is related to the timing of the flipping time. The greater value of the potentiometer indicates a shorter interval of flipping time. When it is time to flip the steak, the LED button lits up, and the player must press the LED button to flip the steak at the right moment. Flipping too late would cause the steak to be burnt. And the game immediately ends if the steak is burnt. So, the user should flip the steak at the perfect time for a couple of times to succeed in this stage.
After successfully cooking the steak, the player moves on to putting sauce on it. Here the user should squeeze the sauce bottle with the flex sensor to control the amount of sauce applied. The player must apply the right amount of pressure to achieve the perfect sauce coverage on the steak.
Game pages (without buttons)
Here are some pages and elements I have designed for the interface of this project. I have utilized Canva to design the pages to be utilized in this project:

start page
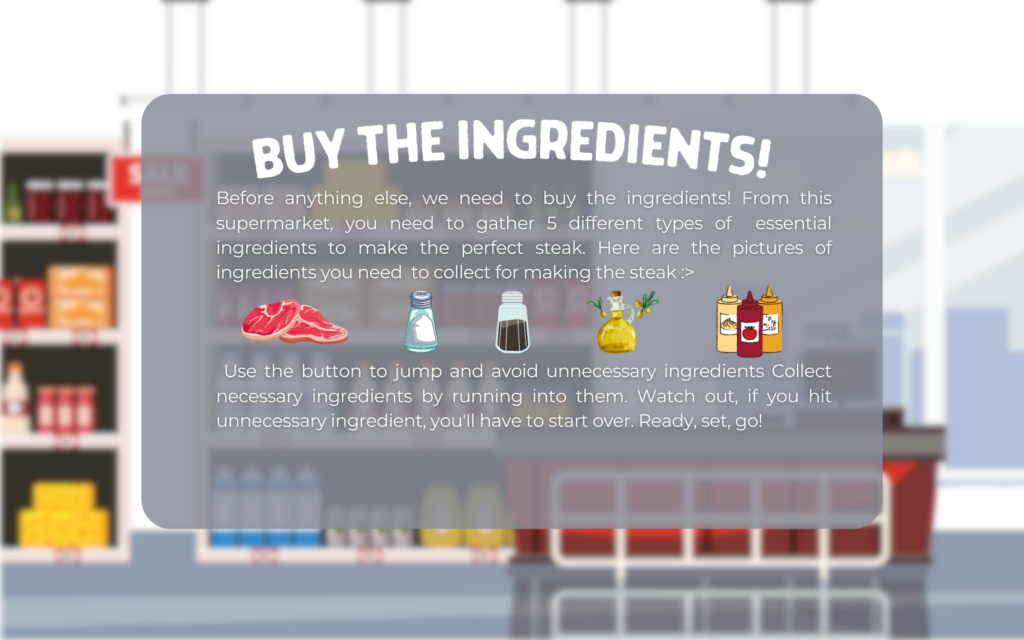 Stage 1 instructions
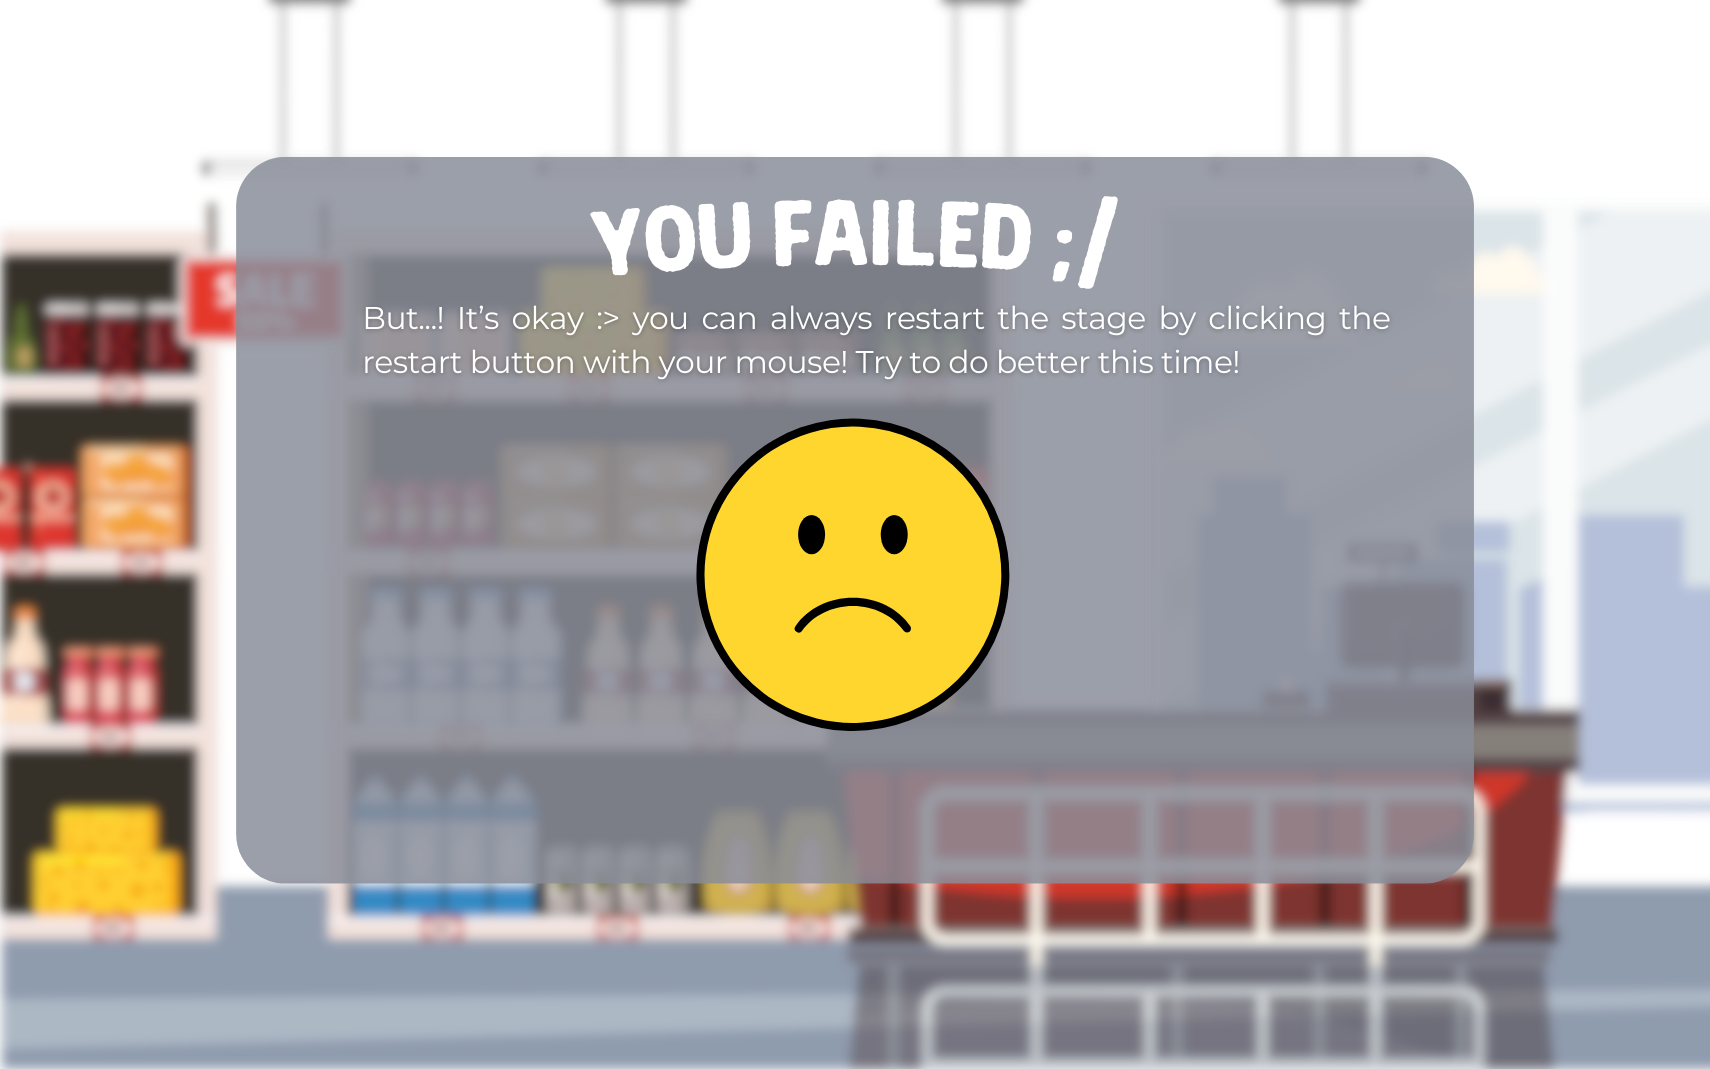 Stage1 lost page
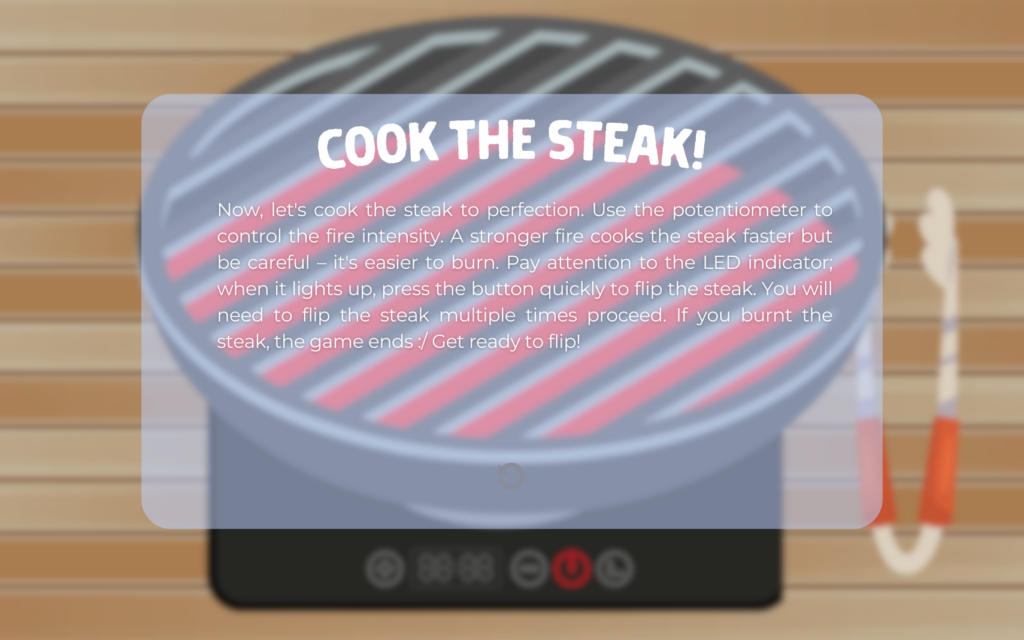 stage 2 instructions
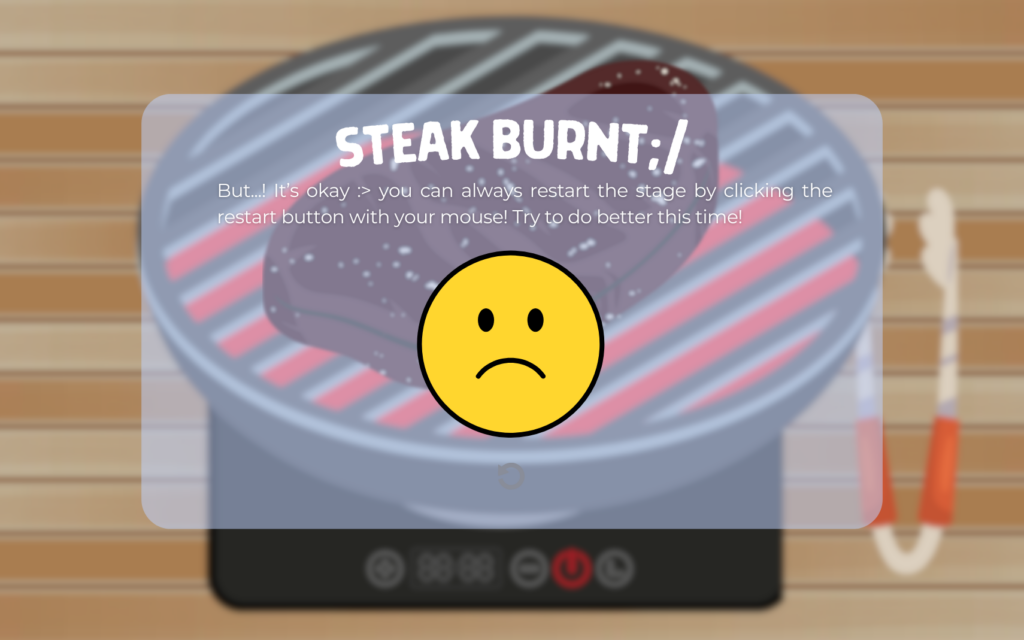 stage 2 lost page
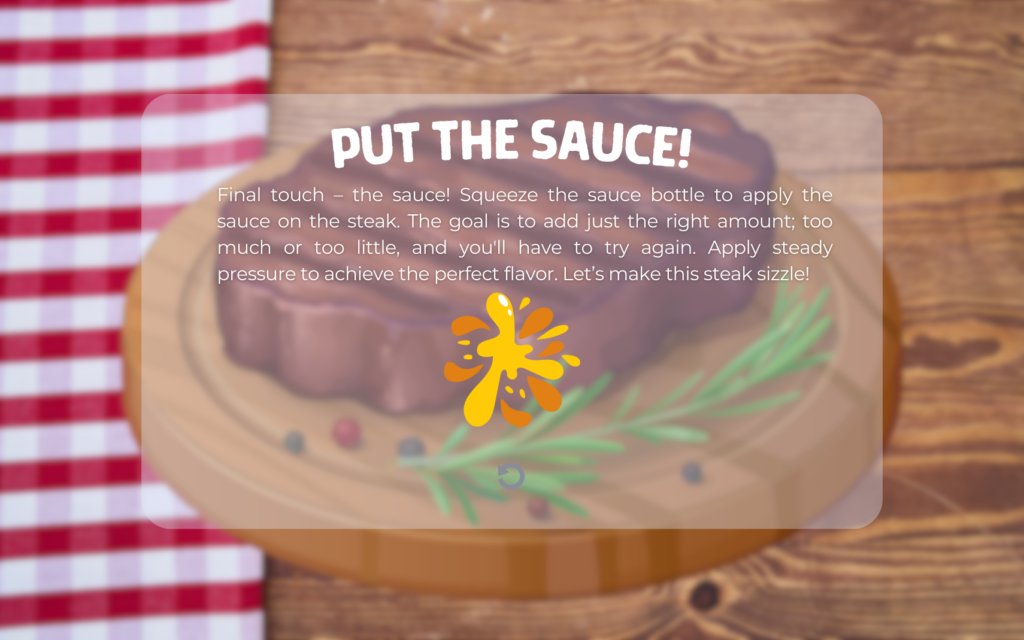
stage3 instructions
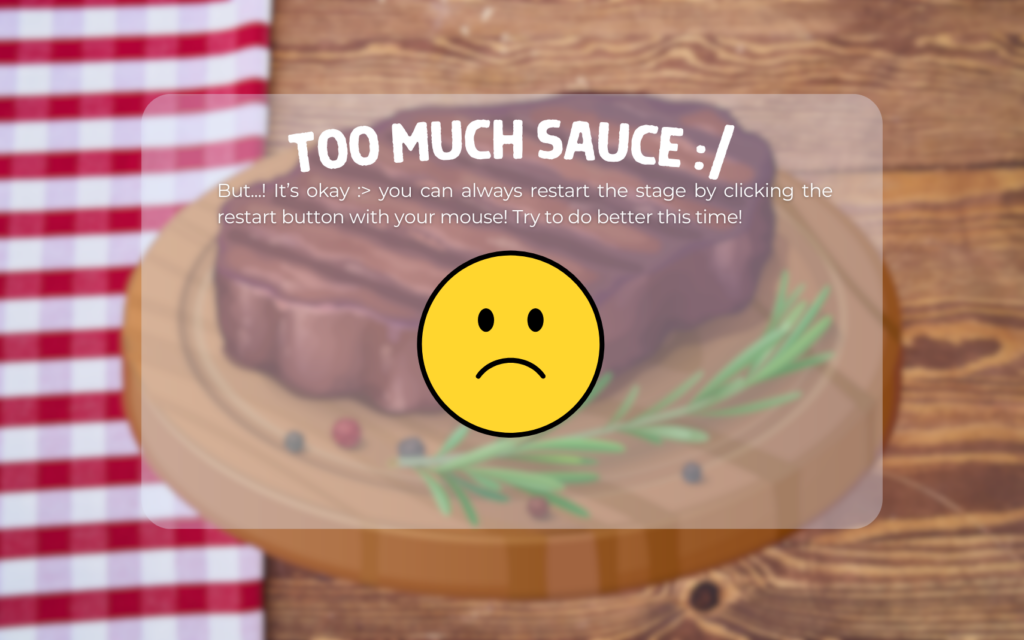 stage3 lost page
 game ending page
Project Images
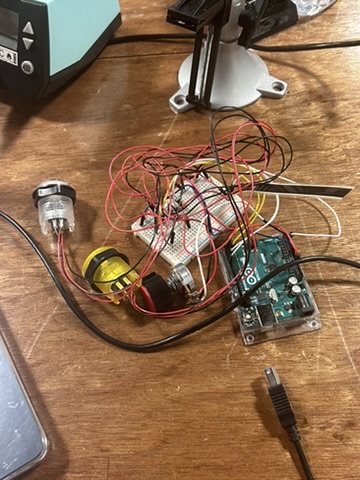
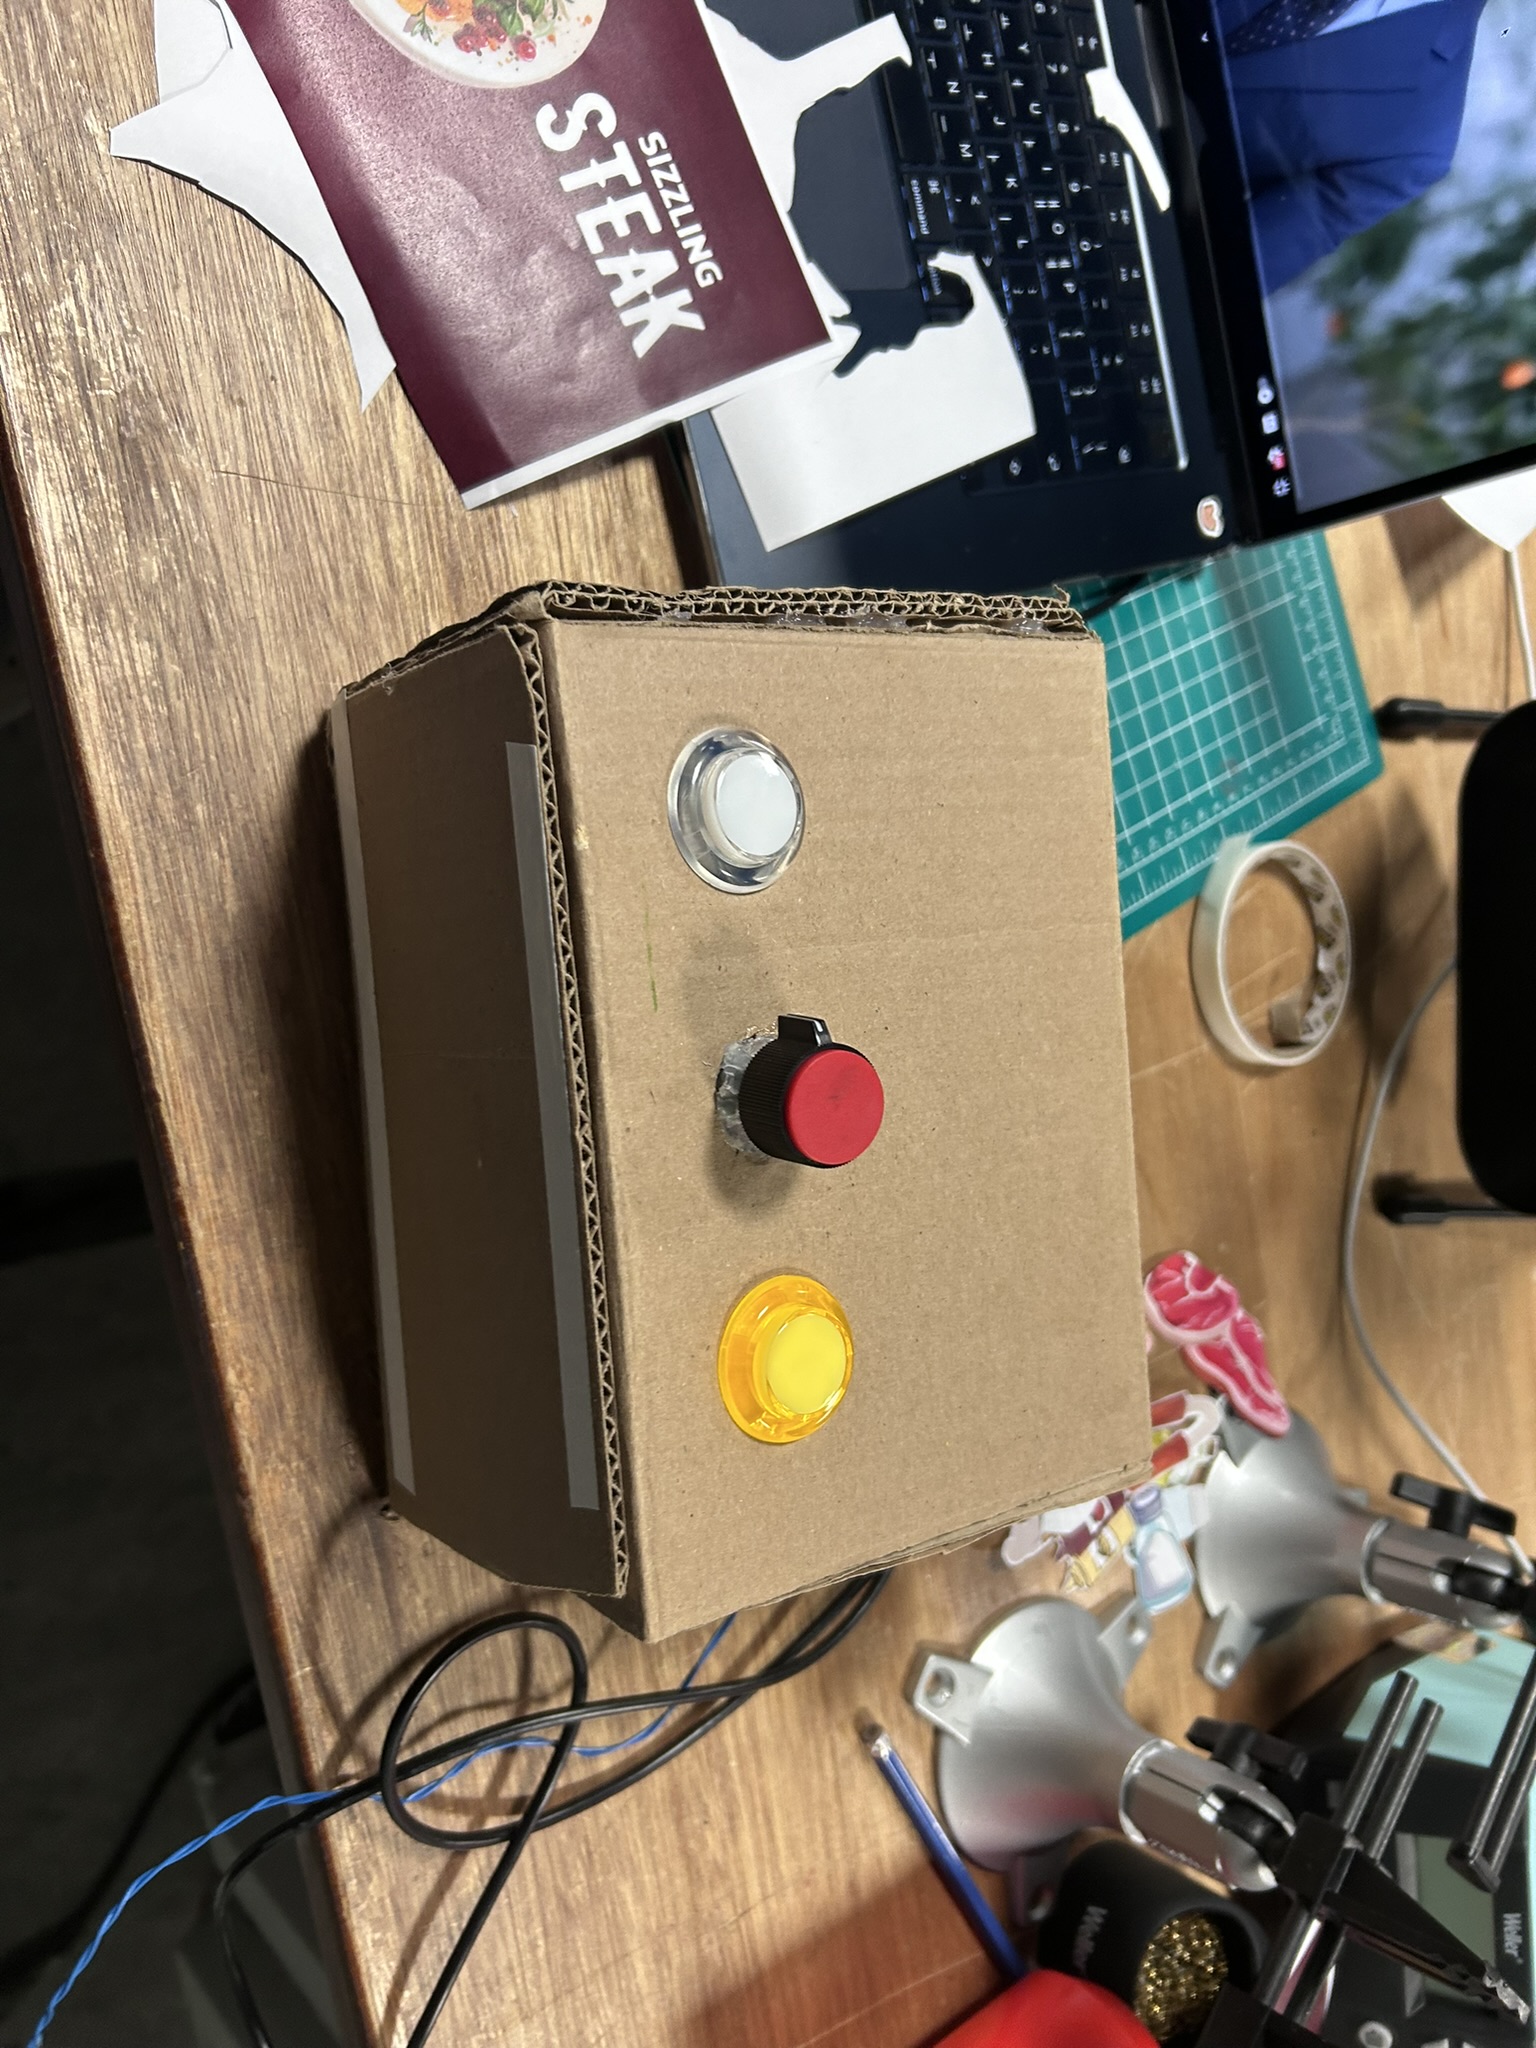
Prototype Development:
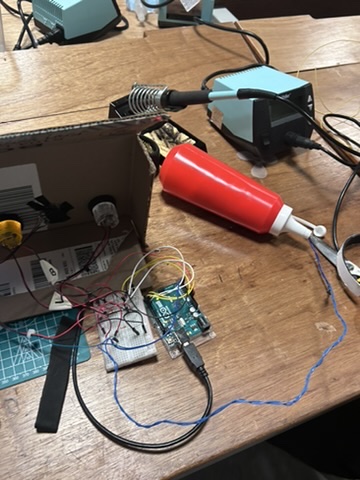
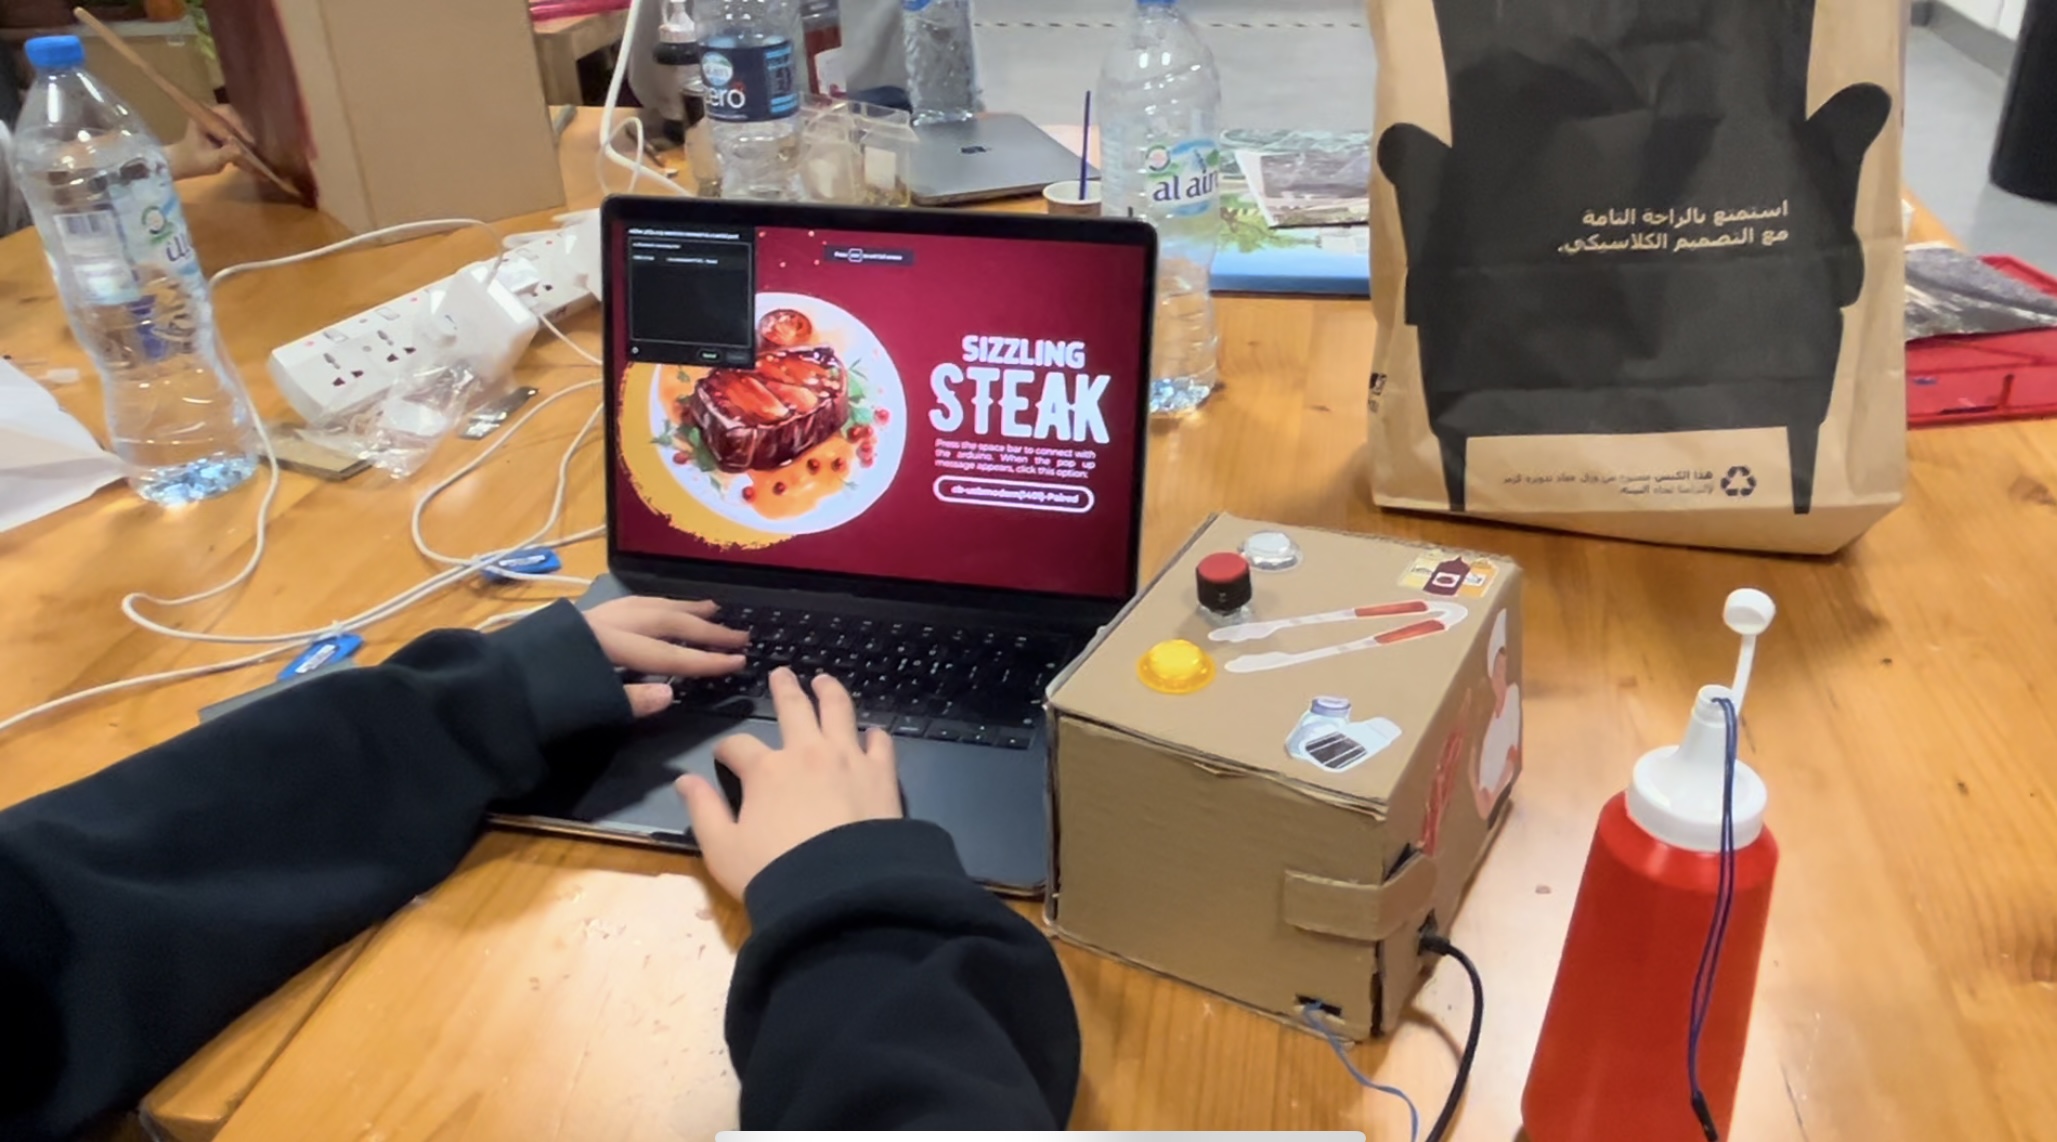
Final Product:
User Testing
For the user testing, I have let some of my friends play the game I made without giving them any instructions ( the game’s instruction page was there though) and see how they use it. Thankfully, all of my friends were able to immediately figure out how to play the game. After playing the game, I asked my friends whether there were parts that were confusing and they told me that the game was actually very intuitive. So, there was no particularly confusing part. However, I have discovered that many of them find stage 1 quite difficult to collect 5 ingredients. Hence, as of now, to adjust the level of difficulty, I made the game-winning condition for stage 1 to be collecting 3 ingredients.
How does the implementation work?
User interaction design
From the brainstorming stage of this project, I wanted to ensure that the player could easily understand and engage with the game mechanics. I attempted to do so by making the instructions for each stage as clear and concise and making the physical component of the project as intuitive as possible. Before the “first” attempt of each stage, there is an instruction to guide the user on how to play the game. I especially have put lots of effort into creating the instructions page for stage 1. While I found the mini-games for stages 2 and 3 to be quite intuitive, I recognized that stage 1, involving collecting ingredients, might be more challenging. To address any confusion that may be caused, I added images of the ingredients that the player needs to collect to clarify the game mechanics.
In terms of the physical components of the game, I tried to make it intuitive by utilizing objects similar to those utilized in making the steak. First of all, I have utilized a cute little potentiometer that resembles those attached to the gas stoves to indicate that this is attached to control the “fire intensity”. Then, I inserted the flex sensor into the sauce bottle to signify that the player must “squeeze” the bottle to play the mini-game for stage 3.
Communication between Arduino and p5.js
In this project, both Arduino and p5.js send data to each other. The Arduino sends the value of different sensors (two buttons, potentiometer, and the flex sensor) to the p5.js while the p5.js sends the “signal” to light up one of the buttons. The Arduino sends a string of the values of the sensors split by commas and the p5.js splits this string to an array of consisting different elements (each element being the sensor value) and utilizes these elements when needed. The p5.js also sends the signal in a string form. In stage 2, when it is not time to light up the button, the p5.js sends “0\n” and sends “1\n” when it is time to light up the button. The Arduino interprets this sent value using the Serial.parseInt().
Arduino Code:
//stage 1 button led;
int led1 = 3;
int button1 = 2;
//stage2 button led;
int led2 = 5;
int button2 = 4;


void setup() {
 Serial.begin(9600);
 pinMode(LED_BUILTIN, OUTPUT);
 pinMode(led1, OUTPUT);
 pinMode(led2, OUTPUT);
  // Initial blink without using delay
 digitalWrite(led1, HIGH);
   while (Serial.available() <= 0) {
   Serial.println("0,0"); // send a starting message
 }


}


void loop() {


 // Handling incoming data
 while (Serial.available()) {
   digitalWrite(LED_BUILTIN, HIGH); // LED on while receiving data
   //interpreting the received data from p5.js
   int lightup = Serial.parseInt();


   //reading the sensors
   int buttonState = digitalRead(button1);
   int sensor1 = analogRead(A5);//potentiometer
   int buttonState2= digitalRead(button2);
   int sensor3= analogRead(A3);//flex sensor


   //sending data to p5.js
   Serial.println(String(buttonState) + "," + String(sensor1) + "," + String(buttonState2)+ "," +String(sensor3));


   //changing the behavior of the led button based on the data sent from p5.js
   digitalWrite(led2,lightup);
   }
}
The Arduino code is quite simple. After starting the handshake with the p5.js, when the serial communication is available, it starts handling the incoming data. Using Serial.parseInt(), it reads and interprets the data from the p5.js. Then, utilize that data in changing the stage of LED using digitalWrite() later on in the code. As shown in the snippet, the Arduino reads the state and the values of the sensors and buttons using digitalRead() and analogRead(). The buttons’ states are read through digitalRead() and the values of the flex sensor and potentiometer are read through analogRead(). Then, it prints with a new line using Serial.println() to send data to p5.js.
P5.js Code
Since the p5.js code is very lengthy, here I also attach the link to the entire sketch of the p5.js code (for easier access)
https://editor.p5js.org/sihyunkim/sketches/ulUBUNDbb
Since my game consists of three mini-games and additional pages, flags were must. The most important flag of my game was gameState. I made gameState as a global variable, and then changed the value of it accordingly to the stage of the game. Here, I will explain the code snippets of different variables of gameState, which are when gameState= “connect port”, “stage1”, “stage2” and “stage3”
The following is how the game worked in each value of gameState:
- When gameState= “connect port”
if (gameState == "connect port") {
  imageMode(CORNER);
  image(page0, 0, 0, windowWidth, windowHeight);
}

if (serialActive && gameState == "connect port") {
  gameState = "start";
}
The game starts with the gameState being “connect port”. Here, if the user connects port using the space bar and makes the serial active, the gameState changes to “start”
- When gameState= “stage1”
//stage 1
 if (gameState == "stage1") {
   //boost condition
   if (int(stage1Data) == 1) {
     if (!boostSound.isPlaying()) {
       boostSound.play();
     } else {
       boostSound.stop();
       boostSound.play();
     }
     boost = true; //boost flag to trigger the gamer (cart) to jump
   } else {
     boost = false;
   }

   //background image
   imageMode(CORNER);
   image(stage1bg, 0, 0, windowWidth, windowHeight);

   //calling gamer related functions
   gamer.move();
   gamer.show(cartimg);
   gamer.jump();

   //creating obstacles(unnecessary ingredients) and needed ingredients
   if (millis() - lastObstacleTime > obstacleInterval) {
     //x and y positions of the obstacle
     let obstacleX = windowWidth + 100;
     let obstacleY = windowHeight * 0.75;
     //x and y positions of the ingredient
     let ingredientX = windowWidth + 100;
     let ingredientY = windowHeight * 0.75;
     //initiating the obstacle and ingredient class
     let newIngredient = new Ingredients(ingredientX, ingredientY);
     let newObstacle = new Obstacles(obstacleX, obstacleY);

     //randomly choosing if ingredient or obstacle will be created

     let choice = random(0, 2);

     if (choice >= 1) {
       ingredients.push(newIngredient);
     } else {
       obstacles.push(newObstacle);
     }

     lastObstacleTime = millis();
   }

   for (let i = ingredients.length - 1; i >= 0; i--) {
     ingredients[i].update(-5); //speed of the ingredient coming towards the cart
     ingredients[i].show(ingredientsimg); //depicting the cart
     ingredients[i].checkCollisionGamer(gamer, metIngredientSound); // checking if the ingredient met the gamer

     //removing ingredients if they are off the screen
     if (ingredients[i].position.x + ingredients[i].size / 2 < 0) {
       ingredients.splice(i, 1);
     }
     //letting the ingredients disappear if they meet cart
     else if (metGamer == true) {
       ingredients.splice(i, 1);
       count++;
       metGamer = false;
     }
   }

   for (let i = obstacles.length - 1; i >= 0; i--) {
     obstacles[i].update(-5); //speed of the obstacle coming towards the cart
     obstacles[i].checkCollision(gamer); //checking collision with the cart (gamer)
     obstacles[i].show(obstaclesimg); //depicting the obstacle image

     // removing obstacles if they are off-screen
     if (obstacles[i].position.x + obstacles[i].radius < 0) {
       obstacles.splice(i, 1);
     }
   }
   //if the user collected 3 ingredients it proceeds to the next step.
   if (count == 3) {
     stage1results = "won";
   }
 }

 //results page for stage1
 if (
   gameState == "stage1" &&
   (stage1results == "won" || stage1results == "lost")
 ) {
   metIngredientSound.stop();
   boostSound.stop();
 }

 if (gameState == "stage1" && stage1results == "won") {
   completeSound.play();
   gameState = "stage2instructions";
 } else if (gameState == "stage1" && stage1results == "lost") {
   failSound.play();
   gameState = "stage1lost";
 }

 if (gameState == "stage1lost") {
   imageMode(CORNER);
   image(page3, 0, 0, windowWidth, windowHeight);
   //restart button
   image(
     button3,
     windowWidth / 2 - windowWidth * 0.1,
     windowHeight * 0.75 - windowHeight * 0.05,
     windowWidth * 0.2,
     windowHeight * 0.1
   );
 }
The stage 1 utilizes the same logic as my midterm project for Introduction to Interactive Media. The boost flag is triggered when the received data from the Arduino is 1. When this boost flag is triggered, the cart jumps in the game. Then, using the image() the background image is depicted. The gamer (cart) related functions are called. The game. move() is a function that is responsible for ensuring that the cart always stays inside the canvas and updates the position of the cart with gravity. The gamer.show() is the function responsible for depicting the cart itself and the gamer.jump() is responsible for the “jump” when the boost is triggered. The if (millis() – lastObstacleTime > obstacleInterval) statement controls the creation of obstacles and ingredients. It checks if enough time has elapsed since the last obstacle/ingredient was created. If so, it generates a new obstacle/ingredient. Then, using random(), we choose if it will be the ingredient or obstacle and we will let it be part of the game. If the choice is greater than or equal to 1, it adds an ingredient to the ingredient list; otherwise, it adds an obstacle to the obstacle list. We go through the list of ingredients and the list of obstacles to depict them, check collision with the gamer, and update them. When the ingredient collides with the gamer (Cart), it adds to the count, but when the obstacle meets the gamer, the stage1results will change to “lost”. When the user collects 3 ingredients, the stage1results becomes “won” which eventually allows the user to proceed to stage 2.
- When gameState= “stage2”
if (gameState == "stage2") {
    fireIntensity = map(int(stage2Data), 0, 1023, 0, 100);
    flipped = int(stage2Data2);
    flipSignal = false;
    imageMode(CORNER);
    image(stage2bg, 0, 0, windowWidth, windowHeight);

    if (!isNaN(fireIntensity)) {
      // flipping the steak
      timeToFlip = map(fireIntensity, 0, 100, 10000, 2000);
      steak.draw(steakimg);
      if (flipped == 1) {
        if (!grillingSound.isPlaying()) {
          grillingSound.play();
        } else {
          grillingSound.stop();
          grillingSound.play();
        }
        steak.flip();
      }
    }
  }
  //stage 2 pages
  if (
    gameState == "stage2" &&
    (stage2results == "won" || stage2results == "lost")
  ) {
    grillingSound.stop();
  }
  if (gameState == "stage2" && stage2results == "won") {
    gameState = "stage3instructions";
    completeSound.play();
  } else if (gameState == "stage2" && stage2results == "lost") {
    gameState = "stage2lost";
    failSound.play();
  }
  if (gameState == "stage2lost") {
    imageMode(CORNER);
    image(page5, 0, 0, windowWidth, windowHeight);
    //restart button
    image(
      button3,
      windowWidth / 2 - windowWidth * 0.1,
      windowHeight * 0.75 - windowHeight * 0.05,
      windowWidth * 0.2,
      windowHeight * 0.1
    );
    steak.reset(); //resetting when the stage2 lost
  }
When the gameState is “stage2”, the fireIntensity is mapped to the potentiometer value from the Arduino and flipped is the value of the button sent from the Arduino. When the fireIntensity is not NaN, i.e., there is a value coming from the Arduino side, timeToFlip is mapped to the fireInensity in the inverse manner, i.e., as the fireIntensity grows larger, timeToFlip becomes smaller. And we depict the image of steak using the steak.draw(). Then, when the flipped==1, i.e., the button is pressed, the steak.flip() . In this steak.flip(), all “flipping related” properties are included. This function is responsible for updating the flipCount, which is counted when the user flipped the steak in perfect timing, and checking whether the steak is “burnt” because the user flipped it too late. When the steak is burnt, the player loses. When the flipCount becomes 6, the stage2results becomes “won” and the player eventually gets a chance to play the third stage
- When gameState== “stage3”
if (gameState == "stage3") {
    addPerPress = map(int(stage3Data), 32, 1023, 0, 20);
    if (addPerPress != 0) {
      //playing the sound of the bottle being squeezed
      if (!squishSound.isPlaying()) {
        squishSound.play();
      } else {
        squishSound.stop();
        squishSound.play();
      }
    }
    imageMode(CORNER);
    image(stage3bg, 0, 0, windowWidth, windowHeight);
    sauce.drawSauce(windowWidth / 2, windowHeight * 0.3, 40, 20, sauceimg);
    sauce.drawPercentage(
      windowWidth / 6,
      windowHeight * 0.1,
      windowHeight * 0.1,
      font
    );

    let status = sauce.checkSauceLevel();

    fill(0);
    textSize(16);
    textAlign(CENTER);
    if (status === "gameWon") {
      stage3results = "won";
    } else if (status === "gameOver") {
      stage3results = "lost";
    }
  }

  //results page for stage 3

  if (
    gameState == "stage3" &&
    (stage3results == "won" || stage2results == "lost")
  ) {
    squishSound.stop();
  }

  if (gameState == "stage3" && stage3results == "won") {
    gameState = "game ended";
    completeSound.play();
  } else if (gameState == "stage3" && stage3results == "lost") {
    gameState = "stage3lost";
    failSound.play();
  }

  if (gameState == "stage3lost") {
    sauce.amount = 0;
    imageMode(CORNER);
    image(page7, 0, 0, windowWidth, windowHeight);
    //restart button
    image(
      button3,
      windowWidth / 2 - windowWidth * 0.1,
      windowHeight * 0.75 - windowHeight * 0.05,
      windowWidth * 0.2,
      windowHeight * 0.1
    );
  }
When gameState== “stage3”, addPerPress is mapped to the flex sensor data sent from the Arduino. This addPerPress affects the sauceamount which influences sauce.drawSauce(), a function that depicts the sauce. In sauce.drawSauce(), the addPerPress is continuously being added to the sauceamount. Variables calledsauceWidth and sauceHeight are mapped with the sauceamount. As these variables are utilized in “resizing” the sauce image, as the addPerPress increases, the size of the image increases. The sauce.drawPercentage() depicts the progress of the sauce being released. 100% here indicates that it is in the perfect amount. The color of the text changes based on the percentage range of the sauceamount.
What are some aspects of the project that you’re particularly proud of?
Honestly, I am so proud of the aesthetics of my project. The starting point of this project was to make “something aesthetically pleasing yet interactive and easy to play with”. So, I have put lots of effort into making the interface of the project cute. Believe or not, but it took me longer to deal with Canva to create the pages and elements used in the project. As much as I’ve put great effort into making the interface, I am very proud of the visual aspects of my project.
Links to resources used
- Background music obtained from: https://www.youtube.com/watch?v=uai3-czGpts&t=756s
- https://p5js.org/reference/
- https://www.canva.com/
- https://www.arduino.cc/reference/en/
Challenges faced and how you tried to overcome them
While I did not encounter super “big” challenges working on this project, I have encountered a few minor challenges, which took me quite a long time to figure out. First of all, I have encountered serial communication stopping all of a sudden when the p5.js sketch is ongoing. I was very confused as I thought that I coded everything properly. However, it turned out that I did not initiate the handshake properly between the Arduino and the p5.js. It was just that it worked out of luck. So, following the slides from the class, I rewrote my Arduino code. Another issue I encountered was concern regarding the resizing of elements. While all the elements were resized with the resize of window size, the classes that were initiated inside the setup() were not resized as the setup() is only called once. So, I tried to utilize noLoop(), if-else statements, and other functions, but nothing worked. However, when I ultimately tried to re-initiate the classes that are initialized in the setup() in the windowResized(), it worked. I guess this is because the windowResized() is called only when the window is literally being resized unlike draw() which is continuously being drawn.
What are some areas for future improvement?
My project could be improved in many ways. One way I could improve my project is to add more stages. For instance, chop some garnishes and cook them as well. Also, I think it would be interesting to make the user select the steak doneness (rare, medium, well done) and adjust the flipping time and flipping count accordingly. Another improvement could be that there will be a judge evaluating the steak that the user cooked. I think these could make my game more interesting and fun.
IM SHOWCASE DAY
A video of someone playing my game :
Some pictures from the Showcase:
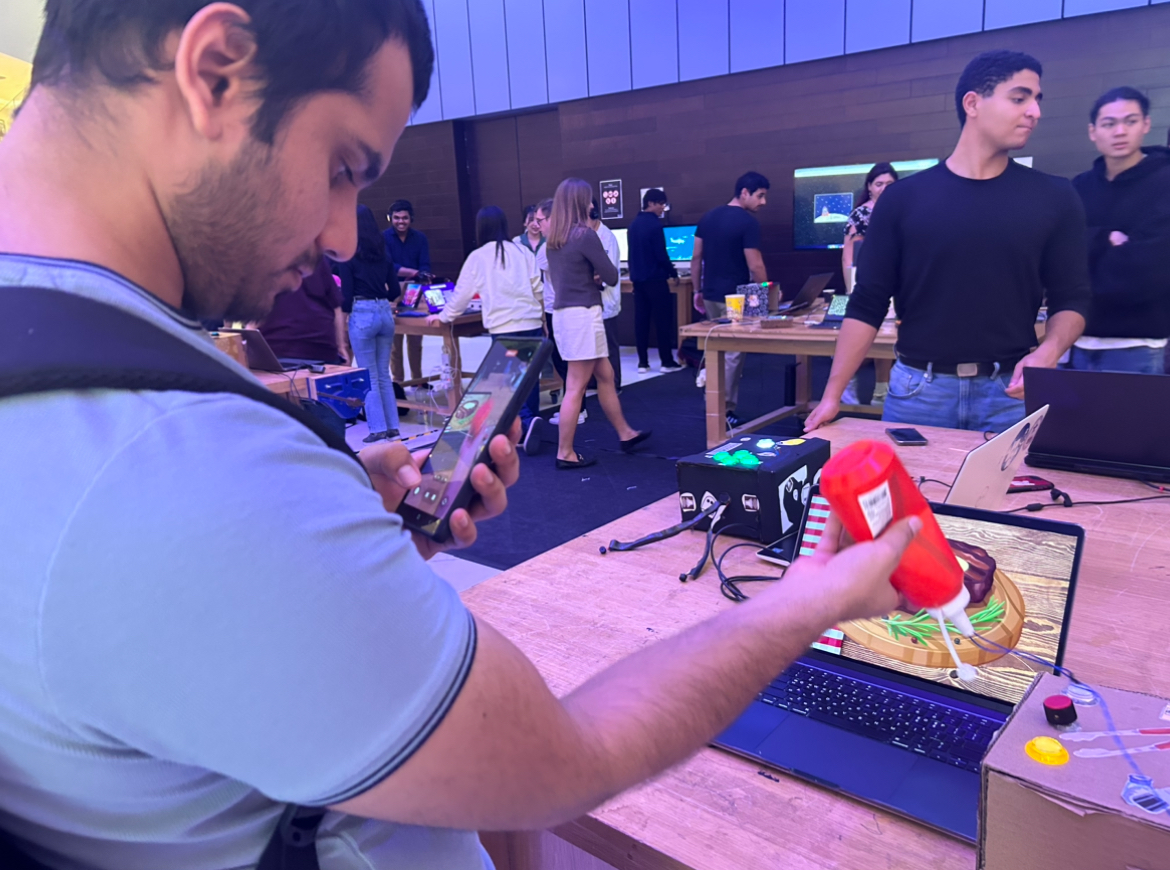
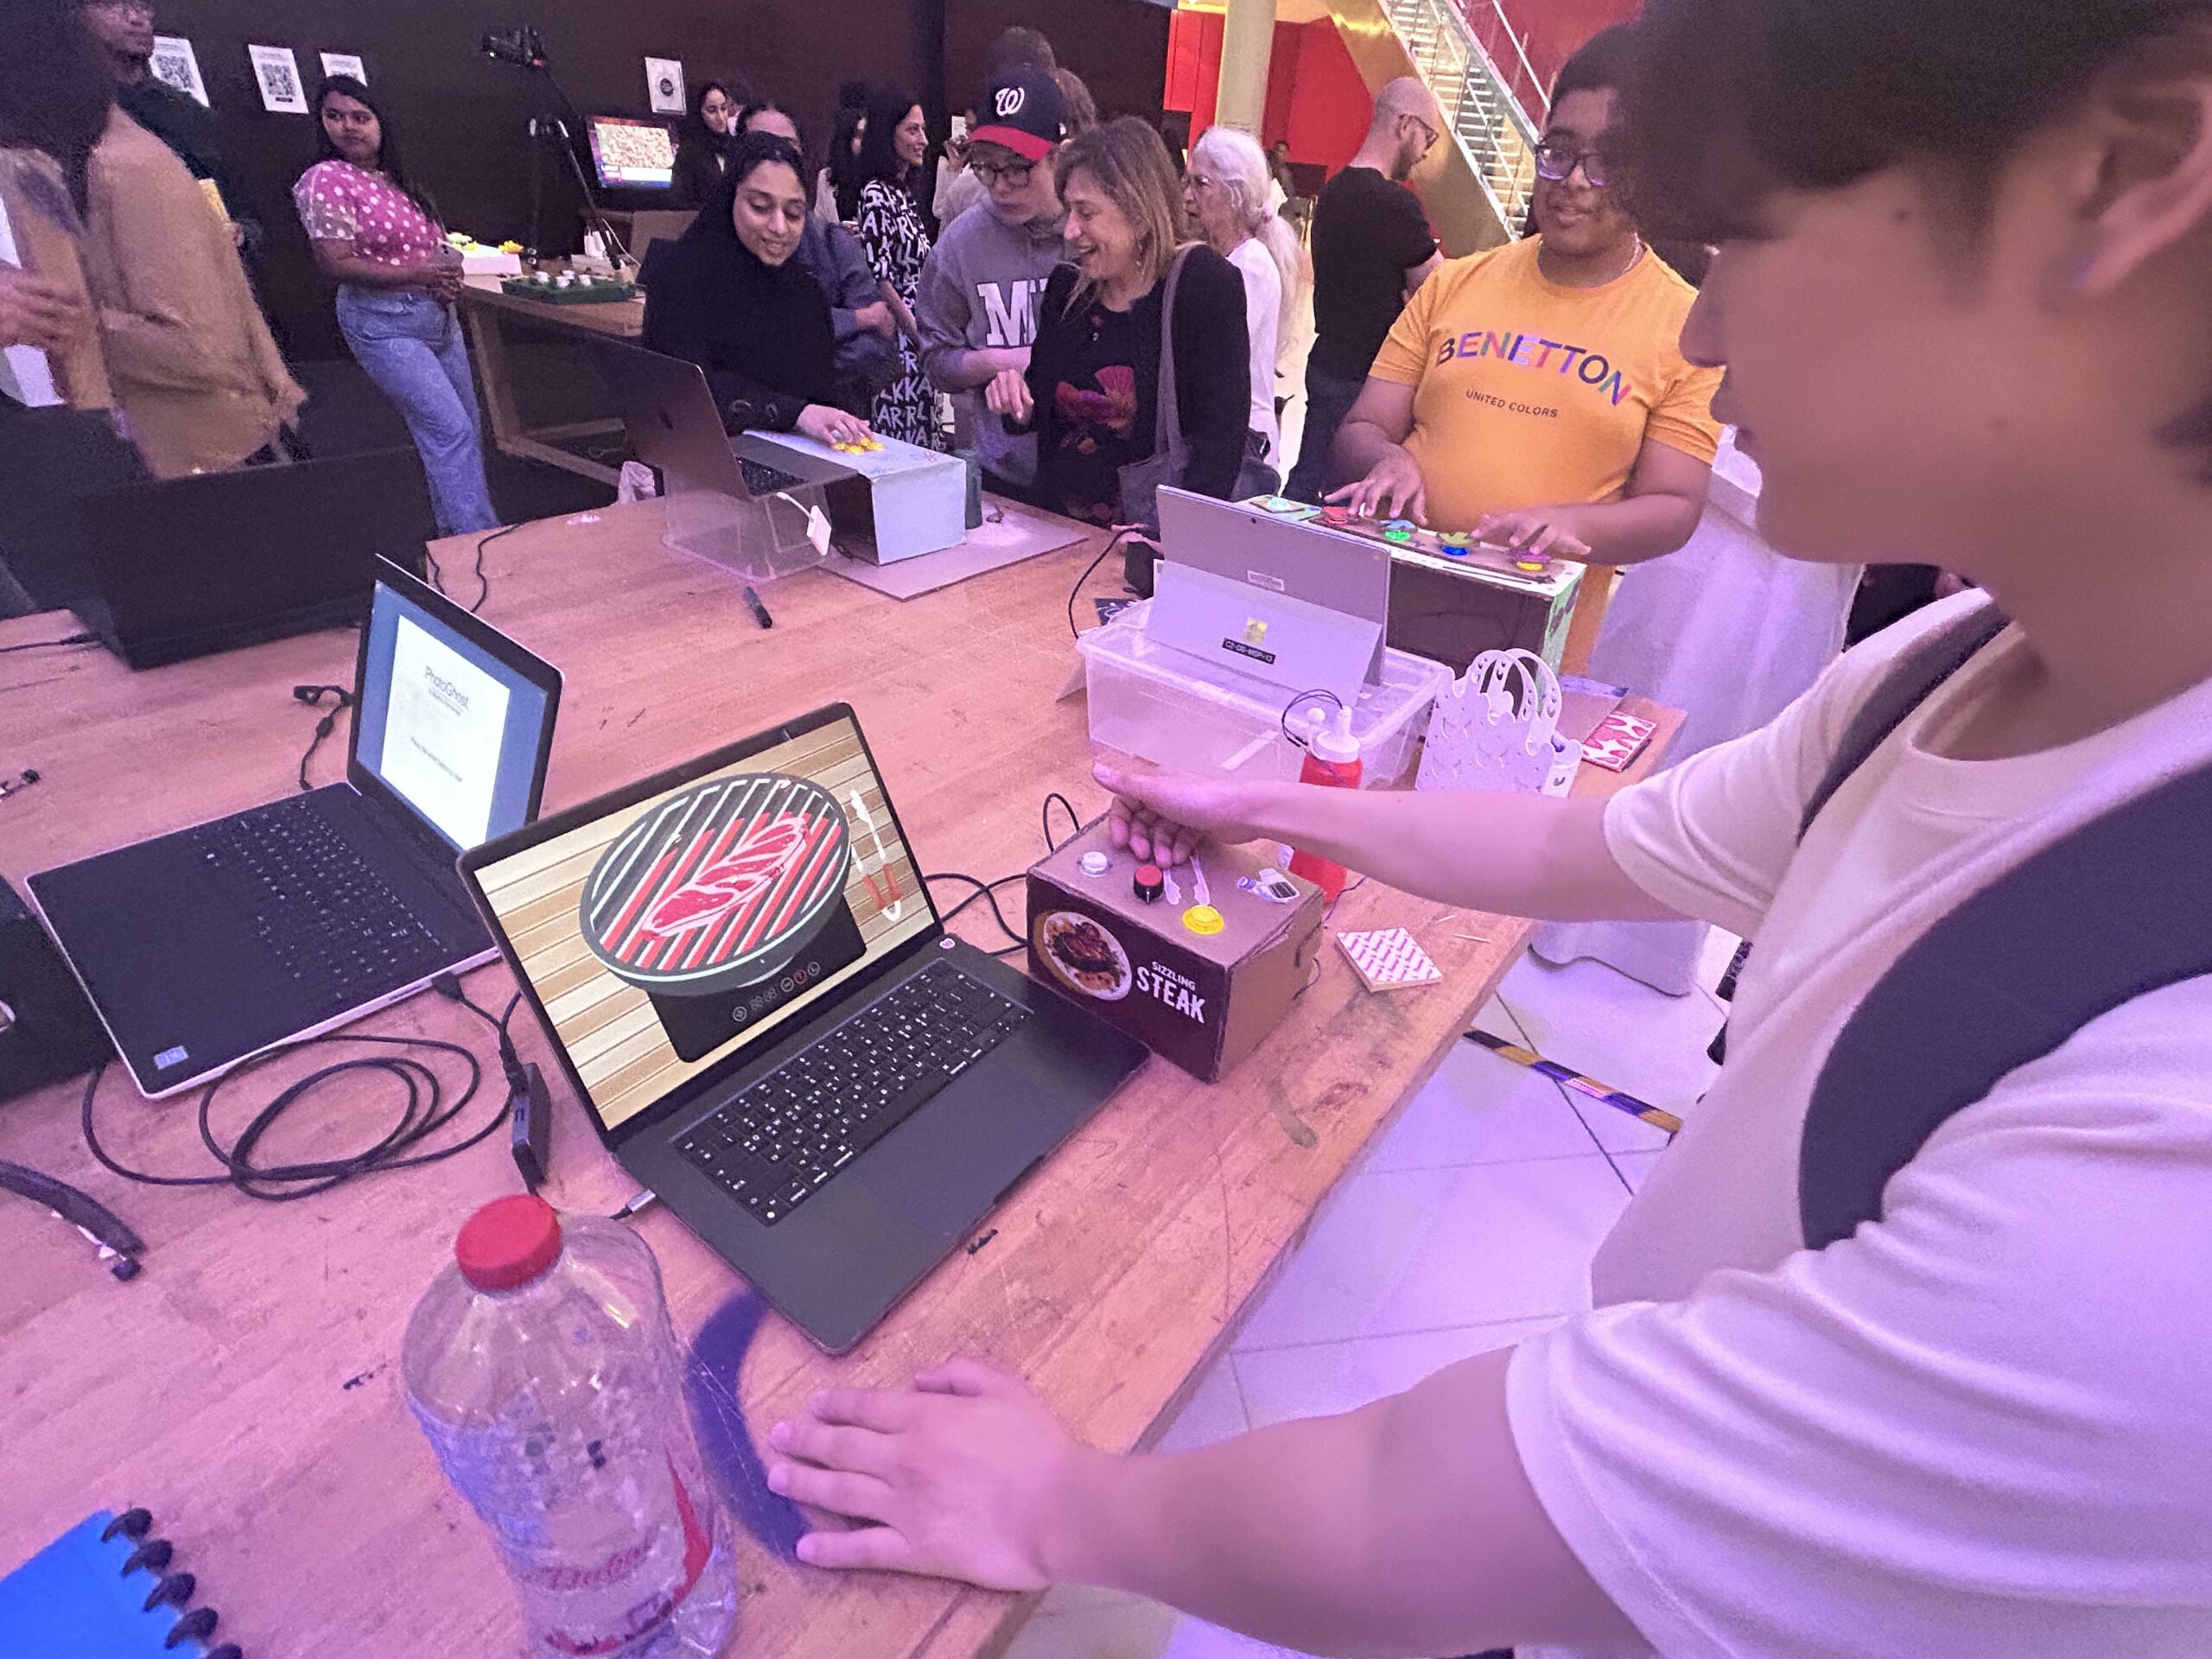
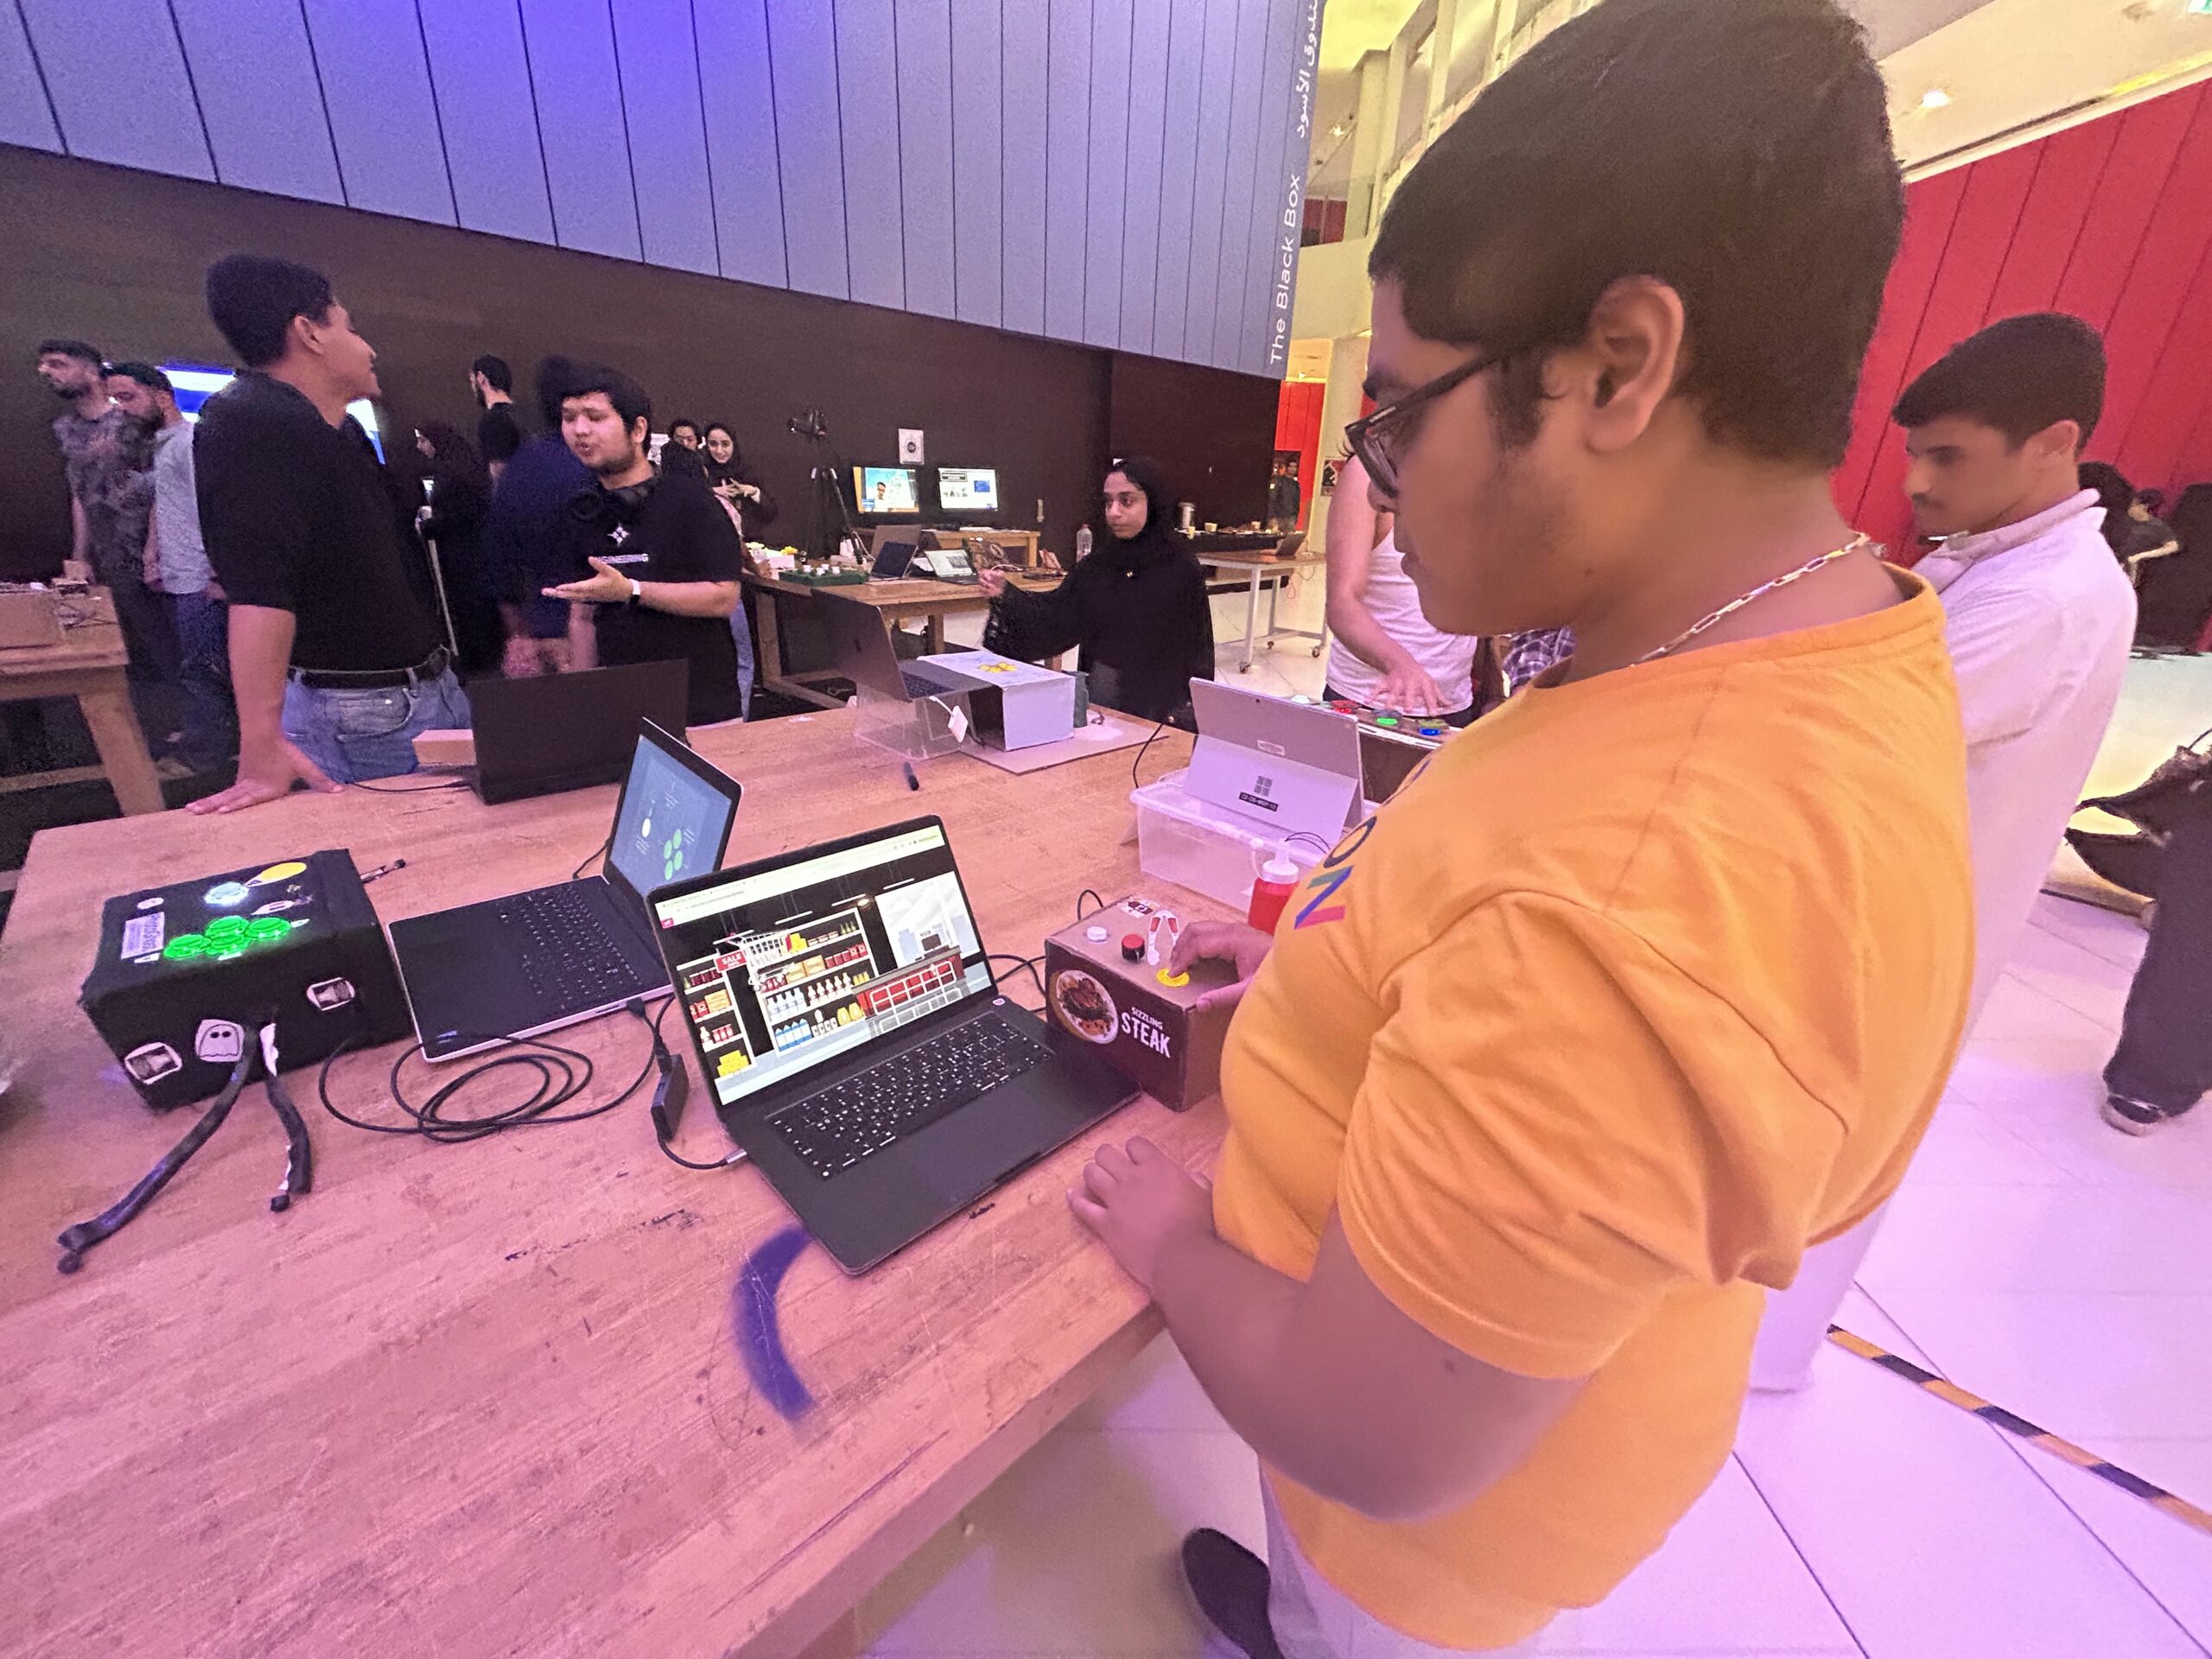
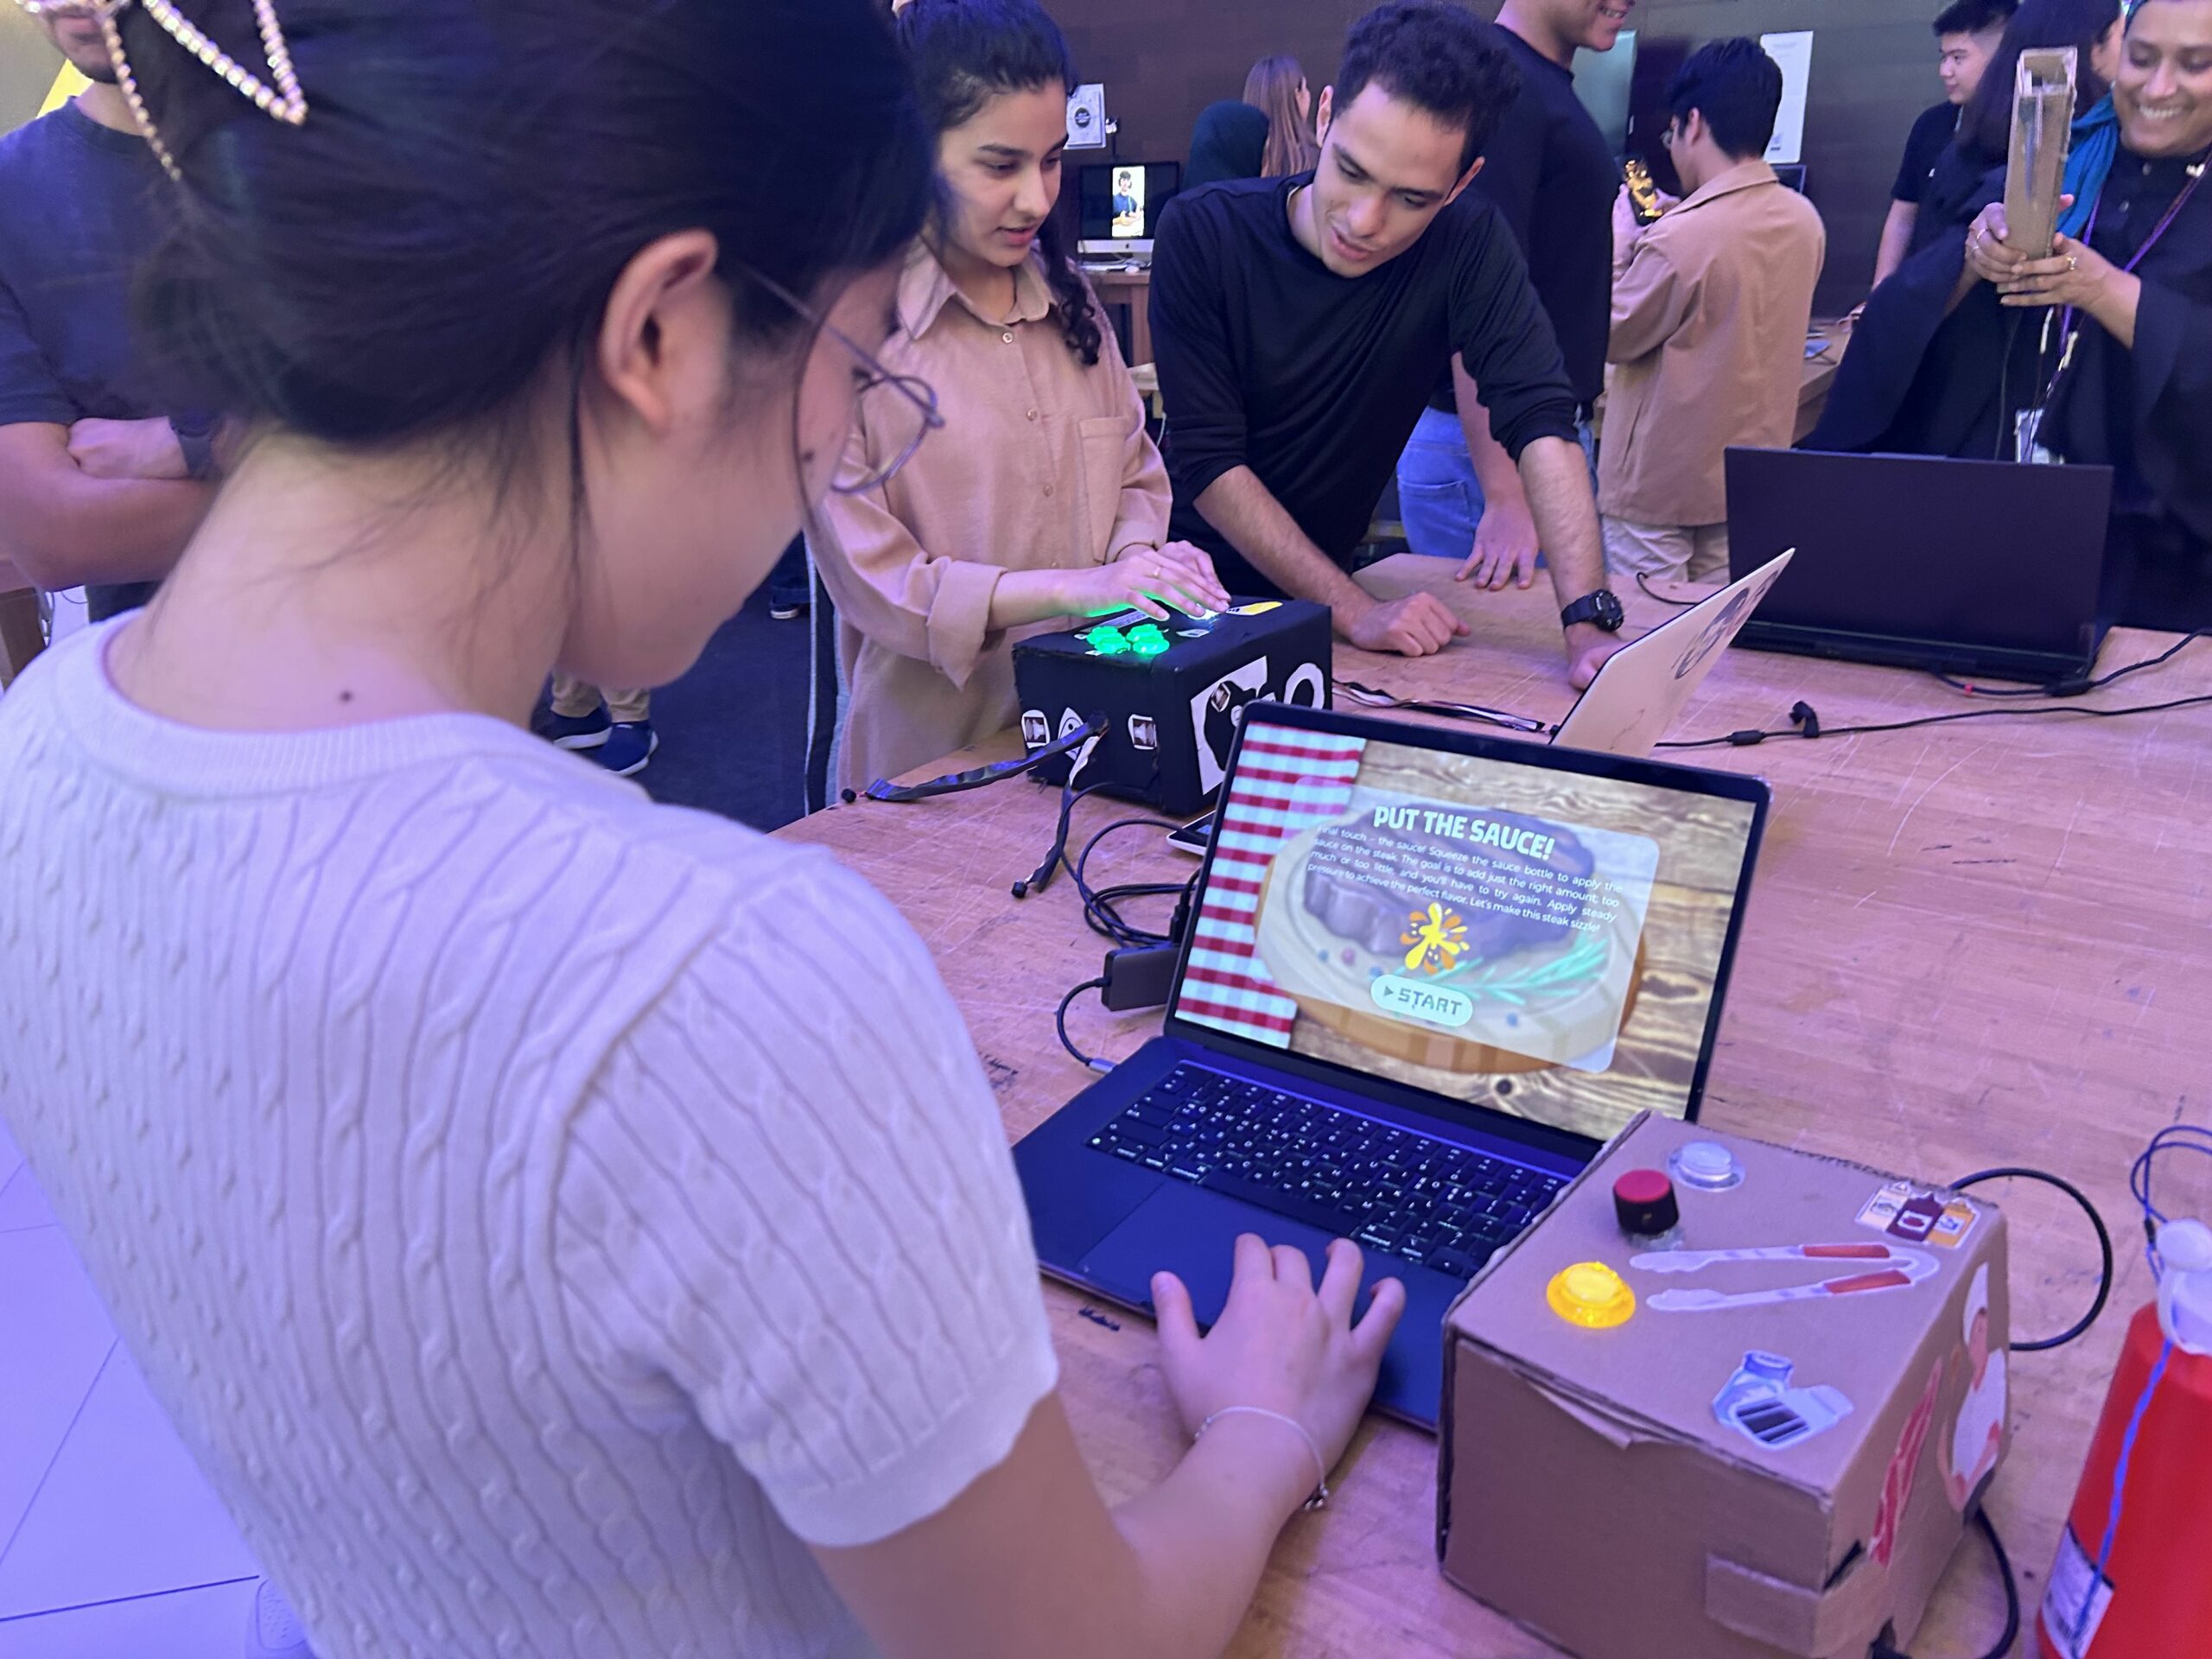
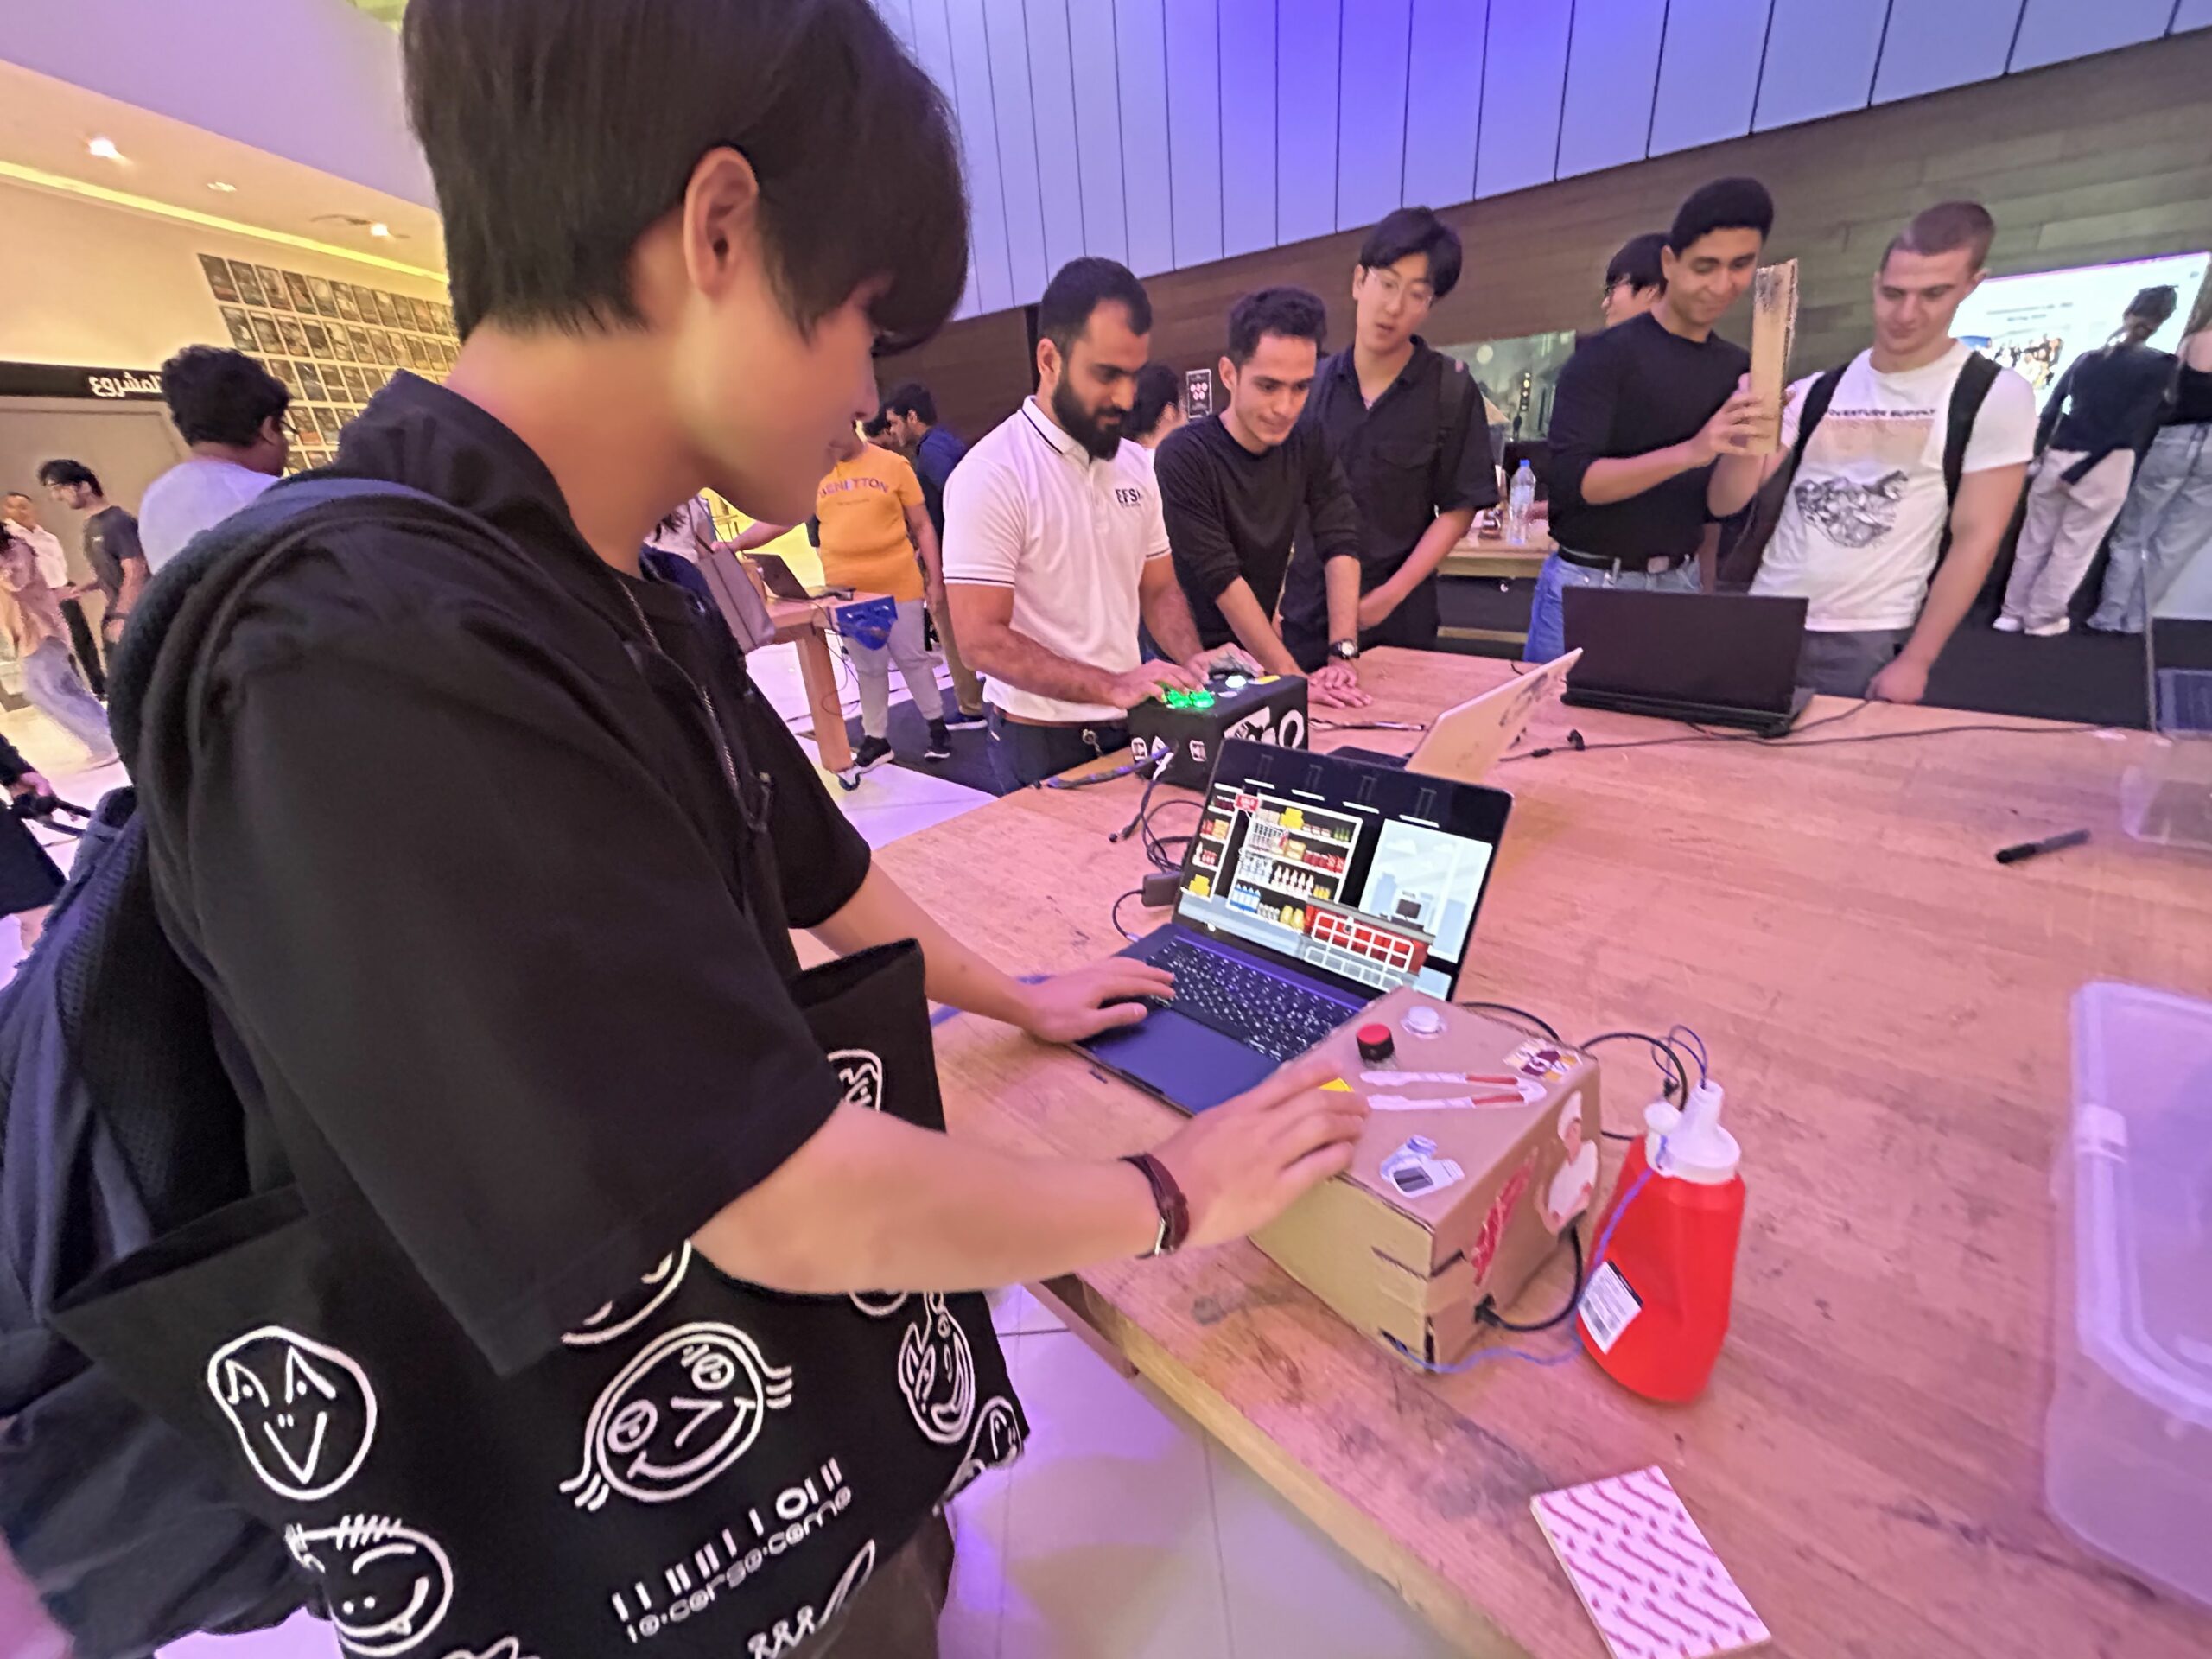
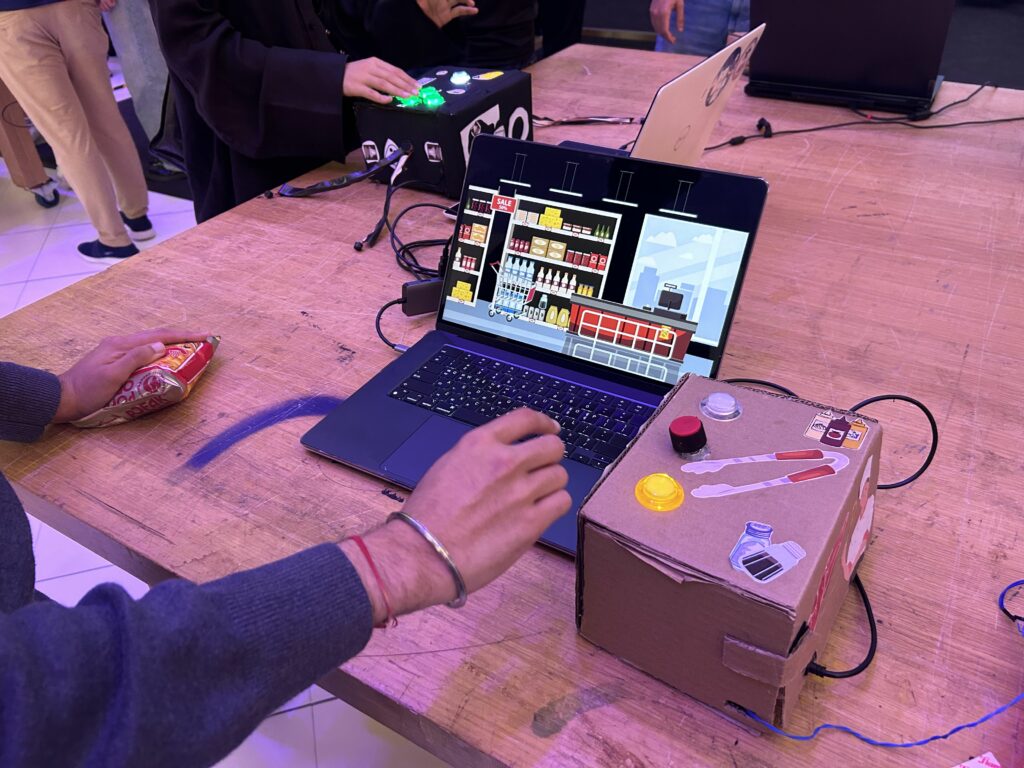
The pictures above are some pictures of people playing my game that I took. My game was way more popular than what I have thought! Many people came to play my game. People especially loved the stage 3 of my game. Lots of people asked me how I made the “squeezing” the sauce physically affect the game itself ((Thanks to the flex sensor!)) From brainstorming to the showcase, this journey of creating the final project was stressful yet very fun. As always, I have truly enjoyed making the game and working with the Arduino. I cannot believe how the time flies so fast and all IM projects are done. This journey was truly unforgettable and learning experience.