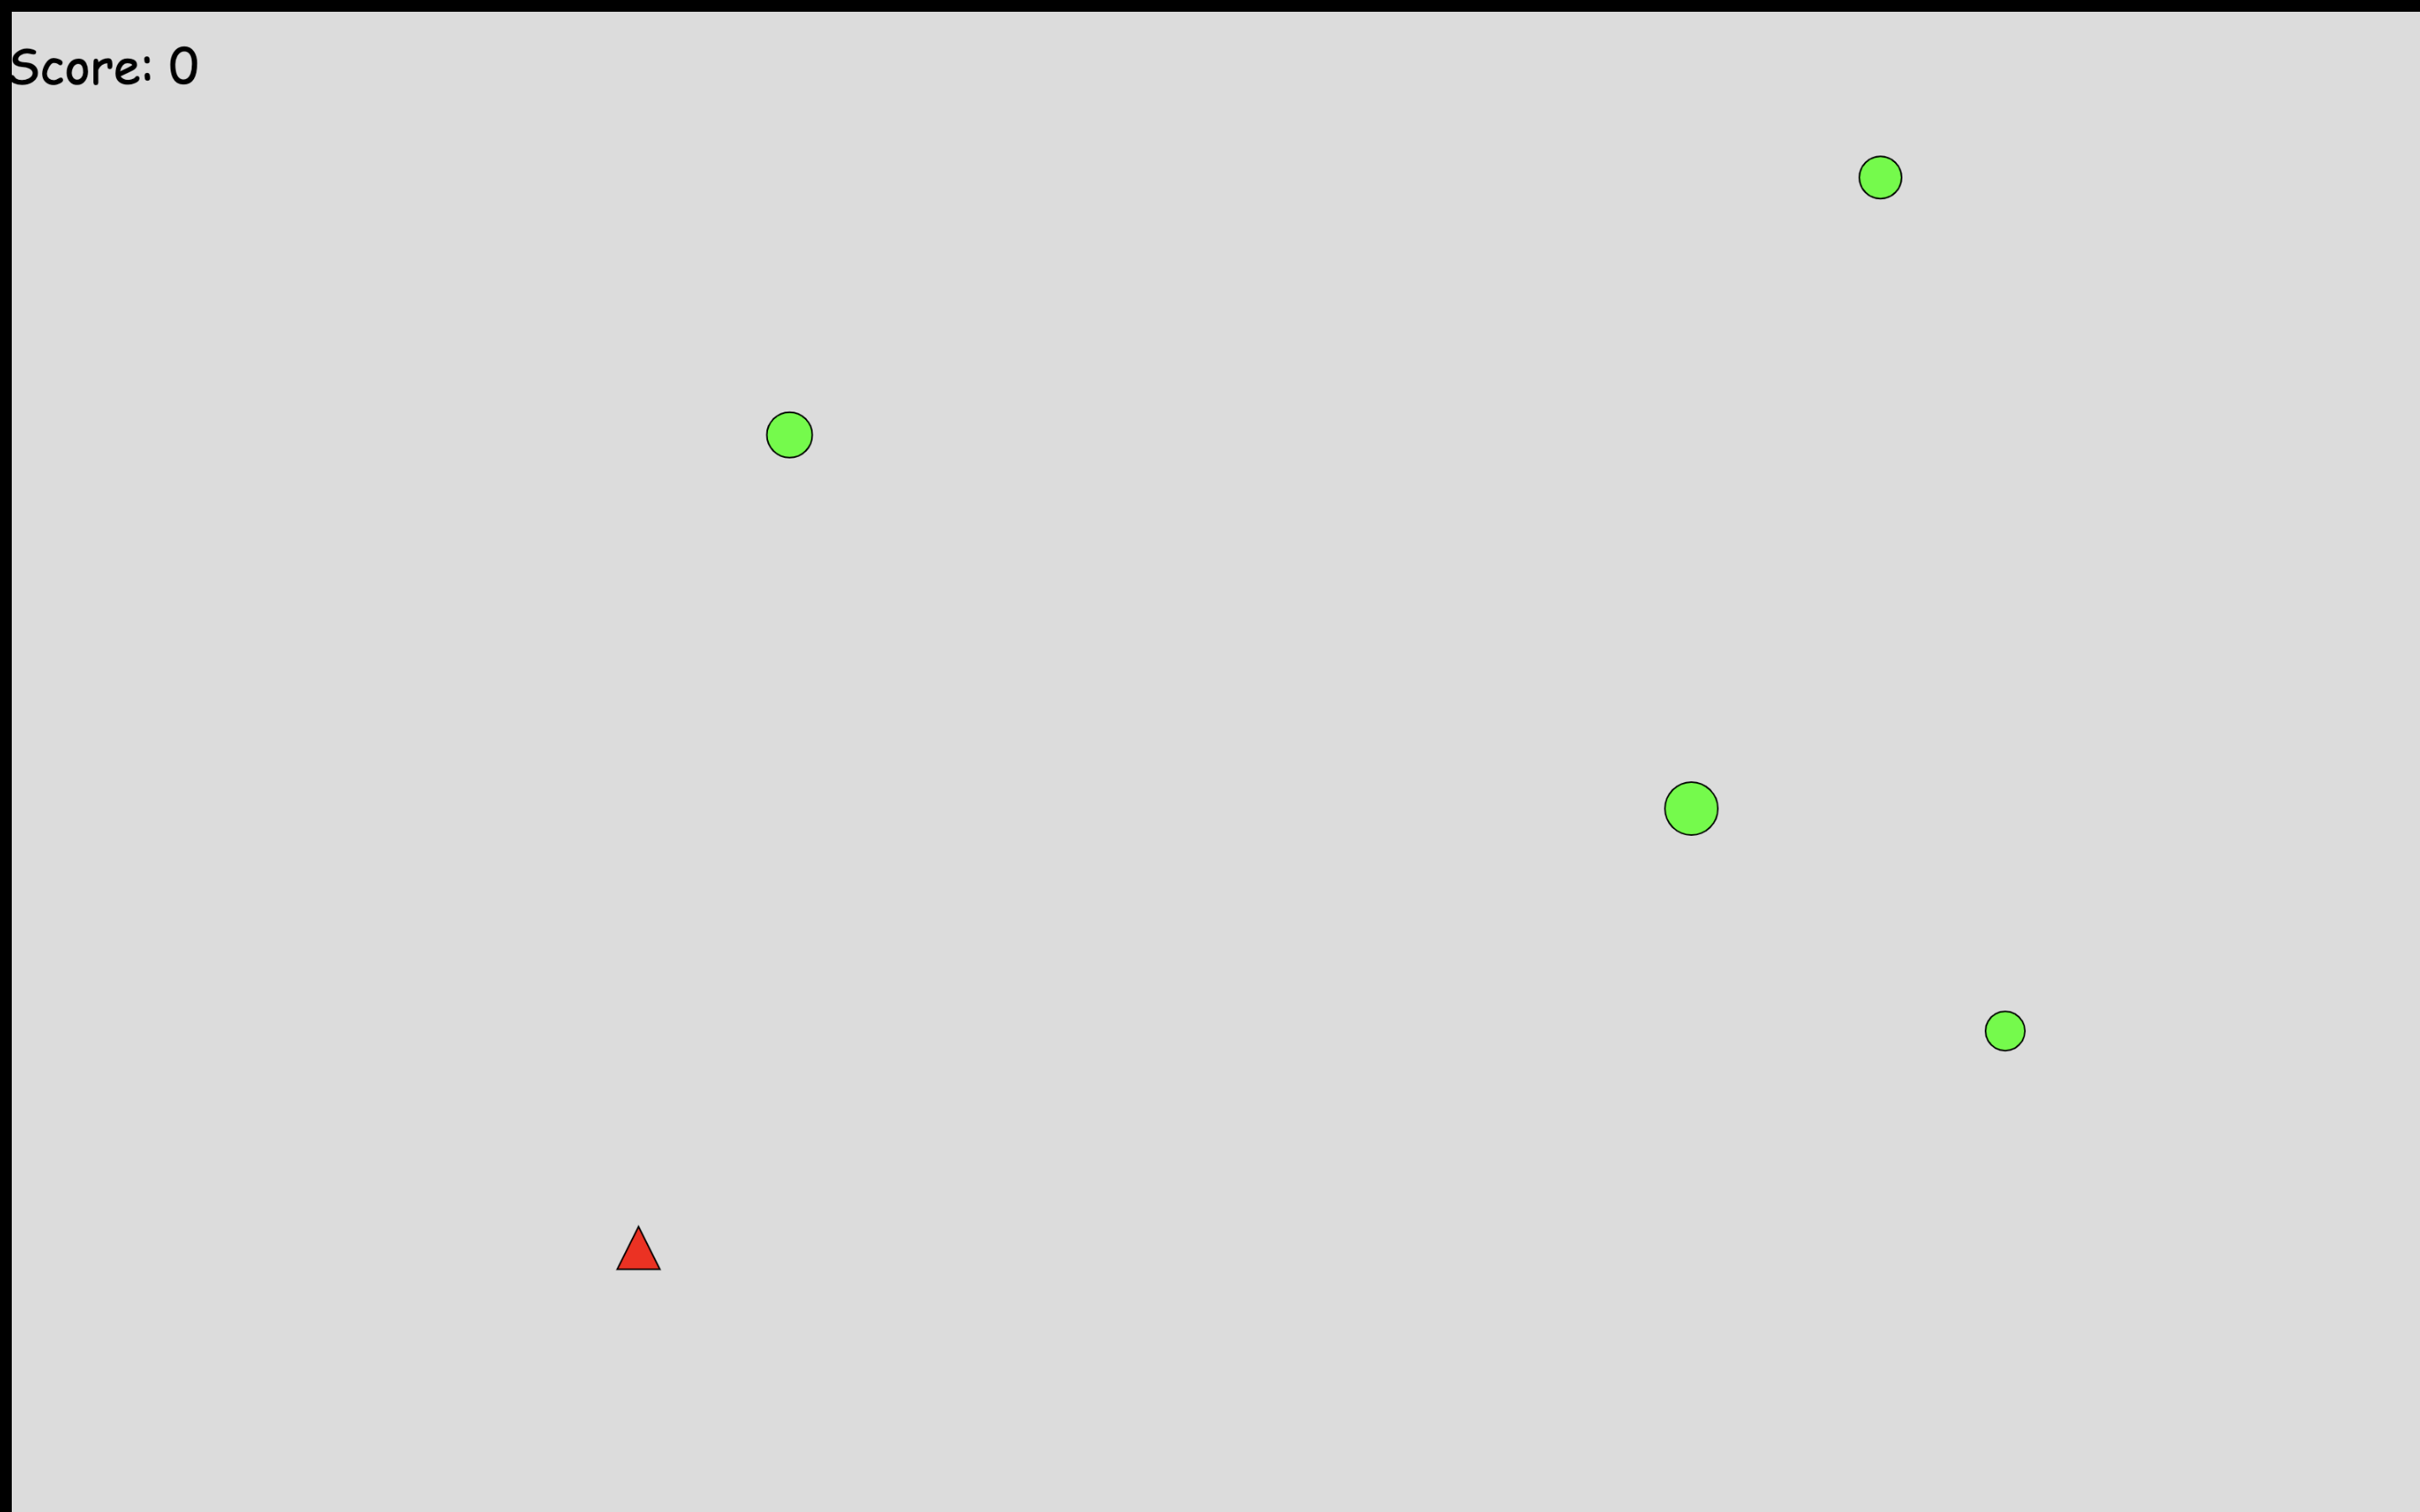
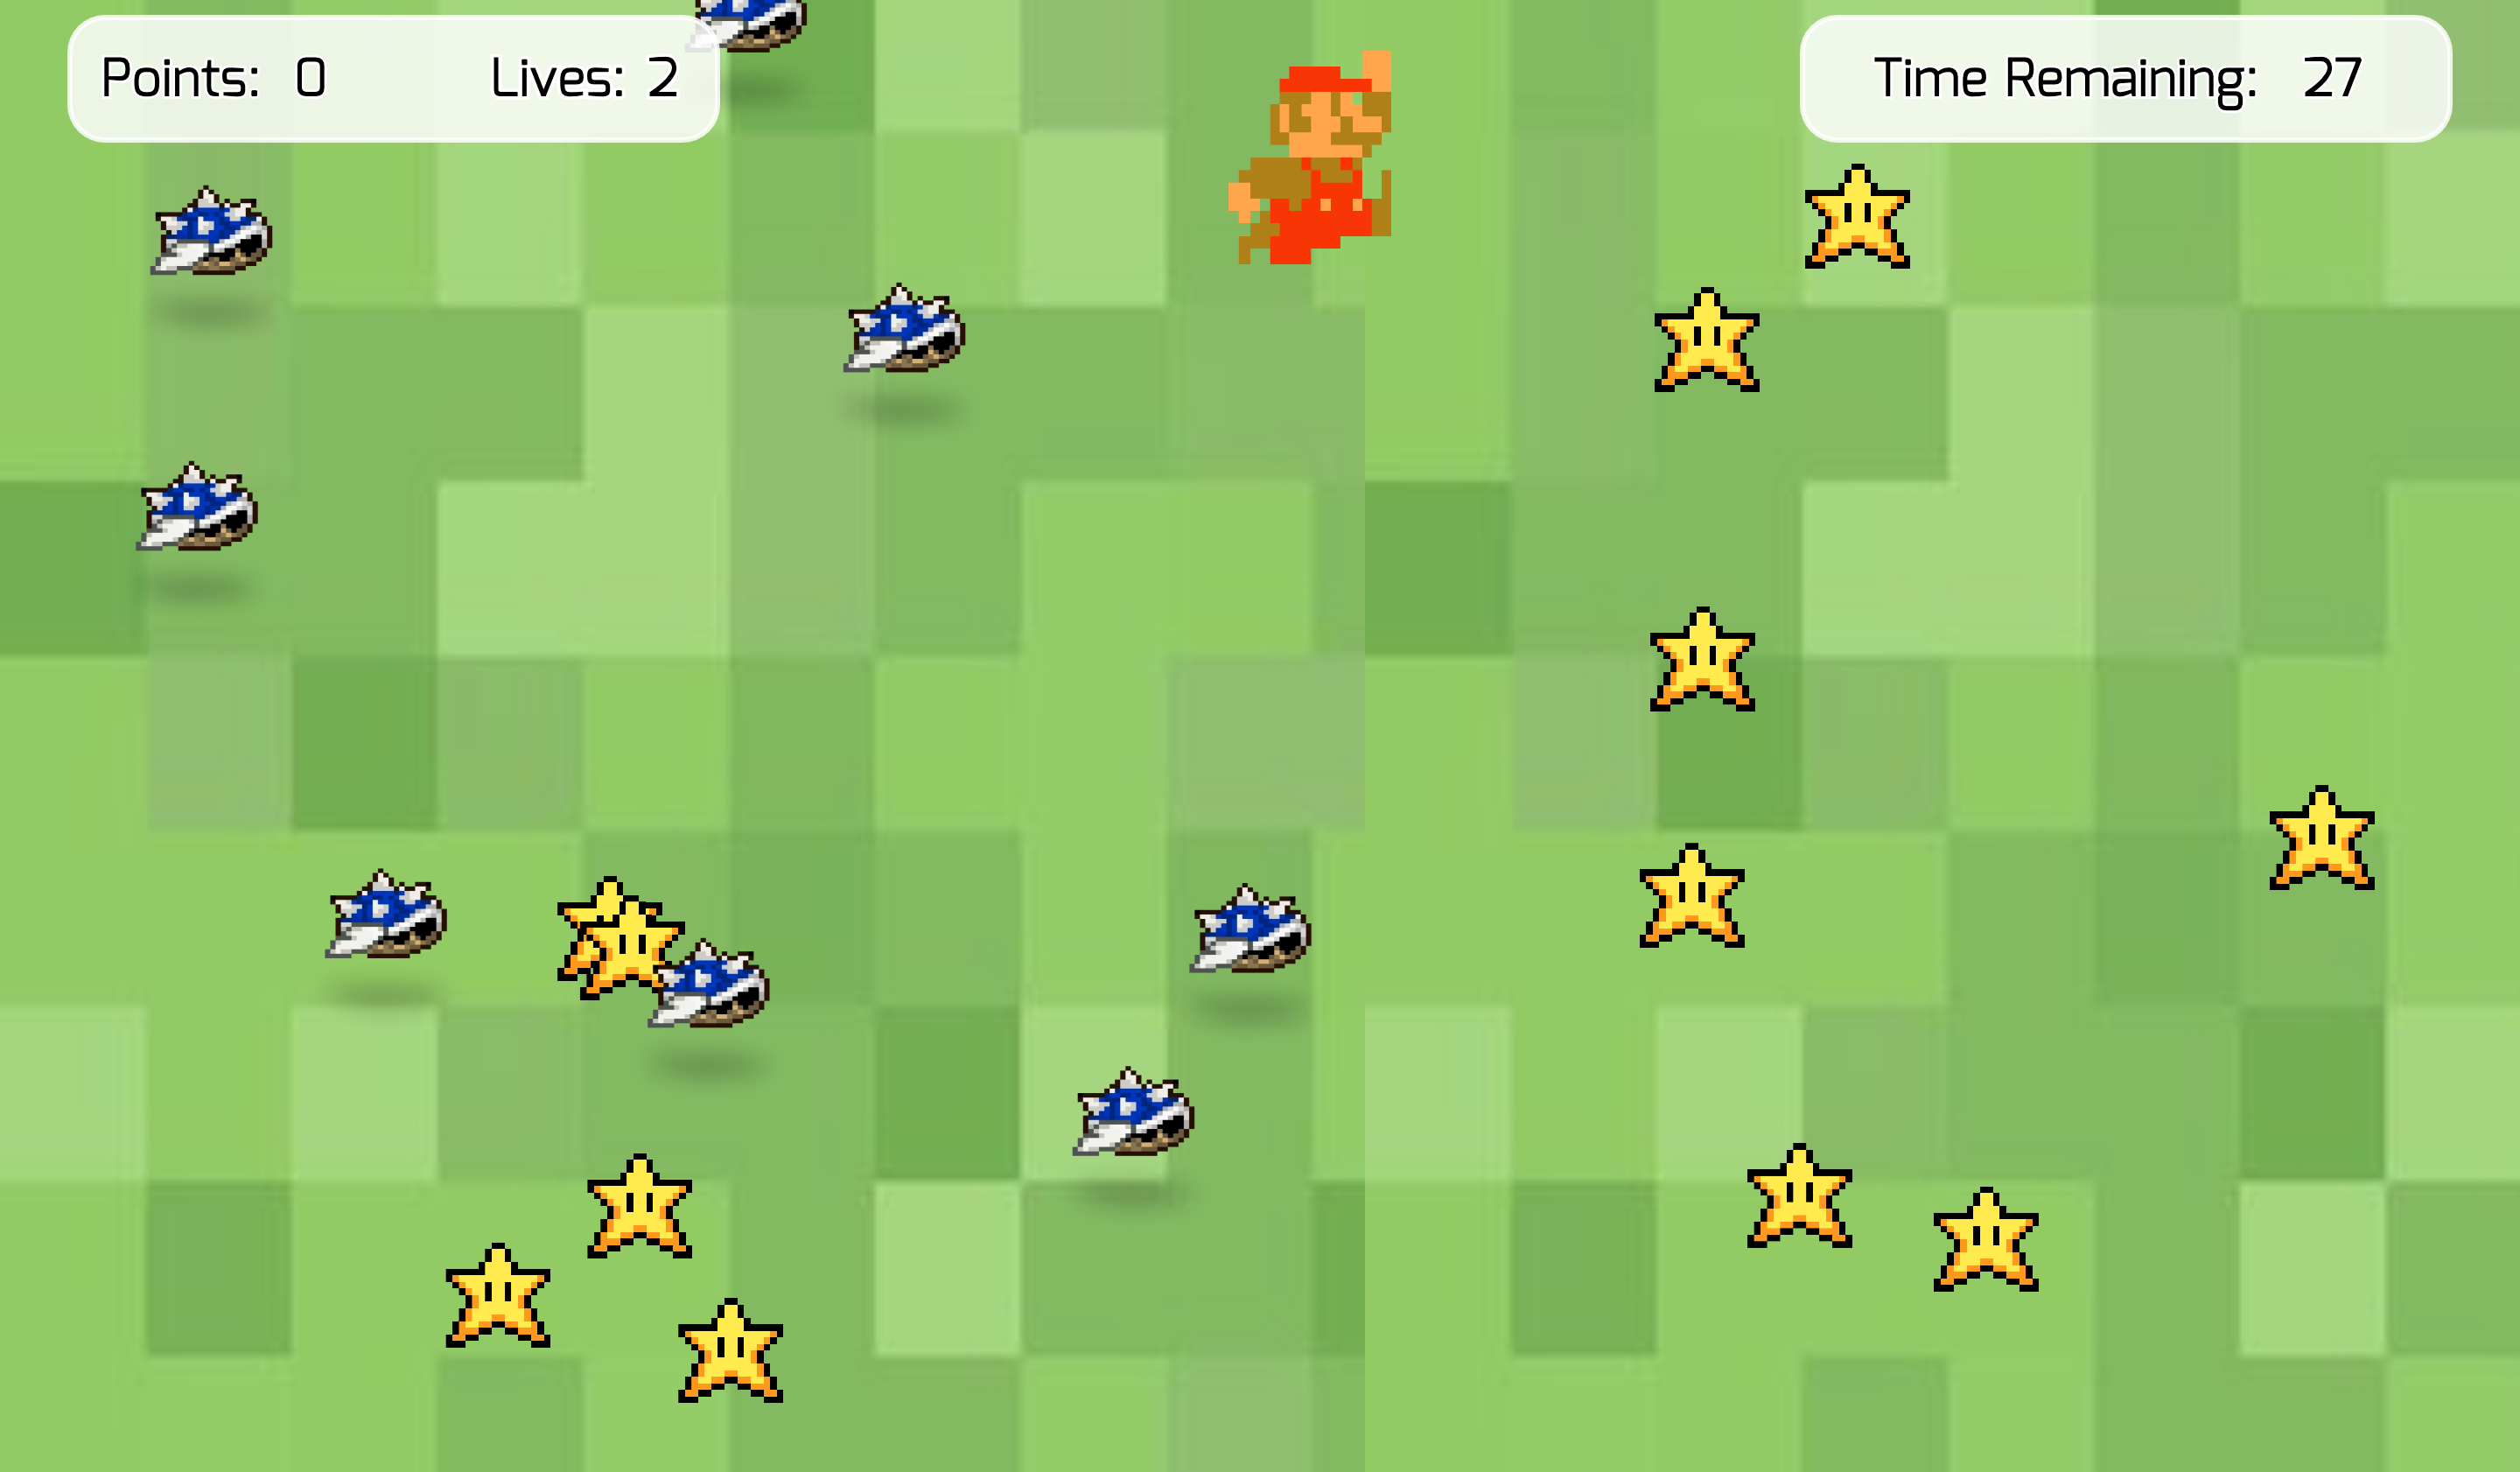
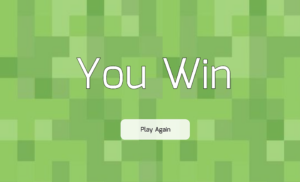
Midterm Project: Brick Breaker Game – Help the Wolf Break the House

Concept and Guide of the Game

The original story of three little pigs ends with the wolf failing to break into the brick house. The concept of my game is the opposite of this. The aim of the game is to help the wolf break the brick wall of the house and encounter the pigs. I wanted to give a twist to the original story and help the wolf win over the three little pigs. 

The game follows the same rules of the brick breaker game. But the idea is to break all the bricks using the bouncing ball so that the wolf can meet up with the pigs. Playing the game is simple. When the user clicks on the start button on the opening page, the game starts immediately. The user must use the mouse to move the paddle to bounce off the balls and break the bricks. Simultaneously, a timer runs to measure the time it takes the user to break all the bricks. The aim of this game is to break all the bricks in the shortest time possible. The timer is displayed throughout the game at the bottom left corner and the final time is displayed at the ending page that appears when the bricks are all gone. The user can replay the game by simply clicking on the replay button that navigates the user back to the opening page. 

Understanding the Overall Code

I created three classes for the game: ball, paddle, and brick. 

First, in the class Ball, I have three smaller functions: draw, move, and bounce. The functions instruct the ball to be drawn on the canvas, to animate across the canvas, and to change directions. 

Second, in the class Paddle, I drew the paddle and made it so that the ball bounces off the paddle when in contact. 

Lastly, in the class Brick, I drew the brick and used ‘if and else’ to detect the four edges of the brick. Also, I used ‘if and else’ to test if the ball and the brick collided. 

With these three classes, I called them in the main sketch and operated the game. In the main sketch, there are 9 other functions: preload, setup, startGame, draw, drawStartPage, allBricksGone, endGame, replayGame, and createTimer. There are specific instructions under each function that controls the behavior of the game. 

What I am Proud Of 

The first part of the code that I am proud of is the function for the timer. At first, I had no timer and hence the goal of the game was to simply break all the bricks. However, I realized that if there is no timer, the user is not put under any pressure to play the game well. Therefore, I decided to place a timer so that the user is pushed to play and finish the game faster. 

function createTimer() {
  //timer object with update and display methods
  let timerObject = {
    startTime: 0,
    elapsed: 0,

    update: function () {
      this.elapsed = millis() - this.startTime;
    },

    display: function () {
      textSize(13);
      textAlign(CENTER, CENTER);
      fill('black');
      stroke('white');
      textFont('Verdana');
      text('Time: ' + this.format(), width / 2 - 150, height - 10);
    },

    format: function () {
      //convert milliseconds to a readable time format (mm:ss)
      let minutes = Math.floor(this.elapsed / 60000);
      let seconds = ((this.elapsed % 60000) / 1000).toFixed(1);
      return minutes + ':' + (seconds < 10 ? '0' : '') + seconds;
    },
  };

  return timerObject;
}

Another part of the code that I am proud of is the function for endGame. Under this function, I created a button that allows the user to replay the game. So when the endButton, which is the button used to replay the game, is pressed, the function for replayGame is operated. When the endGame function runs, the time it took the user to finish the game is displayed for the user. 

function endGame() {
  //show the end page with replay button
  background(255);

  push();
  translate(10, 50);
  scale(0.4);
  image(startImg, 0, 0);
  pop();

  //create a replay button
  endButton.show();
  endButton.position(width / 2 - endButton.width / 2, height / 2);
  
  textSize(30);
  textAlign(CENTER, CENTER);
  fill(0);
  textFont(myFont);
  text('You destroyed the house!', width / 2, height / 4 - 70);
  textSize(16);
  text('Click "Replay" to play again.', width / 2, height / 2 - 140);
  
  endButton.mousePressed(replayGame);

  //display the final time
  textSize(16);
  text('Your Time: ' + timer.format(), width / 2, height / 2 - 100);
}

Also, I am very pleased with the look of the game. The theme or the design fits well into the concept of the game and adds to the experience of the user. The picture below is the the initial design of the game. From that design, I added colors and images to add aesthetics.

Difficulty & How I Overcame It 

The hardest part of coding was using the ‘if and else’ statement to change the pages of the game (opening, game, and ending). As shown below, the code itself is simple: I just have to call the classes and functions that I created previously and use the ‘if and else’ statement to create conditions. However, for some reason I could not navigate from one page to another. Through trial and error, I was able to get it to work. 

function draw() {
  //draw the start page if the game hasn't started or if it's replaying
  if ((!ball || allBricksGone())&& start== true ) {
    drawStartPage();
  } else {
    //draw the game elements
    push();
    translate(-15, 0);
    scale(0.34);
    image(backgroundImg, 0, 0);
    pop();

    paddle.x = mouseX;

    //nested loop for creating bricks when not collided with the ball
    for (let i = 0; i < cols; i++) {
      for (let j = 0; j < rows; j++) {
        if (bricks[i][j].val == 0) {
          bricks[i][j].drawBrick();
          bricks[i][j].collided(ball);
        }
      }
    }

    //check if all bricks are gone
    if (allBricksGone()) {
      endGame();
    } else {
      //update the timer
      timer.update();

      ball.moveBall();
      ball.bounceBall();
      ball.drawBall();

      paddle.hitPaddle(ball);
      paddle.drawPaddle();

      //display the timer
      timer.display();
    }
  }
}

These are the pages in the order of opening, game, and ending.

Improvement

For improvement, I would like to enable fullscreen. As of now, the game screen is too small and the game experience would be enhanced when the game screen is larger. 

Another improvement I would like to make is displaying the record of the 5 fastest times on the ending page. In this way, the user would be more motivated to play better and faster.

Lastly, it would be more entertaining if I create a losing condition. For instance, I could make the ball not bounce off the bottom wall so that when the ball passes through the bottom wall, the time increases by 3 seconds. In this way, it would take longer and be harder for the user to complete the game.

Midterm Project: Space Navigator by Sihyun Kim

Final outcome:

Link to fullscreen:

https://editor.p5js.org/sihyunkim/full/o-b8ZVYnT

Concept of the Game

If someone asks me what my childhood favorite game was, I will say that my favorite game was Flappy Bird without any doubts. As a child, I found avoiding obstacles by controlling the bird up and down along with the increase in speed as the game progressed very intriguing and fun. Hence, for this midterm project, I wanted to create something working with the same logic but in a different style. So, inspired by my childhood favorite game- Flappy Bird, I created a game called “Space Navigator”. As its name suggests, the theme of the game is space exploration. The player is part of an astronaut team sent from Earth to explore Saturn. The mission of the player is simple. All the player has to do is avoid collision with the moving meteoroids on the way to Saturn and follow the path of the stars to arrive on Saturn.  

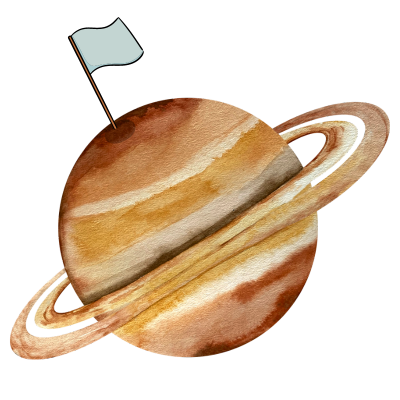
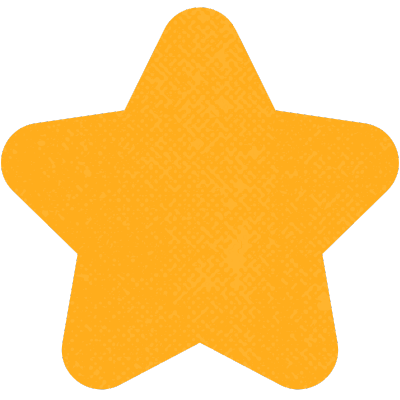
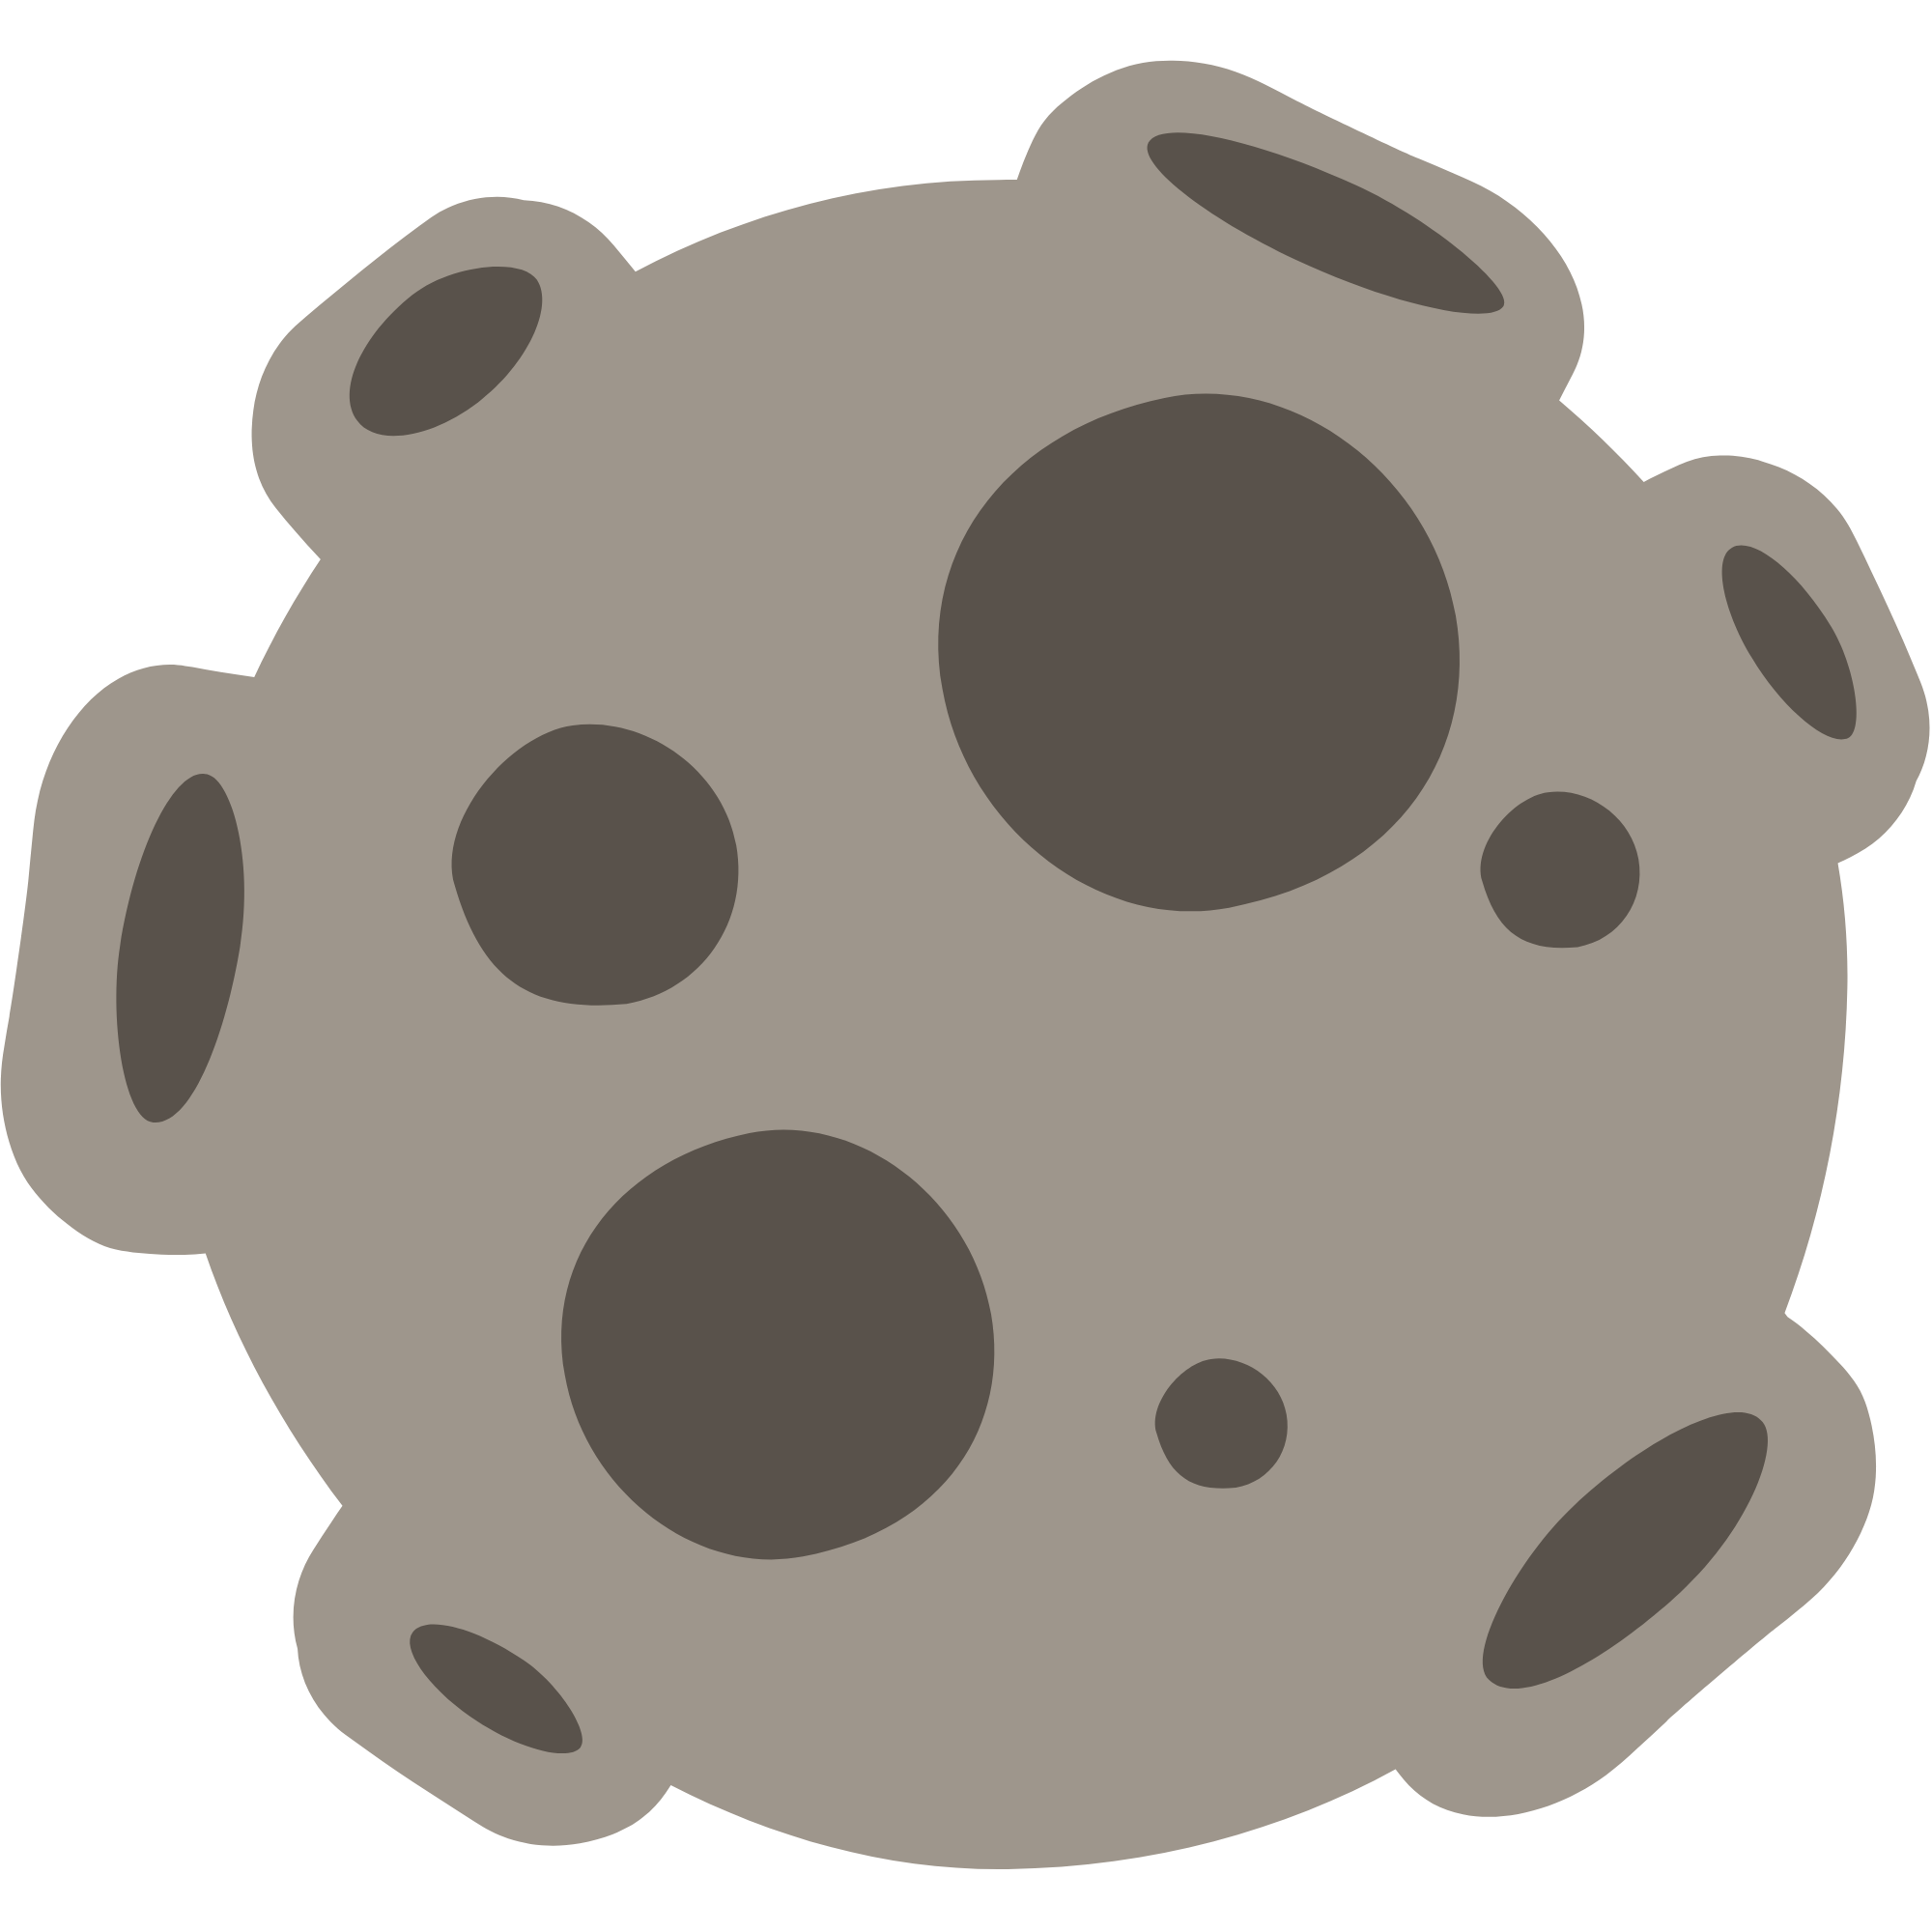
The images below are the concept image I drew while conceptualizing my project and the transparent images I utilized for my project. I wanted my midterm project to look cute and round. So, I searched for lots of images in the Canva. And ended up using the round-ish images below. Also, I wanted to give people the feeling of childish wonder. So, I intentionally chose a piece of music (video below) from a Nintendo game called Captain Toad: Treasure Tracker. I found this music to be a great fit to be  background music for my game as this music is not too loud but still not boring. Most importantly, this song gave me that feeling of “childish wonder”. So,  I decided to use this. 

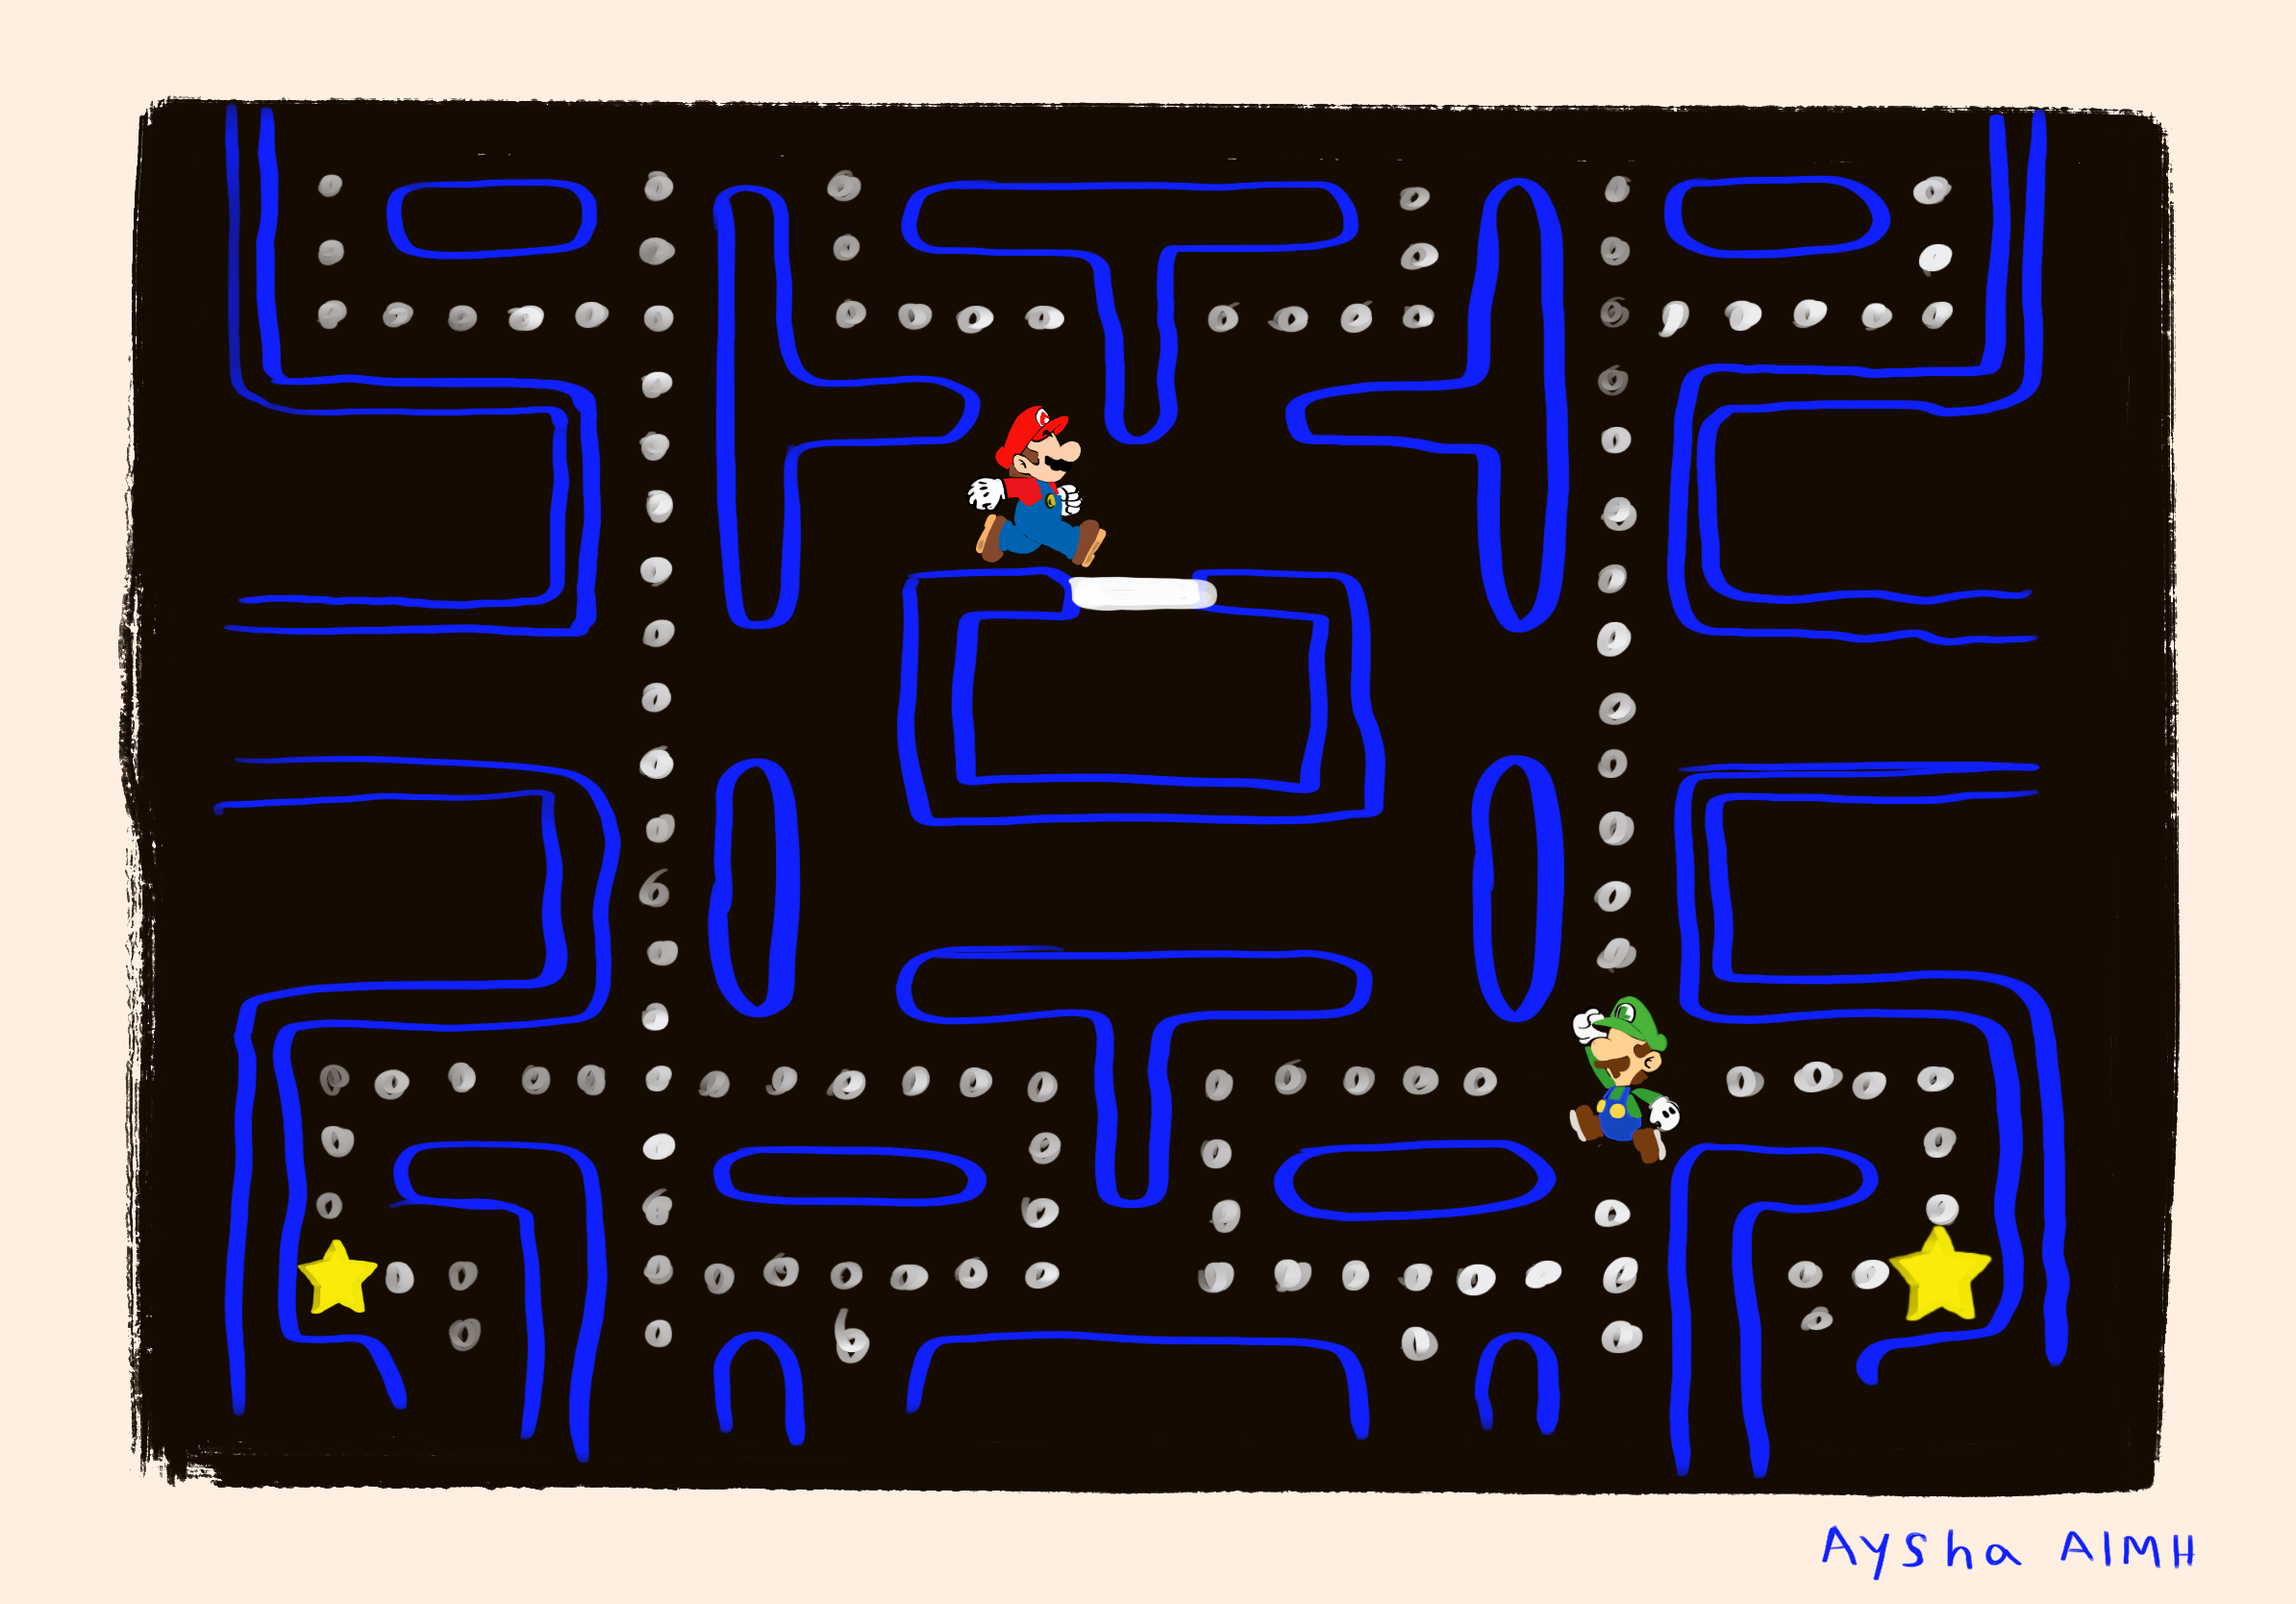
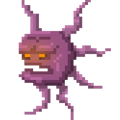
Concept Image I drew for my project before working on it:

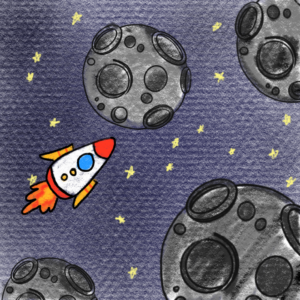
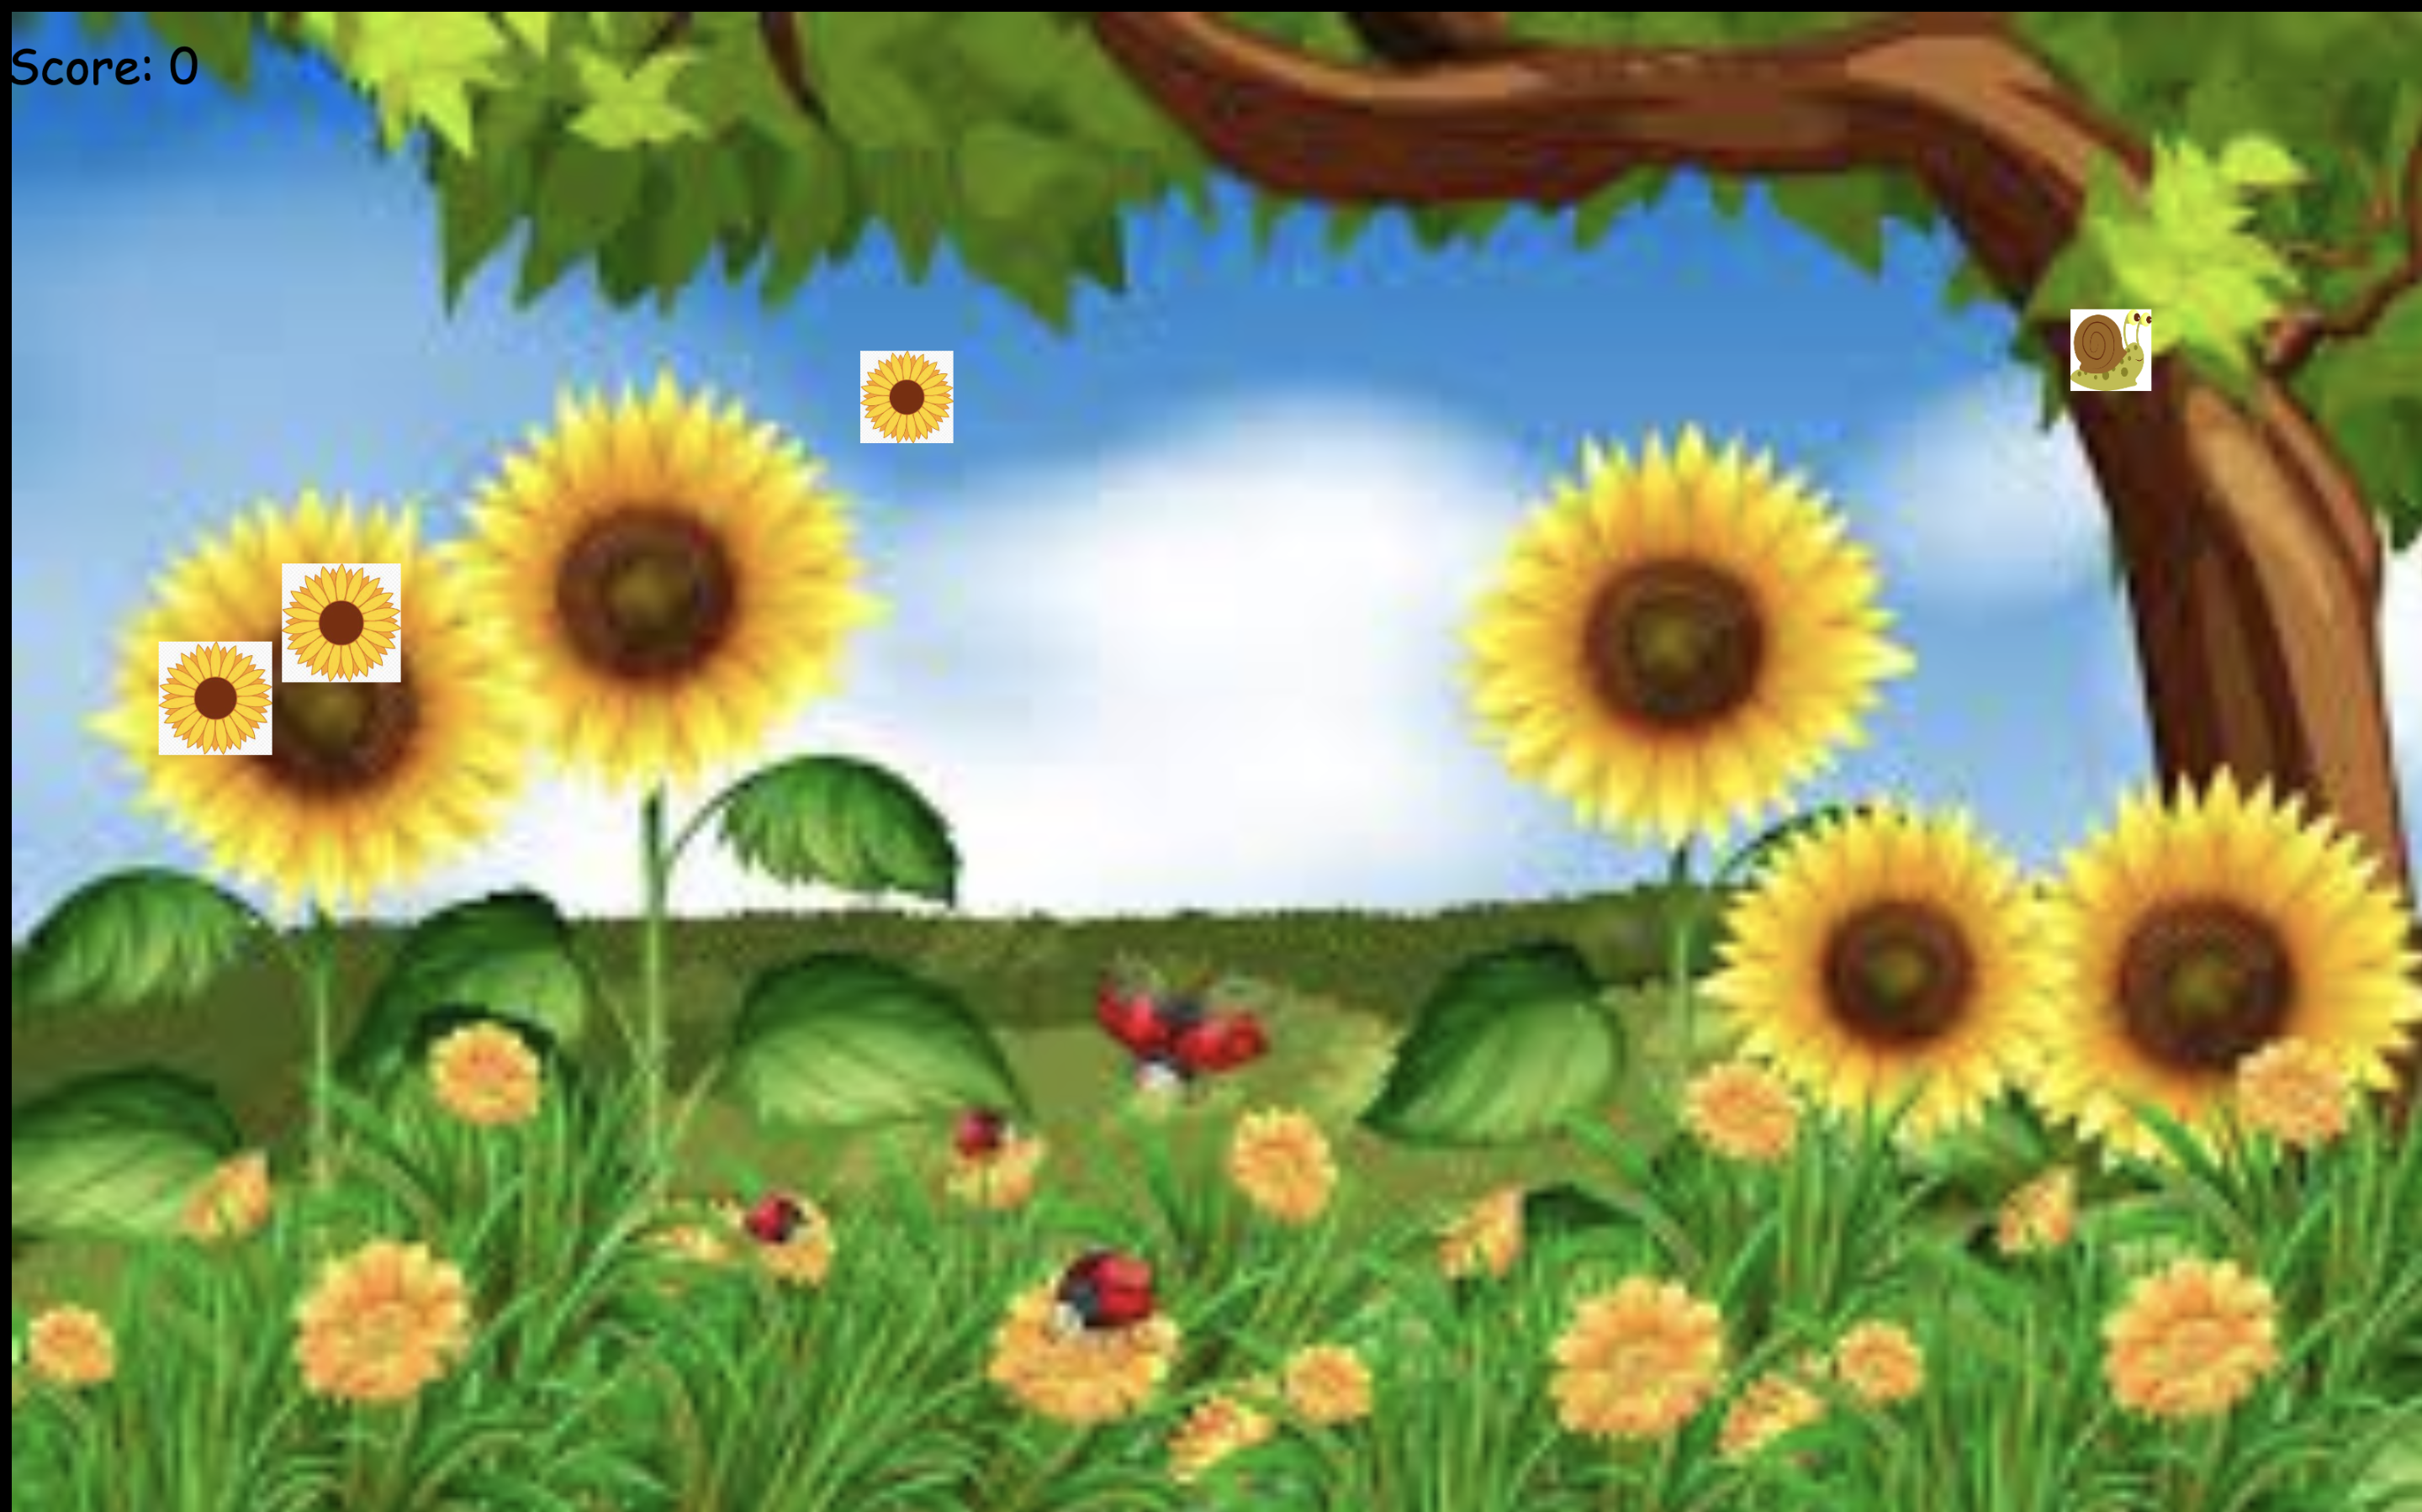
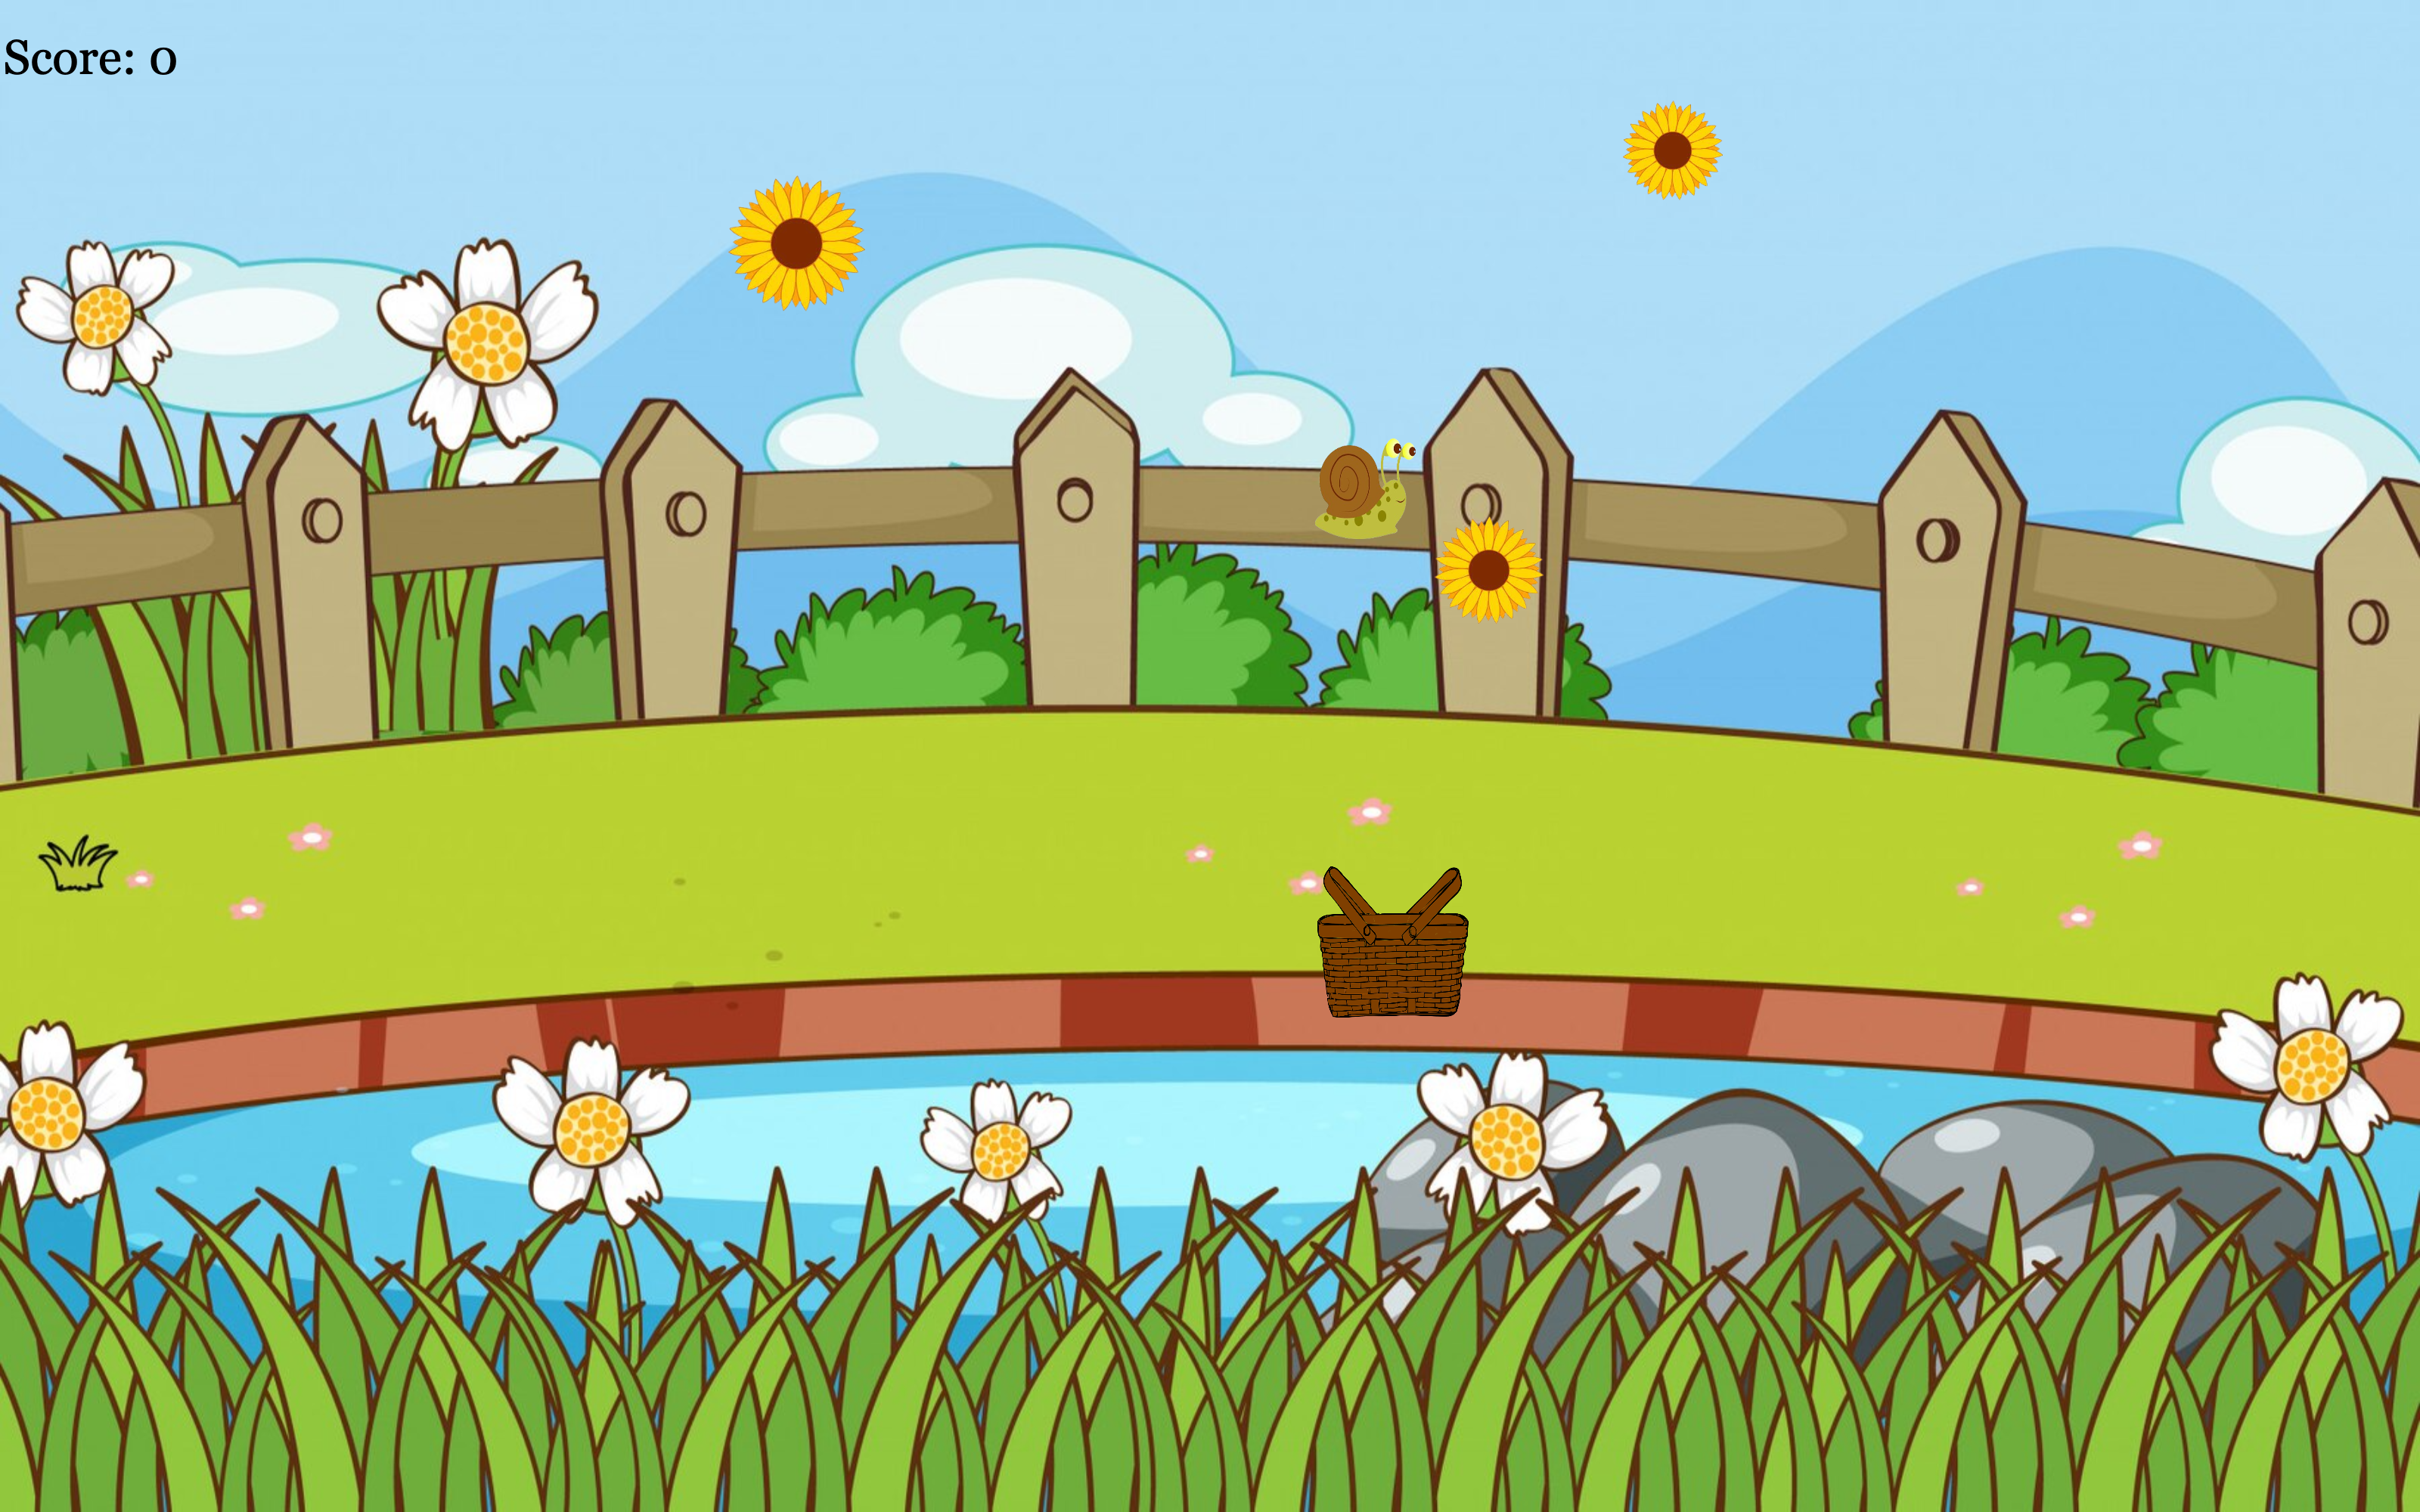
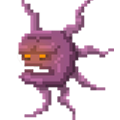
Images obtained from Canva that I have utilized for the game


The background music for the game:
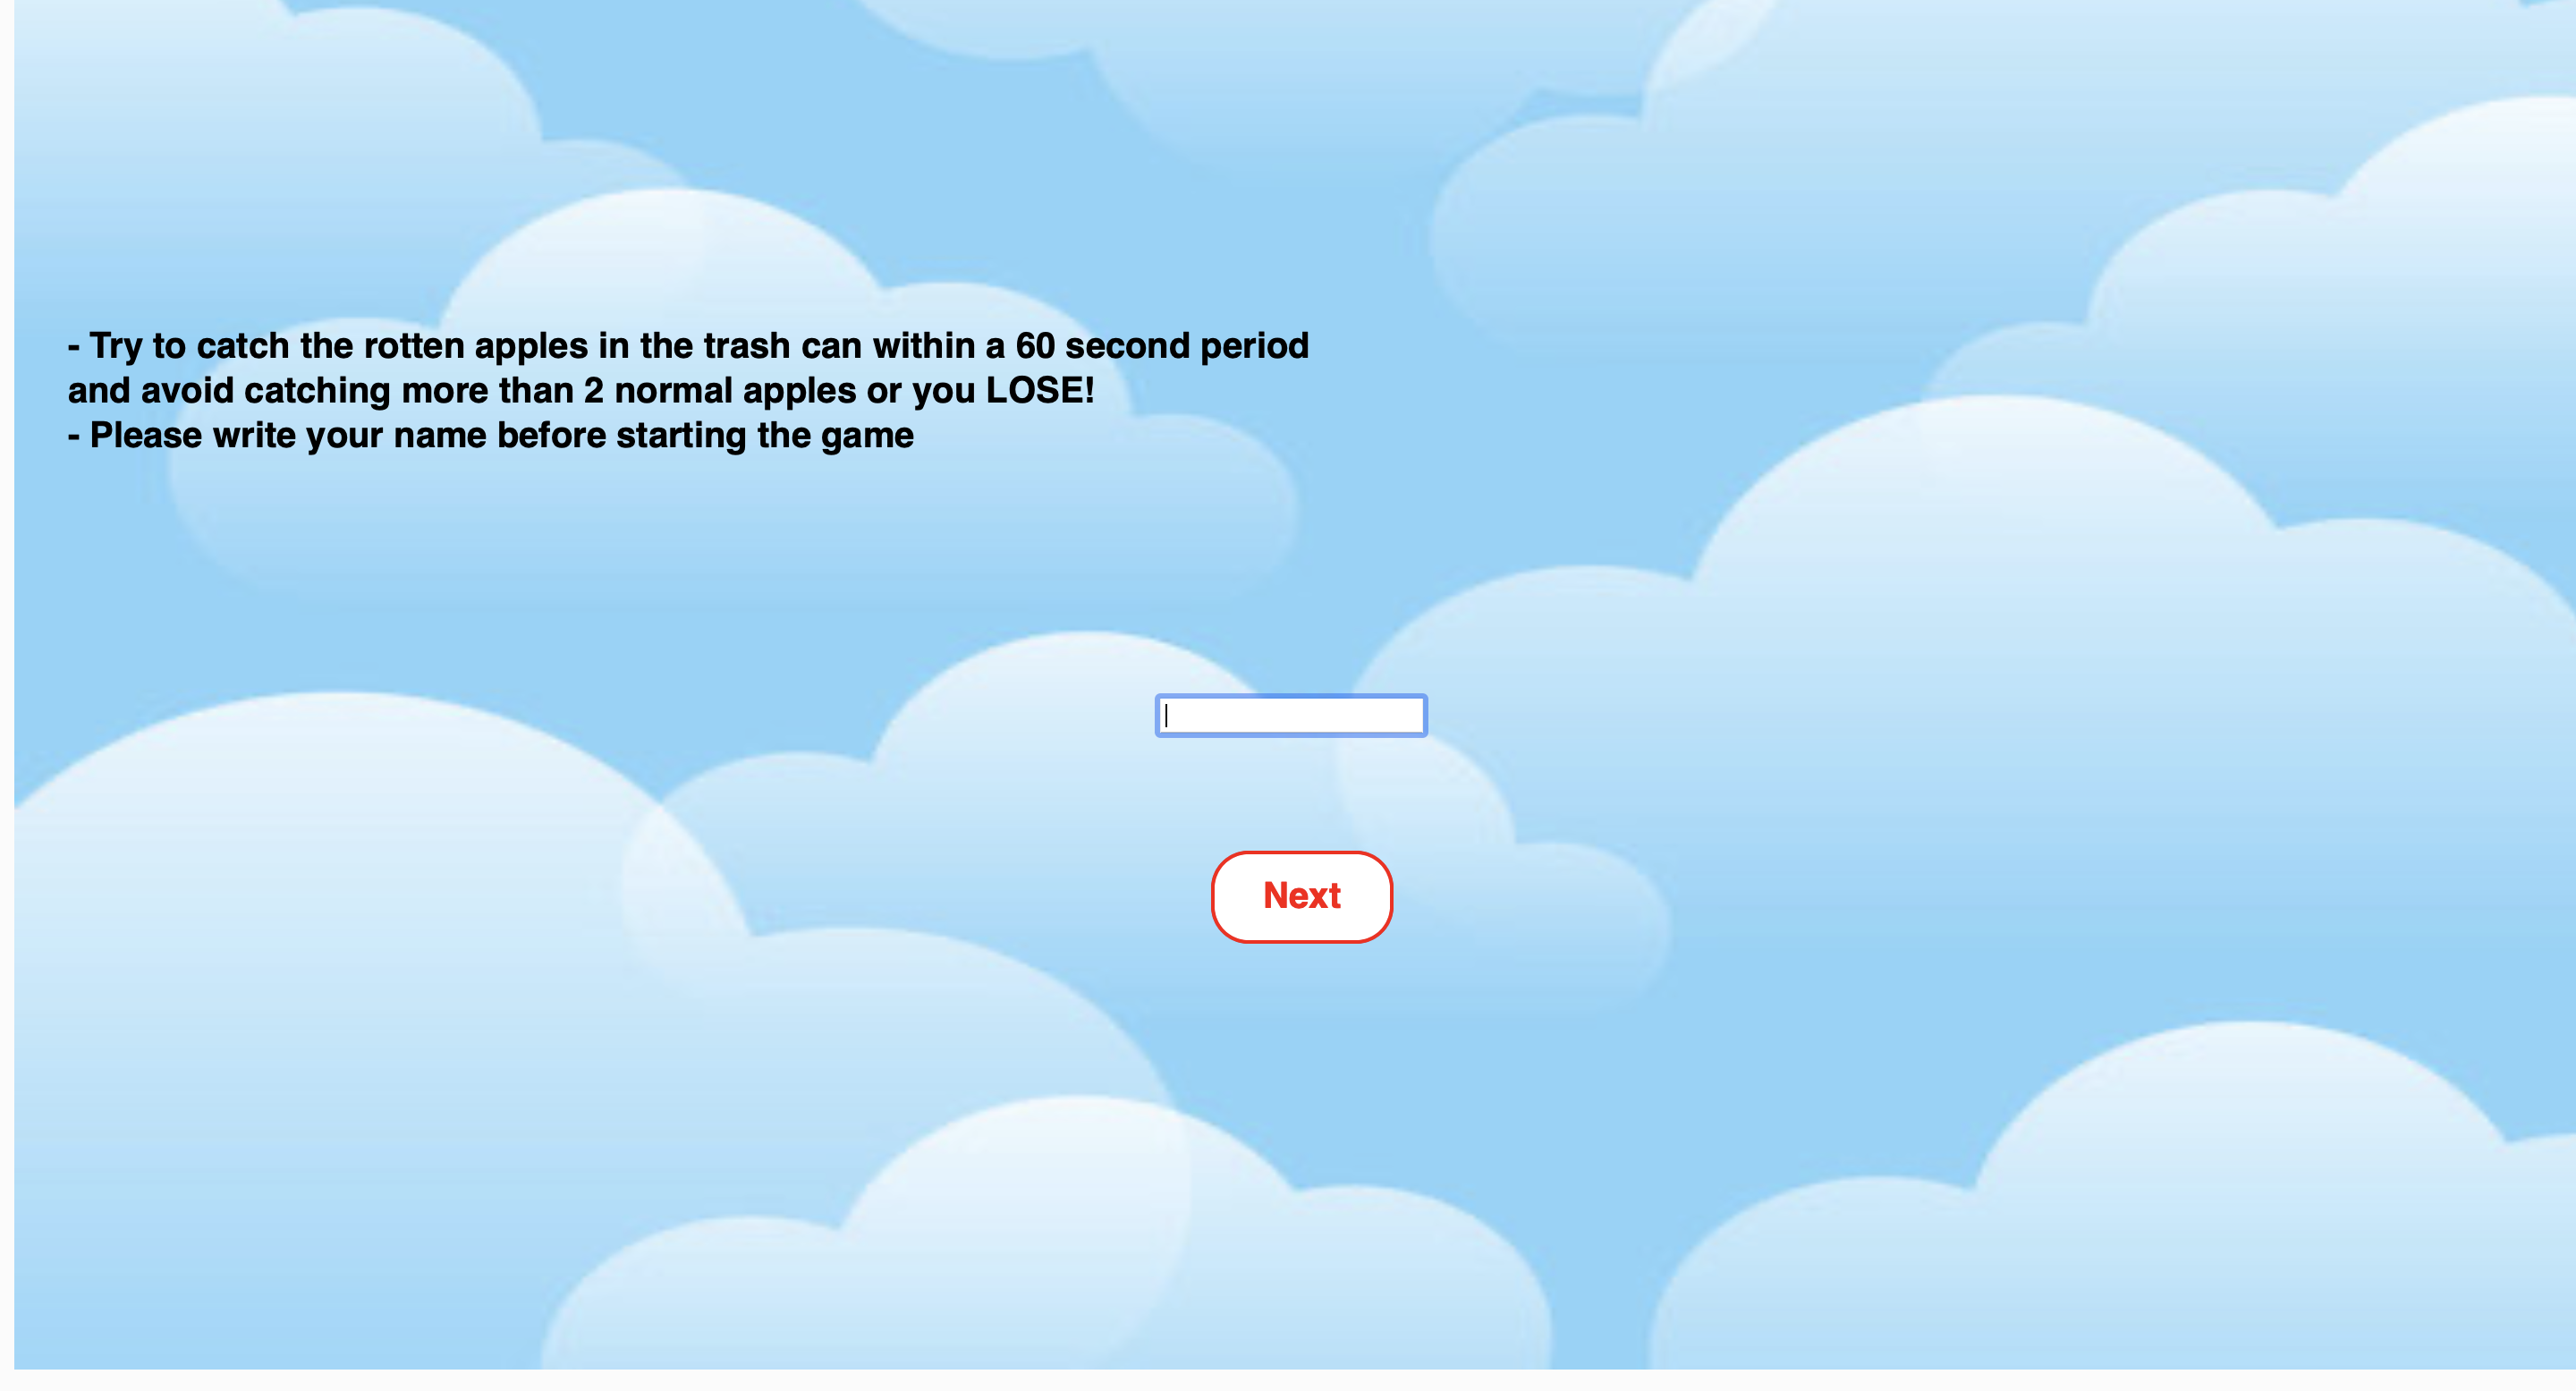
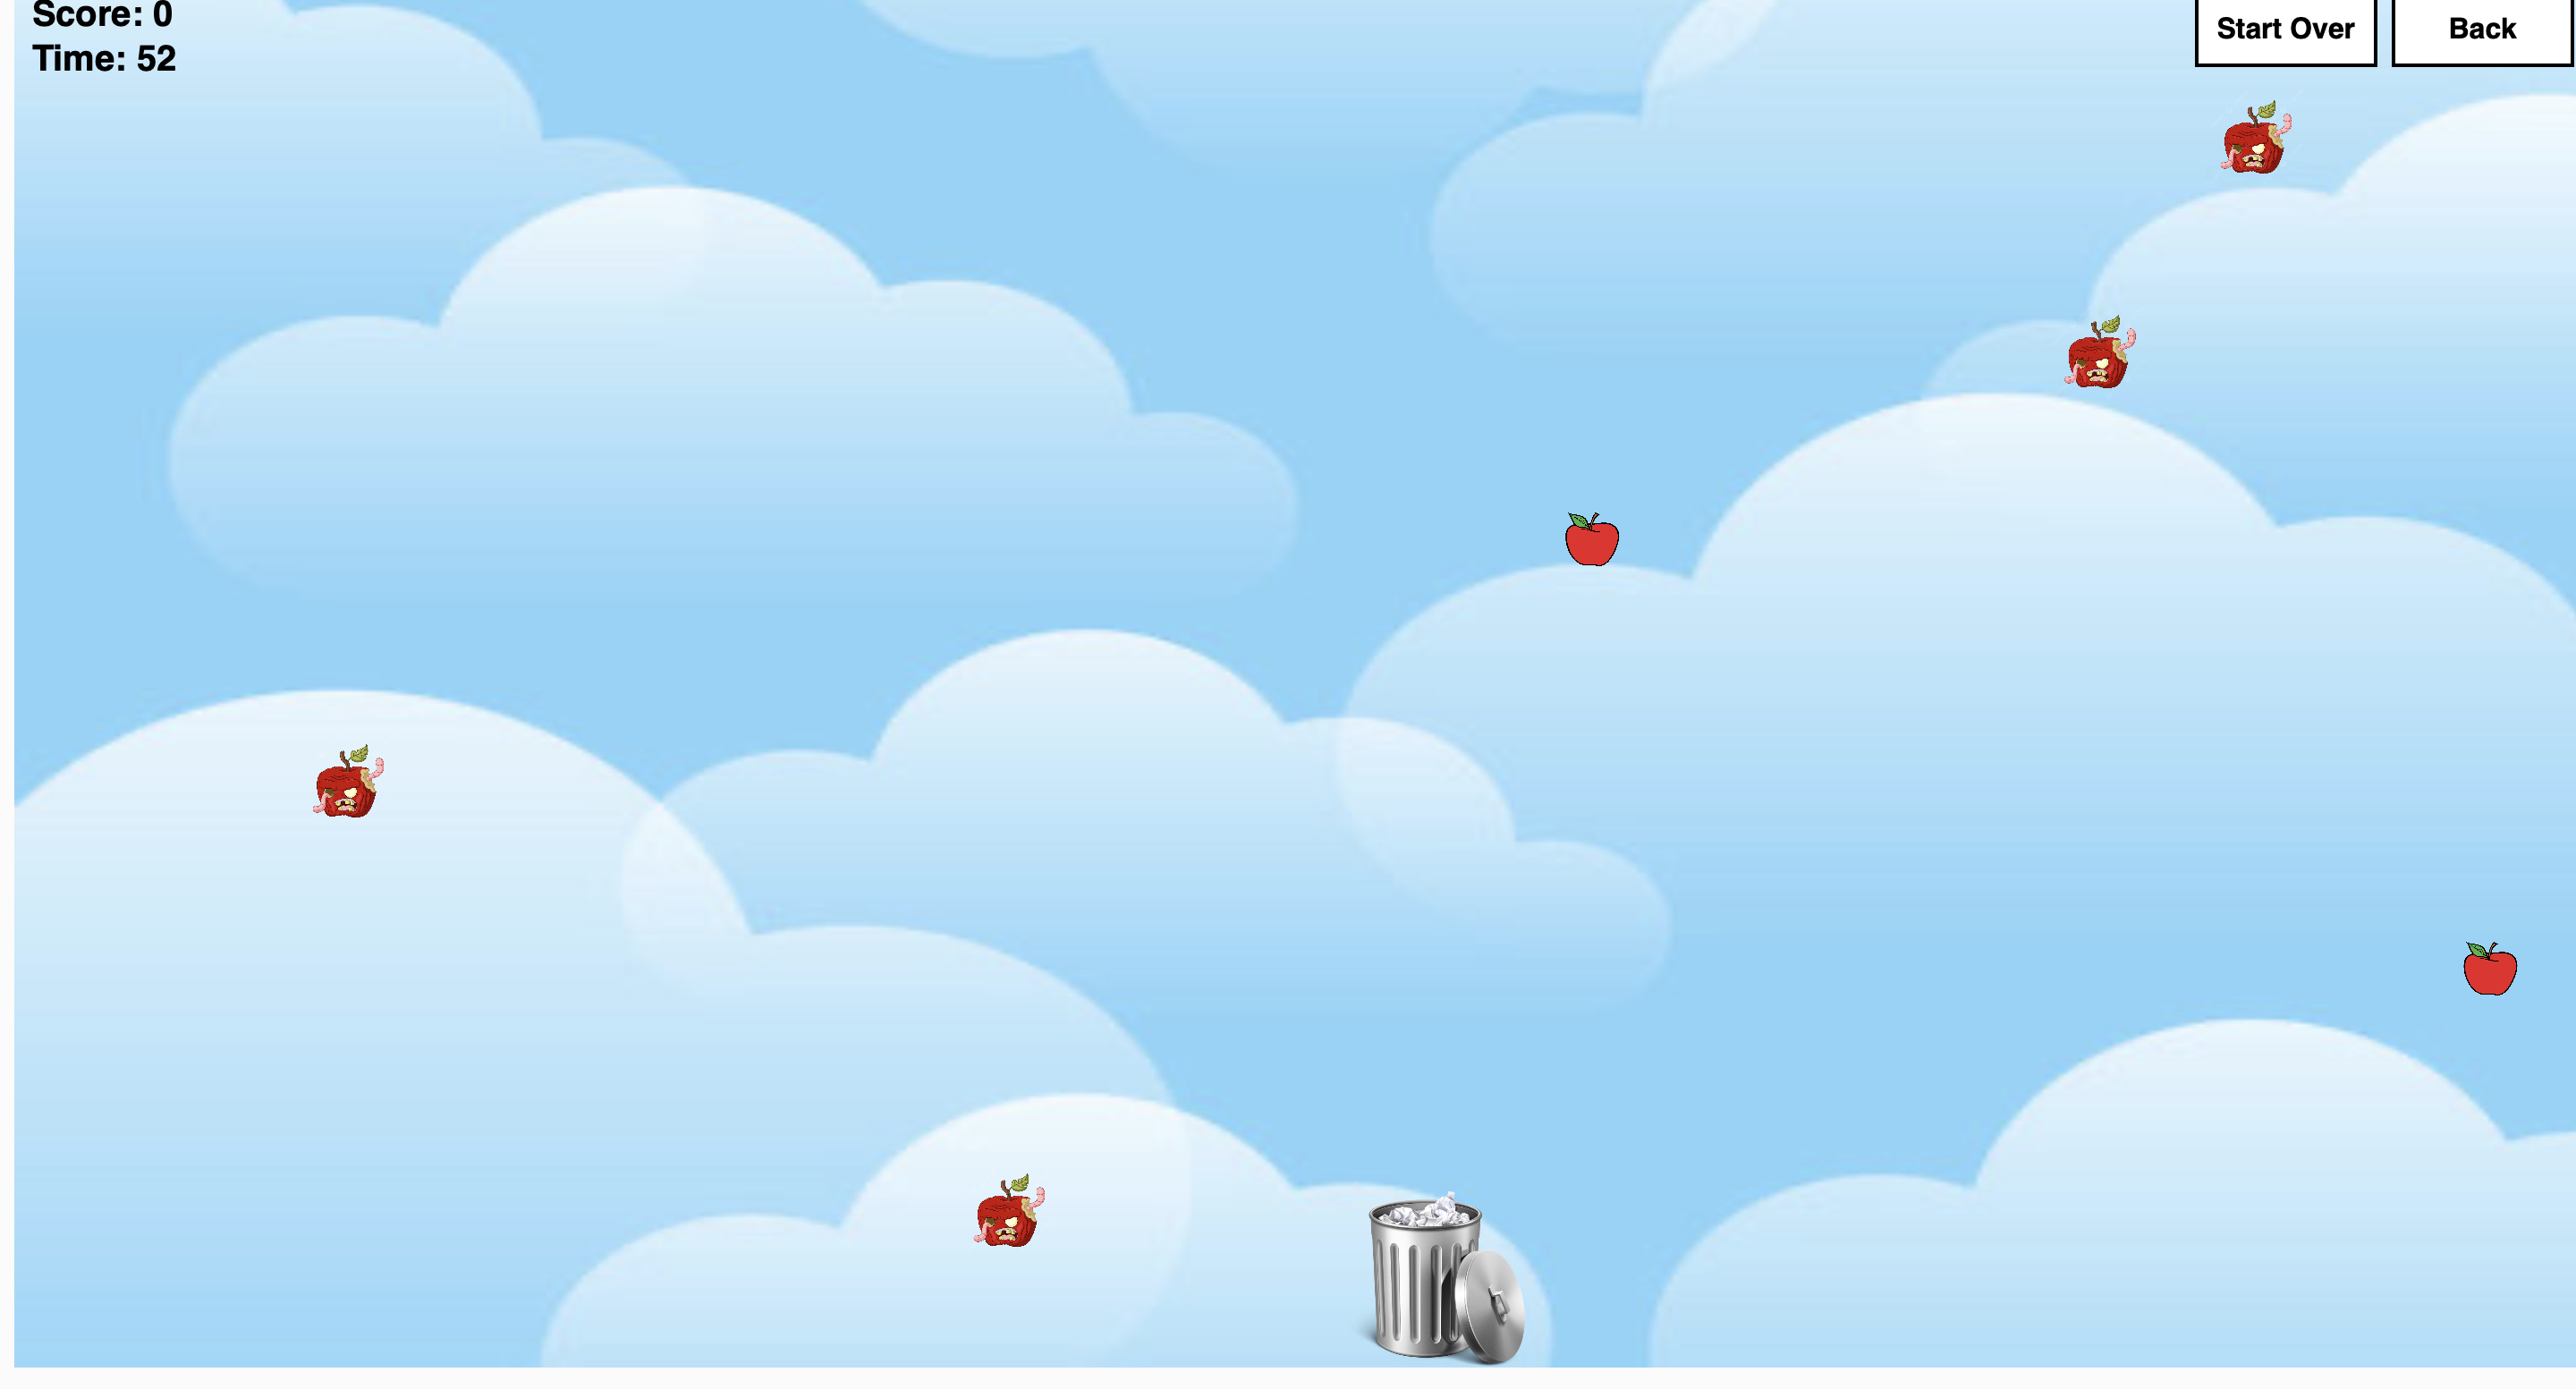
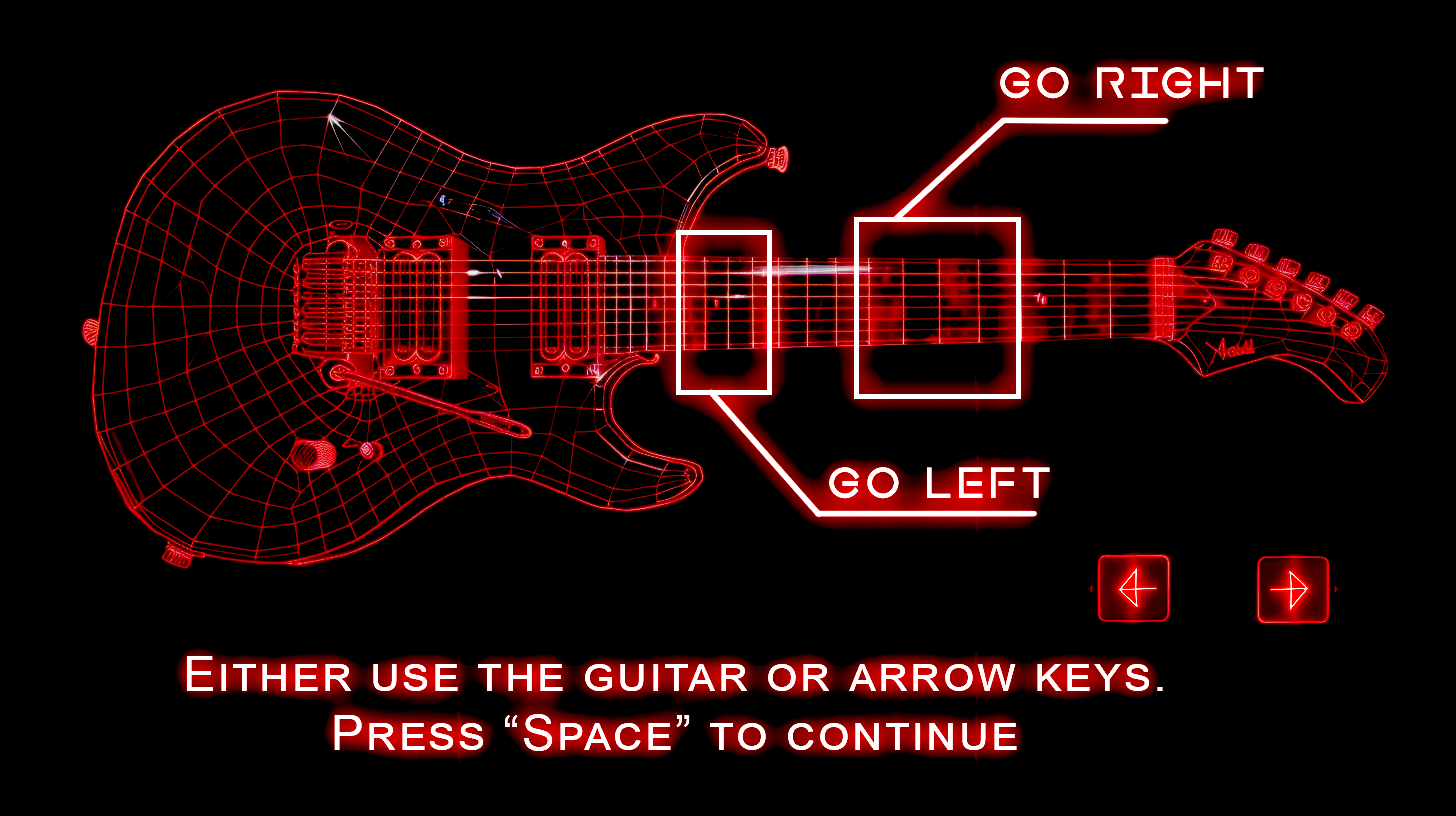
How the game works: 

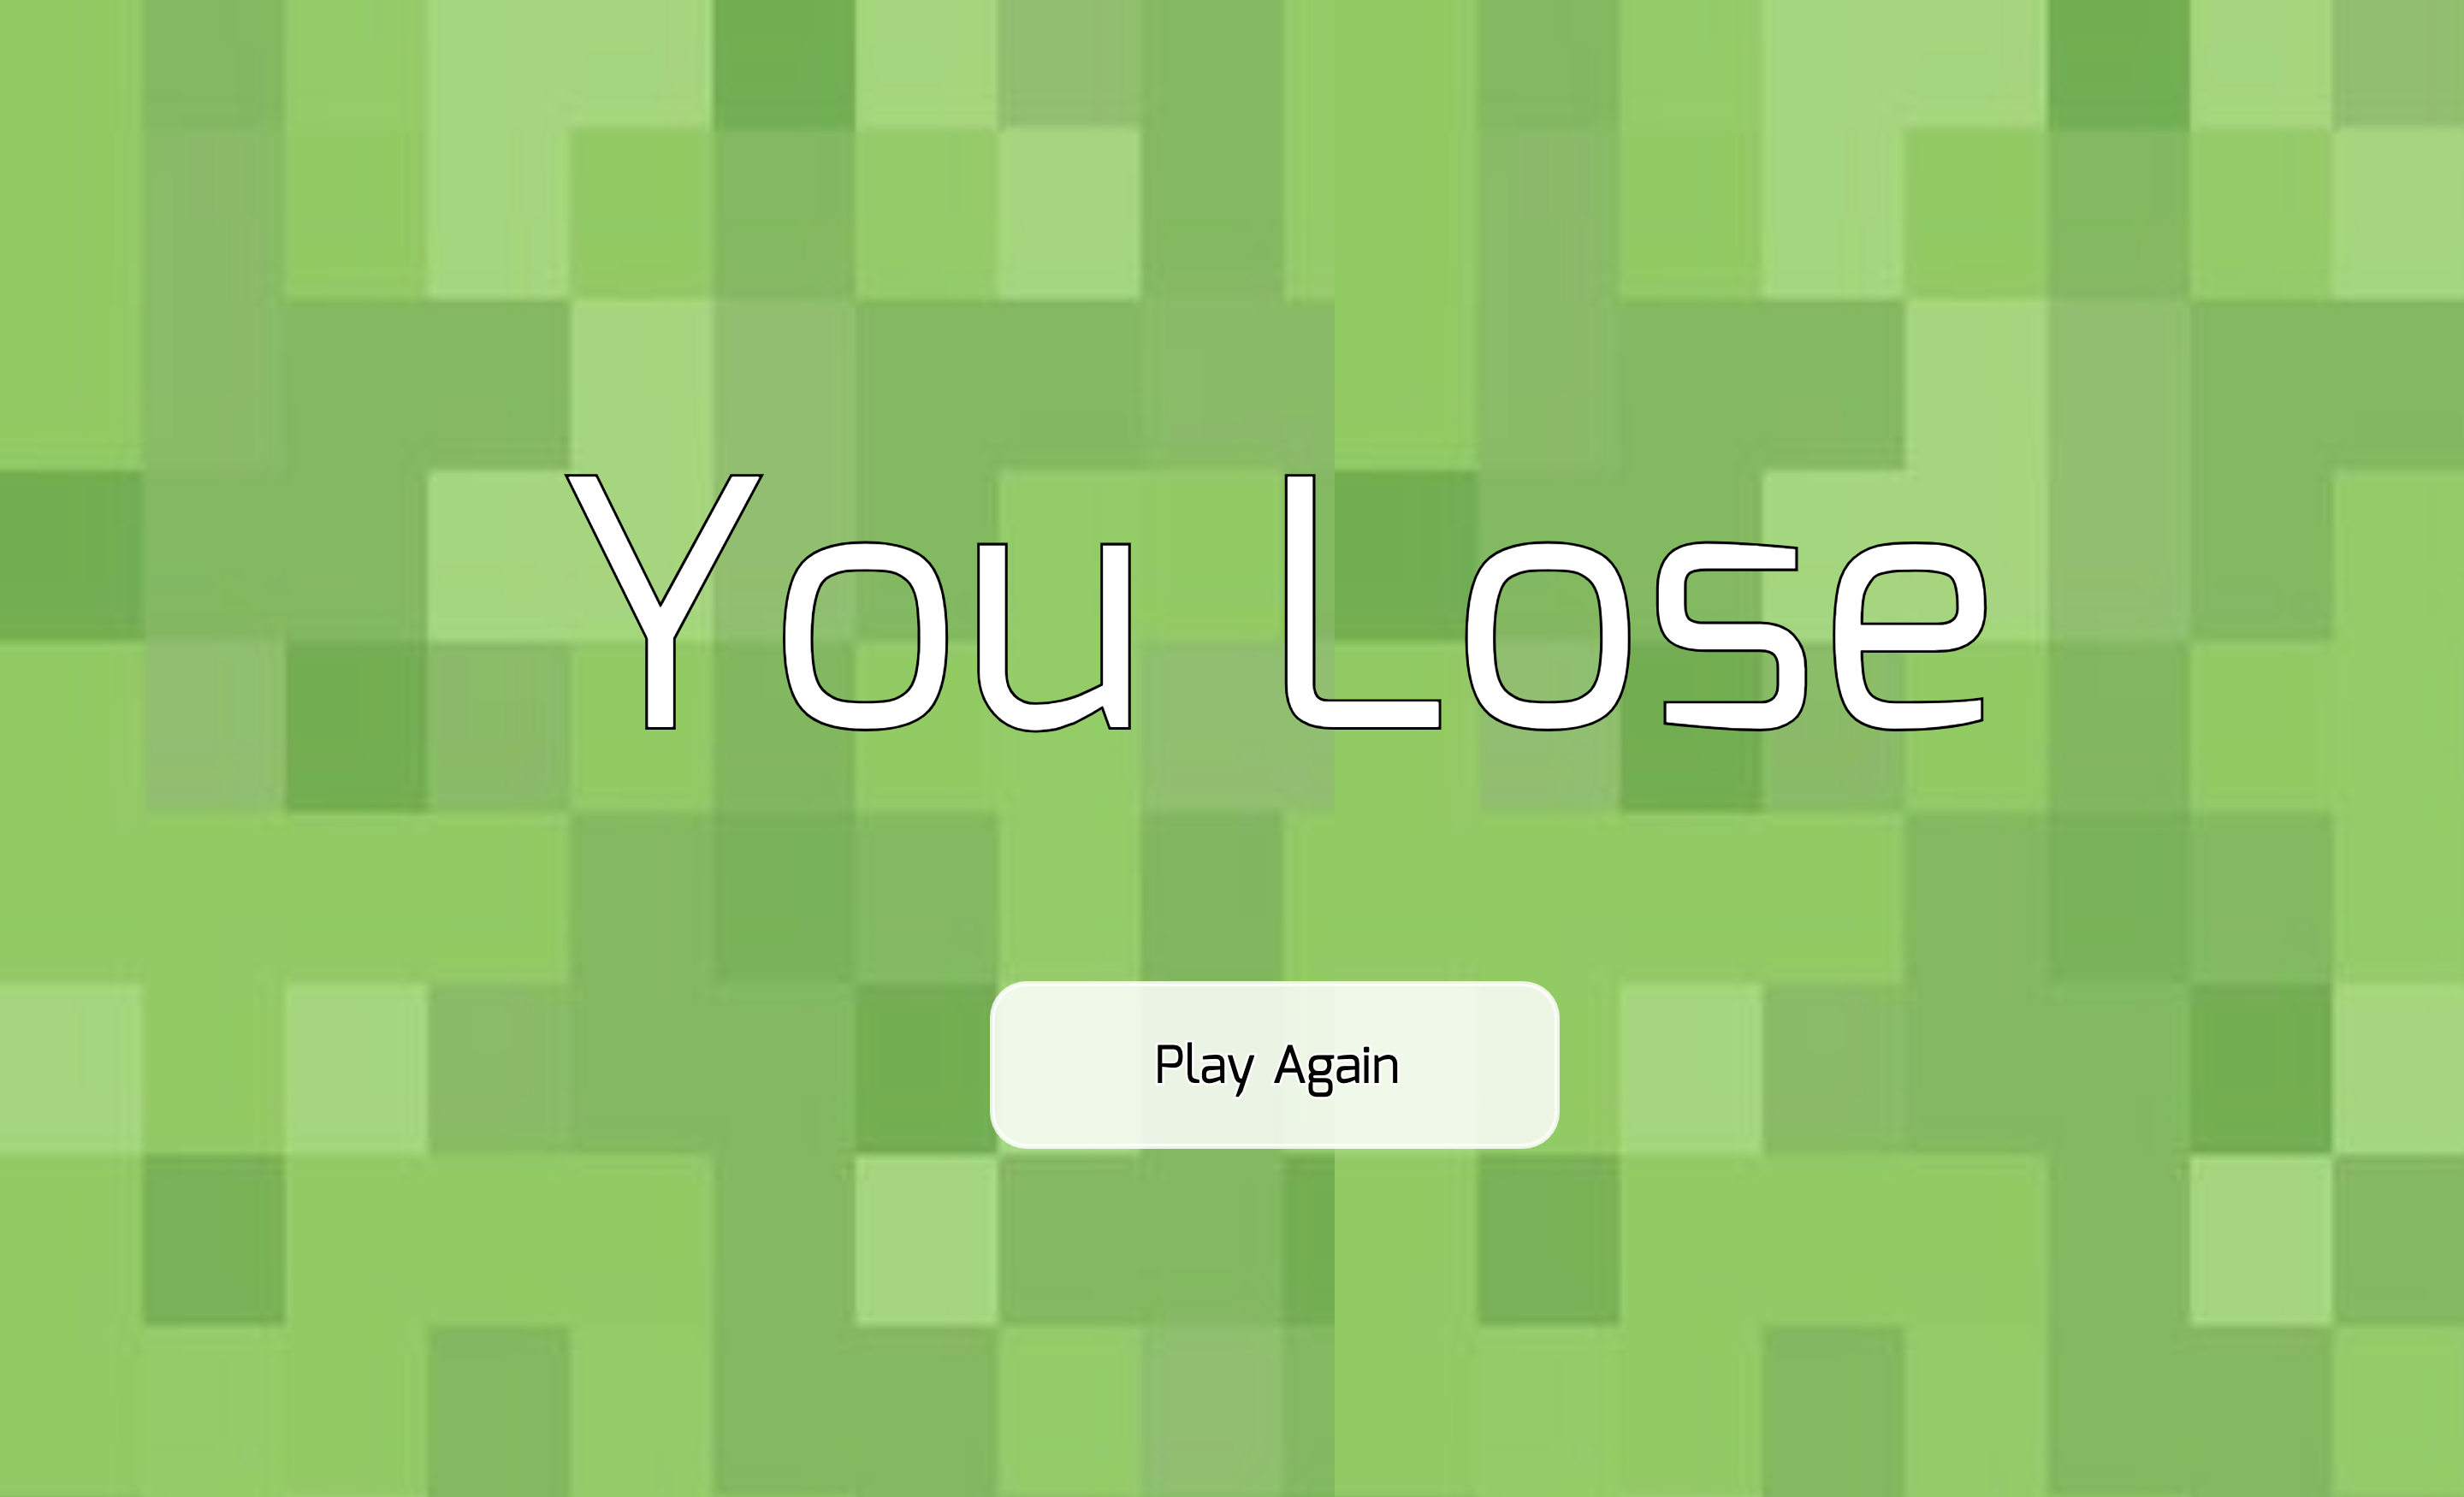
The game is quite straightforward. As mentioned above, all what player has to do is to avoid the meteoroids and follow the stars as much as he/ she can. Also, the player has to be careful to not touch the bottom and top boundaries to not lose track of the orbit.  And this is done by controlling the rocket. There are two modes in which the player could choose: Voice mode and key mode. As the modes’ names suggest, the voice mode enables the player to control his/her rocket using his/her voice volume. The voice volume is mapped to the adjustment of the velocity of the meteoroids. The higher the voice volume of the player is, the higher the rocket arises. The key mode is the same as the Voice Mode except that this mode involves controlling the rocket using the keyboard’s space bar instead of the player’s voice volume. The better the player plays the game, the faster the game goes. After “collecting” 15 stars, the game will end with the text that the player arrived at Saturn will appear. 

Explanation of codes for the game:

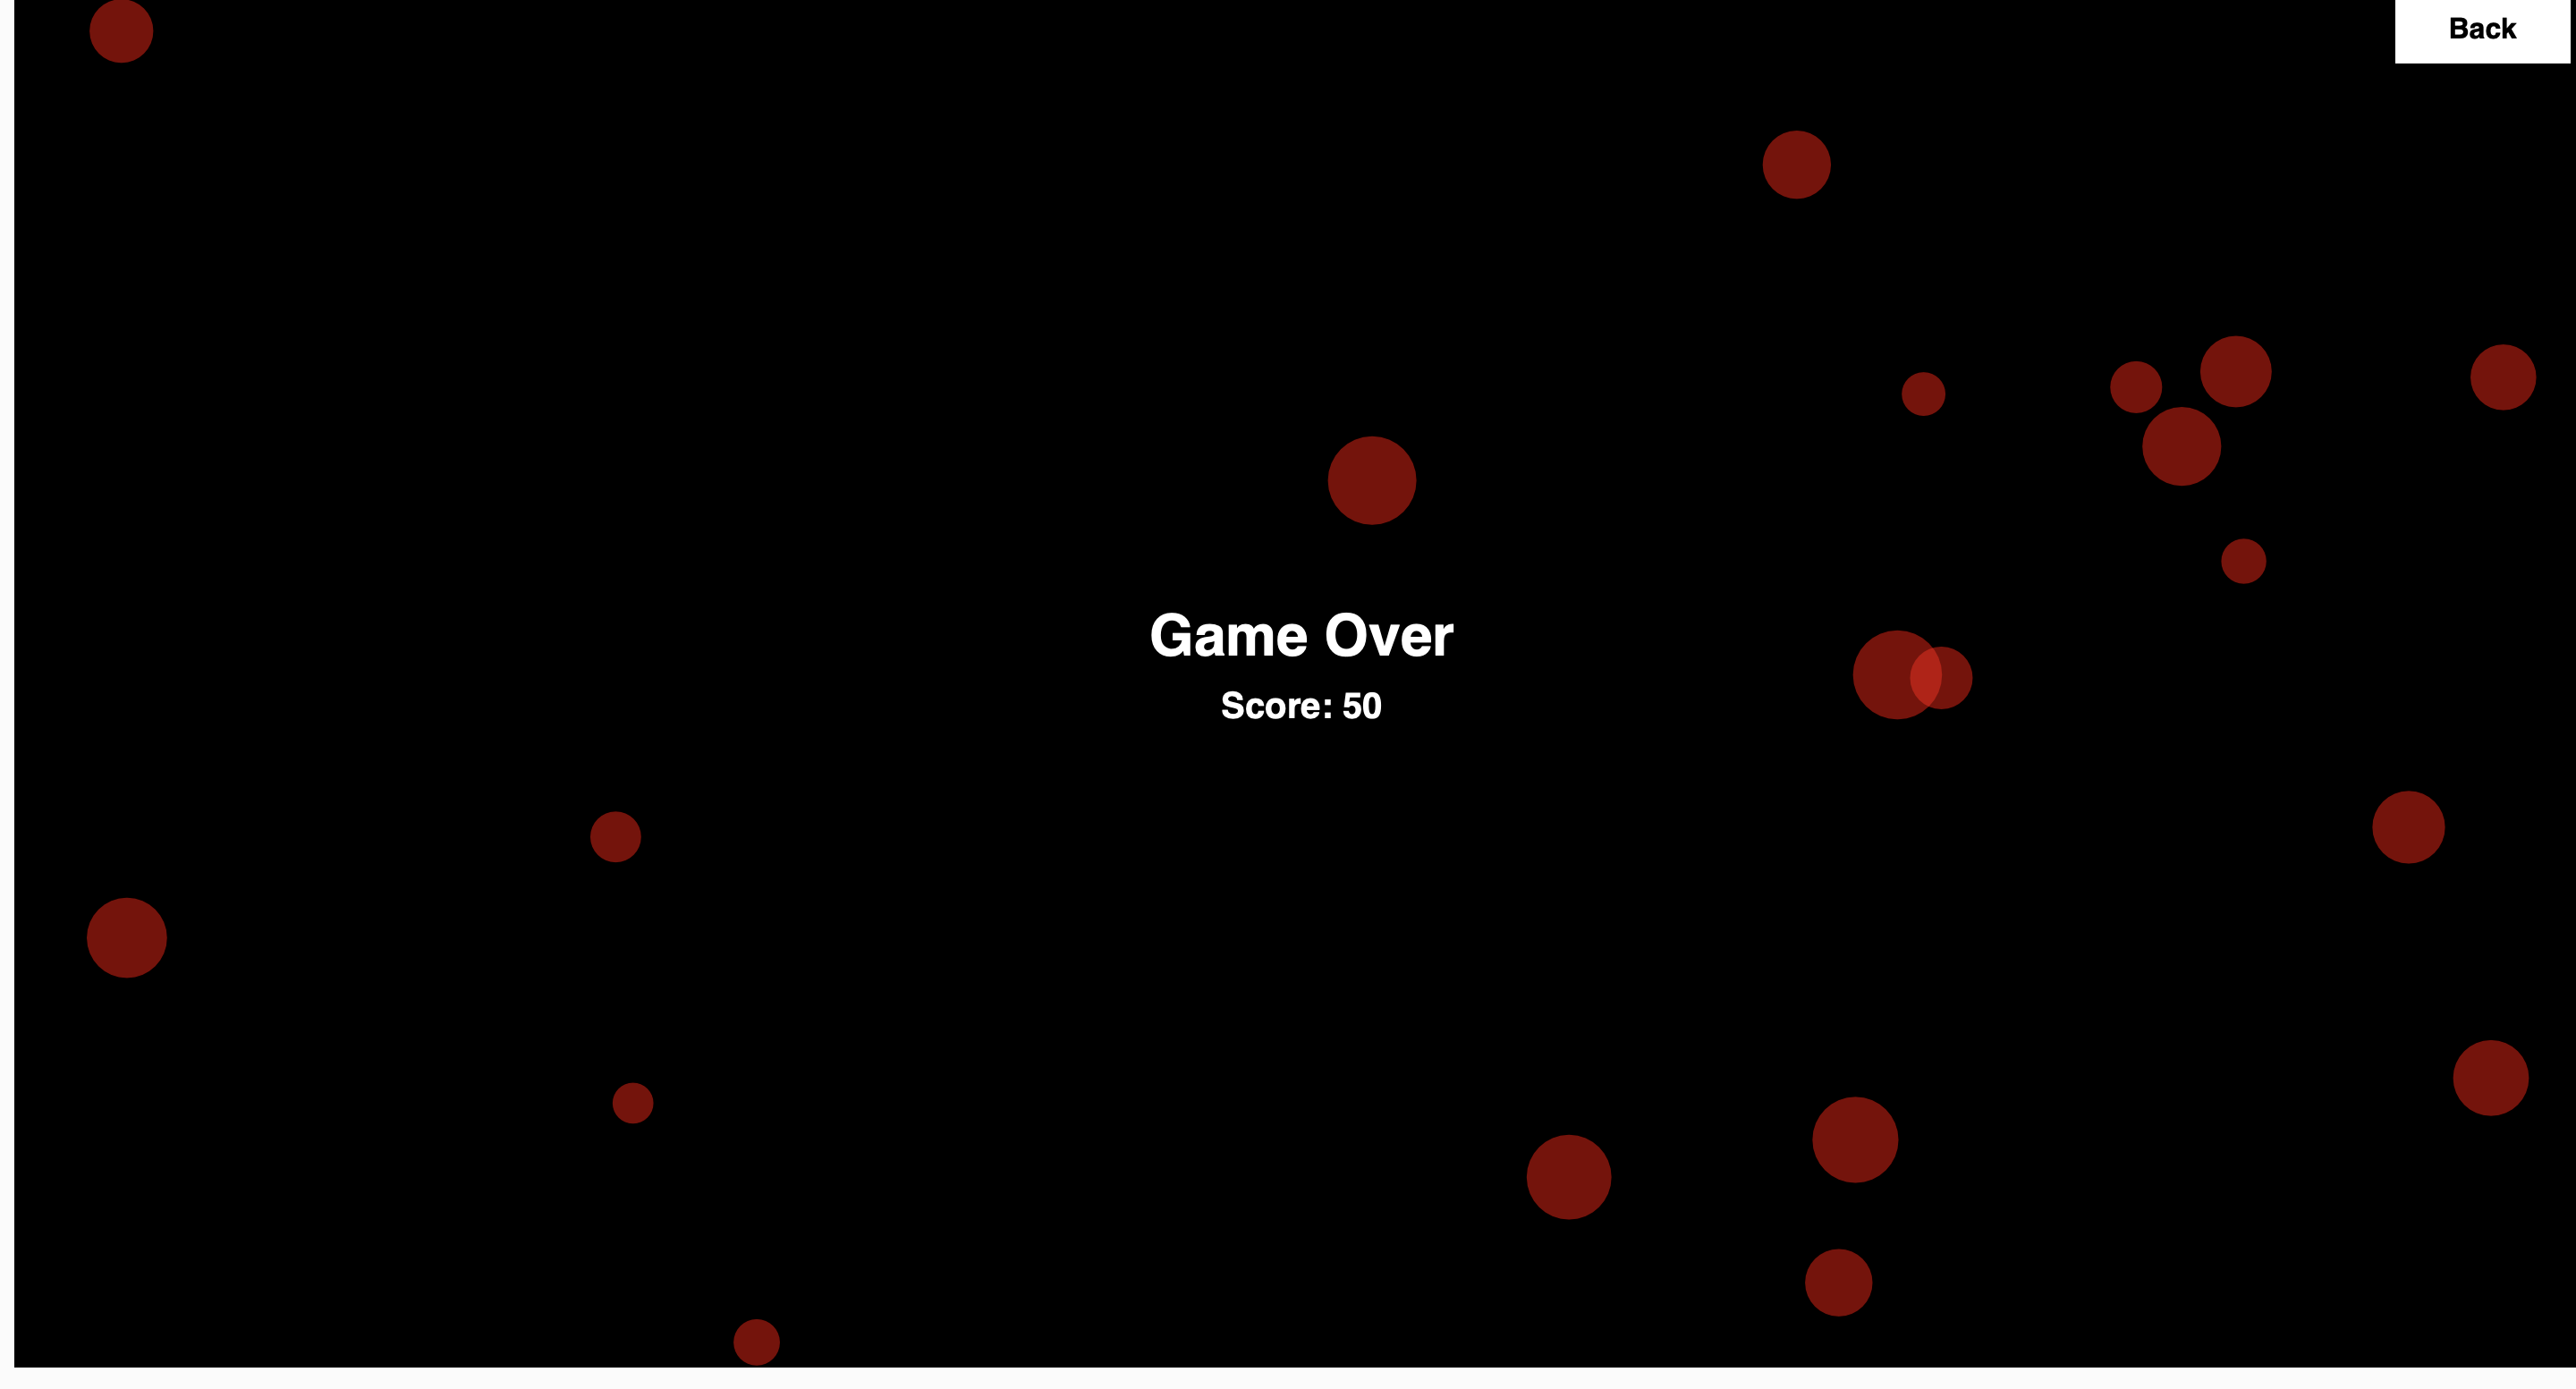
I have three essential components in my game: rocket, meteoroid, and stars. And I made  Meteoroids(), Rocket(), and Stars() classes for these components of the game. First of all, as the name suggests, the Meteoroids() class is responsible for making the moving meteoroids (obstacles) of the game and checking if they collide with the rocket. Inside this class, there are three functions: update(), show(), and checkCollision(). The update function is responsible to animate the meteoroid while the show function is responsible for depicting the meteoroid itself in the screen. Checkcollision is a function that does check Collision with the rocket. The logic behind the Checkcollision function follows the equation of the circle. Whenever collision with a rocket is detected, the flag named winningState changes to “lost”, indicating that the player lost. 

Next, the Rocket() class is responsible for properties related to the rocket that the player controls. In this class, there are four functions: gravity(), move(), update(), show(), and boundary check(). The gravity function stimulates gravity affecting the rocket. Meaning, that if the player does nothing, the gravity function will let the rocket move down. And move function is responsible for adjusting the velocity of the rocket based on the user’s voice volume or the space bar input. Using an if-else statement and a flag named “keycode”, I made sure that the rocket would only be controlled using the voice volume in voice mode and controlled by pressing the space bar in key mode. The update function is responsible for adding the adjustment from the move function to the y position of the rocket, resulting in the animation of a rocket being moved up or down. And show function is responsible for depicting the rocket in the function. The boundaryCheck() function checks if the rocket touched the top or bottom boundary by checking the position of the rocket and the coordinates of the boundaries. If the rocket touches the boundary, two flags, winningState and touchedBoundary, are changed. 

Thirdly, the Stars() class is the class responsible for generating the stats that will guide the rocket. Like the other two classes, the star function has show() and update() function which allows the stars to be animated and shown. One unique thing about the Stars class is that it has two collision check functions- one with the meteoroids and the other with the star. This is because I had to make sure that the stars did not overlap with the meteoroids and use collision detection with stars to know when to score the player. 

In the main sketch, codes related to ensuring the correct procedure of the game, global variables, and functions such as windowResized(), preload(), setup(), keyPressed(), and mousePressed() are located. Basically, windowResized() is responsible for resizing the game screen for the fullscreen mode, preload() is responsible for loading the images, fonts, and files for the game. In setup() function, I have put some properties of the game that should not be redrawn every time (e.g. background music).  The keyPressed() function is responsible for triggering the boost for the rocket in key mode when the space bar is pressed and letting fullscreen be activated/ deactivated when the “f” or “F” key is pressed. 

The mousePressed() is responsible for all conditions related to the mouse press. All the buttons in the work game work due to flags such as gameState being triggered in this mousePressed() function.  the draw() function handles the procedural aspects of the game, and the game’s state changes based on the value of the gameState variable. The use of if-else statements ensures that different screens are displayed depending on the current state of the game. I think this approach allows seamless transitions between various screens, guiding players through different gameplay stages.

Proud Things from the Project

The part which I am most proud of is also part of the star class. Particularly, I am proud of the code snippets attached below, which are responsible for generating stars. The first code snippet is the code of the checkCollision() method in the Stars class. As the first code snippet shows, the logic of a star’s detecting collision with the meteoroids involves the equation of the circle. It checks if the distance between the meteoroid and the star is greater than the sum of the size of the star and the radius of the meteoroid. The output of checkCollision() inside the star class is a boolean variable. It returns true if there was a collision detected and false if there was no collision. The second code snippet is the code snippet located in the main sketch, which simply ensures that the stars are making sure that stars are not being generated at the same position as the meteoroids. The logic of this code snippet using a while-loop is that it keeps generating new Star objects until the checkCollision() method of the Star object returns false. Then, we add the Star object into the array of the Star object. There will be only one object being pushed into an array at a time as we do not technically “save” the generated Star object in the while loop if it overlaps with the meteoroid object.

Code snippet of checkCollision() inside the Star class:

// method to check for collisions with meteoroids
checkCollision(meteoroids) {
  for (let i = 0; i < meteoroids.length; i++) {
    let distX = this.position.x - meteoroids[i].position.x;
    let distY = this.position.y - meteoroids[i].position.y;
    let distance = sqrt(distX * distX + distY * distY);
    if (distance < this.size + meteoroids[i].radius) {
      return true; // collision detected
    }
  }
  return false; // no collision detected
}
//method to check for collisions with the rocket
checkCollisionRocket(other,music) {
  let distX = this.position.x - other.position.x;
  let distY = this.position.y - other.position.y;
  let distance = sqrt(distX * distX + distY * distY);
  if (distance < this.radius + other.radius) {
    metRocket = true;
    music.play()
  }
}

The while-loop that ensures generated star doesn’t collide with meteoroids:

//checking for collision with stars
while (collision) {
  starX = windowWidth + 100;
  starY = random(windowWidth * 0.125, windowWidth * 0.875);
  newStar = new Stars(starX, starY); // Regenerate star
  collision = newStar.checkCollision(meteoroids);
}
//adding the created new Star object to the array if it does not collide with any meteoroids
stars.push(newStar);

I was just so proud of this part of my project because I felt like this was the hardest part of my project. I think that the collision check that the stars have is way more complicated than the collision check that the meteoroids have, because the stars have to consider where would the meteoroids be placed and make sure that stars are not being generated there. I thought using a while-loop that only exists when a star object does not collide with the meteoroid for this part of coding was a very simple but wise decision.  Visual-wise, I just find my output so cute and gives that sense of childish wonder. So, I am very proud of my intuitions(?) to choose the images and fonts  I have utilized. Also, I am proud of the little details I added to this project such as the sound effects when the buttons are clicked or when the mission failed/succeded. While they are very subtle, I think they altogether enhanced the quality of my work. So, I am very satisfied with my output. 

Areas of improvement and problems that you ran into: 

In the future, I think I can improve the game by adding more features. For instance, I could make the player have multiple “lives” per session of the game to enable the player to easily succeed in the mission. I could maybe also consider enabling a two-player key mode, where two players “race” to reach Saturn first. I think it will be also interesting if I allow the player to choose the level of difficulty in the first place or choose the types of obstacles that the player will encounter (e.g. aliens, meteoroids, or shooting stars).

Other than this, there weren’t lots of problems that I ran into, and I was able to resolve these as well.  One of the biggest problems I encountered was to ensure that stars were generated in a random place that didn’t overlap with the meteoroids. 

However, I was able to solve this problem by using a while loop (further explanation is explained above) and the solution to this problem became my proudest part of the project. Another problem I encountered was a very mysterious problem that I still don’t get why it was solved. I tried to load images but it didn’t work out well. I first thought that I perhaps made some spelling mistakes or syntax errors when writing the code. But, it turns out that I didn’t make one. After a few minutes of debugging, I just duplicated the project itself. The duplicated project just loaded the images properly when I did not do anything after duplicating it. I honestly still don’t get why the problem was caused and how it was resolved only through “duplicating” the project. 

Overall

As usual, I loved working on this project. This project was very fun to create and it improved my coding skills. I am very satisfied with the outcome, but I think it could have been improved by adding more modes or features as I have mentioned above. 

Thank you so much for reading my blog post 🙂 


Midterm Project- Floral Frenzy!!

Project concept: “Floral Frenzy”

“Floral Frenzy” is a digital tribute to one of my favorite activities—picking flowers—which is a calm and fascinating experience that I share with my mom. This game attempts to capture the feeling of serenity and beauty that the act of picking and collecting flowers gives. It is inspired by the tranquil times spent in nature. In contrast to conventional fast-paced slicing games, “Floral Frenzy” offers players a more relaxing and pleasant gaming experience.

In “Floral Frenzy,” players take a virtual trip through a blossom garden, where they must pick flowers with care. Like the therapeutic experience of actually choosing flowers, every kind of flower and cut has a unique relaxing effect.

This project is a dedication to the peaceful and nature-connected moments that flower picking offers, rather than just a simple game. It’s intended for anyone looking for a break from the daily grind, providing a little peace and a reminder of the basic joys that nature has to give.

With “Floral Frenzy,” I hope to let players feel the calm serenity of floral beauty and to spread the joy and relaxation that comes from being surrounded by flowers.

Steps:

First I decided that I was going to start by coding the most basic functions of the game. Making ellipses that resembled the flowers and triangles that resembled the snails. The cursor poped/sliced the flowers.

After that, I gave these shapes functions and added the score system. Once I had the skeleton of my game, I incorporated the images, and sounds and worked on the aesthetics of the instruction and game over page.

Difficulties: 

I encountered a lot of challenges along the way. I don’t even want to think about how many hours this game took me to program. What matters is that in the end, it was worth it.

One of the most challenging parts of the game was to figure out the scoring system and the collisions. I spent quite a lot of time in the p5 library trying to figure out how this worked. Another quite challenging thing but it ended up simplifying a lot of my code was to add the GameObject class.

Using the GameObject class made my code much simpler as I didn’t have to write the same code repeatedly for each object in my game, such as snails and flowers. I just set up this class with the basics (speed, position…) After that, I used this blueprint every time I needed a new object, like a sunflower, and it already knew how to move and check to see if it went off the screen. Since all of those objects only need to be set up once in the GameObject class, they all share the same starting point and set of rules, which allowed me to save time and write cleaner code.

It was very exciting to figure out the game speed multiplier that I introduced in the GameObject class.

this.y += this.speed * speedMultiplier;

Getting the area of the basket to intercept the snail or flower image was challenging.

One last thing that was complicated was to add the bonuses (+2)points ellipses. I wanted to program that for every time the score reached 5 a +2 bonus appeared. The problem was that every time the game reached 5 it froze. Later on, every time it reached 5 a tone of +2 ellipses flooded the screen. It took me a while to figure out and achieve the balance.

Code that I am proud of: 

// Update and display each Bonus object
for (let i = bonuses.length - 1; i >= 0; i--) {
  bonuses[i].update();
  bonuses[i].display();

  // Remove the Bonus object if it goes off screen, is popped, or has been visible for more than 2 seconds
  if (millis() - bonuses[i].timestamp > 2000) { // Check if 2 seconds have passed since creation
    bonuses[i].toDelete = true; // Mark for deletion
  }

  if (bonuses[i].offScreen() || bonuses[i].toDelete) {
    bonuses.splice(i, 1); // Remove the Bonus object from the array
  }
}

// Generate Bonus objects when score is a multiple of 5 and no bonus is currently displayed
if (score % 5 === 0 && score !== 0 && bonuses.length === 0) {
  bonuses.push(new Bonus()); // Add a new Bonus object
}
function handleSunflower() {
  // Generate new Sunflower instances periodically
  if (frameCount % 60 === 0) { // Adjust according to your game's difficulty
    sunflower.push(new Sunflower()); // Use Sunflower class
  }

  // Update and display each sunflower
  for (let i = sunflower.length - 1; i >= 0; i--) {
    sunflower[i].update();
    sunflower[i].display();

    // Check if the sunflower goes off-screen
    if (sunflower[i].offScreen()) {
      gameOver = true;
      break;
    }
  }
}

GAME!! 

Future improvements: 

or future improvements of my game I would like that every time a flower is sliced there was a calm sound in the background. (scissors sound)

Another thing that I wanted to add but had no time for was that every X points a new background and a new flower would display. This would give the game more dynamism.

Evolution:

Final Result: 

Bibliography: 

https://p5js.org/es/reference/#/p5.PeakDetect/update

https://p5js.org/es/reference/#/p5/createButton

https://p5js.org/es/reference/#/p5.Score

https://p5js.org/es/reference/#/p5/keyIsPressed

https://p5js.org/es/reference/#/p5/pop

https://www.freepik.es/

Mid-Term Project: Star Chaser ˗ˏˋ ★ ˎˊ˗ by Aysha AlMheiri

Link to Sketch (Please Press Space Bar for it to be in Full Screen): https://editor.p5js.org/am.almh/full/7XY6Q1OrX

Before actually developing my game, my initial idea was to create  a Mario-inspired pac man game, in which Mario and Luigi go around a maze to collect stars while being chased by ghosts. In my eyes, the game would be a perfect blend of two retro games, creating a very nostalgic experience for users, particularly those who played both games growing up. However, as I was attempting to implement such a game in p5, I realized that such a project would be too advanced for my skill level and given the time constraints, I would not be able to create a fleshed out version of the game. 

Initial Game Design

After countless hours of thinking of another idea, I came up with a simple, yet exciting, game in which the player chases stars across the sketch in order to win the game, which is why I called the game, Star Chaser. Ultimately, the focus shifted into a much simpler game centered around chasing stars and avoiding shells, still retaining the essence of retro Nintendo games that I was initially going for. It ensured that even with the changes to the game I was creating, the main concept of classic Nintendo games remained prominent. Thus, while the project may have evolved from its original idea, the concept of celebrating retro Nintendo games still remains. 

Final Game Design 

In my game, Star Chaser,  players are able to control a Mario character using the arrows on the keyboard in order to collect stars and avoid incoming shells. The objective of the game is to catch all the stars within the given time limit, 30 seconds, trying to preserve Mario’s lives. Each time Mario gets hit by a shell, he loses one of his two lives. To win the game, the player must avoid the shells and achieve the maximum score of 60 points. This is done by maneuvering Mario around the sketch to collect all the stars. 

Screen 1- Landing Page

Screen 2- Instructions Page

Screen 3- Game Page

Screen 4- Win Page

Screen 5- Lose Page

The aspect of my project I am particularly proud of is the actual game design. Initially, it was incredibly difficult for me to get things to move for the game, set up the lives and scores board, and even simply get the character to move. Although we did discuss some of these things in class, it was still quite difficult to do it myself given the fact that as I was attempting to put the game together, there were a lot of bugs and errors that kept occurring. Due to the fact that this was my first time creating a game, I had to sit for hours trying to figure out what kept causing the errors. However, after countless hours of attempting to understand the root cause of the problems, I was able to figure out that it was due to the order of the code and wrongly declaring variables. Although this was frustrating, I am proud that I was able to fix this issue and implement somewhat smooth controls for the game, which can be seen in the code below: 

// Function to display the game screen
function gameScreen(){
// Sets background color to Green
  background('#92CA5B');
  
// Displays grass images
  //Right Side
  image(grass, 0, 0, 1500, 1800);
  //Left Side
   image(grass, 780, 0, 1500, 1800);
  
 // Displays stars
  for (let i = 0; i < stars.length; i++) { // Loop through stars array
    stars[i].display();
  }
  
 // Displays shells and handle their movement
   for (let i = 0; i < shells.length; i++) { // Loop through shells array
    shells[i].move(); //Moves Shells
    shells[i].bounce(); //Helps Shells Bounce around Sketch
    shells[i].display(); //Helps Display Shells on Sketch
  }
  
//Draws a Rectangle for Information Boxes on Top of Sketch
  //Right Box
  fill('rgba(255,255,255,0.83)');
  stroke('rgba(255,255,255,0.83)')
  rect(40, 35 , 370, 70, 20);
  
  //Left Box
  fill('rgba(255,255,255,0.83)');
  stroke('rgba(255,255,255,0.83)')
  rect(1030, 35 , 370, 70, 20);
  

// Ensures in-game music is looping
  if (!inGameMusic.isPlaying()) {
    inGameMusic.loop(); 
  }
  
// Ensures in-game music is playing
   if (!inGameMusic.isPlaying()) {
        inGameMusic.play();
    }
  
// Displays the Player's Score
  textFont("Mina");
  fill('black');
  stroke('white');
  strokeWeight(3);
  textSize(30);
  text('Points:', 58, 80);
  text(score, 168, 80);
  
// Displays the Player's Remaining Lives
  textFont("Mina");
  fill('black');
  stroke('white');
  strokeWeight(4);
  textSize(30);
  text('Lives:', 280,80 );
  text(lives, 370, 80);
  
// Calculates and display the remaining time
  landingTime = landingTime;
  
//Calculates the Game Time by Subtracting the Landing Time from the Current Total Time to then Converting the Results to Seconds by Dividing by 1000 and rounding down using the int() function.
  gameTime = int((totalTime-landingTime)/1000);
  
// Displays text indicating time remaining
  textFont("Mina");
  fill('black');
  stroke('white');
  strokeWeight(3);
  textSize(30);
  text('Time Remaining:', 1070, 80);
  
//Displays the calculated remaining time
  text(timeLimit - gameTime, 1316, 80);
  
//Game Outcomes
//If the score reaches 60 (maximum number of points) then the game will stop and take you to the win screen
  if (score>=60){
    inGameMusic.stop();
    gameStage = 3;
    winSong.play();
  }
  
//If lives reach 0 then the game will stop and take you to the lose screen
  if (lives<=0){
    inGameMusic.stop();
    gameStage = 4;
    loseSong.play();
  }
  
//If time reaches 0 then the game will stop and take you to the lose screen
  if (gameTime>=timeLimit){
    inGameMusic.stop();
    gameStage = 4;
    loseSong.play();
  }

// Arrow keys pressed to move the player accordingly
//Left Arrow
if (keyIsDown(LEFT_ARROW)) {
  playerDirection = -1; // Set direction to left
  p1X -= 12; // Move left
//Right Arrow
} else if (keyIsDown(RIGHT_ARROW)) {
  playerDirection = 1; // Set direction to right
  p1X += 12; // Move right
}
  
//Up Arrow
if (keyIsDown(UP_ARROW)) {
  p1Y -= 12; // Move up
} 
//Down Arrow
else if (keyIsDown(DOWN_ARROW)) {
  p1Y += 12; // Move down
}

// Moves the player within canvas boundaries
  p1X = constrain(p1X, pWidth / 2, width - pWidth / 2); // Constrain x position
  p1Y = constrain(p1Y, 0, height - pHeight); // Constrain y position


// Draws the image based on player direction
if (playerDirection === -1) {
  // Flips the image horizontally when moving left
  scale(-1, 1); // Flips horizontally
  image(mario, -p1X, p1Y, pWidth, pHeight); // Draws image
  scale(-1, 1); // Resets scale
} else {
  // Otherwise, draws the image normally
  image(mario, p1X, p1Y, pWidth, pHeight); // Draw image 
}

// Check for collision between player and stars
    for (let i = 0; i < stars.length; i++) {
        if (stars[i].checkCollision(p1X, p1Y, pWidth, pHeight)) {
            // Remove the collided star from the array
            stars.splice(i, 1);
            // Increase the score by 5 points
            score += 5;
        }
    }
   
}

Another aspect that I am proud of is the visual and auditory elements of the game. I have incorporated hand drawn elements and sound effects from different Mario games in order to create a holistic experience for users and immerse them into the nostalgic game I created. 

Hand Drawn Title 

I believe doing this successfully captured the concept of Nintendo games I was trying to showcase to users and offers users an engaging experience. The code for this can be seen below: 

//Helps transition back to the landing page when the button is pressed
  if (mouseX >= 580 && mouseX <= 910 && mouseY >= 500 && mouseY <= 695 && mouseIsPressed == true){
  //Moves to gameStage 0, which is landing page page
  gameStage = 0;
    
  //When button is pressed mainButtonSound will play
  mainButtonSound.play();
}

Example of Where I Used Audio in my Game

In terms of improvements, I feel like I can incorporate more audio and visual elements to create a more immersive experience. I could potentially add a loading or waiting screen in between the game and instruction screens to make the game design more comprehensive. I also could have added some form of computer vision. I feel like it would make the design complex and creative, which can make it an engaging, unique, and enjoyable experience for users.

In regards to problems, I feel like my main issue, although quite silly, is the sprite sheet. I could not find any sprite sheet online that worked well with my game concept. Although that is the case, I tried finding anything just so I could get started with my game design. When I found one that could work as a placeholder, p5 would not load the image onto the sketch. I kept getting an error message from p5. I then tried to draw my own sprite sheets, which also did not work on p5. This problem was very frustrating because it was essentially the most important element of the game. Therefore, I had to stick to using a singular image to help move the character around. The image was of the character facing the right. Thus, I  made the character flip horizontally when the left arrow key was pressed to add more movement to the character and the game experience as a whole.

Initial Sprite Sheet

Final Character Design

Overall, this project pushed me to learn more about p5 programming and how I am able to manipulate code to create what I wanted. This project, although difficult, was one of the most rewarding thing I have ever done. I am proud of how far I have come with p5 and I genuinely believe that this project shows my progress thus far.

Midterm Project – Rotten Rescue

Concept:

The initial concept of this game was to be something different and unusual of the games that we already see where the “good” item is collected and the bad item is supposed to be avoided. But since I am using apples, I decided to relate this a bit to physics and the Isaac Newton apple incident that led to him discovering gravity… This makes the game more interesting and leaves a chance to improve it and make it a bit educational as well.

Full screen display of the game: https://editor.p5js.org/jana_mohsen/full/jEKauH5OR

Game:


Design:

In this game, players maneuver a trash can to catch rotten apples while avoiding the clean ones. The game is structured into several screens: an introduction, instructions, the main game, and a game-over sequence. There are multiple classes used like the Apple Class that regulates both the types of apples, the Trashcan Class which ensures the moevments of the trashcan on the horizontal axis and lastly, the Bubbles Class which is just used to regulate the number, size and speed of apples that are being displayed in the game over page.

The most important part of the code are the functions for each page of the game. The (displayIntro()) function displays the introduction page, which greets with the player with the game title and a start button. Then the second function: (displayInstructions()) teaches the player the “how-to-play” guidelines, respectively, with options to start or proceed to the game. It also allows the player to input the game before starting to play.

During the active game phase, apples of two types—“clean” and “rotten”—descend from the screen’s top. Players control the trash can, moving it left or right to catch rotten apples while avoiding the clean ones. The game keeps score and includes a countdown timer, enhancing the challenge. It manages the player’s interaction with the game through the trash can’s movements when they press keys, allowing the player to move the trash can left or right to catch falling apples, facilitated by the trashCan.display() and trashCan.move() methods.

Within its cycle, runGame() also takes charge of spawning new apples at fixed intervals, alternating between “clean” and “rotten” types, which are then added to an array for tracking. As time progresses, it continuously updates the player’s score by incrementing by 10 based on the type of apples caught and counts down the game timer, implementing a sense of urgency and challenge. The function diligently checks for end-game scenarios, such as the depletion of the timer or accumulation of too many clean apples, transitioning to a game-over state if any conditions are met. Moreover, within this loop, each apple’s position is updated, and its status is checked to determine if it has been successfully caught by the trash can or missed. Apples that are caught or fall off the screen are removed from the gameplay loop, ensuring the game’s state remains current.

When the game ends, either from catching more than 2 clean apples or because the timer ended, the game trasitions to a game over page where the players final score appears. Finally, the game employs a “bubble” effect on the game-over screen for visual appeal, where bubbles generated by the createBubbles() function move around the screen.

Challenging part: 

The most interesting and challenging part of this game is creating the logic behind it. The rest is just assembling buttons, images and creating a nice aesthetic to the game.

function runGame() {
    inputName.hide();
  // Set Instruction.jpeg as the background
    image(imgInstructions, 0, 0, width, height); 

    trashCan.display();
    trashCan.move();
  // Displays score and timer at the top left
    displayScore(); 

    // Logic for apples falling and being collected or missed
    if (frameCount % 60 === 0) {
        let type = random(['clean', 'dirty']);
        apples.push(new Apple(type));
    }

    for (let i = apples.length - 1; i >= 0; i--) {
        apples[i].move();
        apples[i].display();

        if (apples[i].y + apples[i].size > trashCan.y && apples[i].x > trashCan.x && apples[i].x < trashCan.x + trashCan.width) {
            if (apples[i].type === 'dirty') {
                score += 10;
            } else {
                redApplesCollected++;
                if (redApplesCollected >= 3) {
                    currentPage = 'gameOver';
                  // Create bubbles for game over animation
                    createBubbles(20); 
                    break;
                }
            }
          // Remove collected or missed apple from array
            apples.splice(i, 1); 
        } else if (apples[i].y > height) {
          // Remove apple that falls off screen
            apples.splice(i, 1); 
        }
    }

    // Timer countdown and check for game over condition
    if (frameCount % 60 === 0 && gameTimer > 0) {
        gameTimer--;
    } else if (gameTimer === 0) {
        currentPage = 'gameOver'; // Time's up
        createBubbles(20); // Prepare game over screen
    }

    // Drawing and positioning Start Over and Back buttons
    drawGameButtons();
}

The main issue of the project was developing the logic for this game, which proved to be the most major challenge during development. The complex interactions between the various components of the game—like the falling apples, the moving garbage can, and the score system—needed to be carefully thought out and executed. To guarantee seamless gaming and compliance with the game’s regulations, the logic controlling the game’s behavior has to be strong and effective. In order to guarantee precise and reliable performance, handling edge circumstances such as identifying collisions between apples and the trash can or controlling the game’s timing required careful coding and testing.

The code consists of many parts. The trashcan is displayed and moved by the function in response to the players key press. It also shows the amount of game time left and updates the player’s score. The reasoning behind the apples falling is the most important aspect of the function. At regular intervals, it produces red apples, randomly classifying them as normal or rotten. The apple array is then iterated over, with each apple being moved and displayed as the program looks for collisions with the trash can. If an apple is detected, the apple is taken out of the array and the score is changed appropriately. On the other hand, if an apple is missed, it is removed, and if the player has missed too many and it is rotten, the game ends. Lastly, the function controls the game timer, which starts a countdown every second and enters the game over state when the allotted time is up. It also draws and arranges buttons so that you can go back to the main menu or resume the game. In order to create a compelling gaming experience, this function coordinates the interplay between game objects and player input, encapsulating the fundamental gameplay logic.

Limitations and improvements:

The game can have better ways to make it a bit competitive like adding a high score board to show the scores of all the players. Moreover, the amount of apples is random so it might be unfair between players since one can have 10 rotten apples and another only 5. All of these issues are seen as parts to be improved to make the game more appealing and competitive.

Game visuals: 

Introduction page:

Instructions page:

Game page:

Game over page:

Raya Tabassum: Midterm Project

Link to the fullscreen version

Concept: My midterm project is a game I’ve named “Gold Rush”. It’s inspired from the Super Mario games’ design. The game features a character Super Onion boy that the player controls to jump over and walk to dodge enemies and collect coins to increase their score. The main character, an adventurer with a knack for treasure hunting, traverses a dynamically scrolling landscape filled with gold coins for him to collect. The game introduces a unique enemy, the “GOMBA,” a mysterious creature with a purple body, tentacles, and light-flickering eyes, adding a layer of intrigue and challenge to the player’s journey. Dodging the enemy gains the player +5 points and collecting each coin gains them +10 points, and the score system is displayed on top of the screen while the game is playing. If the player collides with the enemy GOMBA, the game over screen appears and to play again – the player needs to press SHIFT key and the game will restart.

User Experience: The game is structured around a loop where the player’s character is continuously moving forward, with the background scrolling to simulate progression through the game world. This effect is achieved through an implementation of looping background images that reset once they scroll past the view, creating an endless moving landscape. The characters, including the player, the coin, and the enemy, are animated using sprites, which are sequences of images that create the illusion of motion when displayed in rapid succession.


One aspect of the project I’m particularly proud of is the collision detection mechanism. It’s designed to be both efficient and accurate enough for the game’s scope, using simple geometric shapes to approximate the player, coins, and enemies’ positions. This simplicity ensures the game runs smoothly without compromising the gameplay experience. Another highlight is the sound integration, which enhances the immersive experience of the game. The careful selection and timing of sound effects for jumping, collecting coins, and colliding with enemies add a layer of polish that elevates the overall game.

Areas for Improvement and Challenges: One area for improvement involves enhancing the game’s replay value. Currently, the game offers a straightforward challenge with a single level that repeats. Introducing varied levels with increasing difficulty with speed, diverse environments, and additional enemy types could significantly enhance the player’s experience and engagement. Implementing a power-up system or special abilities for the character could also add depth to the gameplay.

During development, one challenge encountered was ensuring that the game remained engaging over time. Initially, if the player missed a coin, it wouldn’t reappear, which could’ve led to a monotonous gameplay loop. This issue was addressed by adjusting the coin’s reinitialization logic to ensure it reappears regardless of whether it’s collected or missed, maintaining the game’s pace and challenge. Another technical hurdle was balancing performance with the visual richness of the game, particularly with sprite animation and background scrolling. Also to integrate the sound loops perfectly was hard at first but after fixing the code logic in different ways the desired results were received.

Full code for the game:

//GOLD RUSH BY RAYA TABASSUM

//CHARACTERS: SUPER ONION BOY, GOLD COIN, GOMBA THE ENEMY

//5 POINTS FOR AVOIDING THE ENEMY, 10 POINTS FOR COLLECTING THE COIN

// Preload function for loading assets before the game starts
let img, game_over_bg, sf, coin_sound, jump_sound, enemy_sound, pixel_font;
let xpos = 0, ypos = 0, x1 = 0, x2 = 1000, y = 0, x3 = 0, y2 = 0, score = 0, win = true;
let player, enemy, coin;

function preload() {
  img = loadImage("plt.png"); // Background image
  game_over_bg = loadImage("Gameover.png"); // Game over background image
  soundFormats('mp3', 'ogg'); // Specify the sound formats to use
  sf = loadSound("backgroundmusic.mp3"); // Background music
  coin_sound = loadSound("coin.mp3"); // Sound for collecting coins
  jump_sound = loadSound("jumping.mp3"); // Sound for jumping
  enemy_sound = loadSound("enemy_sound.mp3"); // Sound when colliding with an enemy
  pixel_font = loadFont("PixelFont.ttf"); // Custom font for text display
}

// Player class with properties and methods for the player character
class Player {
  constructor() {
    this.playerYOnGround = 550; // Y position of the player on the ground
    this.playerSize = 60; // Size of the player character
    this.bgGroundHeight = 45; // Height of the ground
    this.animationSlowDown = 8; // Slows down the animation frame rate
    this.width = 1000; // Width of the canvas
    this.jumpHeight = 0; // Current jump height
    this.jumpStrength = 0; // Current strength of the jump
    this.jumpStrengthMax = 5; // Maximum strength of the jump
    this.gravity = 0.1; // Gravity affecting the jump
    this.jumping = false; // Is the player jumping?
    this.playerImg = []; // Array to hold player images for animation
    this.numberPlayerImg = 6; // Number of player images
    this.playerImgIndex = 0; // Current index of the player image
    for (let i = 1; i <= 3; i++) {
      this.playerImg.push(loadImage(`guy-${i}.png`)); // Load player images
    }
  }

  initPlayer() {
    xpos = (this.width * 0.5) - (this.playerSize * 0.5); // Initialize player's horizontal position
    ypos = this.playerYOnGround; // Initialize player's vertical position
  }

  animatePlayer() {
    // Handle jumping logic
    if (this.jumping) {
      this.jumpStrength = (this.jumpStrength * 0.99) - this.gravity; // Apply gravity
      this.jumpHeight += this.jumpStrength; // Update jump height
      if (this.jumpHeight <= 0) {
        // Reset jump parameters if player is back on ground
        this.jumping = false;
        this.jumpHeight = 0;
        this.jumpStrength = 0;
      }
    }

    ypos = this.playerYOnGround - this.jumpHeight; // Update player's vertical position based on jump

    // Display the player image, use jumping image if jumping or animate otherwise
    if (this.jumping) {
      image(this.playerImg[0], xpos, ypos);
    } else {
      image(this.playerImg[this.playerImgIndex], xpos, ypos);
      // Animate player images
      if (frameCount % this.animationSlowDown === 0) {
        this.playerImgIndex = (this.playerImgIndex + 1) % 3;
      }
    }
  }
}

// Enemy class, inherits from Player and represents the enemy character
class Enemy extends Player {
  constructor() {
    super(); // Call the parent class constructor
    this.enemyImg = []; // Array to hold enemy images for animation
    for (let i = 1; i <= 3; i++) {
      this.enemyImg.push(loadImage(`enemy-${i}.png`)); // Load enemy images
    }
    this.enemyX = 800; // Initial horizontal position of the enemy
    this.enemyY = 460; // Initial vertical position of the enemy
    this.enemySize = 100; // Size of the enemy character
    this.enemyOnSky = random(250, 510); // Randomize enemy's vertical position
    this.enemyImgIndex = 0; // Current index of the enemy image
  }

  initEnemy() {
    this.enemyX -= 2; // Move the enemy horizontally
    this.enemyY = this.enemyOnSky; // Update the enemy's vertical position
  }

  animateEnemy() {
    // Display and animate the enemy character
    image(this.enemyImg[this.enemyImgIndex], this.enemyX, this.enemyY, this.enemySize, this.enemySize);
    this.enemyX -= 1; // Move the enemy horizontally
    this.initEnemy(); // Re-initialize the enemy position
    if (frameCount % this.animationSlowDown === 0) {
      this.enemyImgIndex = (this.enemyImgIndex + 1) % 3; // Animate enemy images
    }

    // Reset enemy position and increase score when it moves off-screen
    if (this.enemyX <= 0) {
      this.enemyX = 1000;
      this.enemyOnSky = random(250, 510);
      this.initEnemy();
      score += 5; // Increase score
    }

    // Check for collision with the player
    if (dist(this.enemyX, this.enemyY, xpos, ypos) <= (this.playerSize / 2 + this.enemySize / 2)) {
      win = false; // End the game if collision detected
      if (!enemy_sound.isPlaying()) {
        if (sf.isPlaying()) {
            sf.stop(); // Stop the background music
        }
        enemy_sound.loop(); // Play the enemy sound on loop
      }
    }
  }
}

// Coin class, inherits from Player and represents collectible coins
class Coin extends Player {
  constructor() {
    super(); // Call the parent class constructor
    this.coinImg = []; // Array to hold coin images for animation
    for (let i = 1; i <= 5; i++) {
      this.coinImg.push(loadImage(`coin-${i}.png`)); // Load coin images
    }
    this.coinX = 800; // Initial horizontal position of the coin
    this.coinY = 460; // Initial vertical position of the coin
    this.coinSize = 48; // Size of the coin
    this.coinImgIndex = 0; // Current index of the coin image
  }

  initCoin() {
    this.coinX = width; // Place the coin at the edge of the screen
    this.coinY = random(250, 510); // Randomize the coin's vertical position
  }

  animateCoin() {
    // Display and animate the coin
    image(this.coinImg[this.coinImgIndex], this.coinX, this.coinY, this.coinSize, this.coinSize);
    this.coinX -= 1; // Move the coin horizontally
    if (frameCount % this.animationSlowDown === 0) {
      this.coinImgIndex = (this.coinImgIndex + 1) % 5; // Animate coin images
    }

    // Check if the coin has been collected
    if (dist(this.coinX, this.coinY, xpos, ypos) <= (this.playerSize / 2 + this.coinSize / 2)) {
      this.initCoin(); // Re-initialize the coin position for it to reappear again
      score += 10; // Increase score
      if (!coin_sound.isPlaying()) {
        coin_sound.play(); // Play the coin collection sound
      }
    }
    // Check if the coin has moved off the left edge of the screen without being collected
    else if (this.coinX < 0) {
      this.initCoin(); // Re-initialize the coin position for it to reappear again
    }
  }
}

function setup() {
  createCanvas(1000, 750); // Set up the canvas
  if (!sf.isPlaying()) {
    sf.loop(); // Loop the background music if not already playing
  }
  player = new Player(); // Instantiate the player
  enemy = new Enemy(); // Instantiate the enemy
  coin = new Coin(); // Instantiate the coin
  player.initPlayer(); // Initialize the player
  coin.initCoin(); // Initialize the coin
  enemy.initEnemy(); // Initialize the enemy
}

function draw() {
  background(220); // Set the background color
  image(img, x1, y); // Draw the background image twice for a scrolling effect
  image(img, x2, y);
  x1 -= 1; // Move the background images to create a scrolling effect
  x2 -= 1;
  if (x1 <= -1000) { // Reset the background images positions for continuous scrolling
    x1 = 1000;
  }
  if (x2 <= -1000) {
    x2 = 1000;
  }

  // Animate player, coin, and enemy
  player.animatePlayer();
  coin.animateCoin();
  enemy.animateEnemy();
  
  // Display the score and instructions
  textSize(25);
  textFont(pixel_font);
  fill(255, 215, 0);
  text(`Score: ${score}`, 450, 100);
  text("Use UP Key to Jump", 375, 25);
  textSize(20);
  text("Collect the coins and avoid hitting the enemy!", 250, 45);

  if (!win) {
    image(game_over_bg, x3, y2); // Display the game over background
    textSize(30);
    text("Press SHIFT Key to Play Again", 285, 25);
    //noLoop(); // Stop the draw loop
  }
}

function keyPressed() {
  // Jump when UP key is pressed
  if (keyCode === UP_ARROW && win) {
    player.jumping = true; // Enable jumping
    if (!jump_sound.isPlaying()) {
      jump_sound.play(); // Play jump sound
    }
    player.jumpStrength = player.jumpStrengthMax; // Set jump strength to maximum
  }

  // Reset game when SHIFT key is pressed after losing
  if (keyCode === SHIFT && !win) {
    win = true; // Reset game status
    score = 0; // Reset score
    if (enemy_sound.isPlaying()) {
        enemy_sound.stop(); // Stop the enemy sound if playing
    }
    loop(); // Resume the draw loop
    setup(); // Reinitialize game setup
  }
}


Midterm – Hamdah AlSuwaidi

Recently, I had the opportunity to visit The Metropolitan Museum of Art (The MET) and was truly inspired by the diverse and rich history encapsulated within its walls. This visit sparked an idea in me to design an exhibit for The MET’s Costume Institute, focusing on the evolution of haute couture through iconic designs from renowned fashion houses. My midterm, aims to showcase the enduring allure and innovation of haute couture, highlighting how designers have redefined beauty and style over the decades.


By focusing on the individual stories that each garment tells about its era, the exhibit aims to provide a rich, textual narrative that captures the essence and evolution of haute couture across different periods.

Interactive elements, such as clickable images that reveal the history and significance of each piece, are integral to the exhibit. These features are designed to engage users, encouraging them to delve deeper into each garment’s story and understand its place within the broader narrative of fashion history.

let titleSize = 40;
let subtitleSize2 = 20;
let subtitleSize = 10;
let  bg, bg2;
let dress1, dress1Zoom1, dress1Zoom2, dress1Zoom3, dress1Zoom4, dress1Zoom5;
let dress2, dress2Zoom1, dress2Zoom2, dress2Zoom3, dress2Zoom4;
let dress3, dress3Zoom1, dress3Zoom2, dress3Zoom3;
let dress4, dress4Zoom1, dress4Zoom2, dress4Zoom3, dress4Zoom4;
let dress5, dress5Zoom1, dress5Zoom2, dress5Zoom3, dress5Zoom4, dress5Zoom5;
let dress6, dress6Zoom1, dress6Zoom2, dress6Zoom3, dress6Zoom4;
let scene = "main"; // Start with the exhibit scene
let bgsound;


function preload() {
  bgsound = loadSound('bgsoundfile.mp3')
  bg = loadImage('bg.jpeg');
  bg2 = loadImage('fullscreen.png'); // The fullscreen image for the exhibit
  //dress1
  dress1 = loadImage('dress1.png');
  dress1Zoom1 = loadImage('dress1Zoom1.png');
  dress1Zoom2 = loadImage('dress1Zoom2.png');
  dress1Zoom3 = loadImage('dress1Zoom3.png');
  dress1Zoom4 = loadImage('dress1Zoom4.png');
  dress1Zoom5 = loadImage('dress1Zoom5.png');
  //dress2
  dress2 = loadImage('dress2.png');
  dress2Zoom1 = loadImage('dress2Zoom1.png');
  dress2Zoom2 = loadImage('dress2Zoom2.png');
  dress2Zoom3 = loadImage('dress2Zoom3.png');
  dress2Zoom4 = loadImage('dress2Zoom4.png');
  //dress3
  dress3 = loadImage('dress3.png');
  dress3Zoom1 = loadImage('dress3Zoom1.png');
  dress3Zoom2 = loadImage('dress3Zoom2.png');
  dress3Zoom3 = loadImage('dress3Zoom3.png');
  //dress4
  dress4 = loadImage('dress4.png');
  dress4Zoom1 = loadImage('dress4Zoom1.png');
  dress4Zoom2 = loadImage('dress4Zoom2.png');
  dress4Zoom3 = loadImage('dress4Zoom3.png');
  dress4Zoom4 = loadImage('dress4Zoom4.png');
  //dress5
  dress5 = loadImage('dress5.png');
  dress5Zoom1 = loadImage('dress5Zoom1.png');
  dress5Zoom2 = loadImage('dress5Zoom2.png');
  dress5Zoom3 = loadImage('dress5Zoom3.png');
  dress5Zoom4 = loadImage('dress5Zoom4.png');
  dress5Zoom5 = loadImage('dress5Zoom5.png');
  //dress6
  dress6 = loadImage('dress6.png');
  dress6Zoom1 = loadImage('dress6Zoom1.png');
  dress6Zoom2 = loadImage('dress6Zoom2.png');
  dress6Zoom3 = loadImage('dress6Zoom3.png');
  dress6Zoom4 = loadImage('dress6Zoom4.png');
  
}
function setup() {
  createCanvas(720, 400);
  textSize(titleSize);
  textAlign(CENTER, CENTER);
   bgsound.loop();
  
}
function draw() {
  
  if (scene === "main") {
    drawMainScene();
  } else if (scene === "exhibit") {
    drawExhibitScene();
  } else if (scene.startsWith("zoomedInDress")) {
    drawZoomedScene();
  } bgsound.play();
  
}
function drawMainScene() {
  background(bg);
  noStroke();
  fill(0);
  textSize(titleSize);
  text("THE MET", width / 3 + 120, height / 3 - 80);
  textSize(subtitleSize2);
  text("THE COSTUME INSTITUTE", width / 2, height / 2 - 110);
  fill(0);
  textSize(subtitleSize);
  text("Touch the start button to begin!", width / 2, height / 2 - 80);
  // Start Button
  fill(255);
  rect(width / 2 - 50, height / 2 + 50, 100, 40, 10);
  fill(0);
  textSize(16);
  text("Start", width / 2, height / 2 + 70);
}
function drawExhibitScene() {
  background(bg2); // Use the fullscreen image as the background for the exhibit
  // Back Button, only show if we're not in the initial exhibit scene
  fill(255); // White color
  rect(20, 20, 60, 30, 10);
  fill(0); // Black color
  textSize(16);
  text("Back", 50, 35);
}
function drawZoomedScene() {
  let zoomedImage;
  switch (scene) {
    case "zoomedInDress1_1":
      zoomedImage = dress1Zoom1;
      break;
    case "zoomedInDress1_2":
      zoomedImage = dress1Zoom2;
      break;
    case "zoomedInDress1_3":
      zoomedImage = dress1Zoom3;
      break;
    case "zoomedInDress1_4":
      zoomedImage = dress1Zoom4;
      break;
    case "zoomedInDress1_5":
      zoomedImage = dress1Zoom5;
      break;
    case "zoomedInDress2_1":
      zoomedImage = dress2Zoom1;
      break;
    case "zoomedInDress2_2":
      zoomedImage = dress2Zoom2;
      break;
    case "zoomedInDress2_3":
      zoomedImage = dress2Zoom3;
      break;
    case "zoomedInDress2_4":
      zoomedImage = dress2Zoom4;
      break;
    case "zoomedInDress3_1":
      zoomedImage = dress3Zoom1;
      break;
    case "zoomedInDress3_2":
      zoomedImage = dress3Zoom2;
      break;
    case "zoomedInDress3_3":
      zoomedImage = dress3Zoom3;
      break;
    case "zoomedInDress4_1":
      zoomedImage = dress4Zoom1;
      break;
    case "zoomedInDress4_2":
      zoomedImage = dress4Zoom2;
      break;
    case "zoomedInDress4_3":
      zoomedImage = dress4Zoom3;
      break;
    case "zoomedInDress4_4":
      zoomedImage = dress4Zoom4;
      break;
    case "zoomedInDress5_1":
      zoomedImage = dress5Zoom1;
      break;
    case "zoomedInDress5_2":
      zoomedImage = dress5Zoom2;
      break;
    case "zoomedInDress5_3":
      zoomedImage = dress5Zoom3;
      break;
    case "zoomedInDress5_4":
      zoomedImage = dress5Zoom4;
      break;
    case "zoomedInDress5_5":
      zoomedImage = dress5Zoom5;
      break; 
    case "zoomedInDress6_1":
      zoomedImage = dress6Zoom1;
      break;
    case "zoomedInDress6_2":
      zoomedImage = dress6Zoom2;
      break;
    case "zoomedInDress6_3":
      zoomedImage = dress6Zoom3;
      break;
    case "zoomedInDress6_4":
      zoomedImage = dress6Zoom4;
      break;  
  }
  background(zoomedImage); // Display the zoomed-in image on full canvas
  // Back Button
  fill(255); // White color
  rect(20, 20, 60, 30, 10);
  fill(0); // Black color
  textSize(16);
  text("Back", 50, 35);
}
function mouseClicked() {
   if (!bgsound.isPlaying()) { // Check if the sound is not already playing
    bgsound.loop(); // Start playing the sound
  }
 
  if (scene === "main") {
    // If the Start button is clicked, change to the exhibit scene
    if (mouseX > width / 2 - 50 && mouseX < width / 2 + 50 && mouseY > height / 2 + 50 && mouseY < height / 2 + 90) {
      scene = "exhibit";
      
    }
  } else if (scene === "exhibit") {
    // Check if the click is within the back button's coordinates
    if (mouseX > 20 && mouseX < 80 && mouseY > 20 && mouseY < 50) {
      scene = "main";
     
    }
    // Check if the click is within Dress1's designated area
    else if (mouseX > 148 && mouseX < 228 && mouseY > 43 && mouseY < 149) {
      scene = "zoomedInDress1_1";
     
    }
    // Check if the click is within Dress2's designated area
    else if (mouseX > 325 && mouseX < 405 && mouseY > 44 && mouseY < 149) {
      scene = "zoomedInDress2_1";
      
    }
    //  Check if the click is within Dress3's designated area
    else if (mouseX > 450 && mouseX < 580 && mouseY > 44 && mouseY < 149) {
      scene = "zoomedInDress3_1";
      
    }
    //  Check if the click is within Dress4's designated area
    else if (mouseX > 148 && mouseX < 229 && mouseY > 203 && mouseY < 308) {
      scene = "zoomedInDress4_1";
      
    }
    //  Check if the click is within Dress5's designated area
    else if (mouseX > 323 && mouseX < 406 && mouseY > 201 && mouseY < 309) {
      scene = "zoomedInDress5_1";
      
    }
    //  Check if the click is within Dress6's designated area
    else if (mouseX > 450 && mouseX < 580 && mouseY > 201 && mouseY < 307) {
      scene = "zoomedInDress6_1";
      
 
    }
    
  } else if (scene.startsWith("zoomedInDress")) {
    // If the Back button is clicked in a zoomed-in scene, go back to the exhibit
    if (mouseX > 20 && mouseX < 80 && mouseY > 20 && mouseY < 50) {
      scene = "exhibit";
  
    } else {
      // Cycle through the zoomed-in images
      let parts = scene.split('_');
      let dressNum = parts[0].replace("zoomedInDress", "");
      let zoomLevel = parseInt(parts[1]);
      zoomLevel = zoomLevel >= 4 ? 1 : zoomLevel + 1; // Loop back after the last image for dress1 and dress2
      if(dressNum === "3" && zoomLevel > 3) zoomLevel = 1; // Since dress3 has only 3 zoom levels
      scene = `zoomedInDress${dressNum}_${zoomLevel}`;
    }
  }
}


Midterm & Midterm documentation – Shereena AlNuaimi

Catch The Dates

Why not use the “Fruit Ninja” game, which I spent years of my childhood playing, serve as the inspiration for this minigame? With little consideration, “Catch the dates” turned into a mini game.

Dates and explosives will begin to fall from the NYUAD  palm trees that serve as the game’s backdrop as soon as you begin playing. The objective is to avoid receiving a score of zero or below. The player can score two points on dates, but their score will be reduced by three if they catch the bomb in the basket.

One thing that I’m most proud of is the game itself as a whole. Being an extremely indecisive person, it was hard for me to just stick with one idea. However, with careful consideration I came to being excited to code this small game itself while including a part of my childhood in it while embedding culture and symbolizing the UAE’S culture and heritage by using dates instead of fruits.

One challenge I have encountered when coding this midterm, was the basket leaving a trace at the bottom as well as the background being not too flexible with height and fit on the screen.

However, I solved that issue with adjusting the image width and height in order to fit perfectly. 

In conclusion, this midterm really made me step out of my comfort zone. In reality I am not too proud of the work that I achieve nor do I like to share it, however, with this course, I was able to achieve that and step out of my comfort zone a little bit and be proud of the work I have accomplished especially when creating this little game. 

// Declare variables
let titleSize = 35
let bg;
let basketImg;
let dates = [];
let bombs = [];
let score = 0;
let gameStarted = false;
let gameOver = false;
let basket;
let basketScale = 0.5; // Adjust basket scale
let basketSpeed = 7;
let nextDateFrame = 0; // Frame count for next date
let nextBombFrame = 0; // Frame count for next bomb
let scoreBoxWidth = 200; // Width of score box
let scoreBoxHeight = 50; // Height of score box

// Preload images
function preload() {
  bg = loadImage('palm trees.png');
  basketImg = loadImage('basket.png');
}

// Setup canvas and game state
function setup() {
  createCanvas(800, 800); // Larger canvas size
  textAlign(RIGHT, TOP);
  textSize(24);
  resetGame();
}

// Reset game state
function resetGame() {
  score = 0;
  gameStarted = false;
  gameOver = false;
  dates = [];
  bombs = [];
  basket = createVector(width / 2, height - basketImg.height * basketScale); // Adjusted basket size
  nextDateFrame = 0; // Reset frame count for next date
  nextBombFrame = 0; // Reset frame count for next bomb
}
// Main game loop
function draw() {
  // Display background
  image(bg, 0, 0,width *1.5 , height*1.5);

  // Display instructions if game not started
  if (!gameStarted) {
    displayInstructions();
    return;
  }

  // Display game over screen if game is over
  if (gameOver) {
    displayGameOver();
    return;
  }
  
  // Display basket
  image(basketImg, basket.x, basket.y, basketImg.width * basketScale, basketImg.height * basketScale); // Adjusted basket size

  // Move basket continuously when arrow keys are held down
  if (keyIsDown(LEFT_ARROW) && basket.x > 0) {
    basket.x -= basketSpeed;
  }
  if (keyIsDown(RIGHT_ARROW) && basket.x < width - basketImg.width * basketScale) {
    basket.x += basketSpeed;
  }
  
  // Move and display dates
  if (frameCount >= nextDateFrame) {
    let date = new FallingObject('dates');
    dates.push(date);
    nextDateFrame = frameCount + int(random(120, 240)); // Randomize next date appearance
  }
  for (let date of dates) {
    date.move();
    date.display();
    if (date.checkCollision(basket.x, basket.y, basketImg.width * basketScale, basketImg.height * basketScale)) {
      date.reset();
      score += 2;
    }
  }

  // Move and display bombs
  if (frameCount >= nextBombFrame) {
    let bomb = new FallingObject('bomb');
    bombs.push(bomb);
    nextBombFrame = frameCount + int(random(120, 240)); // Randomize next bomb appearance
  }
  for (let bomb of bombs) {
    bomb.move();
    bomb.display();
    if (bomb.checkCollision(basket.x, basket.y, basketImg.width * basketScale, basketImg.height * basketScale)) {
      bomb.reset();
      score -= 3;
      if (score <= 0) {
        score = 0;
        gameOver = true;
      }
    }
  }

  // Display score
  fill(0, 0, 255);
  rect(width - scoreBoxWidth, 0, scoreBoxWidth, scoreBoxHeight);
  fill(255);
  textAlign(RIGHT, TOP);
  text(`Score: ${score}`, width - 10, 10);
}


// Handle key presses
function keyPressed() {
  // Start game on spacebar press
  if (!gameStarted && key === ' ') {
    gameStarted = true;
  }

  // Reset game on 'r' press
  if (gameOver && key === 'r') {
    resetGame();
  }
}

// Display game instructions
function displayInstructions() {
  fill(255);
  stroke(2);
  strokeWeight(5);
  textSize(titleSize);
  text("CATCH THE DATES", width/2 +190, height/2 -150);
  fill(255);
  text('Instructions:',width / 2 +120 , height / 2 -90);
  text('Use arrow keys to move the basket',width / 2 + 300 , height / 2 -40);
  text('Catch dates to score points',width / 2 + 250 , height / 2);
  text('Avoid bombs',width / 2 + 120 , height / 2 + 40);
  text('Press space to start',width / 2 + 180 , height / 2 + 80);
}

// Display game over screen
function displayGameOver() {
  fill(255, 0, 0);
  triangle(width / 2, height / 2 - 100, width / 2 - 150, height / 2 + 150, width / 2 + 150, height / 2 + 150);
  fill(255);
  textAlign(CENTER, CENTER);
  textSize(25);
  stroke(1);
  strokeWeight(3);
  text('Game Over!', width / 2, height / 2 + 30);
  text('Press "r" to play again', width / 2, height / 2 +  118);
}

// FallingObject class
class FallingObject {
  constructor(type) {
    this.x = random(width);
    this.y = -50;
    this.speed = random(2.5, 3.5); // Adjusted speed
    this.type = type;
    this.image = loadImage(`${type}.png`);
  }

  // Move the falling object
  move() {
    this.y += this.speed;
    if (this.y > height) {
      this.reset();
    }
  }

  // Display the falling object
  display() {
    image(this.image, this.x, this.y, 50, 50);
  }

  // Reset the falling object's position
  reset() {
    this.x = random(width);
    this.y = -50;
    this.speed = random(2.5, 3.5); // Adjusted speed
  }

  // Check for collision with another object
  checkCollision(objX, objY, objWidth, objHeight) {
    return this.x > objX && this.x < objX + objWidth && this.y > objY && this.y < objY + objHeight;
  }
}


Pi Midterm : The Deal

(Instructions : If you have a guitar, you can plug in your guitar and play the game. However, without a guitar, you can play with arrow keys. More instructions inside the game.)

Pi’s P5 Midterm : https://editor.p5js.org/Pi-314159/full/FCZ-y0kOM
If something goes wrong with the link above, you can also watch the full gameplay below.

Overall Concept

The Deal is a highly cinematic cyberpunk narrative I am submitting as my midterm project.

Meet Pi, the devil’s engineer, in a world where technology rules and danger lurks in every shadow. After receiving a mysterious call from a woman offering a lucrative but risky job., he’s plunged into a world of corporate espionage over brain-controlled robots.

The inspiration for this comes from my daily life, where I have to deal with tech clients, and … yes I actually do Brain controlled robots in my lab, you scan the brain waves through electroencephalogram (EEG) and use that feed that signal through a neural network to translate to robot movements. It’s in very early stage, but it is moving.

How the project works

The game is supposed to be played with the guitar. In fact, it is to be used not as a game, but as a storytelling tool by a guitar playing orator to a live audience. Below is the demonstration of the game.

A number of tools and a not so complicated workflow is used to create this game in a week. The full workflow is illustrated below.

For a midterm project, the project is rather huge. I have 16 individual Javascript Modules working together to run the player, cinematics, background music, enemies, rendering and parallax movements. Everything is refactered into classes for optimization and code cleanliness. For example, my Player class begins as follows.

class Player {
  constructor(scene, x, y, texture, frame) {
    // Debug mode flag
    this.debugMode = false;
    this.debugText = null; // For storing the debug text object
    this.scene = scene;
    this.sprite = scene.matter.add.sprite(x, y, texture, frame);
    this.sprite.setDepth(100);
    // Ensure sprite is dynamic (not static)
    this.sprite.setStatic(false);

    // Setup animations for the player
    this.setupAnimations();

    // Initially play the idle animation
    this.sprite.anims.play("idle", true);

    // Create keyboard controls
    this.cursors = scene.input.keyboard.createCursorKeys();

    // Player physics properties
    this.sprite.setFixedRotation(); // Prevents player from rotating

    // Modify the update method to broadcast the player's speed
    this.speed = 0;

    this.isJumpingForward = false; // New flag for jump_forward state

    // Walking and running
    this.isWalking = false;
    this.walkStartTime = 0;
    this.runThreshold = 1000; // milliseconds threshold for running
    // Debugging - Enable this to see physics bodies
  }

  //Adjust Colors
  // Set the tint of the player's sprite
  setTint(color) {
    this.sprite.setTint(color);
  }

What I am proud of

I am super proud that I was able to use a lot of my skills in making this.

For almost all the game resources, including the soundtrack, I either created it myself or generated it through AI, then plugged into the rest of the workflow for final processing. Here, in the image above, you can see me rigging and animating a robot sprite in Spine2D, where the original 2D art is generated in Midjourney.

Problems I ran Into

During the testing, everything went well. But during the live performance, my character got confused between moving left and moving right. When I played guitar notes for the character to move left, it moved right instead . This is because I declared the key mappings from the fft (Fast Fourier Transform) signal as frequency bands, which maps to right and left arrow keys accordingly.

In theory, it should work, but in practice, as in diagram below, once the left key mapping stops, the signal inadvertently passes through the right key mapping region (due to not having an exact vertical slope), causing unintentional right key presses.

I had to resort to the fft-> keymapping workflow since I cannot directly access the javascript runtime through my external C++ fft program. However, had the game been implemented as a native game (i.e. using Unity,Godot), then I can directly send unique UDP commands instead of keymapping regions. This would resolve the issue.

Rubric Checklist :

  • Make an interactive artwork or game using everything you have learned so far (This is an interactive Game)
  • Can have one or more users (A single player game, with the player acting as the storyteller to a crowd)
  • Must include

At least one shape

The “BEGIN STORY” button is a shape, in order to fulfill this requirement. Everything else are images and sprites.

At least one image

We have a whole lot of images and Easter Eggs. The graphics are generated in Midjourney, and edited in Photoshop.

At least one sound

Pi composed the original soundtrack for the game. It is in A minor pentatonic for easy improvisation over it. In addition there are also loads of ambience sounds. 

For the prologue monologue, I used this : https://youtu.be/Y8w-2lzM-C4

At least one on-screen text

We got voice acting and subtitles.

Object Oriented Programming

Everything is a class. We have 18 Classes in total to handle many different things, from Cinematics to Data Preloader to Background Music Manager to Parallax Background Management. Below is the Cinematic implementation.

class Cinematic {
  constructor(scene, cinematicsData, player) {
    this.scene = scene;
    this.cinematicsData = cinematicsData;
    this.player = player; // Store the player reference
    this.currentCinematicIndex = 0;
    this.subtitleText = null;
    this.isCinematicPlaying = false;
    this.collidedObject = null;
    this.lastSpawnSide = "left"; // Track the last spawn side (left or right)
    // Game objects container
    this.gameObjects = this.scene.add.group();
    this.phonecallAudio = null; // Add this line
  }

  create() {
    // Create the text object for subtitles, but set it to invisible
    this.subtitleText = this.scene.add
      .text(this.scene.scale.width / 2, this.scene.scale.height * 0.5, "", {
        font: "30px Arial",
        fill: "#FFFFFF",
        align: "center",
      })
      .setOrigin(0.5, 0.5)
      .setDepth(10000)
      .setVisible(false);

    // Setup collision events
    this.setupCollisionEvents();
  }

  executeAction(action) {
    switch (action) {
      case "phonecall":
        console.log("Executing phone call action");
        // Play the 'nokia' audio in a loop with a specified volume
        if (!this.phonecallAudio) {
          this.phonecallAudio = this.scene.sound.add("nokia", { loop: true });
          this.phonecallAudio.play({ volume: 0.05 });


  • The experience must start with a screen giving instructions and wait for user input (button / key / mouse / etc.) before starting (The main menu waits for the user click)
  • After the experience is completed, there must be a way to start a new session (without restarting the sketch) (After the story, it goes back to main menu)

Interaction design (is clear to user what they are controlling, discoverability, use of signifiers, use of cognitive mapping, etc.)

(We have a super simple Keyboard or Guitar input instructions)


Assignment 4: UAE Population Map Visualization

For this week’s assignment, we were tasked with either making some sort of data visualization, or creating a generative text output. I decided to make a visualization of the population of some of the major cities of the UAE on a map of the country.

I started by retrieving a map of UAE from Google Images, uploading it to my sketch, then loading it in the setup and resizing it to fit my canvas. To obtain the canvas coordinates of each city I used the following function to print mouse location to the console (which I commented out in the final sketch):

print(mouseX, mouseY);

Afterwards, I used ChatGPT to obtain an estimate of each city’s population (to save time) along with the coordinates I obtained earlier to create an array with each city’s position and population:

let cities = [
  { name: "Abu Dhabi", x: 440, y: 240, population: "1,480,000" },
  { name: "Al Ain", x: 625, y: 285, population: "656,000" },
  { name: "Madinat Zayed", x: 333, y: 335, population: "10,000" },
  { name: "Dubai", x: 575, y: 150, population: "3,380,000" },
  { name: "Sharjah", x: 600, y: 135, population: "1,400,000" },
  { name: "Khor Fakkan", x: 730, y: 140, population: "33,575" },
  { name: "Ajman", x: 610, y: 130, population: "500,000" },
  { name: "Fujairah", x: 720, y: 170, population: "230,000" },
  { name: "Dibba Al Hisn", x: 720, y: 105, population: "26,395" },
  { name: "Umm Al Quwain", x: 620, y: 115, population: "80,000" },
  { name: "Ras Al Khaimah", x: 670, y: 85, population: "350,000" },
  { name: "Ar Rams", x: 690, y: 70, population: "16,000" }
];

Instead of a traditional for loop, I used a forEach loop that I had seen online to draw a point for each location in the array and display the population when the user’s mouse hovers on each point, and this was my final result:

Looking to the future, I guess I could use a better map and add more cities with more accurate population estimates.