
For this assignment, I wanted to create a visual experience inspired by orange, purple, pink, and yellow club lights:
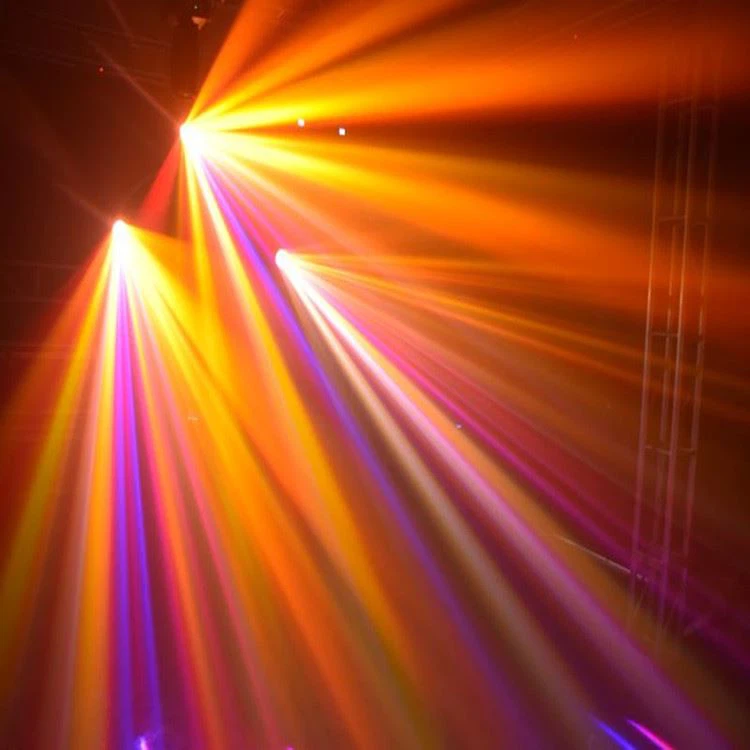
I love how the lights all stem from one source, but I did not want to limit myself to that, so I thought I could create some sort of tridimensional effect with trailing that could better represent the “feeling” of experiencing those club lights.
So I created a line class and made 10 lines (with bezier curves) that all begin at (0,0) with varying speeds. I also lowered the background alpha to 10, as transparency allows for trails, which I wanted in order to create this dynamic effect. I tried multiple shapes, but ended up opting for bezier curves. The points for the bezier curves all follow the same line, which is why there is no “curve” per se. However, the movement of the bezier curves looked much nicer than that of the lines, which is why I chose that. The bezier curves also emphasized the 3D effect better than the lines.
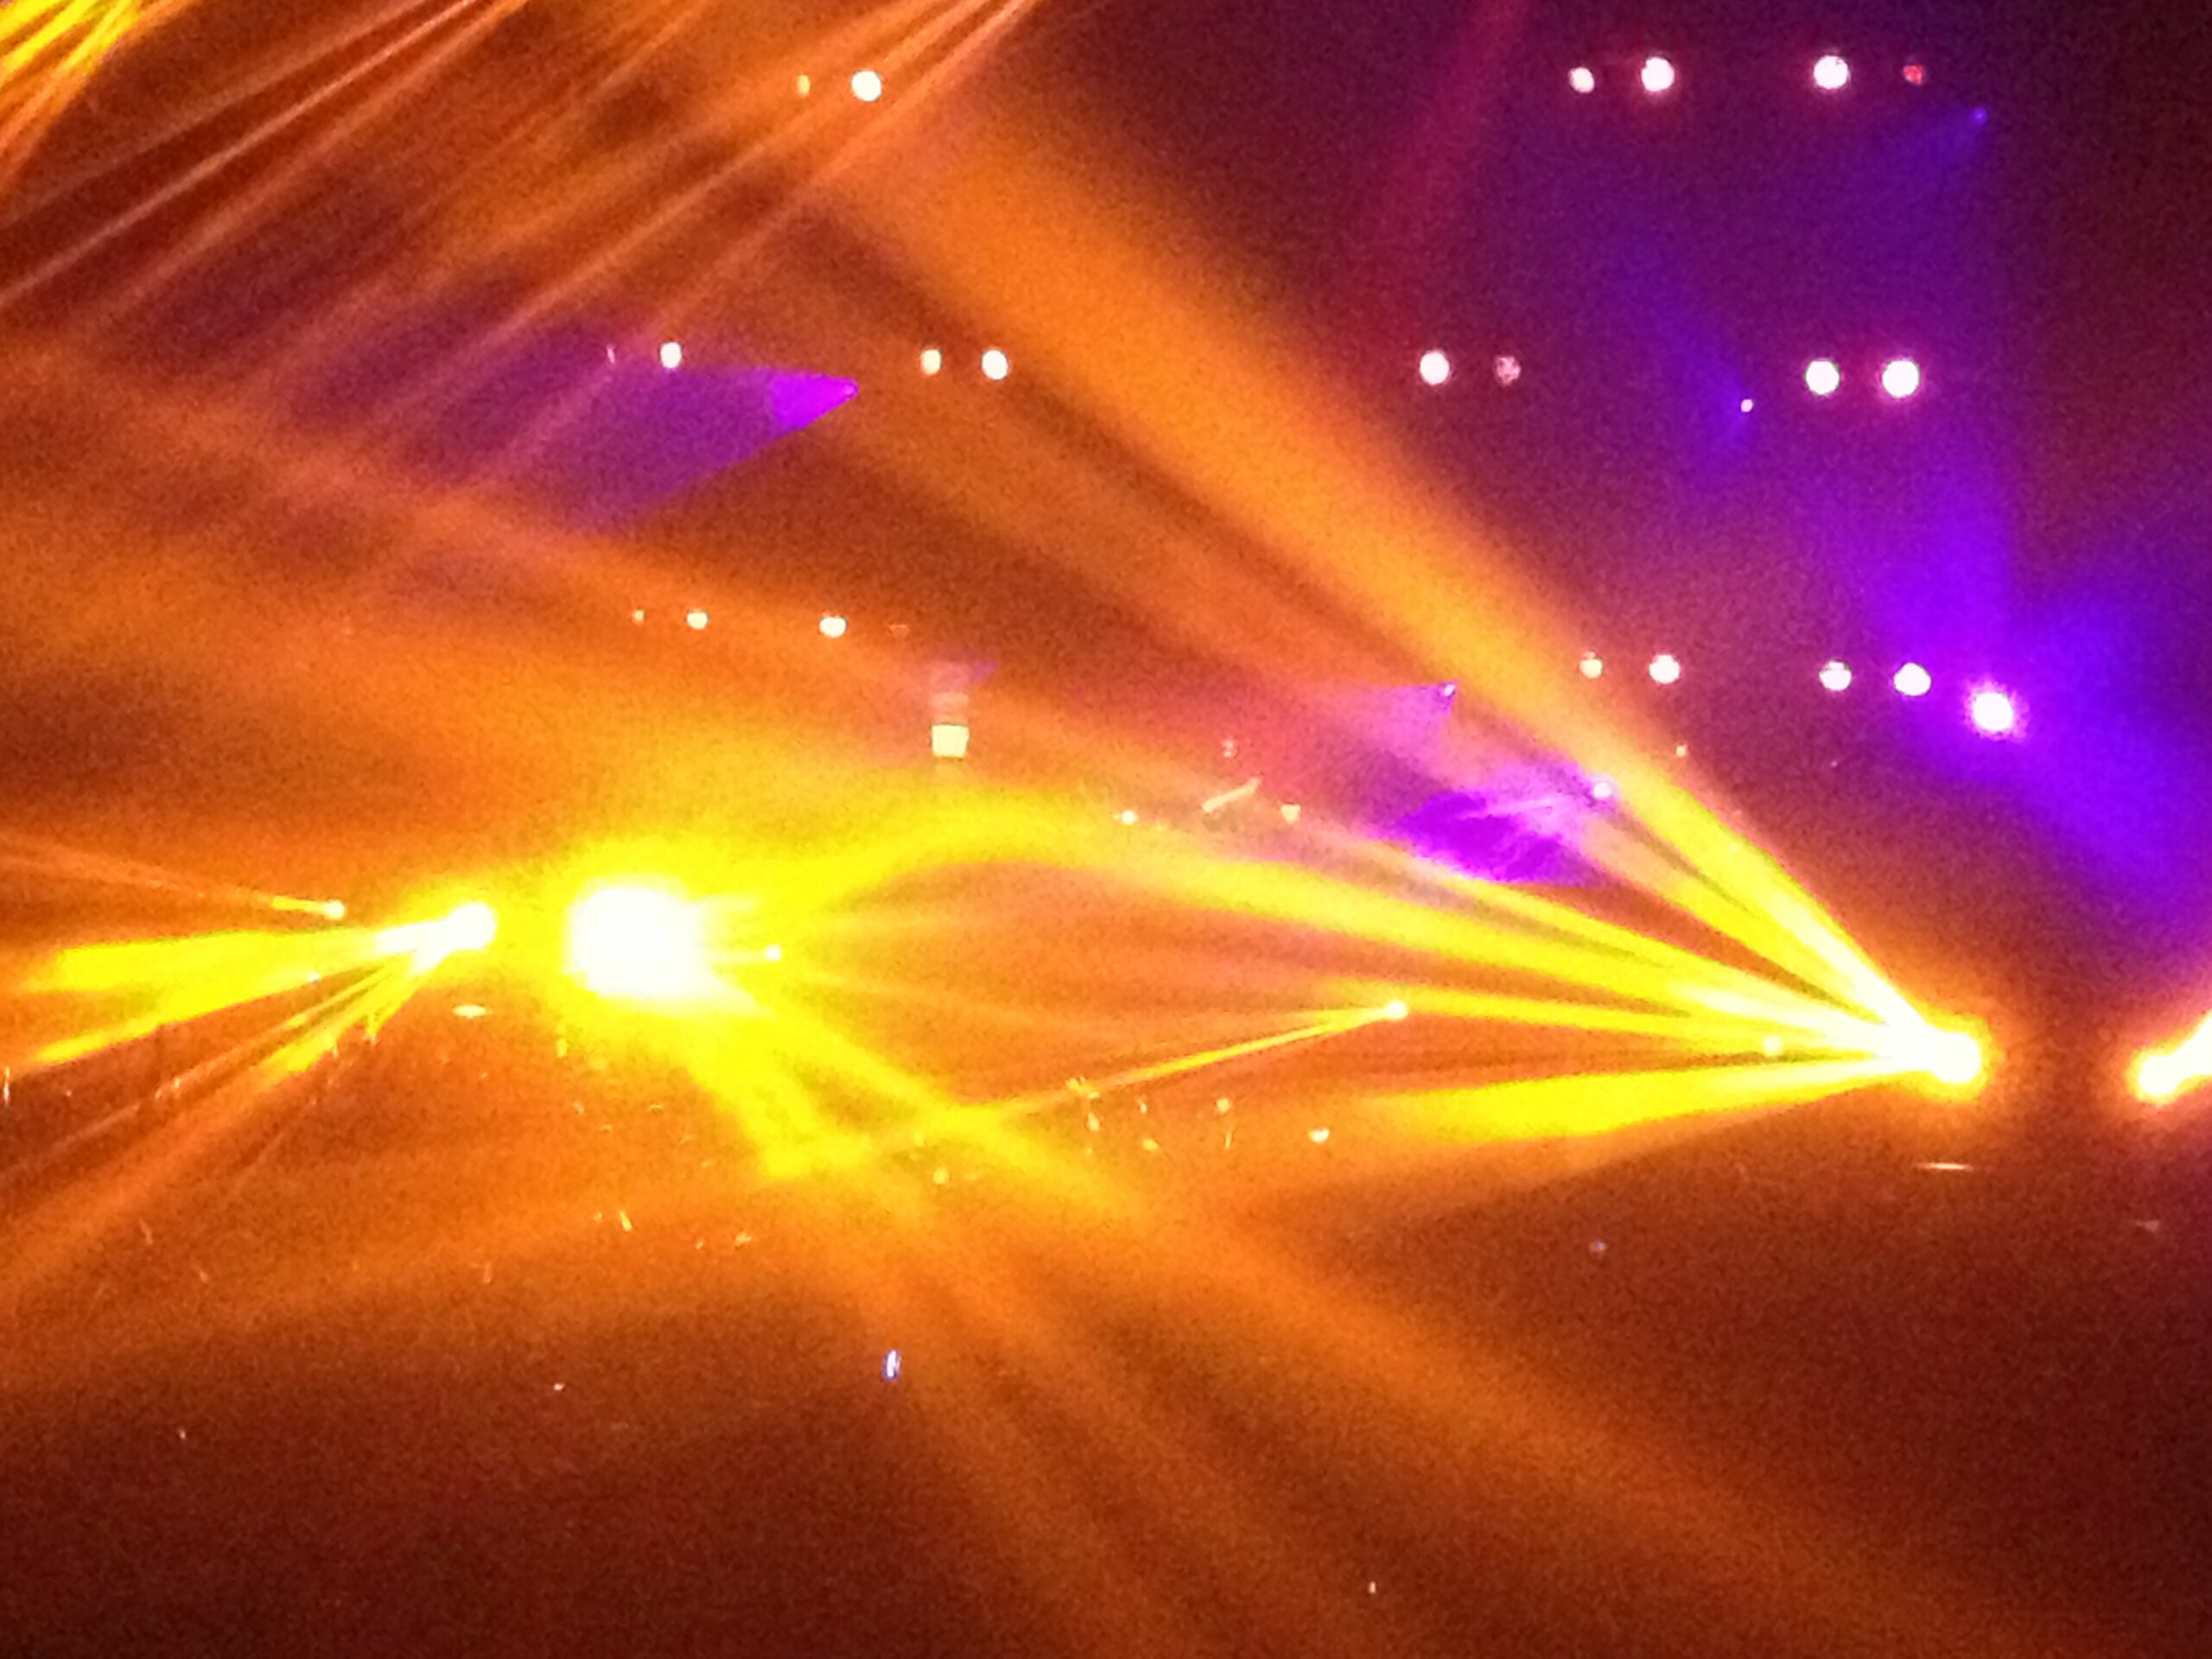
Every once in a while, then, the lines meet around the top corner, reproducing the effect of disco lights, before each going their own way once again:

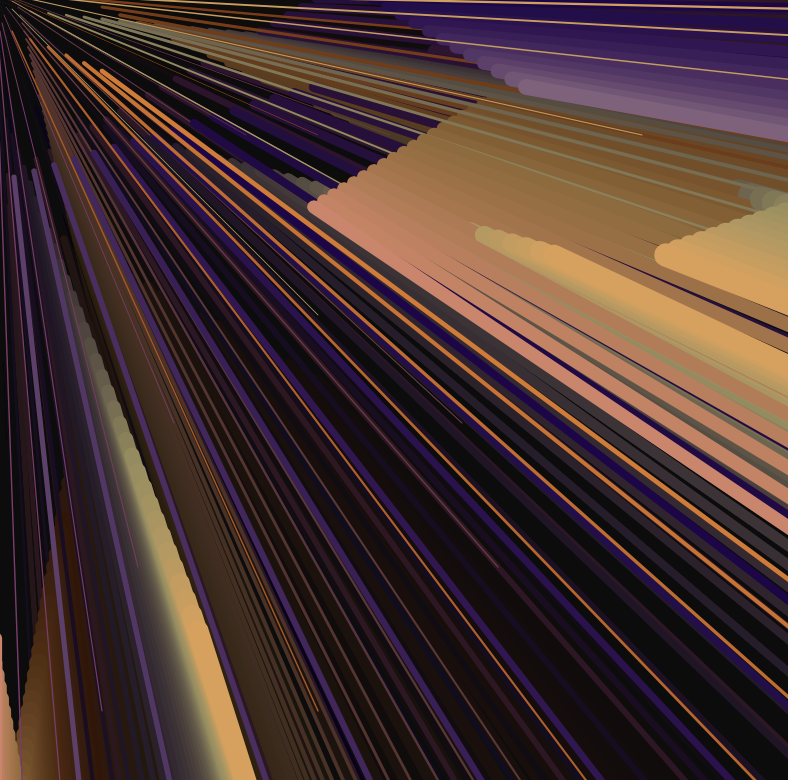
For the colors, I created an array of five different colors which I then incorporated into a linear interpolation function in order to create a gradient:
With the help of ChatGPT, I set two data points, “this.currentColorIndex” and “this.nextColorIndex”. For the first, I randomized from the array so that the first color of each line varies. The second data point set the following color, incrementing the index of the previous “current” color by 1, ensuring that the “next” color that appears depends on the previous color.
this.currentColorIndex = floor(random(colors.length)); // set the starting color of each line as a random color from the "colors" array
this.nextColorIndex = (this.currentColorIndex + 1) % colors.length; // ensure the "next" color for each line depends on the initial randomized color
this.lerpAmount = 0; // begin with no interpolation
Then, in the display function inside the class, I set three variables: “currentColor”, “nextColor”, and “displayColor”, in which I set the data from above. The first two variables are then implemented in the third, which is itself incorporated in the stroke function. Altogether, this is what allows the lines to be displayed in the different colors.
display() {
  let currentColor = color(colors[this.currentColorIndex]); // setting the "current" color variable
  let nextColor = color(colors[this.nextColorIndex]); // setting the "next" color variable
  let displayColor = lerpColor(currentColor, nextColor, this.lerpAmount); // setting the "display" color variable
  stroke(displayColor);
  strokeWeight((this.x + this.y) / 40);
Finally, I created a last function called “updateColor” in which I set the linear interpolation amount and create an “if” function for it to reset (and hence for the colors to keep varying).
updateColor() {
    this.lerpAmount += 0.04; // linear interpolation amount to define the speed of the transition

    if (this.lerpAmount >= 1) { // when linear interpolation amount exceeds 1, reset it to 0
      this.lerpAmount = 0;
      this.currentColorIndex = this.nextColorIndex;
      this.nextColorIndex = (this.nextColorIndex + 1) % colors.length;
Overall, I really enjoyed creating this code. It was definitely hard as last week’s material was a bit dense, but it was good practice. I wanted to incorporate an “if mousePressed” function for the colors to change to a different color palette, but for some reason, it would lag after some time and the sketch would just freeze. That is something I would like to work on for another time, though!