
Final Project concept:
An Interactive drum kit with multiple rooms, each room has a different theme and different drum kit sounds. some of the themes are unusual everyday sounds. I have implemented a regular drum kit, an arabic percussion kit, a kitchen kit and a sci-fi kit. I wanted to give my users a new experience that they would not be able to get using traditional musical instruments, a small glimpse of the world of electronic music you may say.
Implementation design:
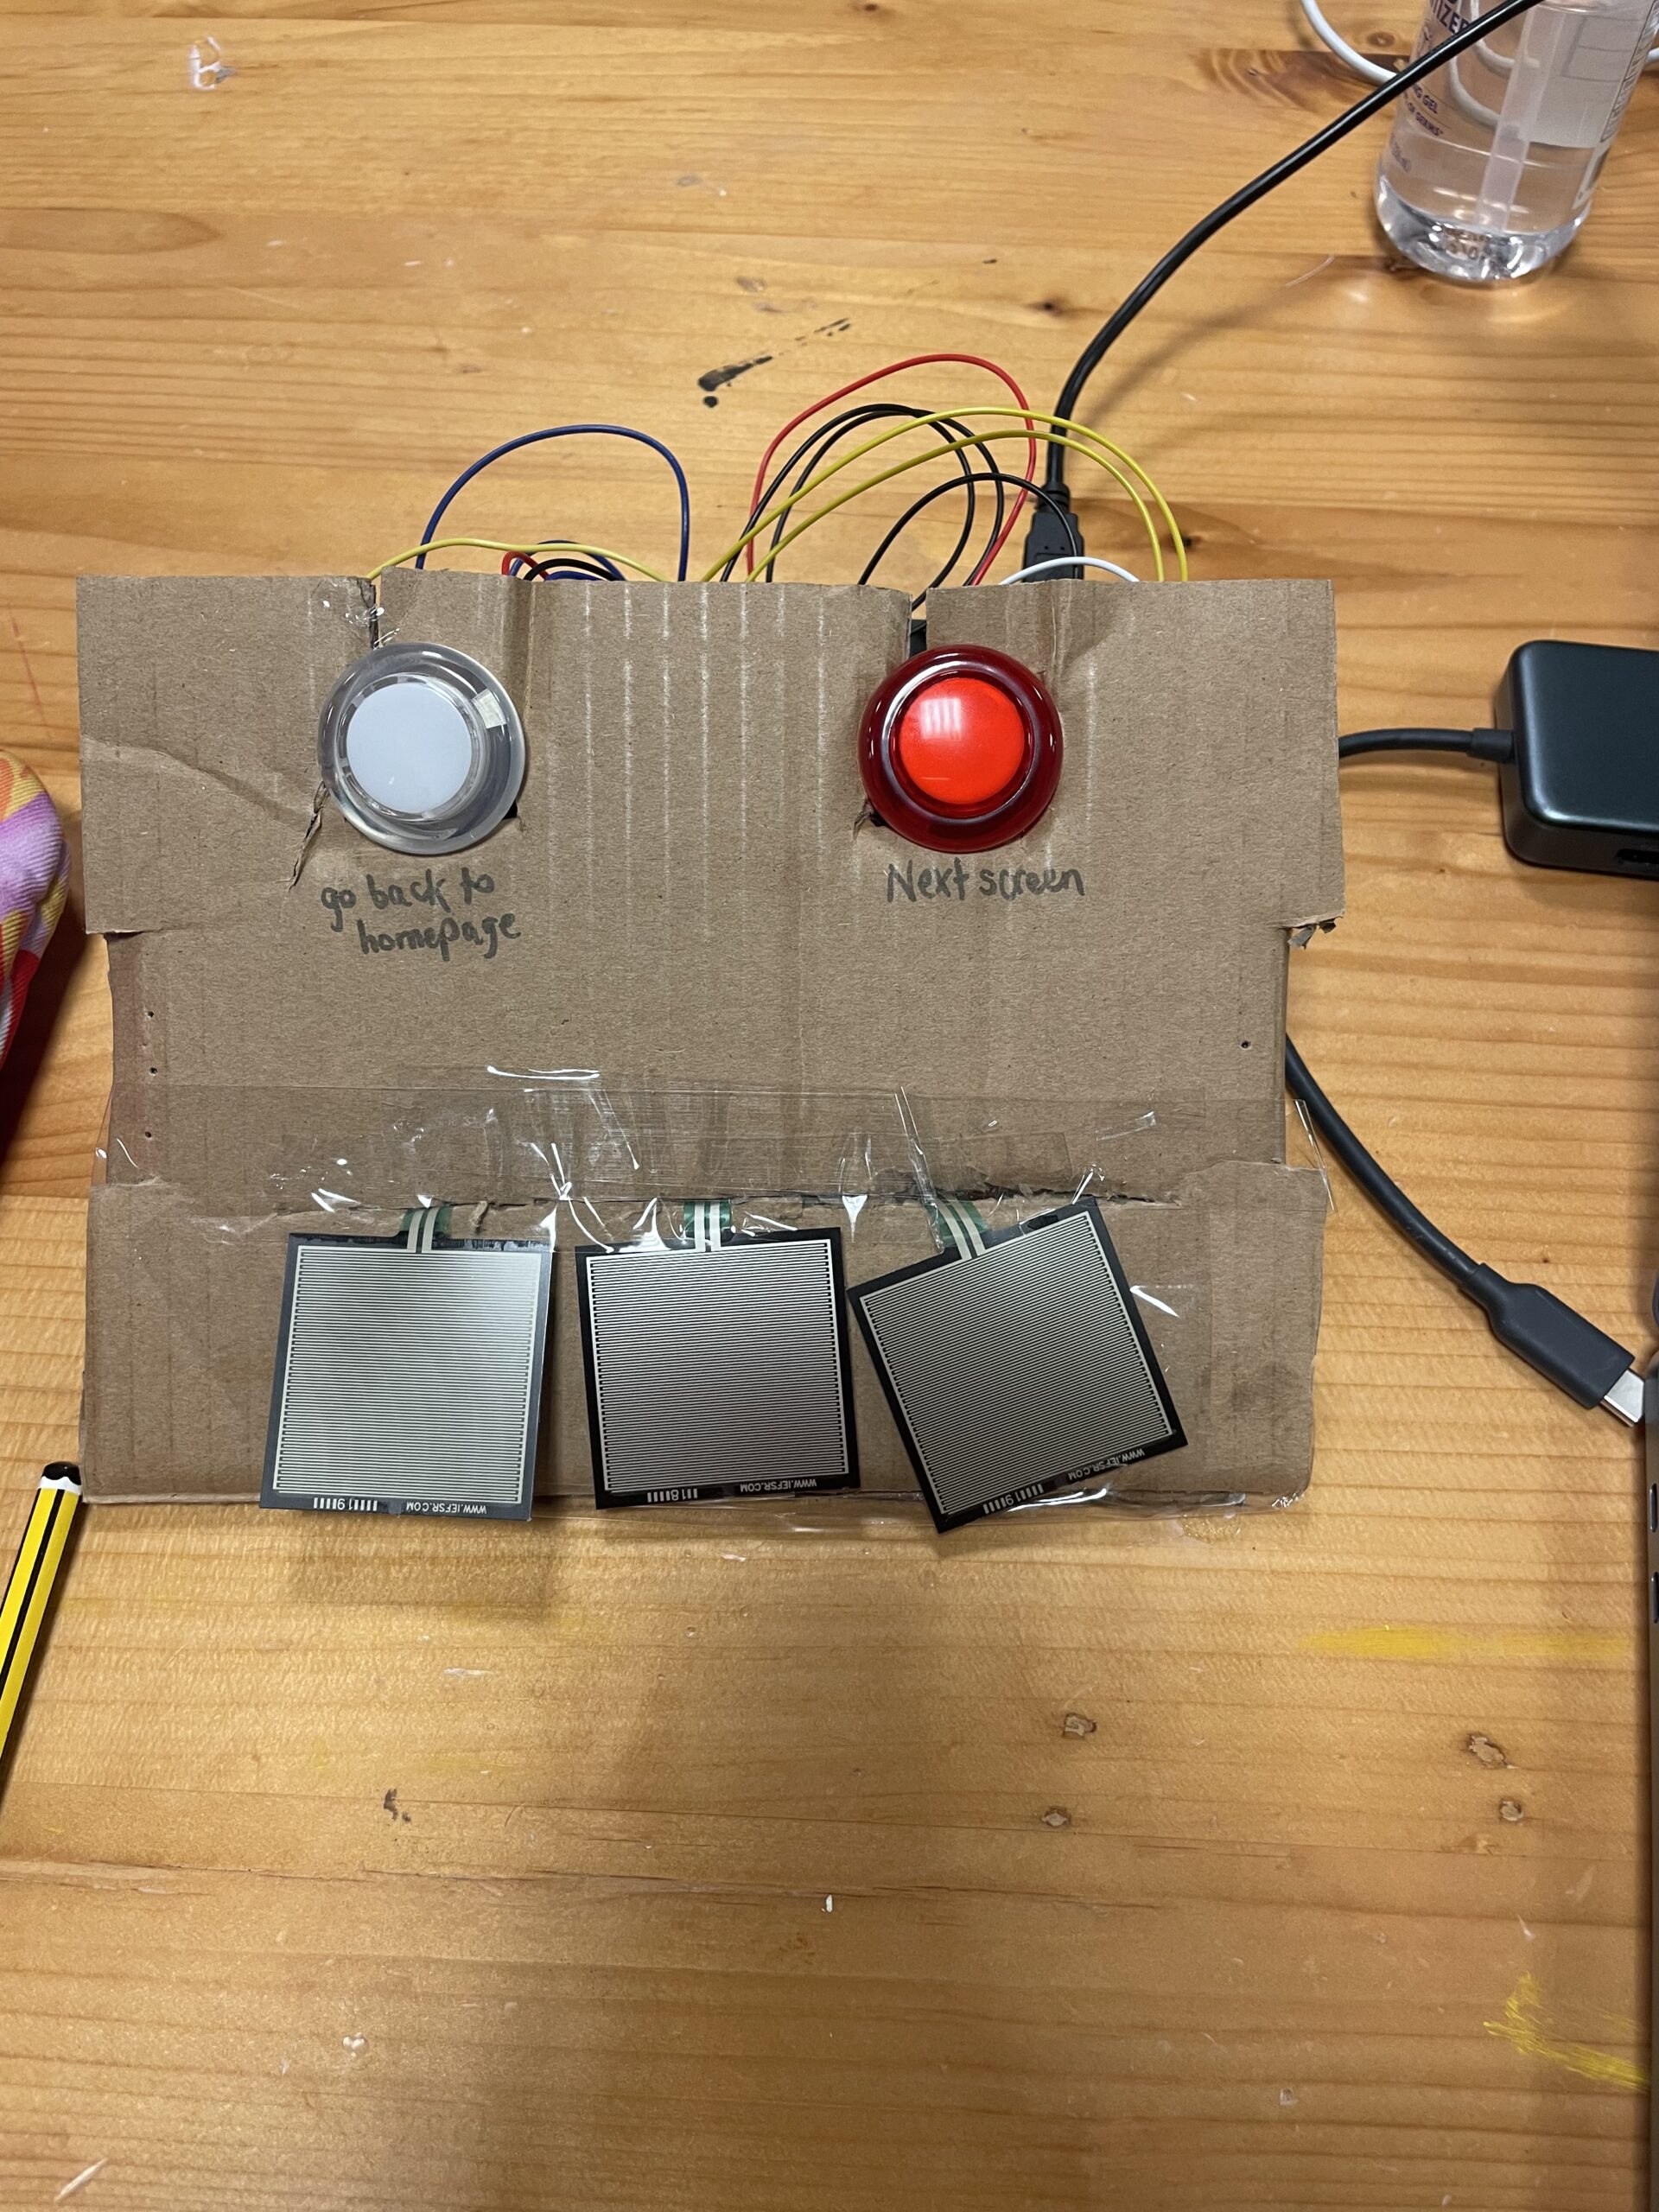
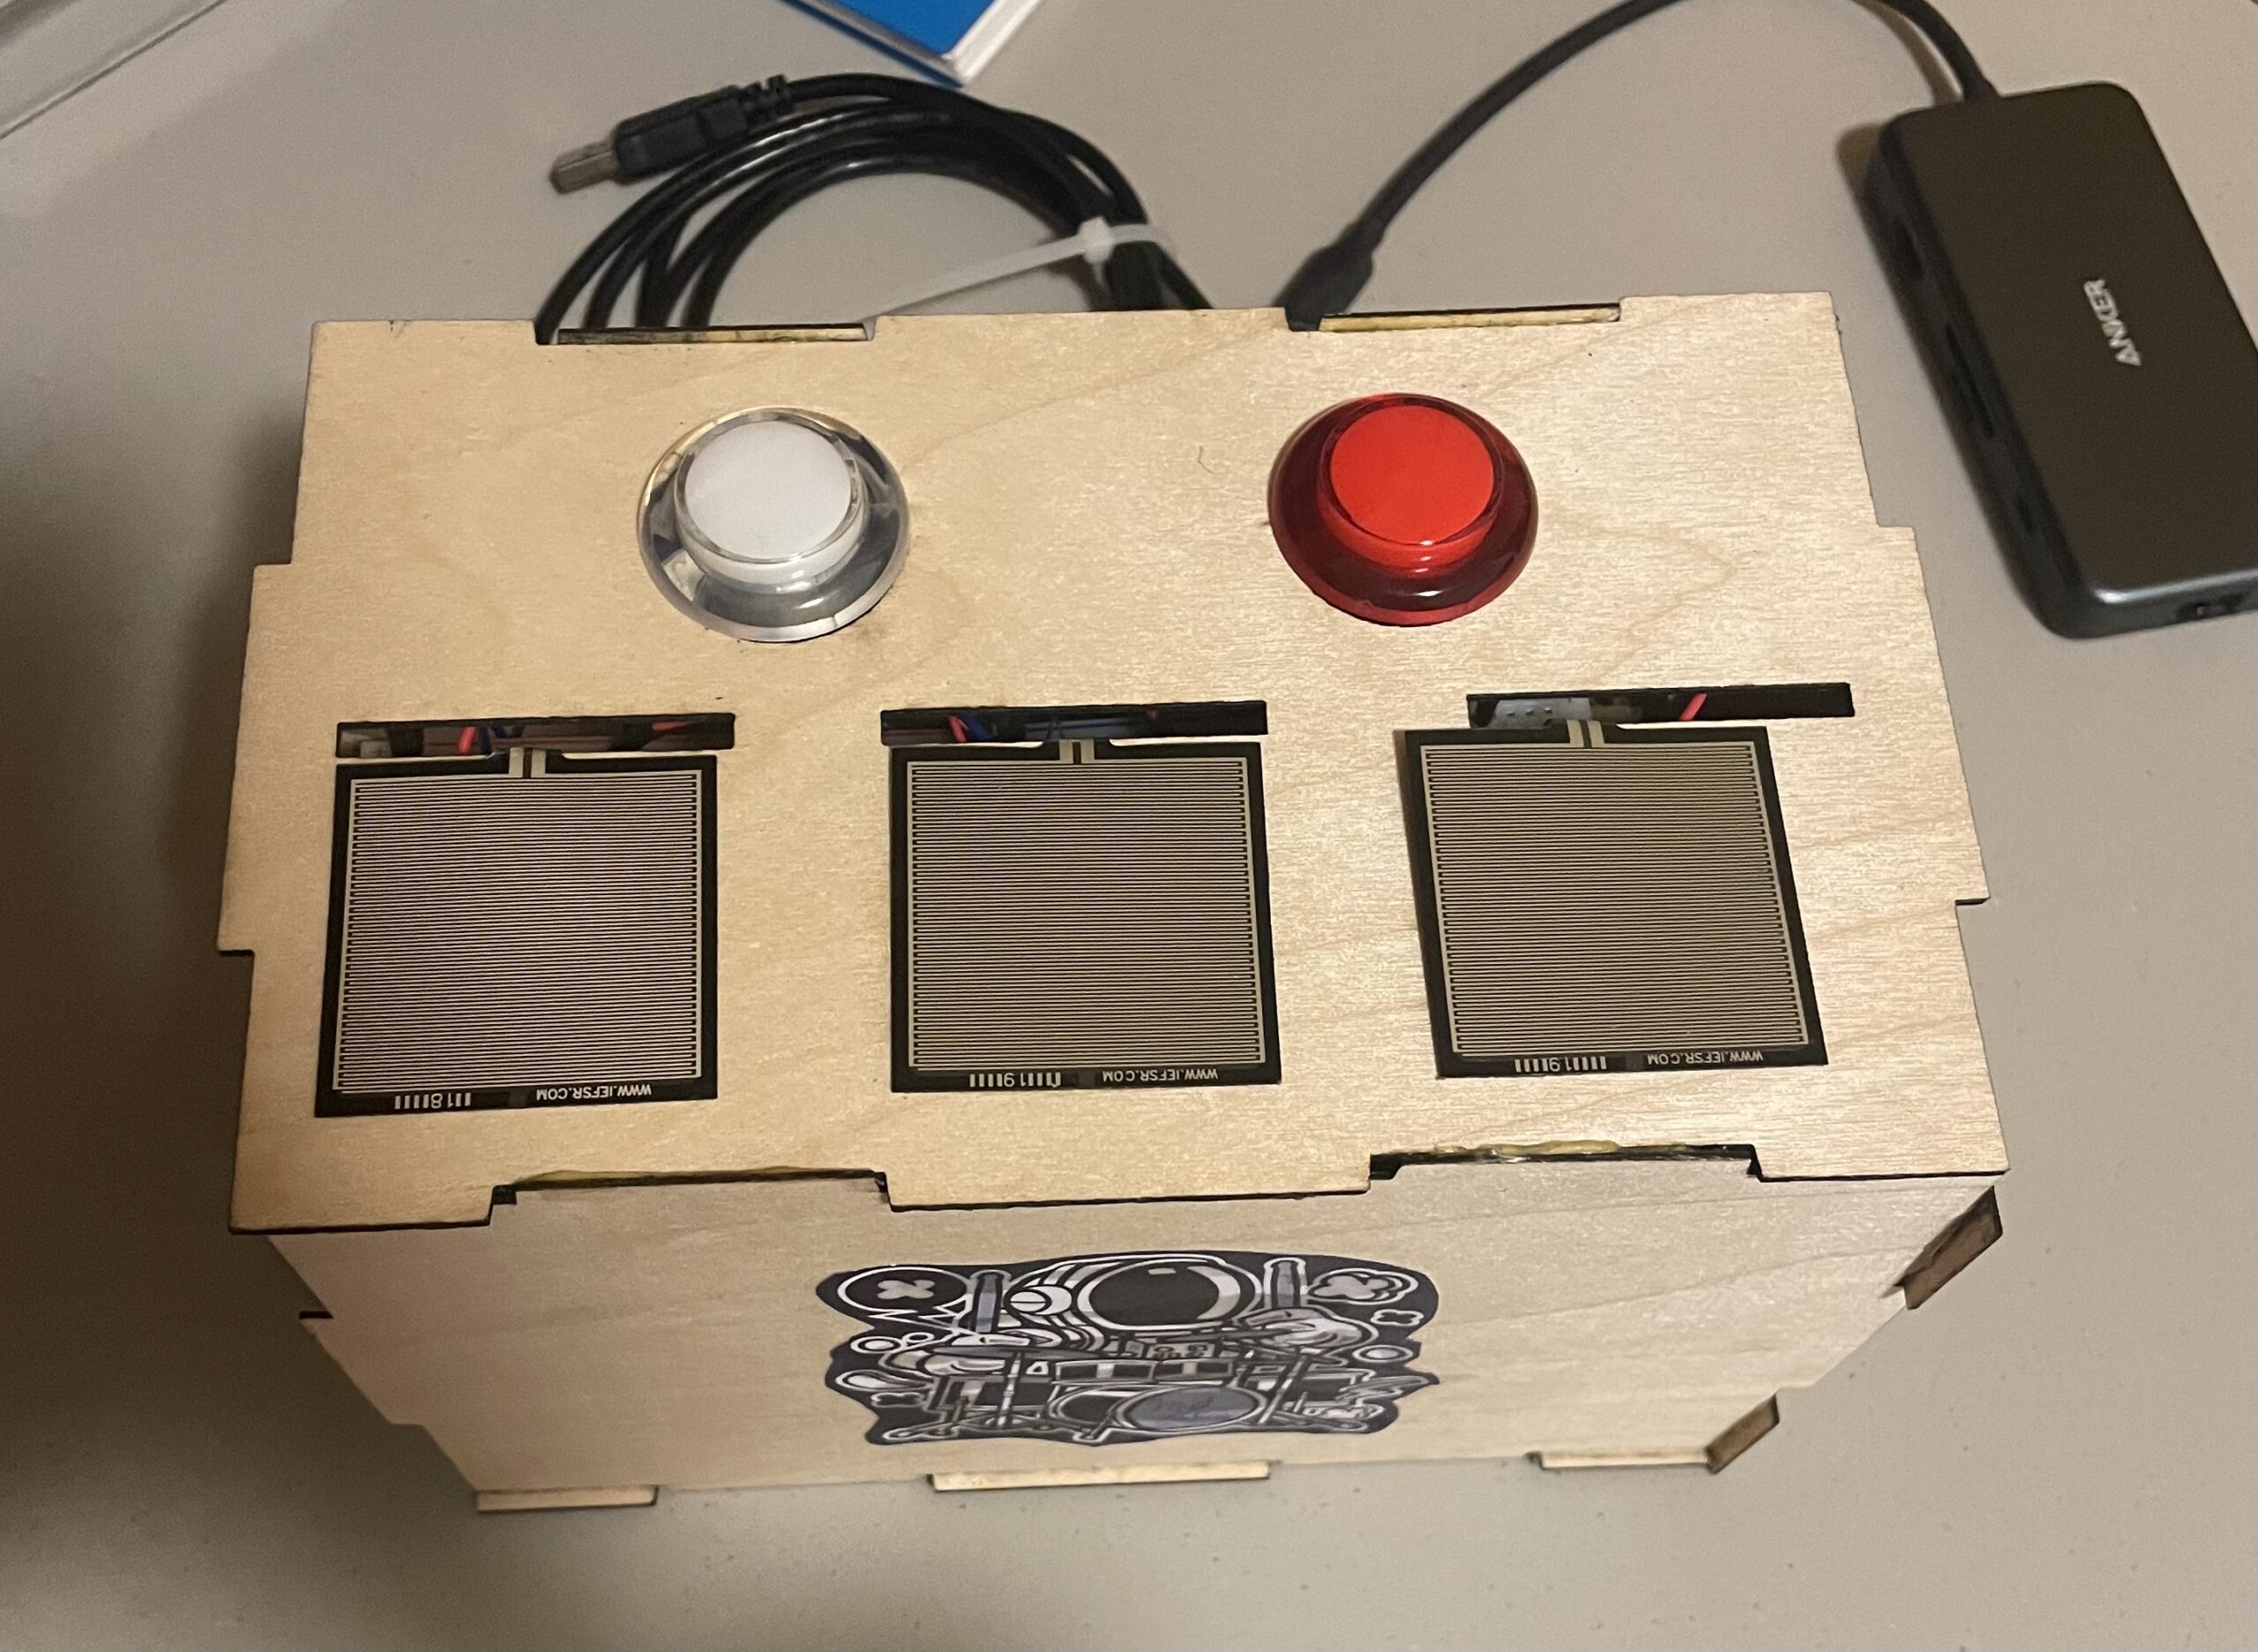
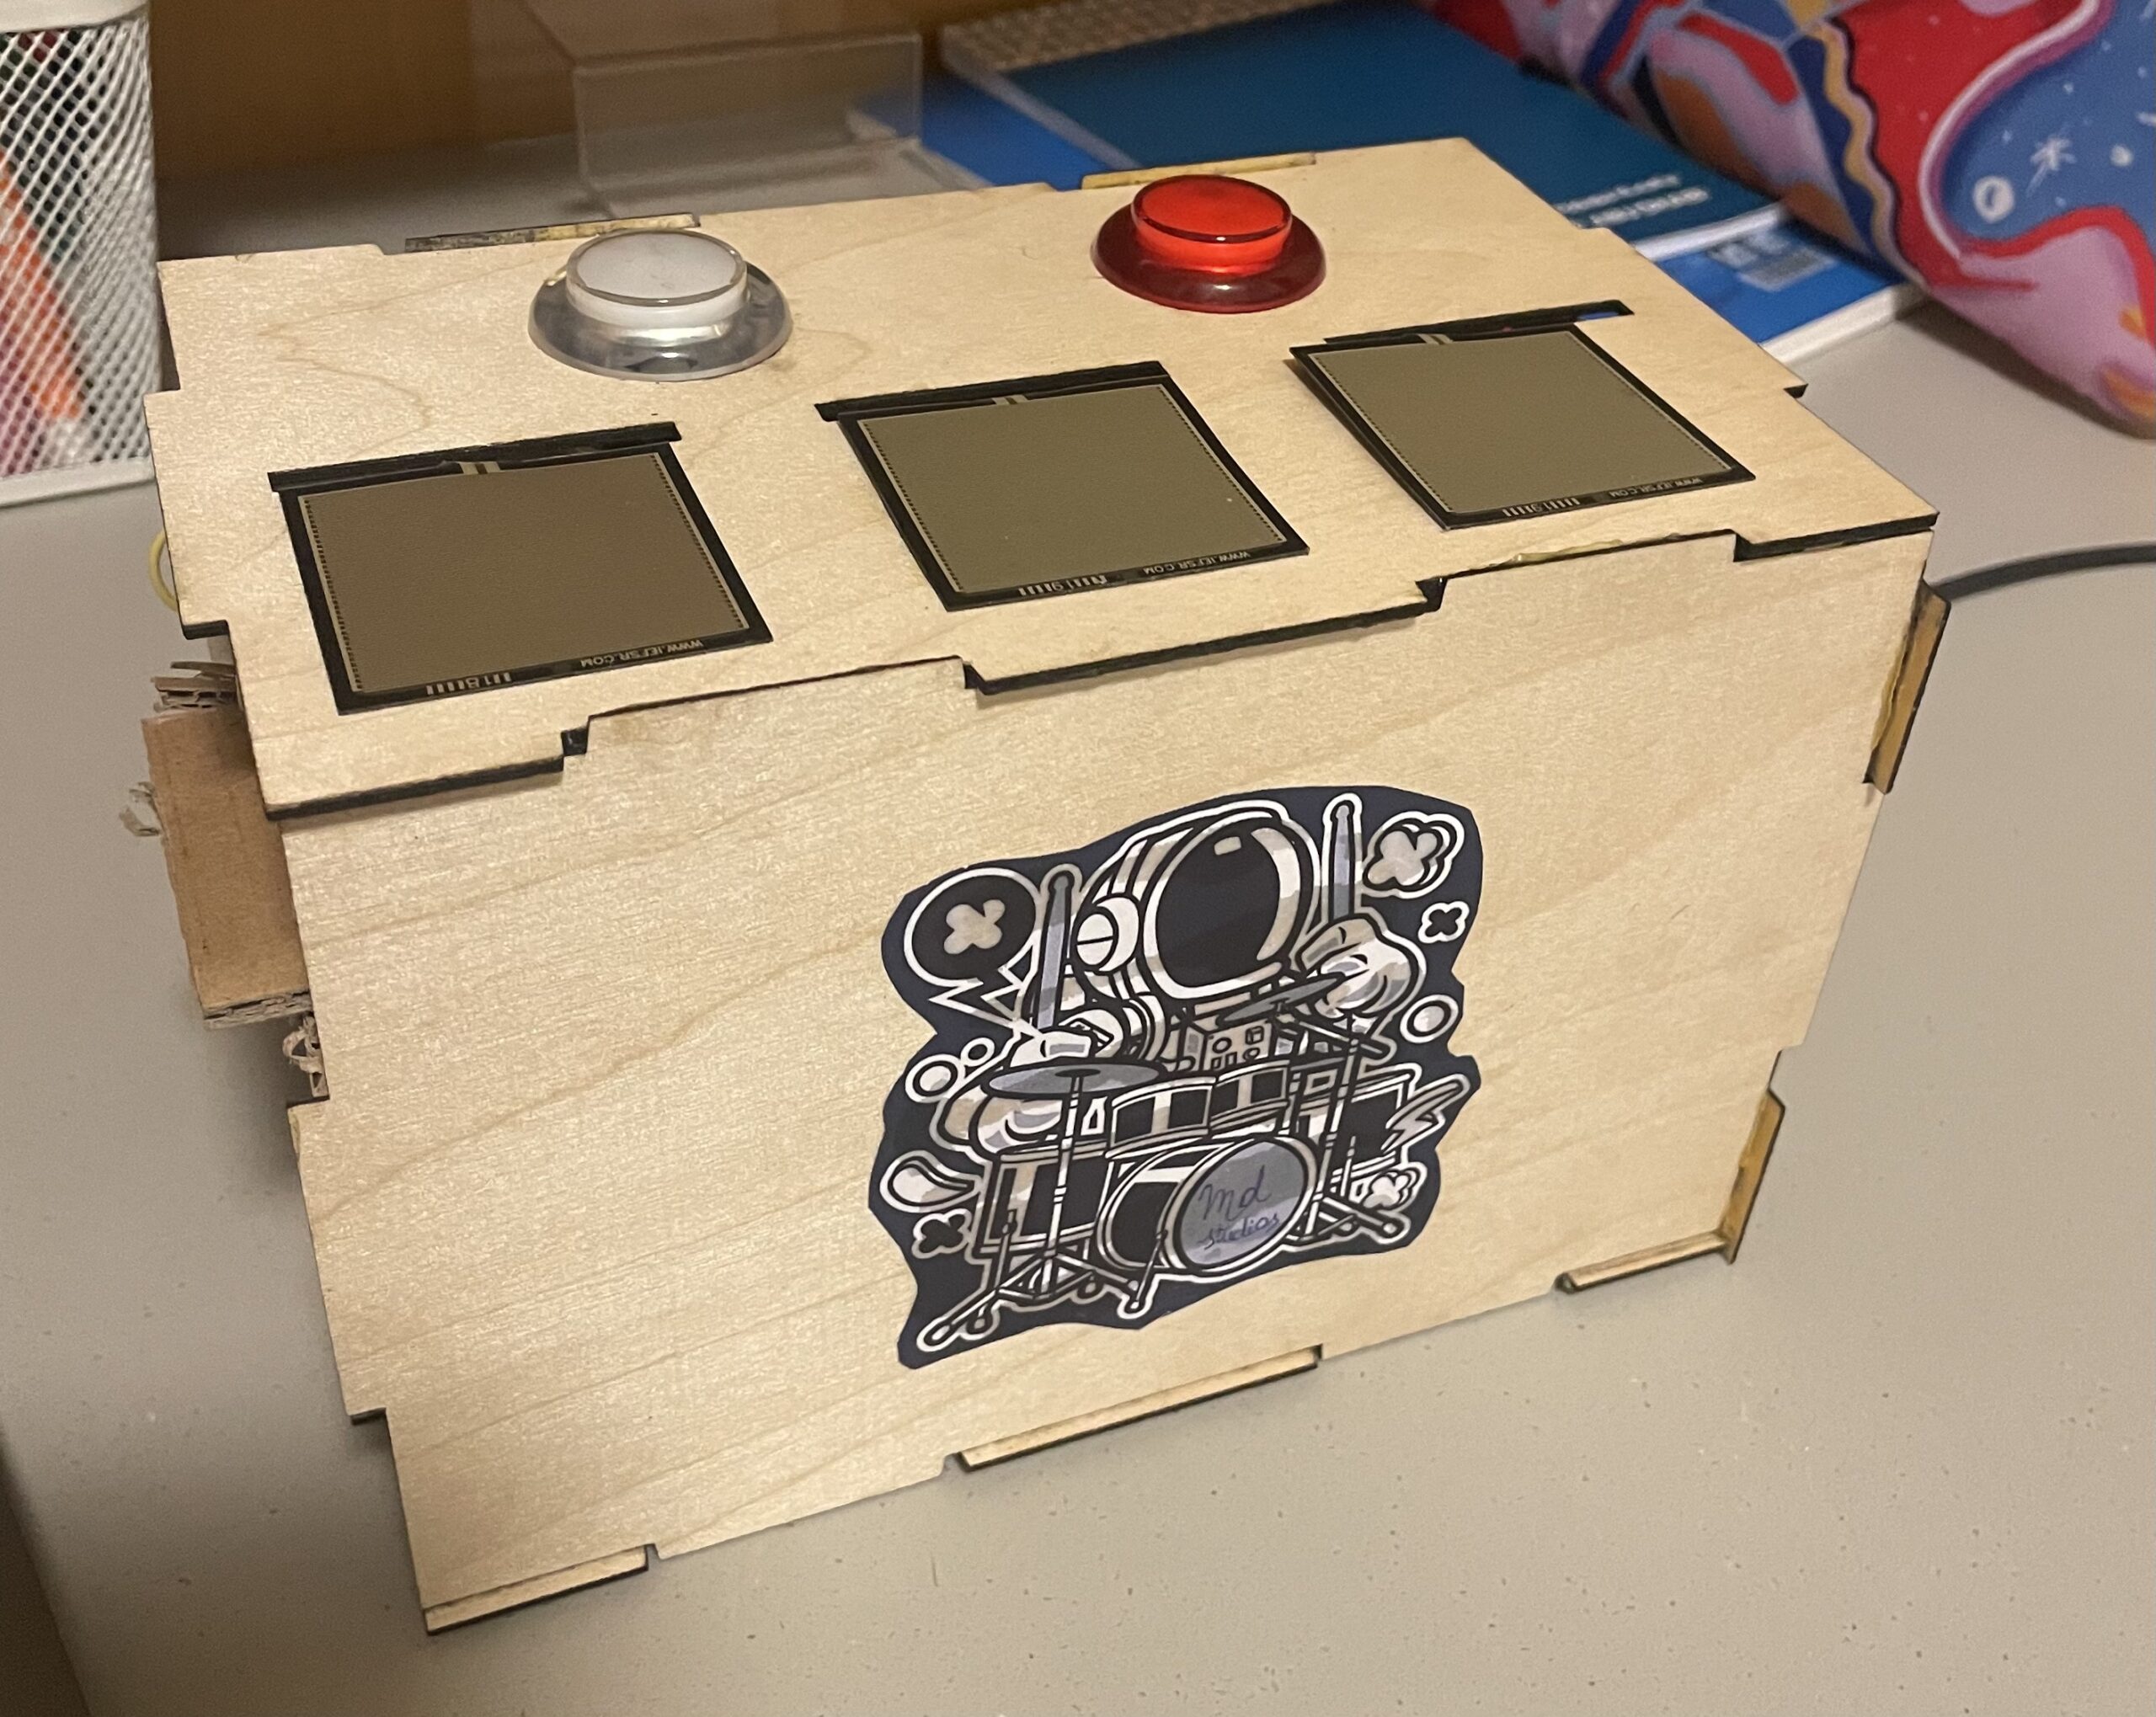
I used 3 force sensors for the drum plates and I used 2 buttons to loop between the themes and go back to home screen. I created screenshots of the themes and added a creative touch to each theme to make it more relevant to the theme.
Interaction between Arduino and P5js:
The only interaction between Arduino and p5js is reading the force sensors and buttons on Arduino and sending it to p5js to change the themes/sounds accordingly. To make my buttons and force sensors work as smooth as possible I have added a delay on reading certain inputs without using the delay() function so that other inputs work simultaneously
Arduino Code:
for the arduino code, I read the values from the sensors and sent them to the p5js through serial.print() by using commas to separate the values. to make the interaction smoother I used “delay without delay()” to ensure that the button is only read every few seconds whereas t
he force sensors are read on a continuous basis.
#define FORCE_SENSOR_PIN1 A0 // the FSR and 10K pulldown are connected to A0
#define FORCE_SENSOR_PIN2 A1 // the FSR and 10K pulldown are connected to A1
#define FORCE_SENSOR_PIN3 A2 // the FSR and 10K pulldown are connected to A2
#define Button1 7 //the switch in connected to D7 (Red button)
#define Button2 6 //the switch in connected to D6 (Yellow button)
#define Button3 5 //the switch in connected to D5 (Blue button)

unsigned long previousMillis = 0;
const long interval = 200;

void setup() {
  Serial.begin(9600);
}

void loop() {
    unsigned long currentMillis = millis();
    int analogReading1 = analogRead(FORCE_SENSOR_PIN1);
    int analogReading2 = analogRead(FORCE_SENSOR_PIN2);
    int analogReading3 = analogRead(FORCE_SENSOR_PIN3);
    int digitalReading1 = 1;
    int digitalReading2 = digitalRead(Button2);

    if (currentMillis - previousMillis >= interval) {
    // save the last time you read from the button
      previousMillis = currentMillis;
      digitalReading1 = digitalRead(Button1);
    }
    // print the raw analog readings seperated by commas

    Serial.print(analogReading1); //read without delay
    Serial.print(",");
    Serial.print(analogReading2); //read without delay
    Serial.print(",");
    Serial.print(analogReading3); //read without delay
    Serial.print(",");
    Serial.print(digitalReading1); //read with delay!!!!!!
    Serial.print(",");
    Serial.print(digitalReading2); // read without delay
    Serial.println();

}
p5js:
for my p5js code, I read the values from Arduino and split them at the comma and stored each value in a variable that I later used to create conditions on to make sure that the right sounds and the right themes are displayed depending on the user’s inputs.
The aspects of the project I am proud of:
I am proud that I managed to create the force sensors responsive to the touch so that the sounds are played right when the user presses on the force sensor, to make it smooth. I am also proud of the the
me designs I created, I put in extra thought to make sure the user can understand what the theme is without having to explain it.
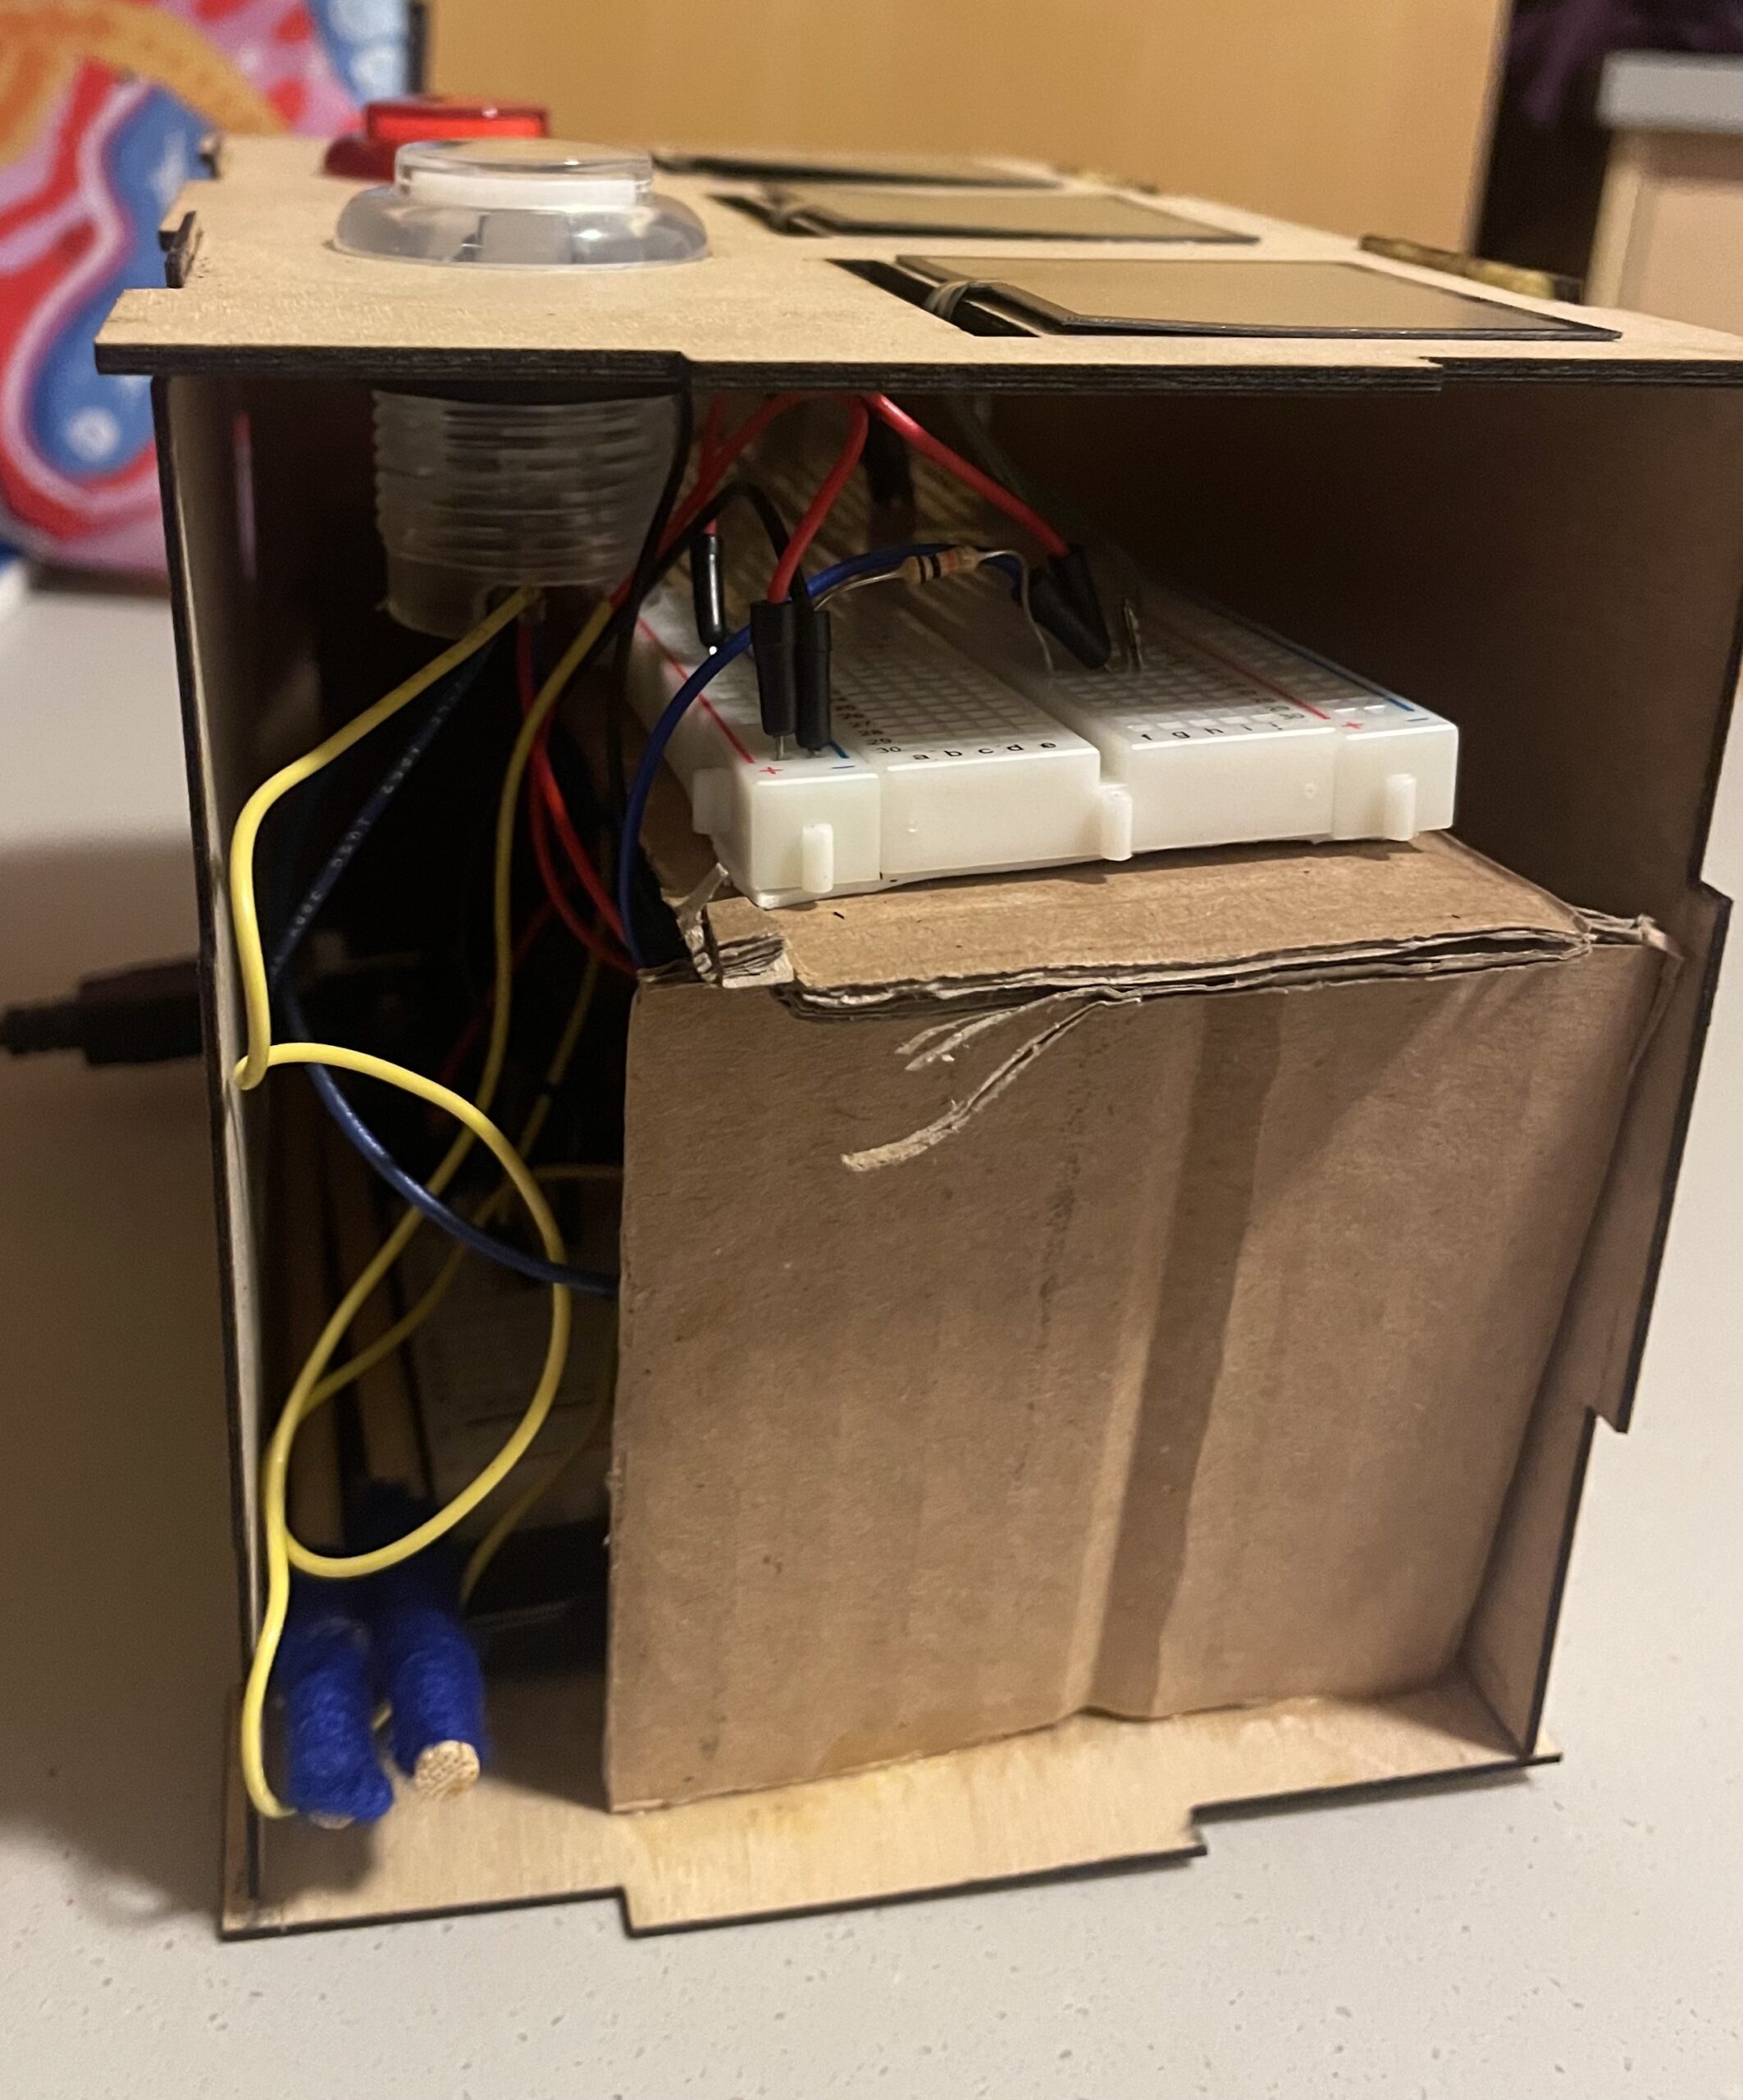
Pictures of my project:
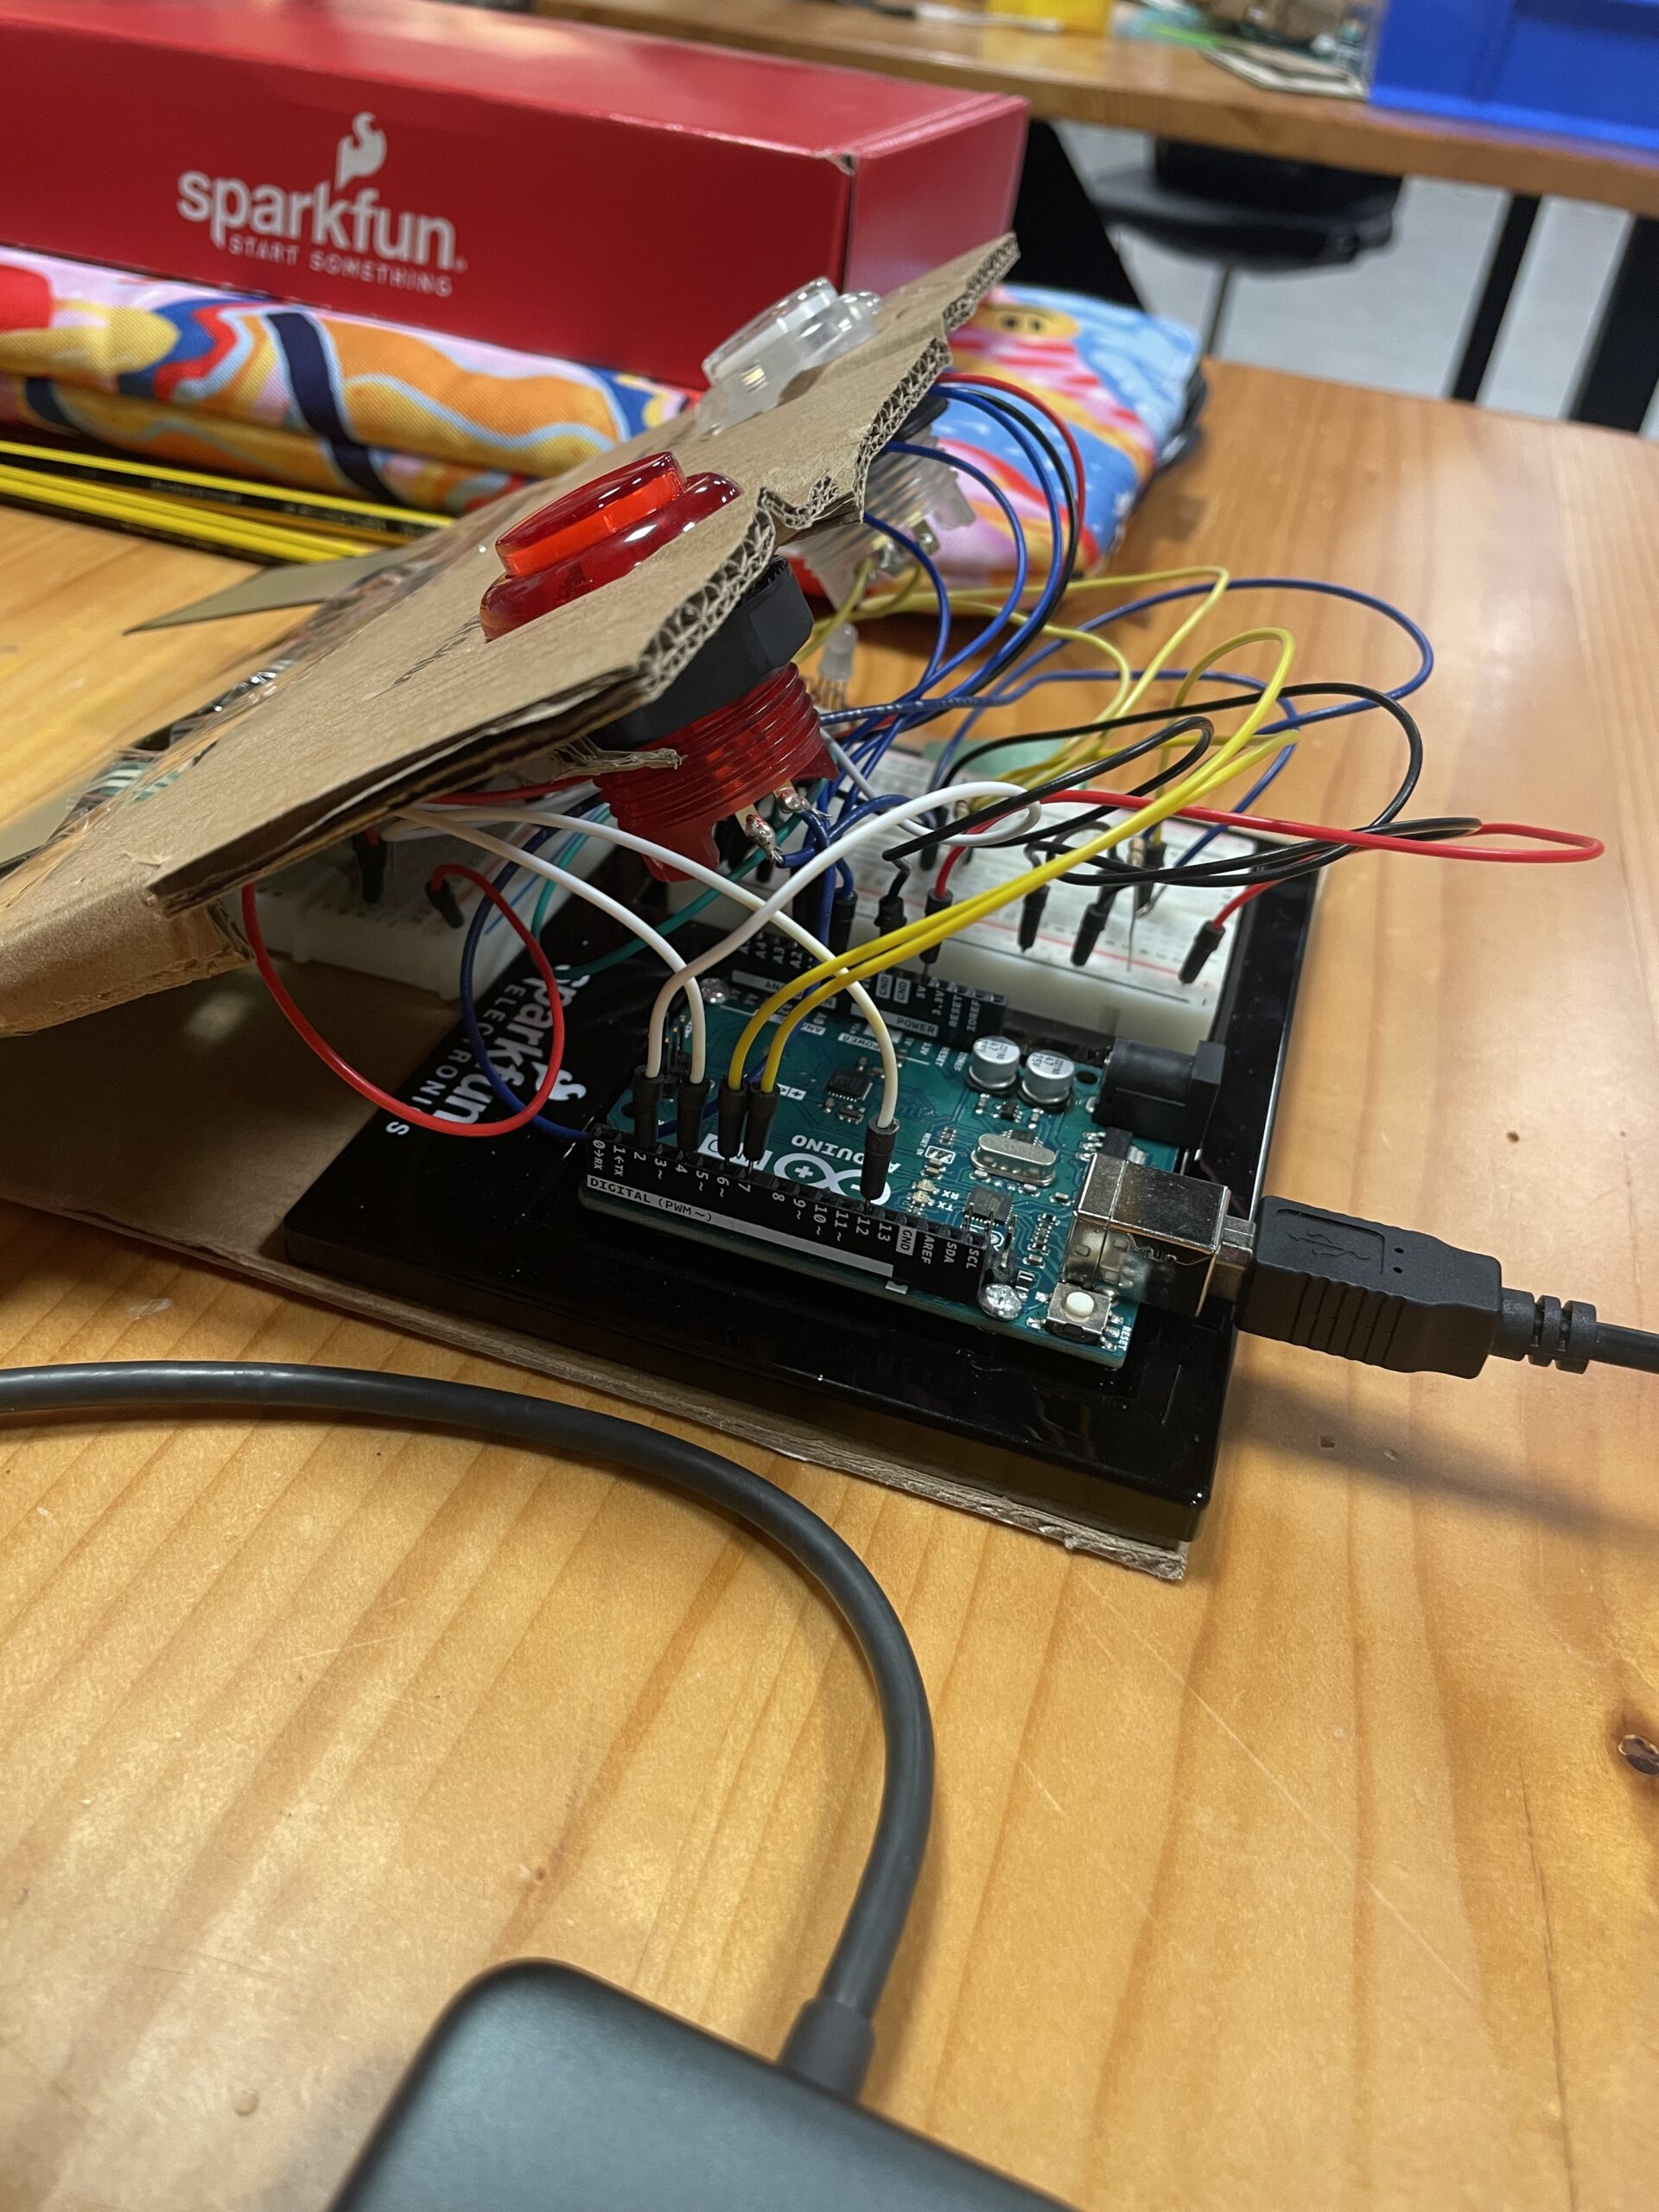
first prototype:
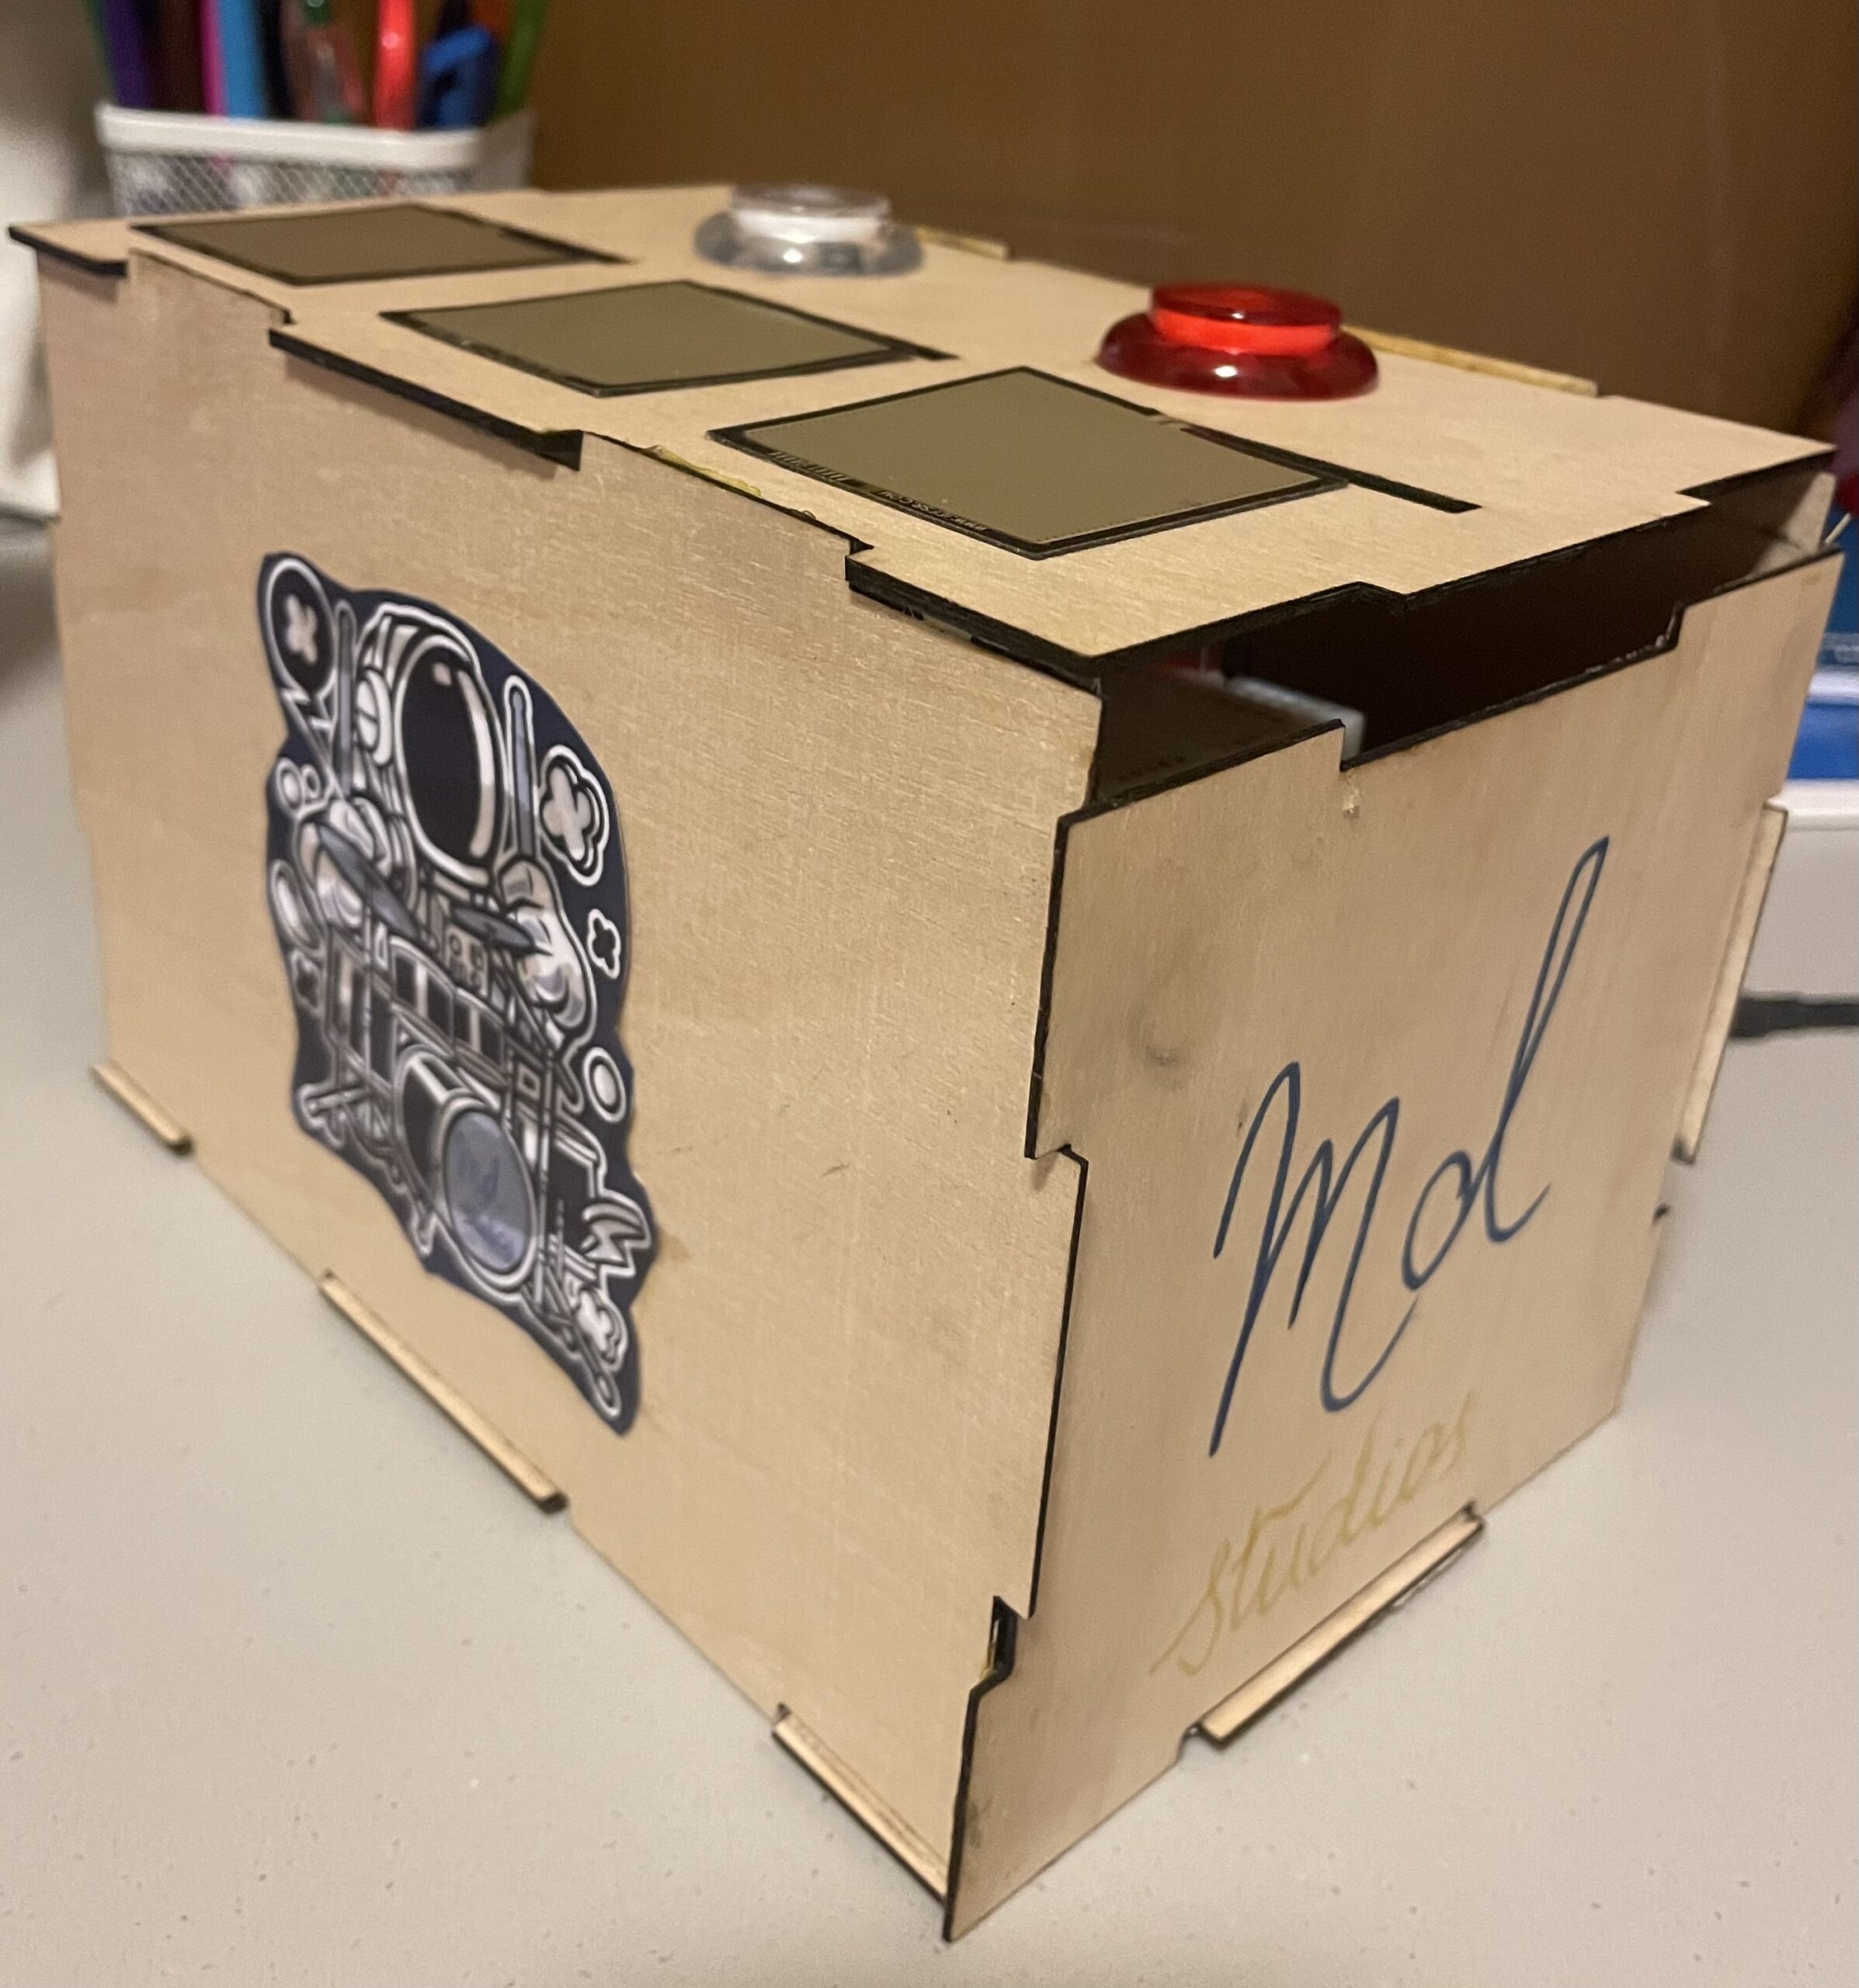
Final Version:
Future improvements:
I initially wanted to create a record button that records users’ jams and adds them all to one file to have a collective file of many users’ artistic touch, but the p5js sound. library was not working as expected and was causing so many bugs in my program so I decided to skip it for now, but I would love to add later on because I believe it makes the project much more interesting.
Sources:
https://soundpacks.com/free-sound-packs/sci-fi-sound-fx-pack/
https://www.reddit.com/r/edmproduction/comments/3lh4t0/free_kitchen_sounds_sample_pack/
https://docs.arduino.cc/built-in-examples/digital/BlinkWithoutDelay