
Concept
For this assignment, we decided to do a musical instrument that will produce music on its own. Typically, musical instruments are associated with a person playing them. However, in our project, we devised a system wherein a performer assumed the dual role of both playing the instrument and acting as the player. The servo motor symbolizes the player, while a piece of cardboard mounted on a stick symbolizes the instrument.
How music is produced:
As the servo motor moves, the attached pad also moves, causing variations in the distance detected by the ultrasonic sensor. Depending on these different distances, the speaker emits sounds with varying frequencies.
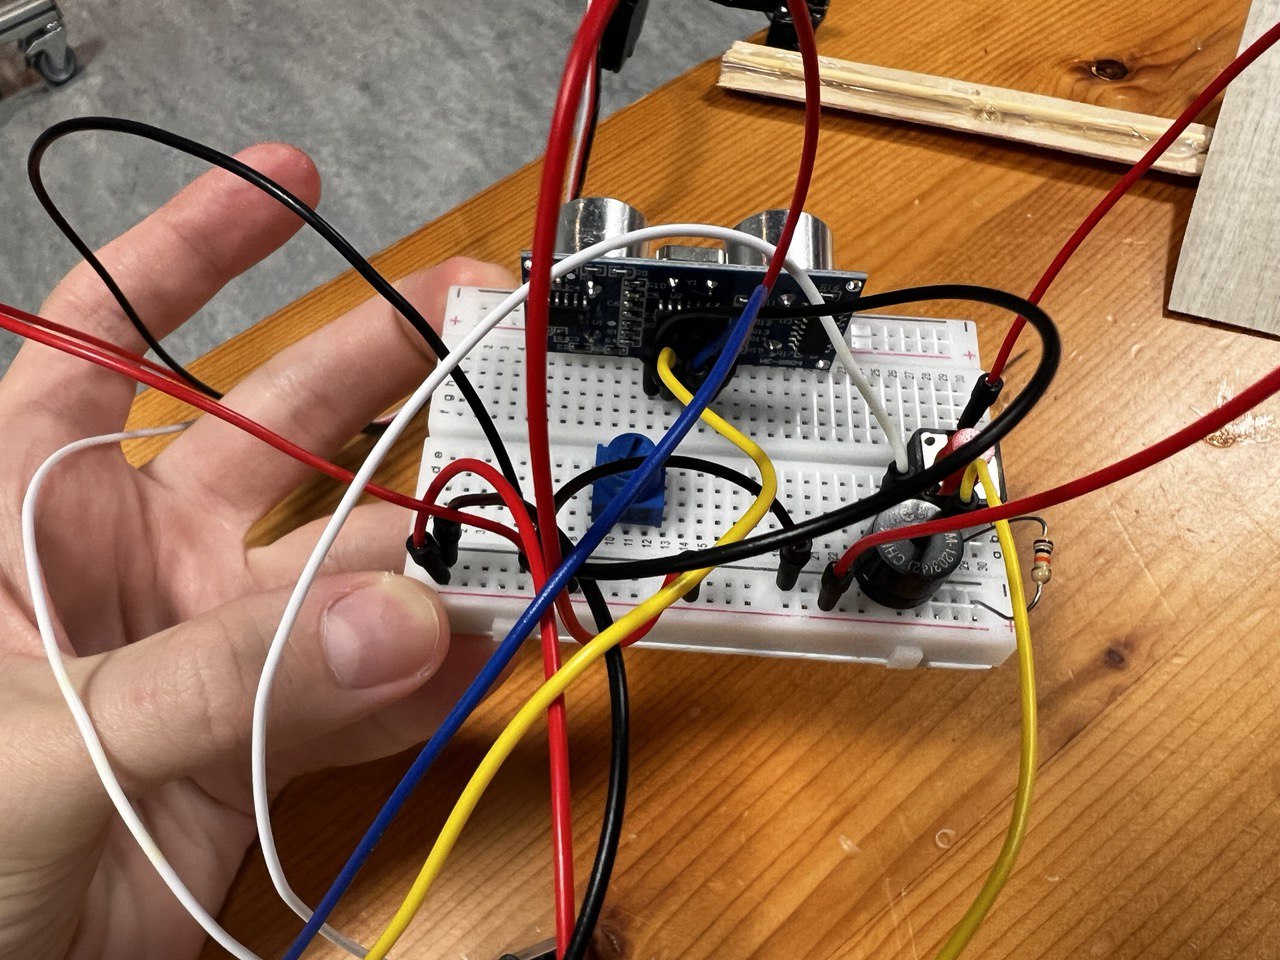
Setup
Video
Code and highlights of the procedure
- We have used the example in the kit’s documentation (you can find it here) to code the distance sensor, adjusting some aspects of it.
- We manipulated the position of the servo motor by using myservo.write() and delay(). Here, we played with degrees and set up the delay to be 50ms for the servo to reach the position.
- We used the function of a map() and constrain() together, as learned in class, to match the distance values to the frequency values.
- We also added a button, which when pressed can change the frequency range, so that all the melody’s frequencies are higher.
// assign the variables for distance and button
#define trigPin 13
#define echoPin 12
#define buttonPin 2

// include library for Servo motor
#include <Servo.h>

Servo myservo;  // create servo object to control a servo
// twelve servo objects can be created on most boards

// assign the first position
// variable to store the servo position
int pos = 0;


void setup() {
  Serial.begin(9600);
  pinMode(trigPin, OUTPUT);  //distance
  pinMode(echoPin, INPUT);
  myservo.attach(9);  // attaches the servo on pin 9 to the servo object

  pinMode(buttonPin, INPUT);  // switch
}

int frequency;  // assign the frequency variable

void loop() {
  // from distance sensor example
  long duration, distance;
  digitalWrite(trigPin, LOW);  // Added this line
  delayMicroseconds(2);        // Added this line
  digitalWrite(trigPin, HIGH);
  //  delayMicroseconds(1000); - Removed this line
  delayMicroseconds(10);  // Added this line
  digitalWrite(trigPin, LOW);
  duration = pulseIn(echoPin, HIGH);
  distance = (duration / 2) / 29.1;


  if (distance >= 200 || distance <= 0) {
    Serial.println("Out of range");
  } else {
    Serial.print(distance);
    Serial.println(" cm");
  }


  // we contrain the distance to be from 0 to 50 and map the distance values to the frequency values
  // if the button is not pushed then the melody plays in low frequencies
  // if the button is pushed, then the frequency  is higher


  if (digitalRead(buttonPin) == LOW) {
    frequency = map(constrain(distance, 0, 50), 0, 50, 100, 1000);
  } else {
    frequency = map(constrain(distance, 0, 50), 0, 50, 500, 2000);
  }

  //code for SERVO position
  myservo.write(90);
  delay(50);
  myservo.write(45);
  delay(50);
  myservo.write(25);
  delay(50);
  myservo.write(70);
  delay(50);
  myservo.write(100);
  delay(50);
  myservo.write(60);
  delay(50);  // waits 50ms for the servo to reach the position

  // play the sound from pin 6
  tone(6, frequency);
}
Reflection
We faced one issue when building the setup. We wanted to use a bigger servo motor which is stronger and could hold the stick, however, it was not working the way we planned (not like a mini one in our kit). As we researched, we found out that actually, this servo motor allows for full-speed rotation at the value of 180 and a stop at the value of 0. This was not suitable for our project, so we proceeded with using a hot glue gun to connect the stick to the servo motor we had in the kit.
We could also make the appearance better by decorating the cardboard using for example an image of a robot.
Moreover, for future projects, we could actually play different melodies and control the volume using the potentiometer. Otherwise, we could use a potentiometer to manipulate the movements of the servo motor, by coding different patterns of the moves produced by the servo motor.
Overall, I think this was a fun project to do and I liked the final result a lot!