Progress on Generative Gallery: A Digital Art Experience
In the recent updates to the p5.js Art Gallery, I’ve made significant strides in personalizing the overall experience. By creating detailed interior and exterior images entirely by myself through online platforms, I’ve successfully revamped the visual aspects of the gallery.
I’ve implemented interactive canvases within the gallery, allowing users to engage with and contribute to the artistic space. Visitors can now explore their creativity and interact with the digital canvases, fostering a more dynamic and engaging experience. I have also incorporated a user-friendly slider with arrows, enabling seamless navigation back and forth within the canvases, enriching the overall exploration process. To enhance the ambience and user experience, I’ve added a convenient light switch feature, allowing visitors to adjust the gallery’s lighting to their preference. An exit option has also been integrated, enabling users to smoothly return to the main page without any inconvenience.
Looking ahead, my next steps involve integrating a carefully curated sound element to complement the visual art, creating a more multisensory experience for visitors. Additionally, I plan to continue my work on advancing the generative art features, exploring new techniques and patterns to further enhance the overall artistic experience for our esteemed visitors.
These updates represent a significant step forward in creating a more personalized and interactive environment.
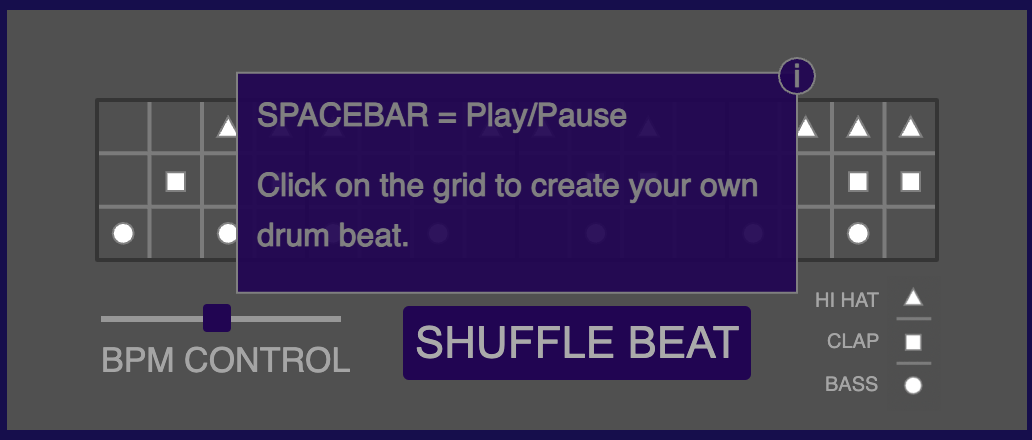
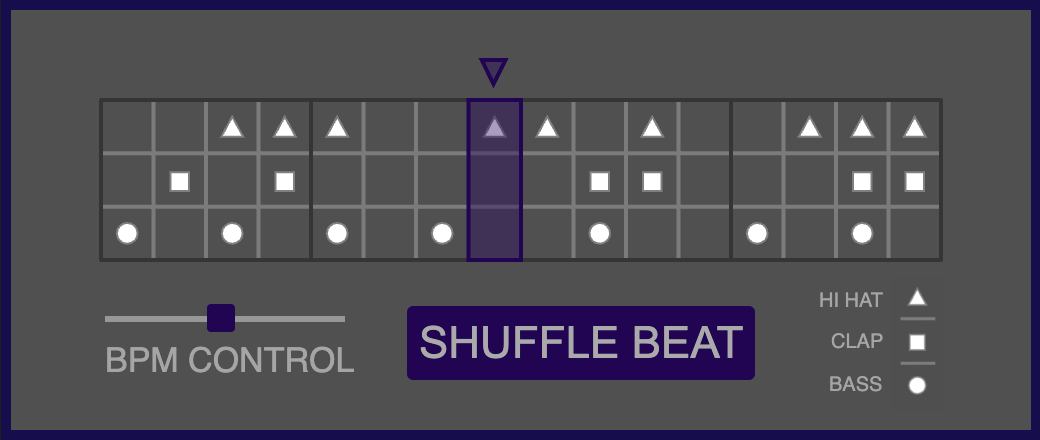
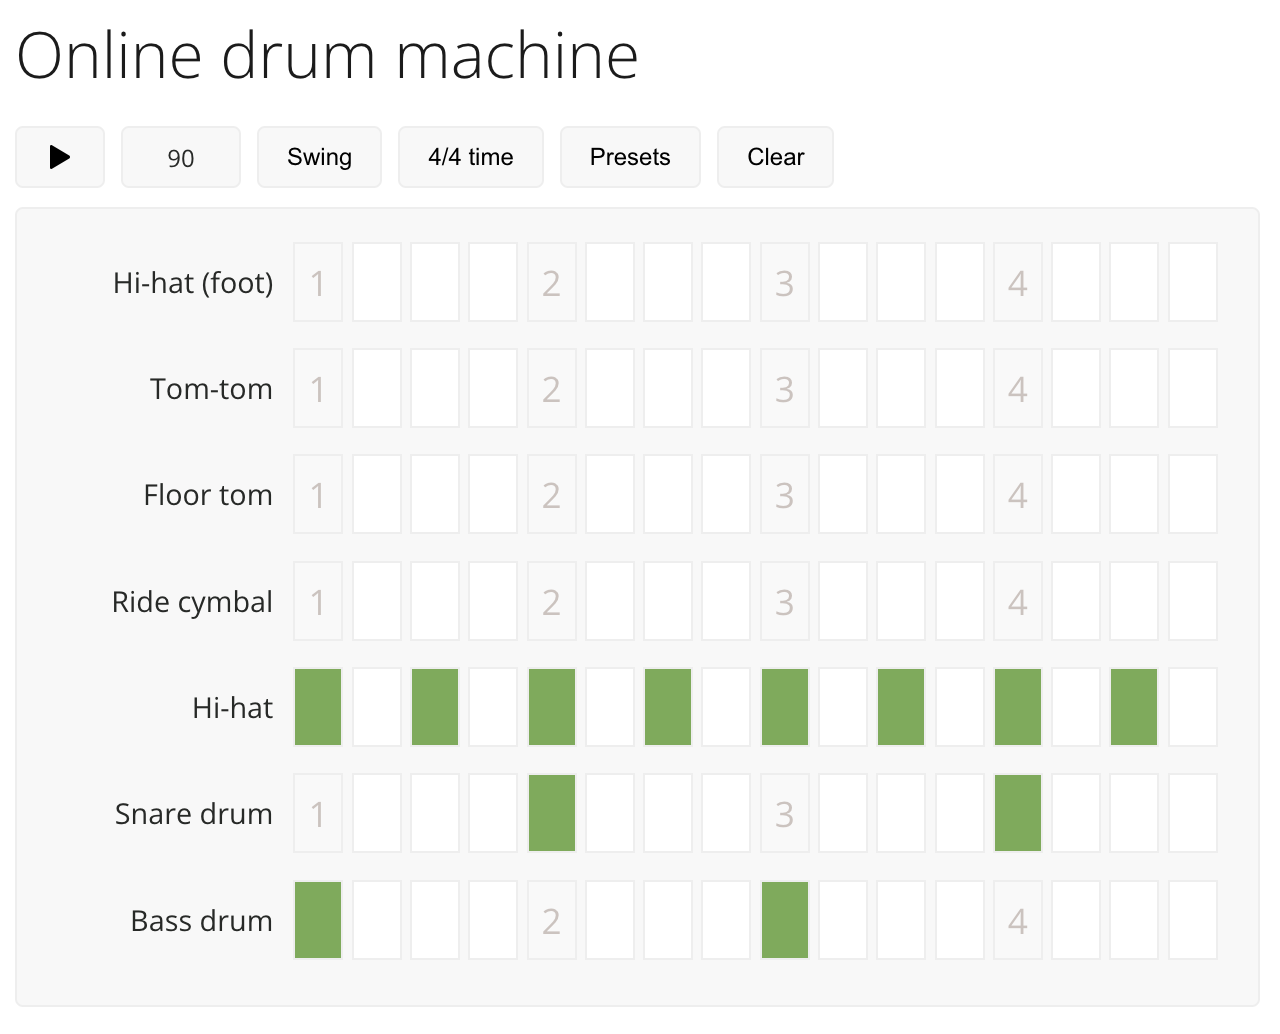
As mentioned earlier, the concept of my drum machine was inspired by playing around with online drum pads/drum machines on the internet. After discovering p5.Sound, I wanted to challenge myself and gain a better understanding of audio programming while also creating music. It seemed like a fun idea to pursue.
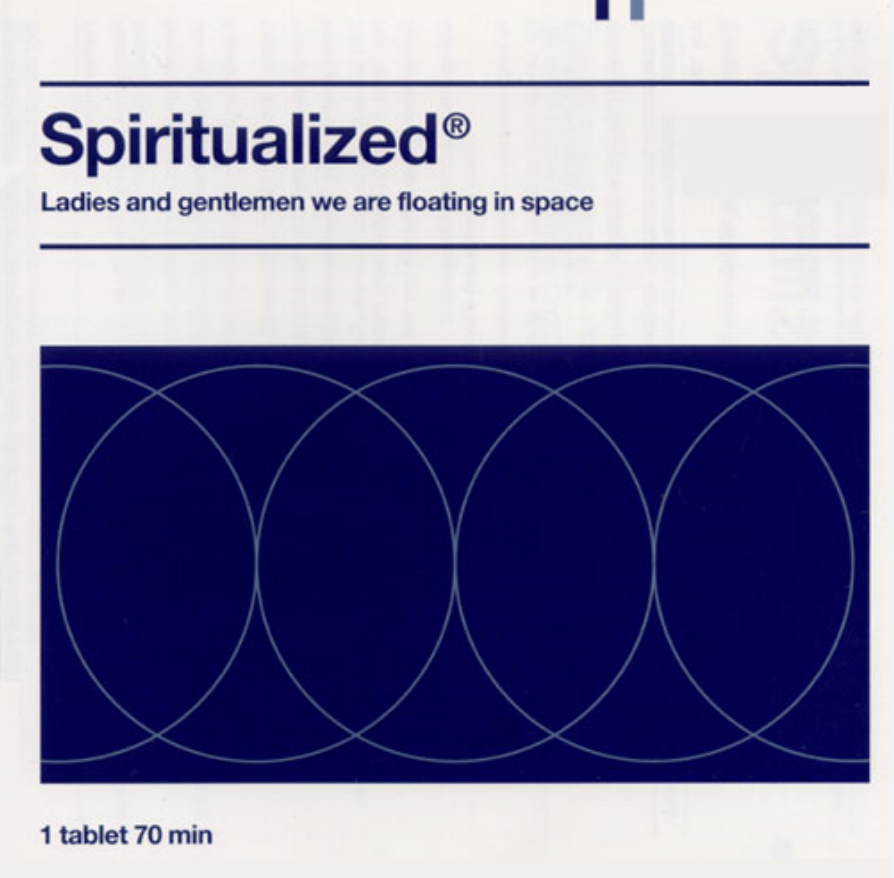
For the artistic vision of the project, I drew inspiration from the minimalist design often used by electronic music producers. The default Helvetica font is popular in this style, and it complemented the minimal CSS I added, making it easier to define the desired aesthetic.
CODING TRANSLATION
The biggest challenge in my code was understanding the p5.Sound library. In hindsight, I realized that using the tone.js library might have made my life easier, but that’s a lesson for another day. One of the main aspects of audio programming was figuring out how to convert the beat array into p5.Phrase and p5.Part processes. Think of p5.Phrase as individual tracks in an audio DAW and p5.Part as the master audio track that encompasses all the multiple drum beat tracks.
Once that was accomplished, the challenge shifted to finding a way to change the value of the array based on mouse clicks on the grid and obtaining the index of the clicked cell to modify the array. After that, my focus shifted to styling the canvas and adding fun functions like shuffle beat. I found that my previous experience with if-else statements and for loops in previous classes greatly aided me in defining these functions.
HIGHLIGHT
The part I am most proud of is figuring out how to change the index of the three drum arrays.
// determines whether a beat/note is played when mouse is clicked on the grid
function mousePressed() {
  // let rowClicked = floor(3*mouseY/height)
  let rowClicked = floor((3 * (mouseY - 50)) / (height - 135));

  // let indexClicked = floor (16*mouseX/width)
  let indexClicked = floor((16 * (mouseX - 50)) / (width - 100));

  if (rowClicked === 0) {
    console.log("1st row" + indexClicked);
    hhPat[indexClicked] = +!hhPat[indexClicked];
  }
  if (rowClicked === 1) {
    console.log("2nd row");
    cPat[indexClicked] = +!cPat[indexClicked];
  }
  if (rowClicked === 2) {
    console.log("3rd row");
    bPat[indexClicked] = +!bPat[indexClicked];
  }

  //   updates the matrix with shapes added/removed
  drawMatrix();
}
REFLECTION
In my next iteration of the code, I would like to add a button that clears the code. Additionally, I would like to include more diverse drum sounds that can be selected through a menu. It would be a cool function to be able to change the time signature of the beat setup from 4/4 to 3/4 or 7/8. There is ample room for customization, but for now, I am content with establishing the foundation of this project.
My midterm project attempts to showcase the beauty of the Indian classical dance of Kathak. The project was ideated based on my experience pursuing the dance form for six years. Living in the UAE, I saw learning Kathak as a way to discover and connect to my cultural roots. The graceful yet swift movements and the jingling of the footbells in Kathak always leave me awestruck.
MAIN IDEA:
The project depicts an interactive book that provides insight into some of the fundamental movements of Kathak. Flipping through the pages, the user encounters interactive animations that add visual detail to the description provided. Below is the basic layout of each page that I had in mind as I began the project.
I wanted to depict the dance movements realistically and decided to adopt the concept of sprite sheets for this task. I began working on the project by collecting all relevant media including images for the spritesheets. It was challenging to create the sprite sheets as I had to ensure that the sizes of the images were all the same. Below are the sprite sheets used in the project.
CODING:
The project has been implemented using object-oriented programming. I have created a separate class for each page. This approach helped me organize the various functions involved. The main highlight of my project is the execution of spritesheets based on the example discussed in class.
Using sprite sheets, I was able to have a layer of interactivity on each page. The animations allow the user to view the demonstration of each dance movement at their own pace using the arrow keys. The functionality of the keys was created using the following code.
function keyPressed() {
  if (currentPage === 1) {
    if (keyCode === RIGHT_ARROW) {
      step1 = (step1 + 1) % sprites1.length; //Determines the frame number
      pages[currentPage].display(); // Redraws the page to update sprite animation
    }
  }
  if (currentPage === 2) {
    if (keyCode === RIGHT_ARROW) {
      step2 = (step2 + 1) % sprites2.length;
      pages[currentPage].display();
    }

  }
  if (currentPage === 3) {
    if (keyCode === LEFT_ARROW) {
      step3 = (step3 + 1) % sprites3.length;
      pages[currentPage].display();
    }
  }
  if (currentPage === 3) {
    if (keyCode === RIGHT_ARROW) {
      step4 = (step4 + 1) % sprites4.length;
      pages[currentPage].display();
    }
  }
}
PROJECT SKETCH:
Throughout the project, I paid attention to details such as the fonts and choice of images which helped make the project visually appealing. The background music is a classical composition involving the Tabla and Sitar, two instruments that form an integral part of any Kathak performance.
CHALLENGES:
The first major challenge that I faced was in trying to change the screen for each page. I overcame this challenge by creating separate classes for each page. Also, I had initially imagined an animation to depict the page flip, however due to my limited knowledge of the use of videos in p5, I was unable to implement it.
IMPROVEMENT:
An improvement that I would like to bring about in this project would be to include the corresponding sound of footbells for each movement on the page about footwork. I tried implementing this idea but was not able to achieve the desired result.
Overall, I believe the project is simple yet unique and involves most of the concepts covered in class. It was a great learning experience which enabled me to tackle all concepts at once.
Through this project, I take a chance to reflect on my work and progress during the first half of the semester. In broad terms, it is a compilation of my work in this class, designed as a mini-game where the user themselves has to jump over obstacles I faced. The idea for this concept came to me when I realized how happy I was with my evolution in terms of artistic expression as the class went on, and I wanted everyone to get a glimpse of this evolution.
The game itself is simple enough and can be thought of as a simplified version of the Google Chrome Dinosaur game – with only ground obstacles. (it is deceptively hard!). However, the design is more complex. For example, since I want my viewers to wait and watch the artworks unfold – I made it such that no new obstacles spawn when the cat is stationary. Lastly, I went for a dreamy – after image trail- look for aesthetic purposes.
Working and Strengths:
As I stated earlier, the game itself can be thought of as a simplified version of the Chrome Dinosaur game. Your journey starts the moment you step into the cat’s paws. The left and right arrow keys move the cat, and the spacebar allows it to jump. Additionally, pressing 1 lets you click a screenshot and save it to your device. Whereas, pressing 2 lets you restart the game. You also have the option to toggle the audio on/off.
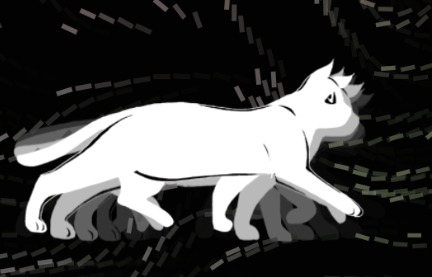
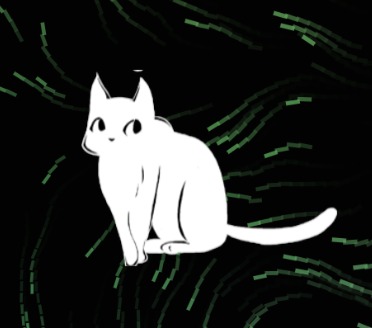
The progression of the game happens at the user’s own pace. Obstacles only spawn as the cat keeps moving, and they are randomized in size – being one of three variants: “Error”, “Deadline” and “Breakdown”. The cat’s movements include a sitting animation cycle and a walking animation cycle. Aesthetically, I went for a simple color pallet making my main character – a cat white, and the background black, that complimented my color usage in previous projects. The font style I chose resembles handwritten text – a decision made to further highlight the personal tone of the work. I also went for a generally upbeat theme to add to the work!
My cat sprites in motion!
On a technical level, the collision detection and mechanics were surprisingly hard to implement due to the length of the cat. Even when I got the implementation right, it was nigh impossible to play the game as intended (as it would lead to a continuous triggering of the collision mechanism). I needed to find a way to make this mechanism work without increasing the cat’s speed and worsening the overall experience.
Ultimately, I realized I could also increase the speed on the X axis while jumping, that made the game a lot smoother.
Another area whose technicality I am proud of is the cat animations. I only had a sprite sheet for a right walk cycle. In code, I used this to also work for a left walk cycle (by flipping). But more importantly, I managed to find a way to connect my sitting cycle with my walk cycle. The cat now sits down when you are not moving, and then gets back up (in reverse the sit cycle) when you start again!
/ Check direction of camera movement to adjust cat's direction
    if (camX > lastCamX) {
      direction = -1;
    } else if (camX < lastCamX) {
      direction = 1;
    }

    // If camera is not moving and the cat was walking previously
    if (camX == lastCamX && wasMoving) {
      wasMoving = false;
      isWalking = false;
      isSitting = true;
      sitFrames.reverse();
      currentFrame = 0;
    }
// If camera starts moving and the cat was sitting previously
    if (camX != lastCamX && !wasMoving) {
      wasMoving = true;
      isSitting = false;
      isWalking = true;
      sitFrames.reverse();
      currentFrame = 0;
    }

// Draw the cat
    let frameToDraw;
    if (isWalking) {
      frameToDraw = walkFrames[currentFrame % 12];
      if (frameCount % 2 == 0)
        //making the animation slower
        currentFrame = (currentFrame + 1) % 12;
    } else if (isSitting) {
      frameToDraw = sitFrames[currentFrame];
      if (frameCount % 2 == 0 && currentFrame < 6) {
        currentFrame++;
      }
    }
On a more fun note, while working on the project I realized a peculiarity of the code – if you try to run away from the obstacles – they start bunching up and appear together more frequently – a fact we all know to be true from experience.
Reflections and Future Work:
Throughout this project, I ran into several problems – a couple of which I already highlighted in the above section. In general, staging the whole game was quite the task (as it involved basically a moving background created by a camera movement (that we simulate by a constant translation based on arrow keys)). This could only be resolved with meticulous testing.
Moving on, I’ve identified two crucial components of my project that might require some improvement: the way it appears and the way it functions. I believe I can further improve the project’s aesthetics and visual appeal. To make it more appealing, the background and cat’s appearance can be improved. Additionally, I want to make the text on the obstacles more legible. On a functional level – the hitboxes of the collision functions aren’t yet perfectly set – I’d like to explore using an elliptical hitbox than a rectangular one.
Finally, I would love to include my expectations and plans for the second half of the semester, as well as any abstract ideas or goals I may have as the ending scene – something that I didn’t have time to implement.
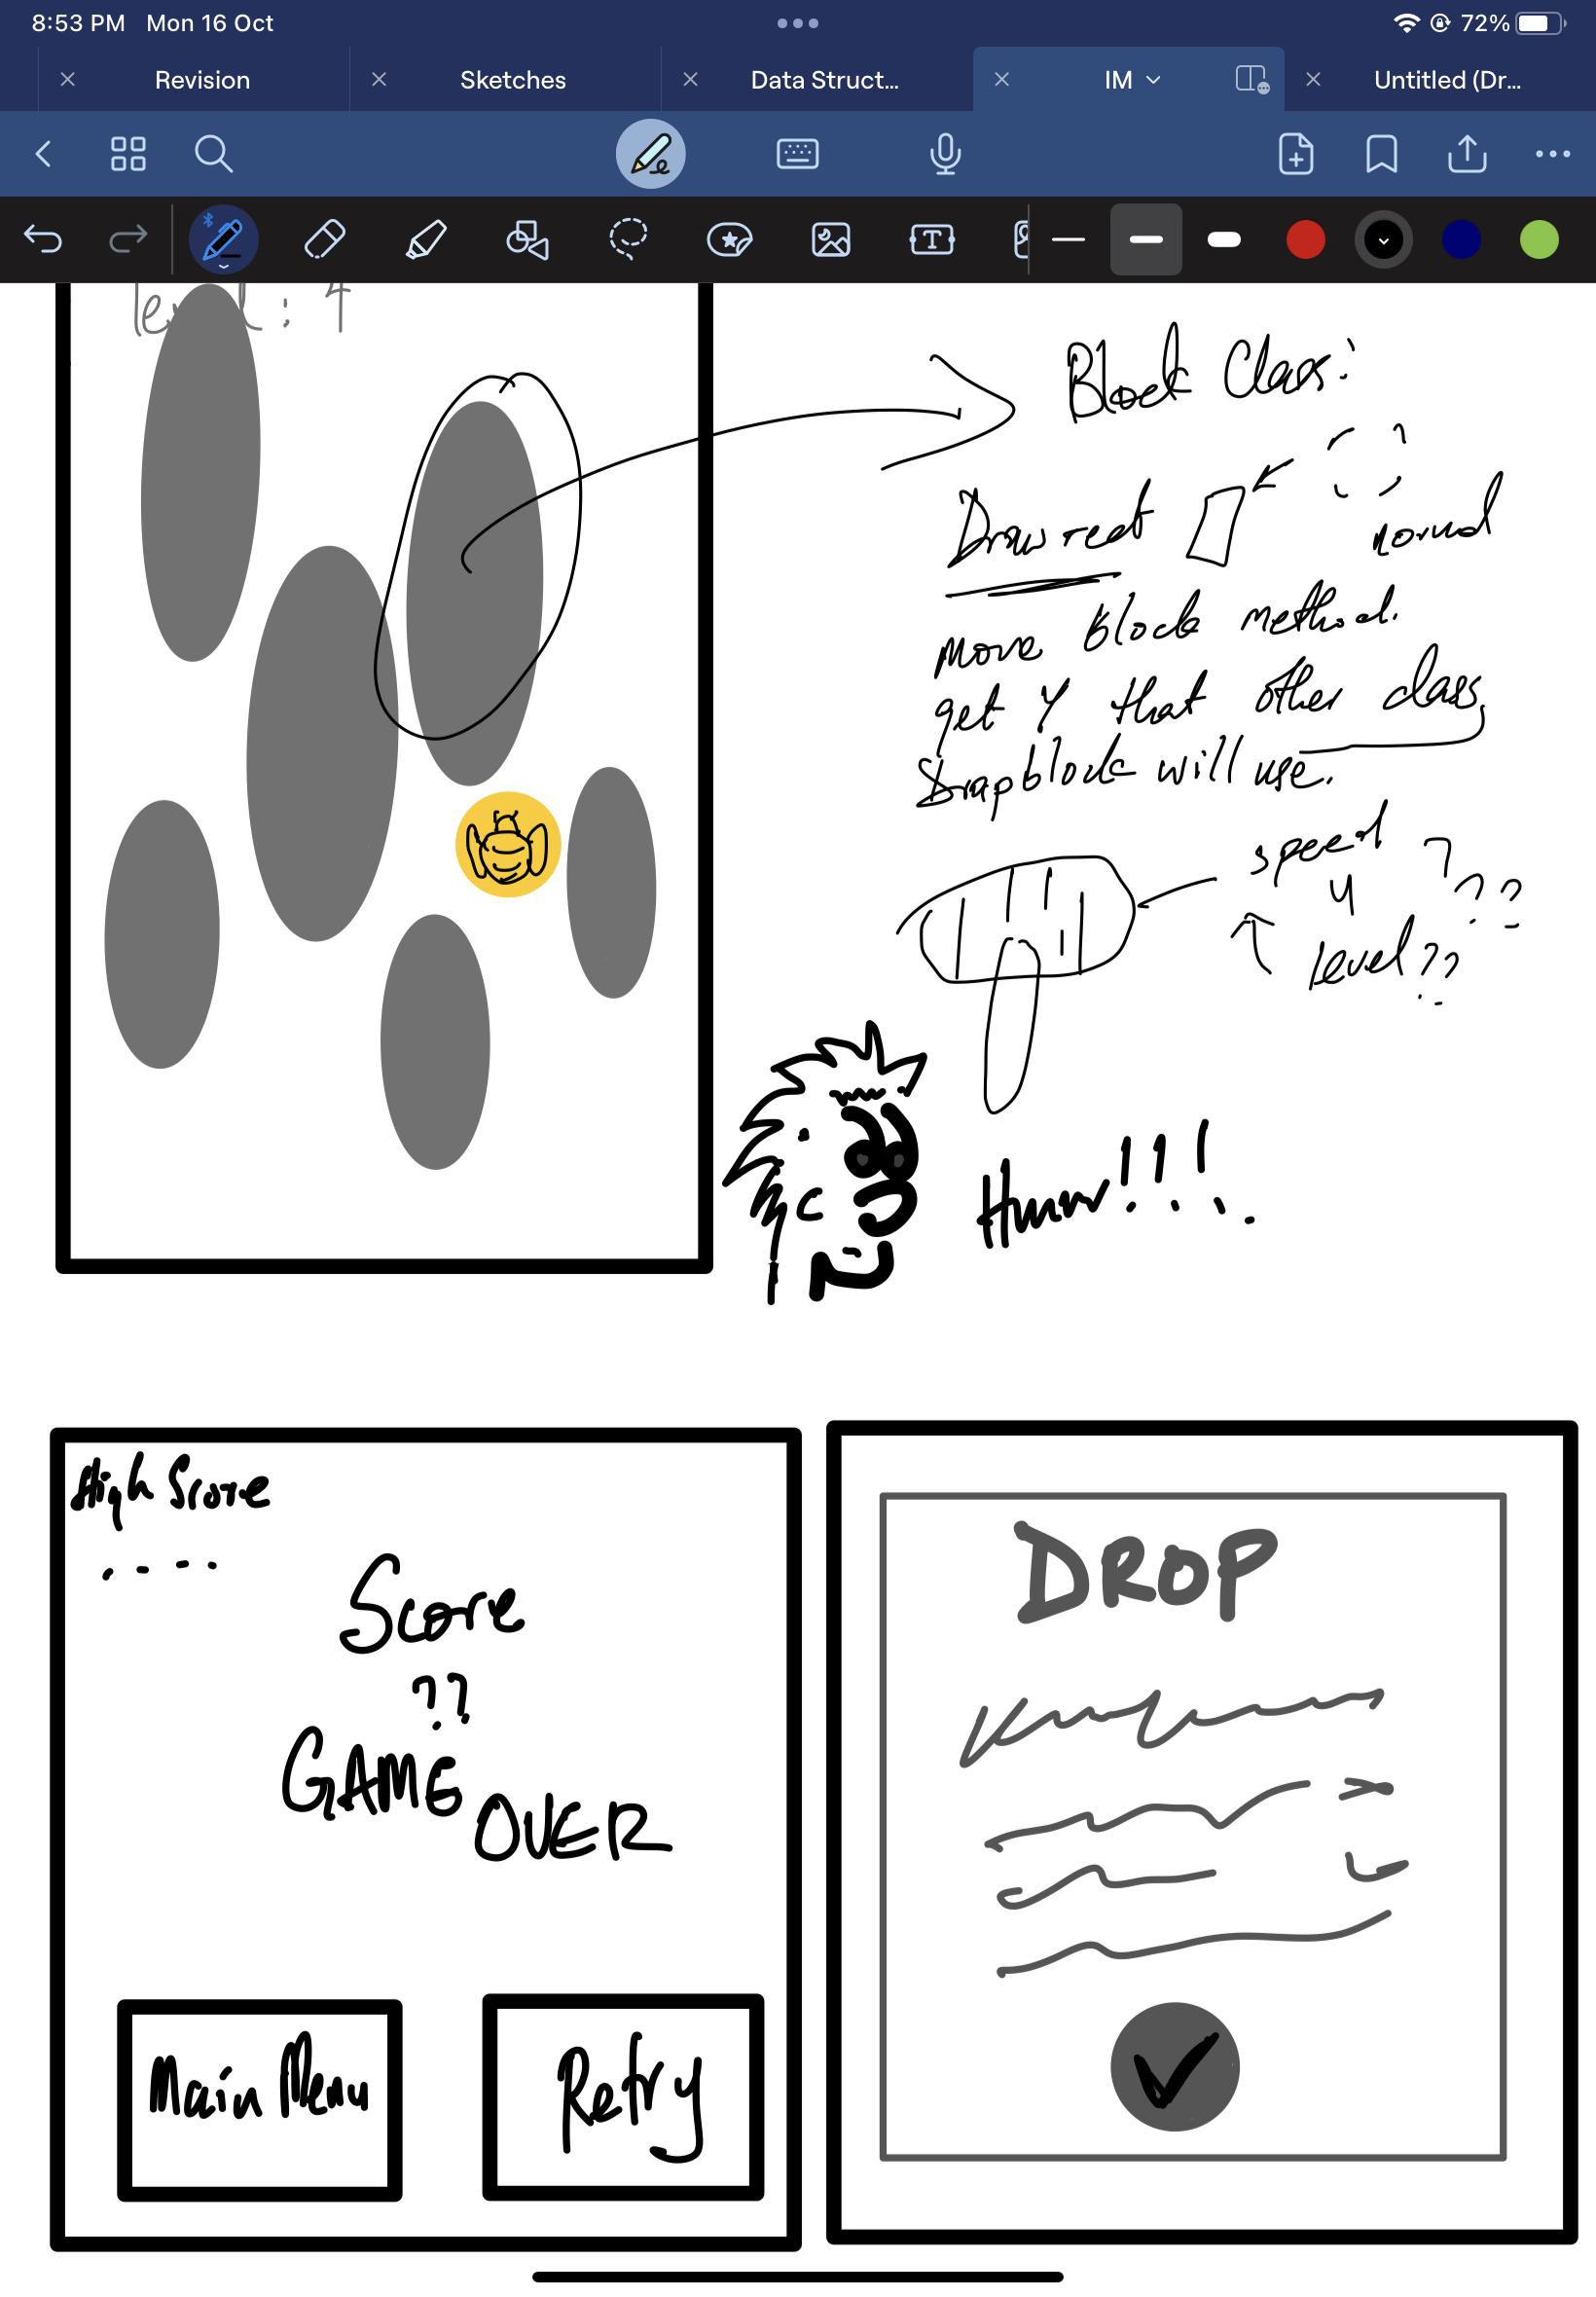
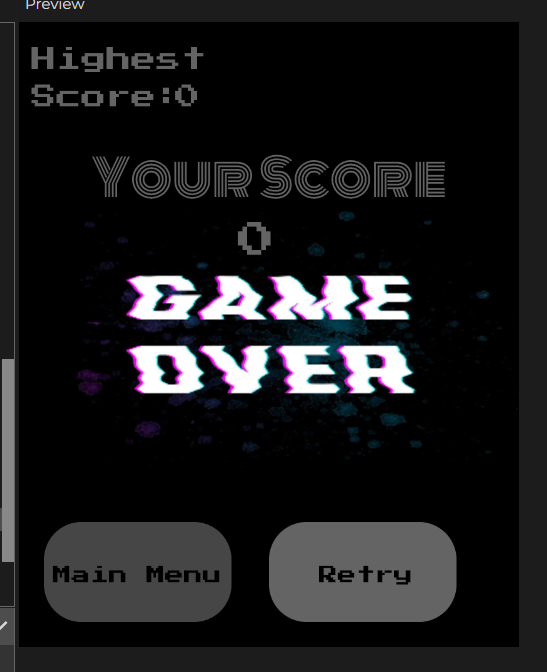
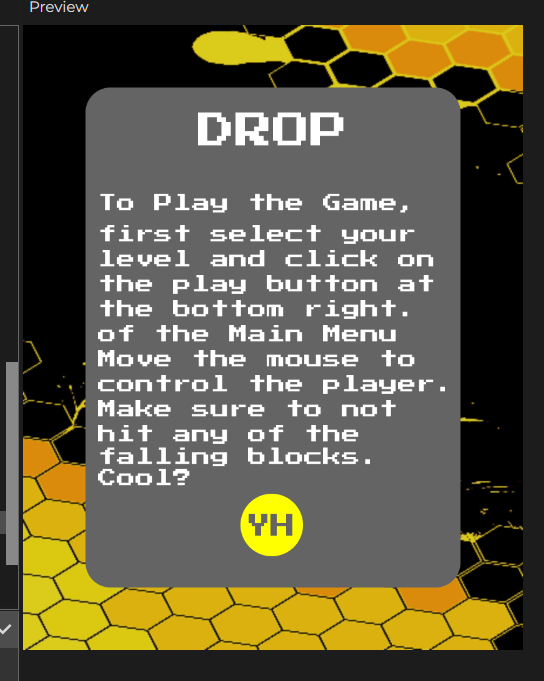
In one of Daniel’s-“The Funny Guy” videos he created something like a buzzing bee effect and I really liked his reaction to it so I thought of making a game that uses the idea of a buzzing bee. For my midterm project, I created a game that mimics the behavior of a bee.
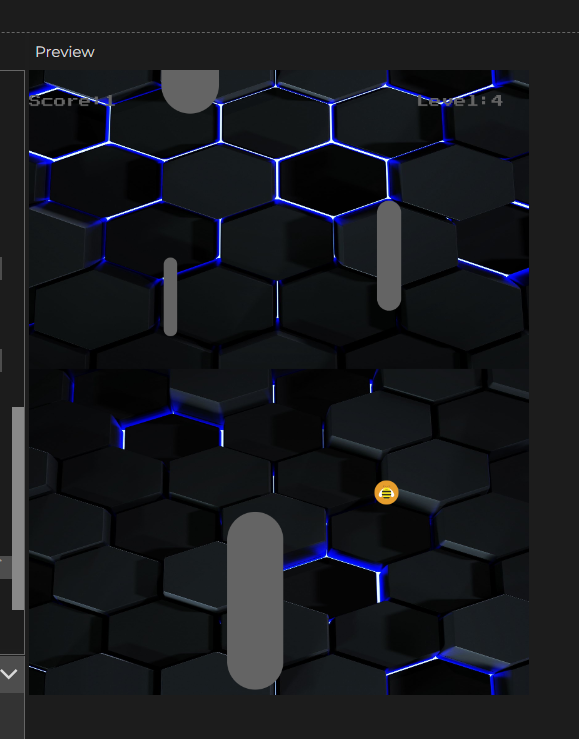
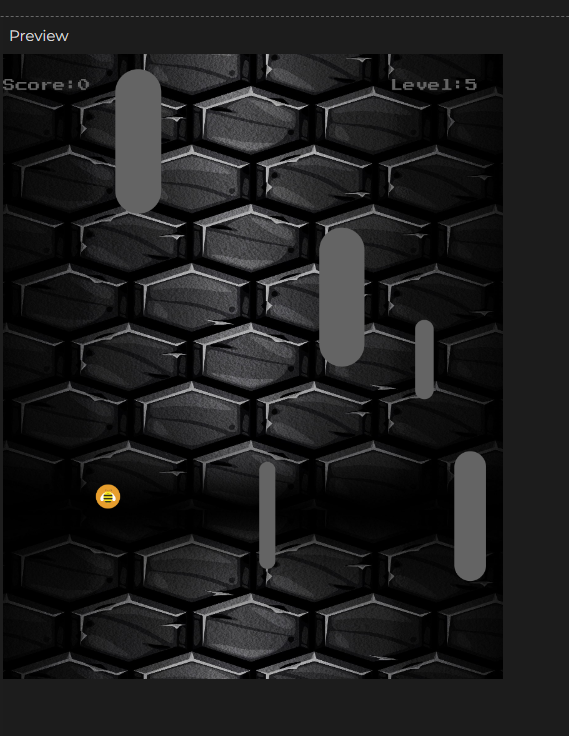
I decided to create a game with a bee theme to immerse the user into the game by making them swerve falling blocks. This is a simple game with 8 different levels that increase in difficulty as you progress. this is to prevent the user from getting bored early.
Design:
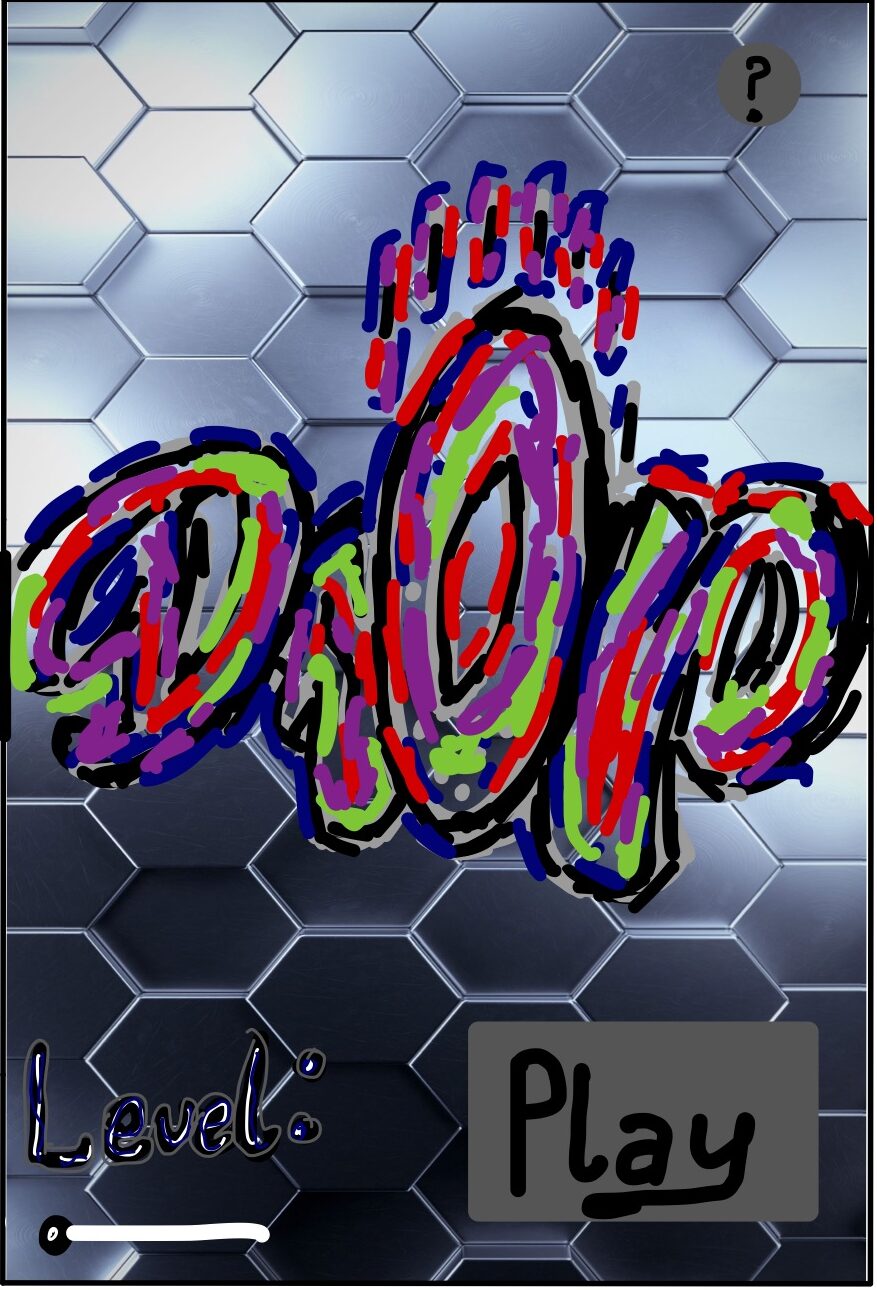
Initially, I thought of drawing the background for each level and then uploading the picture onto p5 but then that did not look so good.
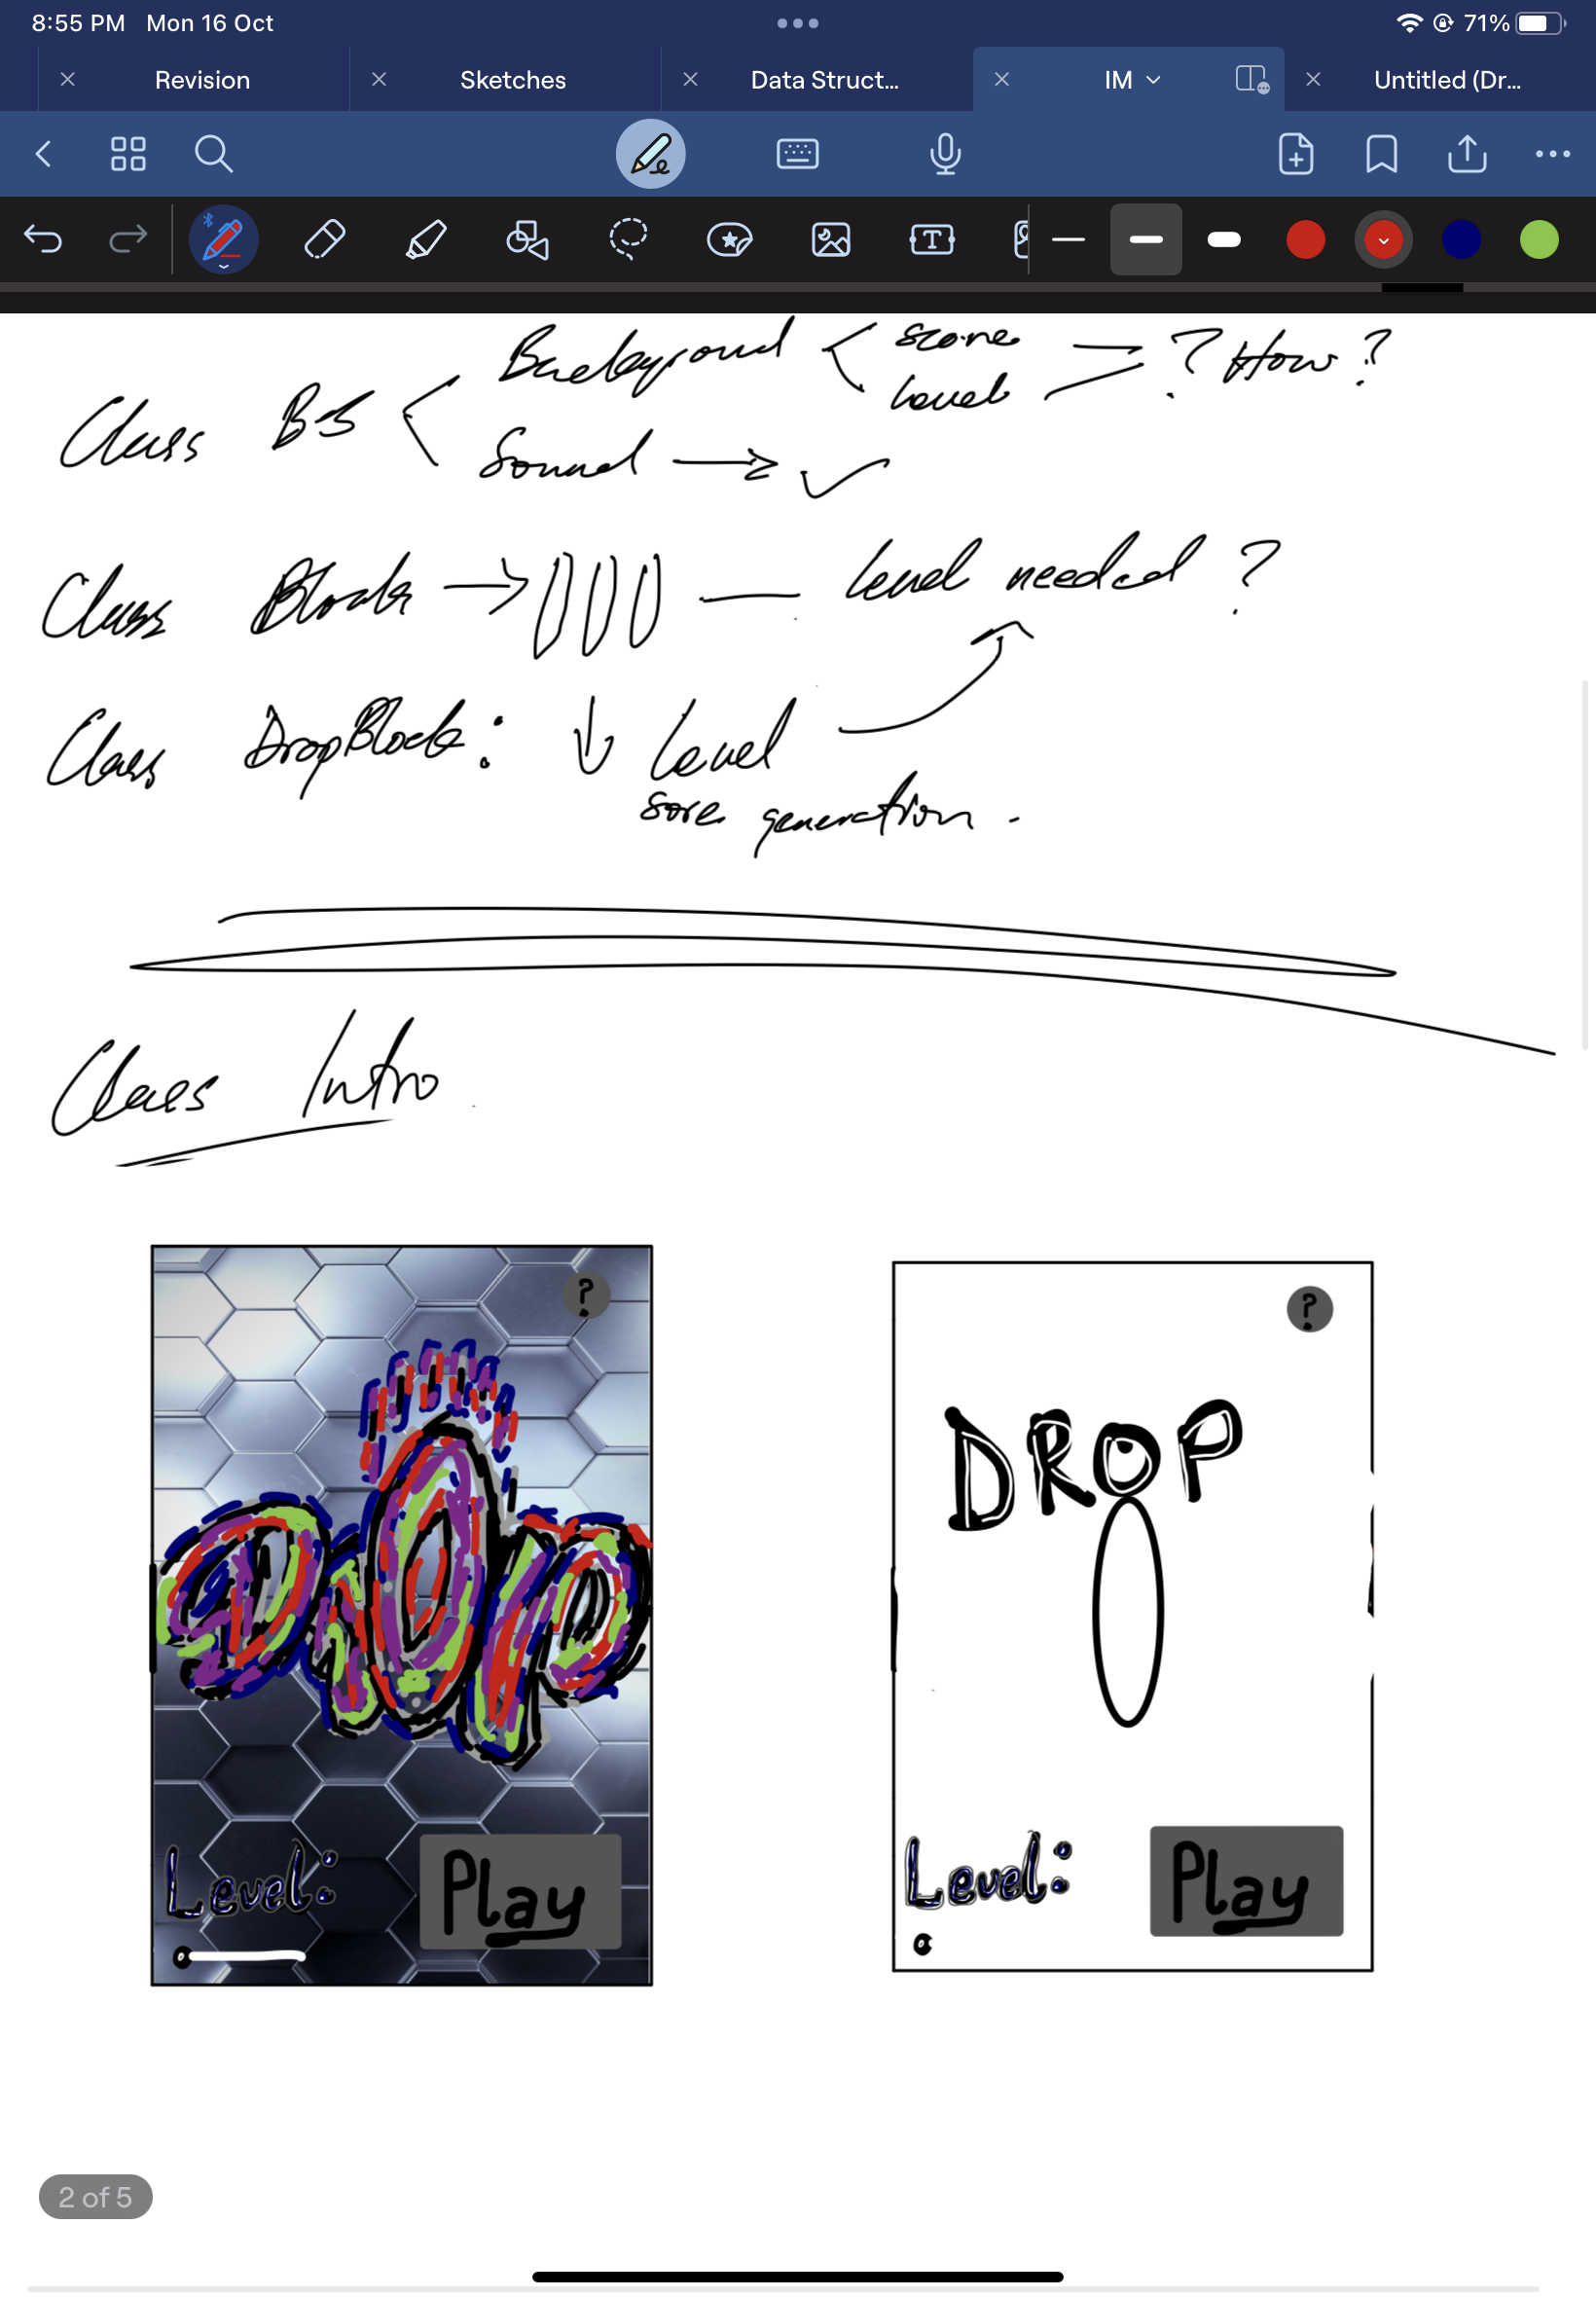
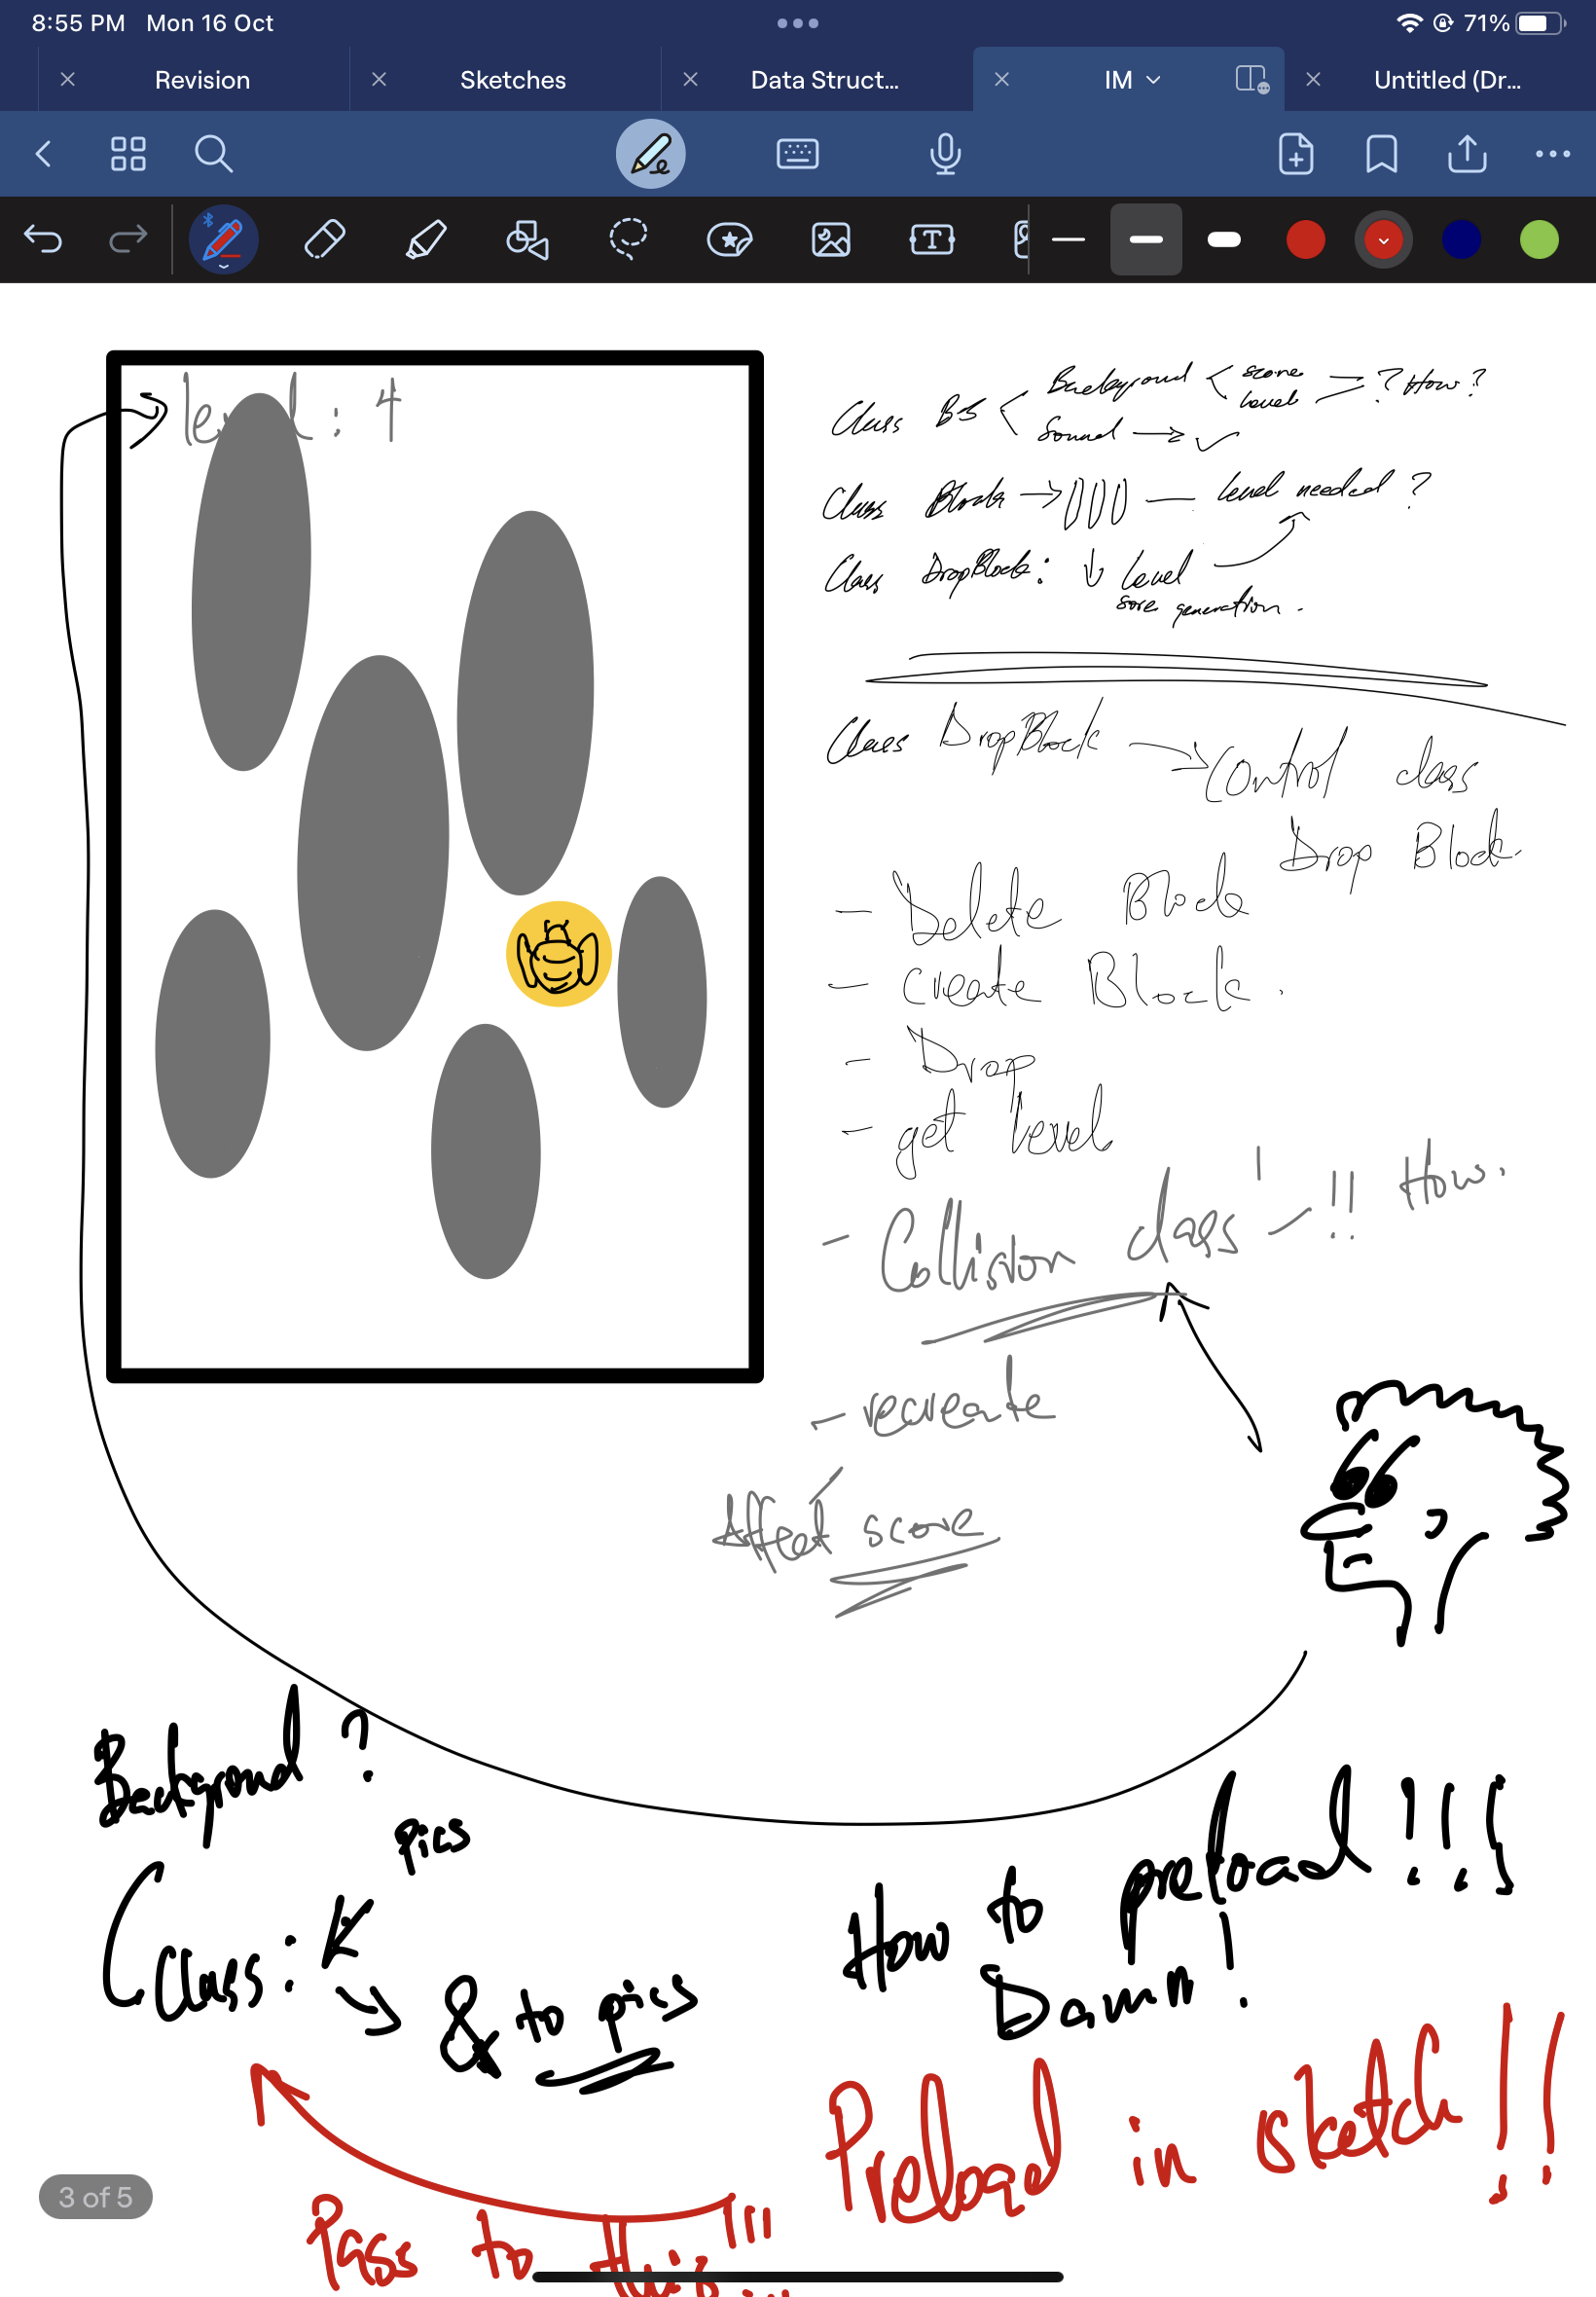
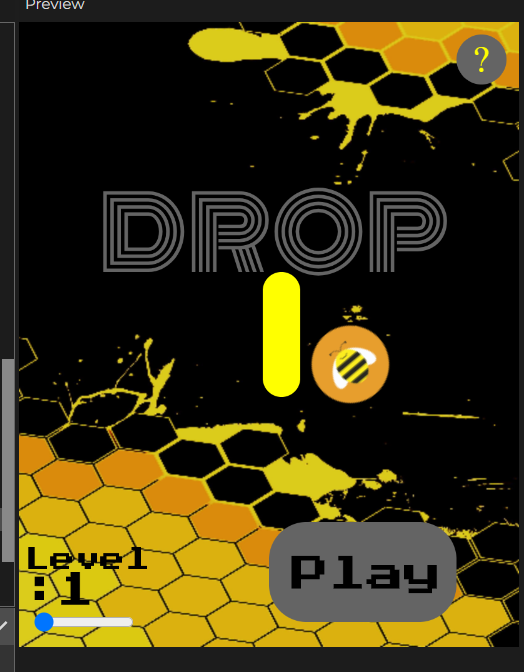
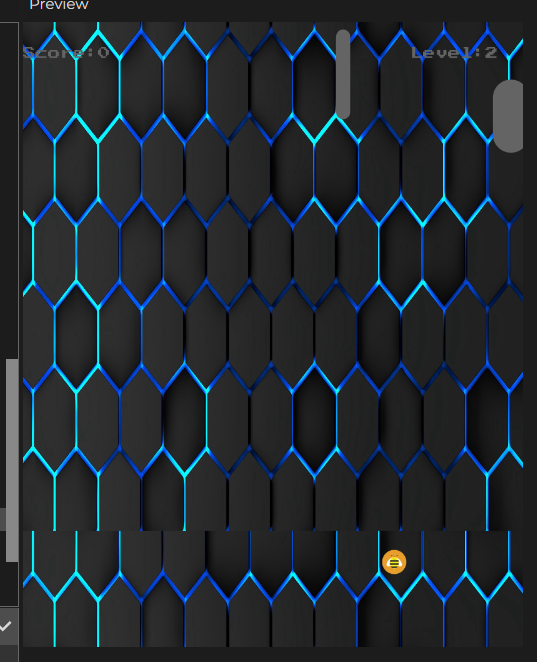
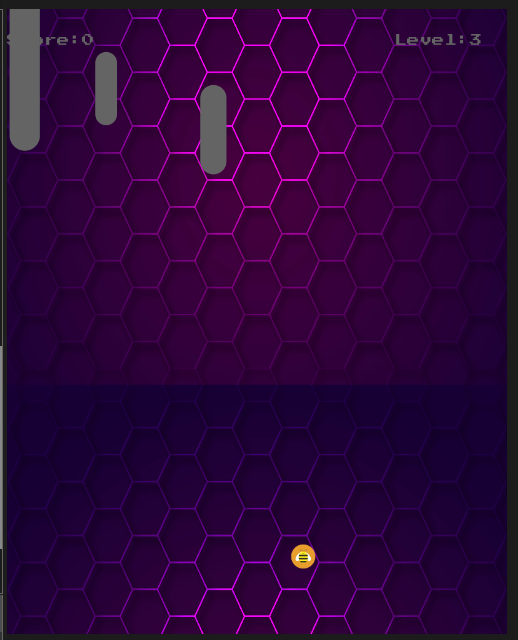
But then this was not nice so I decided to go with a different design. I decided to just use a simple design and add a cool background with the bee theme. something like a honey comb. The rest of the design was mainly thoughts of how to structure the whole game into classes and what each class would end up doing.
Challenging Parts of this project:
The most challenging part of this project was preloading the different files that I imported into the project. This took me h0urs to figure out and a piece of advice is to always preload all the imports in one class and not various classes.
function preload(){
  //in this preload function we will load all the uploads we need before we even start the game. The folder name is always mentioned before the file name to help the compiler to know the location of the file we want to add.
  B1=loadImage("Background/B1.jpg");//these sets are for the background
  B2=loadImage("Background/B2.jpg");
  B3=loadImage("Background/B3.jpg");
  B4=loadImage("Background/B4.jpg");
  B5=loadImage("Background/B5.jpg");
  B6=loadImage("Background/B6.jpg");
  B7=loadImage("Background/B7.jpg");
  B8=loadImage("Background/B8.jpg");
  IB=loadImage("Background/IB.jpg");
  GB=loadImage("Background/GB.jpg");
  F1=loadFont("Fonts/Font1.ttf");//these sets are for the fonts
  F2=loadFont("Fonts/Font2.ttf");
  S1=loadSound("Sounds/unplay.mp3");//these sets are for the sounds
  S2=loadSound("Sounds/select.mp3");
  S3=loadSound("Sounds/hover.mp3");
  S4=loadSound("Sounds/hit.mp3");
  S5=loadSound("Sounds/play.mp3");
  P1=loadImage("Players/bee.png");// this one is to load the player png
}
Another recent challenge was the implementation of the sounds. I learnt something new with this challenge that to pass a variable by reference we do not need to create a variable in class as in “this.variablename” we just have to pass the variable and use it in the class by reference. In that case, the main variable is affected by what ever we do. This helps prevent creating duplicates of the same sound.
S4.play();//play the hit sound
       S1.play();//play the sound played when not playing. In this case I use S4 and not this,S4 because i want to access an object by reference to have control of the object that was initially playing in the game regardless of the objects location. creating this.S4 will create a copy and we would either start the sound or end up playing over another preexisting sound
       S5.pause();//pause the in game sound... yeah the annoying one
Another tricky aspect was the collision and the deletion of the blocks after they cross the end of the canvas. In my case, each level has its own threshold that needs to be attained before the level is incremented. Silly me, I wanted to incorporate this in another class which wasted a lot of my time all for nothing. I realized that in as much as you want your work to look clean and separated you should know that you can utilize a class as much as you want and that there is nothing wrong with having a large class. Also about the collision, The “png” was resized to be a square so in order to get the collision effect, I had to use the “dist” function in my case to aid me to draw the circle that would be used to detect the intersection
  collision(){//this method is the one that checks if the play has collided with the falling blocks. It does this by going through the array and checking if the arrays height and width in accordance to the x and y coordinate intersect with the players circular dimensions.
    for(let i=0;i<this.lvl;i++){
      if(
        mouseX+10>this.blockArray[i].x&&mouseX-10<this.blockArray[i].x+this.blockArray[i].w&&
        mouseY+10>this.blockArray[i].y+5&&mouseY-10<this.blockArray[i].y+this.blockArray[i].h-5){//if there is an intersection,


deleteBlock(){//this method deletes blocks...used to delete blocks when they cross the height of the canvas.
    for(let i=0;i<(this.lvl);i++){
      if(this.blockArray[i].getY()>height){//if the top of the object for each object in the array has passed the height of the canvas
        this.score++;//increment the score by one.
        //for every level there is a score boundary that one is suppose to reach to move to the next level the if else code block below sets every level's boundary and increments the number of blocks for each level while increasing the level.
        if(this.lvl==1&&(this.score%3)==0){//if the score is 3, and we are on level one, increase the level and add one block object to the array
          this.blockArray[this.lvl]=new Block(this.lvl);//add the block
          this.blockArray[this.lvl].setBlock();//setting the new block that has been added
          this.blockArray[this.lvl].drawBlock();//draw the block that was jusr added
          this.lvl++//increment the lvl
        }
        else if(this.lvl==2&&(this.score%13)==0){//similar to above and below but each statement has its own treshold
          this.blockArray[this.lvl]=new Block(this.lvl);
          this.blockArray[this.lvl].setBlock();
          this.blockArray[this.lvl].drawBlock();
          this.lvl++
        }
        else if(this.lvl==3&&(this.score%23)==0){
          this.blockArray[this.lvl]=new Block(this.lvl);
          this.blockArray[this.lvl].setBlock();
          this.blockArray[this.lvl].drawBlock();
          this.lvl++
        }
        else if(this.lvl==4&&(this.score%33)==0){
          this.blockArray[this.lvl]=new Block(this.lvl);
          this.blockArray[this.lvl].setBlock();
          this.blockArray[this.lvl].drawBlock();
          this.lvl++
        }
        else if(this.lvl==5&&(this.score%45)==0){
          this.blockArray[this.lvl]=new Block(this.lvl);
          this.blockArray[this.lvl].setBlock();
          this.blockArray[this.lvl].drawBlock();
          this.lvl++
        }
        else if(this.lvl==6&&(this.score%60)==0){
          this.blockArray[this.lvl]=new Block(this.lvl);
          this.blockArray[this.lvl].setBlock();
          this.blockArray[this.lvl].drawBlock();
          this.lvl++
        }
        else if(this.lvl==7&&(this.score%80)==0){
          this.blockArray[this.lvl]=new Block(this.lvl);
          this.blockArray[this.lvl].setBlock();
          this.blockArray[this.lvl].drawBlock();
          this.lvl++
        }
        else if(this.lvl==8&&(this.score%100)==0){
          this.blockArray[this.lvl]=new Block(this.lvl);
          this.blockArray[this.lvl].setBlock();
          this.blockArray[this.lvl].drawBlock();
          this.lvl++
          if(this.lvl==9){//since level 8 is the last level, if, the level goes to level 9, decrement the level back to level 8.
            this.lvl--;//decrement the level
        }
         }
        delete this.blockArray[i];//if the block has passed the height, delete the block object,
        this.blockArray[i]=new Block(this.lvl);//create a new object and replace it with the old one that was deleted
        this.blockArray[i].setBlock();//set block to give it a new x coordinate and y coordinate and size etc. we donot draw the block because we need to draw it just once
       }
   }
  }
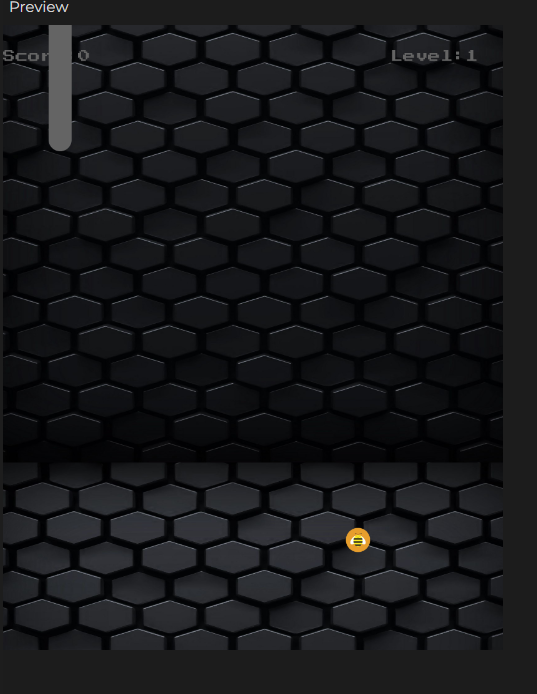
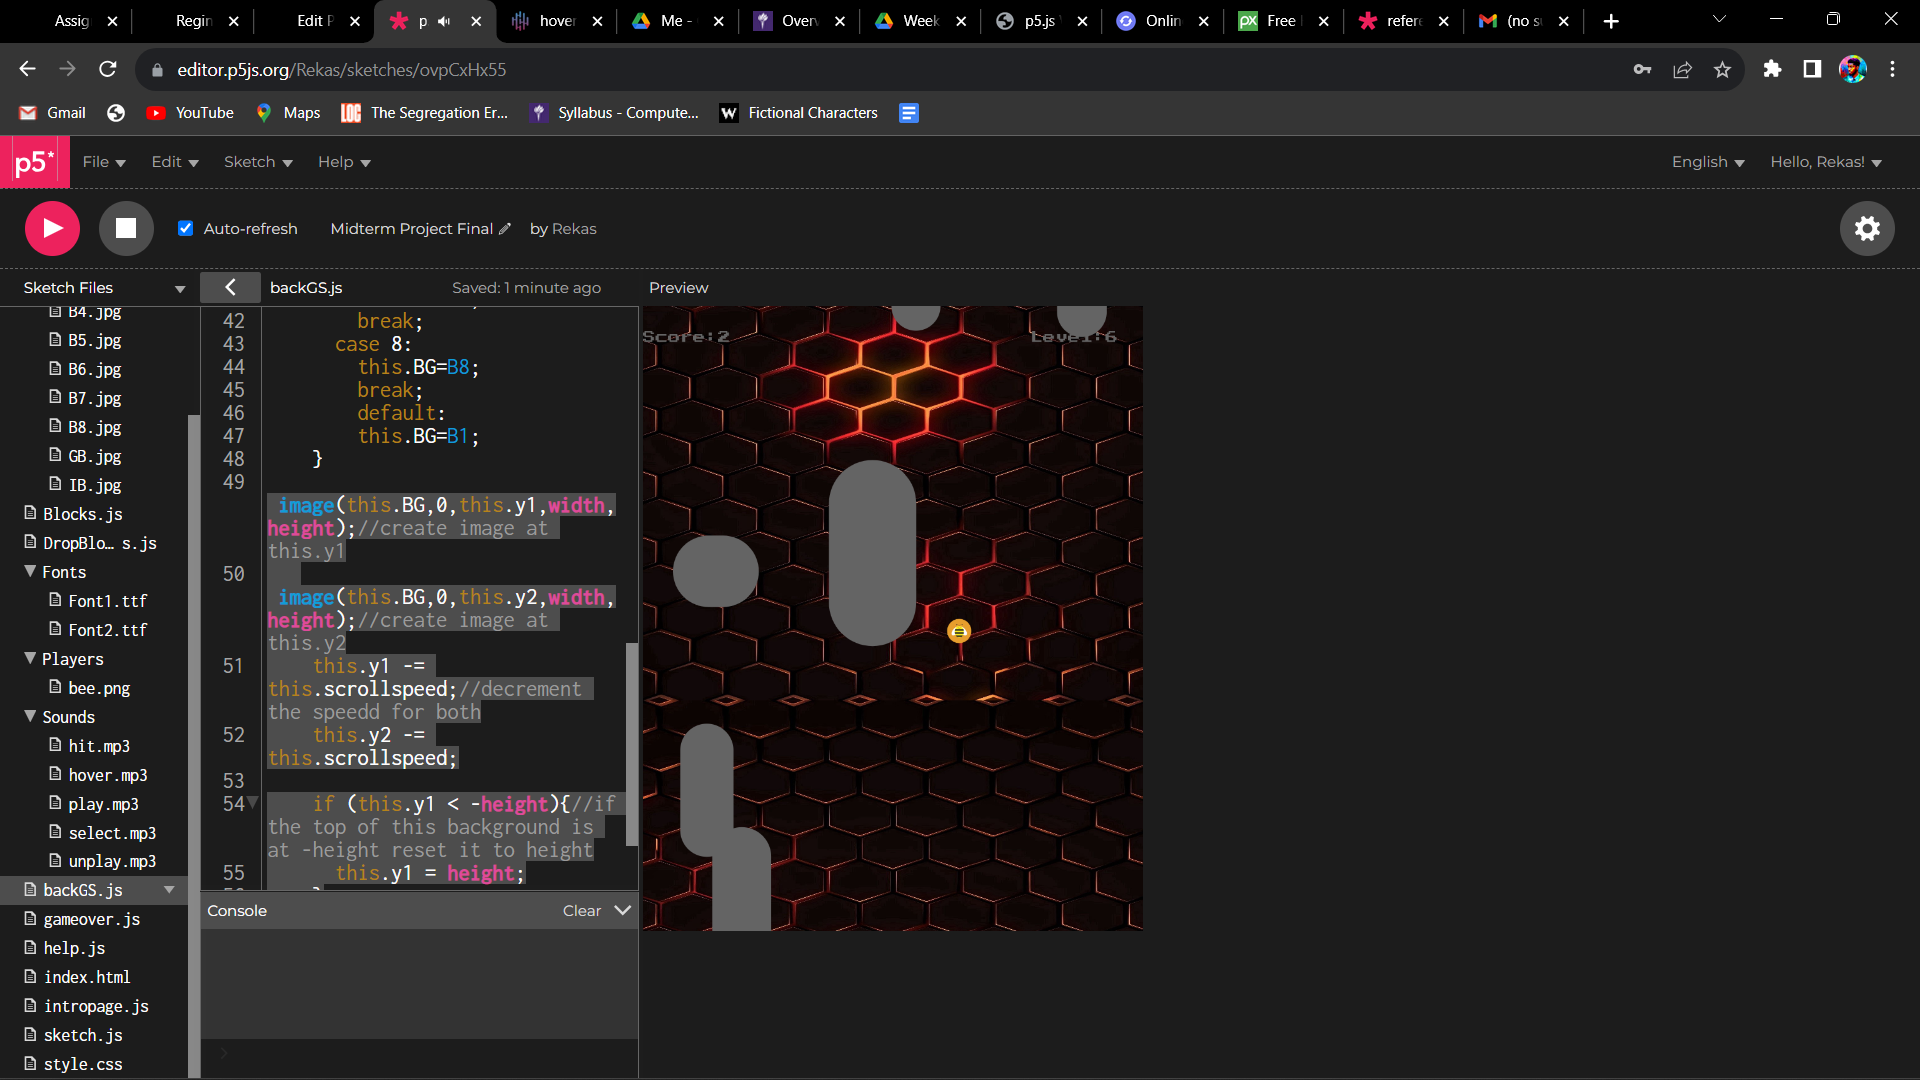
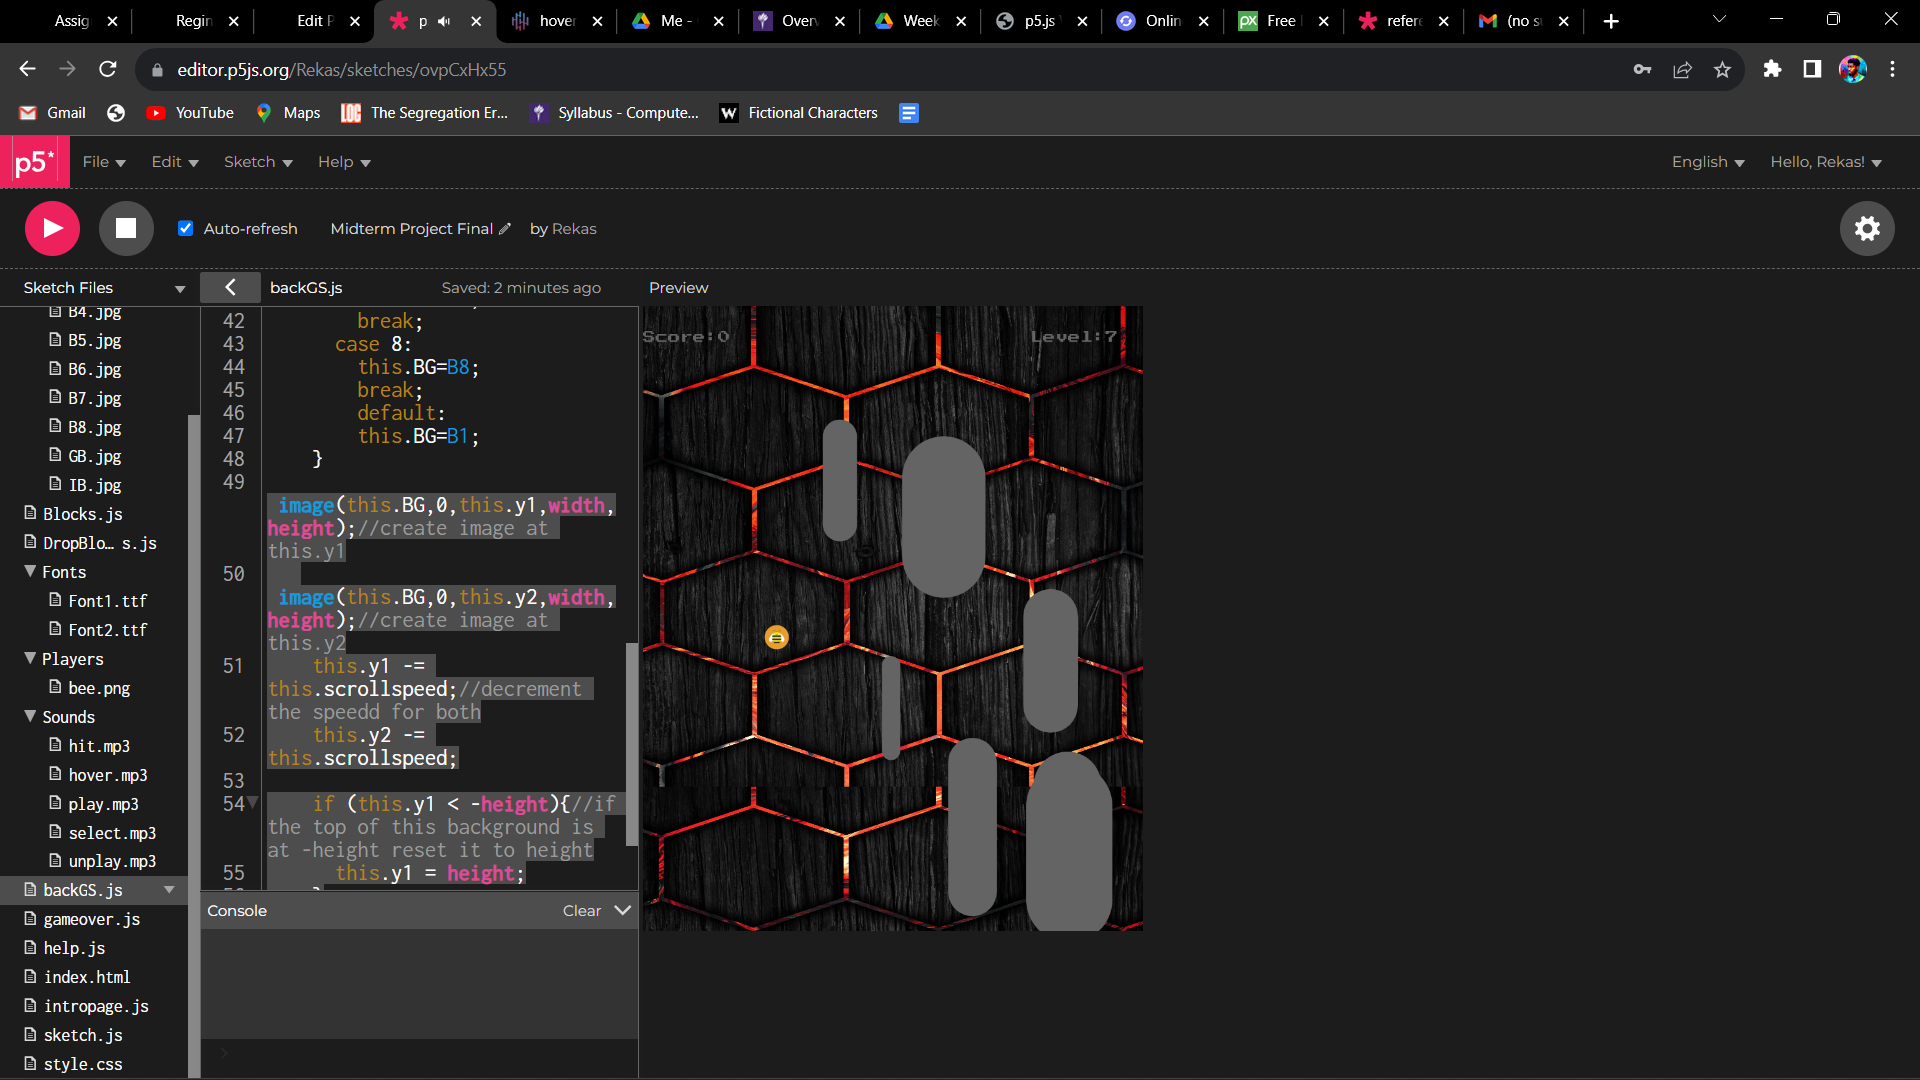
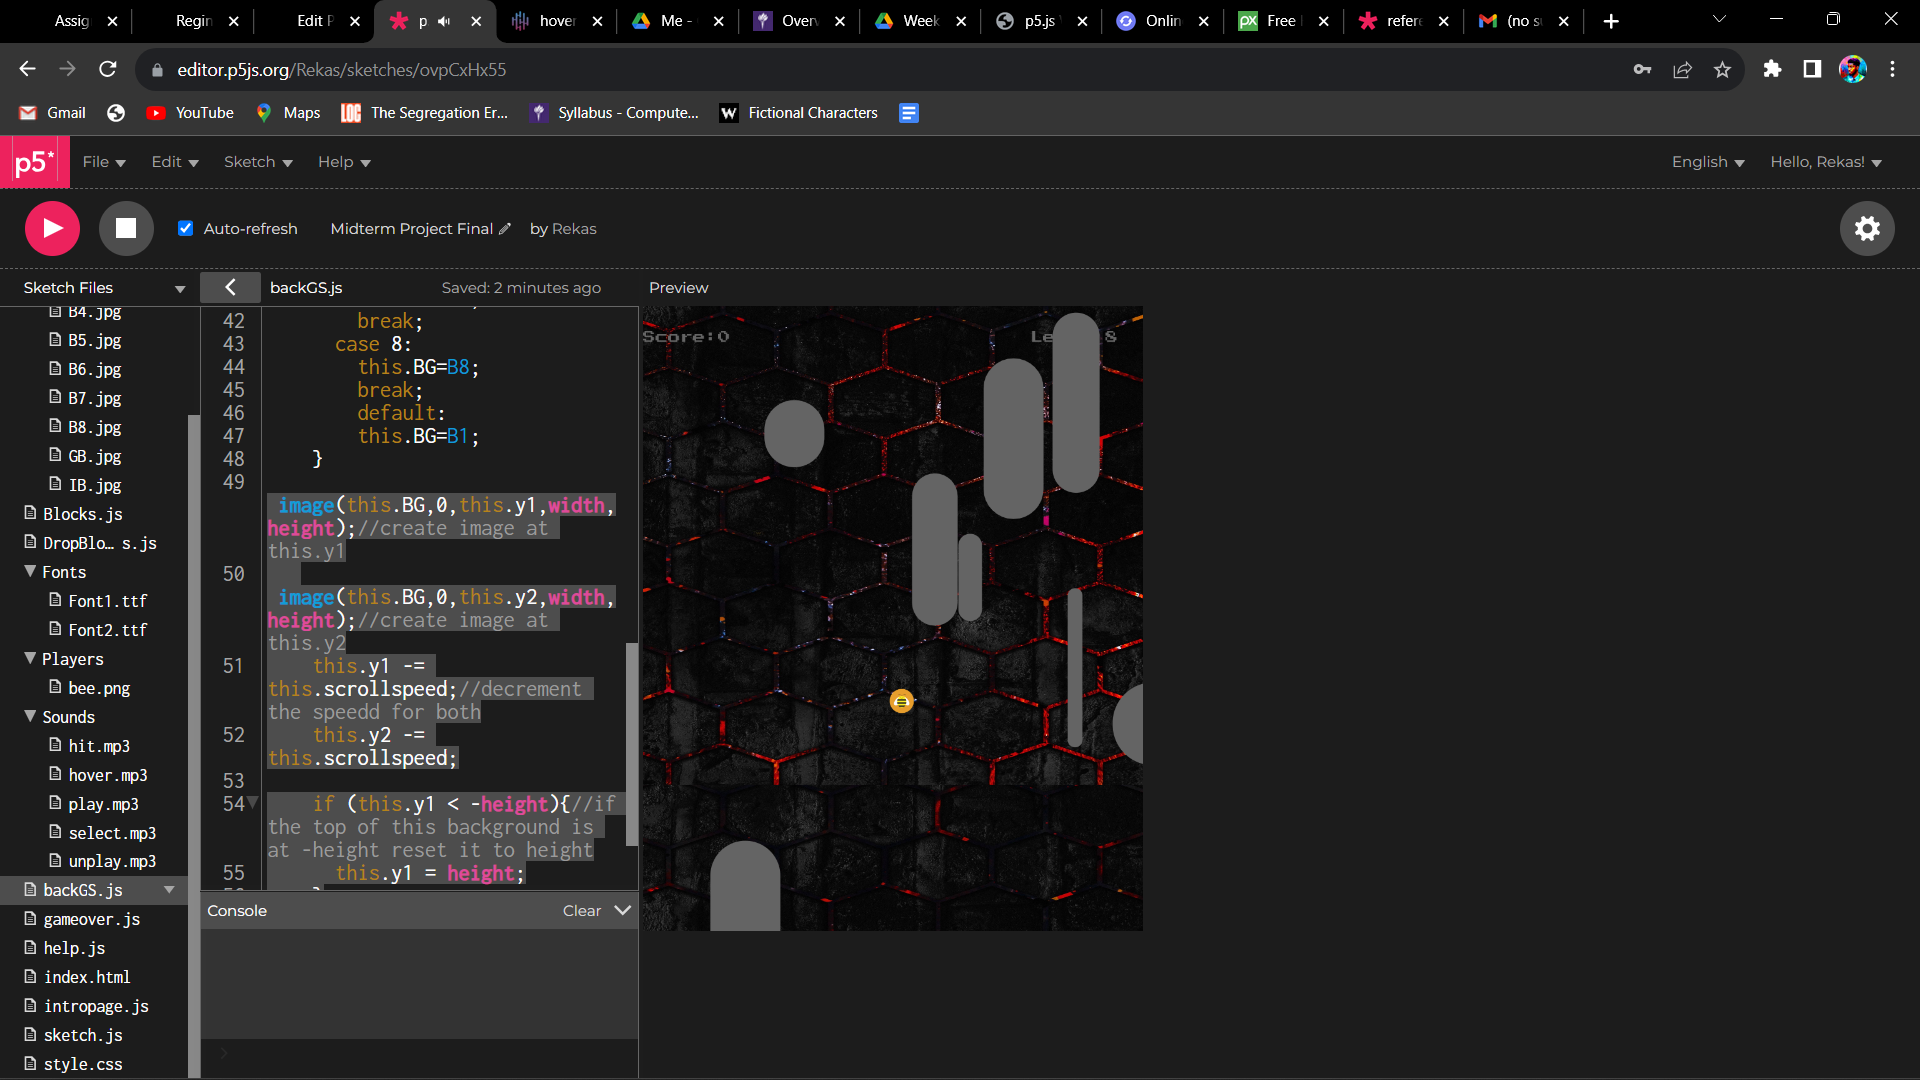
Another major challenge was figuring out how the background moves which also took a lot of time to understand but it was cool after implementing it. However I realized that at the page_end and the page_front, the distinction is visible so next time I will look for Images that have this incorporated.
image(this.BG,0,this.y1,width,height);//create image at this.y1
   image(this.BG,0,this.y2,width,height);//create image at this.y2
   this.y1 -= this.scrollspeed;//decrement the speedd for both
   this.y2 -= this.scrollspeed;

   if (this.y1 < -height){//if the top of this background is at -height reset it to height
     this.y1 = height;
   }
   if (this.y2 < -height){//repeat the above for this y2 too
     this.y2 = height;
   }
 }
Project Snapshots:
Thoughts for the Future:
I hope that in future I can fix or get Backgrounds that do not have visible transitions. And also I hope to be able to incorporate motion detecting to allow the user to control the player by just moving their head.
The overall concept for my midterm project I have described in my first progress post regarding this assignment. I was inspired by another student’s project, as well as reminiscent of the 2D mobile puzzle games that I loved to play, and thus, I decided to create my own puzzle game. I think puzzle games are meant to be mysterious and invoke a lot of thinking in order to solve them, and thus, when I initially planned on what my midterm would be, I was highly ambitious. Nevertheless, I am extremely happy with the outcome, and exploring this type of concept, though challenging, was highly engaging and fun for me.
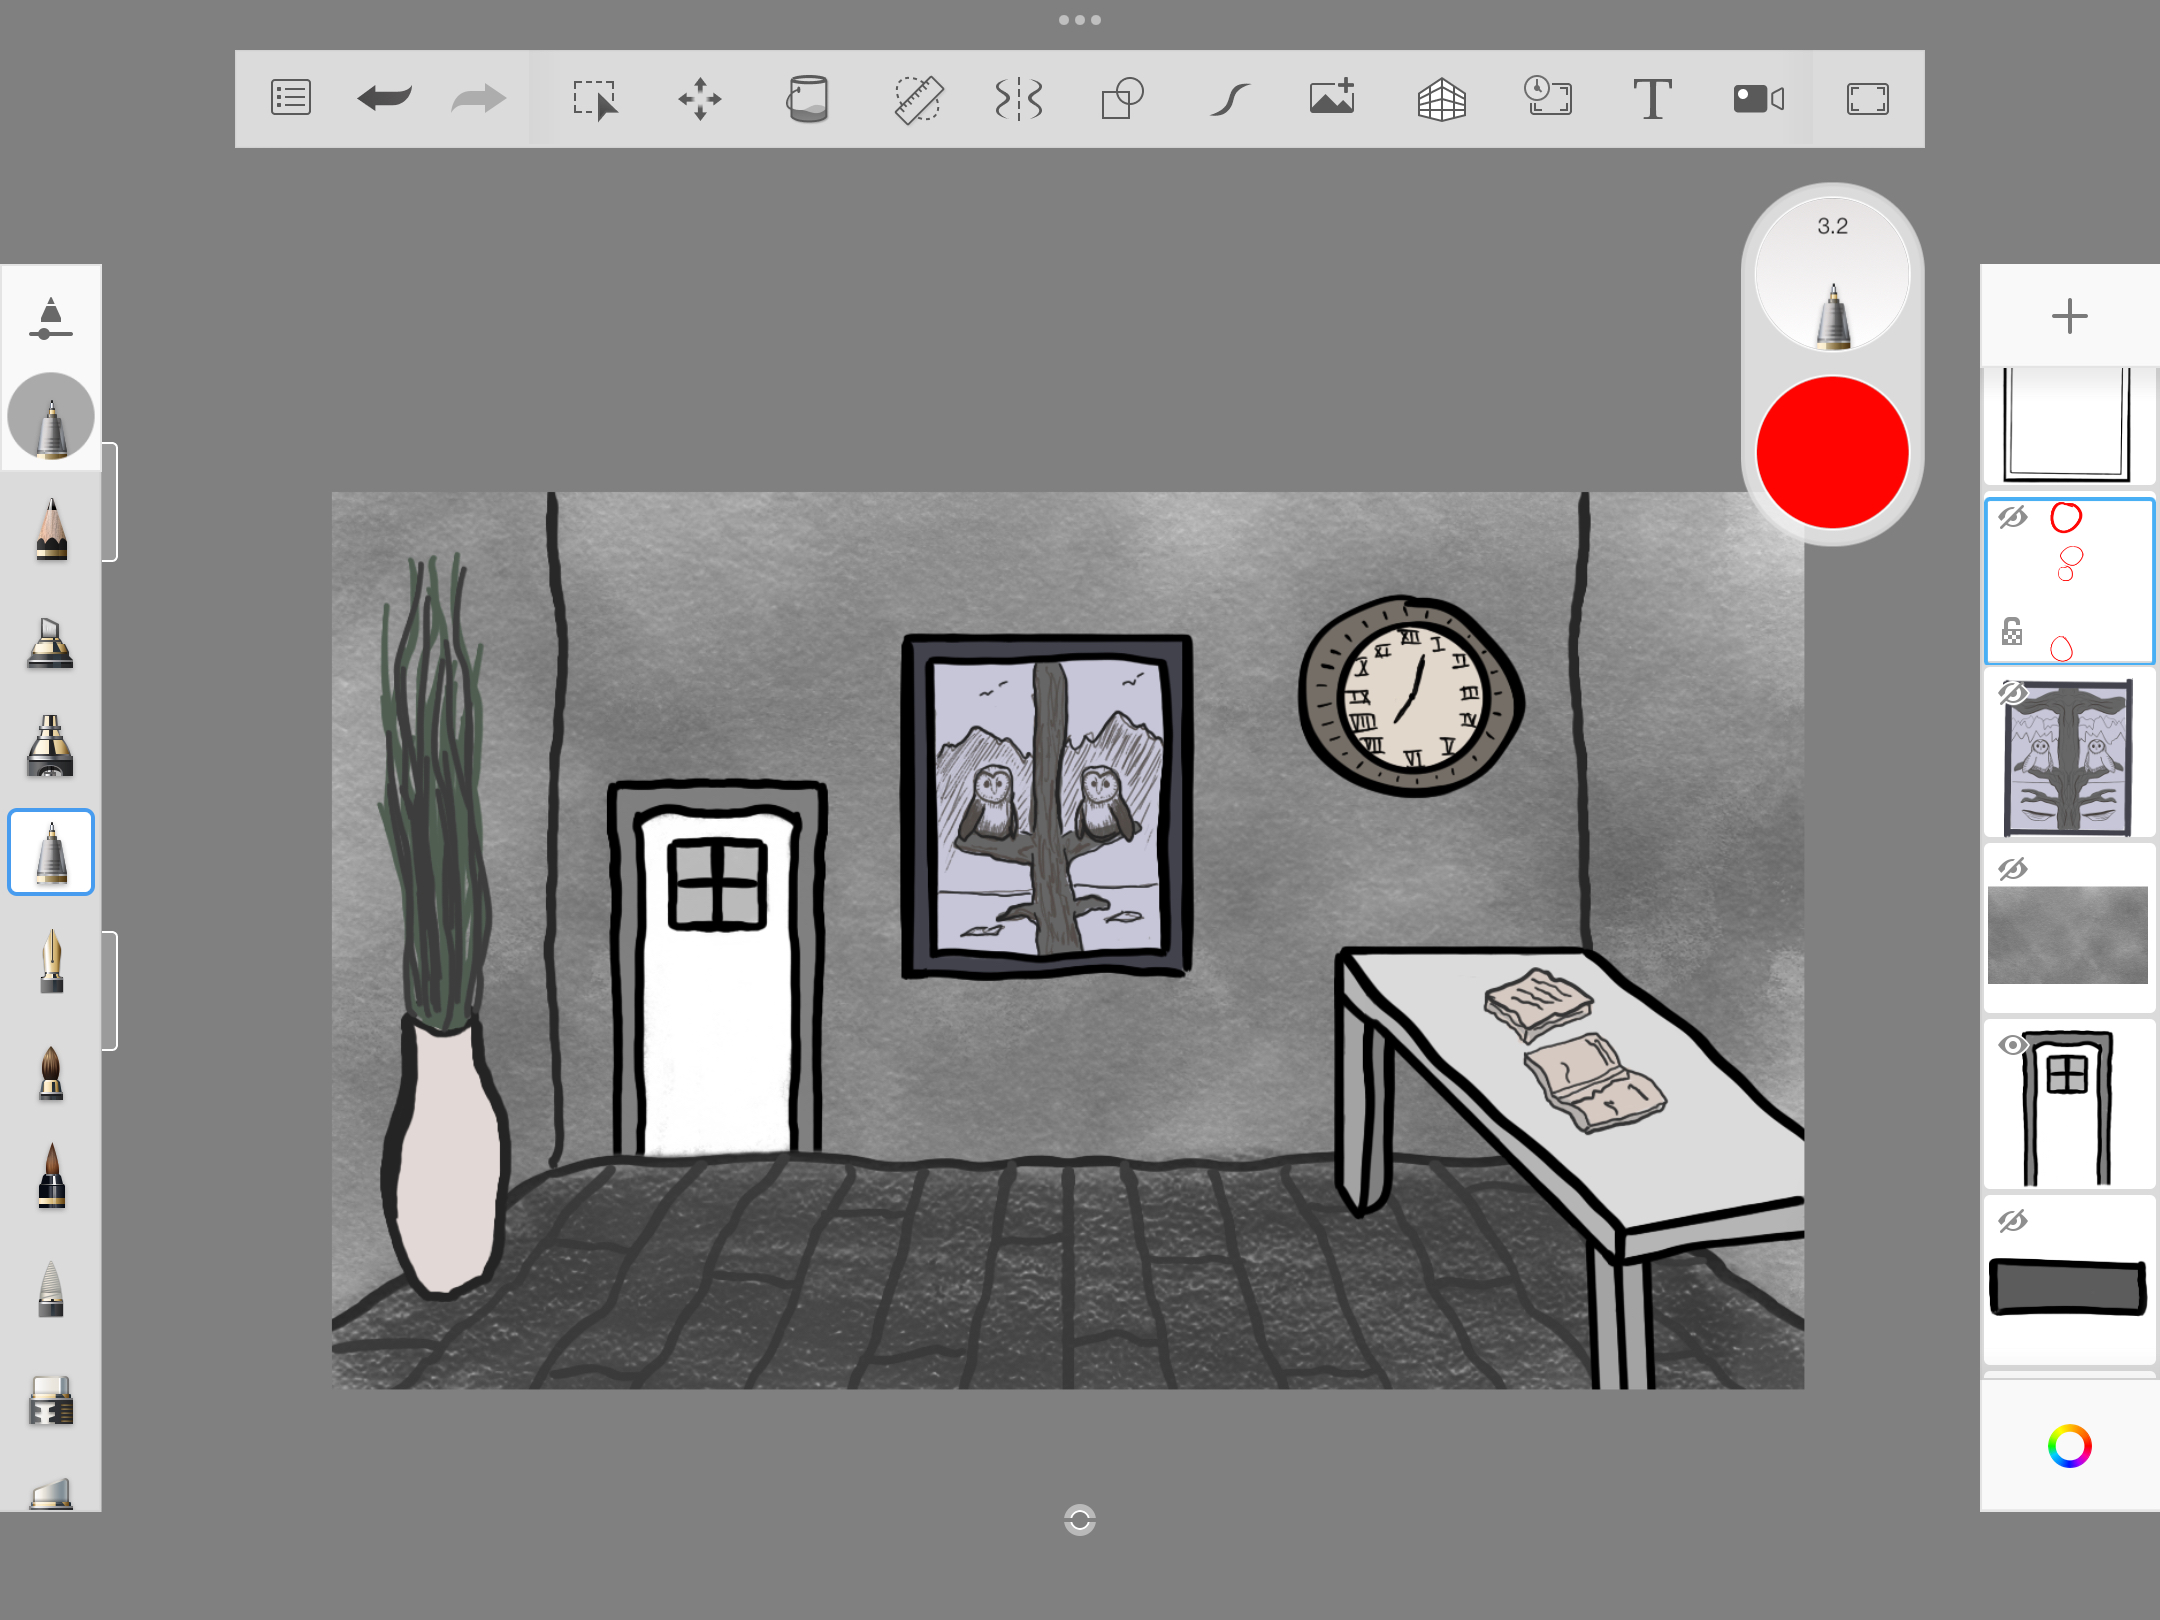
Though I initially planned to do 4 different puzzles, as I was creating the first puzzle, I realized that creating 4 different ones was not a task I could do in such a short amount of time. Nevertheless, I chose two puzzles that I could make work well with my beginner coding experience. These two puzzles are finding the differences and solving a riddle. Once these two puzzles are solved, the indicators above the door will turn green, and the door will open, signifying you have won.
What really made this project take so long for me was the fact that I decided to draw each element and scene by hand, and thus, creating each required scene took much more time than it could’ve if I had just used images from the internet. Nevertheless, this makes my work original and authentic.
Process / How It Works:
I began by creating 2 main scenes in a digital drawing application on my iPad. I drew an introduction screen where I would generate the title, start, and instructions buttons. Then, I designed the game scene, focusing on a nearly monochrome 2D scene. Since I wanted each element in the game to be interactive, I decided to draw each element in a separate layer, and then create a button using a transparent PNG file for just that object. Similarly, I created the start and instruction buttons. I also created a state machine using if conditions and constant variables, which allows you to travel between a zoom-in of each object or the main game screen.
The code I am most proud of is most likely breaking every part of the game into pieces, which I made into functions, and thus, my actual function draw() loop only contains the if conditions.
//state machine using if conditions and the infinite draw function loop
function draw() {
  if (state == INTRO_SCREEN) {
    introScreen();
  } else if (state == RULES_SCREEN) {
    rulesScreen();
  } else if (state == GAME_SCREEN) {
    mainMusic.amp(0.4);
    gameScreen();
  } else if (state == PLANT_ZOOM) {
    showPlant();
  } else if (state == PAINTING_ZOOM) {
    showPainting();
  } else if (state == CLOCK_ZOOM) {
    showClock();
  } else if (state == BOOKS_ZOOM) {
    showBooks();
  }
}

function introScreen() {
  //show or hide buttons
  startButton.show();
  rulesButton.show();
  backButton.hide();
  backToGameButton.hide();

  //hide objects
  exitDoor.hide();

  //main
  image(startBG, 0, 0);
  push();
  fill(20);
  stroke(200);
  strokeWeight(5);
  textFont(font1B, 190);
  text("NO WAY OUT", width / 2, 290);
  pop();
}

function rulesScreen() {
  //show or hide buttons
  startButton.hide();
  rulesButton.hide();
  backButton.show();

  //hide objects
  exitDoor.hide();

  image(startBG, 0, 0);
  push();
  fill(20);
  stroke(200);
  strokeWeight(5);
  textFont(font1B, 150);
  text("INSTRUCTIONS", width / 2, 290);
  pop();
  push();
  strokeWeight(20);
  stroke(200, 200, 200, 100);
  fill(125);
  rectMode(CENTER);
  rect(width / 2, 550, width - 100, 310);
  pop();
  textFont(font1A, 30);
  textWrap(WORD);
  text(instructions, width / 2, 450, width - 170);
}

function gameScreen() {
  //hide buttons
  startButton.hide();
  rulesButton.hide();
  backToGameButton.hide();
  answerInput.hide();
  submitButton.hide();
  difference1.hide();
  show_difference1.hide();
  difference2.hide();
  show_difference2.hide();
  difference3.hide();
  show_difference3.hide();
  difference4.hide();
  show_difference4.hide();

  //show all objects
  exitDoor.show();
  plantPot.show();
  clockButton.show();
  booksButton.show();
  paintingButton.show();

  //background and above door indicator
  image(gameBG, 0, 0);
  image(indicator, 257, 175);
  let indicator1 = new Indicator(300, 210);
  let indicator2 = new Indicator(380, 210);


  if (puzzle1solved == true) {
    indicator1.setCorrect();
  } else if (puzzle2solved == true) {
    indicator2.setCorrect();
  }
  indicator1.display();
  indicator2.display();
}
Reflection:
Overall, I believe that this midterm project has been a major milestone in my journey of learning how to code. Ever since I was small, I always dreamed of being able to create games and about all the endless ideas I had. Finally, I can proudly say that I am on the track to fulfilling my dream. Additionally, I believe that by creating all my elements as buttons, it was much easier to manipulate when they were shown and hidden. I am sure this can also be done in many other ways, and I will explore those when the right time comes. Nevertheless, the main issue I faced was expecting too much from myself. I spent over 10 hours in total, drawing, coding, and figuring this game out, however I was unable to reach the goal of 4 different puzzles. I also found it challenging to create puzzles, such as a sudoku, within this game. Nevertheless, I am extremely happy with the final result.
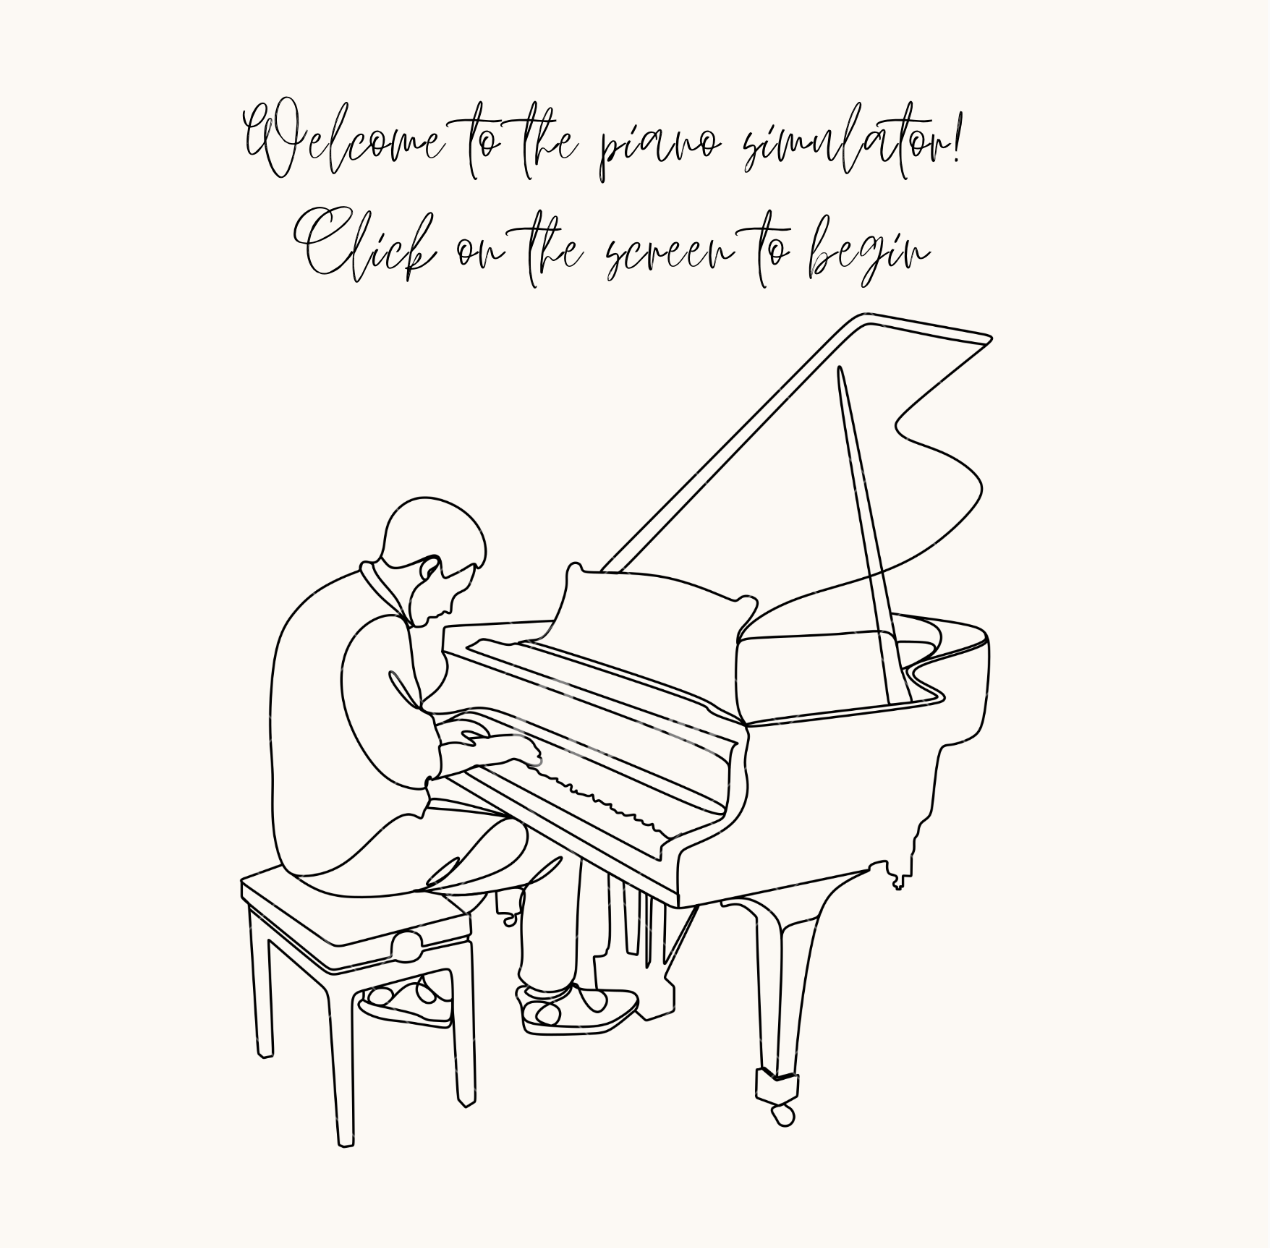
My initial idea for the project was to give a user an opportunity to experience playing the piano. While working on my project, I realized that I could create not only a musical instrument simulator, but I could also create a whole educational project aimed at teaching people how to play simple piano pieces. Furthermore, this project can provide people with a tool that could give a partial overview of what it feels like to play the piano without acquiring an actual instrument.
DESCRIPTION OF THE PROJECT
The user experience begins with a start screen and the music piece composed by Ludovico Einaudi – “Fly”
Clicking on the screen takes the user to the actual piano simulator.
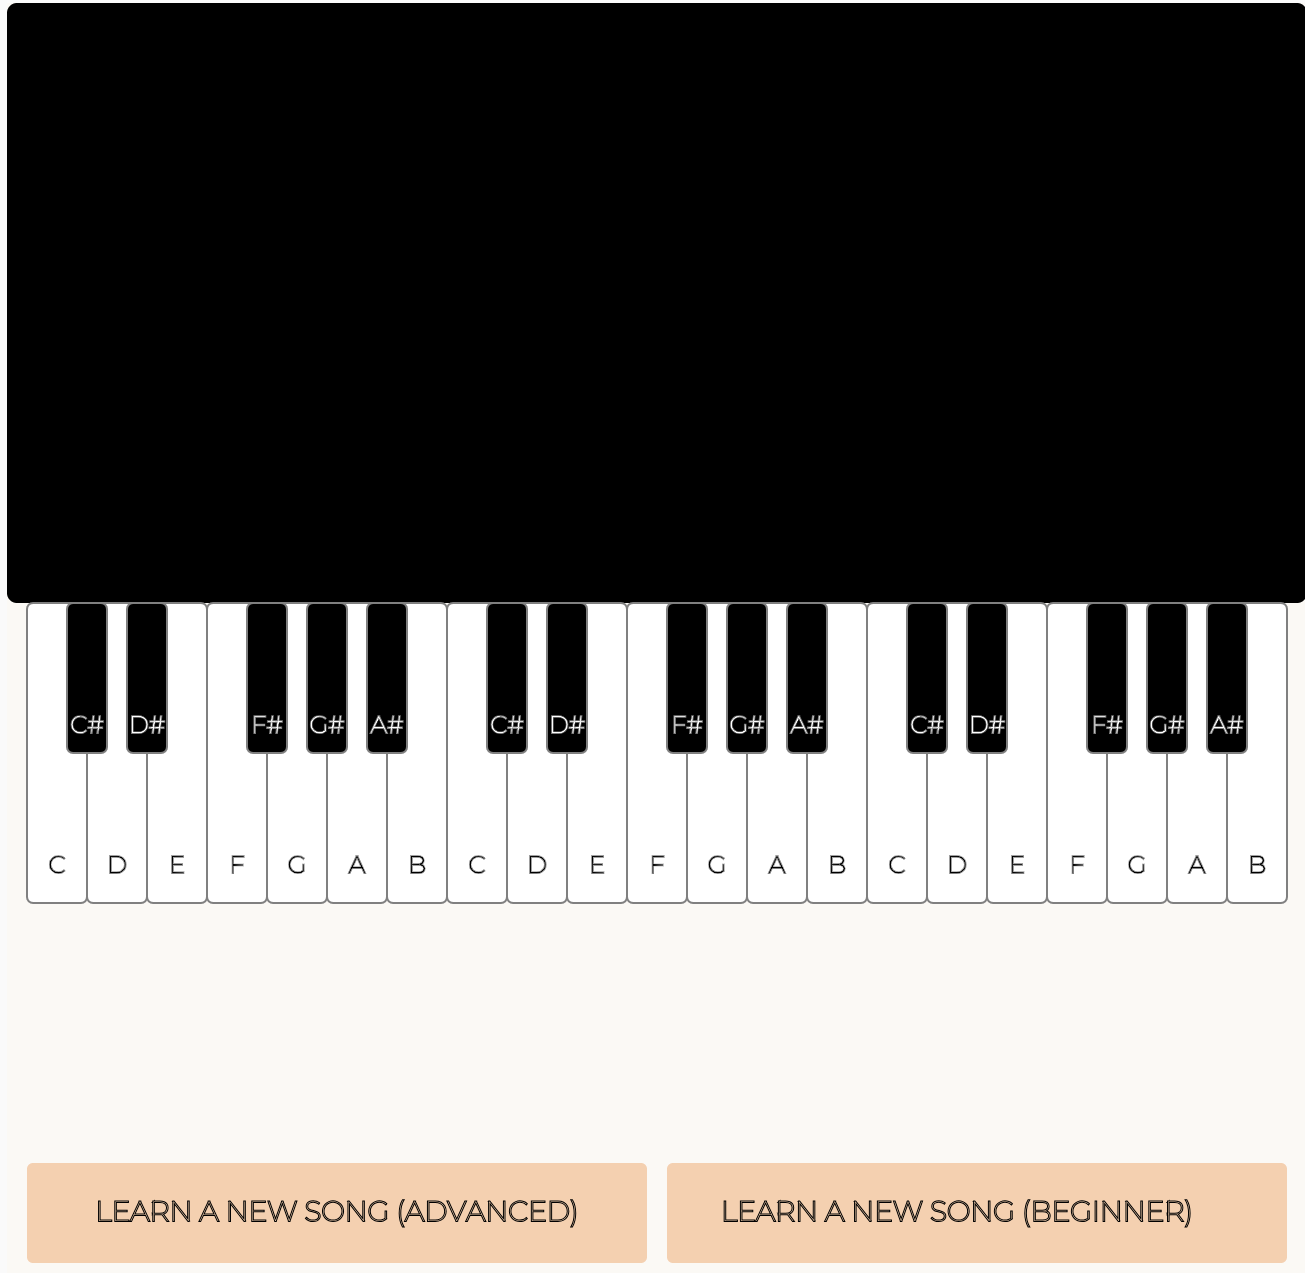
The keys are assigned to the user’s keyboard so that they replicate the actual piano experience. However, due to the limited width of the computer keyboard, the piano is divided into two halves.
The octaves from 3 to 5 are available to the user as they cover the scope of the most compositions.
Clicking the buttons at the bottom of the page makes the canvas display the notes of the piano pieces that a user can learn how to play. Clicking the left button displays the notes as they appear on the screen (e.g. A, D, F# etc.). Clicking on the right button displays the notes as they appear on a user’s keyboard (e.g. Q,V, [ , M etc.)
Parts of the code I’m proud of
soundFormats("mp3", "ogg");
  mainscreensound = loadSound(
    "x2mate.com - Ludovico Einaudi - Fly (Intouchables Soundtrack) (192 kbps).mp3"
  );
  let a = 0;
  for (let letter = unchar("A"); letter < 72; letter++) {
    for (i = 3; i < 6; i++) {
      let fileName = char(letter) + i + ".mp3";
      soundfiles[a] = loadSound(fileName);
      a = a + 1;
    }
    if (letter != 67 && letter != 70) {
      for (i = 3; i < 6; i++) {
        let fileName = char(letter) + "b" + i + ".mp3";
        soundfiles[a] = loadSound(fileName);
        a = a + 1;
      }
    }
  }
I had a problem with importing a large number of audio files into the program, and I’m proud of the way I managed to solve the problem with importing a large number of sound files (thank you, Professor Shiloh) using char and unchar functions.
Furthermore, I enjoyed creating classes for the piano keyboard. The code for creating black keys is designed in such a way that they appear as meaningful class objects with properties:
The project helped me implement the knowledge I gained throughout the lectures and readings. I see a lot of room for improvement in this project, either technical or graphical. I believe that if I choose to continue the work on the project, creating a broader range of choices for users, improving graphics, and adding more musical instruments, this project could potentially become a widely known useful tool for people trying to get an understanding of what the experience of playing musical instruments feels like without actually possessing the instrument.
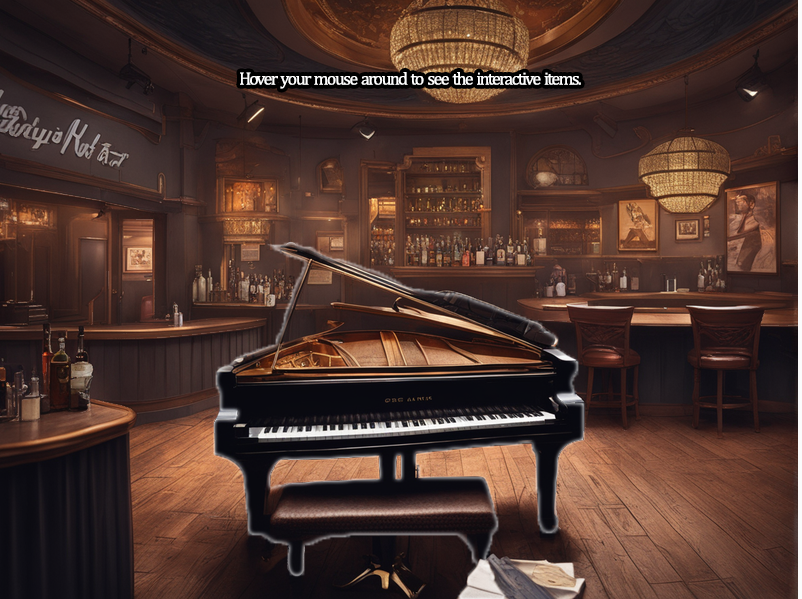
The concept behind this idea was born from the coffee shop experience shown in class. When I saw it, I immediately recognized an opportunity to tinker around and produce an experience that would be similar to the one offered in the example. I was heavily interested in generating an interactive experience that would feature various types of “mini-games” or small interactive screens. In this case, I ended up choosing 3 options that would fit perfectly into the bar theme:
Piano Simulator: The first experience would be the piano, as it was something that I have been interested in since we started working with audio. Thankfully, I managed to implement a piano that I found in a sketch someone shared online (see reference). By adapting this piano into the system that my sketch was running, I was able to offer the user the capacity to play a fully functional piano made with the p5js.oscillator() in p5js.
Bartender Game: The bartender game was inspired by an old famous game for people born around the 2000’s. This game is called “The Right Mix”, and the idea is simple: Tap on a drink and add it to the mix. If the mix is good, then the score is high. If it isn’t, the score will be low.
Seated experience: Sit down and enjoy a drink at the bar. You will hear music playing in the background while you enjoy it and take it slow.
Design and Implementation:
For starters, the biggest challenge I knew I would face would be the state management. Having so many different interactive screens that do multiple varied functions is a big trouble considering how P5Js works. The reason behind this is mainly that P5JS is a framework that requires the user interaction to be screen-dependent: if you want to output something, it has to be relative to the coordinates. Same with the input. This is the only way to interact with the screen: that is why it’s called a sketch, it’s all about drawing.
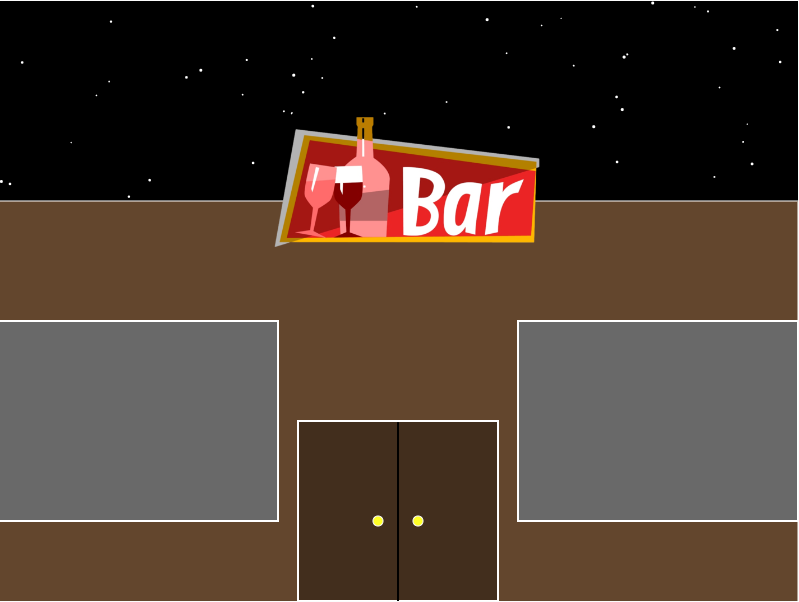
The first part was to design the bar front, which I did manually by putting shapes in certain coordinates:
After this, I decided to start coding the piano. The piano sound is made naturally from p5js, as opposed to the other option which was to add the sounds of each key manually. As the second option was a nightmare in terms of implementation and code cleanliness, I decided to research how to generate it naturally. This is the result:
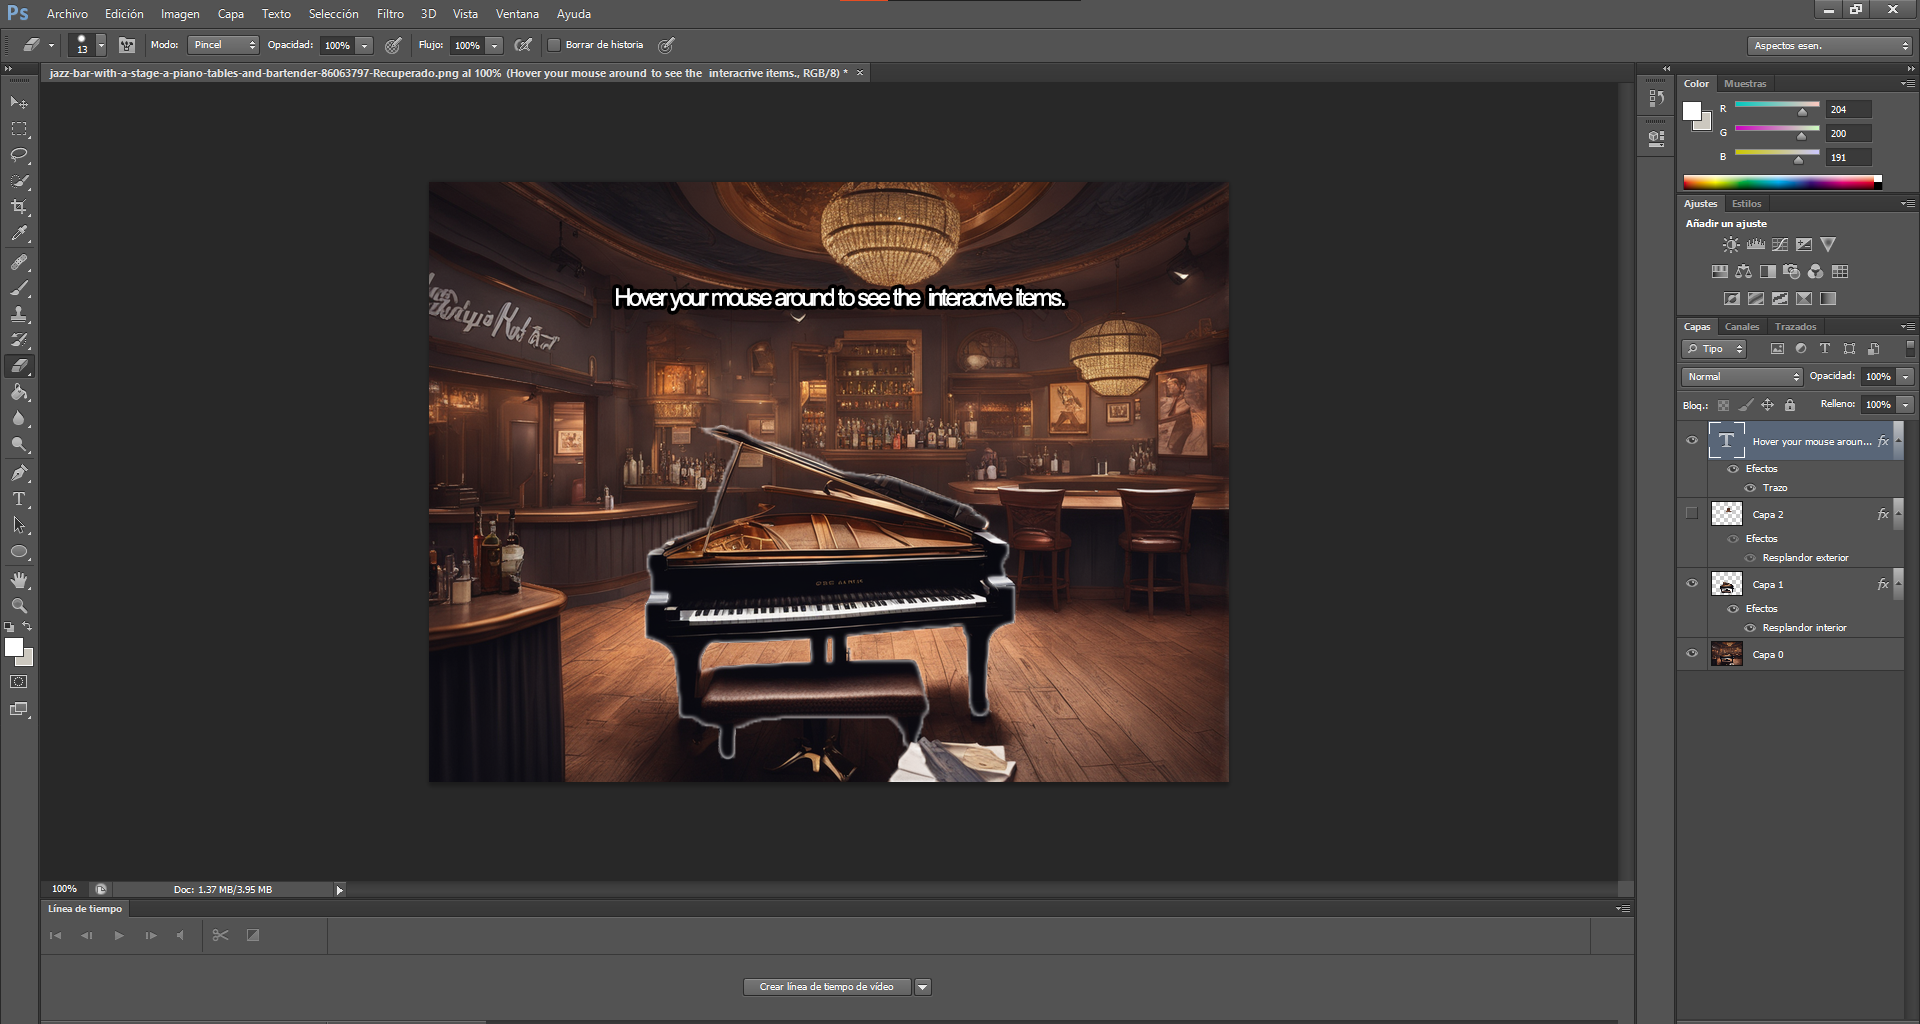
The next step was to design the interior of the bar. After we linked the bar front door click with the interior, we had to design the background for it. For this, my approach was to utilize Ai generated pictures as a starter and work over that. After generating the background, I decided to add it in Photoshop and create the hover options by selecting the different elements and adding a shiny border to them:
For the drink game, I coded a simple interaction where the user can click on the cup and fill it. When it fills to the brim, the bartender will say thanks and the user can leave.
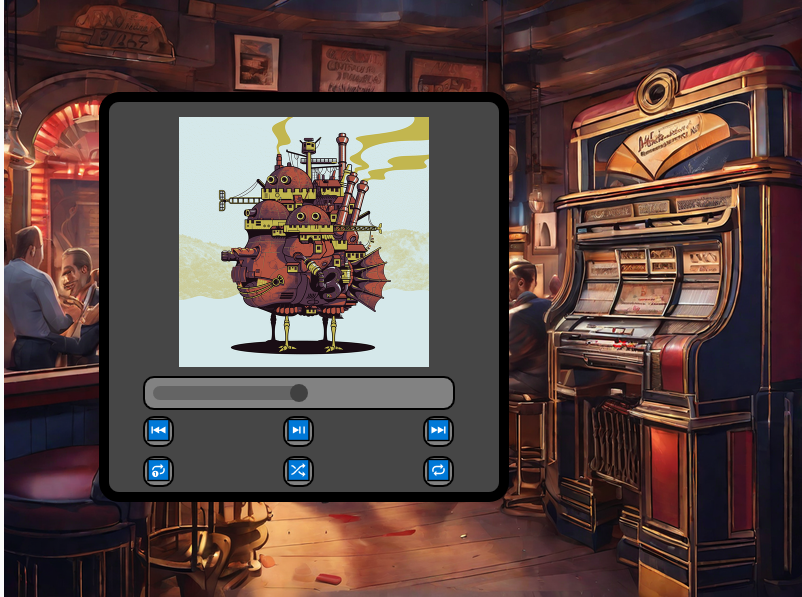
Lastly, the jukebox was made by utilizing the p5.TouchGUI library. This library allowed me to utilize buttons and generate a GUI with a volume slider in a very simple manner. By adding 2 lists, one containing the album covers and the other one containing MP3 files for every song, I managed to create a proper, functional music player with user-inputted files.
Reflections:
For this project, I am ultimately proud of my improvement on the creative side. The thing I struggled with the most was imagining the concepts and functions of my sketches, rather than how to do them. In this midterm assignment, I consider that finally challenged myself in terms of coding and creativity, and finally made an experience I find enjoyable.
Regarding improvements that I could make, I personally consider that there are multiple design decision that were a by-product of my coding decision rather than a conscious design choice. I would have like to utilize the TouchGUI library more to generate a better user experience around the bar (maybe jump through screens easily?).
In general terms, I have learned a lot doing this project and I hope to keep improving my coding and creative skills by the end of this semester.
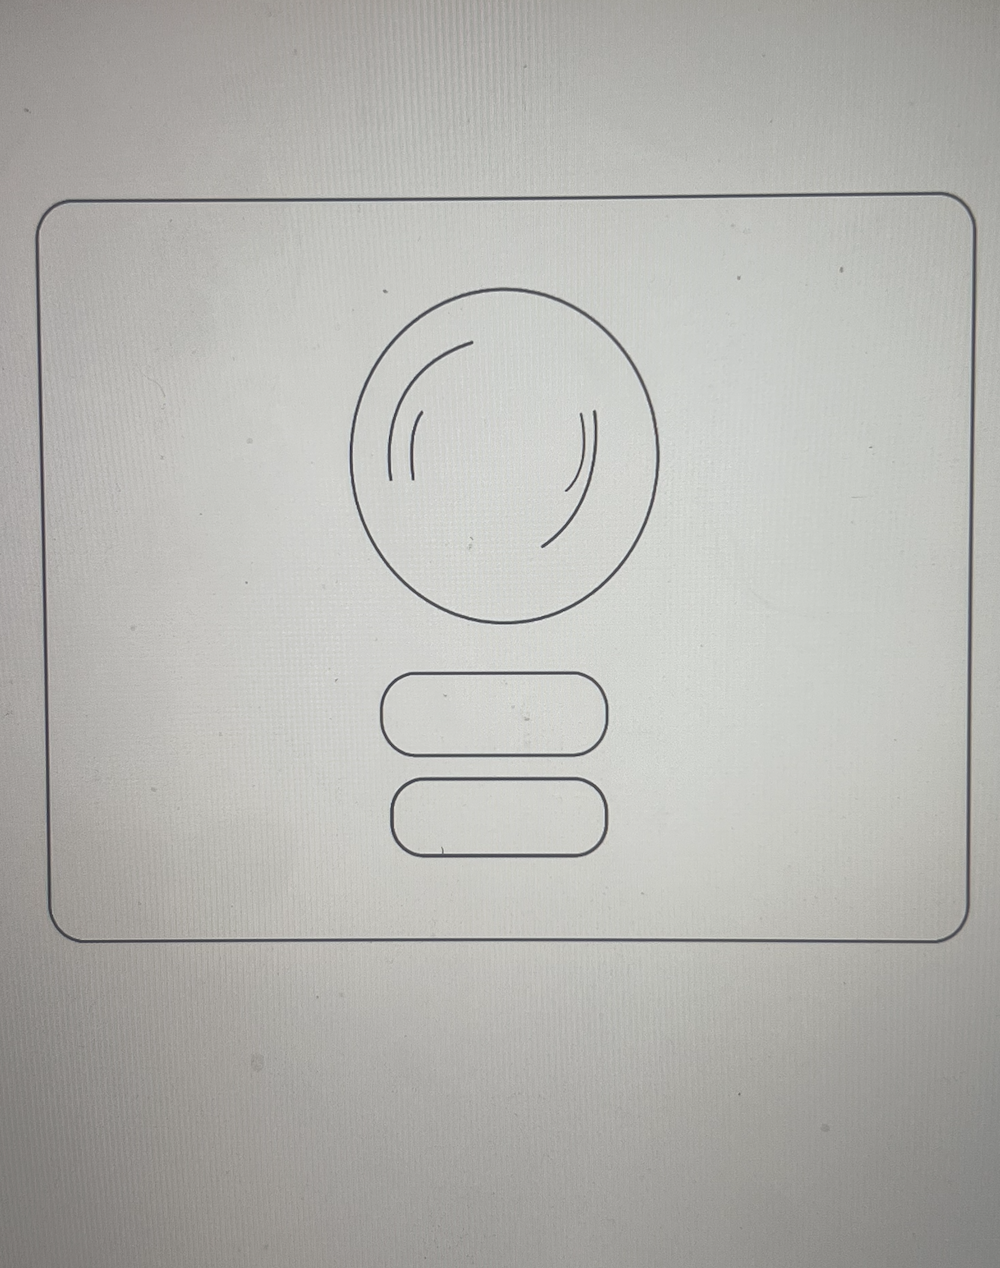
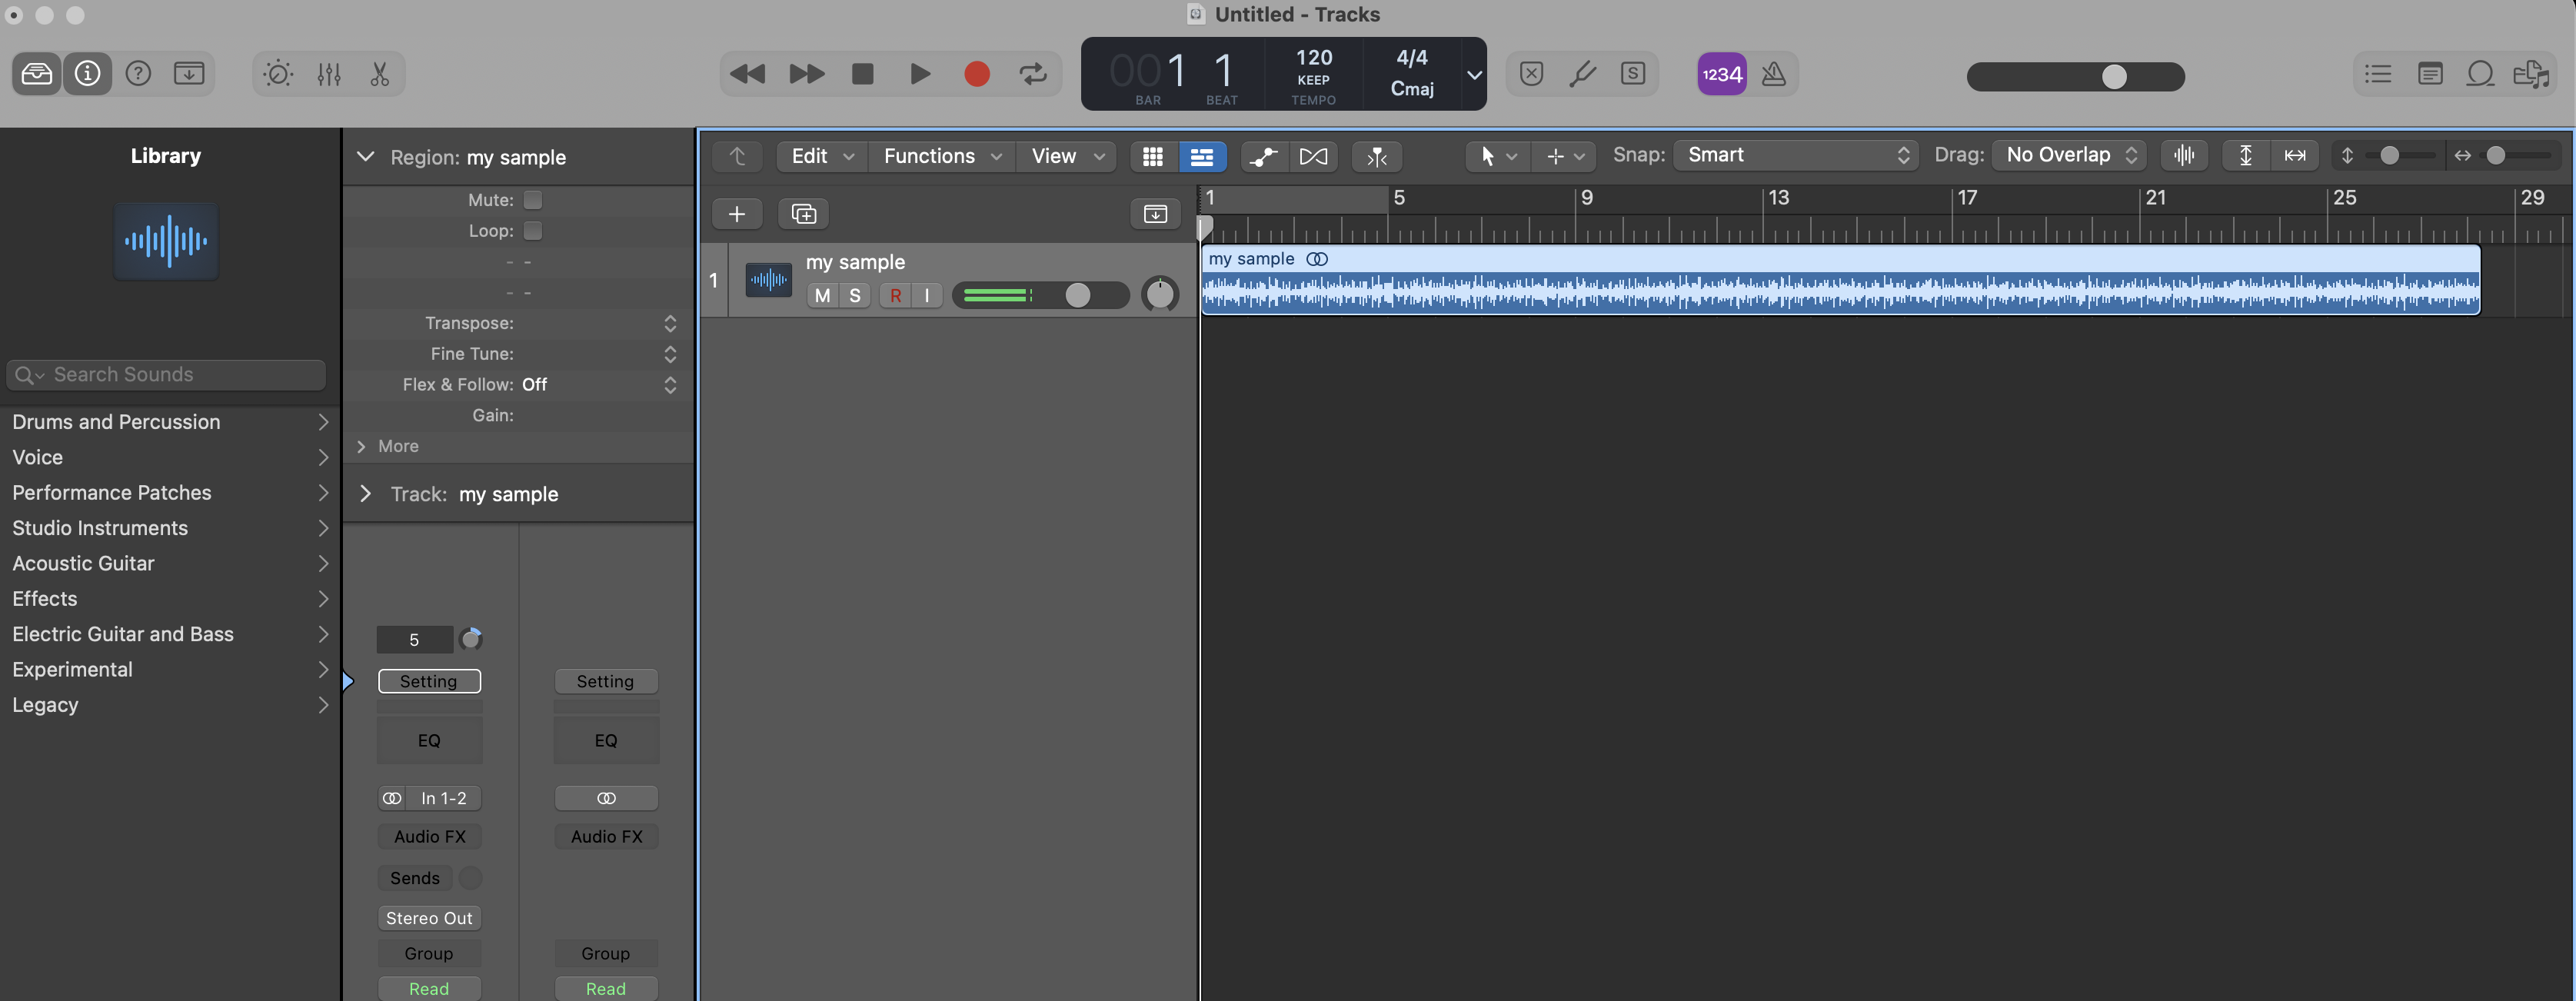
For my midterm project, i wanted to create a record player with a character dancing to the music that it played, why? because if there is something that i am interested in, that would be music and i wanted to display my love for music in this code. The experience begins with a record in the middle with two buttons, one is “Play/Stop” and the other is “Restart”and a character on top of the record. When the “Play/Stop” button is pressed the record starts spinning and starts to play the mp3 file of a sample i created by the software “Logic” in the same time the character, lets call him “Joey” starts dancing to the beat. When the “Play/Stop” button is pressed again the mp3 file and the spinning record animation pauses. For the second button “Restart” , this button restarts the experience to the beginning , the mp3 file is 54 seconds long .
As for research, i searched for spinning record codes on YouTube, i got some results and i liked the way it looked, it was close to the idea i had in my head. As for the simplicity of the code and my current skills, that is the best i could do, but i am very happy with way it turned out.
I began creating sketches on Adobe Illustrator, which led me to my final design.
push() and Pop() : push() to save the current drawing style and pop() to restore the previous drawing style
mouseClicked() : to check if the mouse click is within the boundaries of the Play/Stop button and Restart button.
preLoad() : “loadSound” and “loadImage” to check before calling the sound and image to load and run the code
My Sketch: “Move To The Beat”
My code :
// Declare a variable to store the button object
let btn;

let btnReplay;

// Variables to control rotation animation
let p = 0; // Flag to control animation playback (0: stopped, 1: playing)
let replay = 0; // Flag to control replay
let angle = 0; // Angle for rotating the shape

let imgs = []; // Array to store images

let mySound; // Sound object

function preload() {
  mySound = loadSound('data/music.mp3'); // Load the music file before running the code

  for (let i = 0; i <= 40; i++) {
    imgs[i] = loadImage('data/part' + i + '.png'); // Load a series of images before runninng the code
  }
}

function setup() {
  createCanvas(500, 500); // Create a 500x500 pixel canvas
  background("#408080"); // Set the background color to a shade of blue-green same as the background of the spritesheet character
  btn = new Button(250, 400, 120, 50, "Play/Stop"); // Create a button object for Play/Stop
  btnReplay = new Button(250, 460, 100, 50, "Restart"); // Create a button object for Restart
}

let f = 0; // Frame counter

function draw() {
  record(250, 250); // Call the record function to draw a rotating shape
  btn.show(); // Display the Play/Stop button
  btnReplay.show(); // Display the Restart button

  // Check if the animation is playing, and update the frame counter
  if (p == 1) {
    if (frameCount % 10 == 0) {
      f = (f + 1) % 40;
    }
  }

  image(imgs[f], 225, 60); // Display the current image frame

  // Check if the music is playing, and update the animation playback flag
  if (mySound.isPlaying()) {
    p = 1;
  } else {
    p = 0;
  }
}

// Function to draw a rotating shape
function record(x, y) {
  push();
  translate(x, y); // Translate the origin to the specified position

  // If p is set to 1, increment the angle for rotation
  if (p == 1) {
    angle += 0.1;
  }
  rotate(angle); // Rotate the subsequent shapes based on the angle

  fill(0); // Fill color for the central ellipse
  ellipse(0, 0, 200, 200); // Draw a central ellipse

  noFill();
  stroke(100); // Set stroke color
  strokeWeight(5); // Set stroke weight

  // Draw four arcs to create a pattern
  arc(0, 0, 150, 150, 0, PI / 4);
  arc(0, 0, 120, 120, PI / 4, PI / 2);
  arc(0, 0, 100, 100, PI, (3 * PI) / 2);
  arc(0, 0, 150, 150, PI / 2, PI);

  pop(); // Restore the previous drawing settings
}

// Function to respond to mouse clicks
function mouseClicked() {
  // Check if the mouse click is within the boundaries of the Play/Stop button
  if (
    mouseX > btn.x - btn.w / 2 &&
    mouseX < btn.x + btn.w / 2 &&
    mouseY > btn.y - btn.h / 2 &&
    mouseY < btn.y + btn.h / 2
  ) {
    // Toggle the value of p to start or stop the rotation animation
    if (p == 1) {
      mySound.pause(); // Pause the music
      p = 0; // Stop the animation
    } else {
      mySound.pause(); // Pause the music
      mySound.play(); // Start playing the music
      p = 1; // Start the animation
    }
  }

  // Check if the mouse click is within the boundaries of the Restart button
  if (
    mouseX > btnReplay.x - btnReplay.w / 2 &&
    mouseX < btnReplay.x + btnReplay.w / 2 &&
    mouseY > btnReplay.y - btnReplay.h / 2 &&
    mouseY < btnReplay.y + btnReplay.h / 2
  ) {
    mySound.stop(); // Stop the music
    mySound.play(); // Start playing the music
    p = 1; // Start the animation
  }
}
// Define a class called Button
class Button {
    // Constructor that initializes button position (x, y) and dimensions (w, h)
    constructor(x, y, w, h, text) {
        this.x = x; // X-coordinate of the button
        this.y = y; // Y-coordinate of the button
        this.w = w; // Width of the button
        this.h = h; // Height of the button
        this.text = text;   //text inside the button
    }

    // Method to display the button
    show() {
        // Save the current drawing style
        push();

        // Set the rectangle drawing mode to center
        rectMode(CENTER);

        // Set the fill color
        fill(200, 230, 150);

        // Check if the mouse is within the button's boundaries
        if (mouseX > this.x - this.w / 2 && mouseX < this.x + this.w / 2 && mouseY > this.y - this.h / 2 && mouseY < this.y + this.h / 2) {
            // If the mouse is inside, change the fill color to a darker shade
            fill(200, 180, 50);
        }

        // Draw a rectangle with rounded corners at the specified position and dimensions
        rect(this.x, this.y, this.w, this.h, 10);

        fill(255);
        textAlign(CENTER,CENTER);
        textSize(25);
        text(this.text,this.x,this.y);

        // Restore the previous drawing style
        pop();
    }
}
Part of my Code that I am proud of / difficulties:
That would be the variable p, getting it to be controlled with the mouseClicked function. Also variable p controls the animations. this was a journey of trial and error until i made it work. Another is fidgeting with the coordinates of the arc function and the use of increments to make the arcs rotate, i used the help of the reference sheet on the p5js website to figure out the rotation element and angles. That was difficult, sometimes they would just not work, i kept trying over and over again until everything worked cohesively.
This function is activated every time the button is clicked, it checks whether the mouse is on the play/stop button or on restart button , also variable p decides if the music played or not :
// Function to respond to mouse clicks
function mouseClicked() {
  // Check if the mouse click is within the boundaries of the Play/Stop button
  if (
    mouseX > btn.x - btn.w / 2 &&
    mouseX < btn.x + btn.w / 2 &&
    mouseY > btn.y - btn.h / 2 &&
    mouseY < btn.y + btn.h / 2
  ) {
    // Toggle the value of p to start or stop the rotation animation
    if (p == 1) {
      mySound.pause(); // Pause the music
      p = 0; // Stop the animation
    } else {
      mySound.pause(); // Pause the music
      mySound.play(); // Start playing the music
      p = 1; // Start the animation
    }
  }

  // Check if the mouse click is within the boundaries of the Restart button
  if (
    mouseX > btnReplay.x - btnReplay.w / 2 &&
    mouseX < btnReplay.x + btnReplay.w / 2 &&
    mouseY > btnReplay.y - btnReplay.h / 2 &&
    mouseY < btnReplay.y + btnReplay.h / 2
  ) {
    mySound.stop(); // Stop the music
    mySound.play(); // Start playing the music
    p = 1; // Start the animation
  }
In this part variable p decides if the angle has to increase :
// Function to draw a rotating shape
function record(x, y) {
  push();
  translate(x, y); // Translate the origin to the specified position

  // If p is set to 1, increment the angle for rotation
  if (p == 1) {
    angle += 0.1;
  }
  rotate(angle); // Rotate the subsequent shapes based on the angle

  fill(0); // Fill color for the central ellipse
  ellipse(0, 0, 200, 200); // Draw a central ellipse

  noFill();
  stroke(100); // Set stroke color
  strokeWeight(5); // Set stroke weight

  // Draw four arcs to create a pattern
  arc(0, 0, 150, 150, 0, PI / 4);
  arc(0, 0, 120, 120, PI / 4, PI / 2);
  arc(0, 0, 100, 100, PI, (3 * PI) / 2);
  arc(0, 0, 150, 150, PI / 2, PI);

  pop(); // Restore the previous drawing settings
}
Finally, in this part of the code variable p decides if the animation(sprite sheet character) is good to start/run:
let f = 0; // Frame counter

function draw() {
  record(250, 250); // Call the record function to draw a rotating shape
  btn.show(); // Display the Play/Stop button
  btnReplay.show(); // Display the Restart button

  // Check if the animation is playing, and update the frame counter
  if (p == 1) {
    if (frameCount % 10 == 0) {
      f = (f + 1) % 40;
    }
  }

  image(imgs[f], 225, 60); // Display the current image frame

  // Check if the music is playing, and update the animation playback flag
  if (mySound.isPlaying()) {
    p = 1;
  } else {
    p = 0;
  }
}
Areas of improvement / future work:
I would like to in the future projects to create something more complex and a bit more creative, also bettering my skills in coding, thank you for viewing my project.
ArtfulMotion is an innovative fusion of interactive art creation and musical immersion, designed as a captivating digital canvas for users to unleash their creativity. Grounded in the p5.js framework, the program offers a dynamic platform where art and music coalesce seamlessly. A richly textured backdrop, comprising the fifth print from Casey Reas’s Tissue prints, sets the visual stage, creating an aesthetic foundation for users to craft their masterpieces. The harmonious integration of various audio tracks and intuitive music controls allows users to select a musical score that perfectly complements their artistic journey, cultivating a multi-sensory and immersive experience.
The project pushes the boundaries of interaction with the implementation of machine learning through ml5.js. Leveraging the handpose model, users can shape their art through real-time hand gestures, offering a tangible link between the digital canvas and the physical world. A diverse array of artistic modes empowers users to explore varied styles and tools, encouraging experimentation and artistic expression. The user-friendly interface facilitates smooth navigation through different sections, while responsive design ensures the project adapts flawlessly to different screen sizes and resolutions. This program aspires to inspire creativity, fostering an environment where art and music converge to create a captivating and enjoyable artistic experience.
Implementation
In developing this project, I adopted a systematic approach that involved several key steps. First, I conducted an initial assessment to distinguish between frames containing a hand and those without. Subsequently, I delved into verifying the accuracy of the model’s key points. To ensure that these points corresponded correctly to the hand’s landmarks, I employed green ellipses as visual indicators. During this process, I identified a mirroring issue, which arose from my attempt to mirror the webcam feed. To address this, I placed the drawing function for the points within the push() and pop() functions, effectively correcting the mirroring problem.
A pivotal element of my approach was the creation of a dedicated Point class, designed to render the model’s points onto the screen with precision. I seamlessly integrated this class into the existing sketch responsible for drawing the hand’s landmarks. I also fine-tuned the drawKeyPoint() function to generate points that were stored in an array, allowing for streamlined rendering on the canvas.
For the project’s second mode, I took a different artistic approach by implementing curveVertex() in the draw function of the Point class. This choice lent a unique aesthetic to this mode, differentiating it from the first. Furthermore, I embarked on the design of the program’s landing page and other sub-interfaces. These elements were connected through functions I defined in separate JavaScript files. The collective result of these steps was a visually engaging project, which not only translated logic into code but also integrated modularity, object-oriented programming, event-driven programming, and image handling.
[Sketch of planning phase]
Highlight of Code
The draw() function plays a pivotal role in the code, as it manages the application’s state and navigation. It renders different pages, such as the menu, instructions, color selection, mode selection, and the art creation canvas, by utilizing a switch statement to determine the current state. It also incorporates a back button for easy navigation between pages, excluding the menu and art creation canvas. Additionally, the function is responsible for rendering music control buttons, allowing users to adjust the soundtrack as they create art. The code’s modularity and clear separation of rendering logic for distinct states contribute to improved code organization and maintenance.
function draw() {

  // determines which page to display
  switch (state) {
    case "menu":
      drawMenu();
      break;

    case "instructions":
      drawInstructions();
      break;

    case "select_colors":
      drawSelectColors();
      break;

    case "select_mode":
      drawSelectMode();
      break;

    case "create_art":
      drawArt();
      break;
  }

  // adds back button if on any other page except menu and main sketch
  if (state != "menu" && state != "create_art") {
    drawBackButton();
  }

  // draws music control buttons
  drawMusicControls();
}
One of the primary technical challenges encountered in the project was related to resizing the video feed within the drawArt() function while preserving its original aspect ratio and ensuring it was correctly positioned. The challenge involved intricate mathematical calculations to determine the new dimensions and position for the scaled video feed. Additionally, it required addressing the mirroring of the feed to ensure that user interactions remained intuitive and natural. The process demanded rigorous testing and iterative adjustments to strike the right balance and achieve the desired outcome, ensuring that the video feed displayed in the intended location on the canvas while preserving its correct proportions.
function drawArt() {

  // scaling video to avoid distortion
  let aspectRatio = video_feed.height/video_feed.width;

  // mirroring feed from the webcam
  // -- beginning of transformation
  push();
  translate(width, 0);
  scale(-1, 1);
  if (drawing_flag) {
    loadKeyPoints();
    drawKeyPoints();
  }
  image(video_feed, width - ( width / videoScale ), 0,
        width / videoScale , (width /videoScale) * aspectRatio);
  pop();
  // -- ending of transformation

  // print button
  updatePrintButton();

  // end button
  createEndButton();

}
Areas for Improvement
In future iterations of ArtfulMotion, key considerations include implementing real-time collaboration, providing an intuitive and secure environment for multiple users to collectively create art; incorporating interactive art elements, enabling users to seamlessly add animations, dynamic effects, or physics simulations, with a focus on user-friendliness and real-time previewing; and achieving music and art synchronization, allowing users to link music parameters to visual elements for a multimedia experience. Furthermore, the project could offer customizable brushes and visual effects, giving users the tools to add unique artistic touches to their creations through an accessible interface that balances customization and usability. These enhancements have the potential to expand the project’s creative horizons and provide users with a more versatile and engaging platform for artistic expression.


