
Concept:
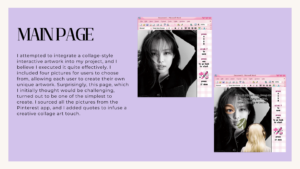
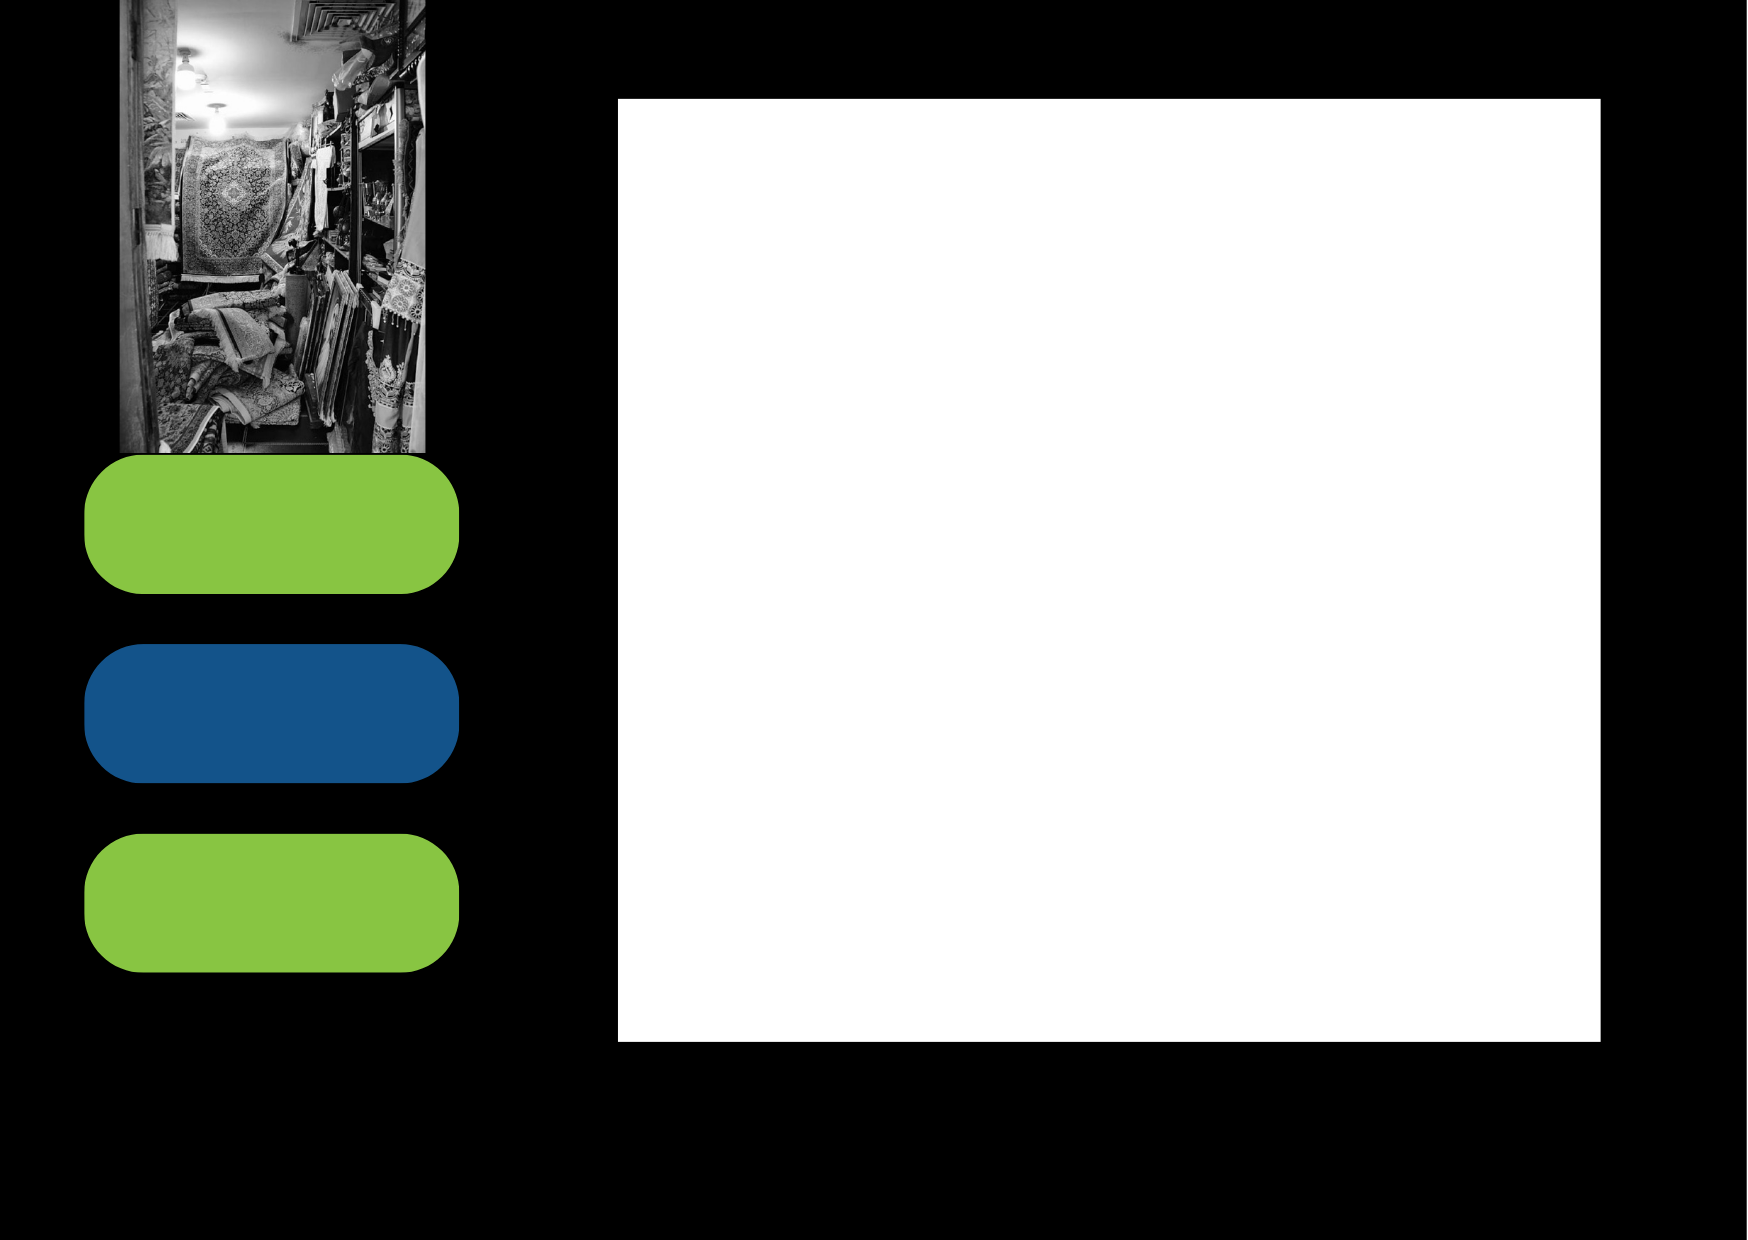
My project centers around the art of collaging. I have always loved collaging and scrapbooking ever since I first learned it in preschool. There’s something inherently captivating about the act of layering pictures over each other, creating a tapestry of memories and ideas. While some might perceive it as chaotic or haphazard, I see it as a unique form of art that allows for boundless creativity. In the past, I used to create physical collages on paper, but as technology evolved, I found myself drawn to the world of digital collage occasionally.
This got me thinking about a concept: What if there was a experience where people from could come together to explore their creative side through collaging? A place where individuals could take disparate images and meld them into stunning compositions. Collaging to me feels like painting with images with a way to convey emotions, tell stories and explore the depths of imagination.
The central idea behind my project is to provide an experience for individuals to express themselves through collaging. It encourages users to dive into their artistic side, experiment freely with various images and styles, and chose their unique choices visually. It challenges users to push the boundaries of what’s possible with collaging, fostering innovation and unexpected compositions.
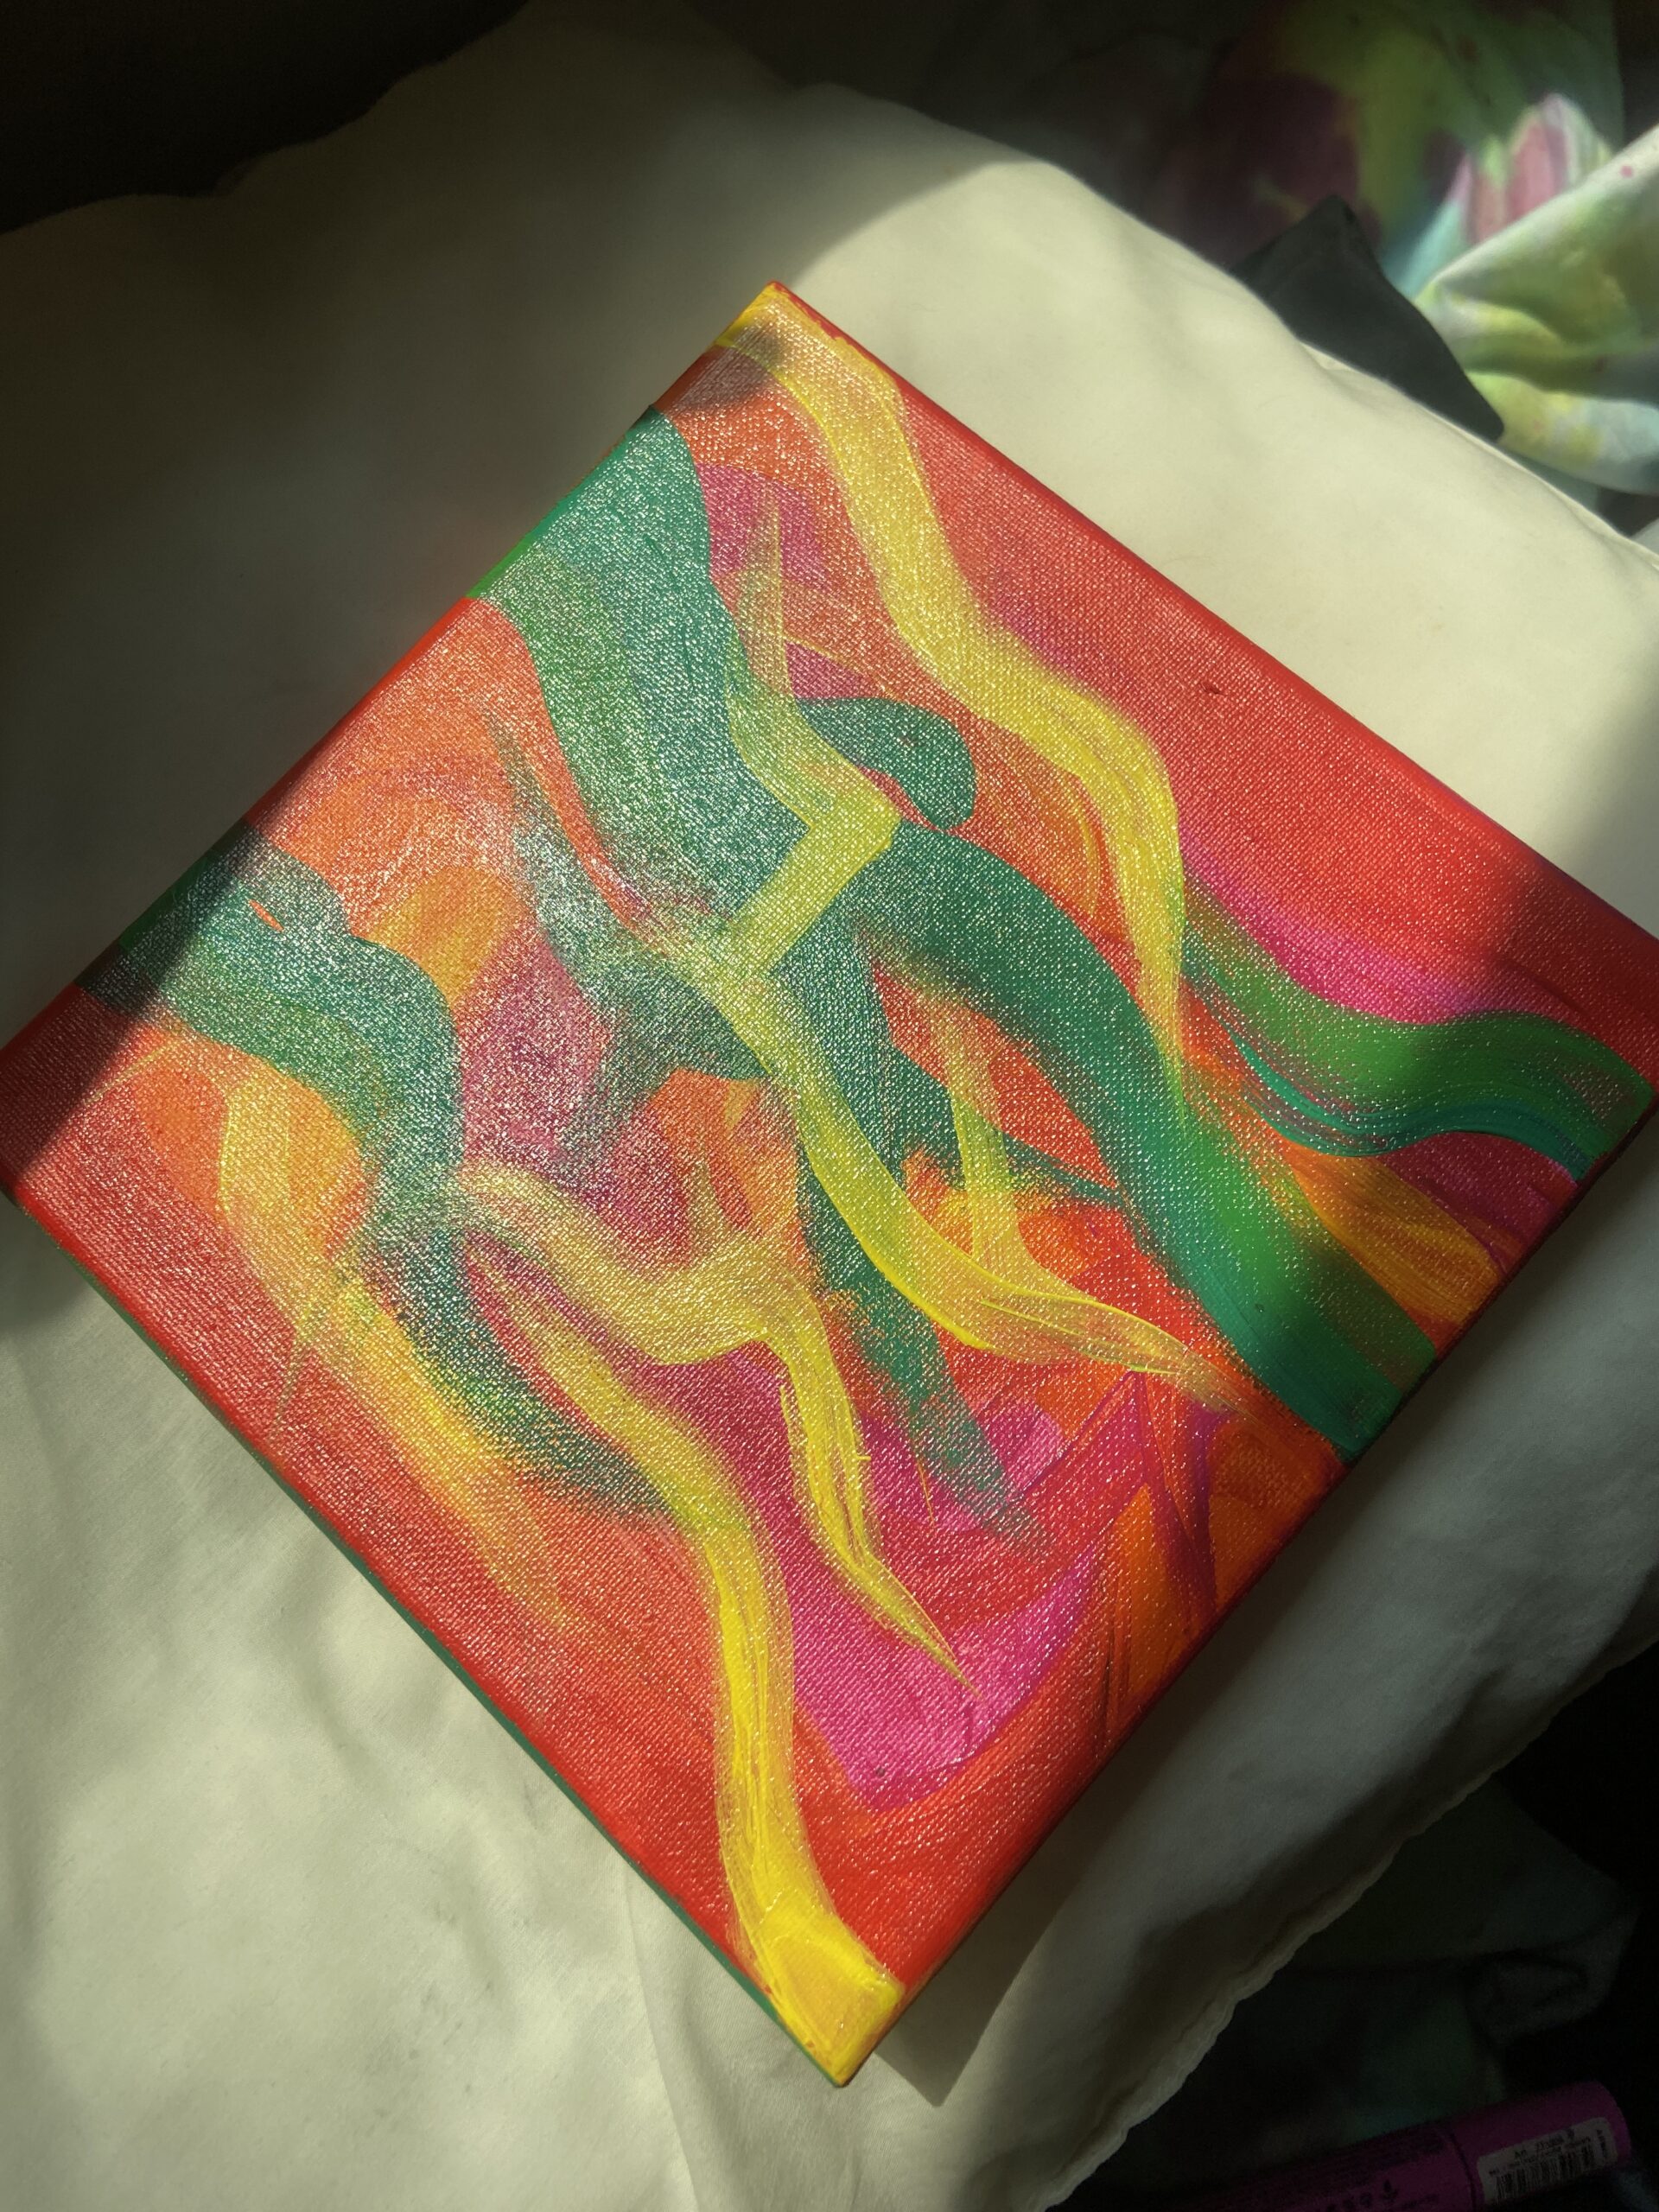
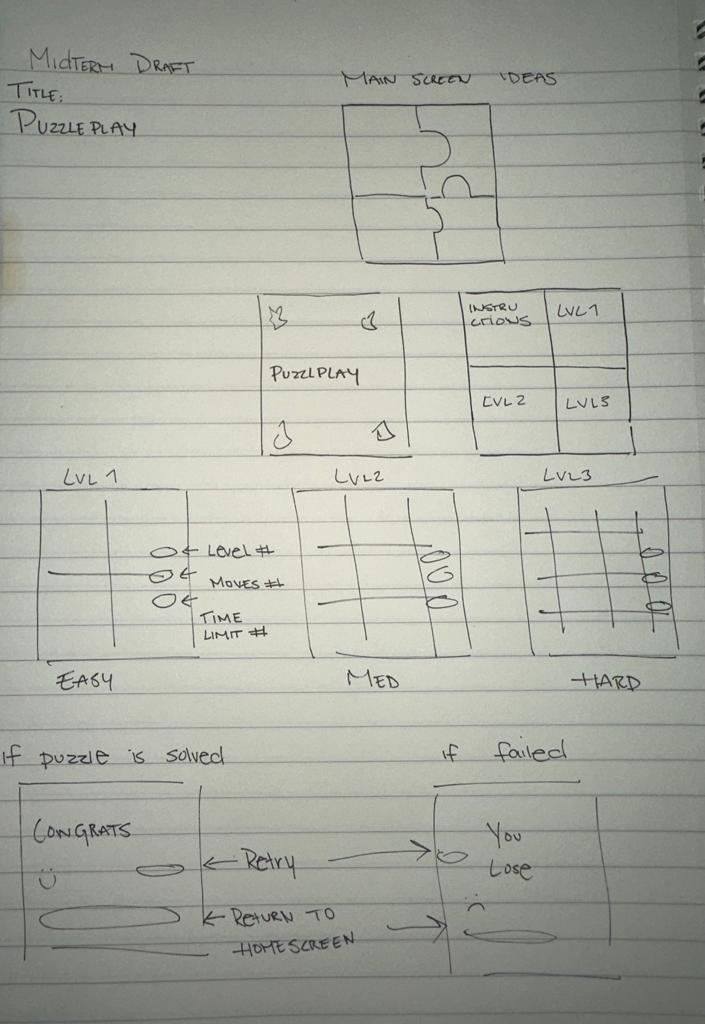
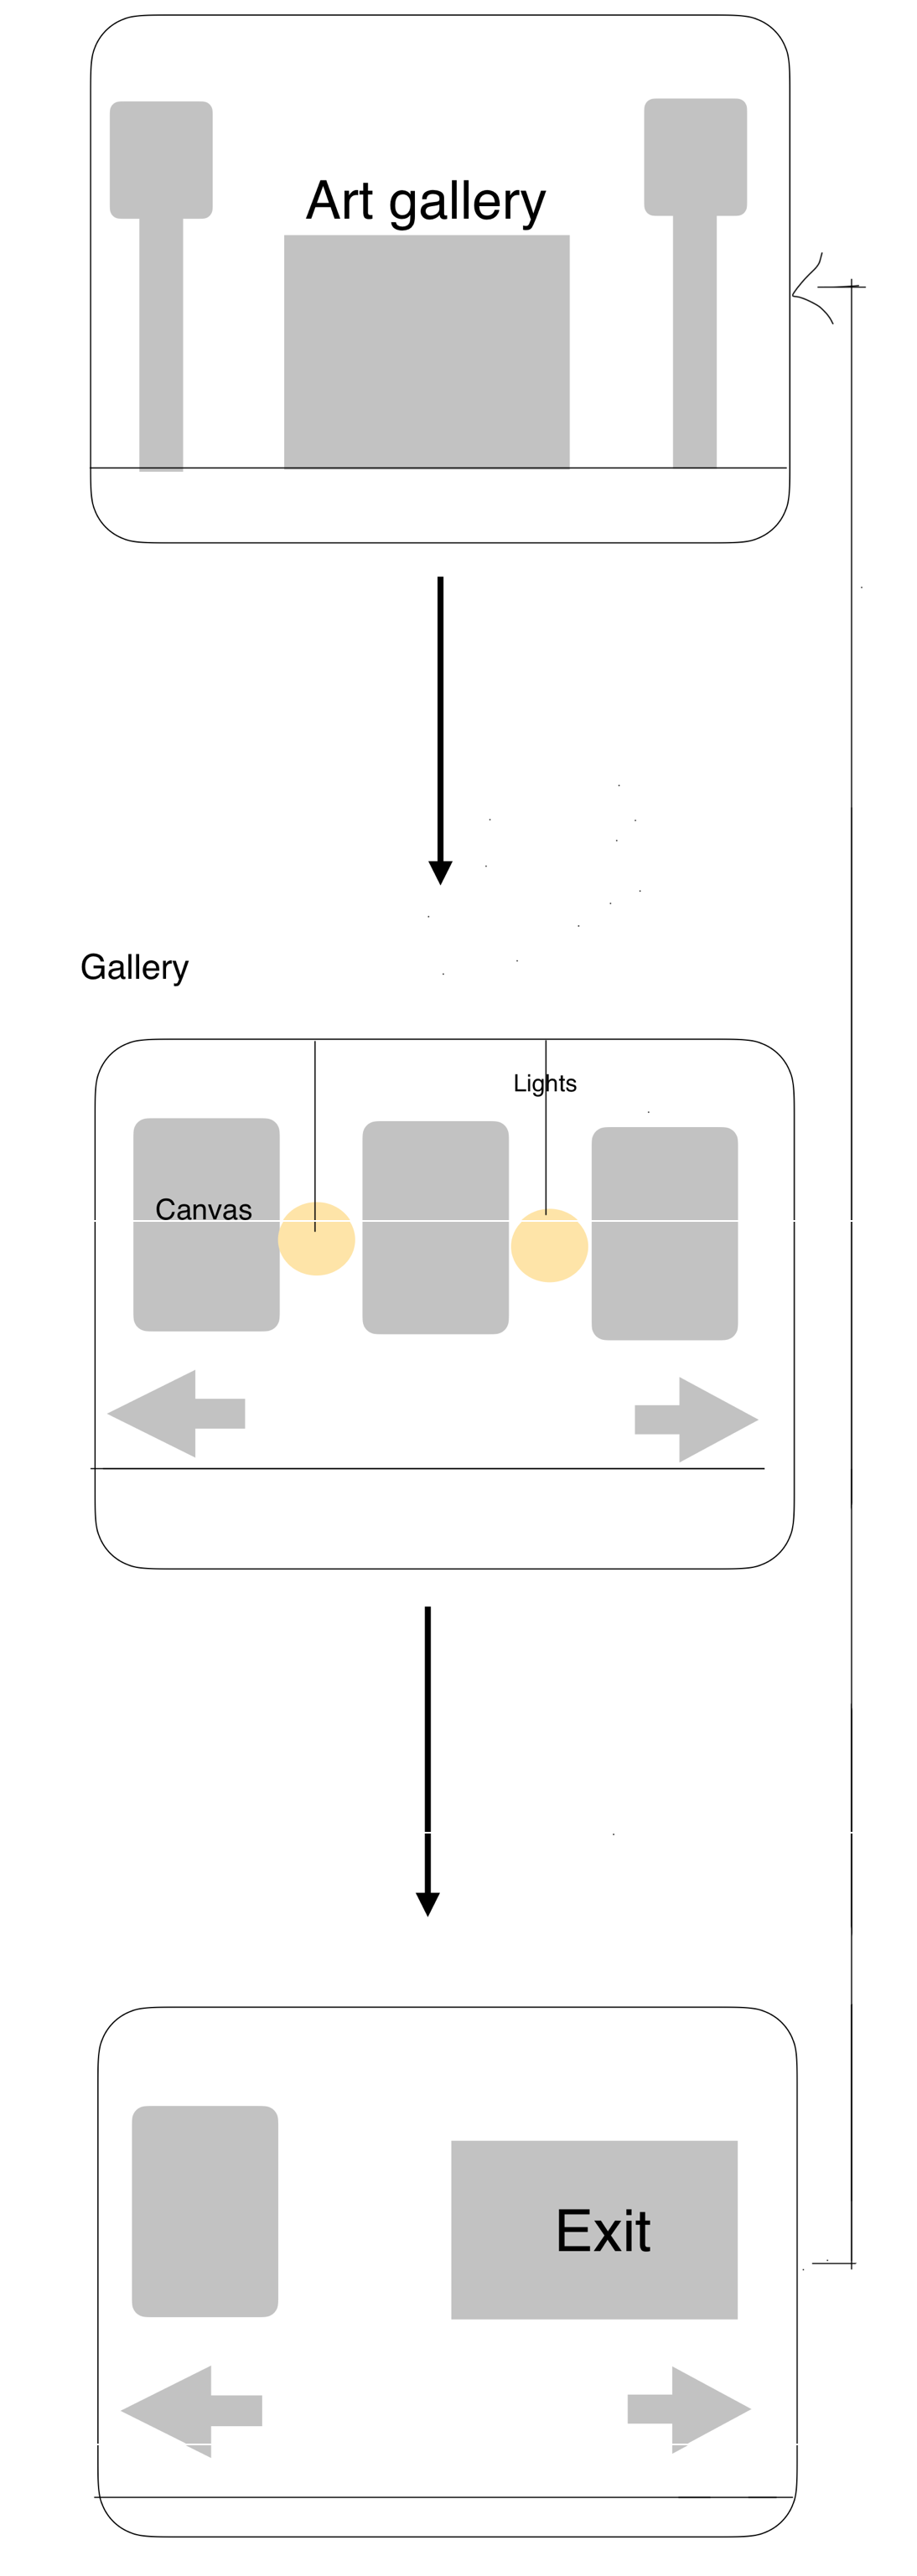
How it Started: Untitled Notebook (3)
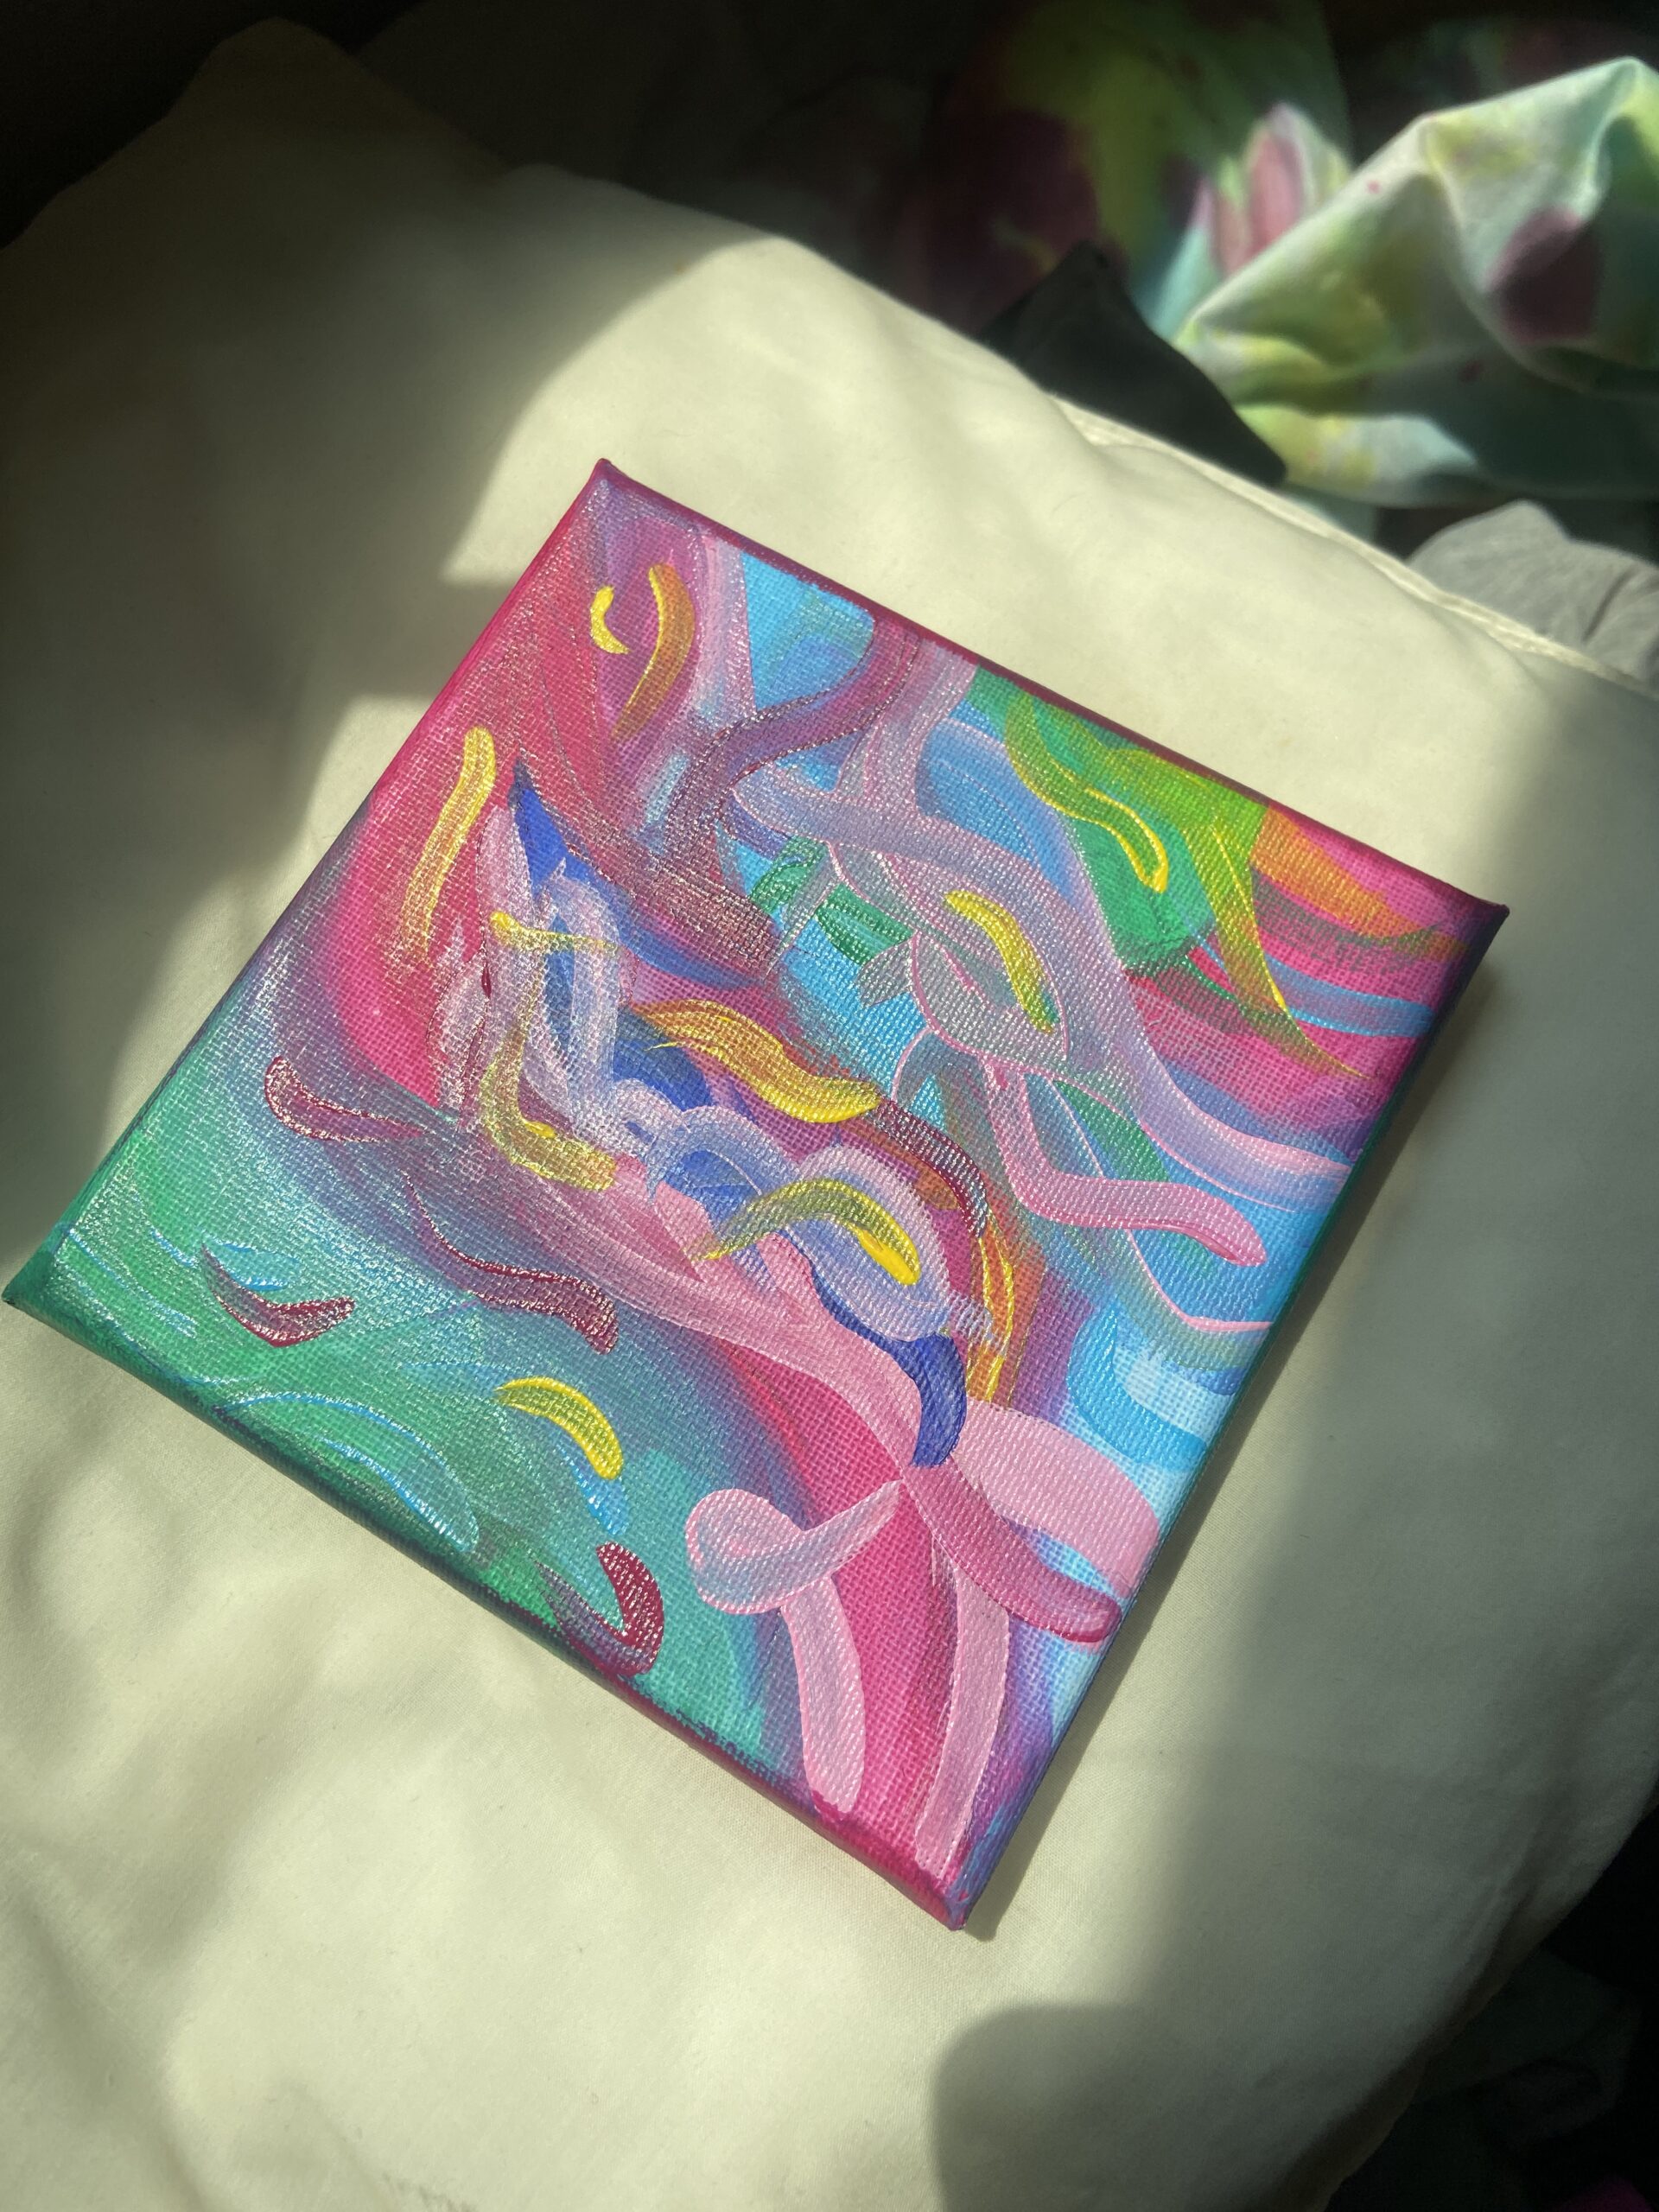
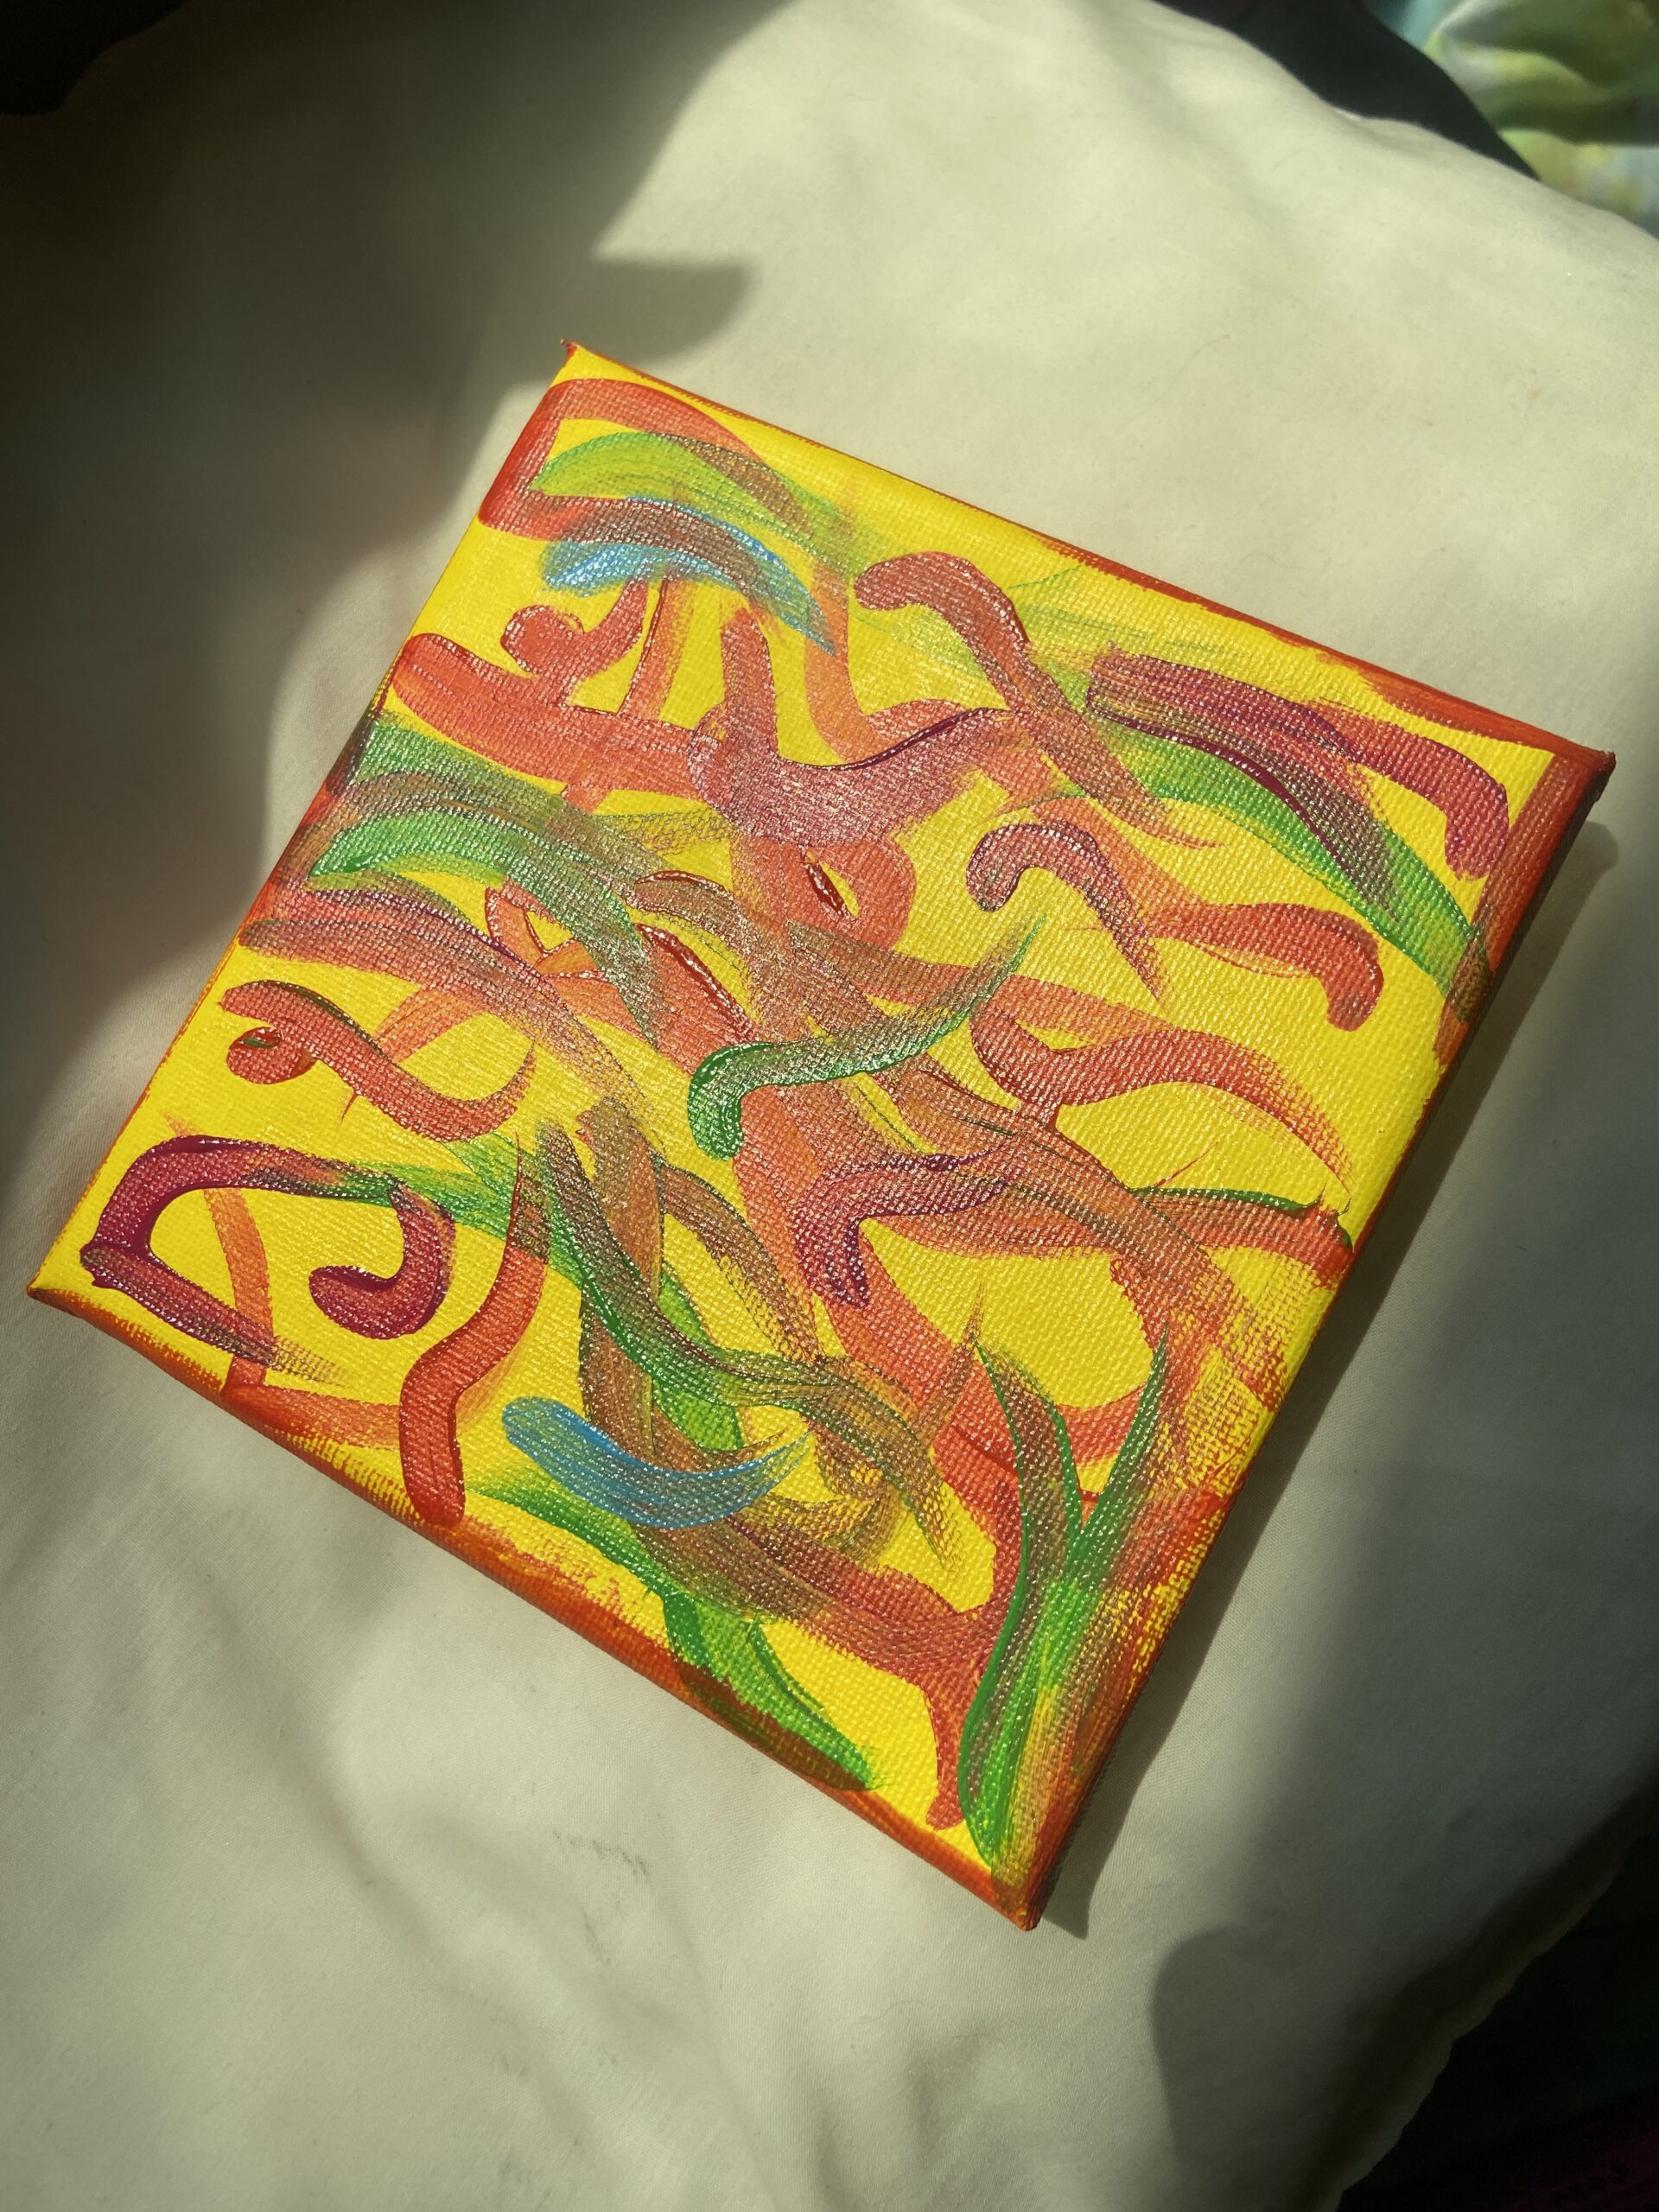
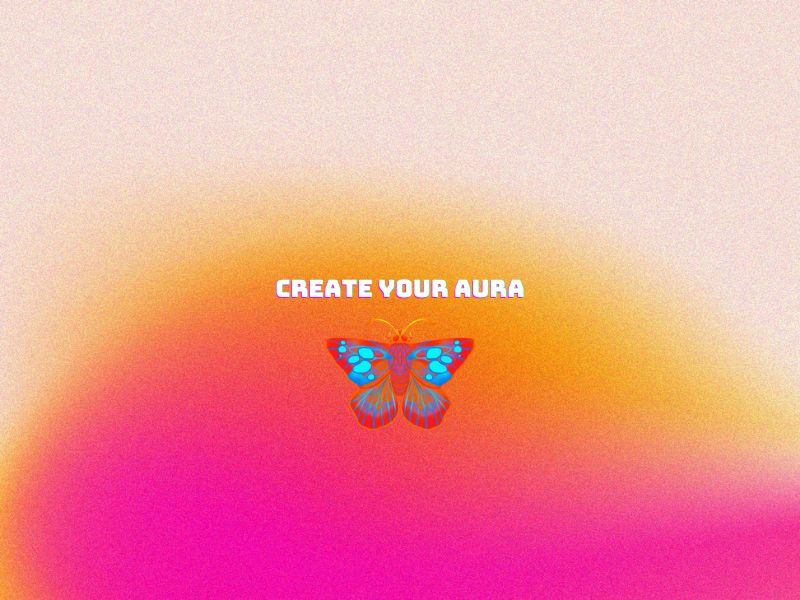
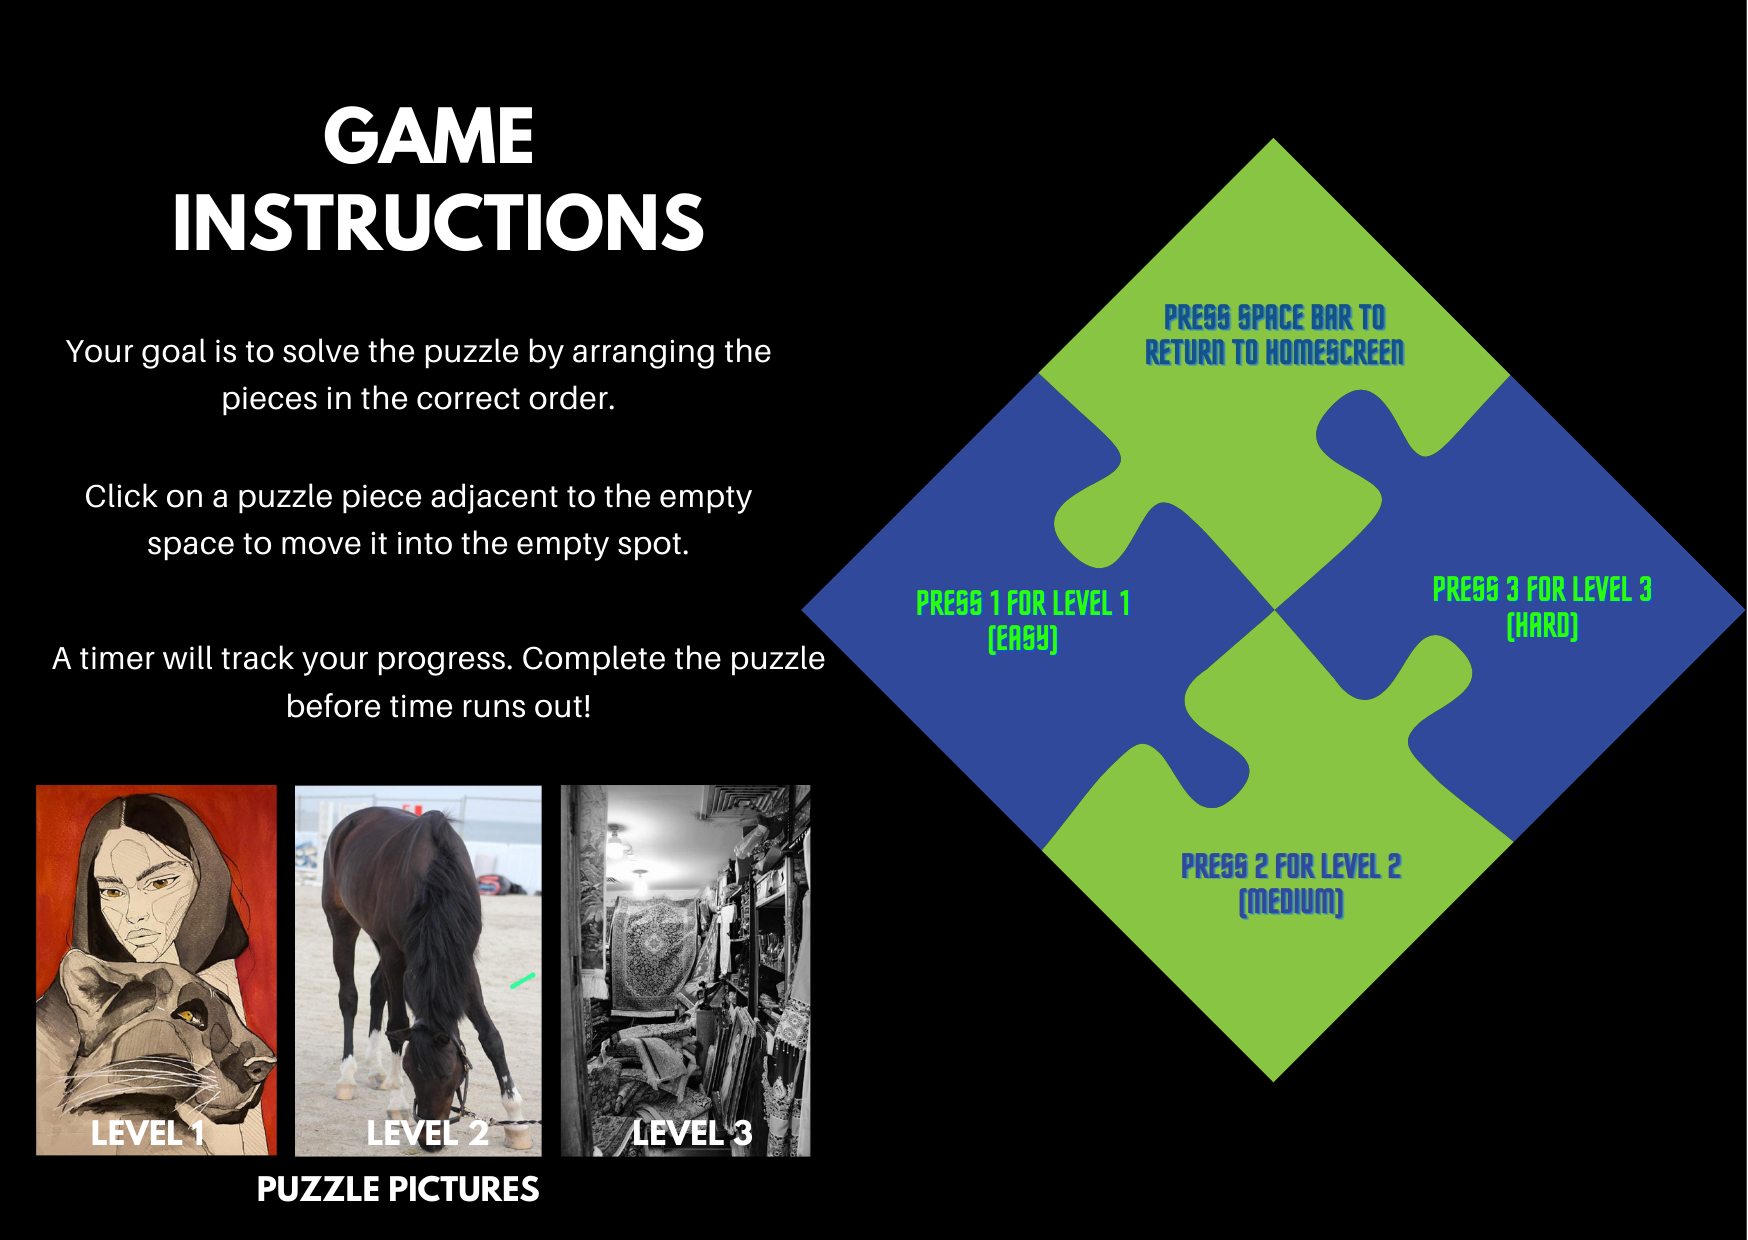
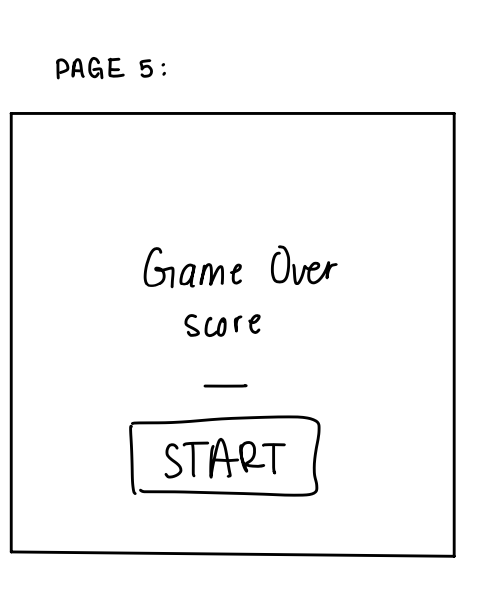
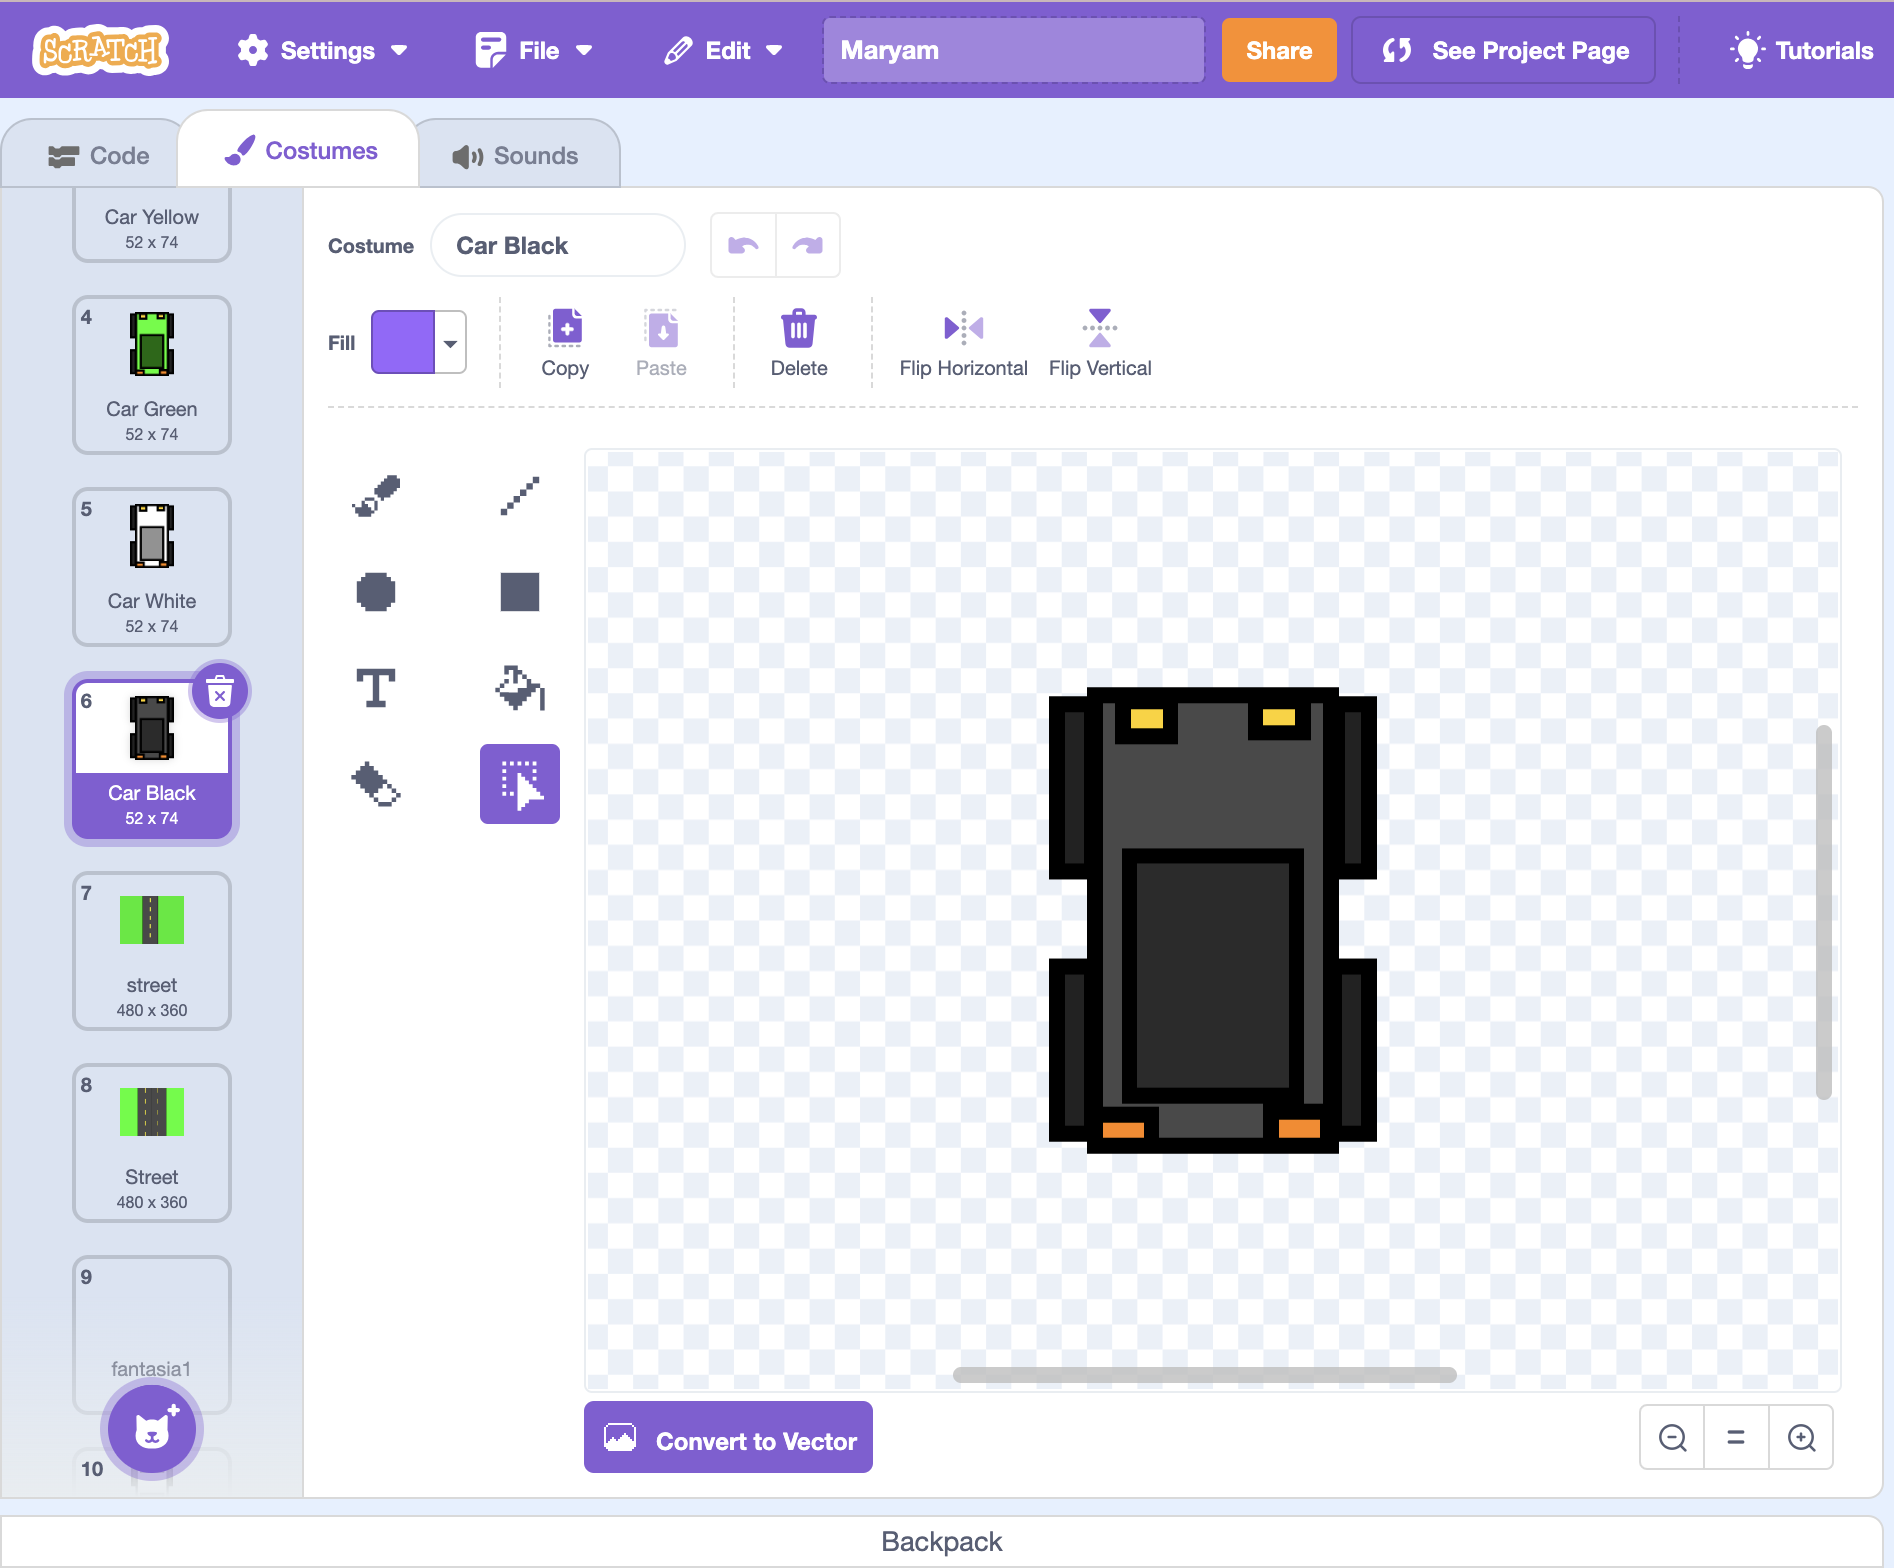
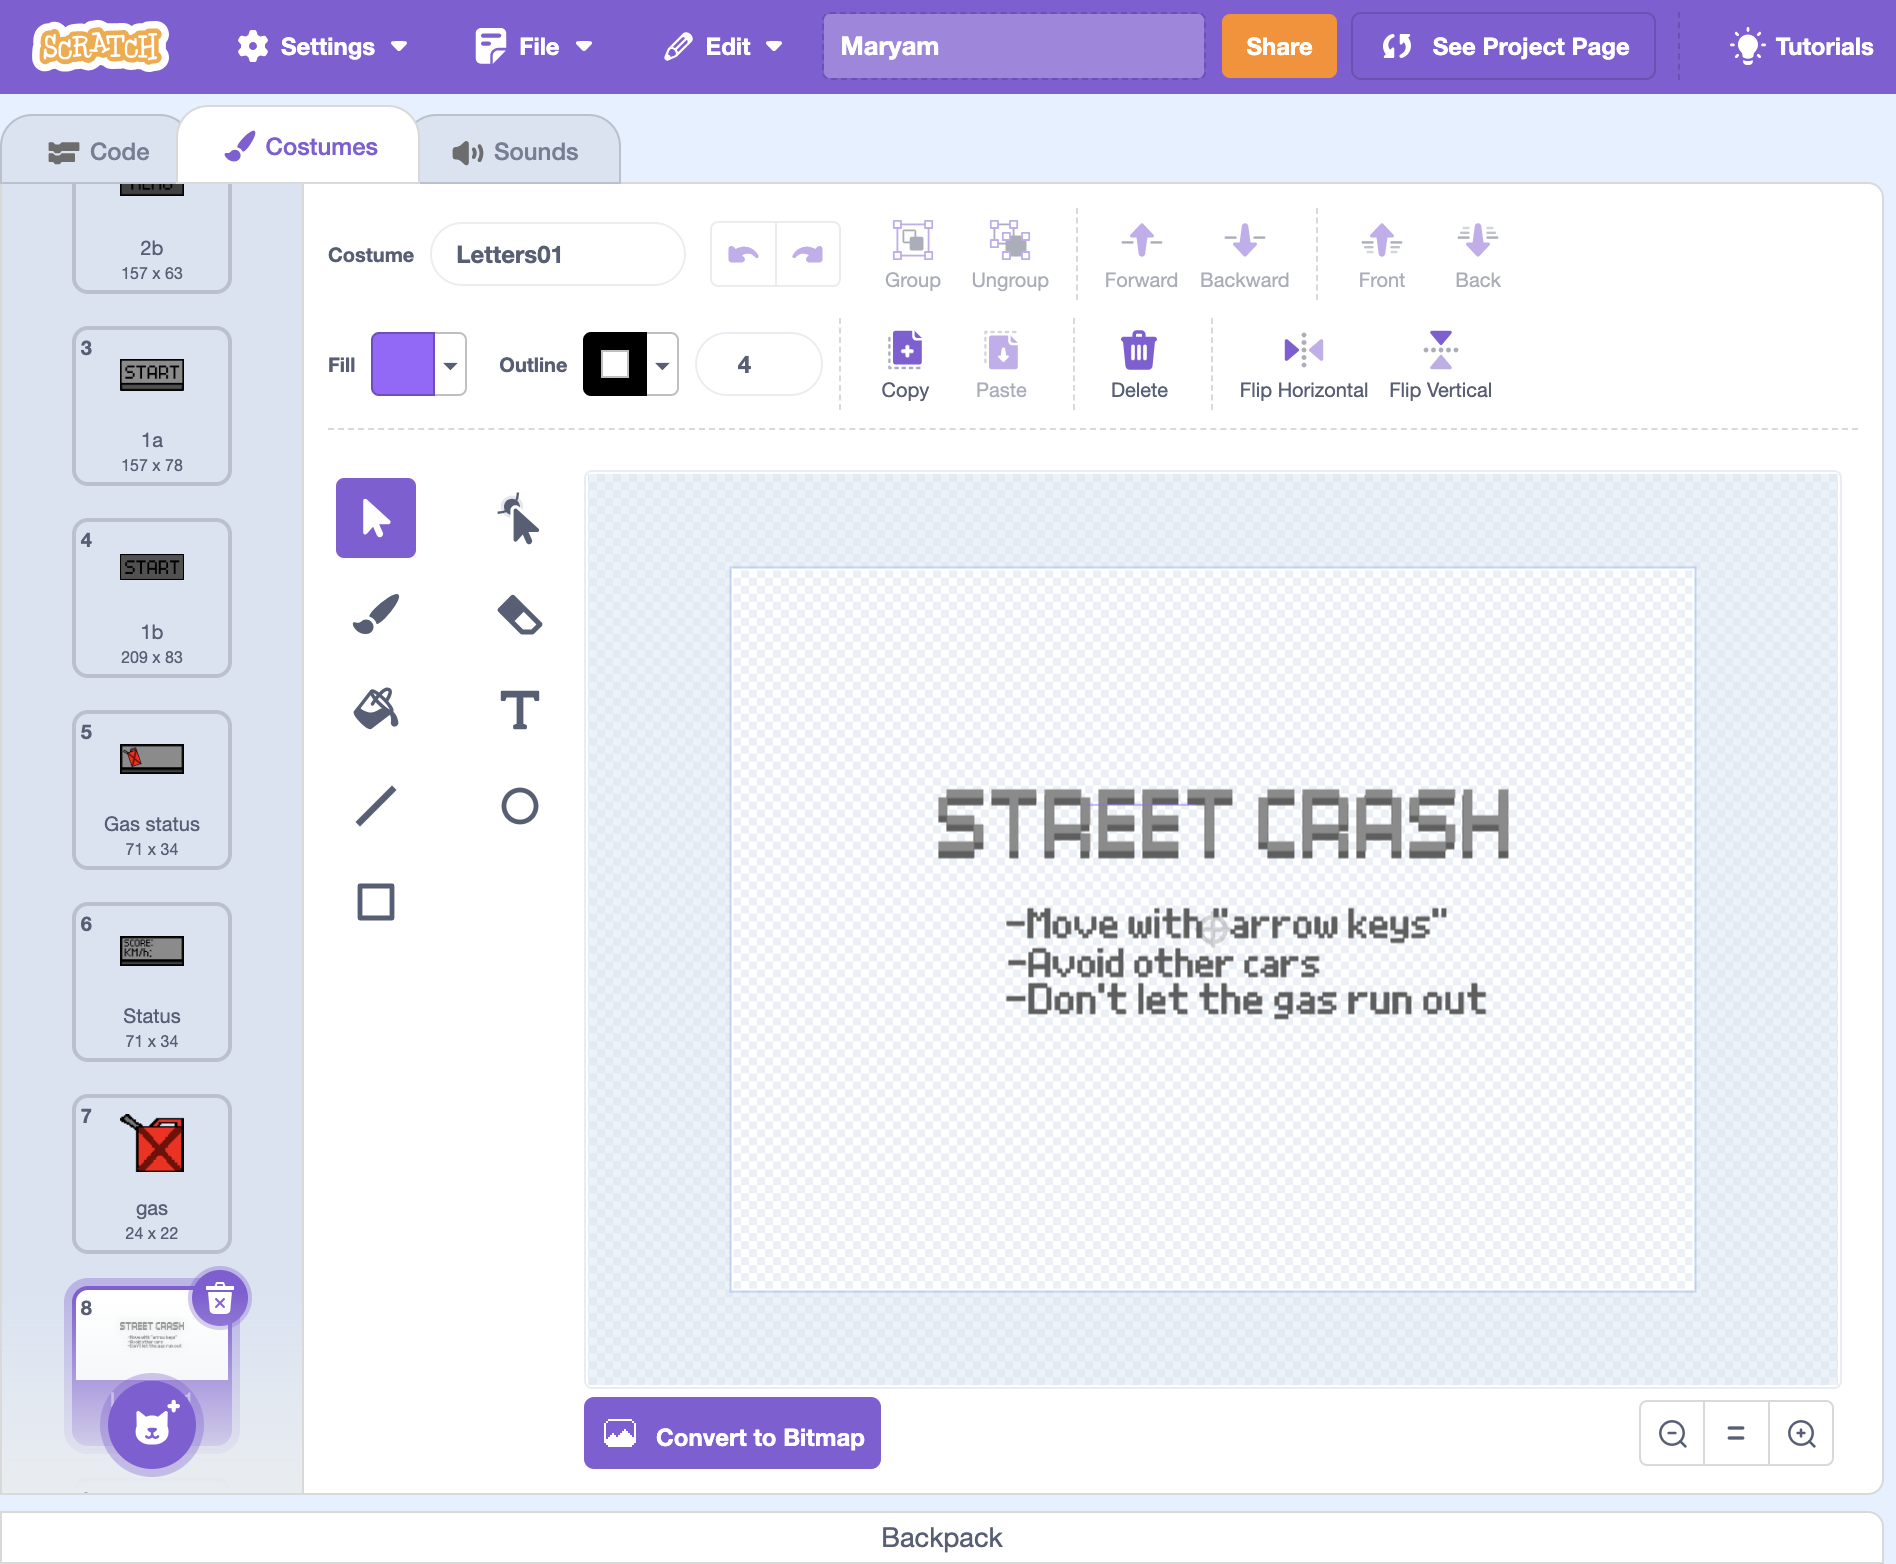
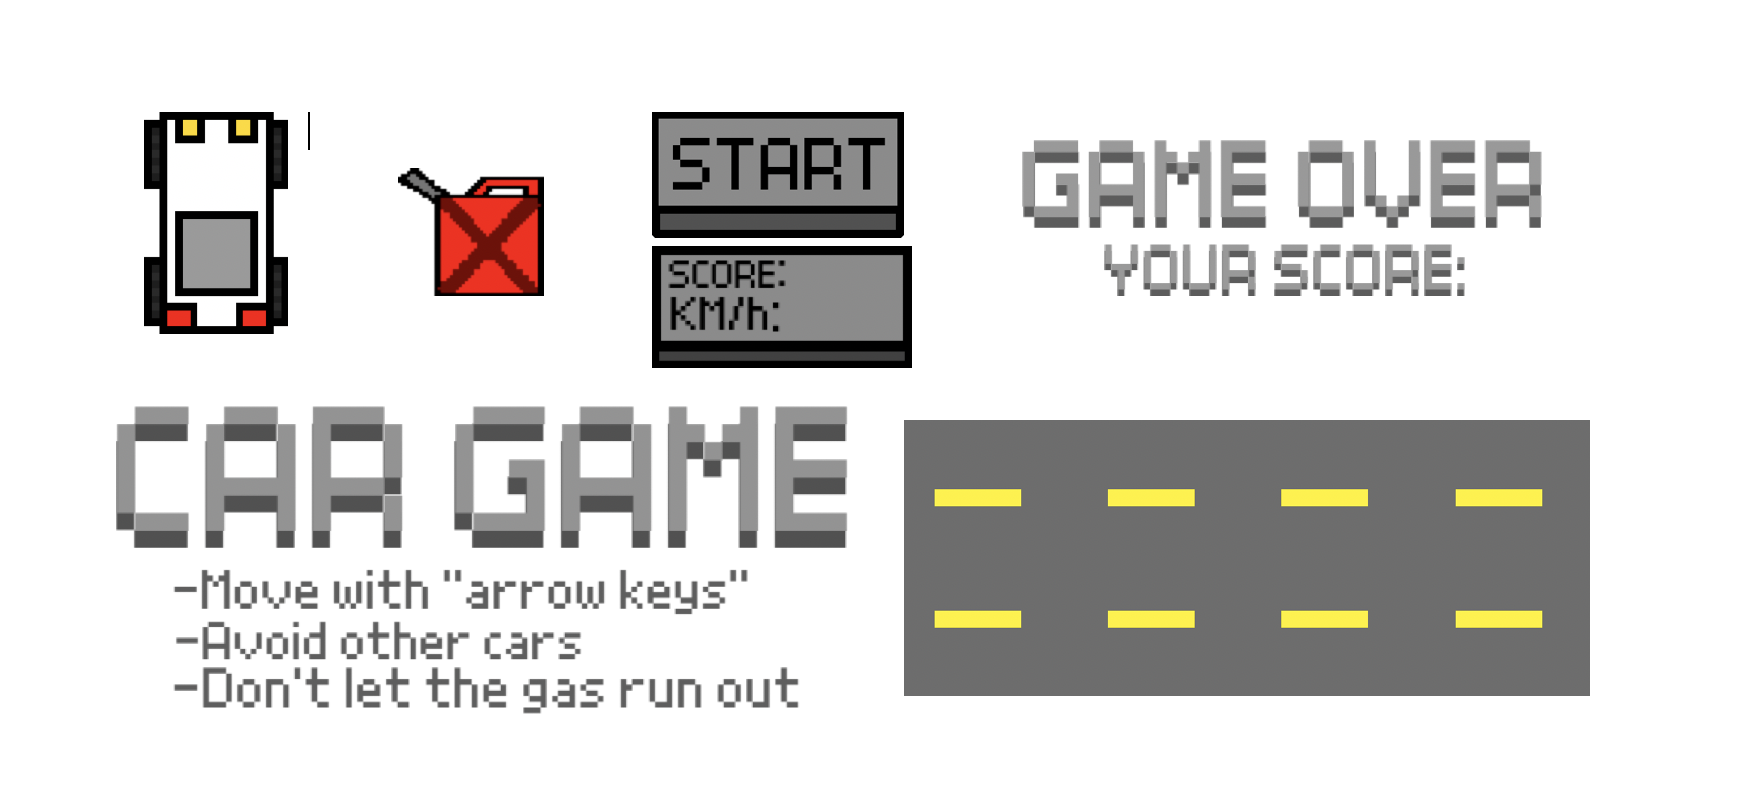
How it ended up:

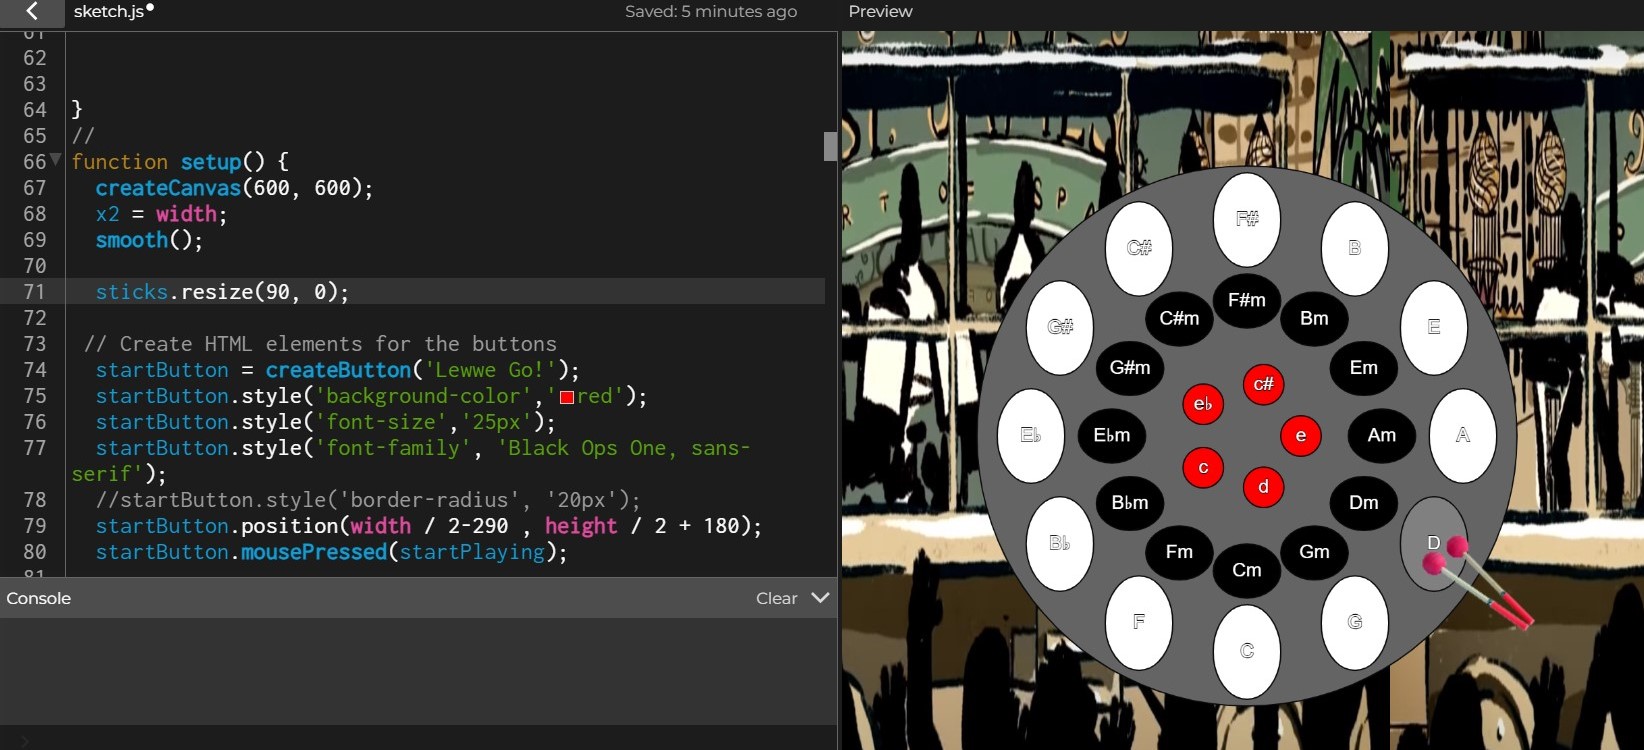
Coding:
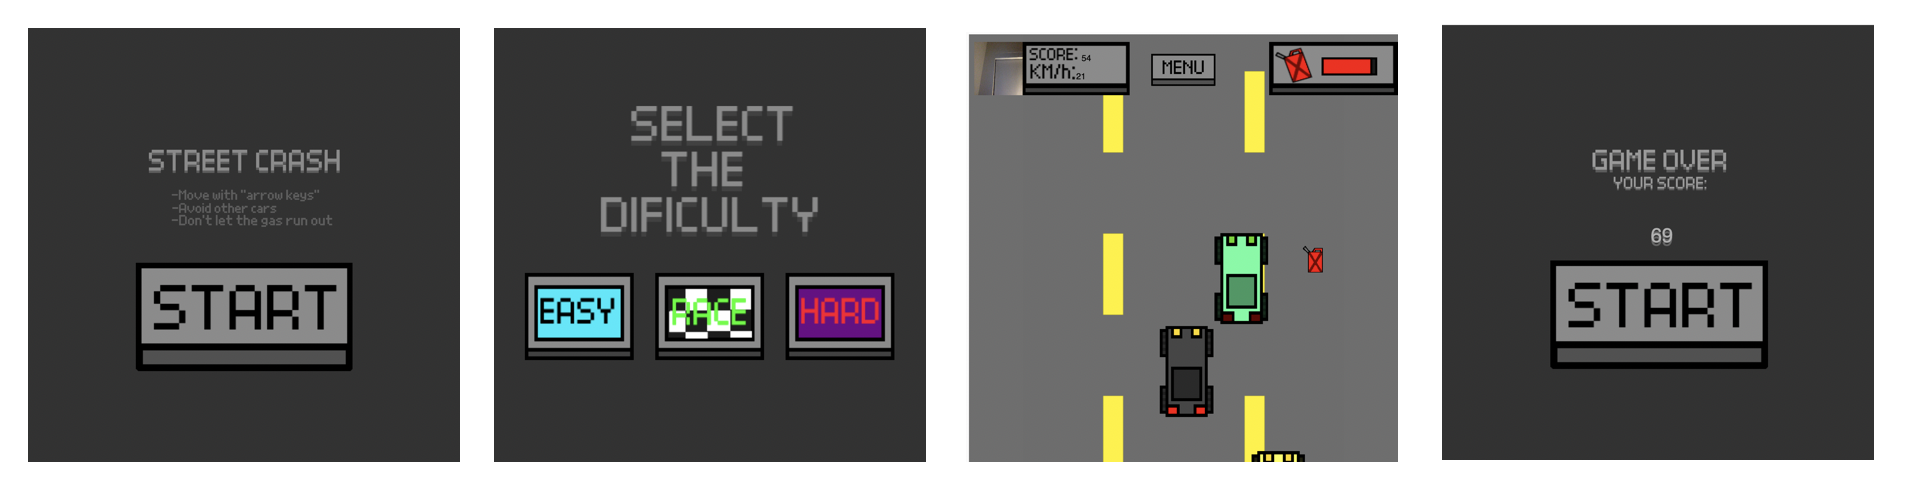
As a beginner, creating my first interactive artwork/semi-game was an incredibly enjoyable and enlightening experience, particularly since I’m an avid gamer and I found it exciting. It was a journey marked by trial and error, as I grappled with new concepts and tools that felt foreign to me even though they weren’t. The initial stages were challenging; I found myself feeling stuck and uncertain about how to bring my project to life. To overcome these hurdles, I resorted to rewatching tutorials and revisiting the basics of using certain functions and processing tools, such as online resources like YouTube videos to gain insight and clarity. Seeking help from friends was also valuable, but what pleasantly surprised me the most was discovering that my aunt, an architectural engineer, was well-versed in P5. Her assistance was a game-changer. This project taught me that perseverance, a willingness to learn, and seeking help when needed and challenges can turn into rewarding achievements as I am proud of myself
Highlight:
I dont have a particular code that I did struggle the most with, some might have been simpe while others did require alot of thinking. But if i could choose one it would be the checkPaintbrushHover. I would say I struggled the most with part as a whole, as I was very confused on how ‘dist’ work and had to watch videos to know how to amply it, but my implications were error but I achieved it at the end
function checkPaintbrushHover() {

  isHovering = false;  //  assume the mouse is not hovering over paintbrush
  if (currentPage === "startup") { // if the current page is 'startup'
    // calculate the distance between the mouse and the paintbrush
    let d = dist(mouseX, mouseY, 120 + 50, 510 + 50);
    if (d < 50) { // if the distance is less than 50 pixels
      isHovering = true; // the mouse is hovering over the paintbrush
      return; // exit function
    }
  } else if (currentPage === "boredImage") { // if the current page is 'boredImage'
    // calculate the distance between the mouse and the paintbrush
    let d = dist(mouseX, mouseY, 120 + 50, 450 + 50);
    if (d < 50) { // if the distance is less than 50 pixels
      isHovering = true; // the mouse is hovering over the paintbrush
      return; // exit function
    }
  } else if (currentPage === "main") { // if the current page is 'main'
    // calculate the distance between the mouse and the paintbrush
    let d = dist(mouseX, mouseY, 490 + 45, 425 + 45);
    if (d < 45) { // if the distance is less than 45 pixels
      isHovering = true;
      return; // exit function
    }
  }
}
Reflection:
The projects concept is interesting and fun to me, as ive never gotten the chance to do something like this before. I do agree that I couldve done something even bigger and more creative but I do enjoy and proud of what I did and I find it creative and matches the theme of interactivity in an artwork. The mistakes I encountered throughout this project will be proved to be invaluable learning experiences for me, to make me more confident in my ability I will be revisiting as I continue to learn and grow.
Final work:
References:
Fonts:
- https://www.dafontfree.net/vt323-regular/f84519.htm
- https://freefontsdownload.net/free-sloop-font-33247.htm
- https://www.dafont.com/super-cool.font
- https://www.dafont.com/marline.font
- https://www.dafont.com/tox-typewriter.font
- https://www.dafont.com/brilliant-mastaka.font
Images:
- https://omonatheydidnt.livejournal.com/27965623.html
- Rest of images found in the website: https://www.pinterest.com/
Sound:
Videos:
- https://www.youtube.com/watch?v=mVq7Ms01RjA
- https://www.youtube.com/watch?v=1Osb_iGDdjk
- https://www.youtube.com/watch?v=UvSjtiW-RH8
- https://www.youtube.com/watch?v=asvnmtVjeEk
- https://www.youtube.com/watch?v=7A5tKW9HGoM
- https://www.youtube.com/watch?v=bhAUIeVe0s4


