Concept:
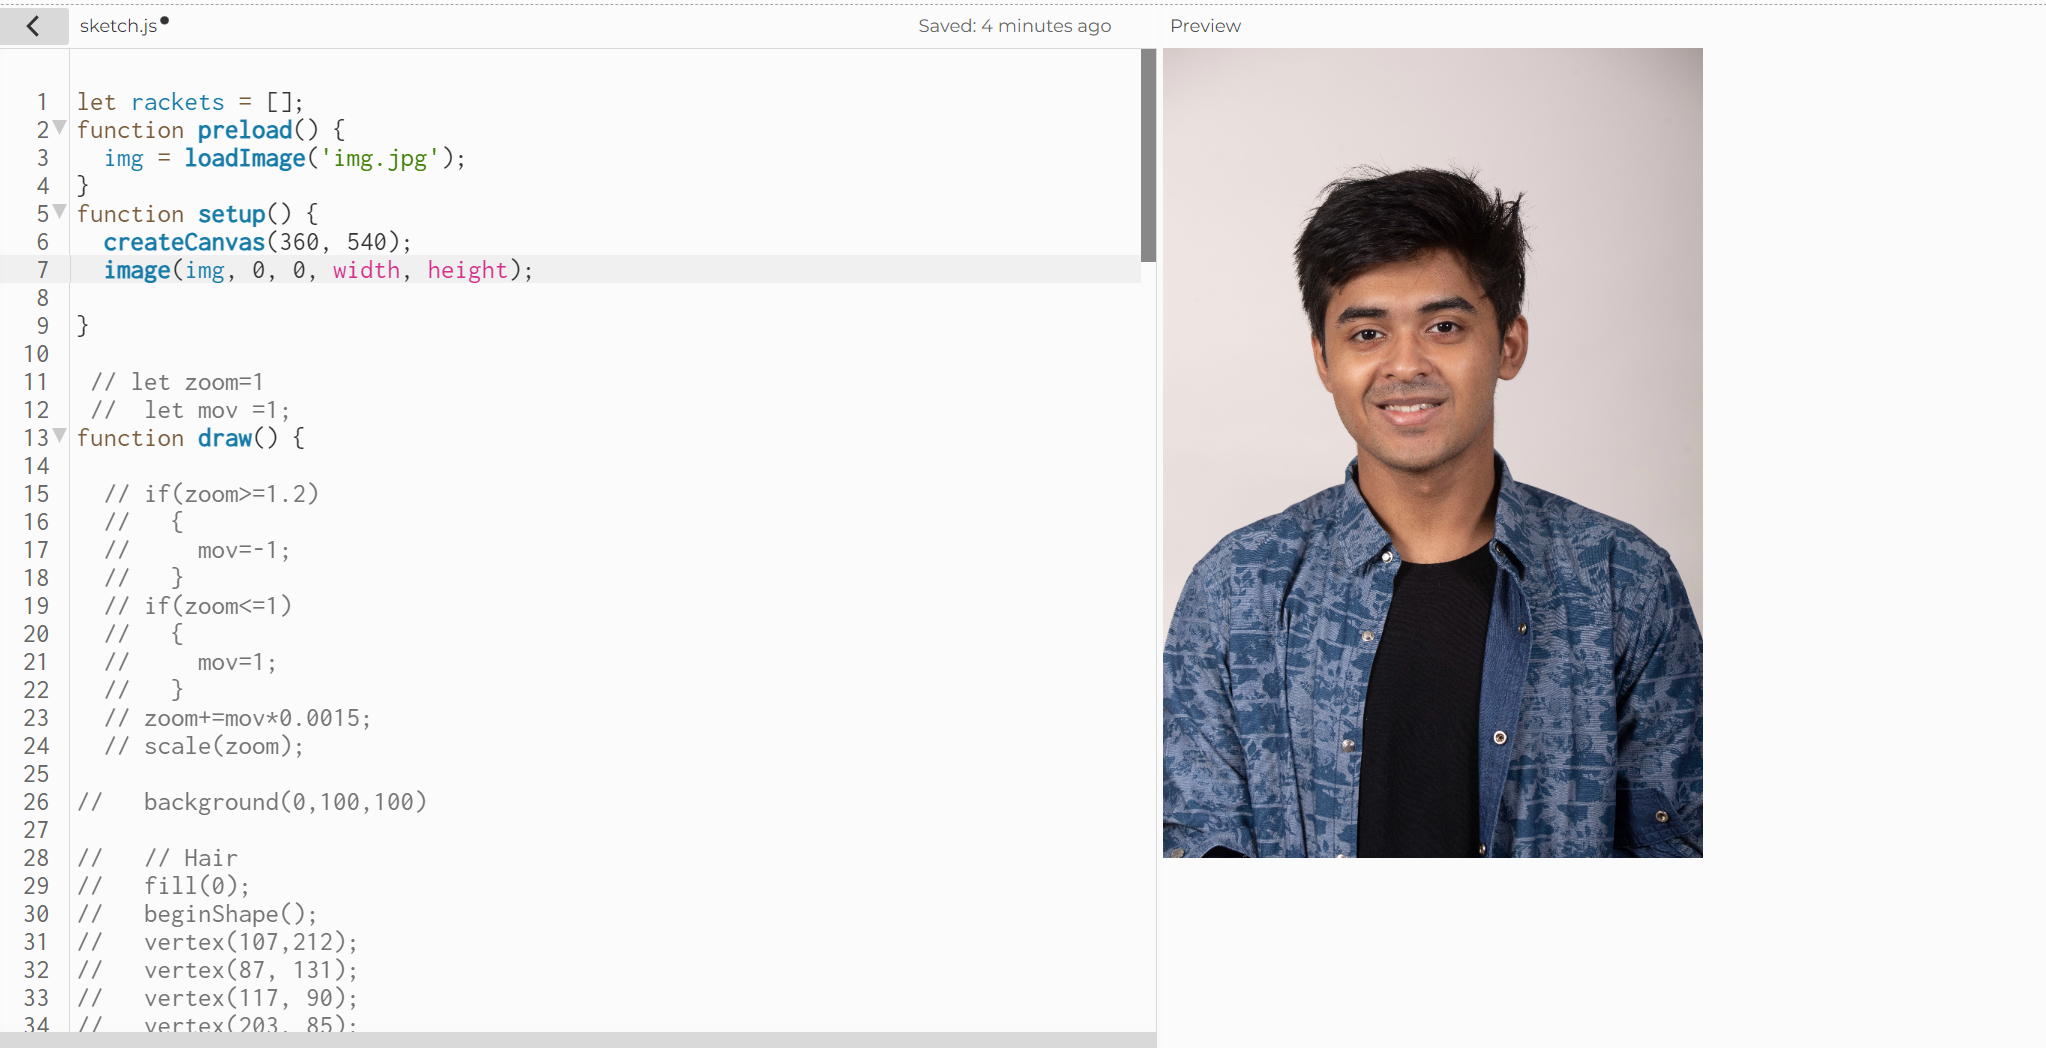
I’m basically using this self portrait to experiment with what I’ve learned so far (which is obviously not a lot) because let’s be honest – I’m not very artistic. I did however try to compensate for the lack of artistic accuracy by making some other aspects of the portrait interactive.
A highlight of code that I’m particularly proud of:
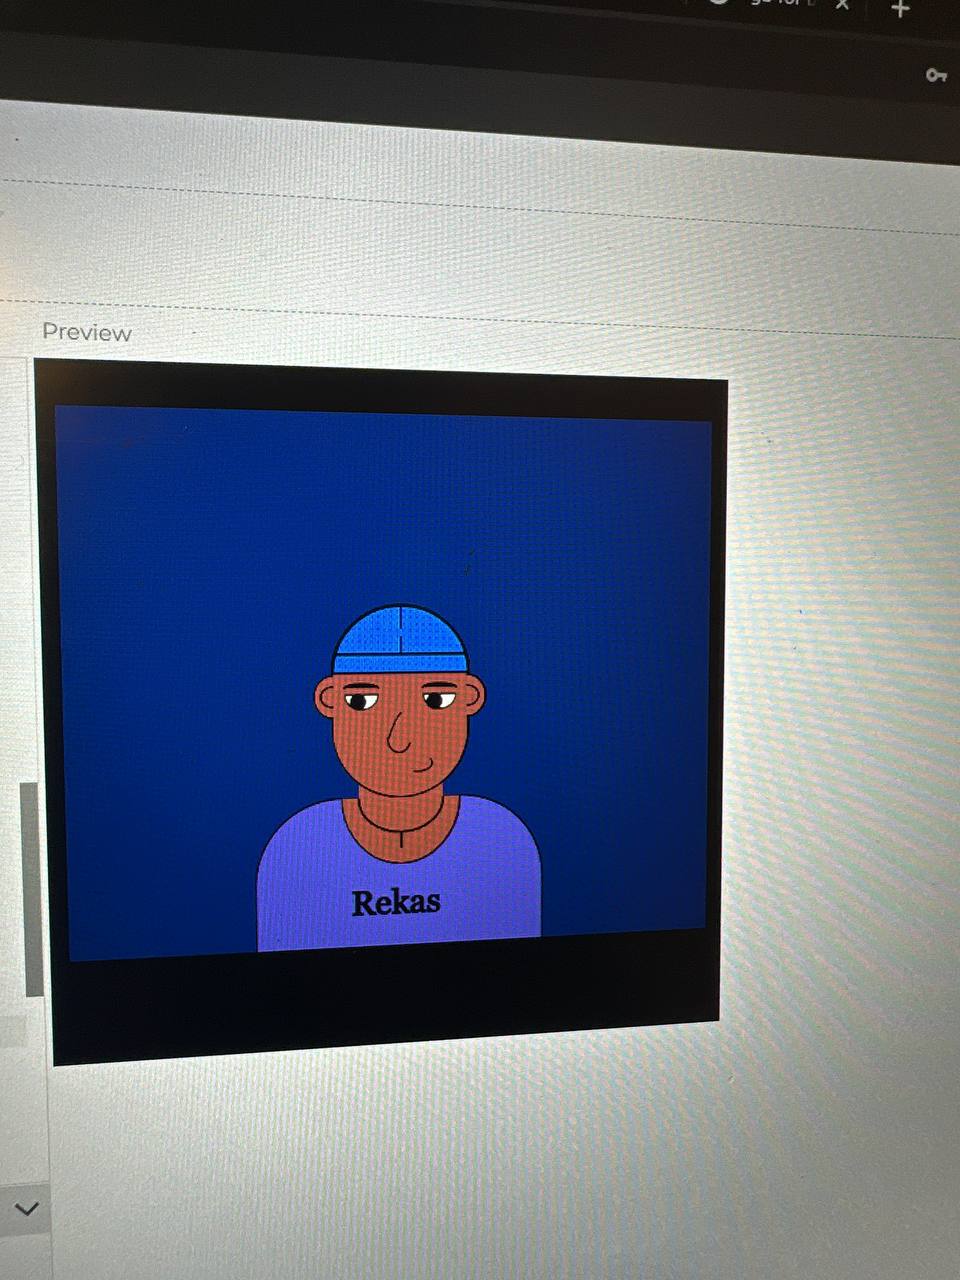
I thought about what it was that I could make interactive, and I settled on making my (or my sketch’s) eyes follow the mouse pointer. In the process, I stumbled upon some other people’s sketches, and also found inspiration in Maryam’s sketch, particularly how her expression changes as you hover the mouse pointer over her face (apologies if there are multiple Maryams in our class). Without looking at the code behind it, I tried, with much initial disappointment, to do something similar, and thus finished with two interactive features: the eyes, and the facial expressions.
//interactive eyeballs
  if (mouseX<=350 && mouseY<=250) {
  fill(255)
  ellipse((320-(255-mouseX)/120),(200+mouseY/120),6,6)
  ellipse((380-(255-mouseX)/120),(200+mouseY/120),6,6)
}
  if (mouseX>350 && mouseY<=250) {
  fill(255)
  ellipse((320-(255-mouseX)/120),(200+mouseY/120),6,6)
  ellipse((380-(255-mouseX)/120),(200+mouseY/120),6,6)
}
  if (mouseX>350 && mouseY>250) {
  fill(255)
  ellipse((320-(255-mouseX)/120),(200+mouseY/120),6,6)
  ellipse((380-(255-mouseX)/120),(200+mouseY/120),6,6)
}
  if (mouseX<=350 && mouseY>250) {
  fill(255)
  ellipse((320-(255-mouseX)/120),(200+mouseY/120),6,6)
  ellipse((380-(255-mouseX)/120),(200+mouseY/120),6,6)
}

  //interactive mouth + eyebrows
  if(mouseX<310 || mouseX>390) {
  fill('rgb(253,91,91)')
  stroke('#B0764A')
  strokeWeight(2)
  curve(300, 0, 310, 290, 390, 280, 300, 0);
  fill('#C7A184')
  strokeWeight(4)
  curve(310,220,305,181,330,178,328,220)
  curve(370,220,365,181,390,178,388,220)
  }
  if (mouseY<285 || mouseY>320) {
  fill('rgb(253,91,91)')
  stroke('#B0764A')
  strokeWeight(2)
  curve(300, 0, 310, 290, 390, 280, 300, 0);
  fill('#C7A184')
  strokeWeight(4)
  curve(310,220,305,181,330,178,328,220)
  curve(370,220,365,181,390,178,388,220)
  }
  if(mouseX>=310 && mouseX<=390 && mouseY>=285 && mouseY<=320) {
  stroke('#B0764A')
  strokeWeight(4)
  line(320,300,390,280)
  line(310,175,330,180)
  line(365,180,385,175)
  }
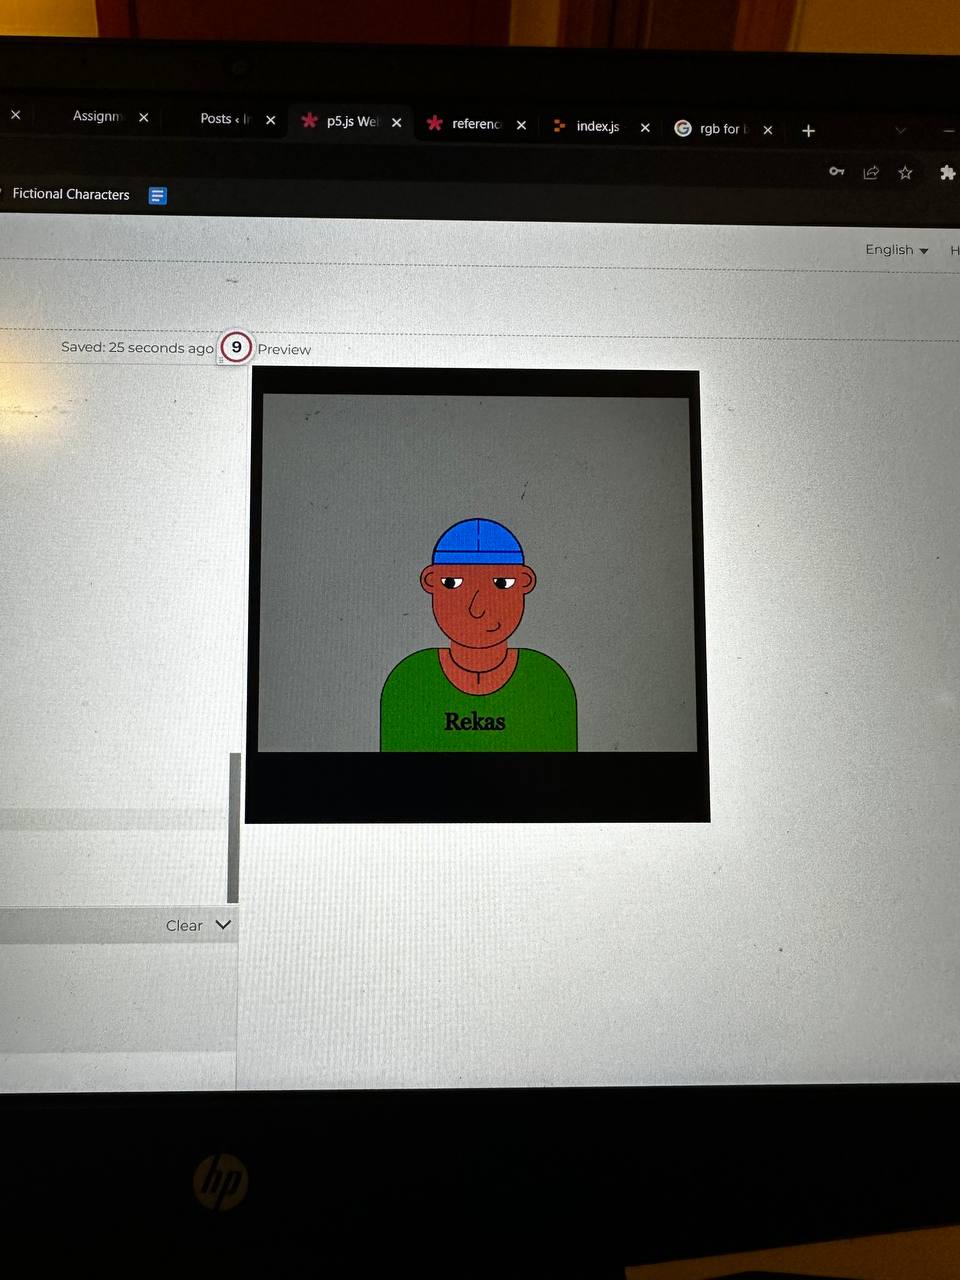
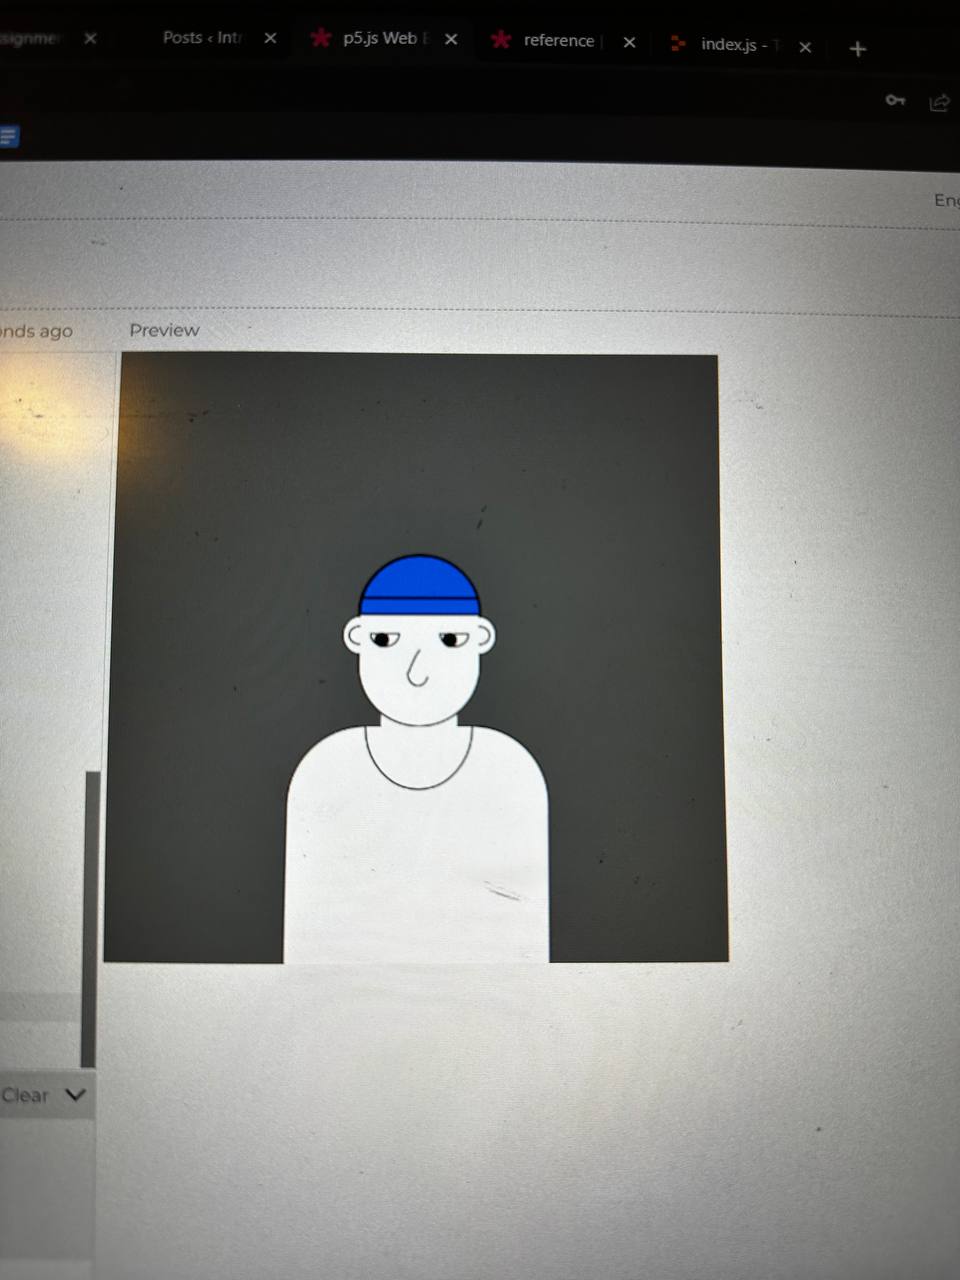
The sketch:
Reflection and ideas for future work or improvements:
I was limited by my familiarity with JavaScript and could use only some of the various functions it is capable of executing, so I would like to revisit this assignment – just to see how far I’ve come – at the end of this course and do more stuff (or just improve on this existing stuff).