
Concept
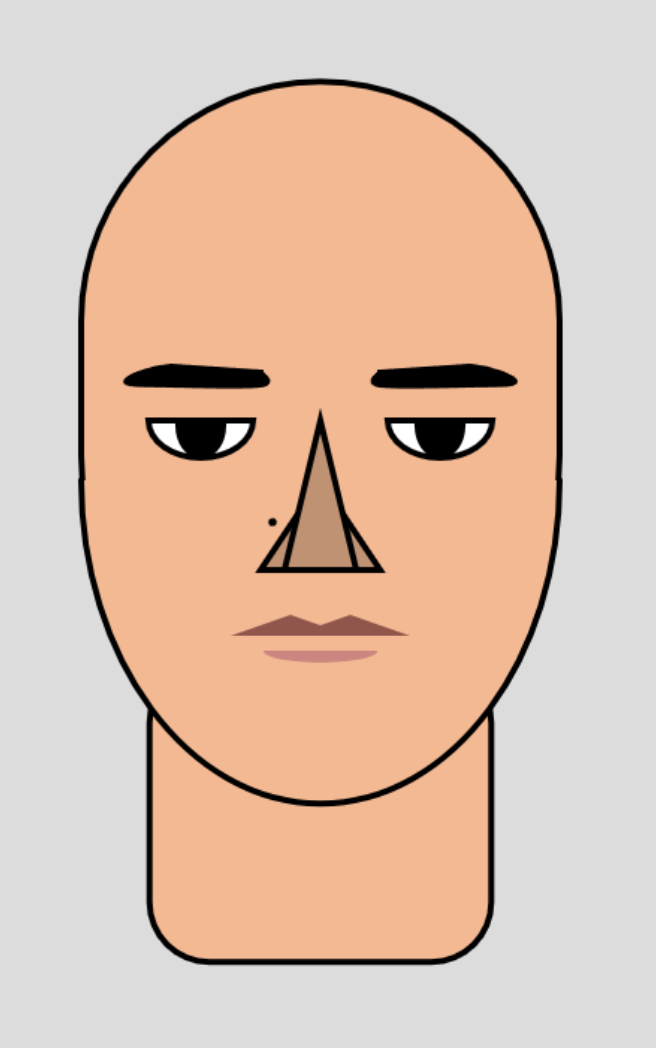
I wanted to capture as much detail as possible in my self-portrait. Since we needed to use simple shapes to draw our portraits, I decided to work with a reference photo of myself and simplify my face into the most basic shapes possible. For an animated component, I added a blinking animation as well. I also wanted an interactive element, which is why I added some cats that pop out when you click on the mouse!
Code Highlights:
My favorite part was creating a cat class. It’s the highlight of the project since I can create a cat anywhere on the canvas and rotate it as well. You can even customize the base, iris, mouth, and nose colors for each cat. This flexibility made my code much cleaner and allowed me to have fun, creating different cats.
class Cat {
  constructor(x, y, angle, baseColor, eyeColor, mouthColor = color(255), noseColor = color(202, 137, 155)) {
    this.x = x;
    this.y = y;
    this.angle = angle;
    this.baseColor = baseColor;
    this.eyeColor = eyeColor;
    this.noseColor = noseColor;
    this.mouthColor = mouthColor;
  }

  show() {
    push();
    translate(scaledSize/this.x, scaledSize/this.y);
    rotate(this.angle);

    strokeWeight(2);

    //face
    push();
    fill(this.baseColor);
    triangle(
      -scaledSize / 25,
      -scaledSize / 120,
      -scaledSize / 21.81,
      -scaledSize / 17.14,
      -scaledSize / 100,
      -scaledSize / 26.66
    );
    triangle(
      scaledSize / 25,
      -scaledSize / 120,
      scaledSize / 21.81,
      -scaledSize / 17.14,
      scaledSize / 100,
      -scaledSize / 26.66
    );
    circle(0, 0, scaledSize / 12);

    pop();

    //eyes
    push();
    strokeWeight(2);
    fill(255);
    circle(-scaledSize / 60, -scaledSize / 120, scaledSize / 40);
    circle(scaledSize / 60, -scaledSize / 120, scaledSize / 40);
    pop();

    push();
    noStroke();
    fill(this.eyeColor);
    circle(-scaledSize / 60, -scaledSize / 120, scaledSize / 48);
    circle(scaledSize / 60, -scaledSize / 120, scaledSize / 48);
    pop();

    push();
    noStroke();
    fill(this.noseColor);
    triangle(
      0, scaledSize / 120,
      -scaledSize / 150, scaledSize / 300,
      scaledSize / 150, scaledSize / 300
    );
    pop();

    //mouth
    push();
    stroke(this.mouthColor);
    strokeWeight(1);
    line(0, scaledSize / 120, 0, scaledSize / 80);
    pop();

    push();
    stroke(this.mouthColor);
    strokeWeight(1);
    translate(-scaledSize / 1200, scaledSize / 80);

    rotate(PI / 3);
    line(0, 0, 0, scaledSize / 120);
    pop();

    push();
    stroke(this.mouthColor);
    strokeWeight(1);
    translate(scaledSize / 1200, scaledSize / 80);

    rotate(-PI / 3);
    line(0, 0, 0, scaledSize / 120);
    pop();

    pop();
  }
}
To add the blinking animation, I created open and closed states for the eyes. I implemented the state changing using the following code:
//blink animation
if(eyeOpen)
  {
    if(frameCount%150== 0)
      eyeOpen = !eyeOpen;
  }
else{
  blinkFrames++;
  if(blinkFrames%11 == 0)
    {
      eyeOpen = !eyeOpen;
    }

}
The time between each blink is calculated using the frameCount variable. I want the eye to blink every 2.5 seconds, and since there are 60 frames per second, every time 150 frames are drawn 2.5 seconds elapse.
I also use a blinkFrames variable because I want to count the number of frames that pass while the eyes are closed. This way I can keep the blink time constant. Since I don’t want the time between blinks to be exactly the same, I use frameCount instead. The reason this inconsistency occurs is because frameCount still counts ahead while the eye state is set to be closed.
Approach and Reflection
After an houof experimenting, I came up with the following face shape using the rect, arc, triangle, createShape, and curveVertex functions:
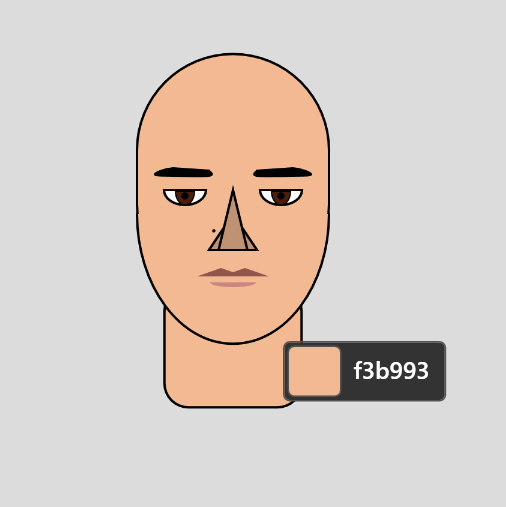
One particular tool that I used extensively throughout this project was Microsoft Powertoys , which comes with a Color Picker tool. It helped me figure out the color scheme that I wanted to go with, e.g., when picking the color for the shadow under my face.
I struggled with creating the hair, as I wanted to create curls. After no luck with that, I changed the plan to feature me with short hair. Using triangles and arcs, I created my hairline:
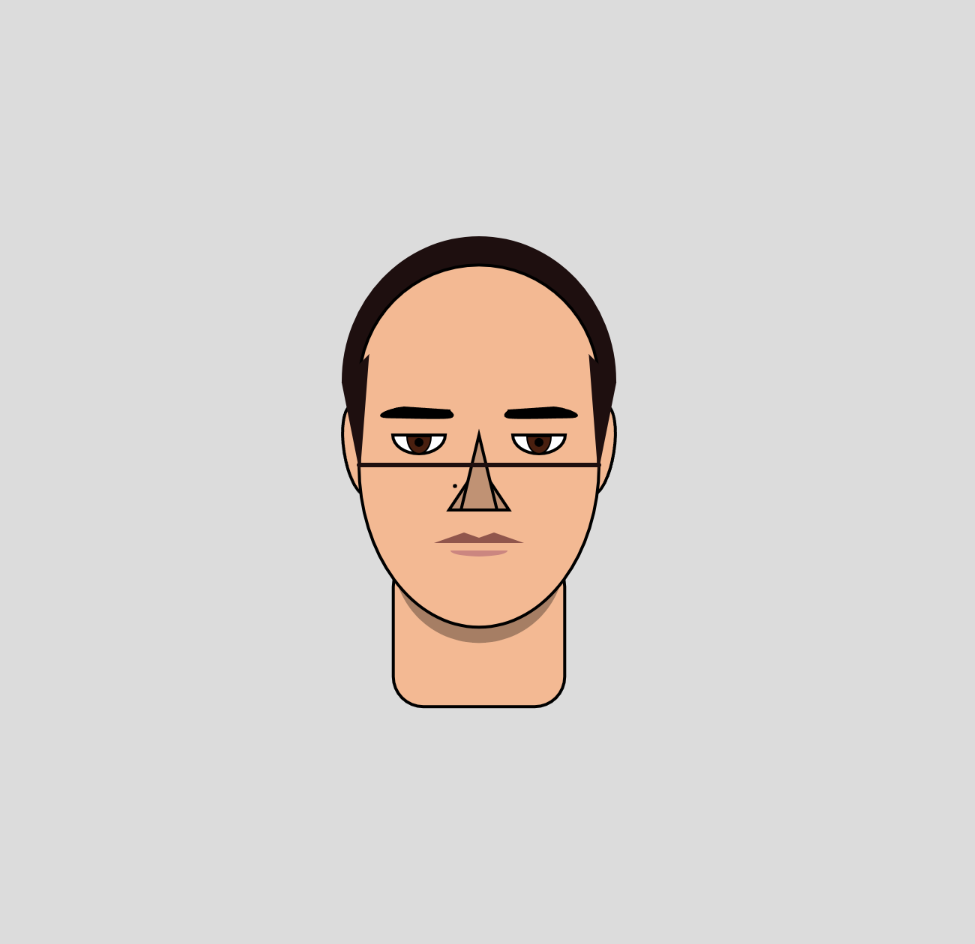
The line in the picture above is a reference line I drew, as in the beginning I translated the canvas to the middle. However, it was hard to keep track of coordinated as printing the mouse coordinated did not work after translating the canvas using the translate function. Removing the translation was tedious after making so much progress, so I continued working like this. This is something I would choose not to do next time.
After finishing the hair, I quickly gave my portrait a body and then created the cat class. I worked in a separate file and added the class to the main project once I was satisfied.
I also wanted to implement a way to control the scale of the picture, so I added a factor to every coordinate and length that is controlled by the scaleFactor variable. The idea was to keep size of the portrait fixed relative to the canvas size, and to allow me to zoom in and out of the portrait. However, this implementation was not perfect, and I suspect the translation in the beginning to be causing some minor problems.
In retrospect, it would have been beneficial to plan out the project more thoroughly. I did not have a clear idea in the beginning of what I wanted, and added features as I went along. Still, I enjoyed the process and am happy with the end result!
Resources