Concept
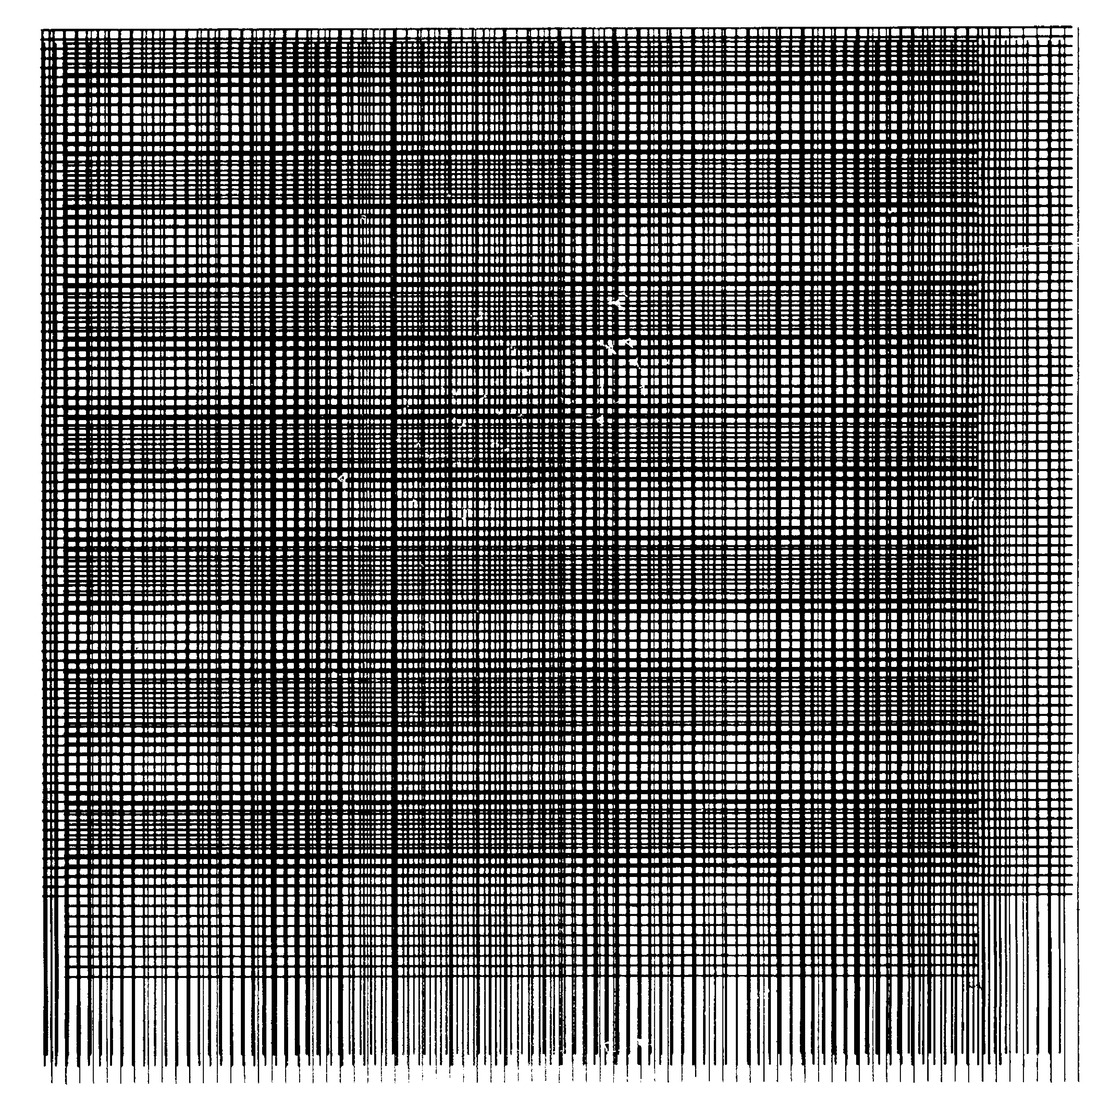
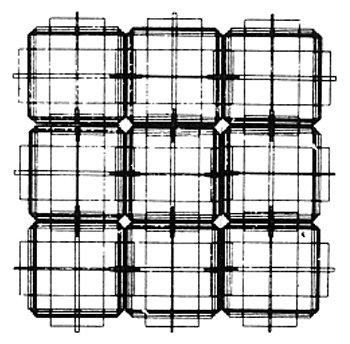
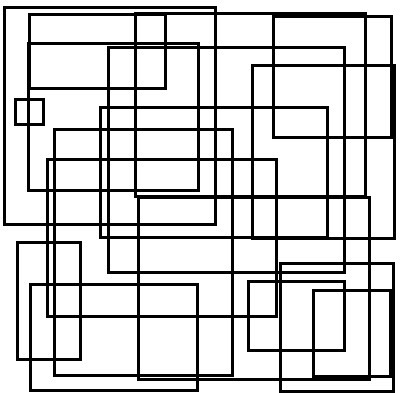
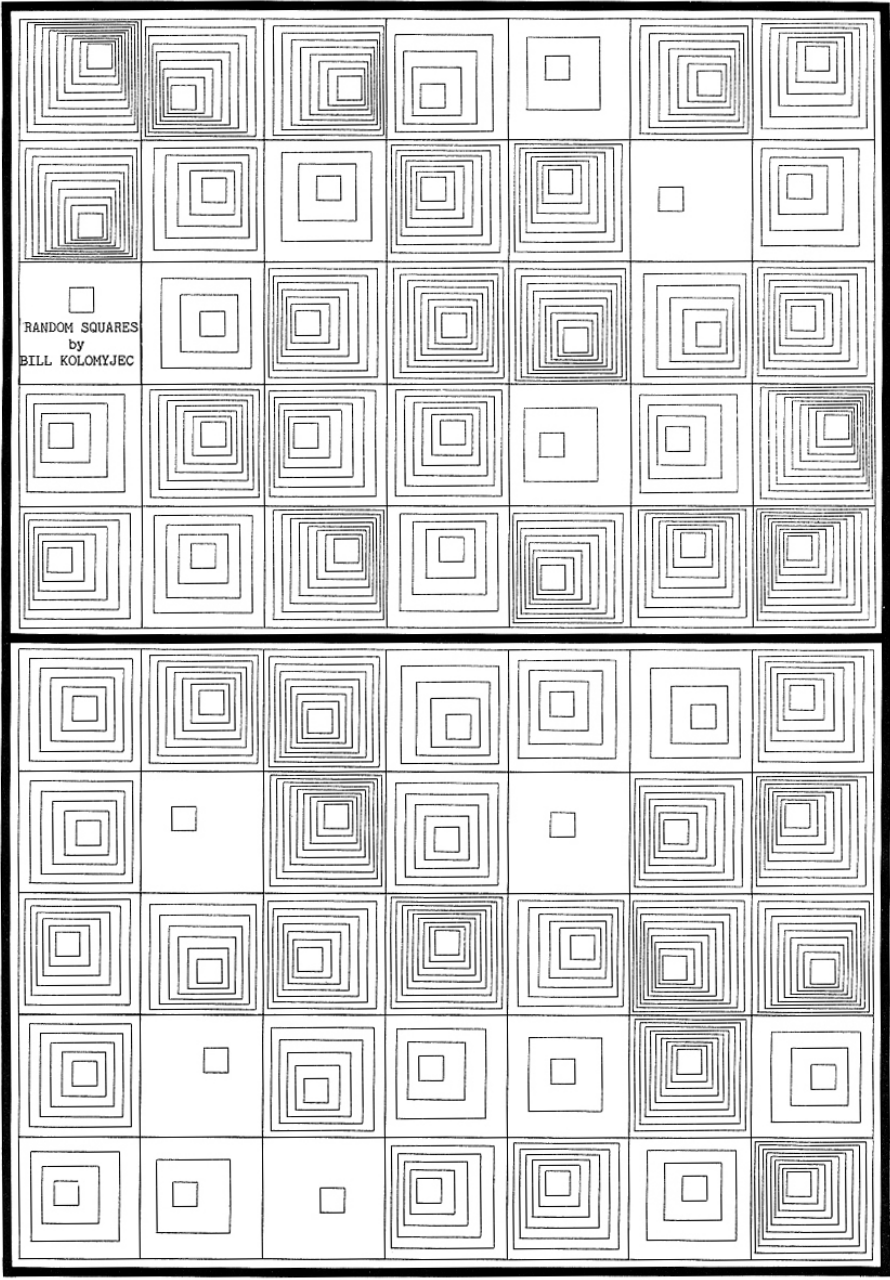
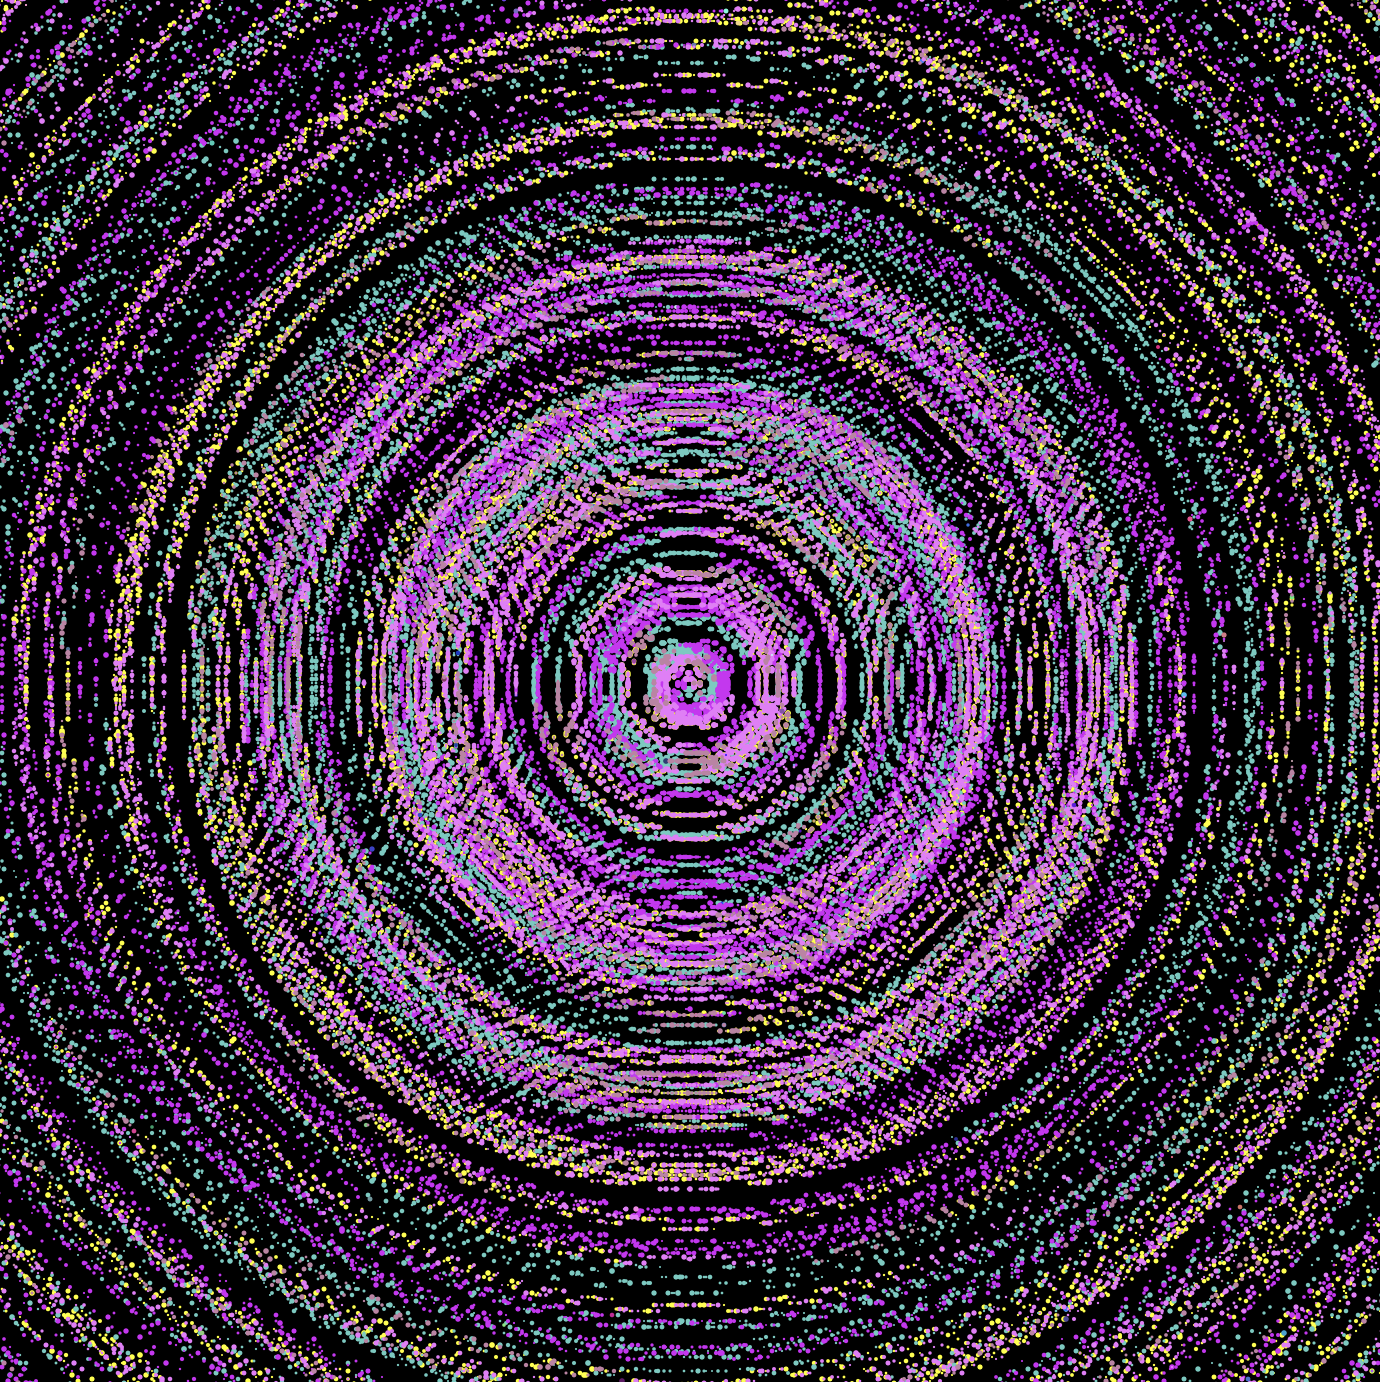
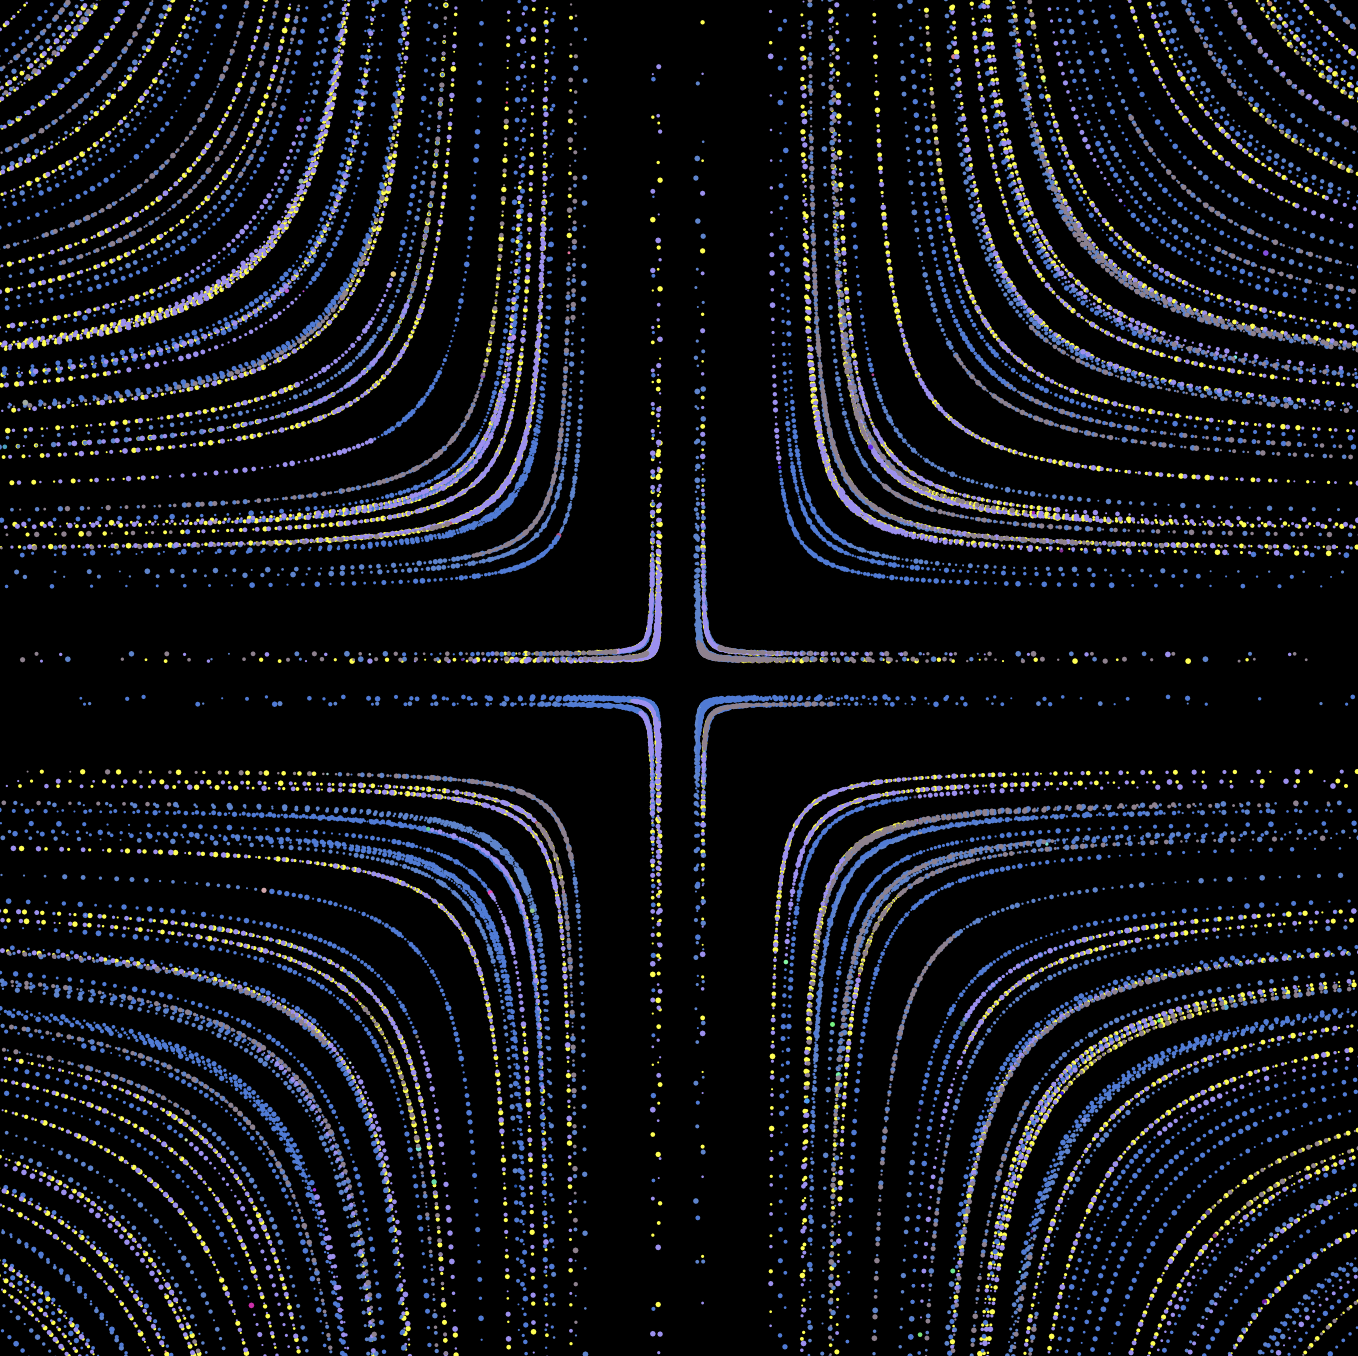
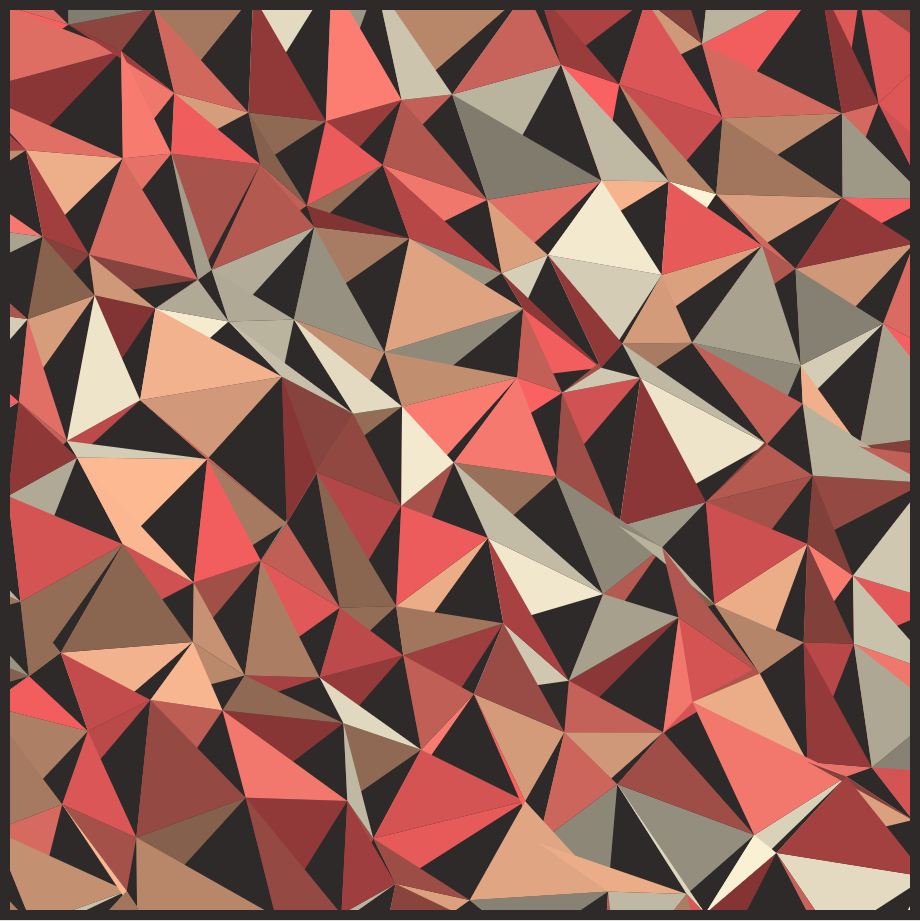
For this artwork, I wanted to create layers on top of each other that merge to form a piece of art. Each layer was developed using repeating shapes with a for or while loop. This was inspired by some geometric artworks I found online. While most of them had one repeating element such as a circle or square, I thought why not make several layers and merge them to form a different art piece? Some work that inspired me is:
Interactivity
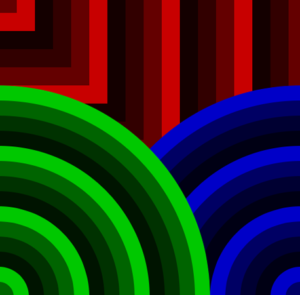
Moreover, I wanted to create a monochromatic art piece with a pop of color that the user can add. So, the entire piece is shades of black and white and these colors blink/alternate. Moreover, the user can press the mouse to add colored circles throughout the canvas however, these disappear when the mouse is released. But a glimpse of them can be seen in the back through the spaces in the previous layers. This way, the users’ interactions bring a pop of color to the otherwise monochrome canvas.
Another form of interaction I added was a slider that allows the user to change how fast or slow the artwork blinks by changing the frame rate.
My Artwork
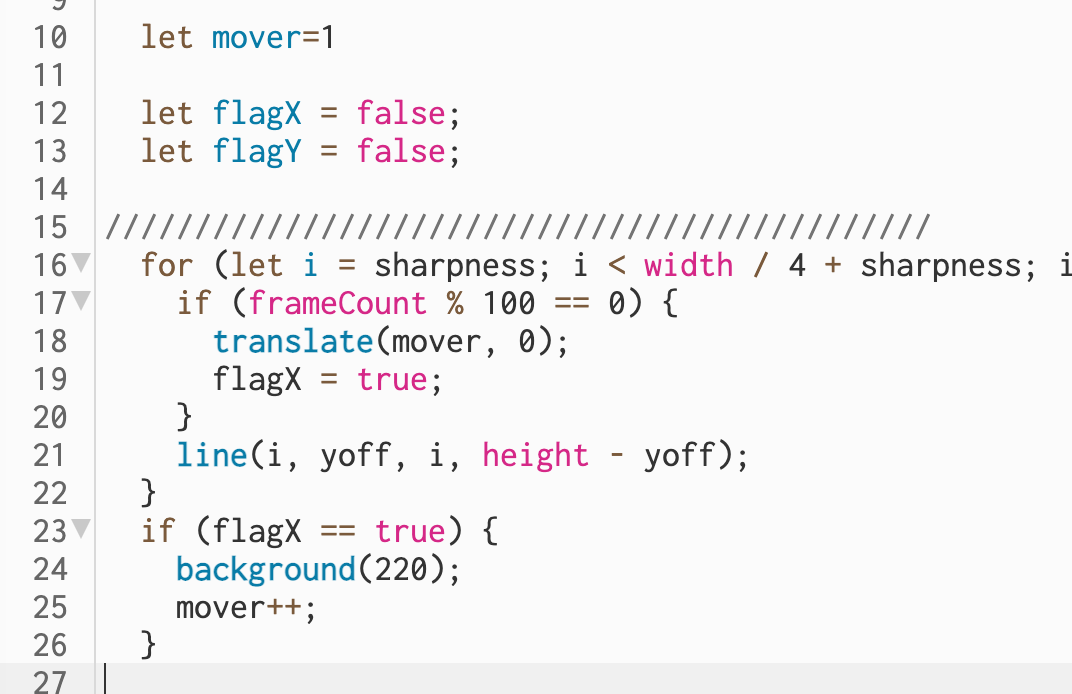
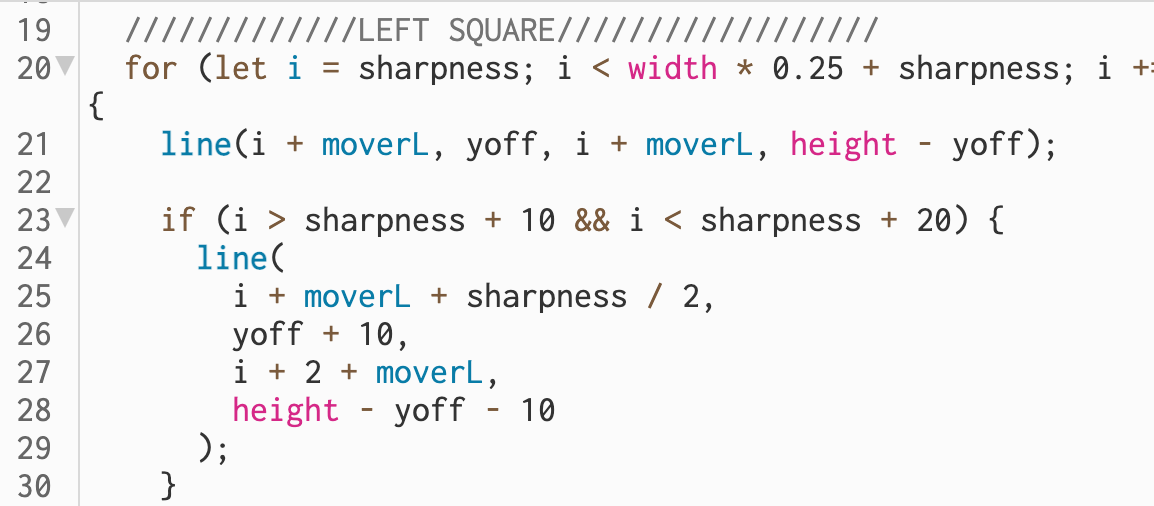
Code
Code I am particularly proud of is the following:
function getCircles(posX,posY,circleWidth) {

//alternate color of each circle between black and a random value between black and white
colorBlack = true;
noStroke();

//loop 20 times, each time increasing the width of the circle centered at x and y
for (let i = 20; i>0; i--) {
//alternating colors
if (colorBlack == true)
{
colorBlack=false;
fill(random(10),random(15),random(15));
}
else {
colorBlack = true;
fill(random(255));
}
//making the ellipse
ellipse(posX,posY, circleWidth*i, circleWidth*i);
}
}
//draw a flower at x and y using rotating ellipses
function drawFlower(posX,posY){

  noStroke();

  for (let i = 0; i < 10; i ++) {
    fill(0,127);

    ellipse(posX,posY,10, 60);
    rotate(PI/5);
  }
}

//helper function to draw a flower
function drawFlowers(posX,posY)
{
  translate(posX,posY);
  drawFlower(0,0);
}

//function to create a bunch of flowers in bottom-left
function getFlowers(){
  drawFlowers(50, 350);
  drawFlowers(30, 30);
  drawFlowers(-60, 10);
  drawFlowers(0, -80);
}
With these functions, I used loops to create blinking circles and flowers using rotate and translate as well. As a whole, the assignment turned out to be very fun to make.
Reflection and future improvements
I found this assignment to be exciting as I got to play around with loops – which is something I really enjoyed doing in the first assignment too. Also, it allowed me to express my creativity and further enhance my artwork using interactivity. Some aspects I can improve in the future include optimizing my code further to use loops to position the flowers and the sets of circles on the canvas. For now, I hard-coded the positions but in the future, I want to make the canvas more responsive by using values that are in terms of the width and height variables. Further, I want to learn how to use make the number of elements on the canvas increase/change with time.