
As cliche as it sounds, this semester really did fly by; I can’t believe I’m sitting at the airport gate documenting my very last post for Intro to IM already! Many things have changed since my last update about my game, and I’m excited to share everything I’ve learned these last few days.
So as I mentioned before, I was almost done with my p5.js part…or at least I thought so. However, I turned out running into two main problems with it, which were: 1) setting up the code so that I can go from start screen –> draw game stage –> game over stage and repeat this process, and 2) figuring out the code for connecting with Arduino + the buttons on my physical controller, which relates to the Arduino part.
Just to recap, here were the items on my to-do list from my last post:
- reset + start game
- Arduino connection
- Building a physical game controller using Arduino
…which basically encapsulates my progress that I’ve made this week!
Moreover, here’s my initial concept and the description of interactive design:
- Concept: create a dinosaur game that is upgraded to a Christmas version.
- Description fo interactive design: users will be able to control and play the game by using a physical game controller.
Problem #1: reset + start game
I knew I was going to have problems with this function because I wasn’t able to figure this out for my last project, which was my midterm game. However, because this is the final assignment, I was determined to get to the bottom of it and tackle this challenge. Unfortunately, my game kept jumping straight to the “game over” screen from the “start” screen when I tried to replay it after my gingerbread man “died,” when I was trying to get it to go through the order of the three stages I had, which were the “start” screen, “draw game” screen, and then “game over” screen, and looping again when I tried to replay it by pressing “backspace” button. This was a HUGE struggle I had because I was just stuck in this loop without being able to identify what was causing this; but with a lot of hours spent discussing and debugging with Jack and professor Shiloh, I realized that it was a combination of different mistakes in my code, such as adding “noLoop()” at the end of this part of the code:
for (let c of chimneys) {
      c.move();
      c.show();
      if (gingerbreadman.hits(c)) {
        gameState = "gameOver";
      }
as well as realizing that the main reason why my game immediately jumped to “game over” stage was because the gingerbread man had already ran into the chimneys even before the game “reset” since I never redrew the chimneys despite having a redraw function for the gingerbread man. This was why I couldn’t replay the game, for my code made it so that when the gingerbread man hits a chimney, the game will immediately be over! So I added the following code in “function setup(),” which successfully redrew the chimneys and thus erasing all the previous chimneys that were being drawn in the previous stage:
chimney1 = new Chimney1();
chimney2 = new Chimney2();
While it was a simple and easy mistake, it took me such a long time to realize it.
Problem #2: Arduino connection
Now, this was another struggle of mine that I wasn’t able to solve fully in my last assignment where I had to connect Arduino with p5.js. Thankfully, I had Jack to help me again, and he walked me through the initial setup of connection, etc. During this I realized that:
- I don’t need to assign a specific key from my keyboard to the button when I was transmitting my p5.js code from keyboard keys to button pins on Arduino.
- I don’t need to use a third party application/installation to call on the serial port library.
- Serial port is like a “tube,” where ideally information from both p5.js and Arduino will transmit to each other – this will ensure that I’m receiving the correct data from both sides, even if I’m only feeding information from one platform to other (in this case, from Arduino to p5.js).
Here’s the code highlight for connecting Arduino and p5.js:
function readSerial(data) {
  ////////////////////////////////////
  //READ FROM ARDUINO HERE
  ////////////////////////////////////

  if (data != null) {
    // make sure there is actually a message
    // split the message
    let fromArduino = split(trim(data), ",");
    // console.log(fromArduino);
    // if the right length, then proceed
    if (fromArduino.length == 3) {
      // only store values here
      // do everything with those values in the main draw loop
      GREEN = fromArduino[0];
      RED = fromArduino[1];
      BLUE = fromArduino[2];
    }

    //////////////////////////////////
    //SEND TO ARDUINO HERE (handshake)
    //////////////////////////////////
    let sendToArduino = GREEN + "," + RED + "," + BLUE + "\n"; //?
    writeSerial(sendToArduino);
  }
}
It was interesting to learn that the “fromArduino.length” indicates how many variables I’d like to establish, and that each will be an array ([]) numbering from 0, which meant that in this case, it’d be arrays 0,1,2. I also realized that each array should be separated by a comma.
This was also a function that was crucial/necessary in setting up the connection:
 let serial; // constructing variable for serial port library

...

 function keyPressed() {
    if (key === "A") {
    // important to have in order to start the serial connection!!
    setUpSerial();
    }
  }// end of keyPressed
Through this method that Jack taught me, I didn’t run into the constant error messages of how “p5.js port is not a serial library,” which was the problem I had for my last assignment.
Problem #3: Building a physical game controller using Arduino
Now, this was honestly the most interesting and exciting part of my final project, which was surprising because I was the most intimated with this aspect before I began.
At first, I was going towards a totally wrong direction; all of my button setups on my breadboard were completely incorrect, so I had to fix all of them after Jack showed me this page, which basically showed how to construct buttons on Arduino. So I repeated that for all of my 3 buttons, which carried out the “START GAME,” “RESTART GAME,” and “JUMP” functions. Once I was done building the circuit, I also made sure to construct them in p5.js by doing the following:
let GREEN = 0; //JUMP key
let RED = 0; //RESTART GAME key
let BLUE = 0; //START GAME key
I also realized that it’s best to use three = sign, and that I can simply set the button code so that it’s either pressed or not pressed, which were 1 or 0 respectively. This led me to create a code like the following for the three buttons:
function drawGame() {
    //make it so that when you press the up arrow, the gingerbread man will jump
    if (GREEN === "1") {
      gingerbreadman.jump();
      jump.play();
    }
Now once I was done with p5.js, I moved onto my Arduino code, where I constructed the pinMode for each button and digitalRead functions for each. Here’s the Arduino code:
void setup() {
  Serial.begin(9600);
  pinMode(10, INPUT);
  pinMode(11, INPUT);
  pinMode(12, INPUT);
  // start the handshake
  while (Serial.available() <= 0) {
    Serial.println("0,0,0"); // send a starting message
    delay(300);            // wait 1/3 second
  }
}

void loop() {
  // wait for data from p5 before doing something
  while (Serial.available()) {
    int GREEN = Serial.parseInt();
    int RED = Serial.parseInt();
    int BLUE = Serial.parseInt();
    if (Serial.read() == '\n') {
      int GREEN = digitalRead(10);
      delay(1);
      int RED = digitalRead(11);
      delay(1);
      int BLUE = digitalRead(12);
      delay(1);
      Serial.print(GREEN);
      Serial.print(',');
      Serial.println(RED);
      Serial.print(',');
      Serial.println(BLUE);
    }
  }
}
Thankfully, till here it was successful! I was almost done…but I still had to create a physical controller that was an extension of the Arduino buttons that I had already. For this, I used thin wooden boards to create a controller box; I used the laser cutter, saw, and the exacto knife to cut the pieces that made up the box as well as the 3 circles for my 3 larger buttons (green, red, and white). Then I learned how to solder from Maryam and Vivianna (special shoutout to both of them!), which was honestly the BEST thing I’ve tried in this course, haha. Here’s a photo of what my controller looked like at this point before decoration: 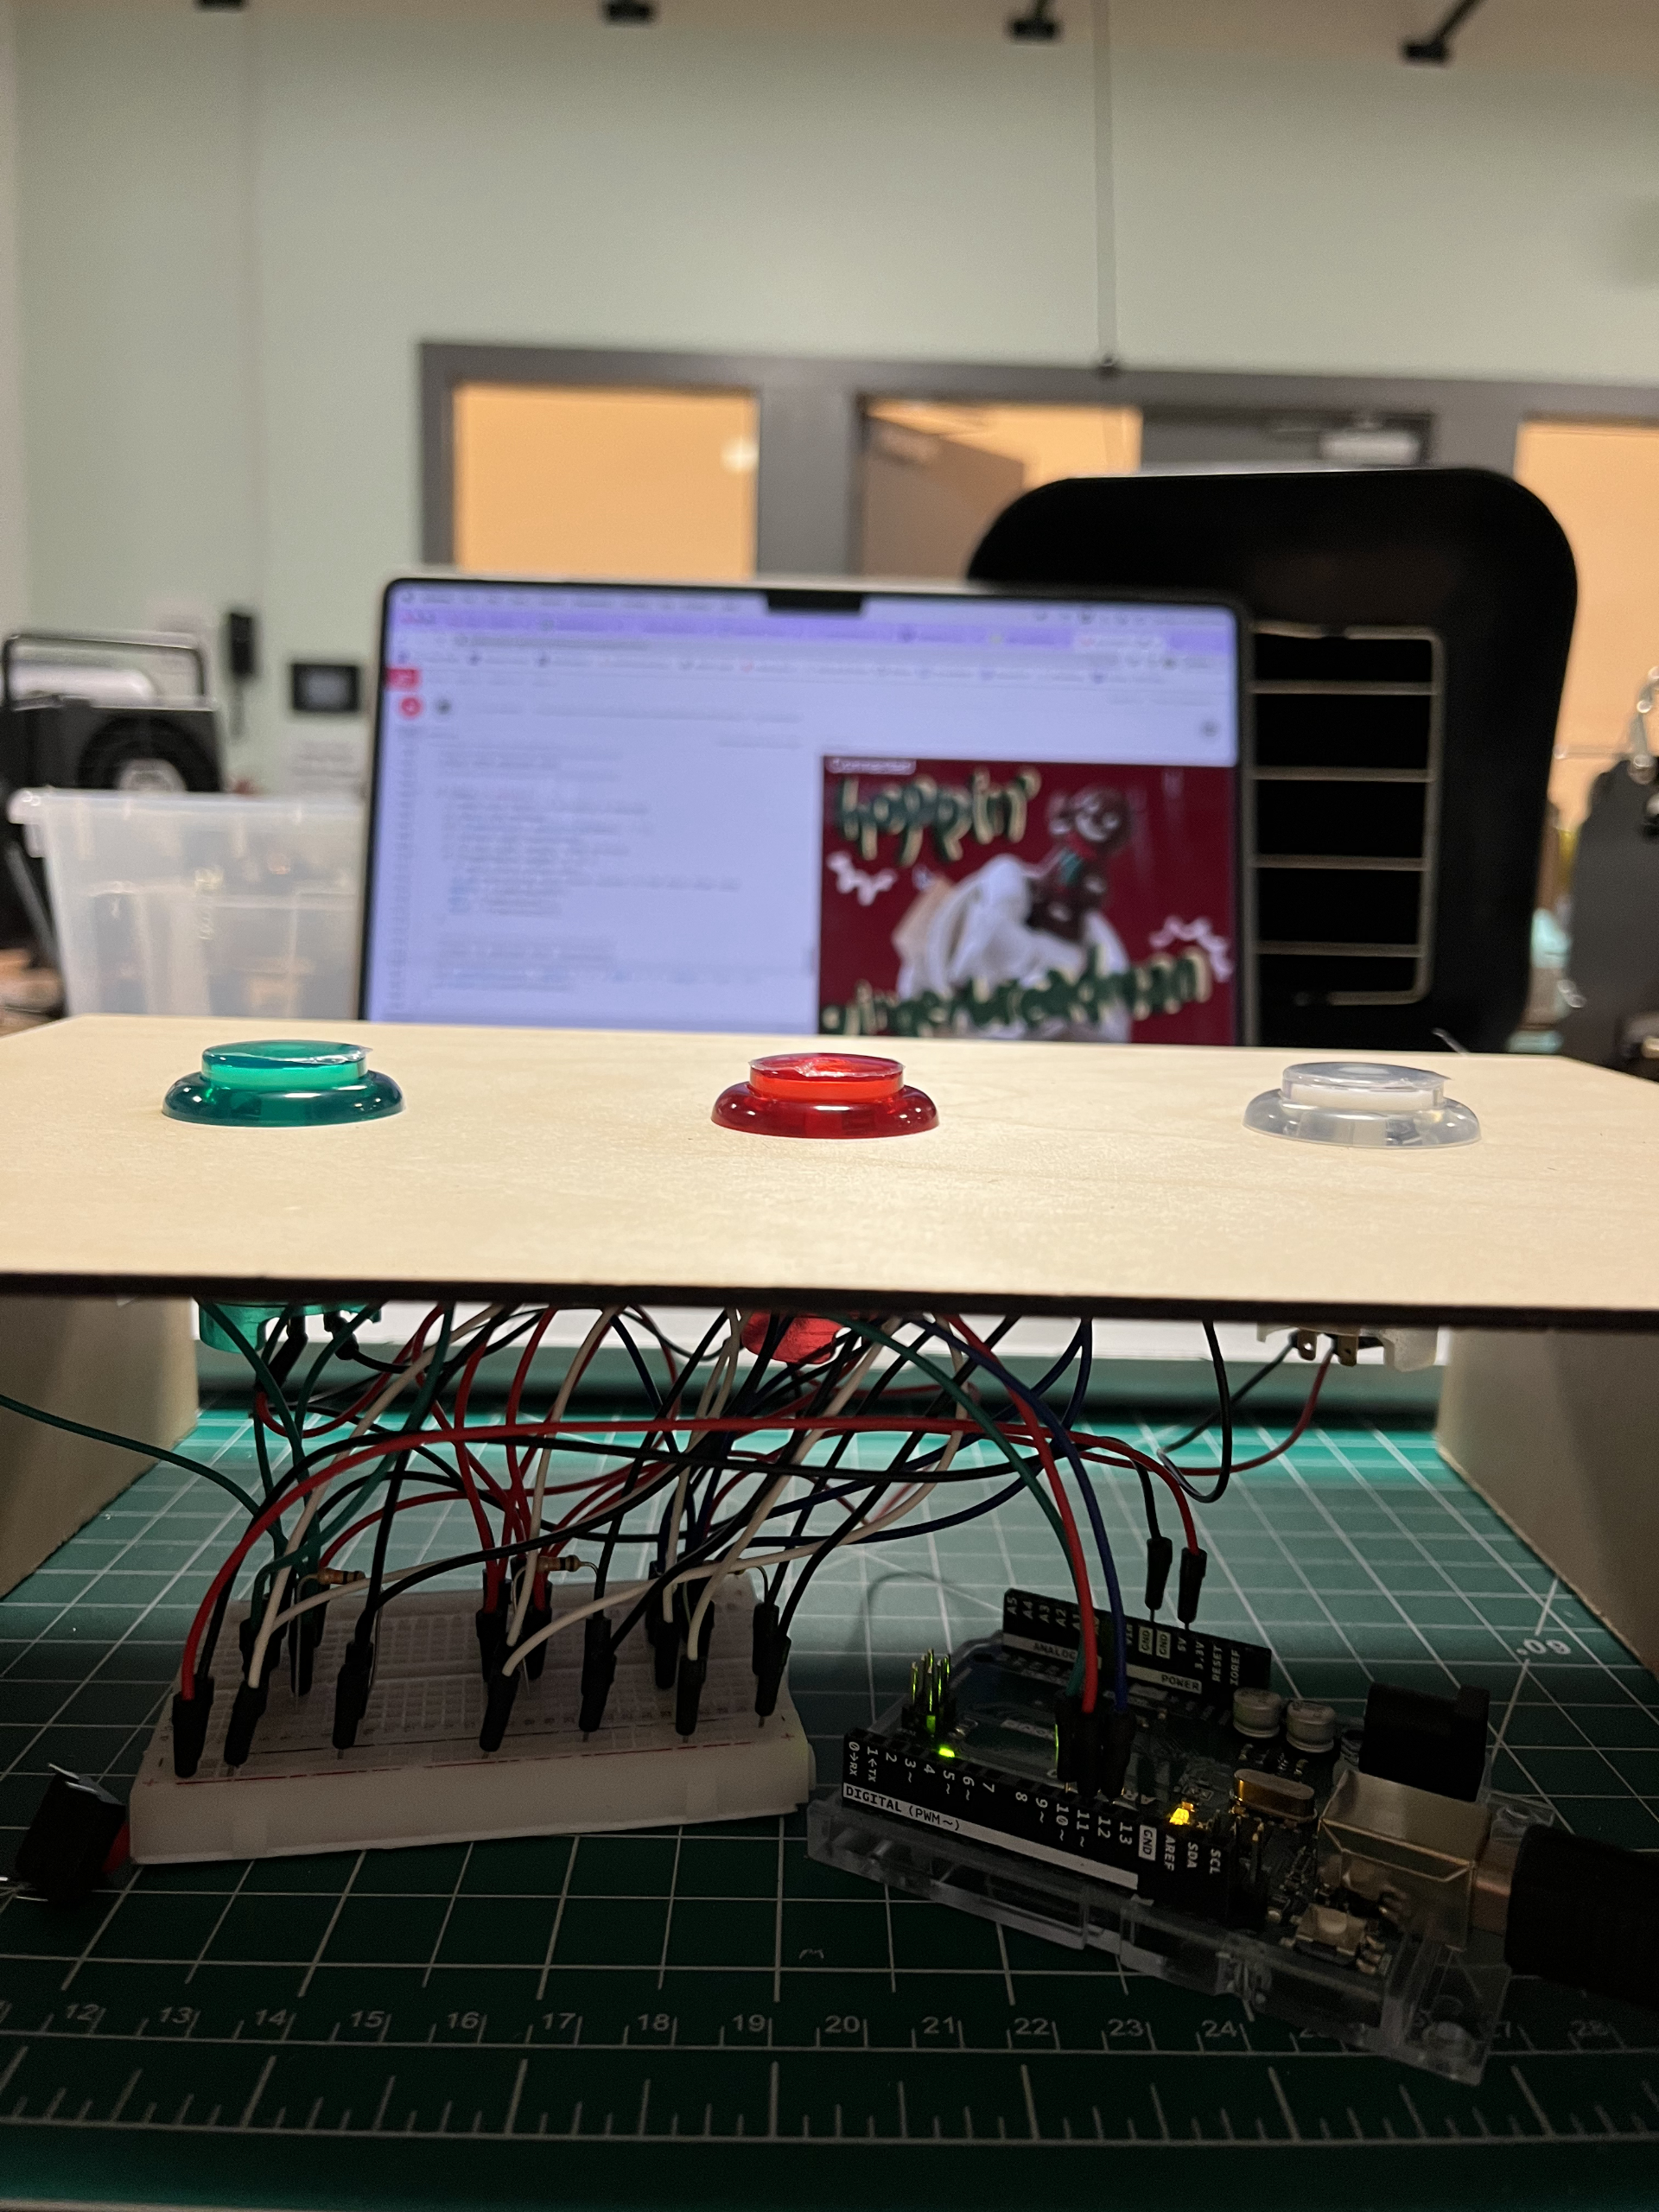
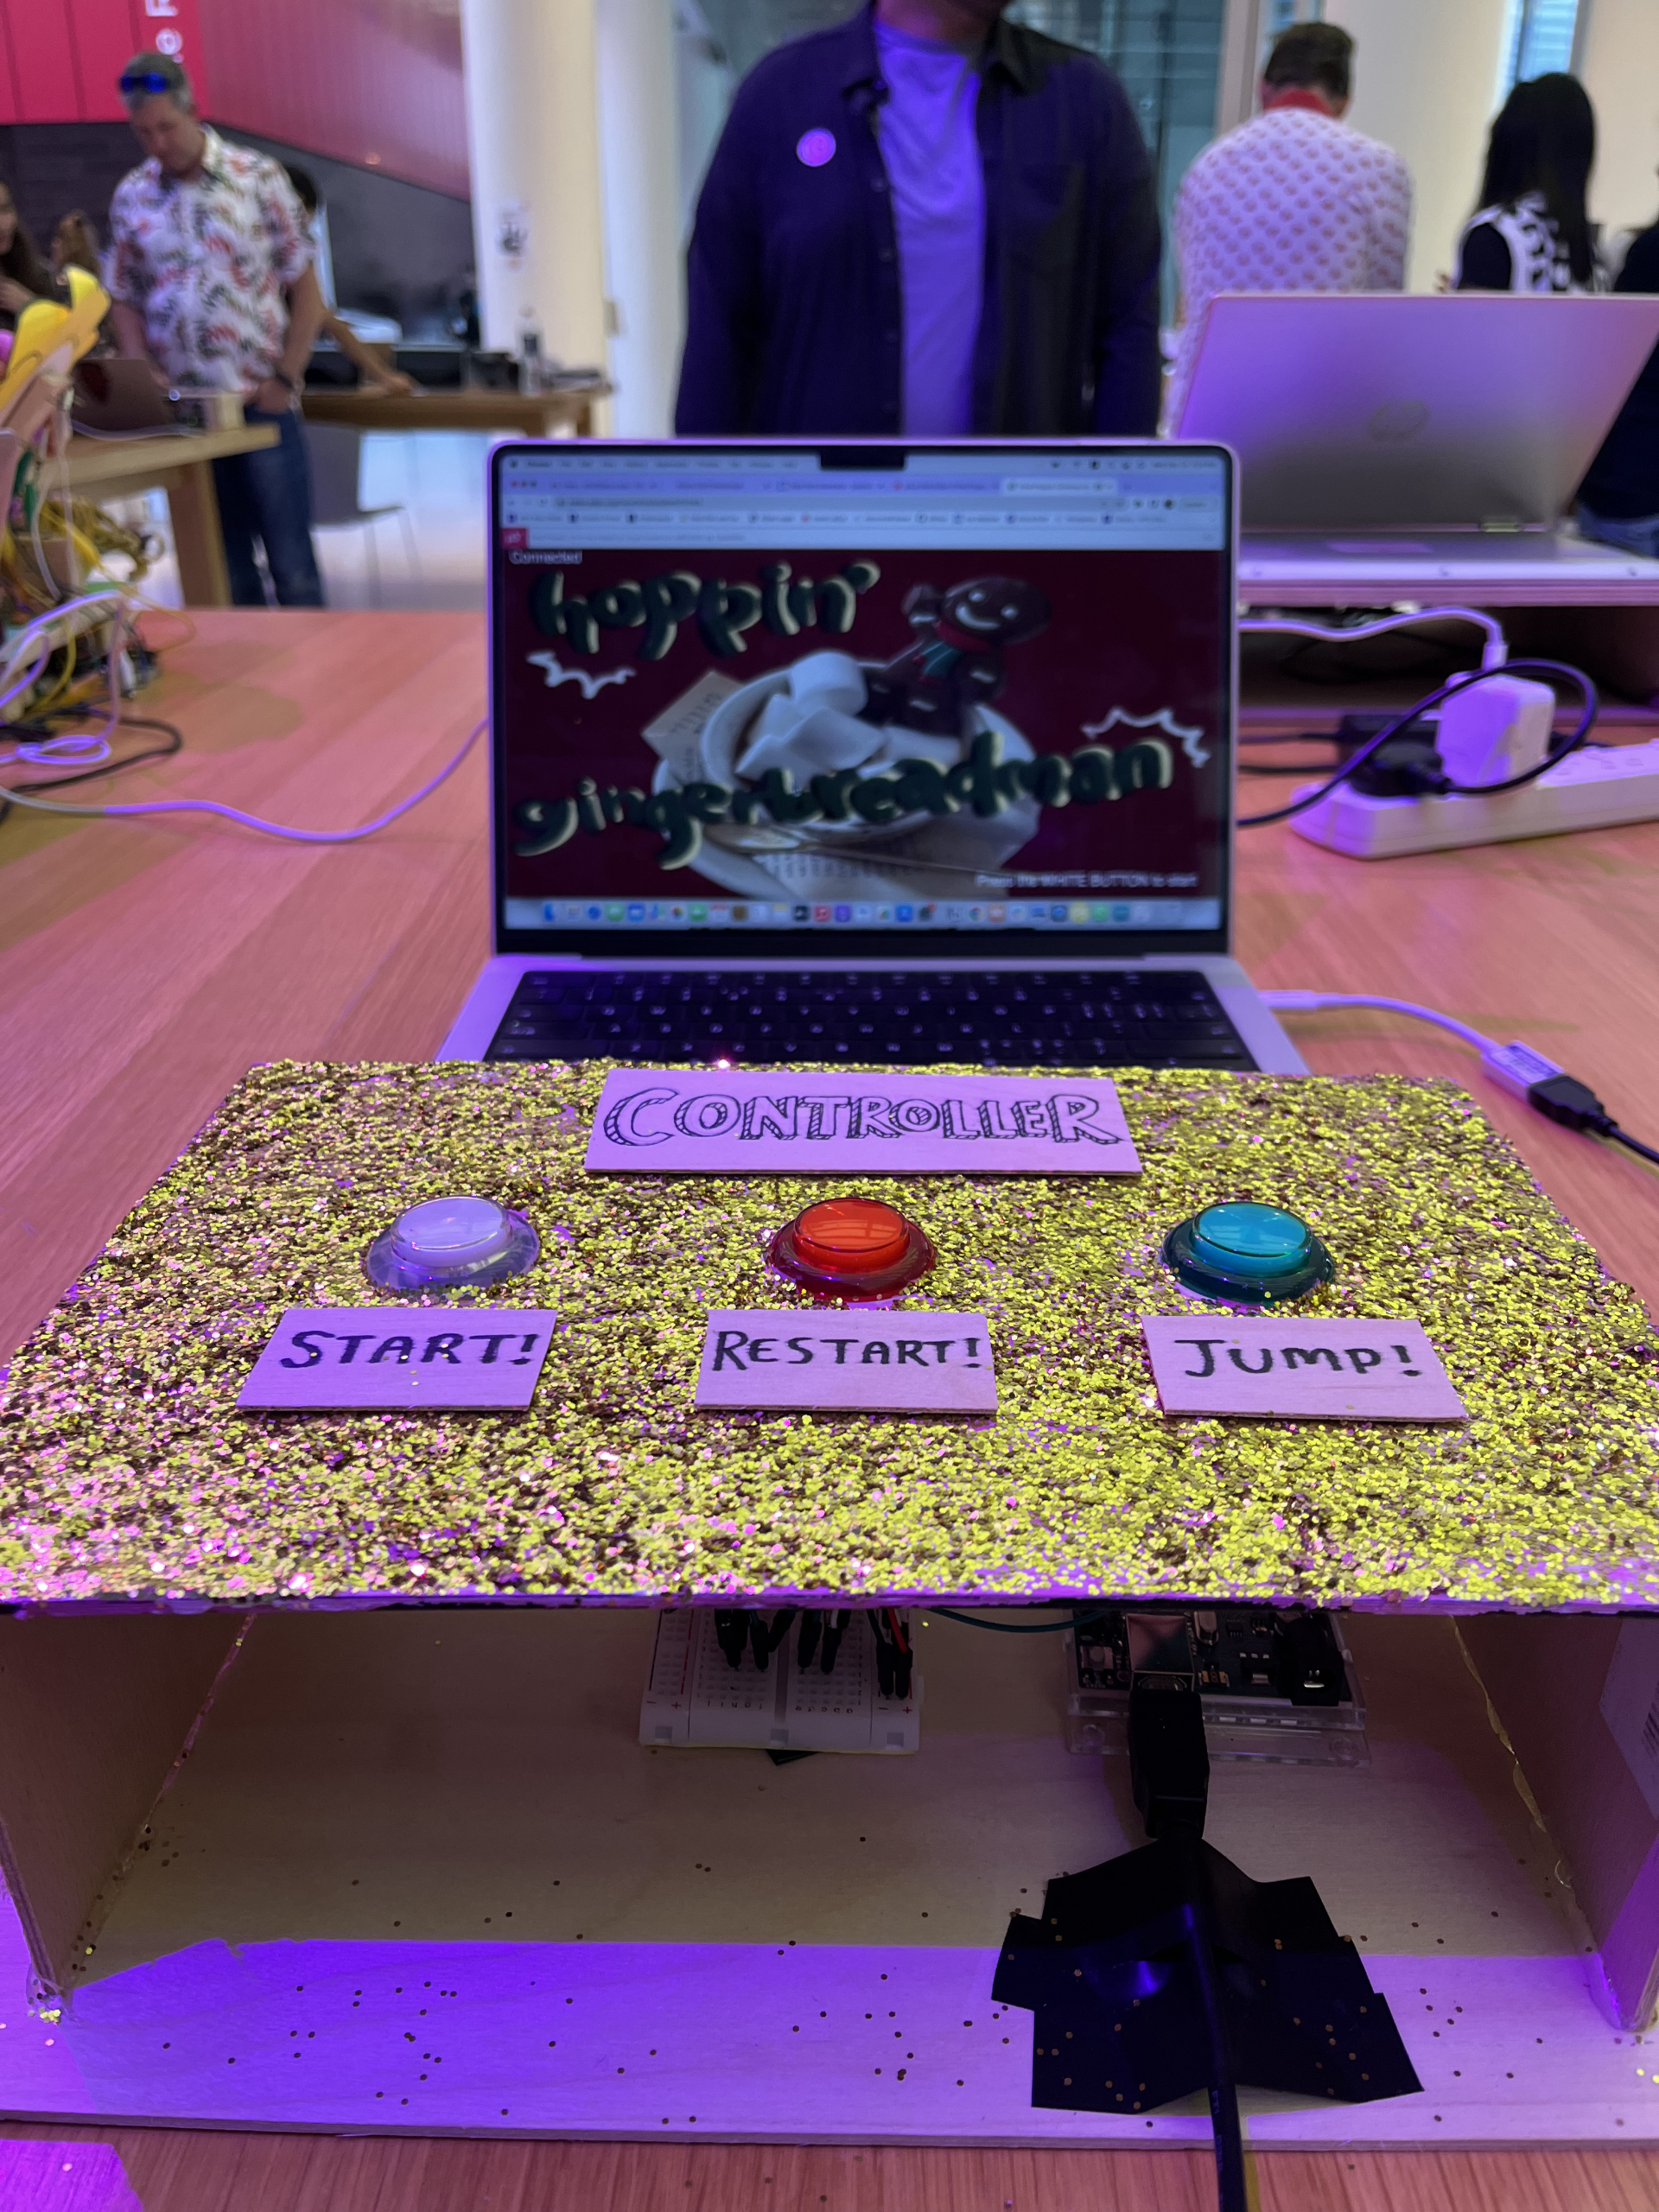
It was so satisfying to test the code and find out that your large buttons successfully work! Once that was all done, I simply hid the Arduino breadboard and the microcontroller inside the box, and decorated the wooden box with gold glitter, paint, and glue as well as tags that indicated which button was for what function.
What I’m proud of:
Now that I’ve described the problems I’ve struggled with, here are some things that I was proud of! For creating the actual physical game controller, I ended up designing, crafting, and putting everything together myself from scratch to finish because I was running out of time. I honestly didn’t expect myself to finish it this quickly, and also didn’t expect myself to have no struggles with soldering because it was something that I was completely oblivious of. I was also proud of myself for figuring out and overcoming the challenges that I previously weren’t able to conquer before, such as connecting Arduino to p5.js and being able to make my game be repeatable! I was also proud of the decoration that I did, which is shown below:
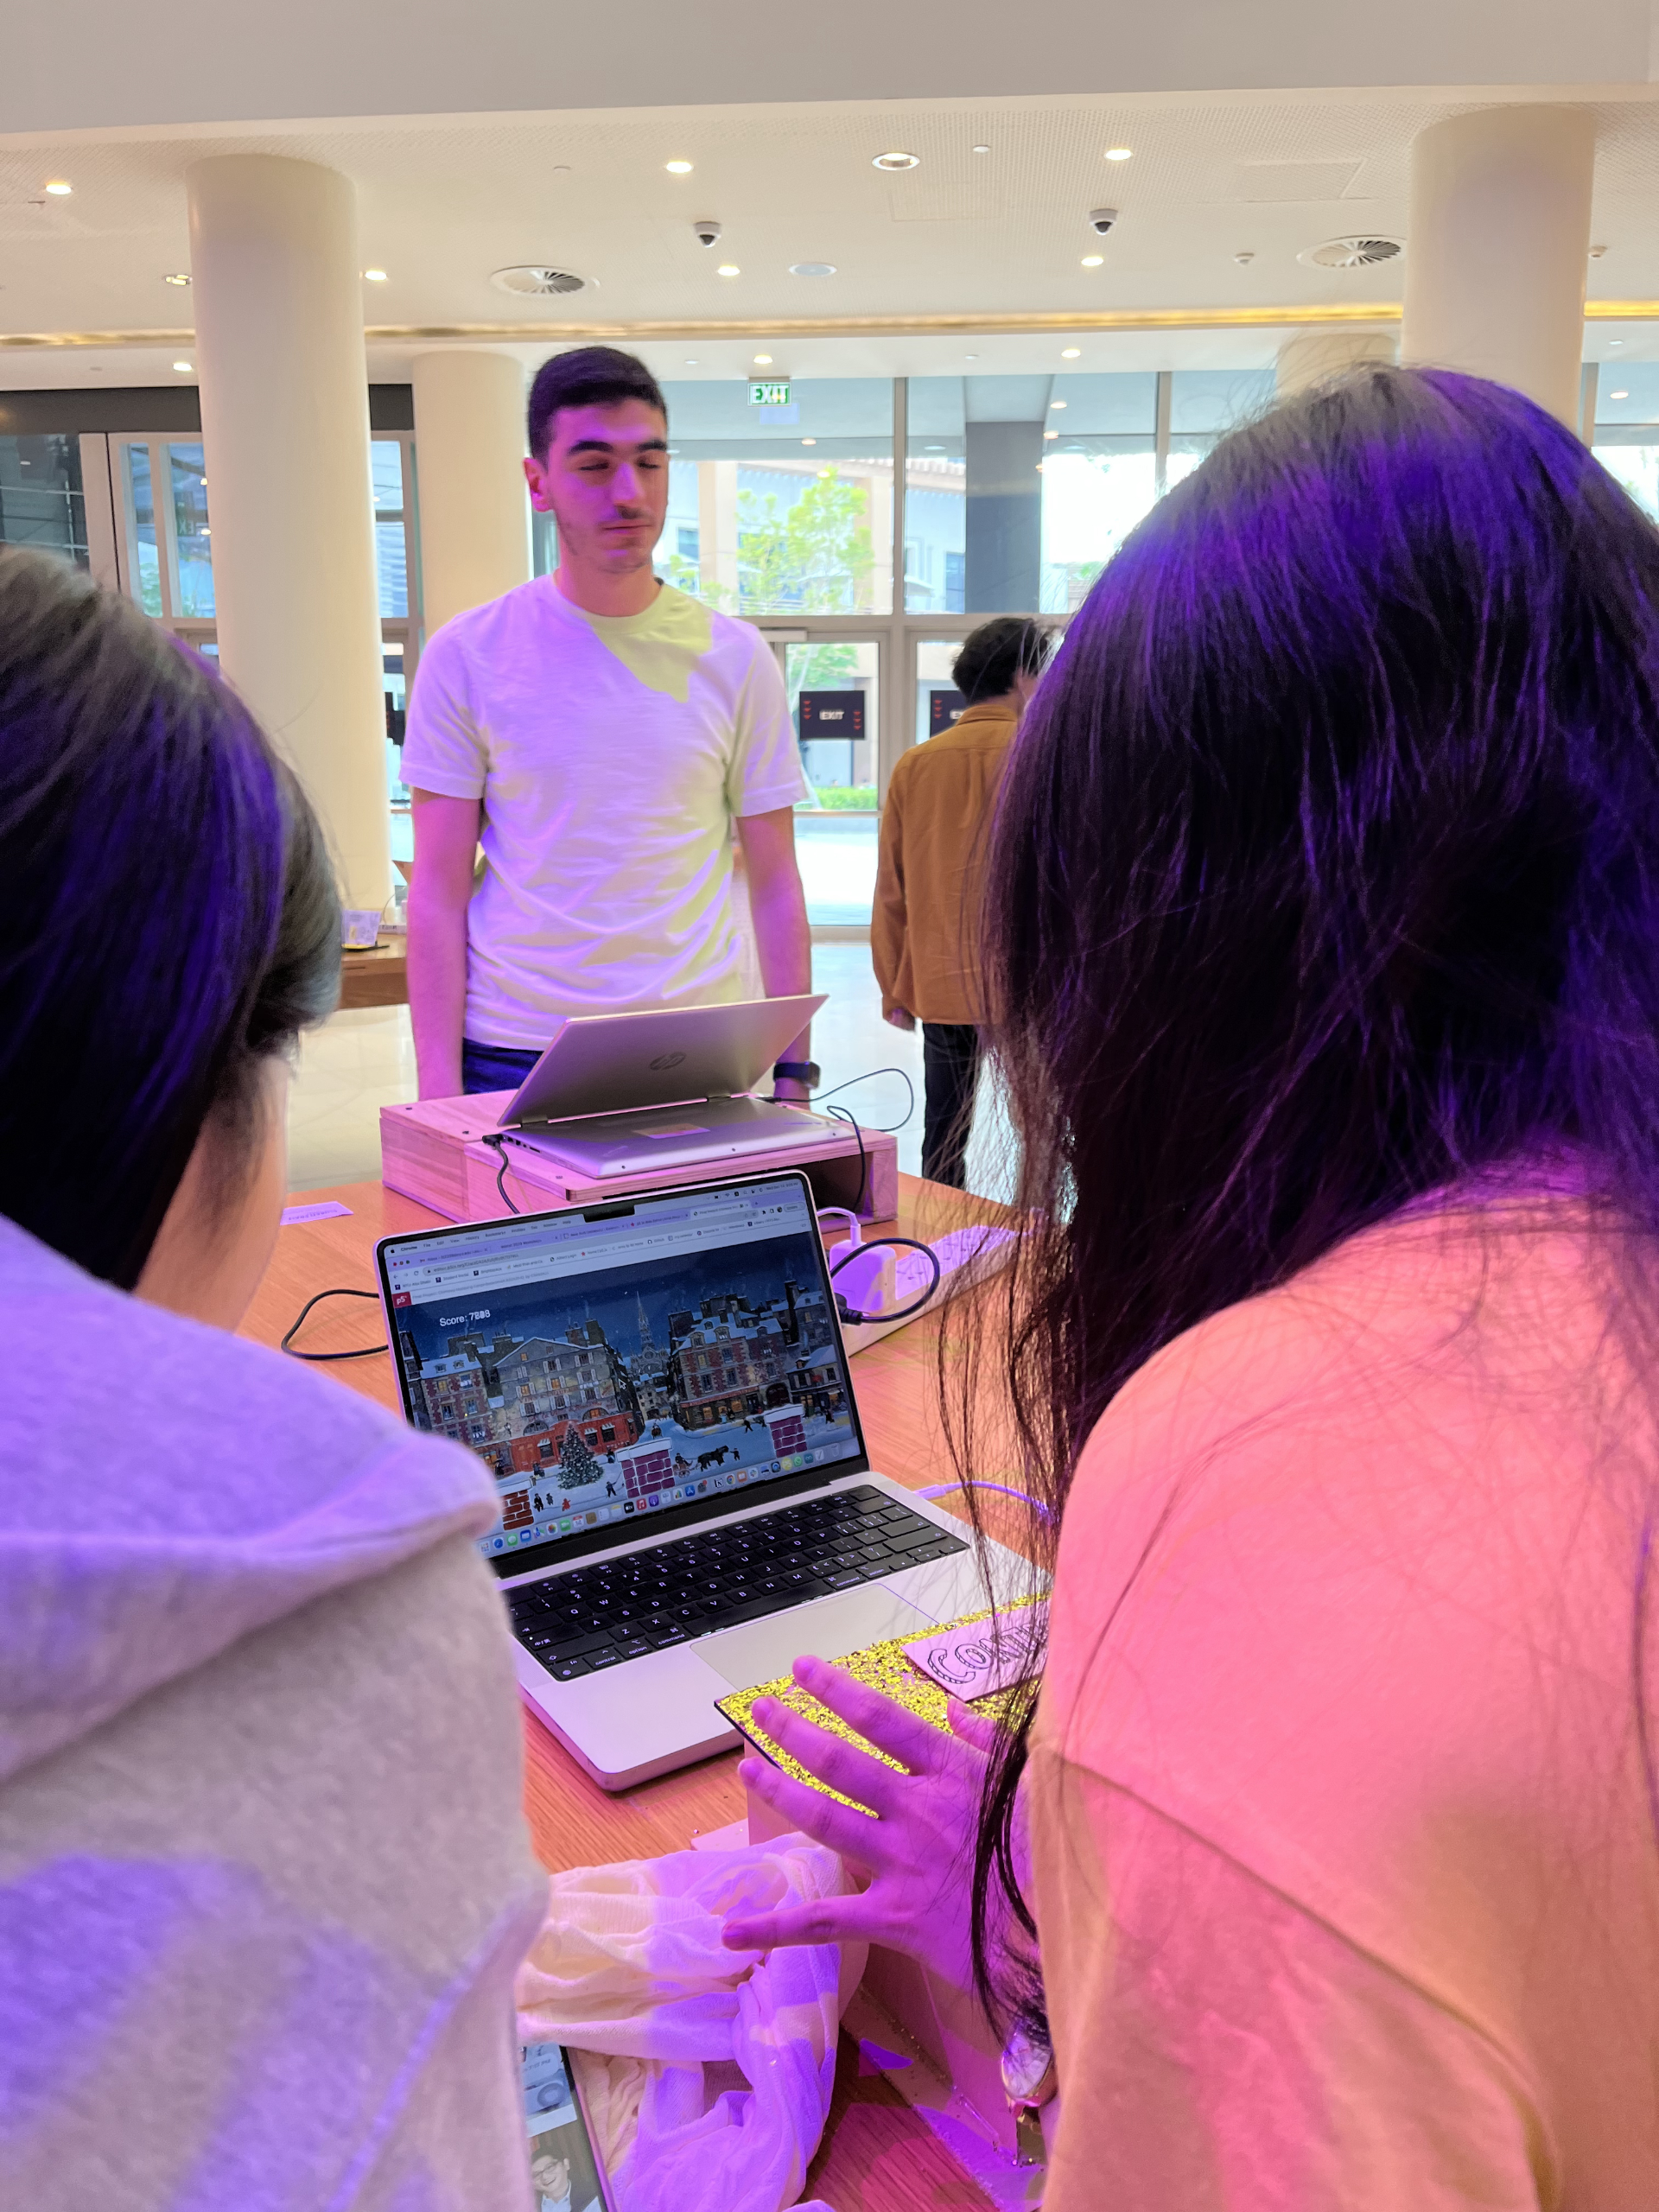
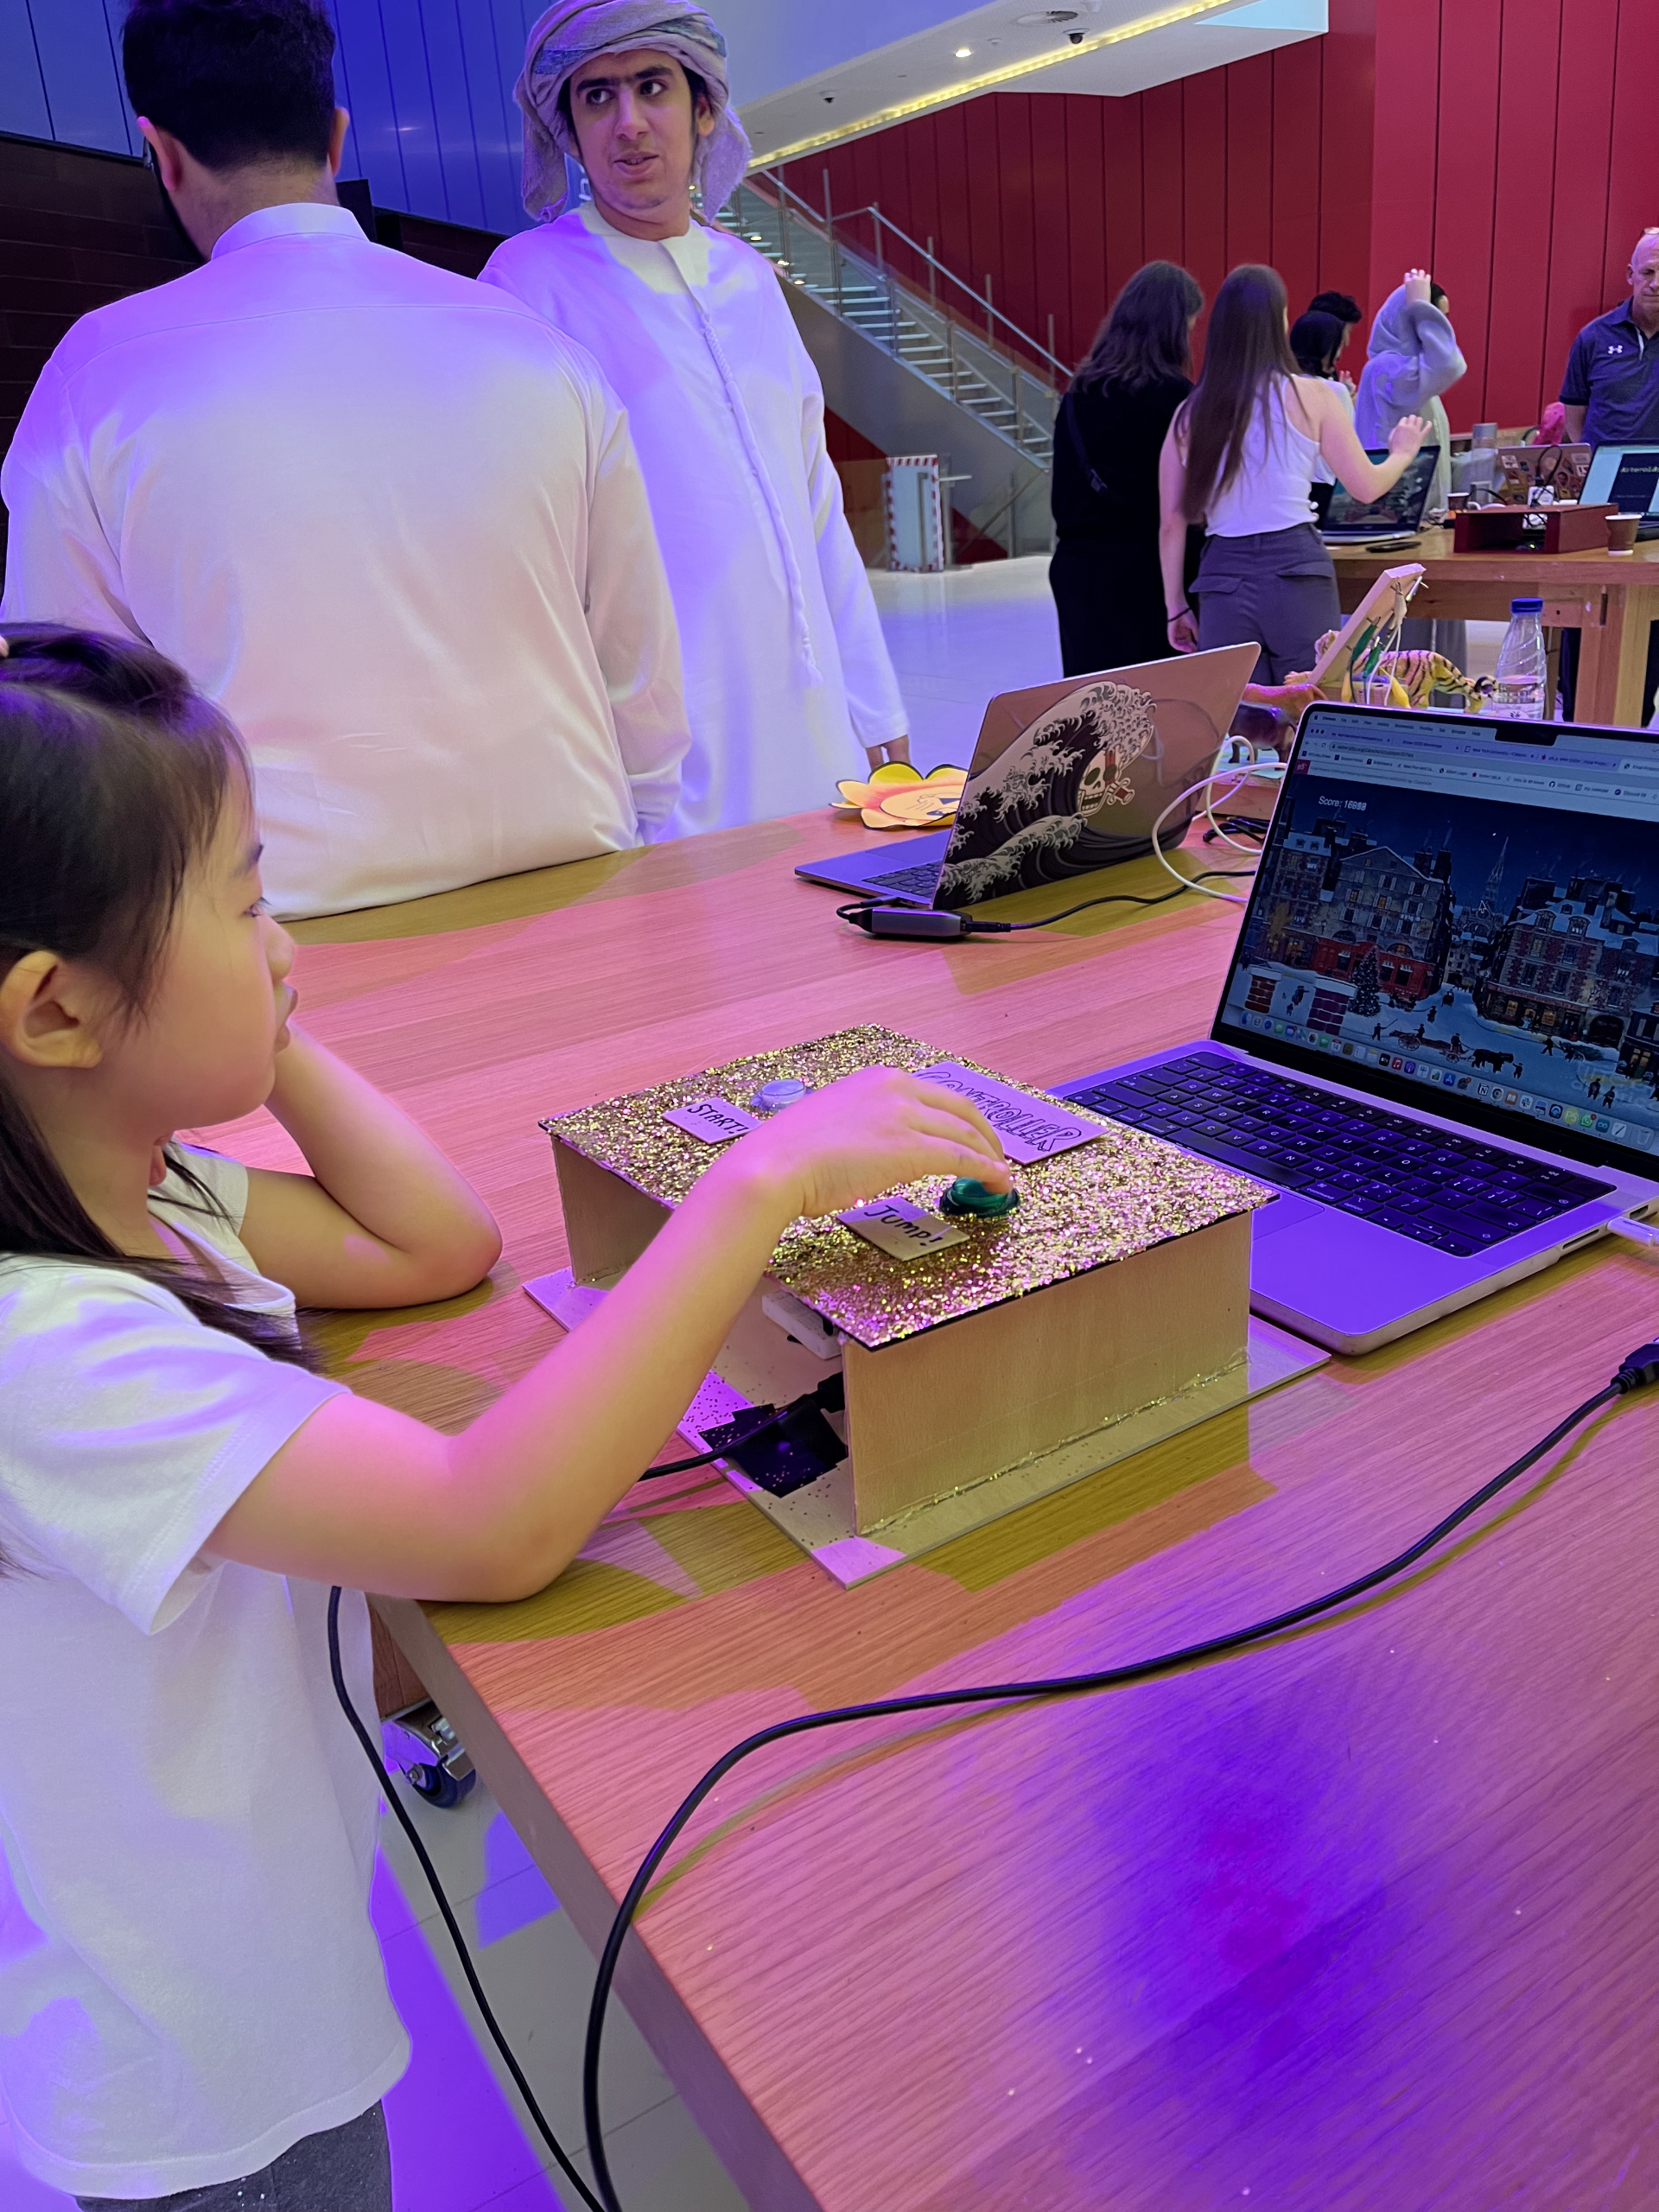
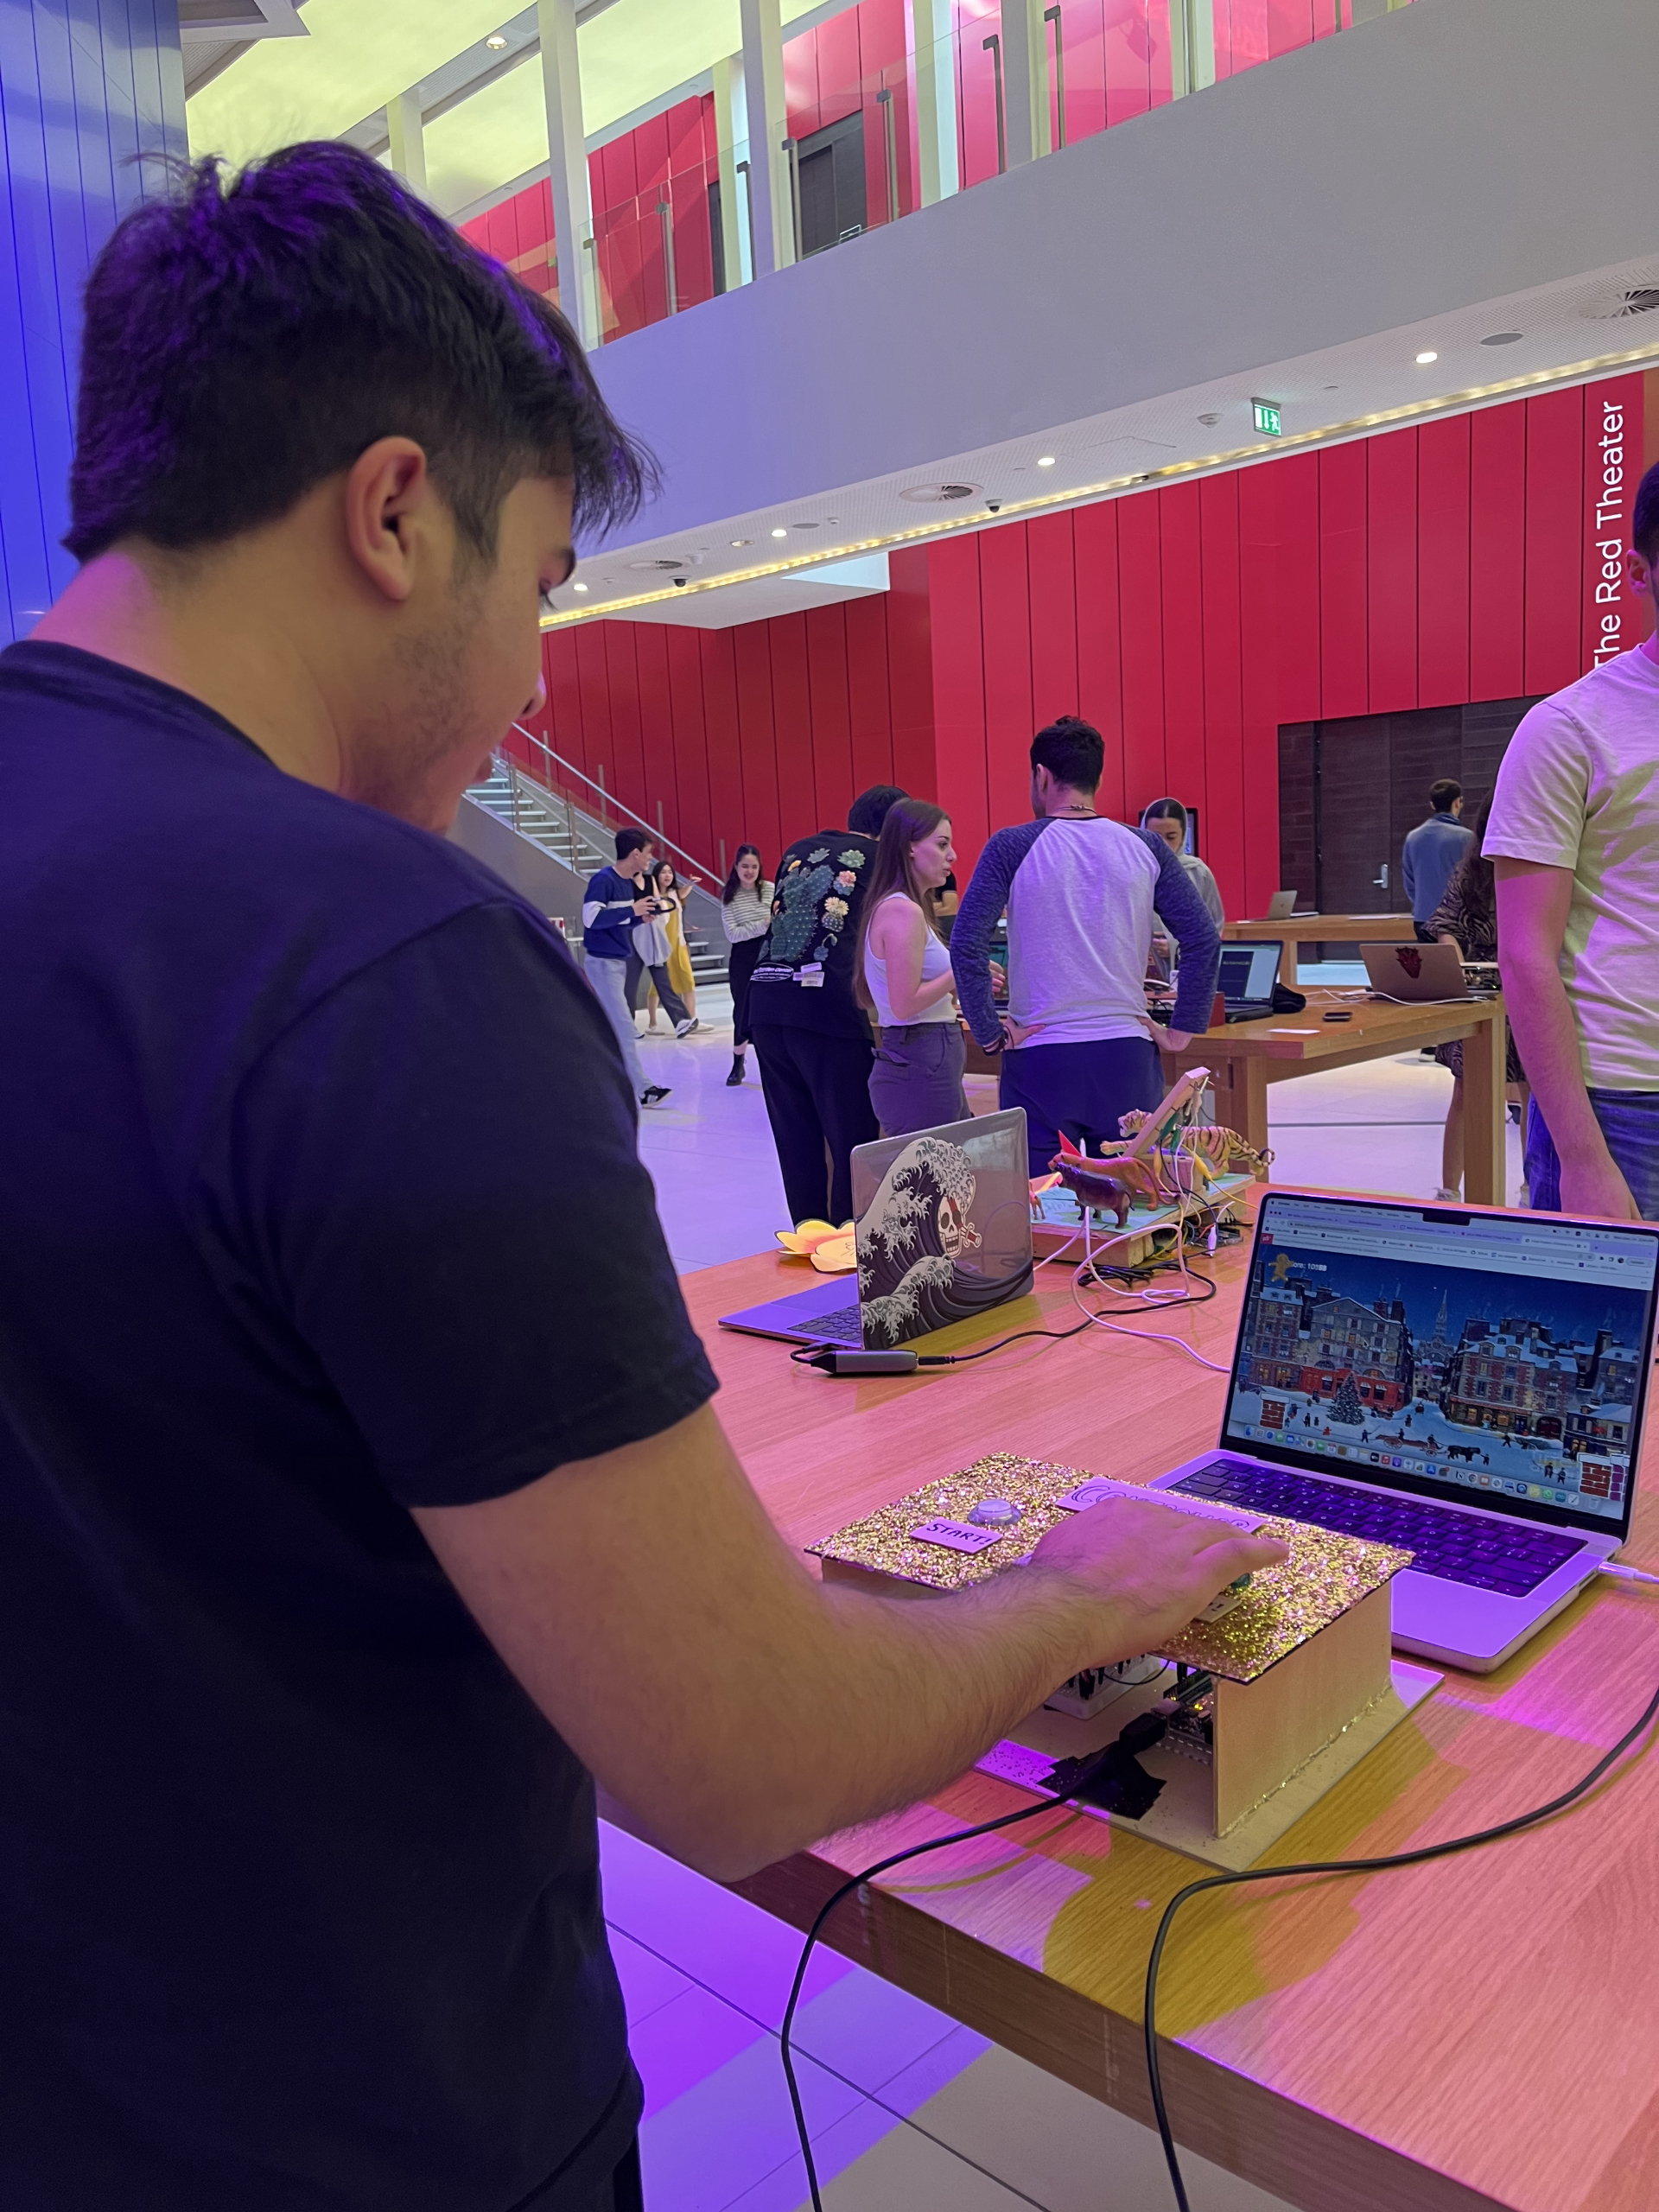
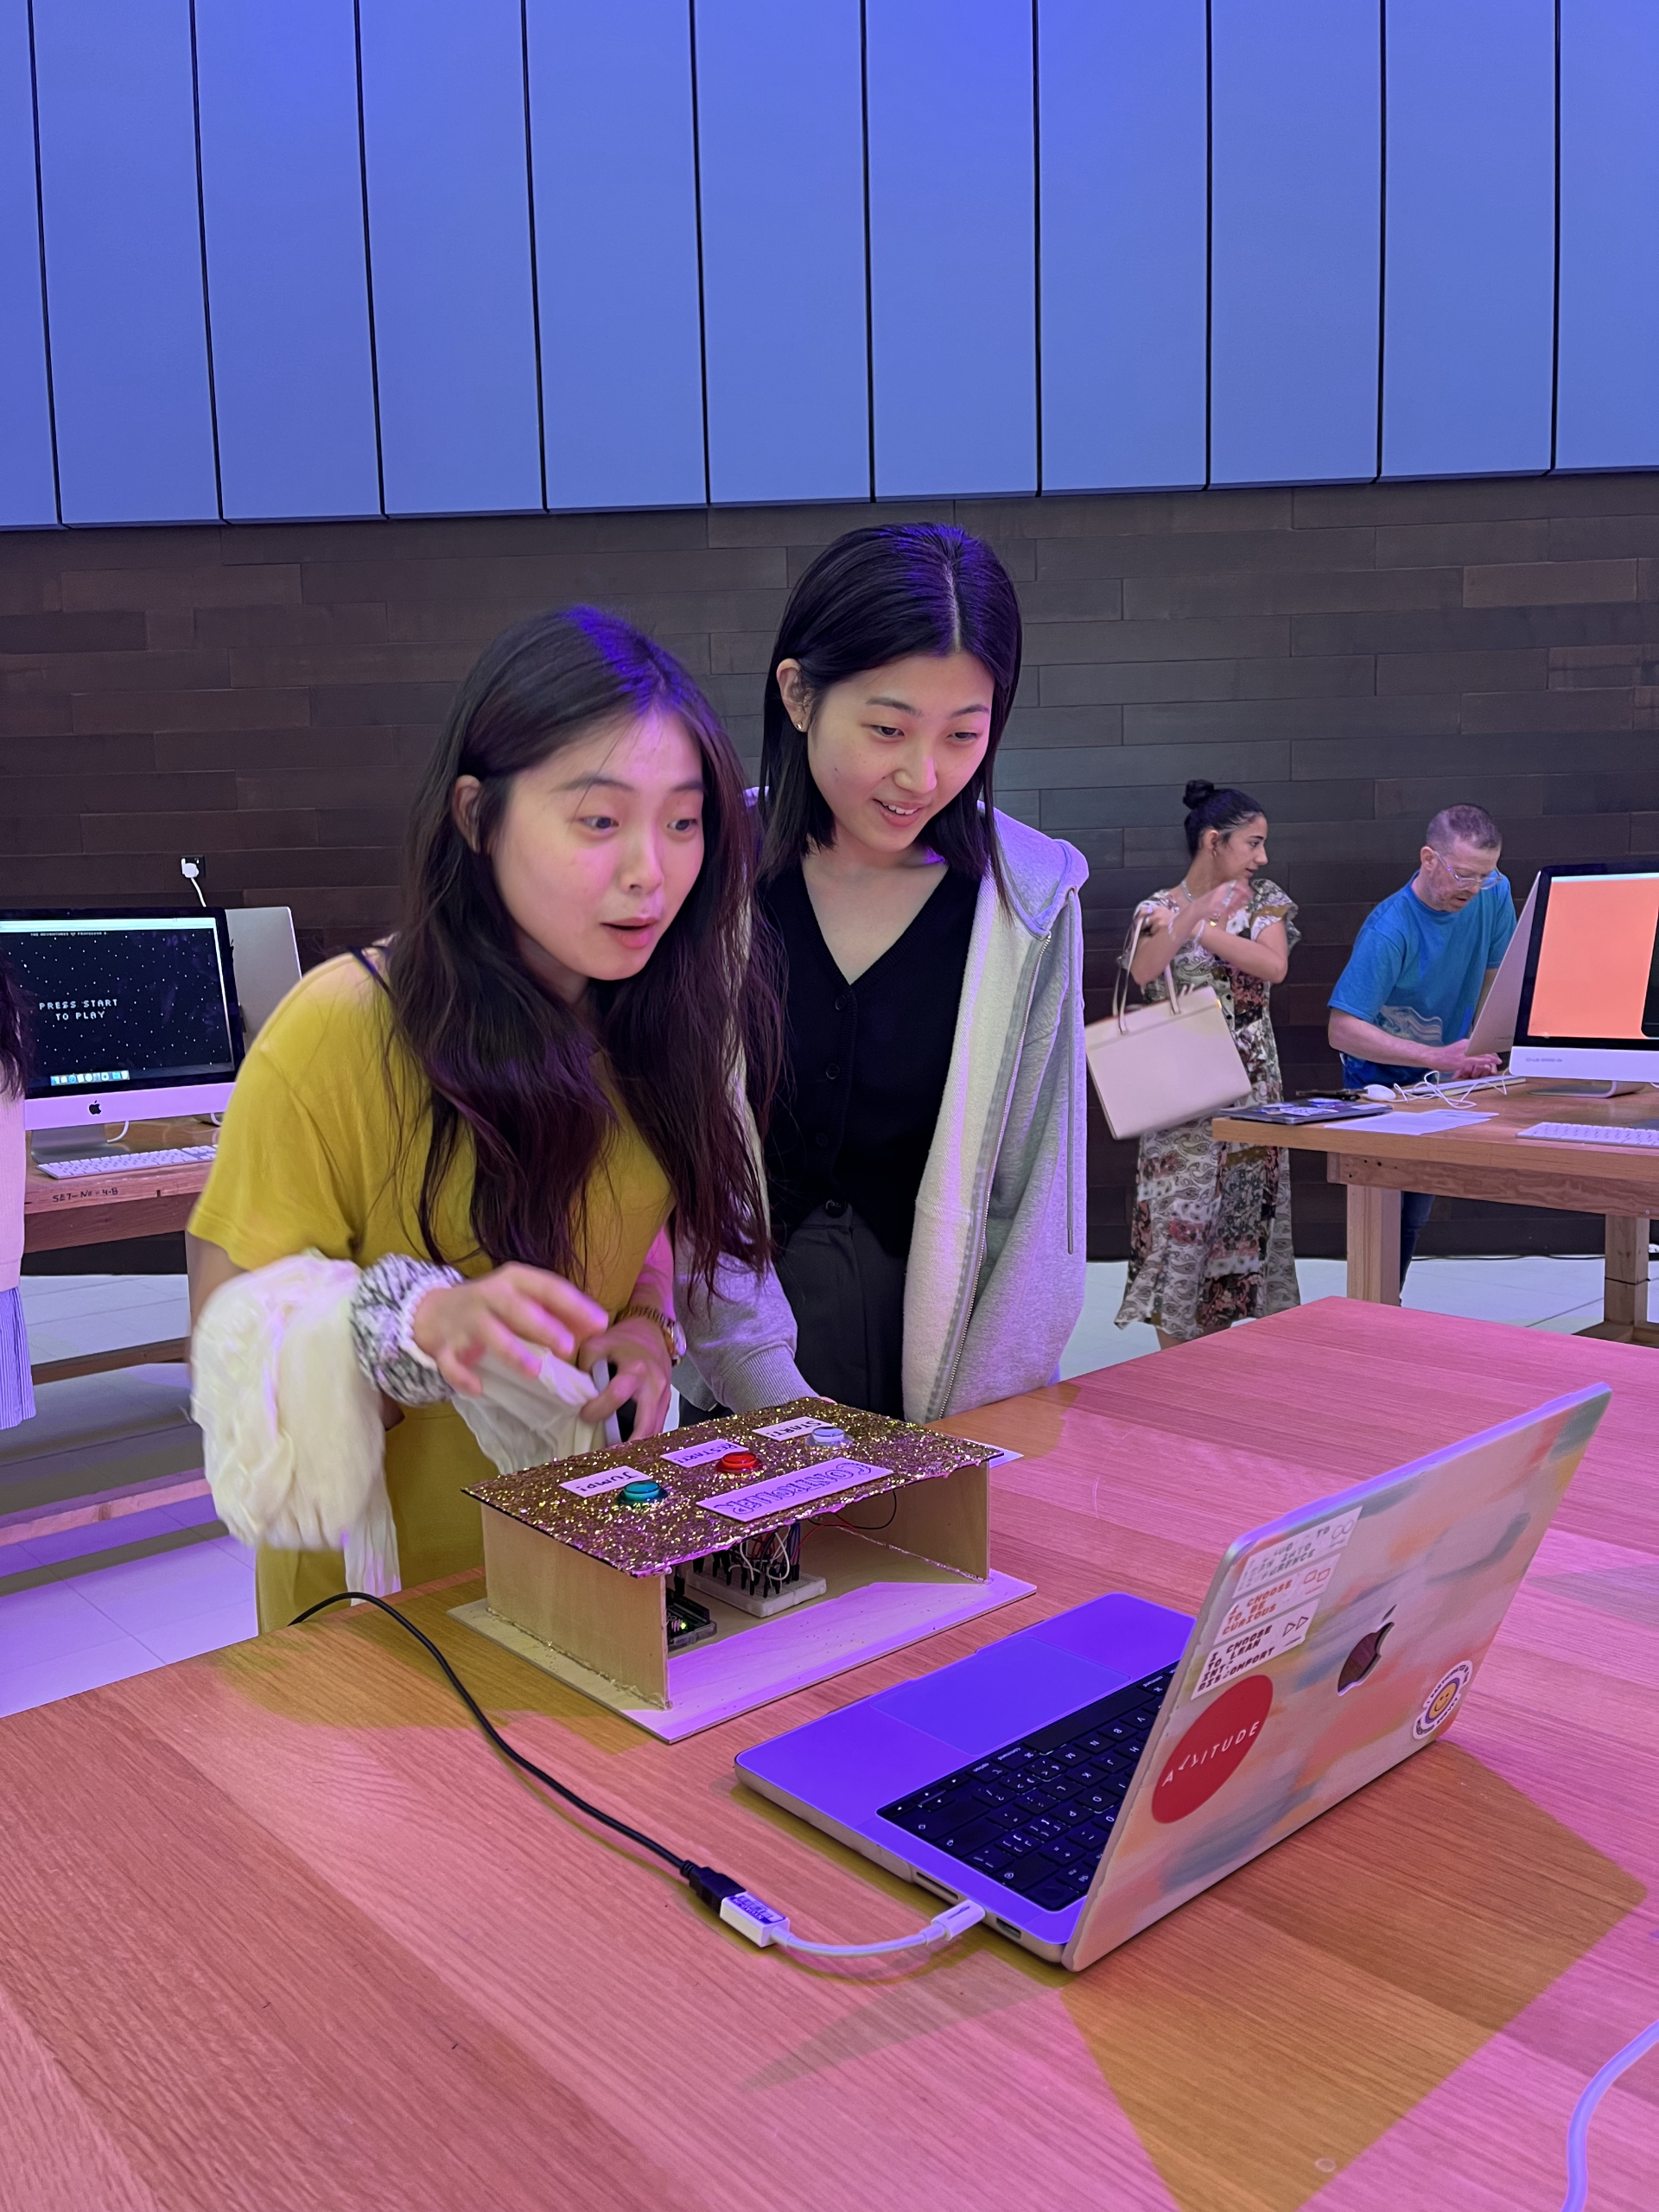
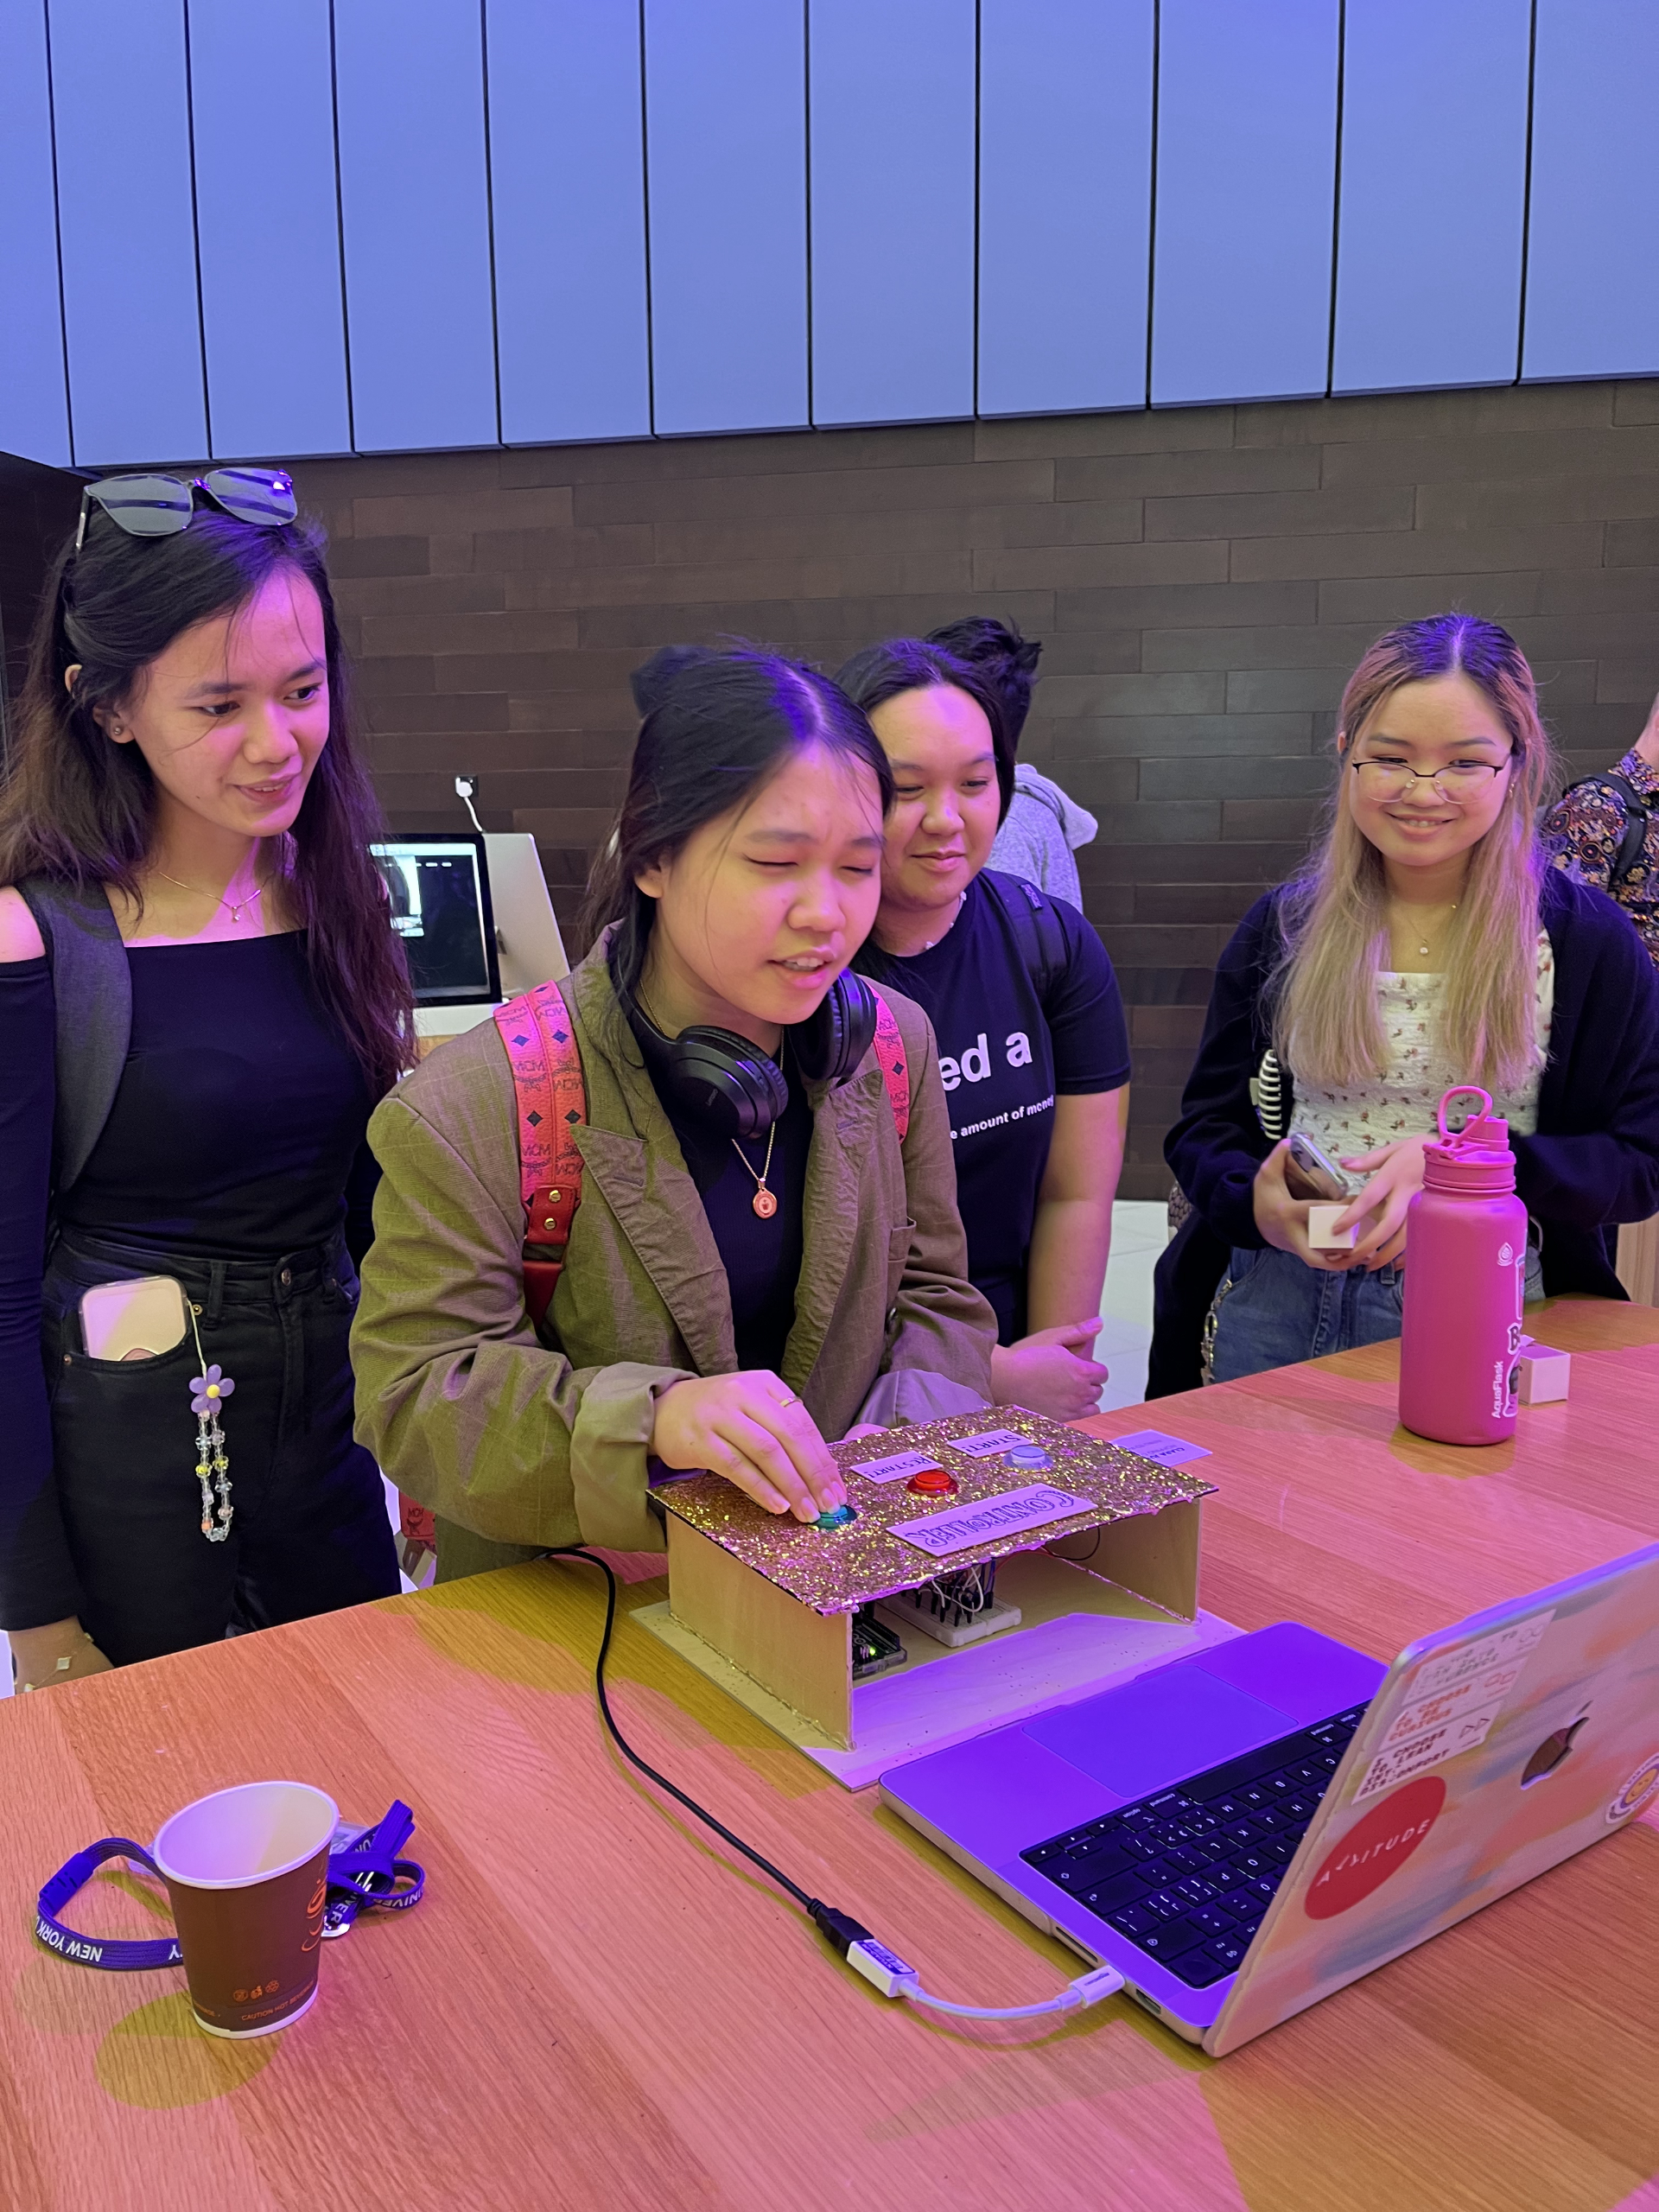
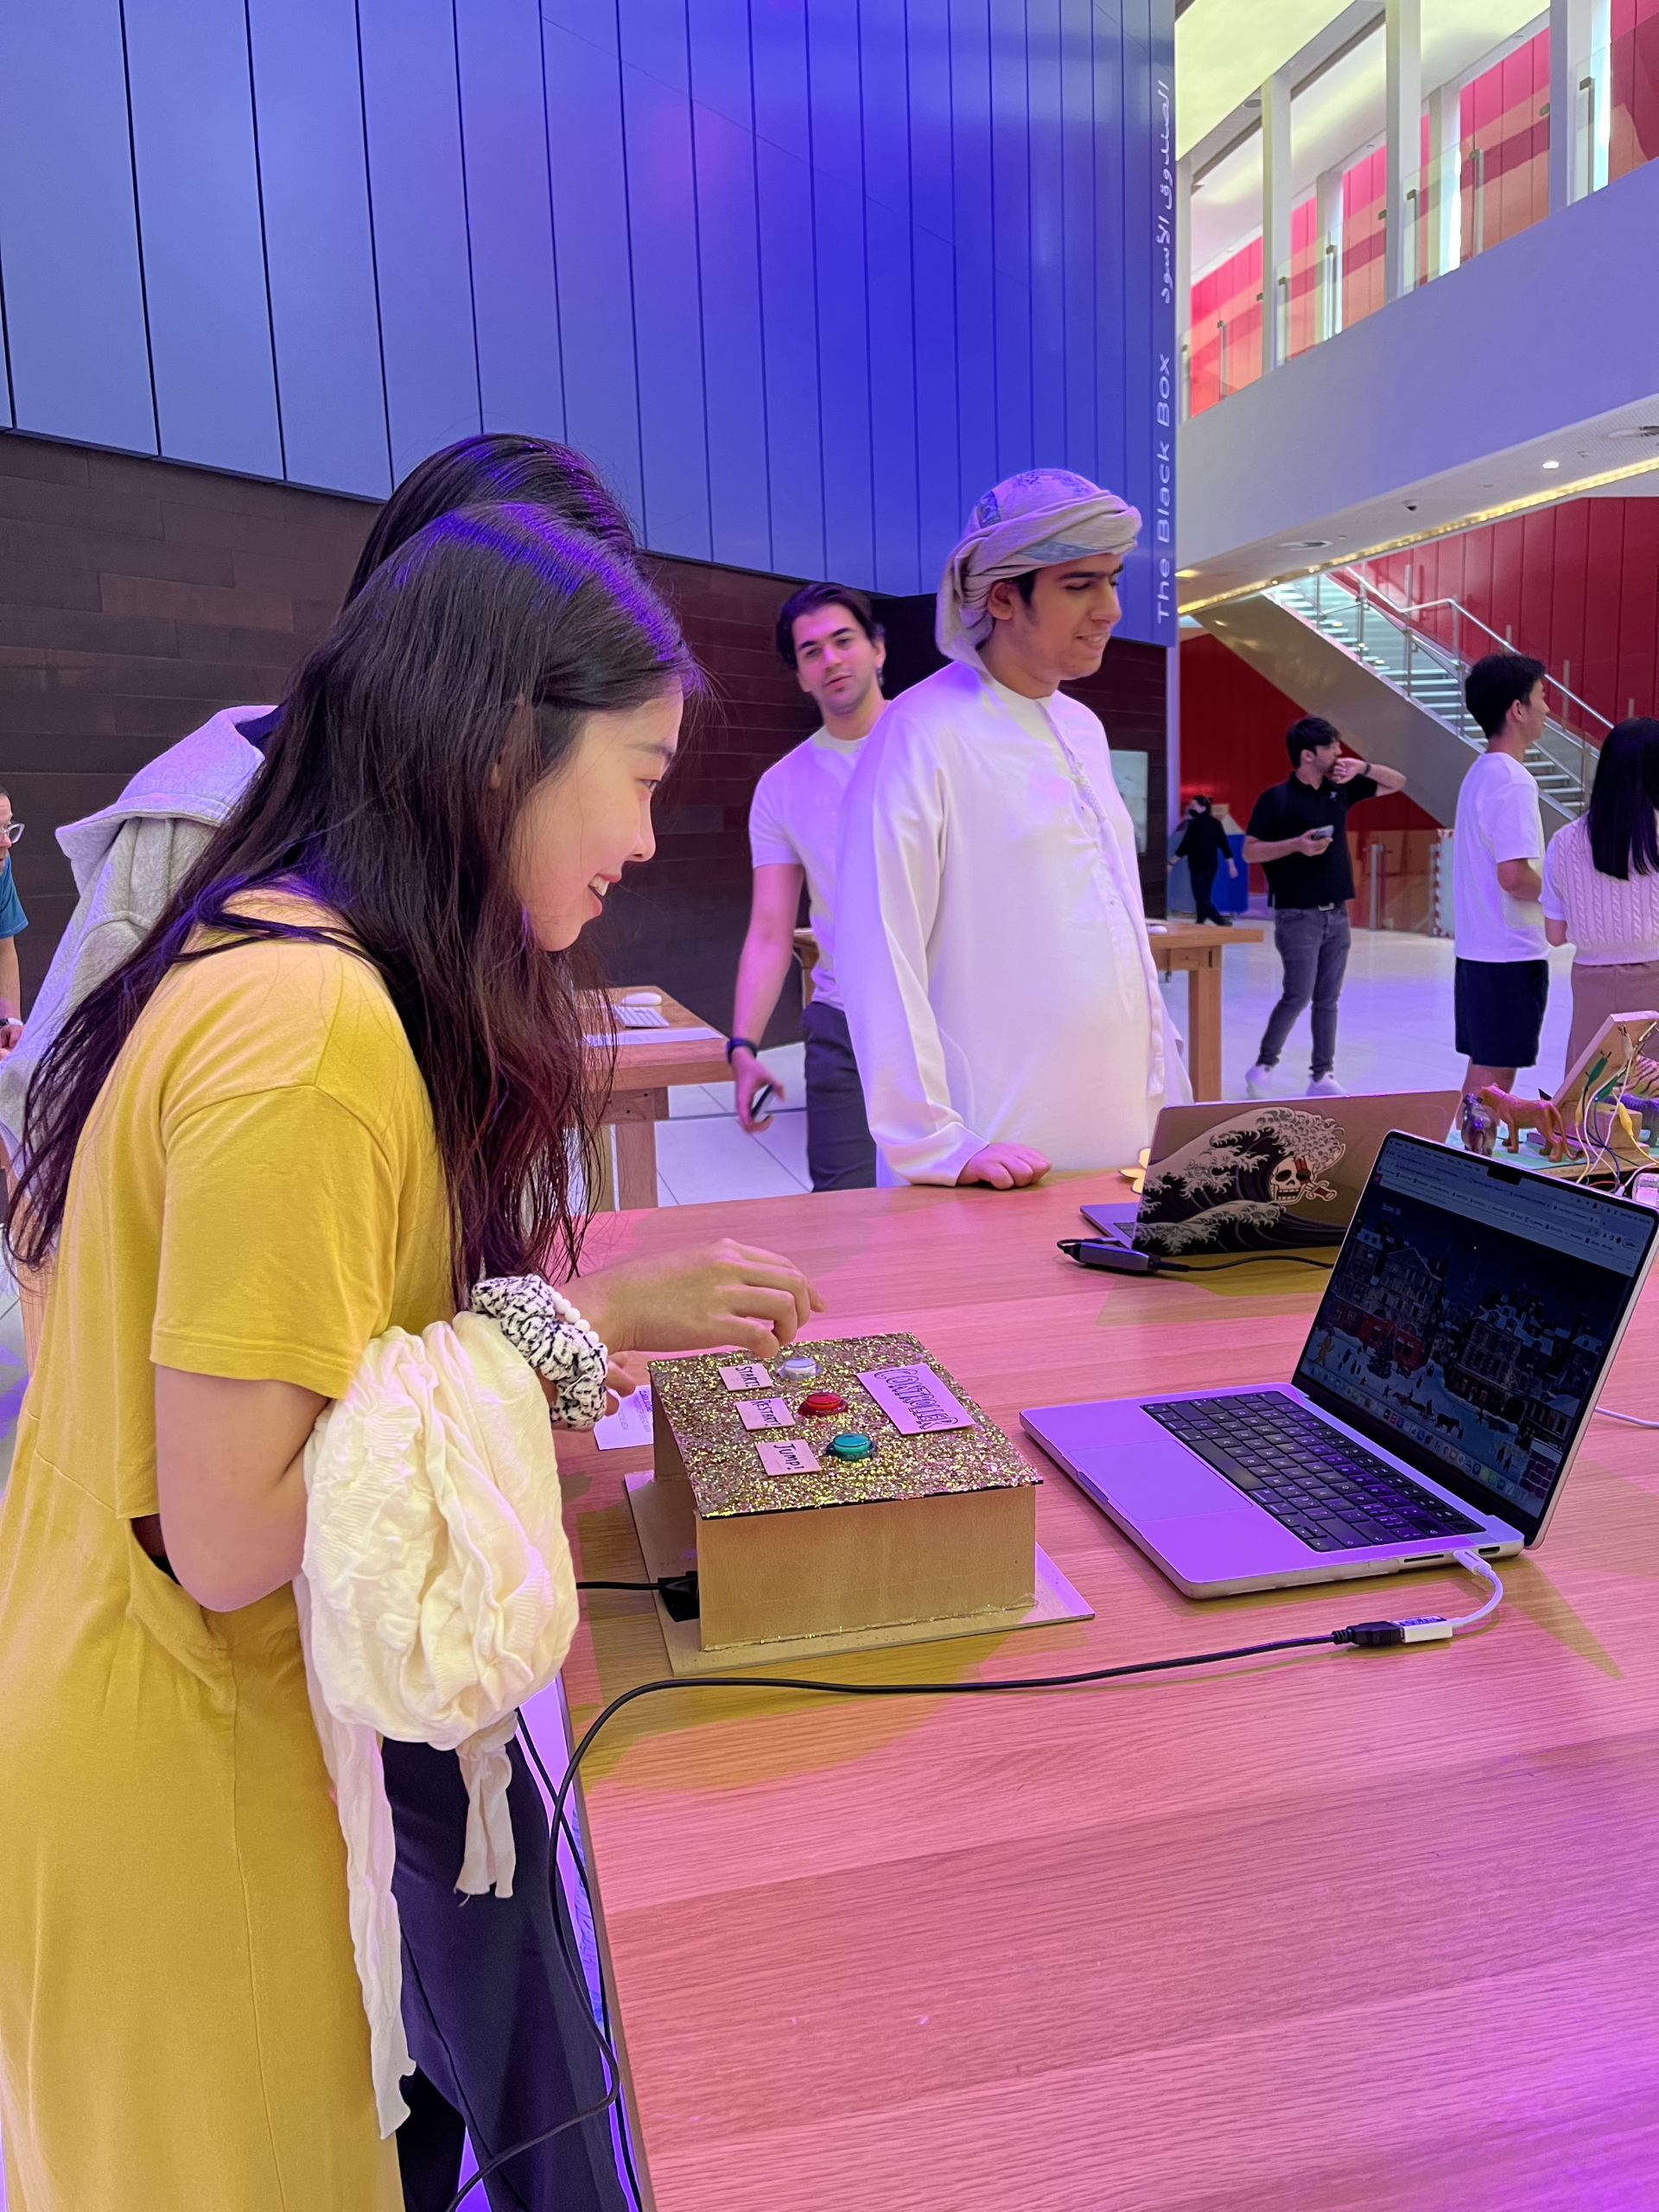
User experience/showcase:
The showcase was a blast! Although there were some unexpected errors at times (ex. my game site crashing and having to reload every 20 minutes or so or my game starting to lag after going past a certain score point), I was happy to see my users actively interacting with the game and just having fun. 🙂 Here are some photos that I took of them playing my game after getting their consent:


User testing video:
Future improvements:
One thing that kept coming up was having no limits to how much the users could make their gingerbread man jump; many of them figured out that they can use this to “cheat” the game because they could just make the gingerbread man constantly be up in the air by pressing down on the button continuously, which lagged the game but also meant they could go on forever. So I thought it’d be necessary to place some kind of a limit either for the amount of jumps they can do, the height that they can reach, or putting a time limit on the game.
Another thing that I thought I could try was making it like a flappy bird game instead of a dinosaur game, because the chimneys would have been perfect as a flappy bird game! I could’ve placed the chimneys at both the bottom and top of the screen and have the users try to float the gingerbread man between them, and that would’ve been cool as well.
Aaaaand that’s it! That’s a wrap of this course and the semester. 🙂 Huge thanks and props to our professor, the lab assistants, Jack, and our class for working altogether so hard for the past four months, and I hope to work with them again in future IM classes as well! But for now, holidays are awaiting all of us eagerly. 😉