
Concept:
I didn’t have a clear image of what I wanted to produce when I first created the canvas, but I knew I wanted to incorporate the skill of randomly switching from one color to another. At the very beginning, I wanted to devise many small circles with switching colors, but after having problems duplicating the circles, I decided to just focus on creating one giant one, which inspired me to create a disc with flashing colors, like a disco-themed disc. I also added some repeating white circle outlines within the giant disc, so that it will create an effect of a record disc.
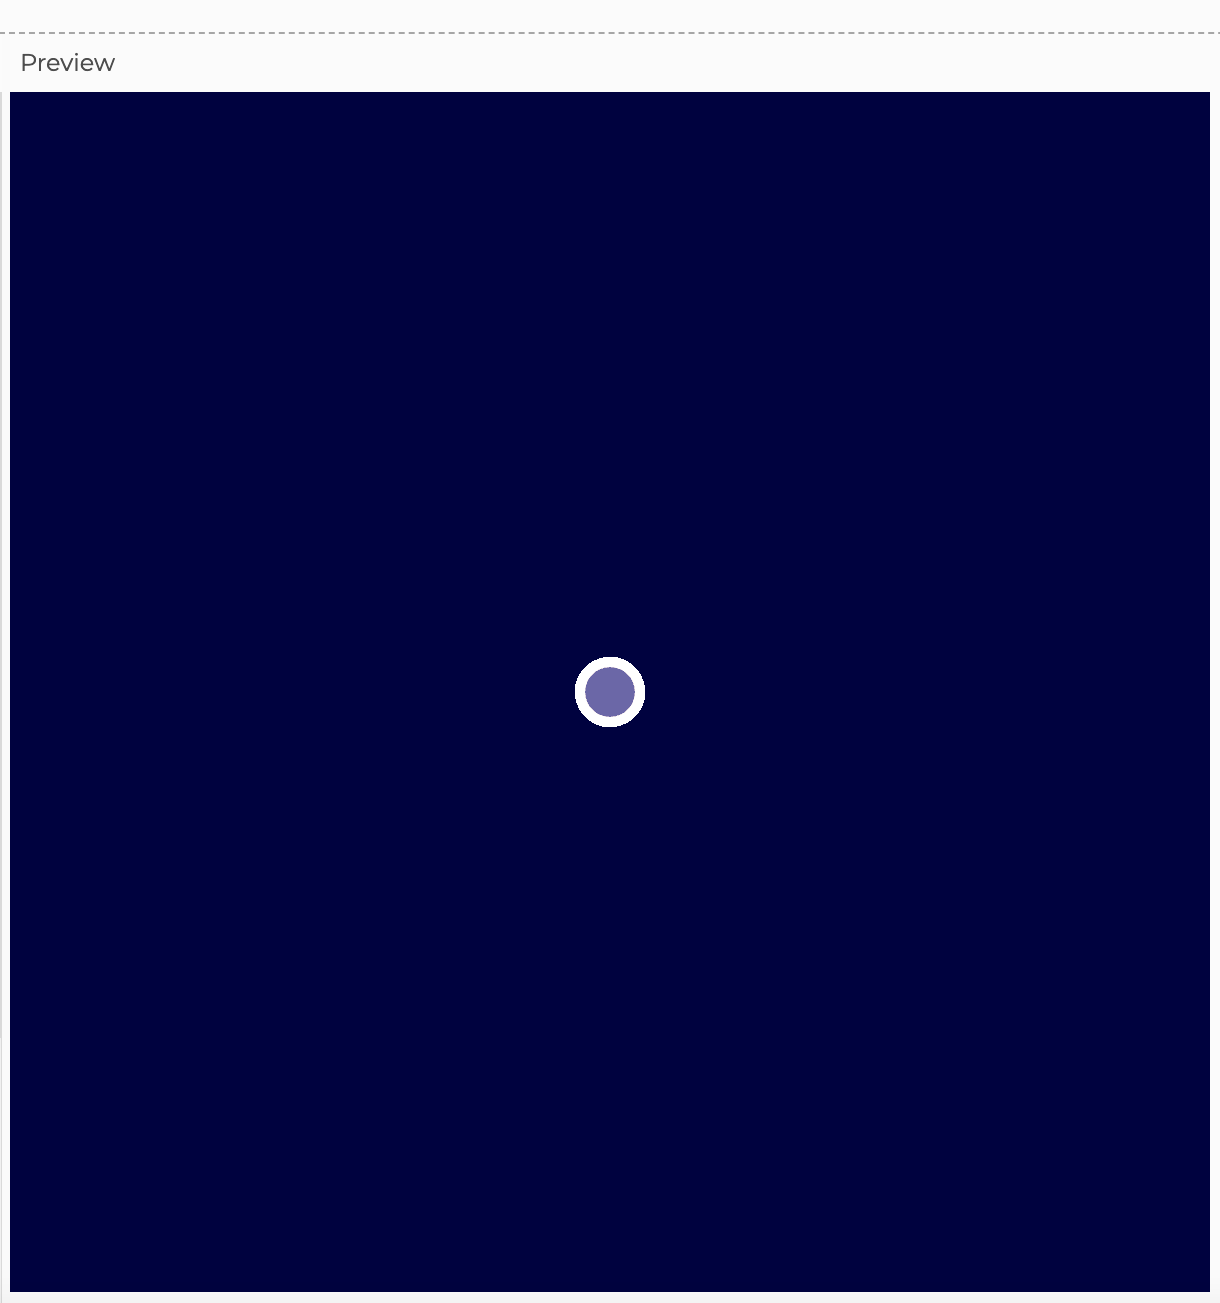 * duplicating many circles like this one to fill the entire screen was my original vision.
Process/Coding:
First, I created my background, which I made into a dark navy color. I wanted the background to be dark so that it will help the flashing colors pop out more, but I also didn’t want it to be completely black because that was too basic! As for creating the main “disc” as well as its details such as the switching colors, white outline strokes, etc., I consulted a YouTube video called “4.1: while and for Loops – p5.js tutorial” from a channel called “The Coding Train.” From this video, I was able to learn new skills such as how to use the “strokeWeight()” (which controls the thickness of a stroke) and “stroke()” (which controls the color of a stroke) function, which I used to outline my disc circle and to create smaller circles within it. This was a huge highlight of this project, and here’s the coding that I used for creating the white stroke around the entire disc:
// thick white stroke around the "disc"
function draw() {
  strokeWeight(7);
  stroke(255);
(original author of the code: Daniel Shiffman, link to the code: https://thecodingtrain.com/tracks/code-programming-with-p5-js/code/4-loops/1-while-for)
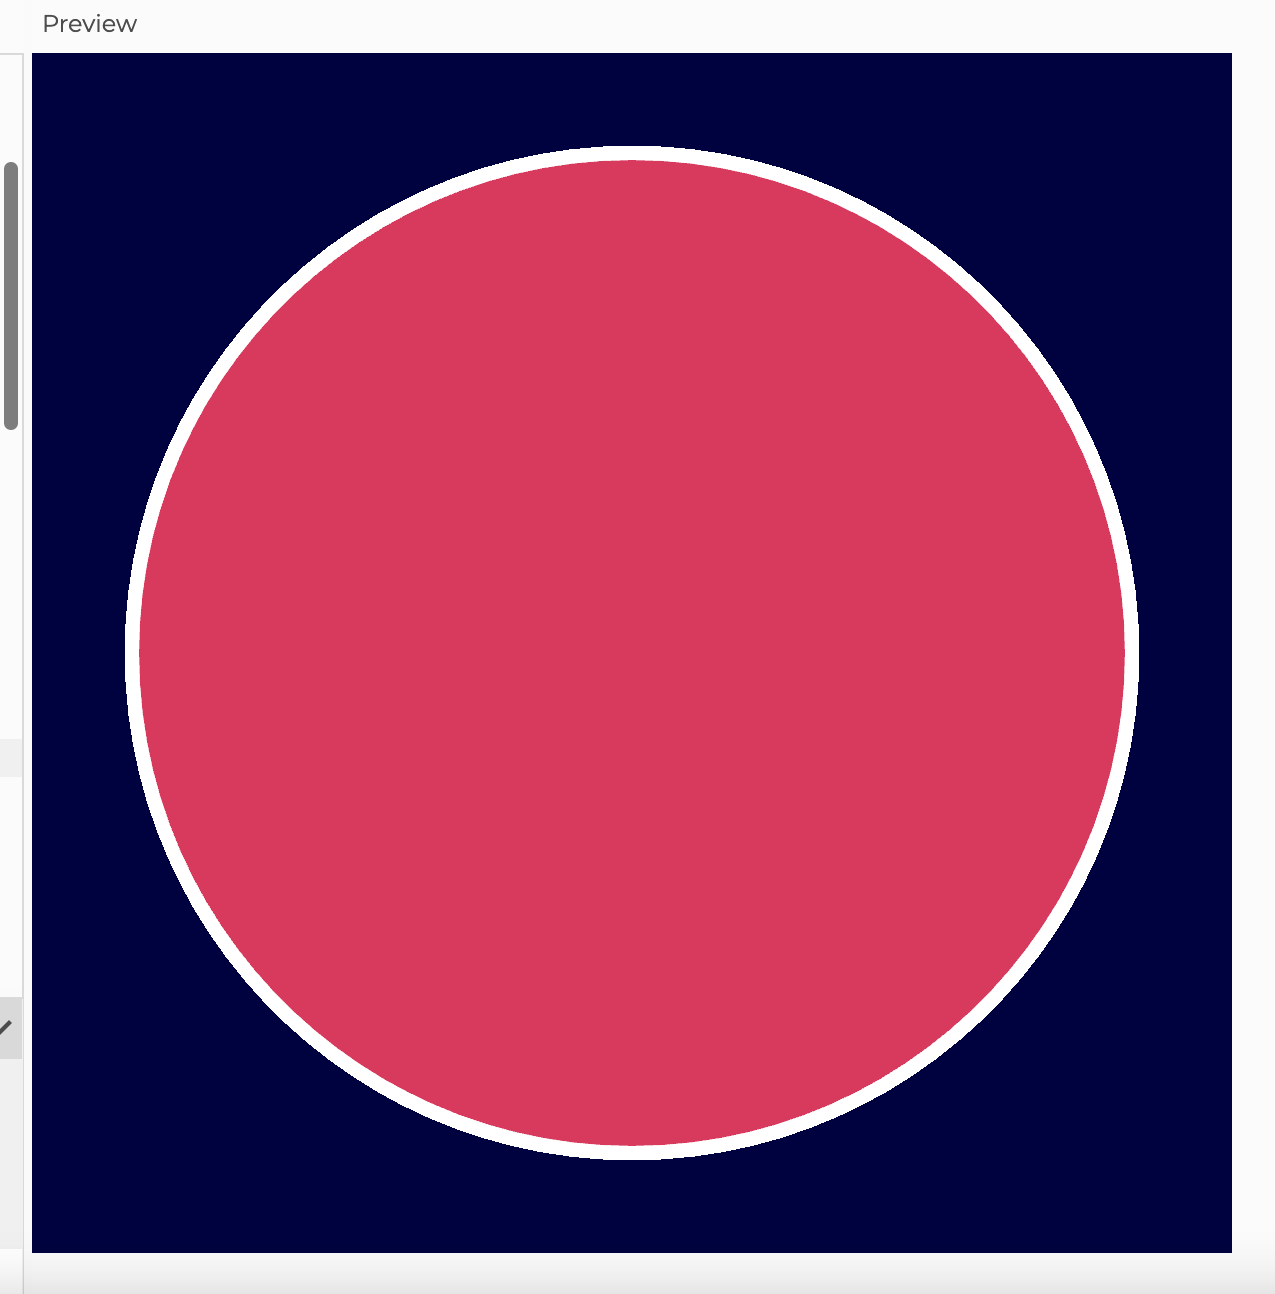
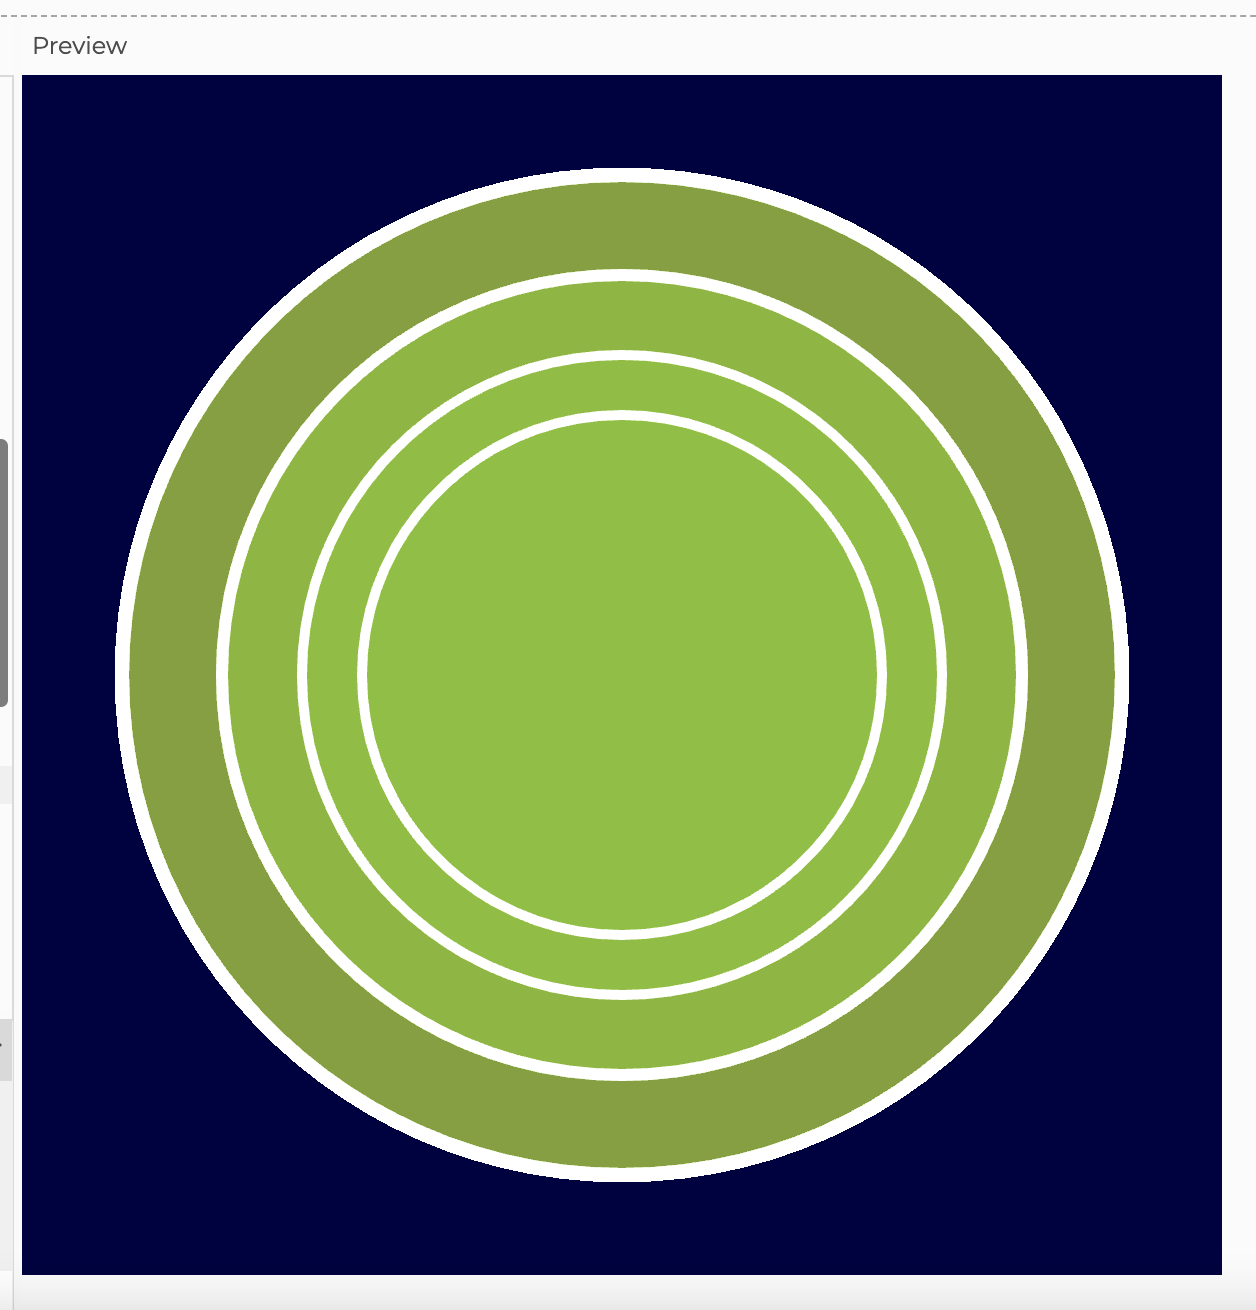
Here’s the gradual progress from the original one big circle to adding more white circle outlines within the disc:
As for the loop, which was the main technique that we had to use for this project, I set xPos, yPos, height, and width, and used “for” to create a condition in which the loop will continue to run. Because I was still unsure about how to create loops, I got help from Professor Shiloh’s example from the lecture notes. Here’s the code that I used to create the loop:
//loop
for (yPos = 300; yPos < height; yPos = yPos) {
  for (xPos = 300; xPos < width; xPos = xPos) {
}
}
(original author of the code: Professor Michael Shiloh, link to the code: https://github.com/michaelshiloh/IntroductionToInteractiveMedia/blob/master/lectureNotes.md)
Final Product:
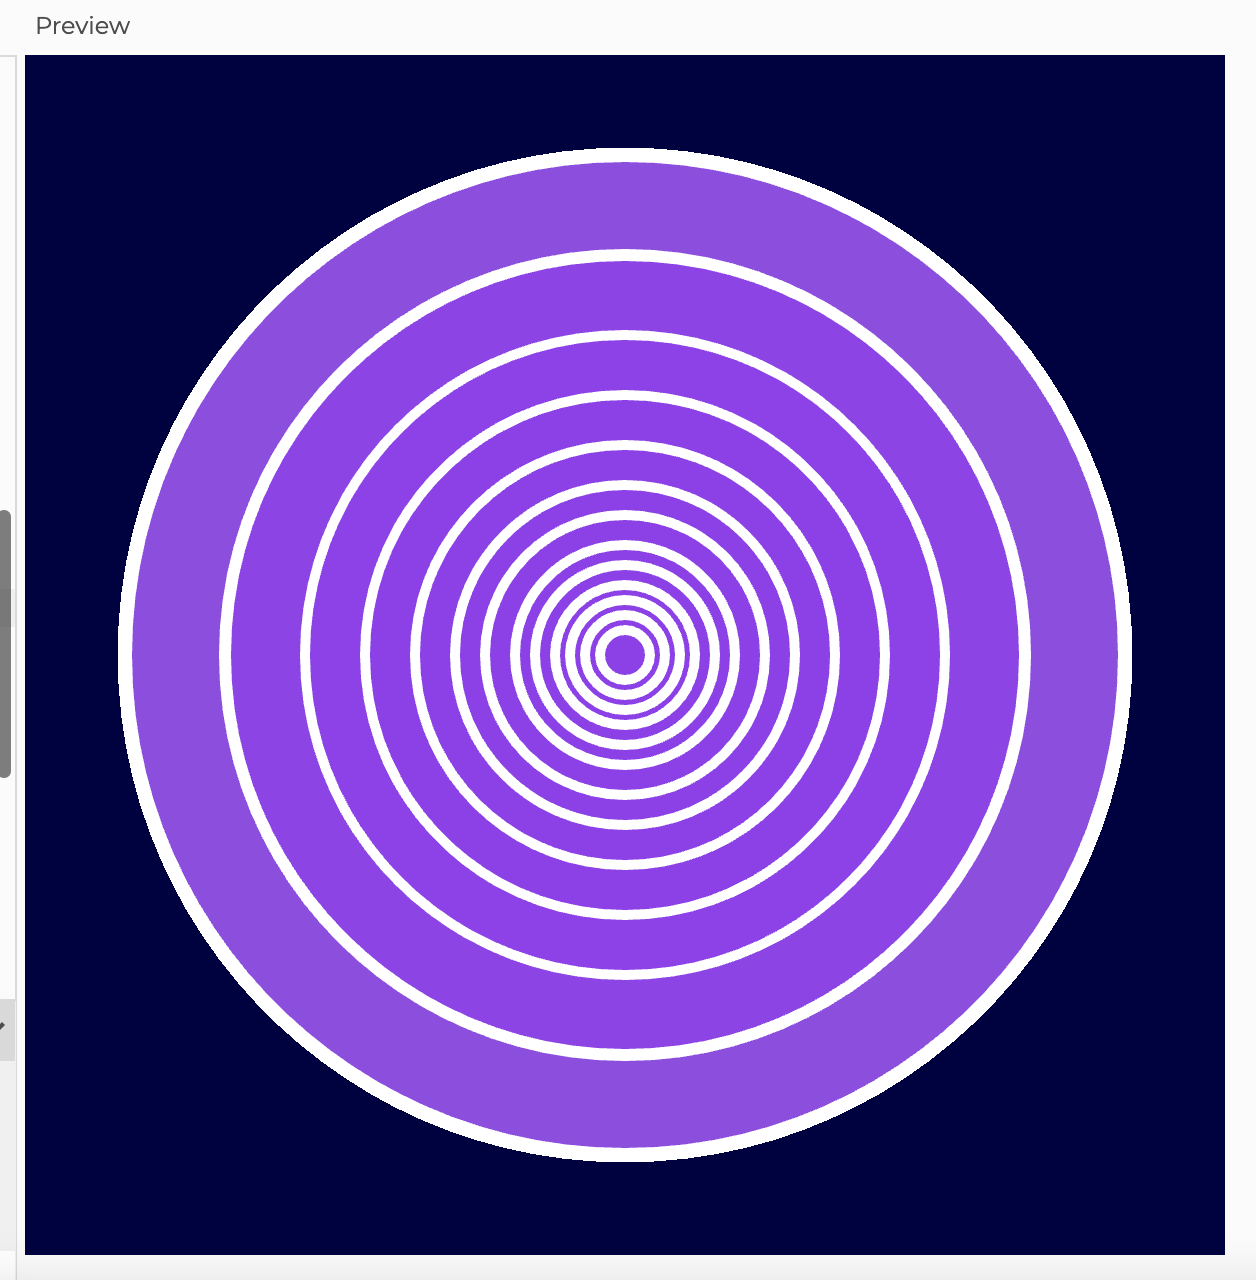
It took a while to figure out how to switch colors in order to create the “flashing” effect, as well as layering the white circle outlines so that none of them overlap but decrease slowly in size, but eventually I was able to finalize my disco disc:
Reflection:
This project has taken significantly less time than my first one, although the skills that I’ve used were less “basic” and a little bit more “intricate,” which I found interesting. I’ve had a blast with this one because I’m slowly grasping the language of coding, and it’s so awesome to be able to conquer one skill at a time and use them to produce something that I’ve visualized in my head. I’m extremely happy with the switching of colors, and if I try something like this again next time, I’d like to figure out how to make the entire disc move around, because I still haven’t really figured out how to make mobile projects!