
Creating a link to the full screen sketch
In the p5js editor under File click Share:

Copy the the Fullscreen link. Create a link in your post by clicking on the link icon:

Example: Fullscreen sketch
Make sure to test that any audio works as intended! The browser security requires that the user click or otherwise interact with your page before the sketch can play audio.
Embedding your sketch in the post
In the p5js editor under File click Share:
Copy the code it has there under Embed: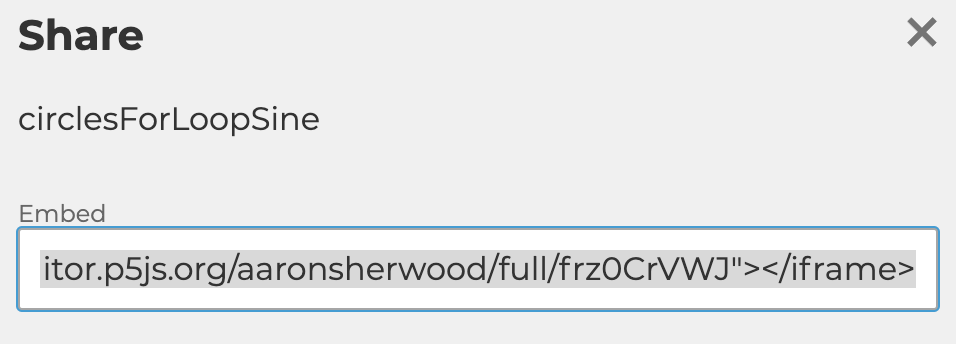
In the upper left hand corner of the WordPress editor click Text: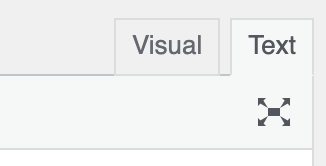
Paste the embed code there in the spot where you’d like your sketch to be placed in your post. Add the width and height of your sketch to your iframe element and add about 44 pixels to account for the p5 logo above the embedded sketch. For example, if your sketch is 640×640 pixels add width=640 height=684. If your sketch uses the camera or microphone you can give permission to use these in the embedded sketch by adding allow=”camera;microphone”.
Example:
<iframe src="https://editor.p5js.org/aaronsherwood/full/frz0CrVWJ" width=640 height=684 allow="camera;microphone"></iframe>
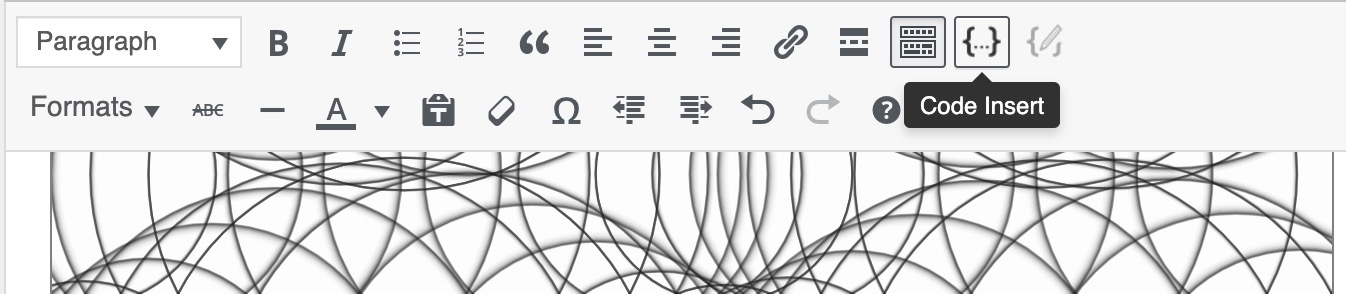
To include a code snippet you can use the Enlighter syntax highlighter. In the WordPress editor click the {..} code insertion icon.
Paste your code snippet and select JavaScript as the code language. 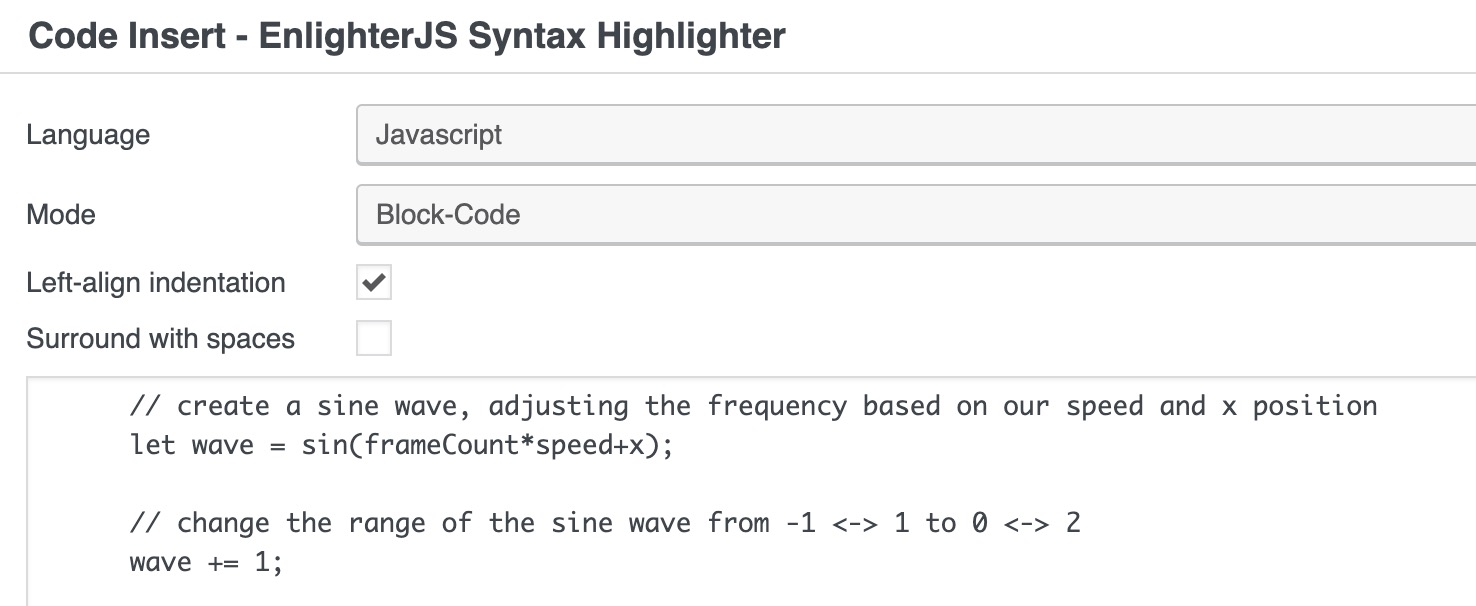
The result should look like this:
// create a sine wave, adjusting the frequency based on our speed and x position
let wave = sin(frameCount*speed+x);

// change the range of the sine wave from -1 <-> 1 to 0 <-> 2
wave += 1;