Week 3: Generative Artwork

For this week’s task, I wanted to make a representation of a mathematical rule using “bubbles”.  However, I quickly ran into lag issues. Originally, I wanted to create 100 objects, but the program started lagging at a much lower count. I ended up discarding the original idea and started experimenting with other features such as random motion and color.

The sketch lags at 5 objects.

The sketch is less laggy at 1 object.

The bubbles start at a random colors of 7 previously determined colors. They then transition and span through the rest of the colors with the help of lerpColor(). The motion of the bubbles is randomized through noise() and is mapped on the entire screen. The size of the bubbles is also randomized on a predetermined range.

Challenges/concerns:

My code is relatively simple but the program lags a lot. I’m not sure what causes this lag. My guess is repeatedly calling noise() is inefficient, but I’m not sure how to optimize it while retaining the randomness of motion and color for all objects.

Code:

Thing[] things;
int thingsCount;


void setup() {
  size(640, 480);
  
  thingsCount = 5;
  
  things = new Thing[thingsCount];
  for (int i=0; i<things.length; i++) {
    things[i] = new Thing(random(0,width), random(0,height));
  }
}

void draw() {
  background(0);
  
  for (int i = 0; i<things.length; i++){
    things[i].display(); 
  }
}
class Thing {
  float x, y;
  float diameter;
  float tx, ty;
  float colorStage;
  int color1, color2, currColor;
  color[] palette;
  int colorFrequency;

  Thing(float xPos, float yPos) {
    x = xPos;
    y = yPos;
    diameter = random(70, 150);
    tx=random(0, 10000);
    ty=random(0, 10000);
    colorStage = 0;
    palette = new color[]{color(246, 0, 0), color(255, 140, 0), color(255, 238, 0), color(77, 233, 76), color(55, 131, 255), color(72, 21, 170)};
    currColor = int(random(0, 6));
    colorFrequency = 10;
  }

  void motion() {
    x = map(noise(tx), 0, 1, 0, width);
    y = map(noise(ty), 0, 1, 0, height);
    tx += 0.04;
    ty += 0.04;
  }

  color updateColor() {
    colorStage = (colorStage+colorFrequency) % 100;
    if (colorStage == 0) {
      currColor++;
    }
    currColor = currColor % palette.length;
    color1 = palette[currColor];
    if (currColor + 1 >= palette.length) {
      color2 = palette[0];
    } else {
      color2 = palette[currColor+1];
    }

    return lerpColor(color1, color2, colorStage/100);
  }

  void display() {
    color fillColor = updateColor();
    fill(fillColor);
    motion();
    stroke(255);
    ellipse(x, y, diameter, diameter);
    filter(BLUR, 8);
  }
}


Quite Geometric Tornado

For this week, I created a generative art piece using Processing. The project involved creating a simplistic art piece while implementing Object-oriented programming principles. My artwork includes a spiral, sort of Fibonacci spiral, using rectangles that have a random stroke color with fixed opacity and no fill.

Here are some images at different times into the artwork along with a video:


The design may seem like something very complex and difficult to implement but it actually is very simple. The only difficulty I encountered was when trying to implement it using OOP. Initially, it just would not work as intended. So, I started off by writing code in one piece and then sectioning it out. After that, I made the class and defined different functions and then played around with values to find some designs that I really like. Additionally, this time I worked on adding interactivity within the art. For this design, the user can choose to continue the spiral in the opposite direction once it has already ended. As its layout and final outcome is dependent on user liking, once the anti-clockwise spiral has completed, user can hold the mouse as long as they want until they achieve their final design.

I would happily say that this project has by far been the most fun. Even after deciding on a design initially, I tweaked the variables several times and found myself staring at amazing generative art on screen for an hour.

Here is the code for the art:

Spiral myspiral;

void setup(){
  size(600,600);
  background(0);
  noFill();
  rectMode(CENTER);
  frameRate(25);
  myspiral = new Spiral();
}

void draw(){
  //change to clockwise rotation once an anticlockwise spiral is completed
  //mouse is held
  if(mousePressed && myspiral.rect_height<=0){
    myspiral.draw_clockwise();
  }
  else{
    myspiral.draw_anticlockwise();
  }
}

public class Spiral{
  float rect_width;
  float rect_height;
  int change_width;
  int change_height;
  int initial_height;
  
  Spiral(){
    initial_height = 1500;
    rect_width = 0;
    rect_height = 1500;
    change_width = 3;
    change_height = 5;

  }
  
  void draw_anticlockwise(){
    if (rect_height>0) {
      //make it pivoted at center
      translate(width/2,height/2);
      //angle of rotation
      rotate(rect_width + noise(rect_width*0.01));
      //random color fill, fixed transparency
      stroke(random(255),random(255),random(255),100);
      //spiral series of rectangles
      rect(0,0,1080-rect_width, rect_height);
      //updating change
      rect_width += change_width;
      rect_height -= change_height;
    }
  }
  
  void draw_clockwise(){
    if (rect_height <= 0 && rect_height >= (-1 * initial_height)) {
      //make it pivoted at center
      translate(width/2,height/2);
      //angle of rotation
      rotate(rect_width - noise(rect_width*0.01));
      //random color fill, fixed transparency
      stroke(random(255),random(255),random(255),100);
      //spiral series of rectangles
      rect(0,0,1080 + rect_width , rect_height);
      //updating change
      rect_width -= change_width;
      rect_height -= change_height;
    }
  }
  
}


artwork

This would be simple recurring and moving rectangles. When ‘l’ is pressed, the entire color palette would alter. It was created to give a mesmerizing effect that helps the audience relax.

void setup(){
  size (640, 480);
}
int rectWidth = width/10;
int rectHeight = height/10;
float bg, up, mid, down;

void draw(){
   
  if (keyPressed && key == 'l') {
    background(#E7F2F8); 
   noStroke();
   fill(#74BDCB);
  for (int i =rectHeight/2; i<height; i+=rectHeight){   
    rect((height+random(-2,2))*noise(frameCount*.01+i*0.5), i, 300, rectHeight);
  }
  
  stroke(255);
   fill(#FFA384);
  for (int i =rectWidth/2; i<width; i+=rectWidth){
    rect(i, (height/2+random(-2,2))*noise(frameCount*.01+i*0.2), rectWidth, 100);
  }
  
  fill(#EFE7BC);
   for (int i =rectWidth/2; i<width; i+=rectWidth){
    rect(i, (height+random(-2,2))*noise(frameCount*.01+i*0.08), rectWidth, 100);
  }
  } 
  else {
   
    background(#EED6D3); 
   noStroke();
   fill(#FFAEBC);
  for (int i =rectHeight/2; i<height; i+=rectHeight){   
    rect((height+random(-2,2))*noise(frameCount*.01+i*0.1), i, 300, rectHeight);
  }
  
  stroke(255);
   fill(#B4F8C8);
  for (int i =rectWidth/2; i<width; i+=rectWidth){
    rect(i, (height/2+random(-2,2))*noise(frameCount*.01+i*0.1), rectWidth, 100);
  }
  
  fill(#FBE7C6);
   for (int i =rectWidth/2; i<width; i+=rectWidth){
    rect(i, (height+random(-2,2))*noise(frameCount*.01+i*0.1), rectWidth, 100);
  }
  }
   
 
}


simple work of art

This week’s assignment was to make a simple work of art using loops.

I wanted to create a piece that looked like fish swimming in a pond, and the time of day changes (the color of the water shows this) when you click the ‘d’ key (d for daytime).

It doesn’t stay that way unless you keep the key pressed though.

PROCESS:

I started my code with the base sketch, and I set the size and frame rate in void setup.

In void draw, I started by setting the background color, stroke and creating a float variable col.

The col variable is a random number from 100-255. I use this later for the color of the fishes in the pond.

Next, I added the code for the ‘d’ key. When the d key is pressed, the background color changes to a lighter one, making it look like daytime.

Next, I made a for loop for the water ripples. I set an int I to zero, and it keeps increasing by one when i<100. I set the stroke of this to :
stroke(40,106,245,col)
which is a blue color, but the transparency changes to make it look like light it reflecting on the surface of the water.

Next were the fishes. I changed the fill here to:
fill(col,col-50,col-70,150)
so that the color is a random orangey-red color.

I made another for loop for the fishes, made more float variables to make random x and y values, then I made ellipses for the fish.

And that’s it! TA-DA!

CODE:

void setup(){
  size(640,480);
  frameRate(3);
}

void draw(){
  background (59,58,152);
  stroke(10);
     float col = random(100,255);
     // gives a random color 
 
    if (keyPressed && key == 'd') {
      background(152, 208, 255);  
      fill(col,col); 
    stroke(255,col);
    //else fill(col,col,0,150);
    
    // if you press the 'd' key (d= daytime) the colors change to make it look
    //like the sky during the day. 
  }
 
  for( int i = 0; i< 100; i= i+1 ) { 
 noFill();
 stroke(40,106,245,col);
 // added col here to make it look like the water is reflecting
    ellipse(width/2, height/2, i*10, i*10);
  }
  // this makes the ripple effect thing
  fill(col,col-50,col-70,150);
  //so that the color is a random orangey-red color 
  noStroke();
  for( int i = 0; i< 600; i= i+10 ) { 
   // rectMode(CENTER);
    float x = random(width);
    float y = random(height);
 
   ellipse(x,y, 25,10);
     //triangle(x,y,x,y,x,y); (triangles look more like fishes but it doesnt work properly so.. circles it is)
  
  }

}


Week 2 Make a simple work of Art – Rhythm Kukreja

Description of this assignment:

Using loops (for() and while()) in some way, along with everything that you’ve learned so far, make a simple work of art.

Process:

I wanted to be very creative with this assignment. Since I love playing around with shapes and learning more about animations in processing, I checked out all the things animations in processing referencing I wanted to use. I really liked the milliseconds’ idea in processing, so I played around with some of the code and came up with this.

The picture showed above changes its color on the grayscale. I used the colorMode() function which changes the numerical range of specifying colors and switches color systems. This was followed by fill().

Then I added a morph to my artwork. It means changing one shape into another by interpolating vertices from one to another. It changed from a square to a circle in a loop.

This was an animation. So until now, the rectangle color in the background is changing on the basis of the grayscale and so is the shape of the circle and the square.

Then I added a bunch of triangles in a for loop and used popMatrix(), pushMatrix(), and rotate(). pushMatrix() is used for pushing the current transformation matrix onto the matrix stack. popMatrix() is used for popping the current transformation matrix off the matrix stack. rotate() is used for rotating the amount mentioned by the angled perimeter.

After that, I used the same functions like popMatrix(), pushMatrix(), and rotate() to play with lines.

This was the final result. I would say that this project was personally very challenging because I had to play around with functions to understand what they did, since I used functions I have never studied before. I used some code from the processing references which helped me achieve this. I hope you all liked it. Thank you.

float x = 300;
float y = 300;
float angle;
float scale;
// Two ArrayLists to store the vertices for two shapes
ArrayList<PVector> circle = new ArrayList<PVector>();
ArrayList<PVector> square = new ArrayList<PVector>();

// An ArrayList for a third set of vertices, the ones we will be drawing
// in the window
ArrayList<PVector> morph = new ArrayList<PVector>();

// This boolean variable will control if we are morphing to a circle or square
boolean state = false;


void setup(){
  size(1000,1000);
  noStroke();
  //Increases or decreases the size of a shape by expanding and contracting vertices.
 scale = width/3;
 
  for (int angle = 0; angle < 360; angle += 9) {
    // Note we are not starting from 0 in order to match the
    // path of a circle.  
    PVector v = PVector.fromAngle(radians(angle-135));
    v.mult(100);
    circle.add(v);
    // Let's fill out morph ArrayList with blank PVectors while we are at it
    morph.add(new PVector());
  }

  // A square is a bunch of vertices along straight lines
  // Top of square
  for (int x = -50; x < 50; x += 10) {
    square.add(new PVector(x, -50));
  }
  // Right side
  for (int y = -50; y < 50; y += 10) {
    square.add(new PVector(50, y));
  }
  // Bottom
  for (int x = 50; x > -50; x -= 10) {
    square.add(new PVector(x, 50));
  }
  // Left side
  for (int y = 50; y > -50; y -= 10) {
    square.add(new PVector(-50, y));
  }
 
}

void draw(){
  
    for (int i = 0; i < scale; i++) {
    //function colorMode is used to change the numerical range used for specifying colors and to switch color systems.
    colorMode(RGB, (i+1) * scale * 5);
    //fills the color of the ractangle on the basis of the colorMode
    fill(millis()%((i+1) * scale * 10));
    noStroke();
    //specifies the arguements of the rectangle
    rect(i*scale, 0, scale, height);
  }
  //used to specify an amount to displace the object within the display window
  translate(width/2, height/2);
  for (float a=0; a<360; a+=7)  {
    //Pushes the current transformation matrix onto the matrix stack.
    pushMatrix();
    //Rotates a shape the amount specified by the angle parameter.
    rotate(radians(a));
    strokeWeight(1);
    //specifies the triangle in the art work
    triangle(x*sin(radians(angle)), y, 100, 70, 100, 200);
    //Pops the current transformation matrix off the matrix stack.
    popMatrix();
    
}

  for (float a=0; a<360; a+=10) {
    pushMatrix();
    rotate(radians(a));
    stroke(255,255,255);
    strokeWeight(5);
    line(x*cos(radians(angle)), 500, 400 ,300);
    popMatrix();


}

  // We will keep how far the vertices are from their target
  float totalDistance = 0;
  
  // Look at each vertex
  for (int i = 0; i < circle.size(); i++) {
    PVector v1;
    // Are we lerping to the circle or square?
    if (state) {
      v1 = circle.get(i);
    }
    else {
      v1 = square.get(i);
    }
    // Get the vertex we will draw
    PVector v2 = morph.get(i);
    // Lerp to the target
    v2.lerp(v1, 0.1);
    // Check how far we are from target
    totalDistance += PVector.dist(v1, v2);
  }
  
  // If all the vertices are close, switch shape
  if (totalDistance < 0.1) {
    state = !state;
  }
  
  strokeWeight(4);
  // Draw a polygon that makes up all the vertices
  beginShape();
  for (PVector v : morph) {
    vertex(v.x, v.y);
  }
  endShape(CLOSE);
 
angle++;

}


Week 2: Hue and Eye (Loop-y Art)

I swear, this title was my friend’s idea. I was going to go with “A R-eye-ot of Colours”. Which in hindsight (*sigh*), isn’t that much better.

This week, we were supposed to take inspiration from some old computer graphics magazines and make use of loops. I decided on this page:

Expectations

I liked the funky graphics vibe it gave. But once I started trying to recreate it, I ran into some problems. Namely, it was hard to make a loop for all 4 quadrants and use translate() while also rotating the design each time. Eventually, I ended up experimenting with shapes which would only require a vertical-horizontal shift.

I have used the ternary operator in this program. So much. And translate() in the Processing library saved me when I thought making quadrants wouldn’t be possible, and so did pushMatrix() and popMatrix() which had been mentioned in class by name. But after fooling around and using loops in multiple places, I had a design which seemed vaguely decent to my eyes (*siiiigh*).

If you do a very deep interpretation of my reference art, it could look like eyes with eyelashes drawn in block style. I tried.

I’m watching you, Intro to IM website. Always watching.

Now you know where all the eye puns are coming from. These had initially been without the black borders, and I thought I should try to make it more artistic and add accents. So I added the borders by making one more ellipse underneath the original ones, and trying out random colours. I decided the “pupil” of the eye also looked better with the same colour filled in.

Trying different colours for the aesthetic.

I had previously also experimented with keeping all the ellipses horizontal, but decided that this one was truer to the original and had more flare. However, I couldn’t decide on one colour to use for the final version. This indecisiveness gave rise to a better idea though: I could just add a lot of colours and program it to change on every mouse click. We had done everything required for this in class, and from my previous knowledge of Java I decided to use switch case to make my work easier. So, I decided that I would try to recreate a VIBGYOR palette, but with more colours of the spectrum. I used a counter variable to count the number of mouse clicks, and by using the % operator I made sure the colours would be in the same order each time.

This is what the final code looked like:

color col = color(0);
int ctr = 0;
int squareWidth = 320;

void setup(){
  size(640, 640);
  rectMode(CENTER);
}

void draw(){  
  background(255);
  
  //repeating the processes in each counter
  for(int i=0; i<4; i++)
  {
    //base colours (black/white)
    fill(i==0 || i==3? 0: 255);   
    rect(i%2==0? squareWidth/2: squareWidth+squareWidth/2, i<2? squareWidth/2: squareWidth+squareWidth/2, squareWidth, squareWidth);
    
    pushMatrix();
    
    translate(i%2==0? 0: squareWidth, i<2? 0: squareWidth); //to shift to the next quadrant
    fill(i==0 || i==3? 255: 0);
    noStroke();
    for(int j=0; j<6; j++)
    {
      if(i==0 || i==3)
        rect(squareWidth/2, 40+50*j, squareWidth, 15);
      else
        rect(40+50*j, squareWidth/2, 15, squareWidth);
    }
    
    fill(col); //for the coloured boundaries
    ellipse(squareWidth/2, squareWidth/2, i==0 || i==3? 220: 120, i==0 || i==3? 120: 220);
    
    color prev = color(i==0 || i==3? 255: 0);
    fill(prev);
    ellipse(squareWidth/2, squareWidth/2, i==0 || i==3? 200: 100, i==0 || i==3? 100: 200);
    
    for(int j = 0; j<7; j++)
    {
      if(j==6) //because we want the innermost circle to be coloured
        fill(col);
      else
        fill(prev==color(255)?0:255);
      circle(squareWidth/2, squareWidth/2, 90-j*10);
      if(prev==color(255))
        prev = color(0);
      else
        prev = color(255);
    }
    popMatrix(); //this ensures that the next translation will start from scratch   
  }
}

void mousePressed(){
  
  int num = ctr%10; //depending on number of colours we have
  switch(num) //order of the colours
  {
    case 0: col = color(0);
            break;
    case 1: col = color(132, 3, 147);
            break;
    case 2: col = color(114, 91, 250);
            break;
    case 3: col = color(91, 201, 250);
            break;
    case 4: col = color(59, 234, 198);
            break;
    case 5: col = color(202, 234, 59);
            break;
    case 6: col = color(250, 244, 63);//(250, 250, 149); a previous shade for keepsake
            break;
    case 7: col = color(252, 154, 74);
            break;
    case 8: col = color(237, 77, 109);
            break;
    case 9: col = color(227, 48, 51);
            break;
  }
  ctr++;  
}

Now you’re going to see why the colour puns are there. I am actually quite surprised by the pulsing effect the colours seem to have and how they transition smoothly into each other, it is quite pleasing to the eye (hue hue hue?).

Although I am quite happy with this result, I realised after seeing other posts that I could have used frameCount to make this a continuous animation too. But this was made for indecisive people like me, so that we can stop on whichever colour we like best. And I think it serves that purpose well.

On this note, I don’t think I have much more to add here. I know I promised I would try to be less loopy in these posts, but oh well. Now you see me, now you don’t.

B-eye! 🙂

Week 2: Simple Work of Art

Description:

For this assignment, I mainly used for() loops to make a simple work of art.

Inspiration:

Inspired by the Fraser spiral illusion used to test a person’s ability to be hypnotized, I decided to implement a set of particles in a constant rotation around the center of the display window.

Process:
Setup():

First, I had to set the display window’s size to 640 x 640 (1:1 aspect ratio) to get a square instead of a rectangle.

void setup(){
  size(640,640);
}
Global variables:

I have only used two global variables which are:

  • Angle: for the rotation of the spiral.
  • Spacing: To manage the space between the particles (dots).
float angle=0;
float spacing=80;
Draw():

To set a proper animation, I have added (background(0)) to clear the display window at the beginning of each frame (60 frames per second).

void draw(){
  // Clear the background
  background(0);
}
Random():

To generate random colors, I have used the random(255) function which returns an unexpected value within the range of (0,255) each time it is called.


void draw(){
  // Clear the background
  background(0);
  
  // Fill with randomly generated colors
  fill(random(255), random(255), random(255));
}
Translate():

The Translate() function allowed me to move the shapes to the middle of the display window by setting the x-axis offset to width/2 and the y-axis offset to height/2.


void draw(){
  // Clear the background
  background(0);
  
  // Fill with randomly generated colors
  fill(random(255), random(255), random(255));
  translate(width/2,height/2);
}
Rotate():

To add a motion to the spiral, the rotate() function was necessary. After each frame, the angle of rotation increases by 0.02 rad which is a little over 1 degree.

For() loops:

At the center of rotation, I have added a rectangle, and 4 circles using a for() loop to avoid unnecessary repetition.

View post on imgur.com

The main for loop is used to generate all the particles using both sin() and cos() multiplied by the spacing which also gets incremented inside the for() loop.

void draw(){
  // Clear the background
  background(0);
  
  // Fill with randomly generated colors
  fill(random(255), random(255), random(255));
  translate(width/2,height/2);
  rotate(angle);
  
  // Draw the shapes at the center
  rect(-20, -20, 40, 40);
  
  for (int j=0; j<=30; j+=10){
    ellipse(0,0,40-j,40-j);
  }
  
  // Draw the particles
  for(int i=0; i<width*2; i++){
    rect(cos(i)*spacing, sin(i)*spacing, 5, 5);
    spacing+=2;
  }
}

And at the end, I had to reset the spacing.


void setup(){
  size(640,640);
}

float angle=0;
float spacing=80;

void draw(){
  // Clear the background
  background(0);
  
  // Fill with randomly generated colors
  fill(random(255), random(255), random(255));
  translate(width/2,height/2);
  rotate(angle);
  
  // Draw the shapes at the center
  rect(-20, -20, 40, 40);
  
  for (int j=0; j<=30; j+=10){
    ellipse(0,0,40-j,40-j);
  }
  
  // Draw the particles
  for(int i=0; i<width*2; i++){
    rect(cos(i)*spacing, sin(i)*spacing, 5, 5);
    spacing+=2;
  }
  angle+=0.02;
  
  // Reset the spacing
  spacing=80;
}

View post on imgur.com


Simple Work of Art

Project Description:

Being creative on a deadline can be a struggle.

I did this design using both circles and “center” mode rects.

In the beginning, I tried using the normal formula for a circle to decide the midpoints of each layer of rect/circles, but for some reason, it did not work as required. So, after a long bugging session, I changed my equations, and I used sin and cos instead.

I started the code with the center circle starting at the top left corner, as it has (0,0) coordinates, making it easier to figure out what I was trying to do.

After getting this part to work, I made the center point based on the center of the canvas.

I started with the centric shape being all circles with random-fill colors.

But I then thought, why not make a random alternation between both squares and rectangles? It would make it more interesting.

I also wanted to make it a little interactive, so I made the center point follow the mouse press as shown in the video.

And that is the end of my project’s story. 🙂

Code:

  import java.lang.Math;

int dimWidth = 1000;
int dimHeight = 800;
int centerX = 500;
int centerY = 400;
  
void pattern(){  
  ////x=0, y=0;
  
  //double x = Math.toRadians(50);
  //println(x);
  int rad;
  if(mousePressed){
    centerX = mouseX;
    centerY = mouseY;
  }
  
  for(int j=1; j<50 ; j++){
    fill((int)random(0,255),(int)random(0,255),(int)random(0,255), 20);
    int num =  (int)random(0,2);
    strokeWeight(0.3);
    for(int i=0;i<32;i++){
      rad = j*30+j*15;
      float x_coordinate = centerX + rad*cos((float)Math.toRadians(i*90/8));
      float y_coordinate = centerY + rad*sin((float)Math.toRadians(i*90/8));
      if (num==1){
        circle(x_coordinate,y_coordinate,j*10+30);
      }
      else{
        rectMode(CENTER);
        rect(x_coordinate,y_coordinate, j*10+30, j*10+30);
      }
    }
  }
}


void setup(){
 size(1000,800);
 background(255);
}

void draw(){
  if (frameCount%10==0){
    background(255);
    pattern();
  }
}


Simple Work of Art : CheckMate!

Description

Using loops (for() or while()) in some way, along with everything that you’ve learned so far, make a simple work of art. You may want to look at these old computer art magazines for inspiration.

Process

Finding inspiration from the Old Computer Graphics took a while. My search stopped when I saw art that combines two of the games I love – Yess crossword and checkers! Working on an art I love while meeting the requirements was really fun.


Not wasting much time, I jump into sketching. Yeah, it’s me again, the clearer the sketch, the easier the coding becomes 🙂 ;


I take back my words earlier, sketching doesn’t make it easier. I started off by exploring how I can play with rectangles to form the shapes I wanted.

The CheckerBoard!

Yeah, so now we are on to the fun part. I realized after countless hours of trying that I can use a nested for loop to draw the checkbox instead of rectangles and horizontal lines.

Using the old and even concept, coloring was not much a huddle.


The CrossWord!

Now on to the most technical part. In drawing the horizontal rectangles ( across), I randomize the x coordinates and the height of each rectangle given it a different start point and length


For the vertical rectangles ( criss). It was indeed a crisis. I used two rectangle functions and threw in as much randomization for the x and y coordinates as I can while maintaining the height and width of each rectangle.

Final Work


I also played around with random colors

Then I played around with noLoop() and noStoke()


Challenges

The first challenge I faced was making the crossword pattern. I tried a lot of rectangle shapes. I decided to use frameCount and it didn’t make it any simpler. Had to try one rectangle after another adjusting the multiplier till I got the trend. I converted all the single lines of rectangle code into a for-loop. This little trick of dividing the challenge into sub-challenges saved a lot of time. I finally ended up using random which did the trick.

Also, I was having trouble randomizing my crosses. I tried different options including noise and randomization, Noise seemed to work initially but failed so had to go back to random.

I did a lot of trial and error in the beginning, it wasn’t helpful so I switch to using mousePressed to determine coordinates and this also saved a lot of time.

Coloring the checkerboard was a big challenge but the concept of odd and even saved the day.

The last challenge was filling the crossword with dots as in the original image. Couldn’t figure that one out. Do you know how?


Checkmate! one big thing I learned from this assignment is to experiment, try things out and who knows, something cool might result in an accident. 🤗

Code
int centerX;
int cellSize = 40;
int cols, rows;


void setup() {
  size(640, 480);
  background(255);

  // number of columns and rows
  cols = 20;
  rows = 20;

  noLoop();
}

void draw() {


  fill(51);

  // CROSS WORD
  
  // drawing the across ( horizontal rectangles)
  for ( int h = 0; h < height; h+=10) {
    rect(random(height), h, random(width/2), 10);
  }


  // drawing the criss ( vertical rectangles)

  //fill(random(255));

  for (int m = 10; m < 100; m+=10) {
    rect(random(width), m, 10, 100);
    rect(random(width), random(height), 10, 100*m);
  }


  // CHECKBOARD

  for (int i = 8; i < cols; i++) {
    for (int j = 0; j < rows; j++) {

      // increasing the size of the x and y coordinate for each rectangle
      int x = i*cellSize;
      int y = j*cellSize;

      // Coloring checkboard
      if ((i+j) % 2 == 0) {
        fill(255); // even is white

        //fill(random(255),random(255), random(255));
      } else {
        fill(51);  // Odd is brown

        //fill(random(255));
      }

      rect(x, y, cellSize, cellSize);
    }
  }
}


Color Changing Carpet!

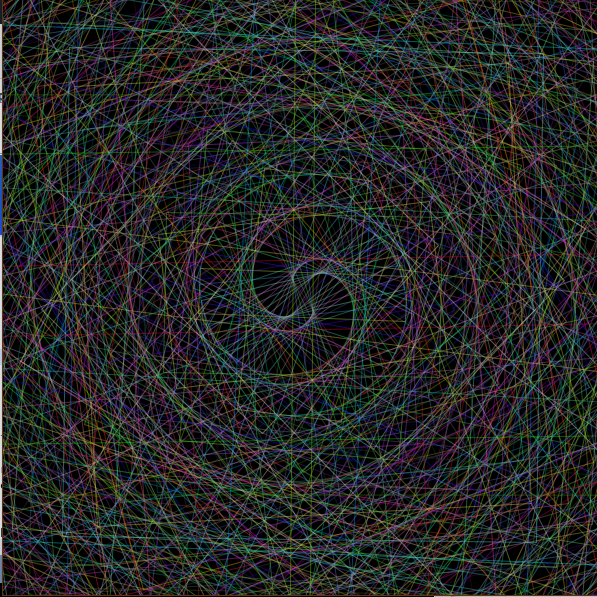
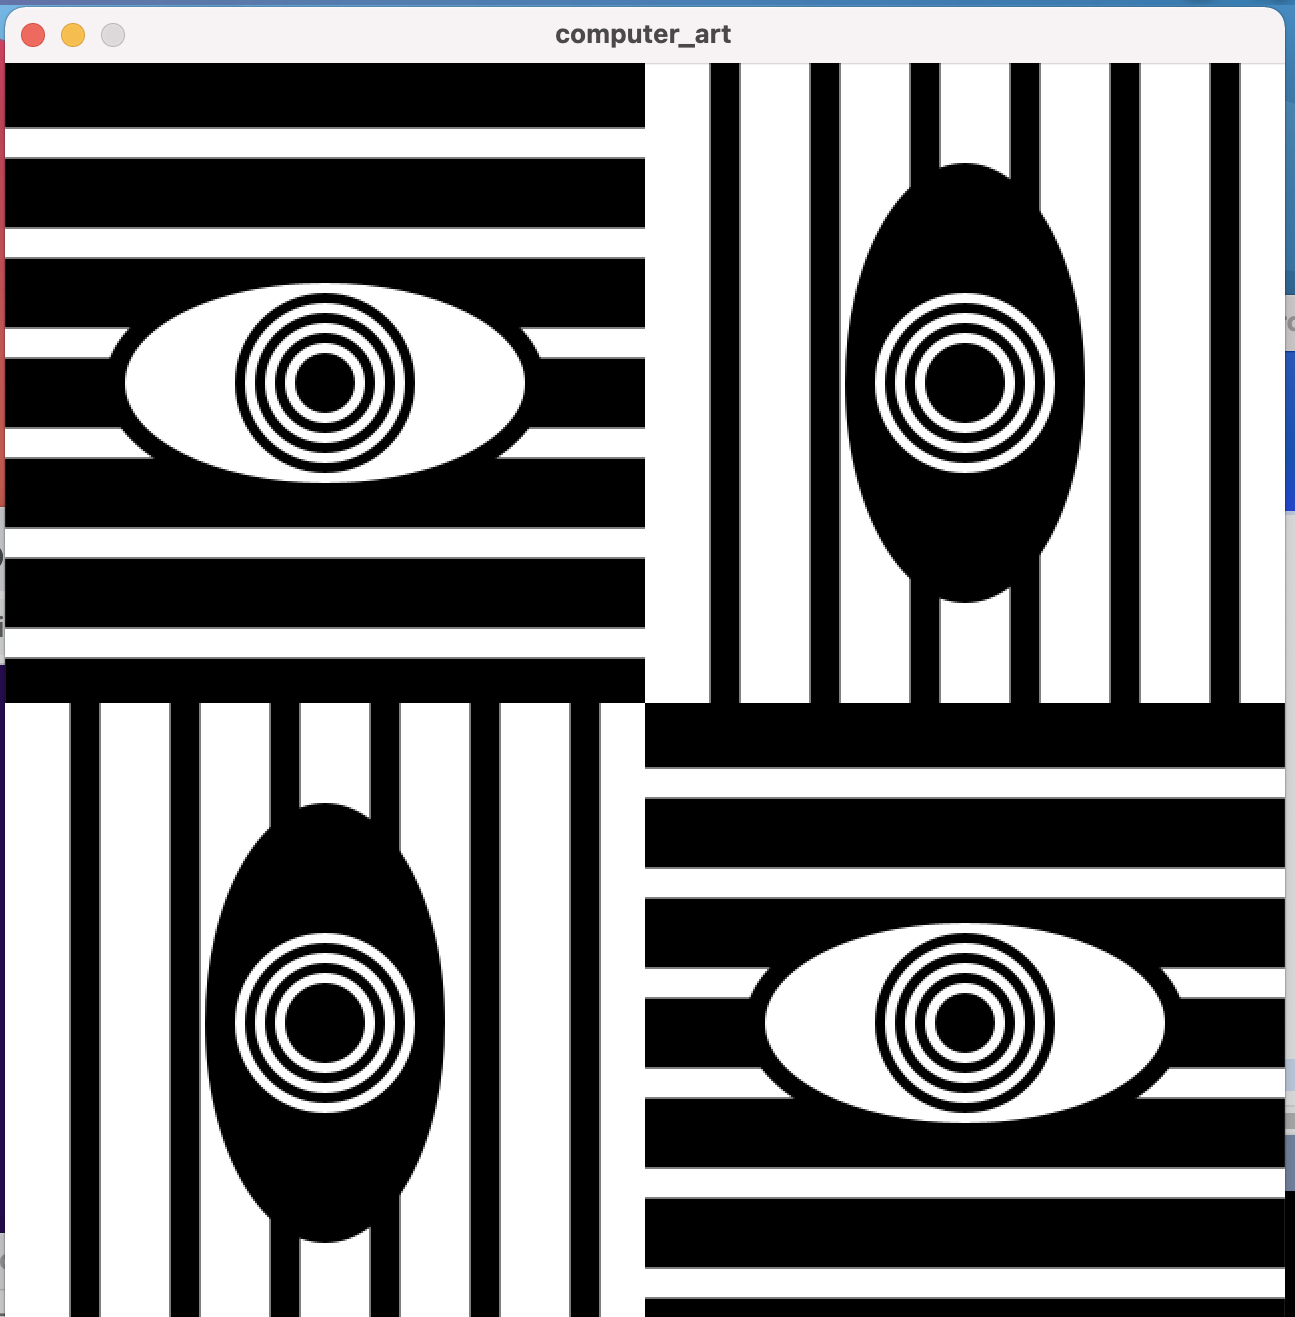
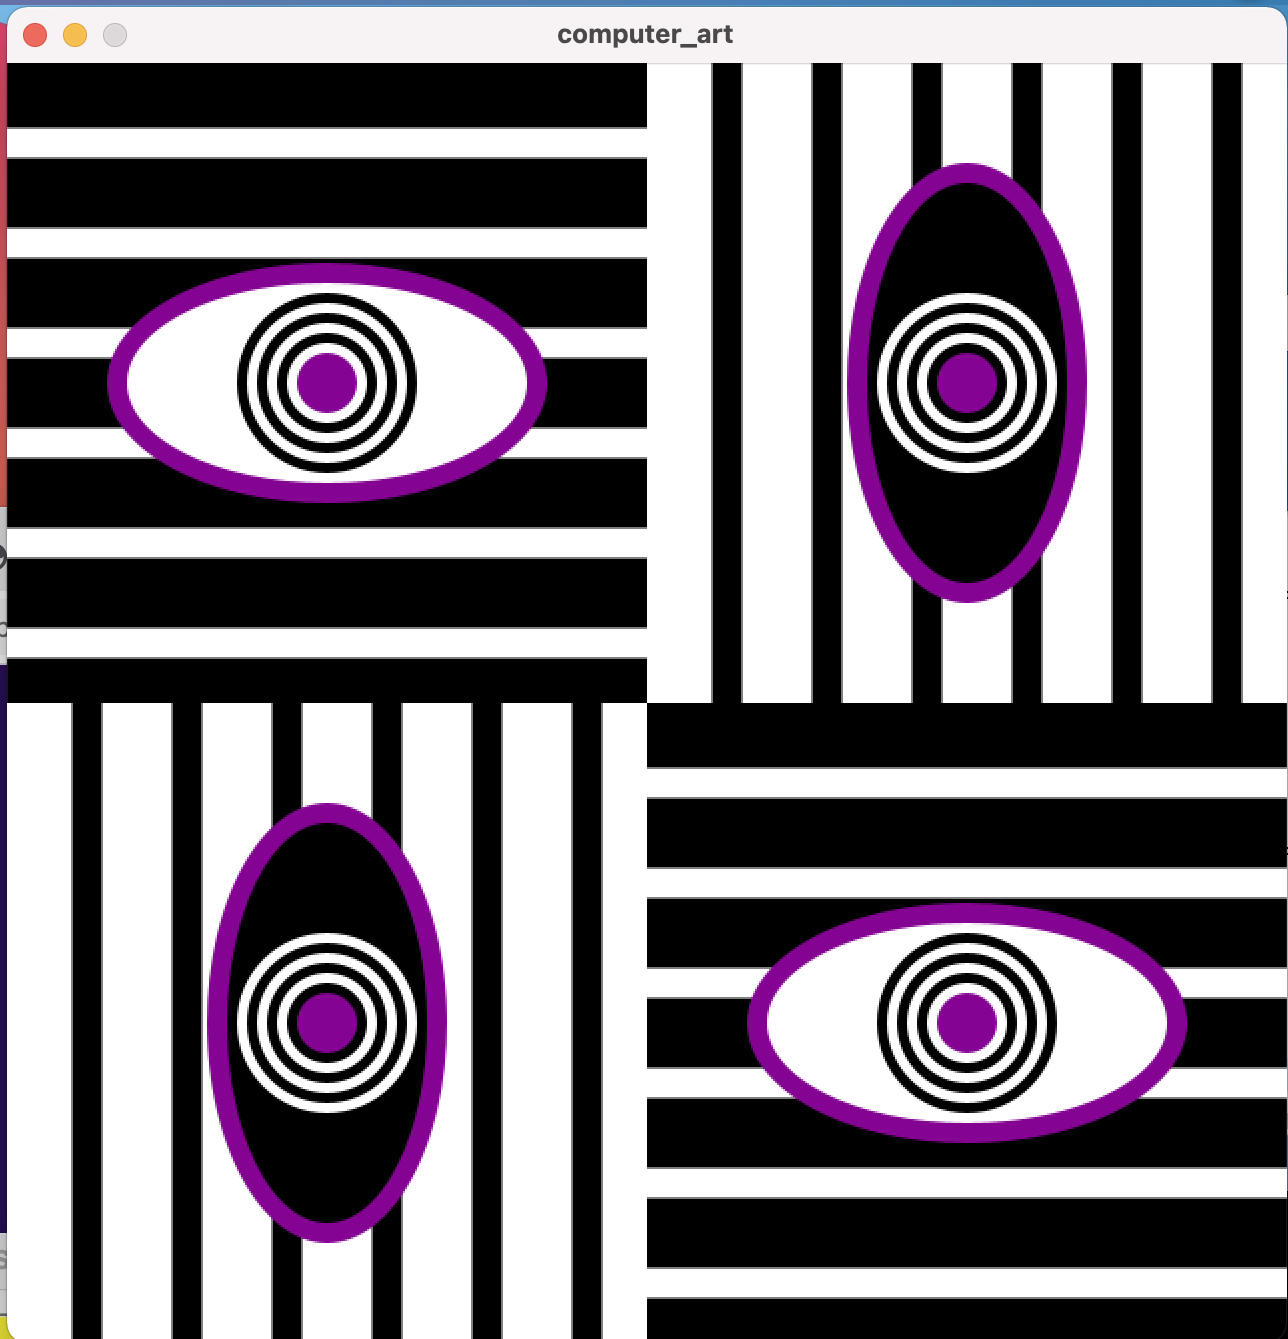
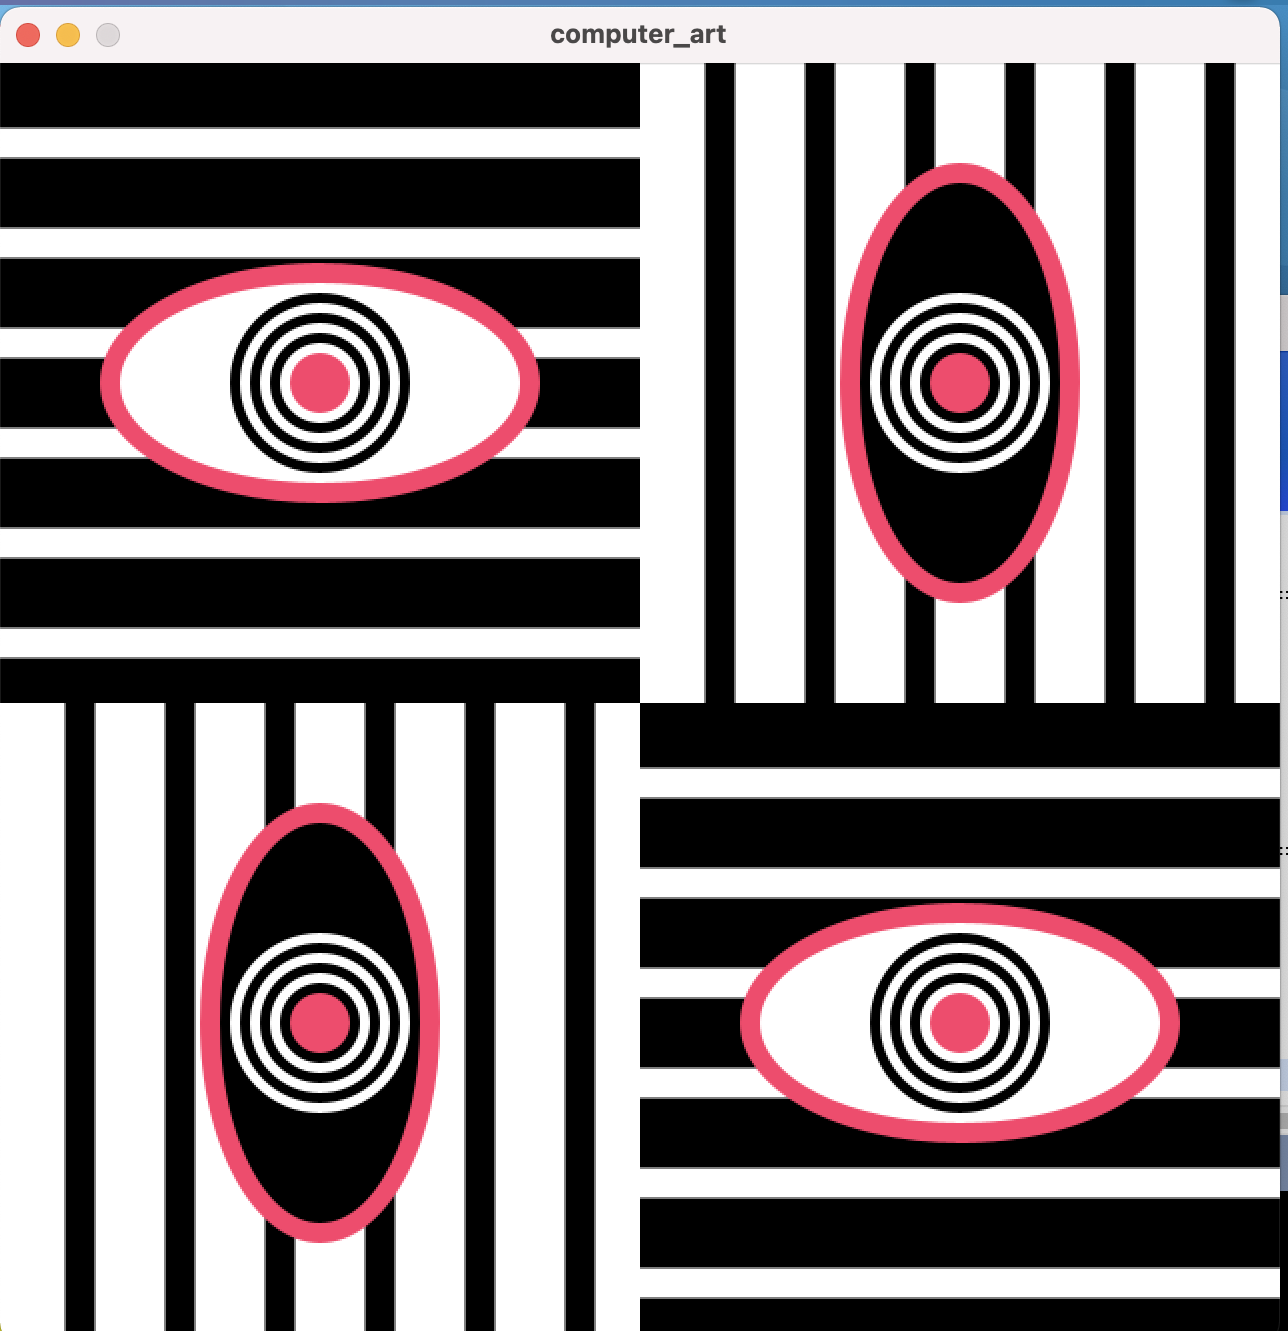
For this week, I created an art piece using primitive Processing functions and loops that we have learned in class so far. Putting all this into practice, I decided to implement a digital carpet design. Something to look forward to: It changes color 60 times in a second! Now let us look into the design process.

Production Process:

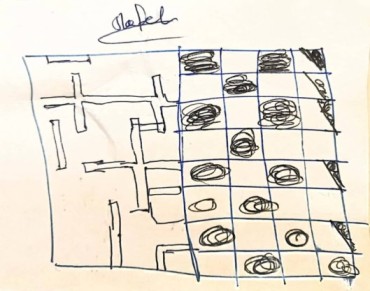
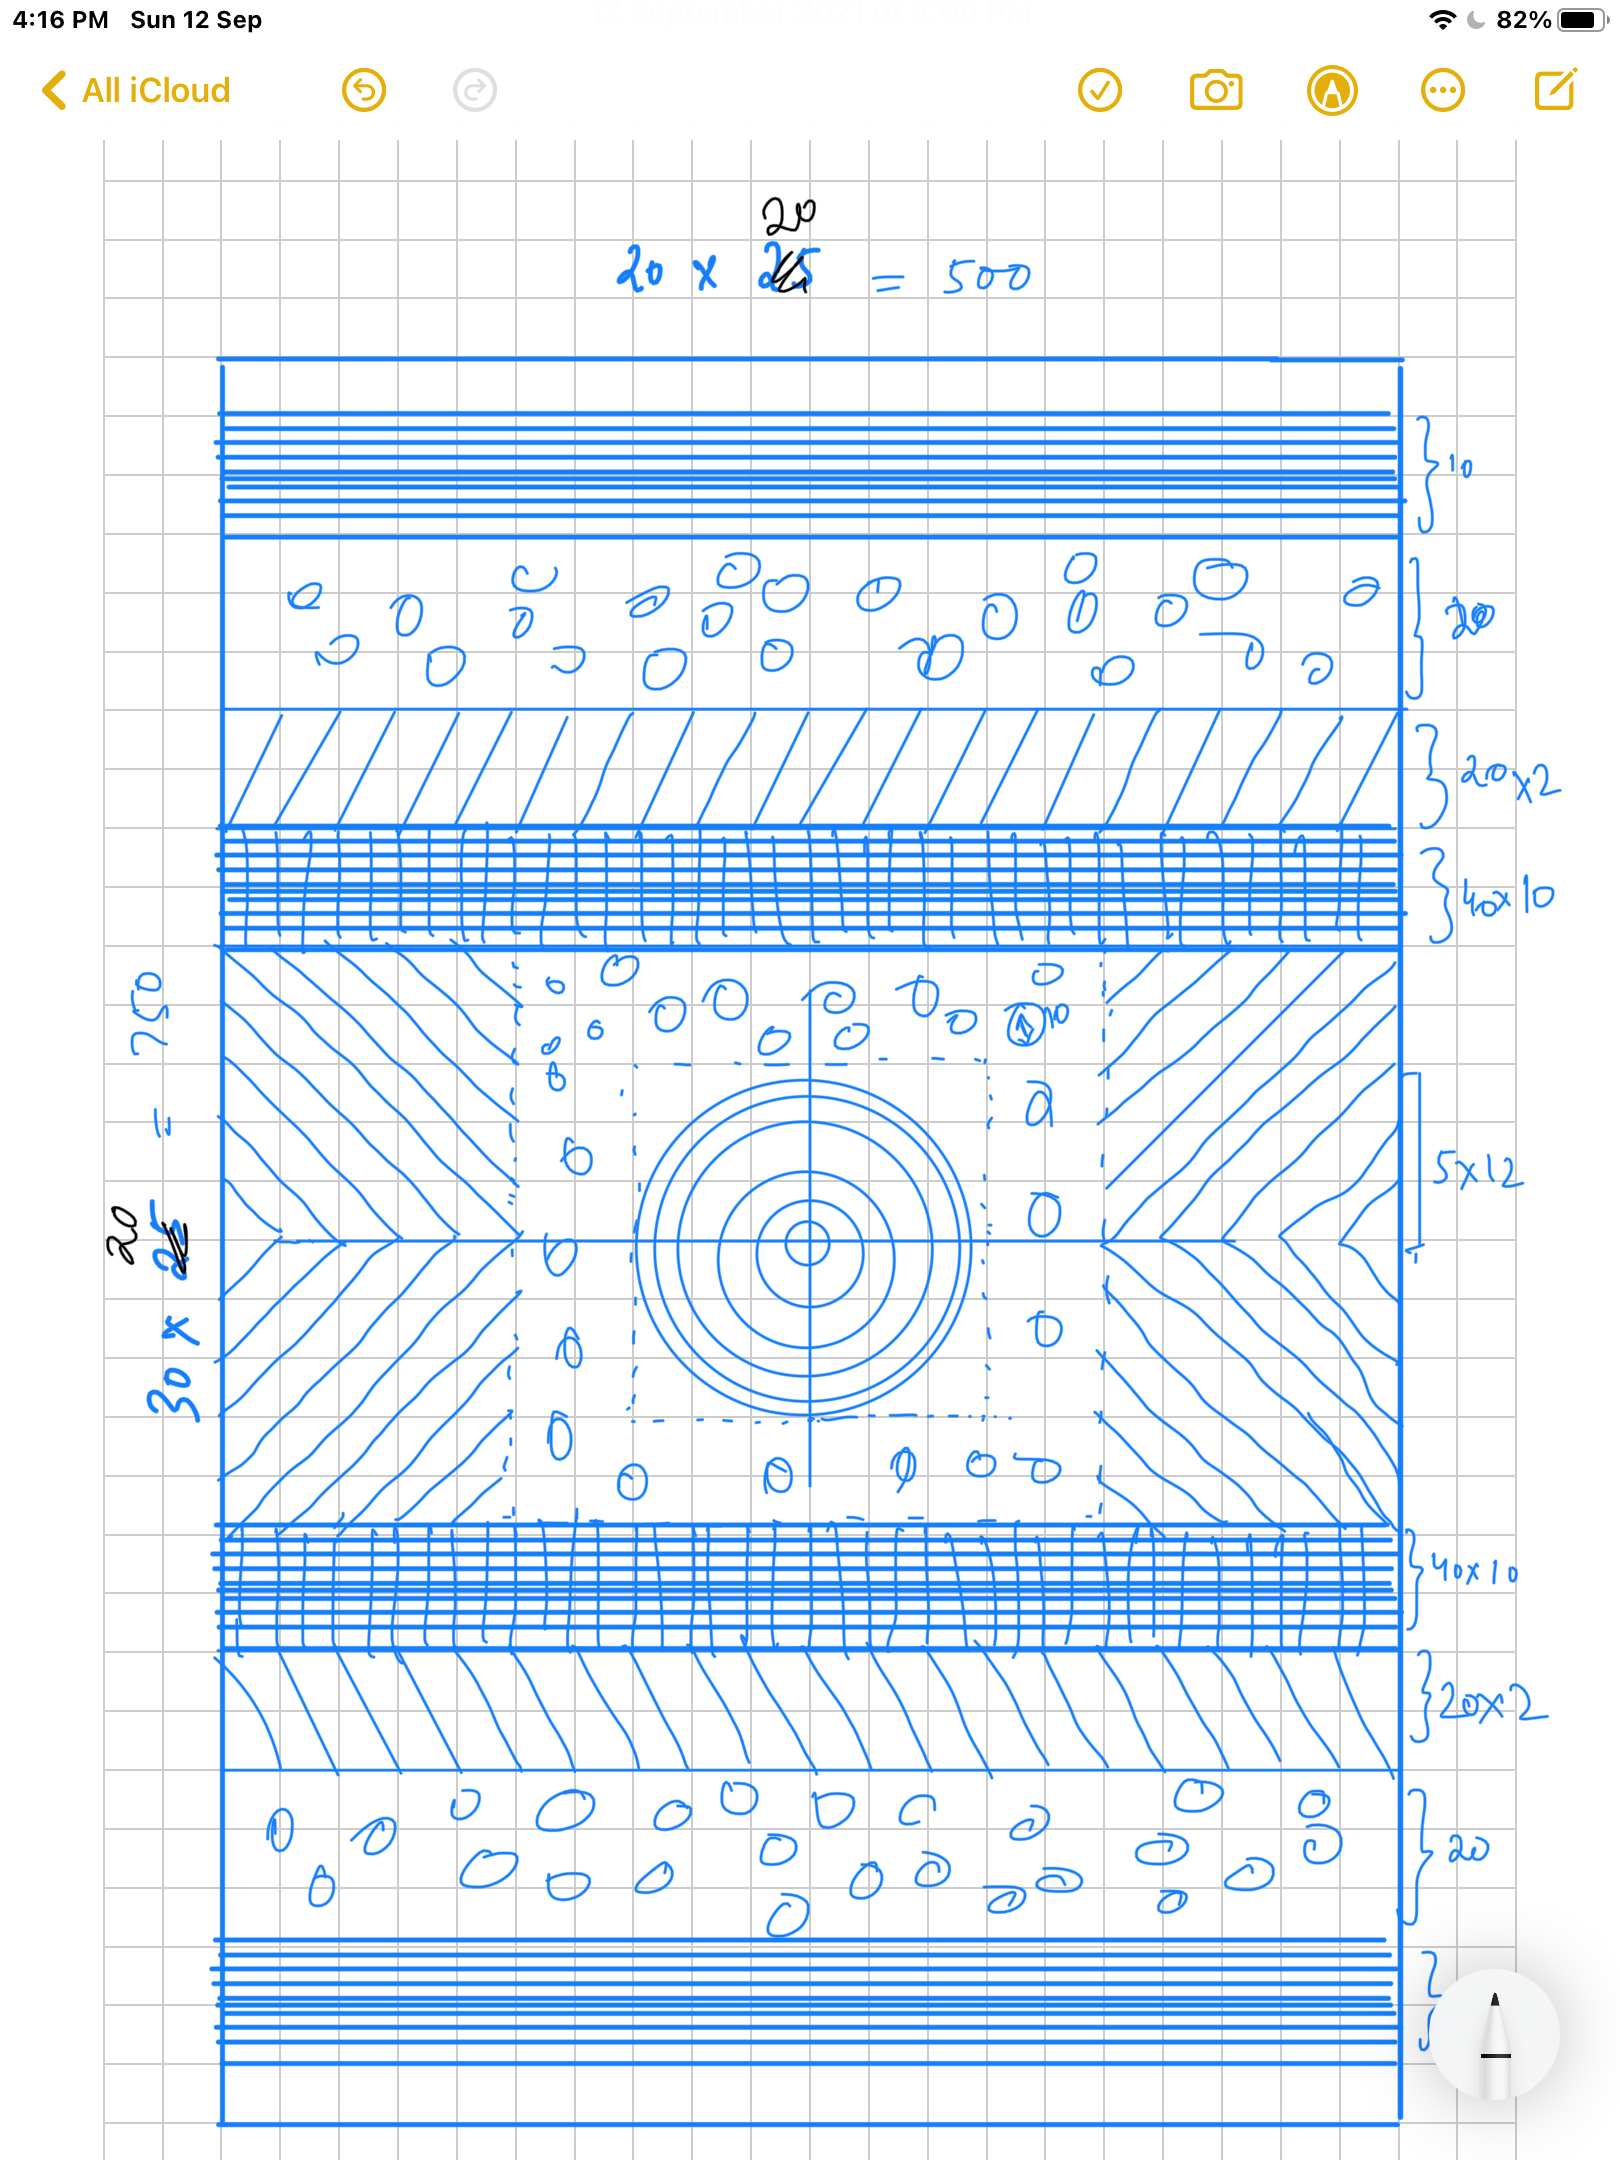
To imitate the carpet look,  I went with a 400×600 pixel frame size. Being clueless about the creative process, in the beginning, I tried several designs and struggled with the implementation. So after a couple of hours of crying and disappointment, I started to sketch using pen and paper; ok, digital pen and paper. Here is how it went:

Sketch

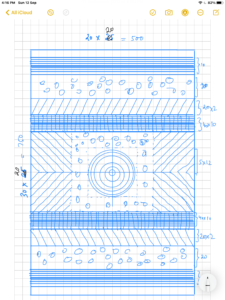
With the design and proportions sketched out, it made the implementation so easy. I started with initializing the variables that would help control the size of everything to keep the design proportional. I am so glad that I was able to not hard-code and still implement the code efficiently. The magic behind, simple maths!

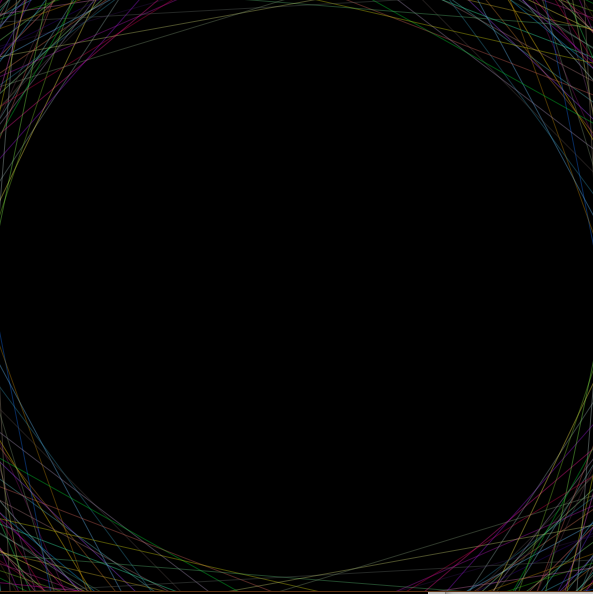
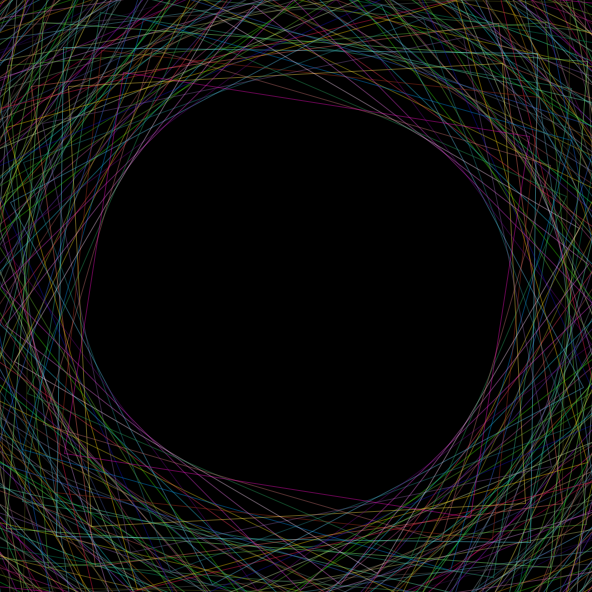
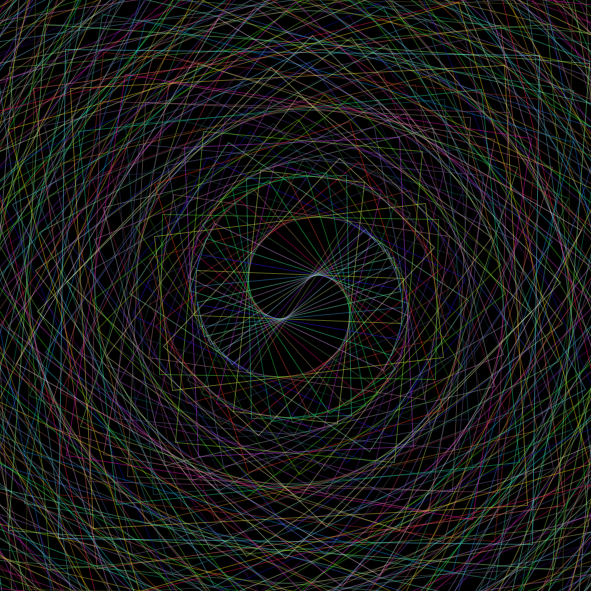
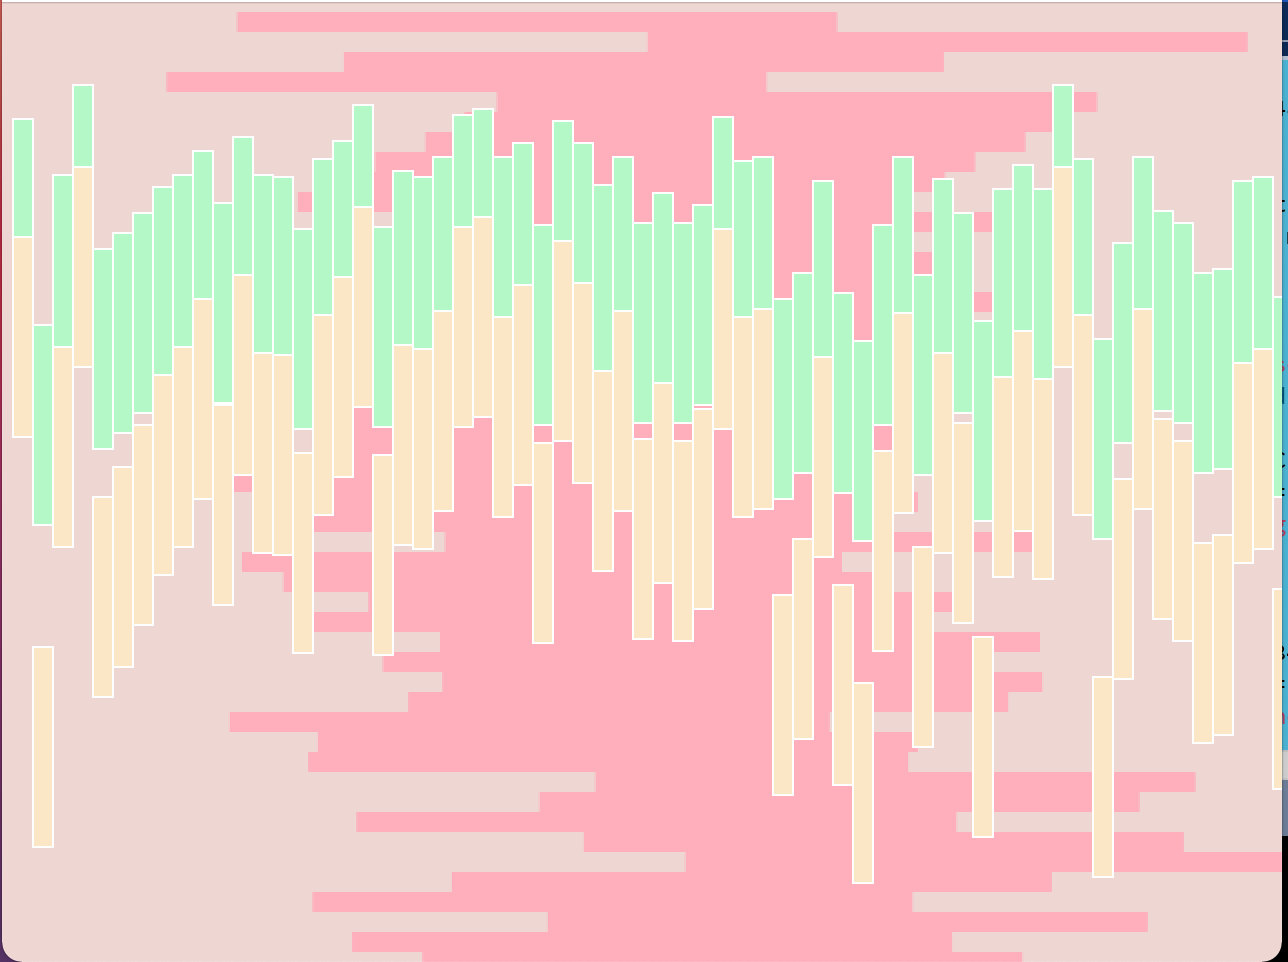
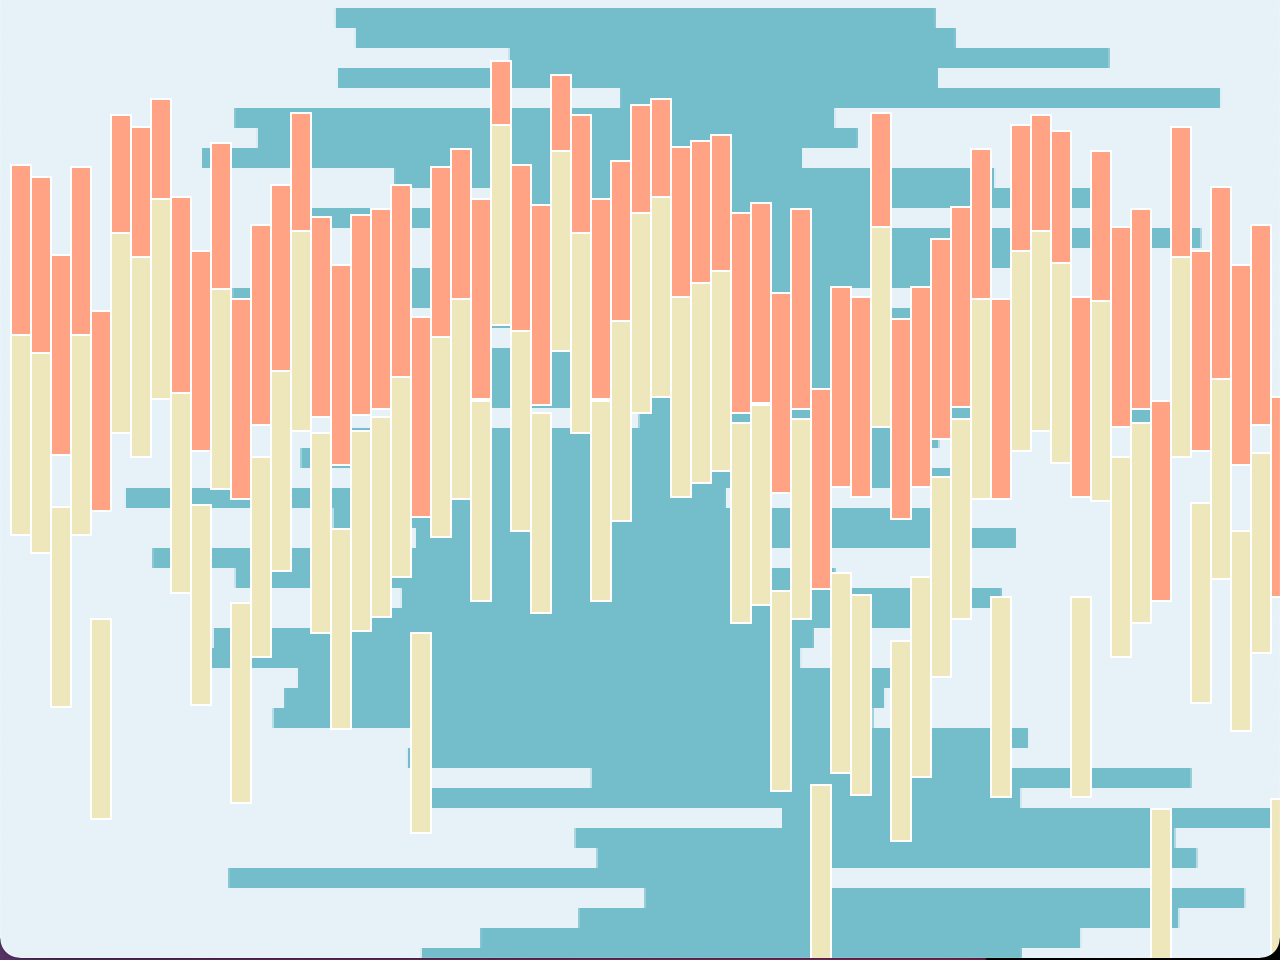
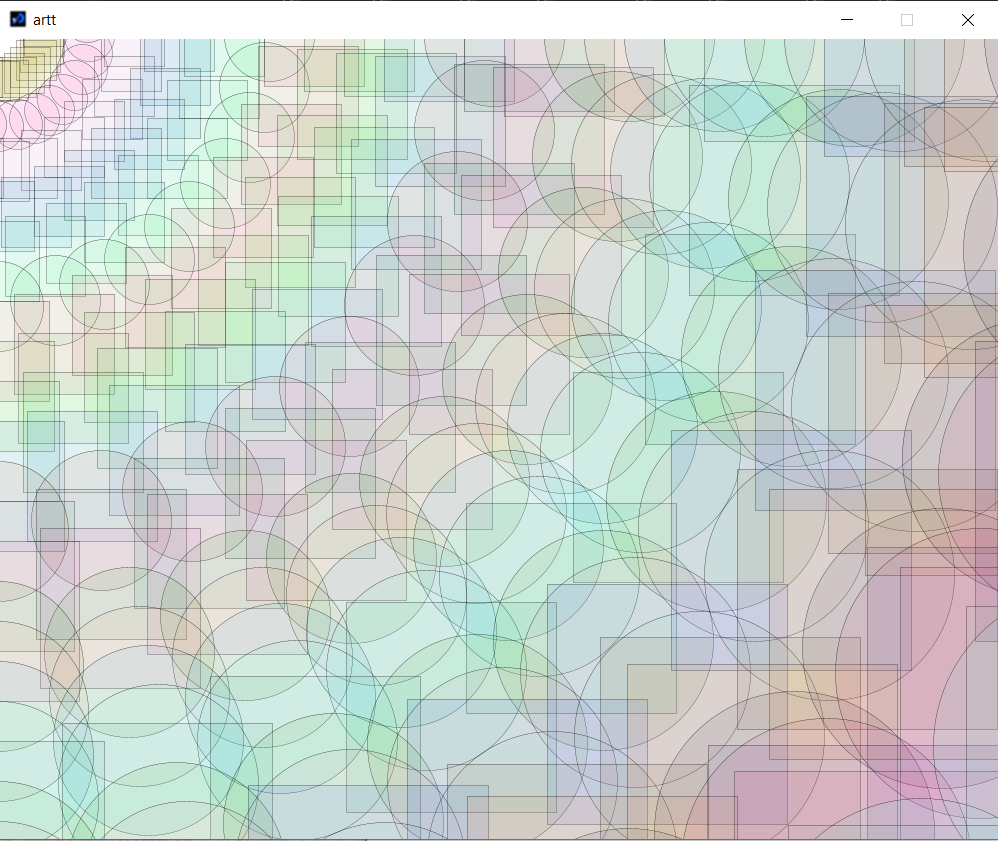
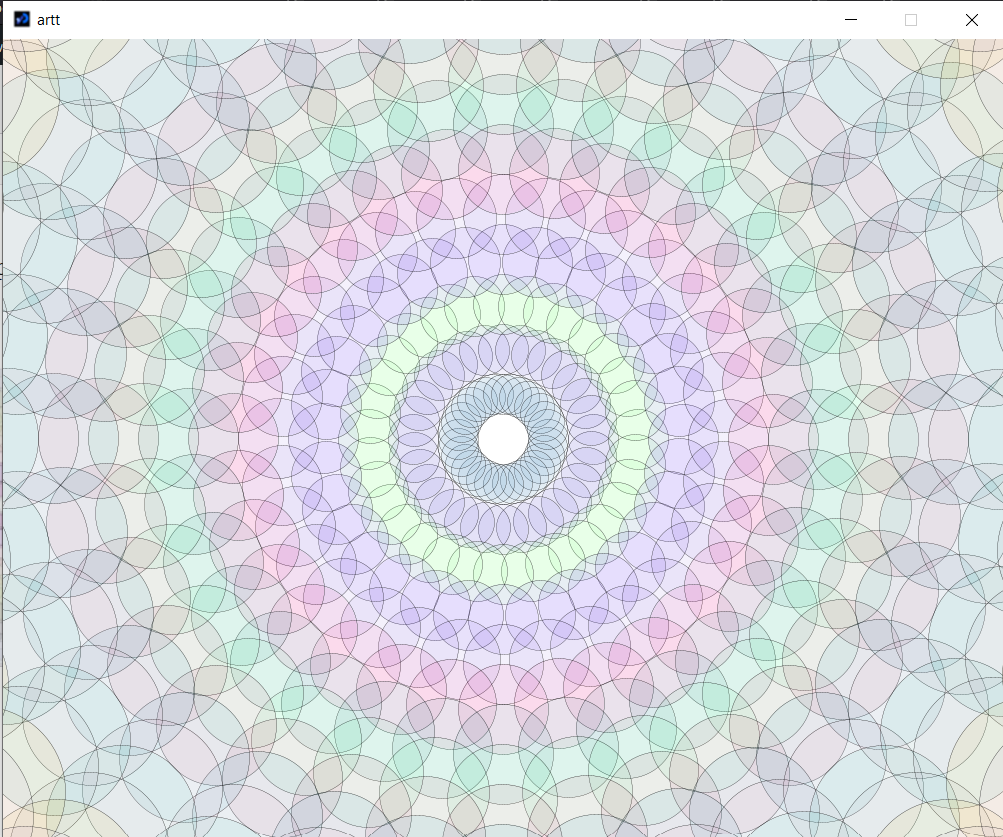
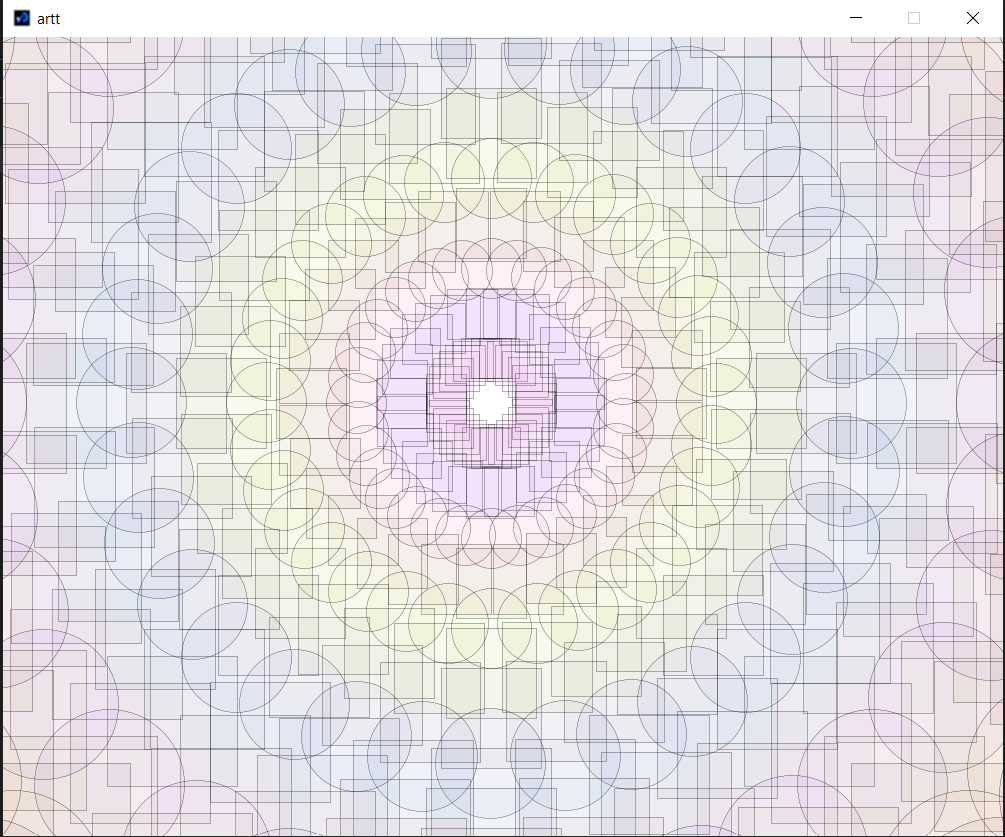
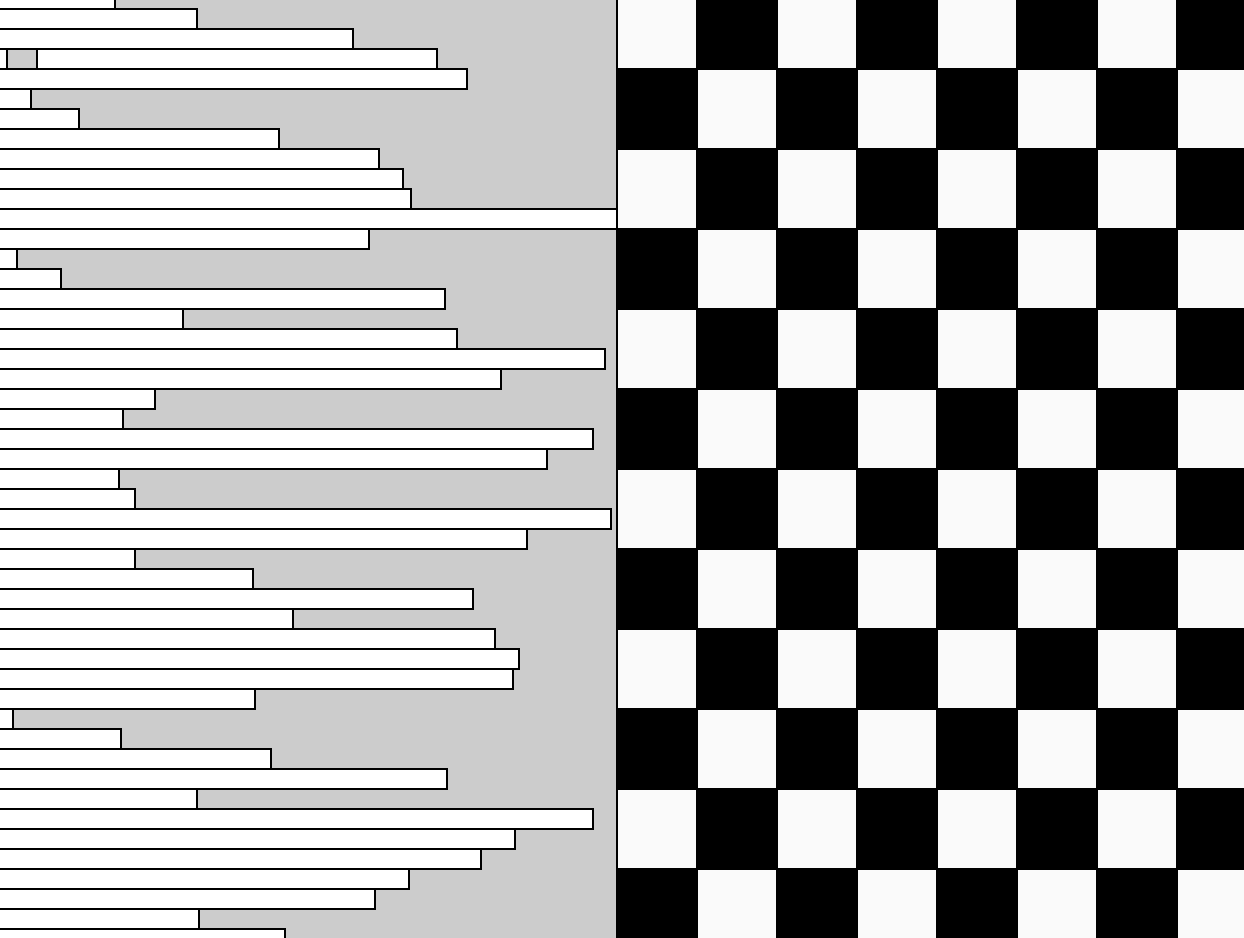
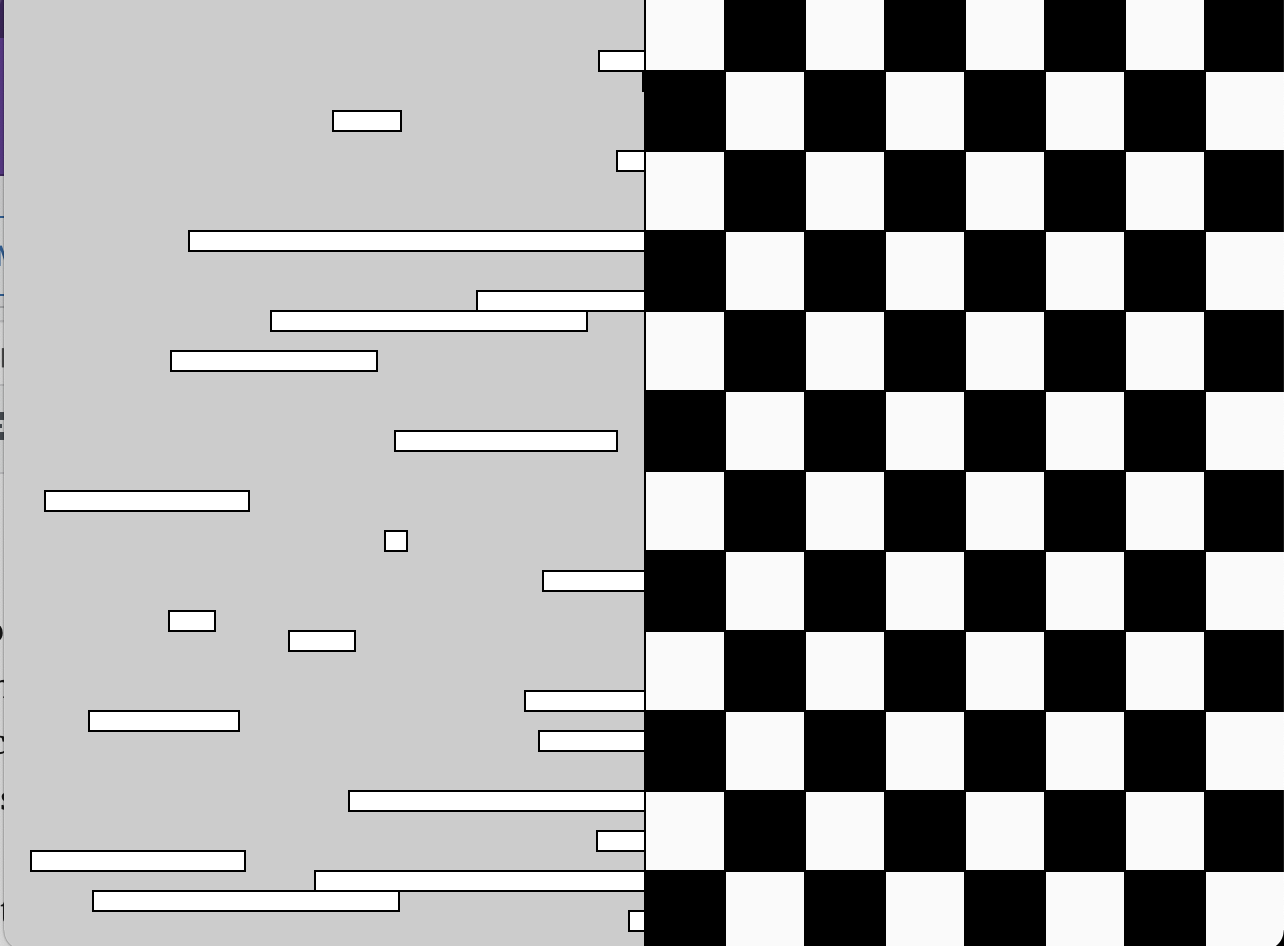
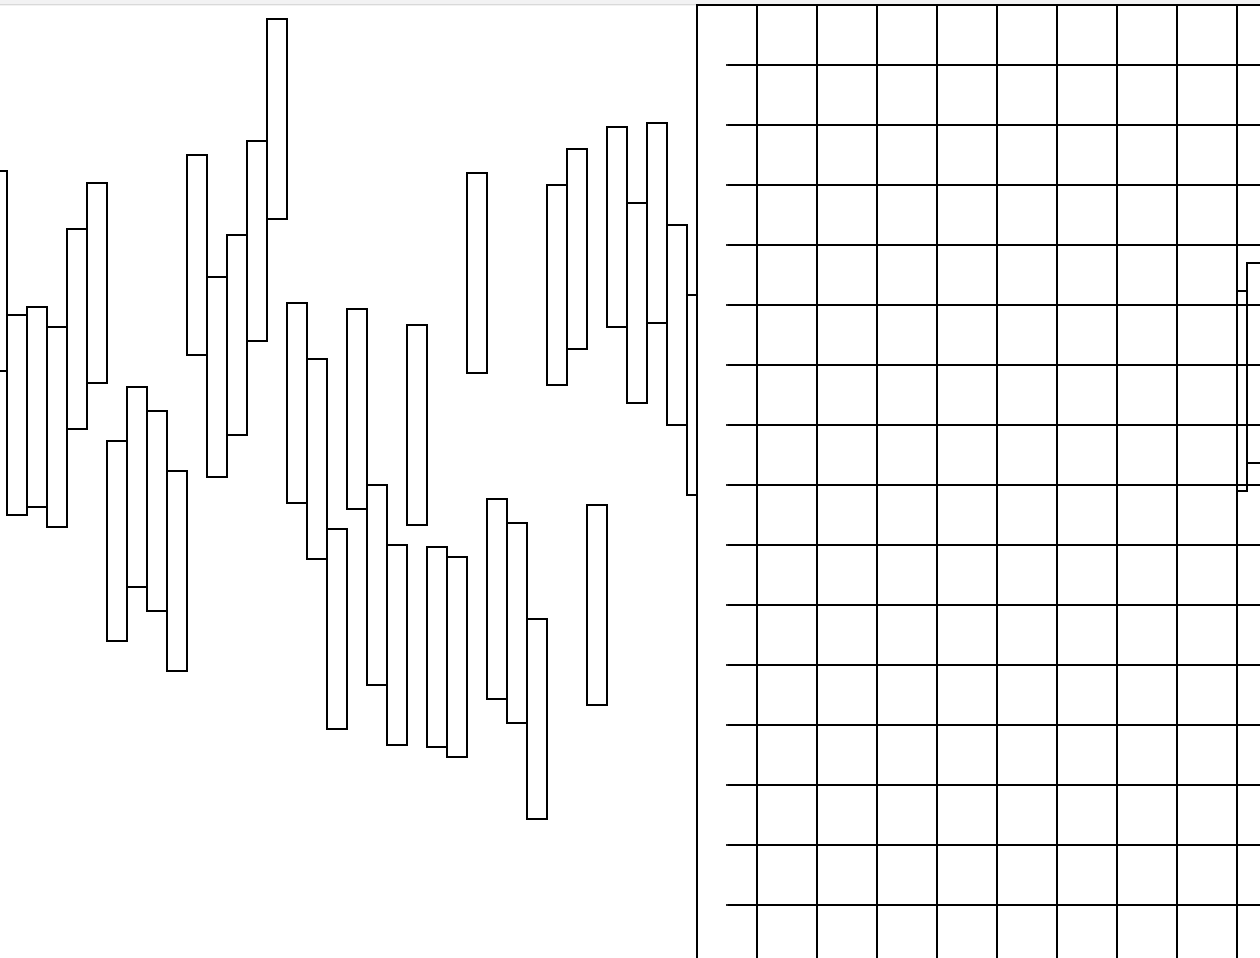
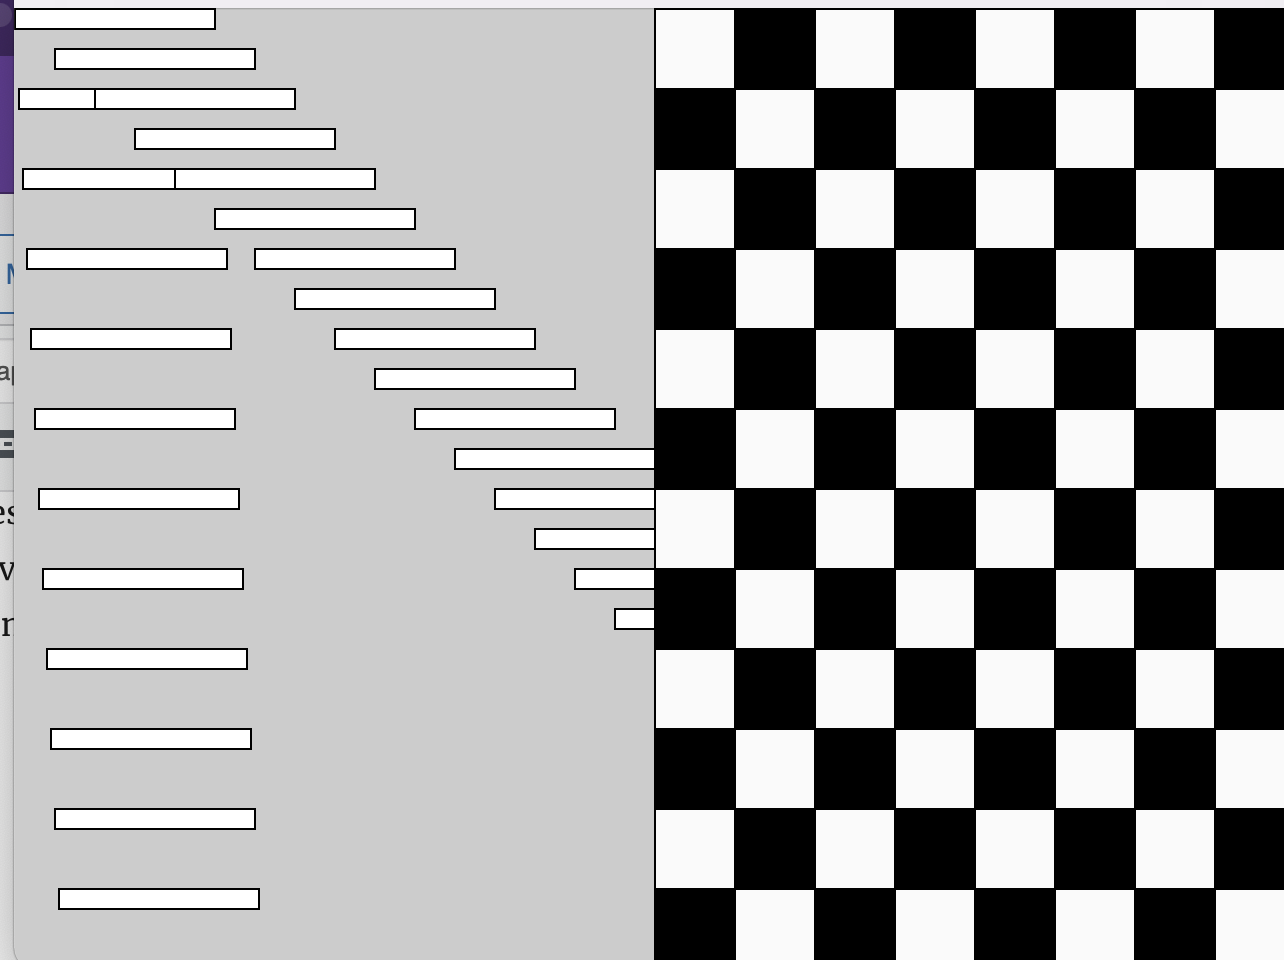
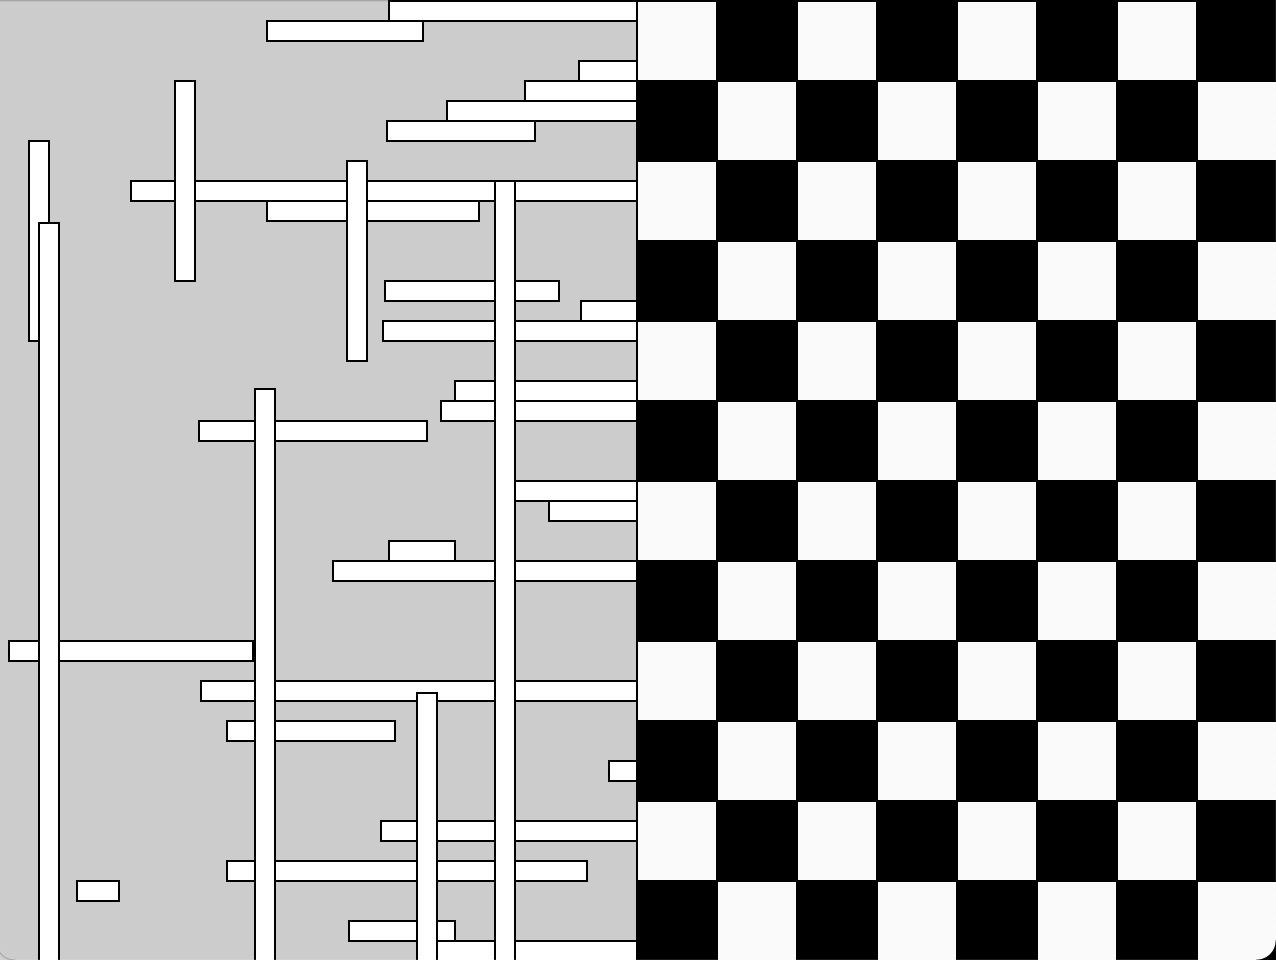
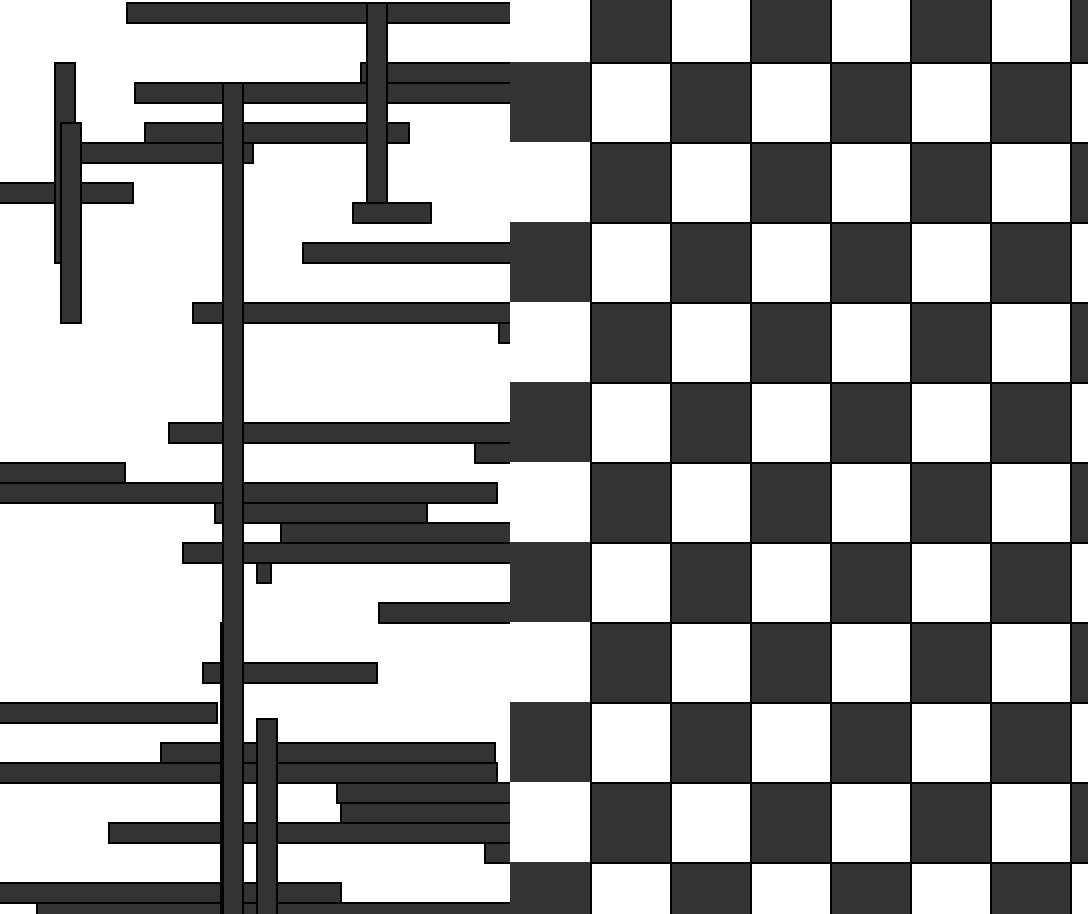
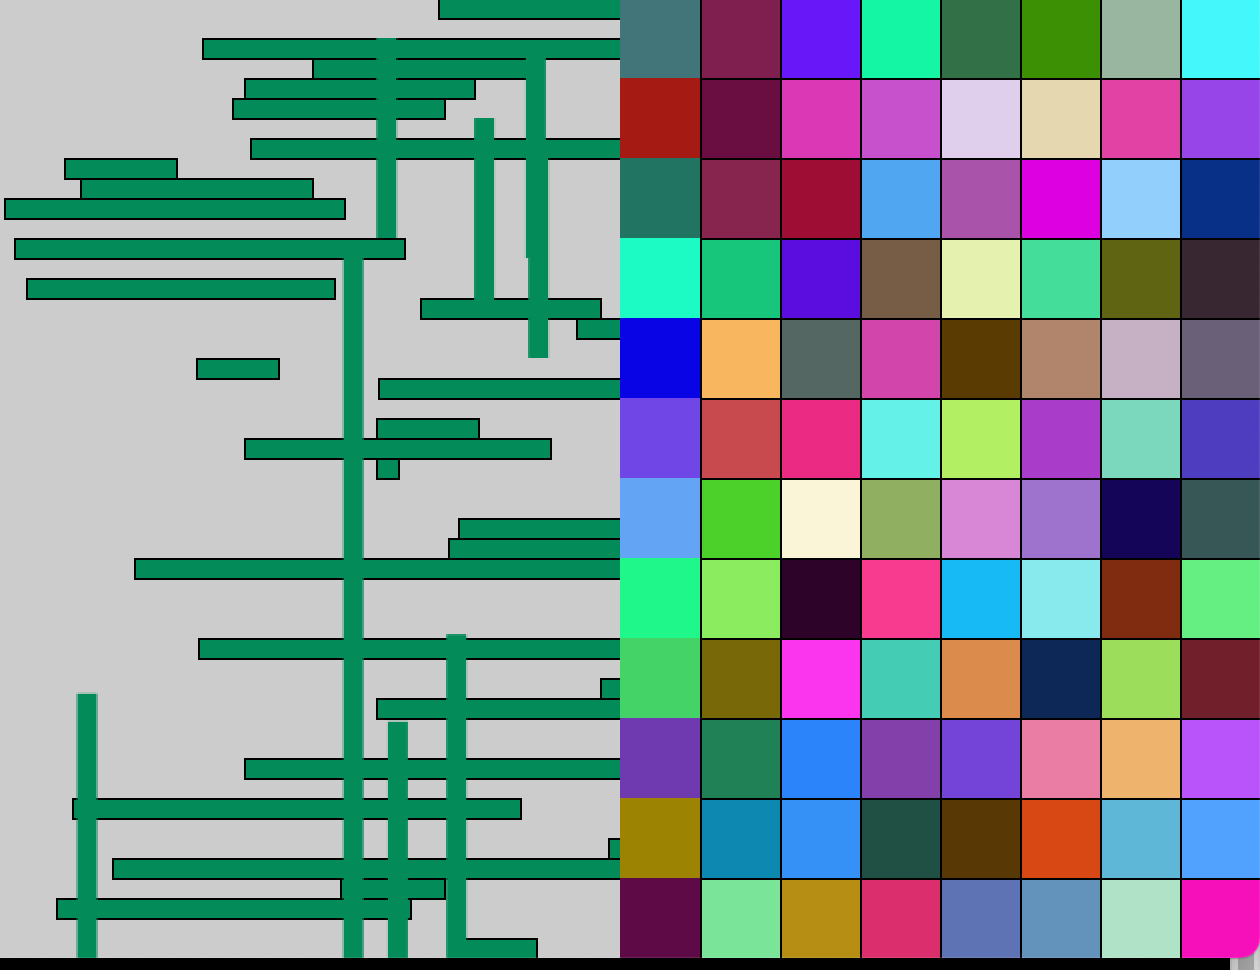
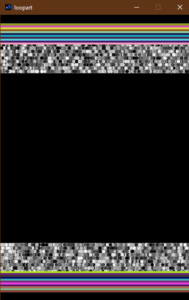
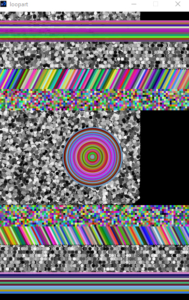
Then, I started working on the different parts of the design, row by row. While the implementation of a particular design in a row was simpler, the desired design was a trial and error process. After writing the code of each line, it was important to check how it displays on the screen and interacts with the existing design. Often times the design would be messed up (see the attached production process images) and then this would require different parts of code to be shifted around to achieve the desired look.


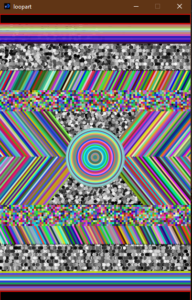
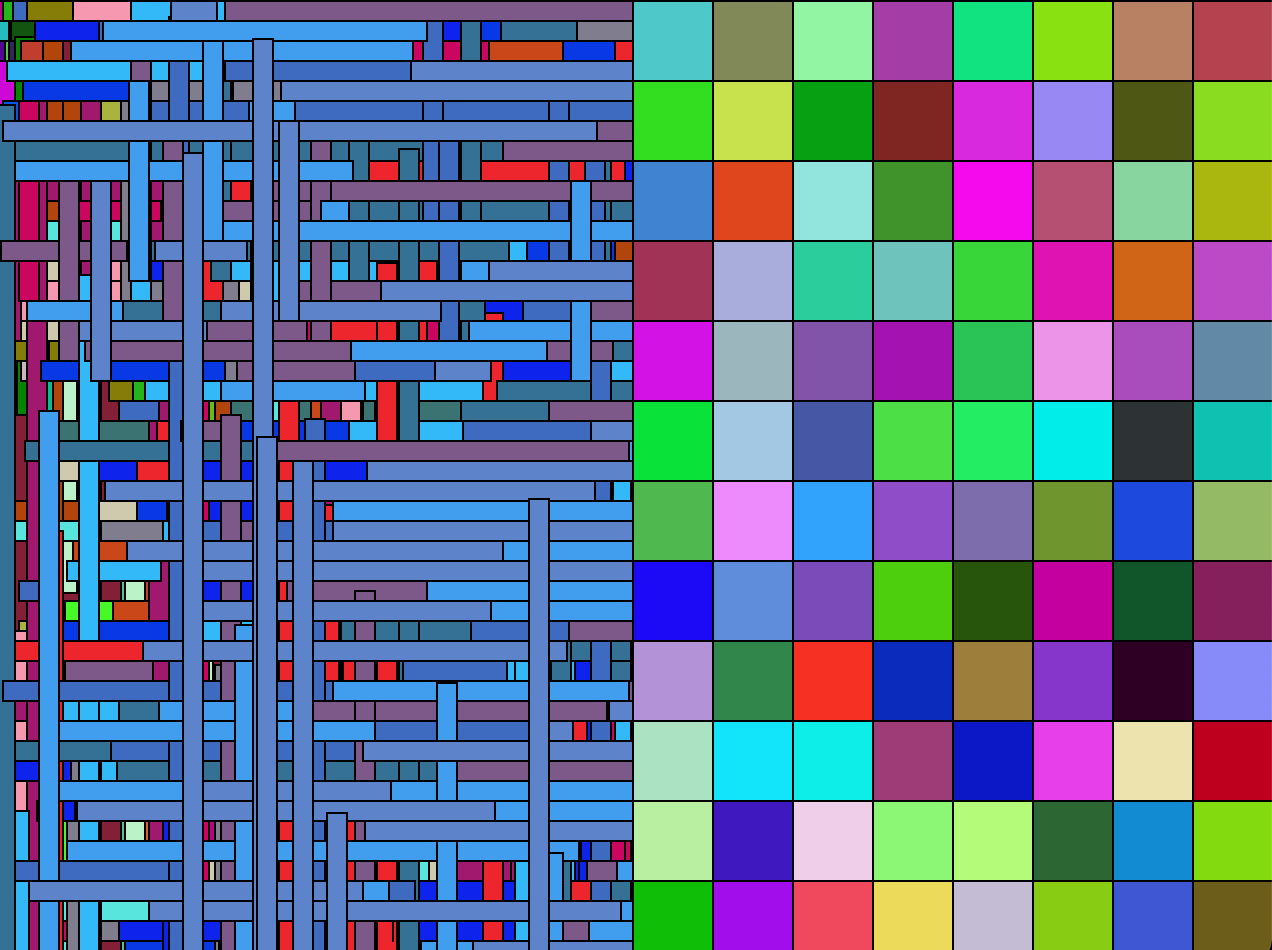
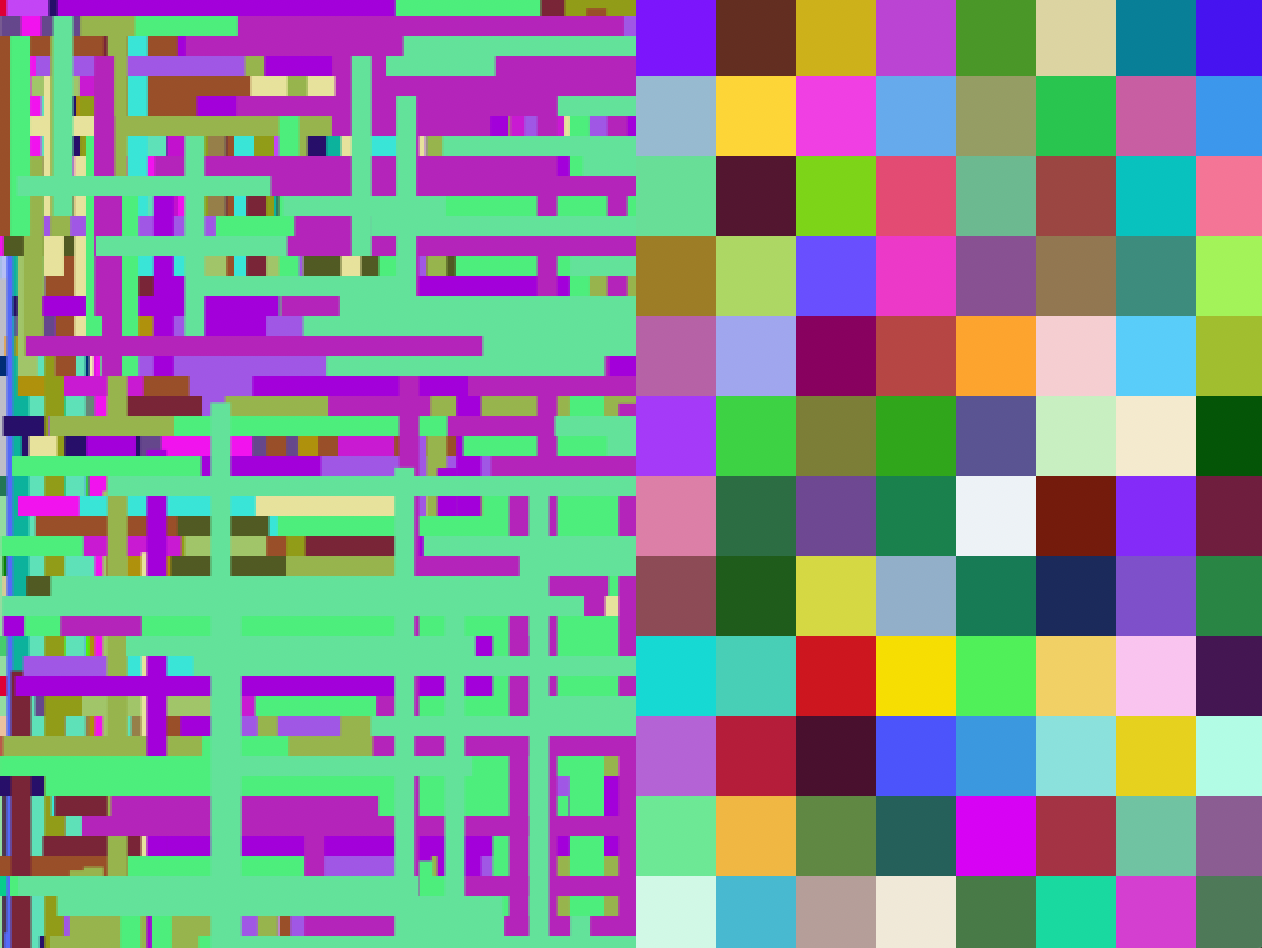
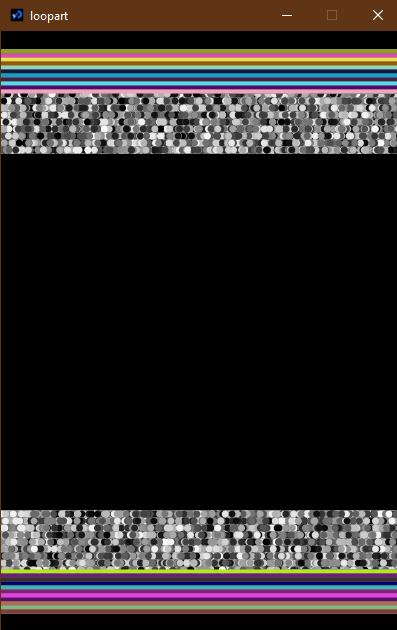
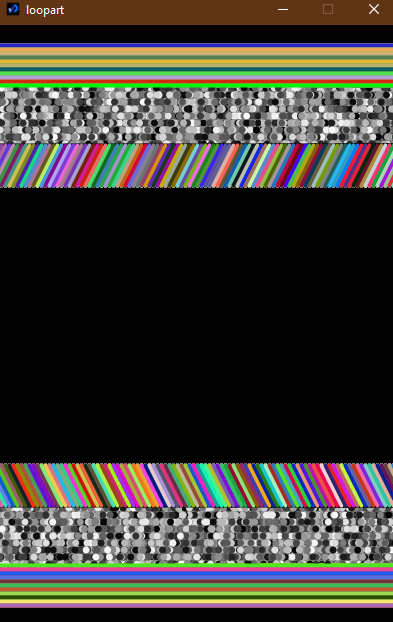
To make the artwork more bright and happening, I made the color of the different parts of the design change but within a color palette. Might sound like something very complex, but random() got the job done. Restricting the values to random() enabled the beautiful color scheme that you can see below. My screen in the video does not do justice to colors, so below is a screenshot also.

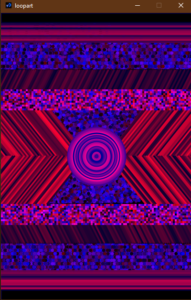
If only I was creative enough, I could have implemented additional design elements into my art. However, I am delighted that I was able to finish this project to the best of my ability.

The final design might not be what I originally had high hopes about, I still believe that I have made significant progress with my design process. I look forward to several other design assignments as an opportunity to improve my designs and production process.


Here is the final code for the design:

//Global variables to keep it proportionate
int boxsize = 20;
int horizontalbox = 20;
int verticalbox = 30;
int circlesize = 7;

void setup(){
  size(400,600);
  background(0);
}

void draw(){
  
  //Random small Circles in the middle of canvas
  for(int x = boxsize*5; x<=boxsize*15; x+=circlesize){
    for(int y = boxsize*10; y<=boxsize*20; y+=circlesize){
      if(y>=boxsize*10 && y<=boxsize*20 && x>=boxsize*5 && x<=boxsize*15 ){
        noStroke();
        fill(random(100),0,random(250));
        circle(random(x),random(y),circlesize);
      }
    }
  }
  
 
  //Random circles in 3rd row
  for(int x = 0; x<=width; x+=circlesize){
    for(int y = 0; y<=height; y+=circlesize){
      if(y>=boxsize*3 && y<=boxsize*6){
        noStroke();
        fill(random(100),0,random(250));
        circle(random(x),y,circlesize);
      }
    }
  }
  
  //Random circles in te third last row
  for(int x = 0; x<=width; x+=circlesize){
    for(int y = 0; y<=height; y+=circlesize){
      if(y>=boxsize*24 && y<=boxsize*27){
        noStroke();
        fill(random(100),0,random(250));
        circle(random(x),y,circlesize);
      }
    }
  }
  
  //Line Strokes in 2nd row
  for(int i = boxsize; i <= boxsize*3; i+=(boxsize*2)/10){
    strokeWeight((boxsize*2)/10);
    stroke(random(250),0,75);
    line(0,i,width,i);
  }
  
  //Line strokes in 2nd last row
  for(int i = boxsize*27; i <= boxsize*29; i+=(boxsize*2)/10){
    strokeWeight((boxsize*2)/10);
    stroke(random(250),0,75);
    line(0,i,width,i);
  }
  
  stroke(0);
  line(0,boxsize*6,width,boxsize*6);
  
  //slanted lines in 4th Row
  for(int j = 0; j< width+boxsize; j+=boxsize/5){
    strokeWeight(4);
    stroke(random(100),0,50);
    line(j, boxsize*6, j-boxsize, boxsize*8);
  }
  
  stroke(0);
  line(0,boxsize*24,width,boxsize*24);
  
  //Slanted lines in 4th last row
  for(int j = 0; j< width+boxsize; j+=boxsize/5){
    strokeWeight(4);
    stroke(random(100),0,50);
    line(j-boxsize, boxsize*22, j, boxsize*24);
  }
  
  //fills at top and bottom for finish
  fill(0);
  strokeWeight(3);
  rect(0,0,width,boxsize);
  rect(0,boxsize*29,width,height);
  
  //slanted lines 6th row , right
  for(int j = boxsize*15; j< width+boxsize*4; j+=boxsize/5){
    strokeWeight(4);
    stroke(random(250),0,50);
    line(j, boxsize*10, j-boxsize*4, boxsize*15);
  }
  
  //slanted lines 7th row, right
  for(int j = width+boxsize*4; j>boxsize*11 ; j-=boxsize/5){
    strokeWeight(4);
    stroke(random(250),0,50);
    line(j, boxsize*15, j+boxsize*4, boxsize*20);
  }
  
  //slanted lines 6th row, left
  for(int j = boxsize*5; j>-boxsize*5 ; j-=boxsize/5){
    strokeWeight(4);
    stroke(random(250),0,50);
    line(j, boxsize*10, j+boxsize*4, boxsize*15);
  }
  
  //slanted lines 7th row, left
  for(int j = 0; j< boxsize*9; j+=boxsize/5){
    strokeWeight(4);
    stroke(random(250),0,50);
    line(j, boxsize*15, j-boxsize*4, boxsize*20);
  }
  
  //small boxed grid 5th row
  for(int x=0; x<=width; x+=(boxsize*2)/10){
    for(int y=boxsize*8; y<=boxsize*10; y+=(boxsize*2)/10){
      noStroke();
      fill(random(250),0,random(250));
      rect(x,y,(boxsize*2)/10,(boxsize*2)/10);
    }
  }
  
  //small boxed grid 8th row
  for(int x=0; x<=width; x+=(boxsize*2)/10){
    for(int y=boxsize*20; y<=boxsize*22; y+=(boxsize*2)/10){
      noStroke();
      fill(random(250),0,random(250));
      rect(x,y,(boxsize*2)/10,(boxsize*2)/10);
    }
  }
  
  //big circles in the middle of screen
  for(int x=boxsize*6; x>=boxsize/4; x-=boxsize/4){
    stroke(random(250),0,150);
    circle(width/2,height/2,x);
  }
  
}