
For this week, I had to visit a lot of external resources to finally grasp what is analog input/output and how is it different from digital input/output. Things finally started to click in my head after reading this definition on NYU ITP web page:
“While a digital input to a microcontroller can tell you about discrete changes in the physical world, such as whether the cat is on the mat, or the cat is off the mat, there are times when this is not enough. Sometimes you want to know how fat the cat on the mat is.”
Honestly, why all textbooks/videos/websites can’t explain concepts in this simple manner? 😄
I really like how all of the hardware stuff we are building has applications in real world that I can immediately think of: electricity switches, temperature sensors, etc. etc. Not to say that software isn’t applicable — it is just easier for me to remember engineering applications that we encounter in real life than, say, games.
Anyways, I am a bit digressing here, so let’s get into my homework circuit.
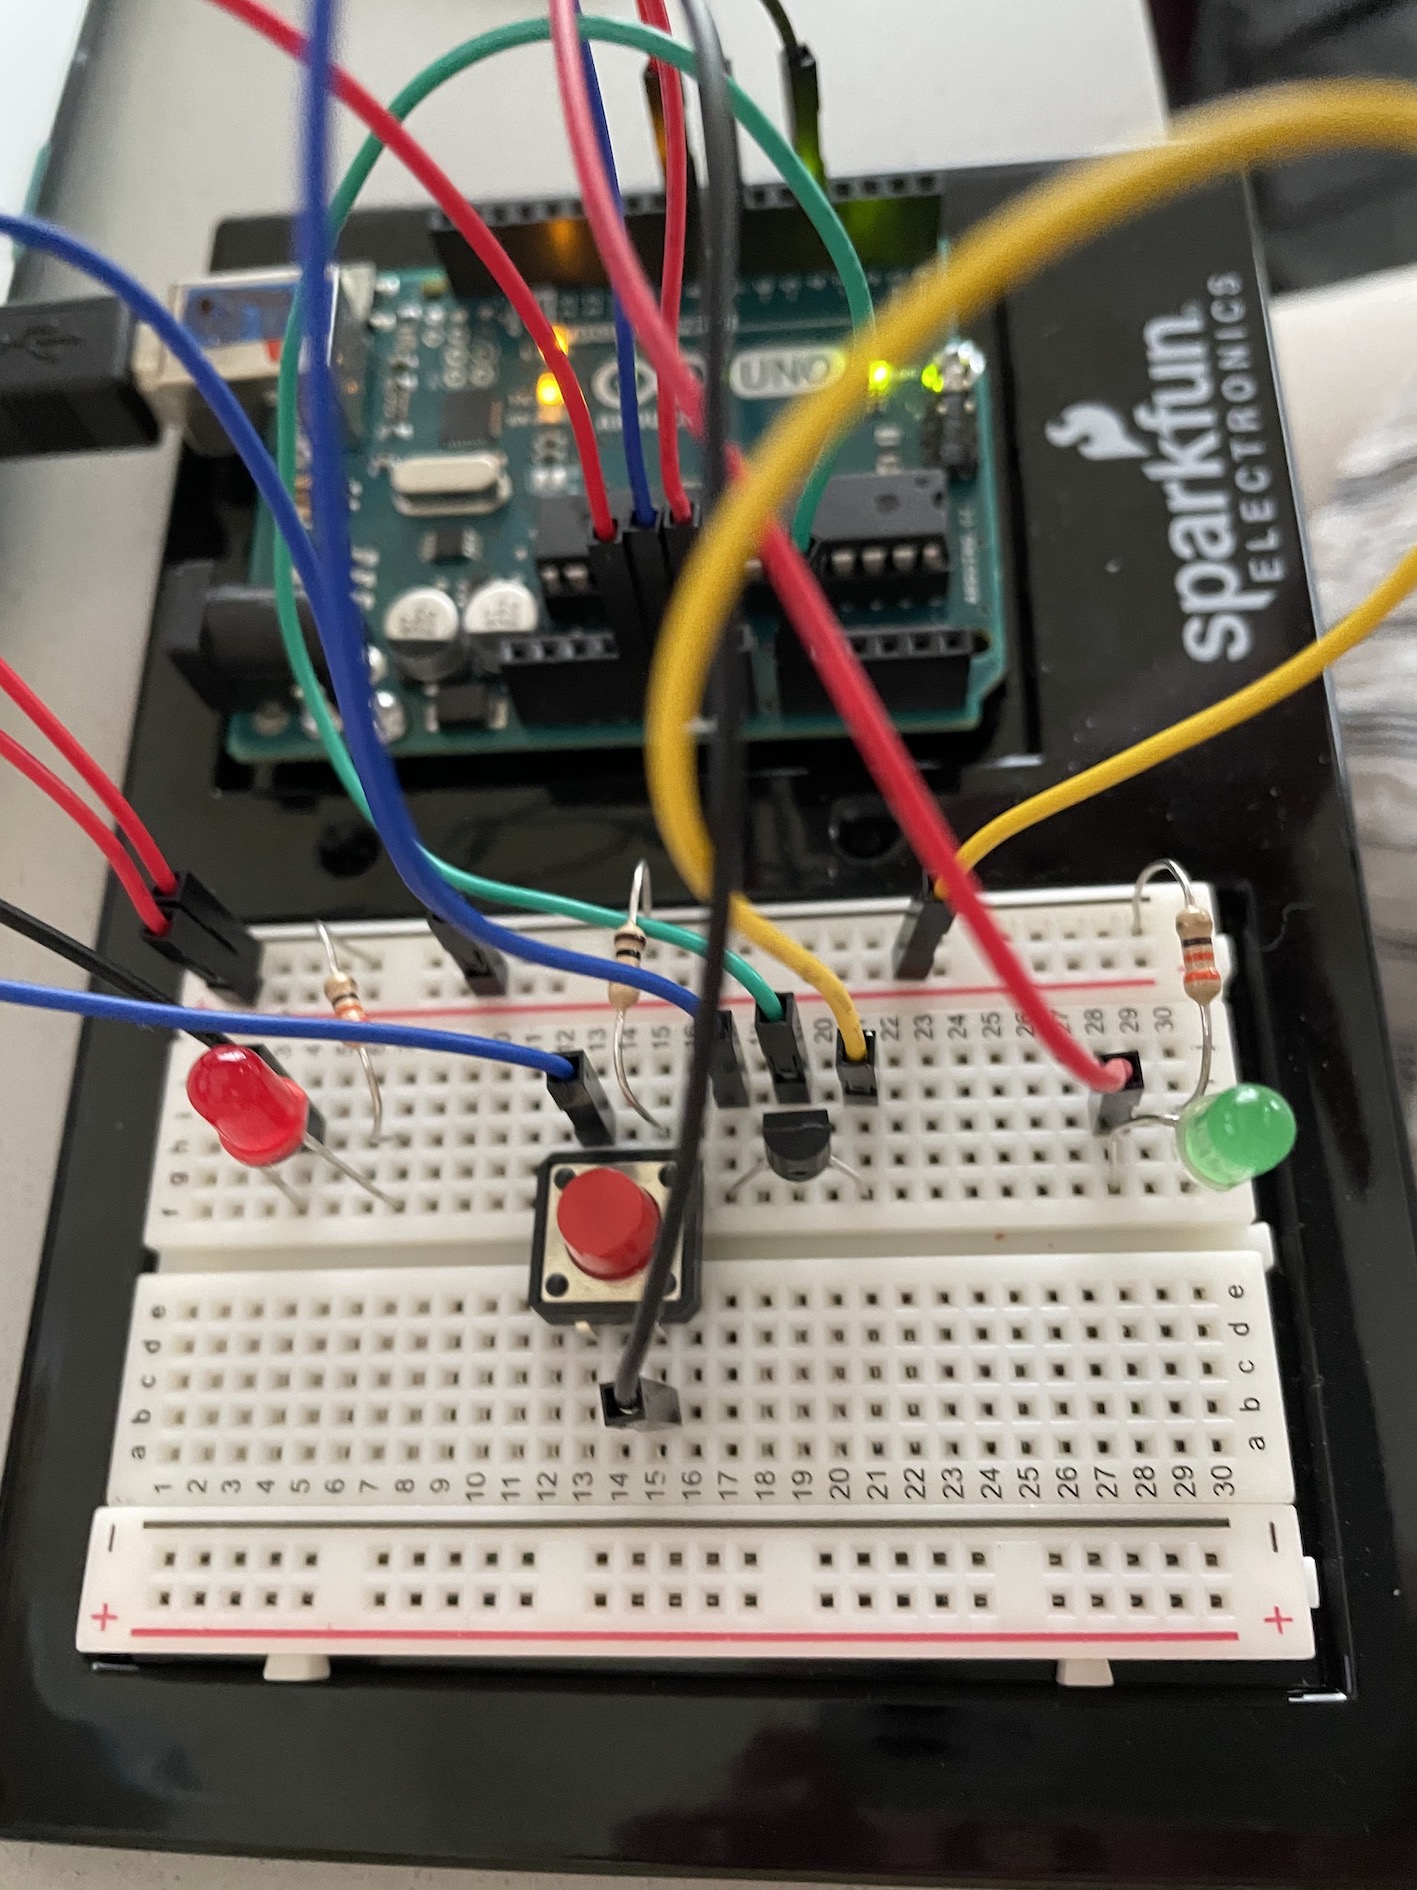
⚡️ idea
The idea behind was inspired by the air conditioning and heating system inside different cars. Usually, there is one LED light that turns on if the heater is on and another LED light turns on if the AC is on. So I have used a temperature sensor for the analog input/output communication, two LED bulbs + one button for digital input/output.
🛠 process
I have read quite a bit of documentation and watched some LinkedIn learning videos to finally understand how Arduino analog works.
First off, I almost burned my temperature sensor, xD. After I plugged everything in and ran my script for the first time, I started smelling something weird — and oh boy, it was a temperature sensor! Gladly I was quick to find out and immediately plugged everything out. Turns out I messed up the leg-connection to the 5V and the ground, which has caused this whole trouble.
After a bit of debugging, I was able to connect and read the temperature values. By the way, none of this would have been implemented had I not referred to this documentation on voltage and temperatures. It was super confusing, but apparently we have to manipulate voltage values in order to get the most precise measurements of temperature!
🎥 result
The most fun part was making it all work inside the script:
int analogPin = A0;
float voltageOut;
float temp;
int analog;
int LED1 = 7;
int LED2 = 8;
int button = 4;
int buttonState = 0;
boolean flag = 0;
boolean prevState = 0;

void setup() {
  // put your setup code here, to run once:
  pinMode(LED1, OUTPUT);
  pinMode(LED2, OUTPUT);
  pinMode(button, INPUT);
  Serial.begin(9600);
  analogReference(DEFAULT); // specify that I have 5 volts
}

void loop() {
  // calculating temp
  analog = analogRead(analogPin);
  buttonState = digitalRead(button);
  temp = (((double)analog/1024)*5-0.5)*100;

  // track the values on serial
  Serial.print("Current Temperature: ");
  Serial.println(temp);
  delay(500);

  // if button is pressed, run the program
  if (buttonState == 1 && prevState == LOW){
    flag = !flag;
  }

  // if button is pressed, turn on
  if (flag){

    // "heater" is on
    if (temp >= 26){
    digitalWrite(LED1, HIGH);
    digitalWrite(LED2, LOW);
    }

    // "AC" is on
    else {
      digitalWrite(LED1, LOW);
      digitalWrite(LED2, HIGH);
    }

  }
  // turn off
  else {
    digitalWrite(LED1, LOW);
    digitalWrite(LED2, LOW);
  }

  // track button state
  prevState = buttonState;
}
Some of the challenges I faced was making a code run only when a button is pressed and turn everything off when the button is pressed the second time. I have spent about an hour trying to debug when I realized that I was missing the “else”-snippet when the flag is off. But now it works! 🥳