
My vision for this project started out by wanting a blurred image to have a sort of spot light that unblurs the parts where the mouse moves. I looked into the Blur example on processing and the spot light example and encountered many obstacles.
From the blur effect:
I applied this blur code to my image at first and it showed a side by side image. One was the original image and the other was, a grayscaled version of my image. This was after even after the learning from the professor how to fix this issue. So I experimented with the Kernels and I chose to use the “ Edge detection” way for this effect, rather than blurring it. ( it just seemed cooler )
after that I wanted to remove the side by side view so I inspected that code and found a way to remove the original display. Know I am left with the display with the effect but I wasn’t able to figure out how to move it to the center. I tried many things but my attempts , though they were close, did not work.
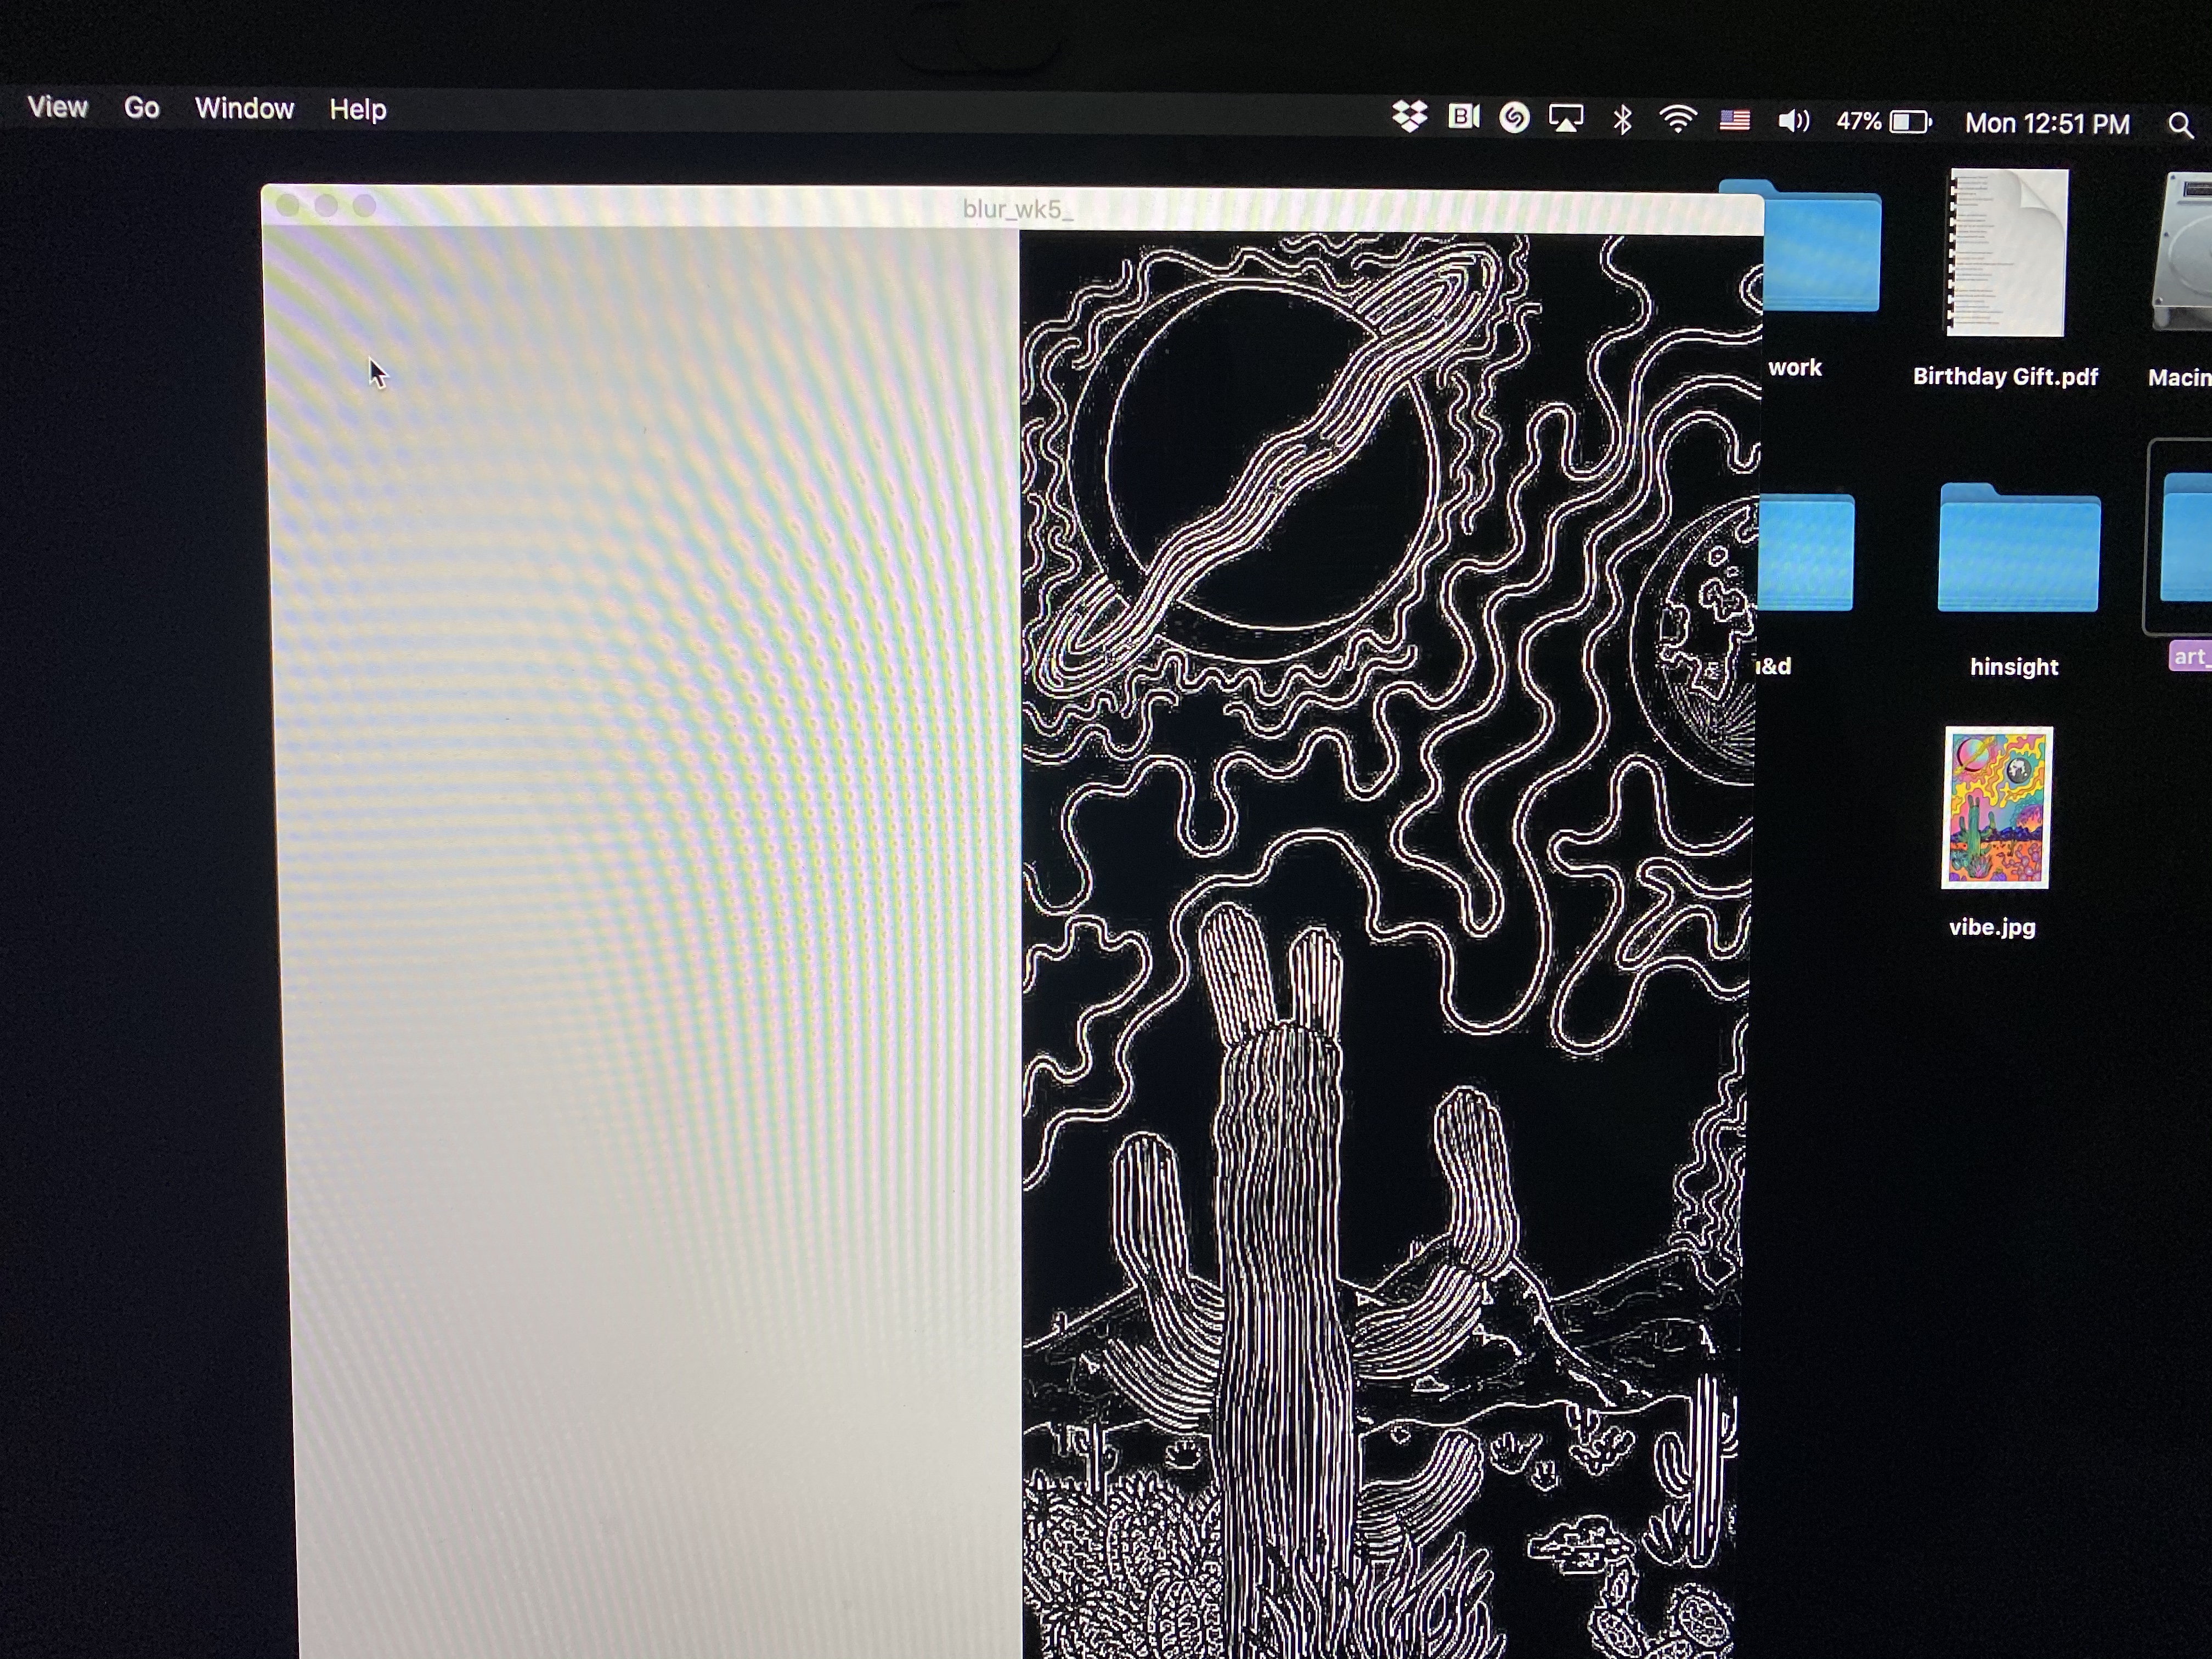
After consulting Jack he told me that my issue was at the end of the code, “ image(destination, 400, 0);” this was where my display was controlled.
Once I finished my experiments with this code I started with the spot light
From the Spot light:
In this effect the spot light was working fine by my image was distorted and I didn’t know why,
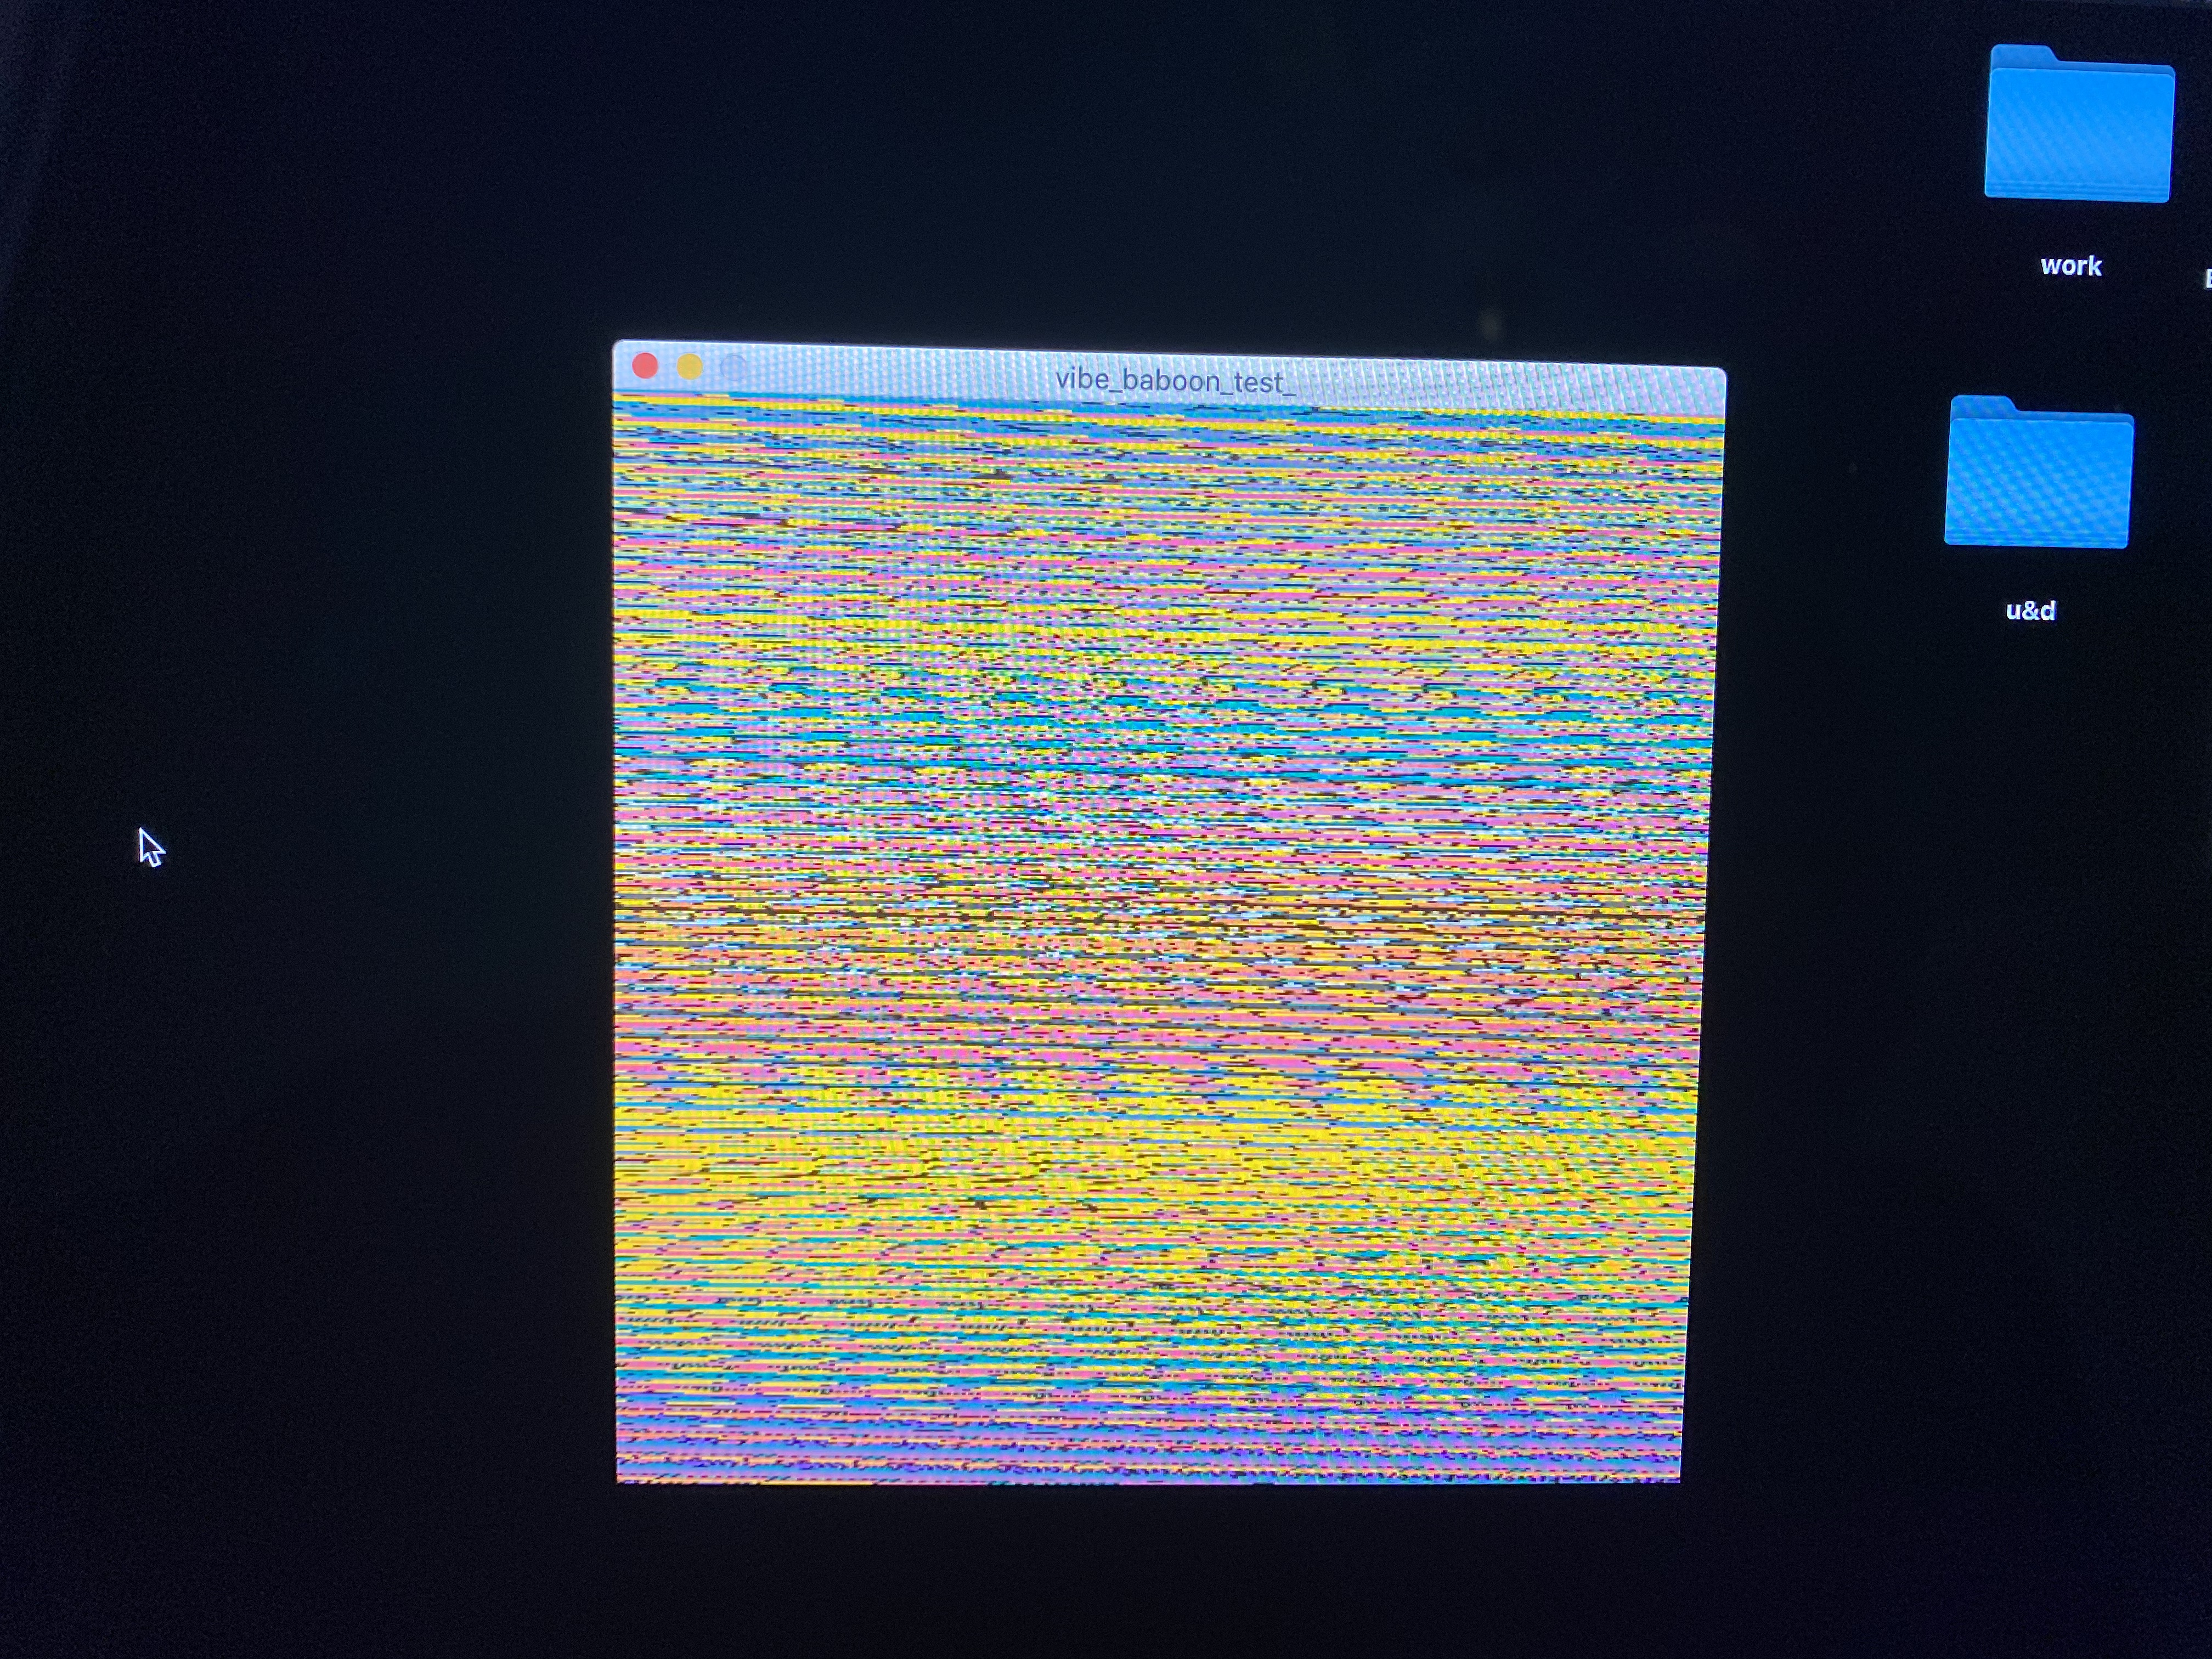
Once I figure out why it’s distorted I can attempt to combine the codes together, I consulted Jack and he told me that my issue was in the “destination code”. Once I fixed that I attempted combing both codes.
Combing codes:
When combing the two codes, the codes didn’t run. I went through it with Jack and fixed a few things within the spot light loops.
When I included these two separate codes into one, they didn’t combine. They were their own separate entity. So I tried to create a trancperancy between them , since they overlapped, but I struggled since I didn’t really understand that code.
In the end my results though it not what I planned it was as close as my abilities can get me ( with help, lol).
so here is my final result :
float v = 1.0;
float[][] kernel = {{ -1*v, -1*v, -1*v},
{ -1*v, 8*v, -1*v },
{ -1*v, -1*v, -1*v }};
PImage img, destination;
void setup() {
size(800, 800);
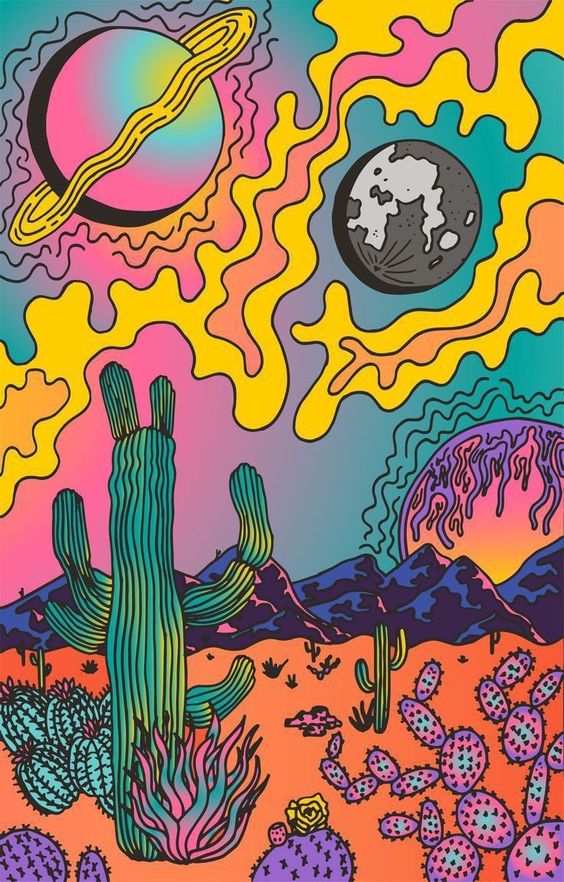
img = loadImage("vibe.jpg"); // Load the original image
destination = createImage(img.width, img.height, RGB);
// noLoop();
}
void draw() {
//image(img, 0, 0); // Displays the image from point (0,0)
img.loadPixels();
// Create an opaque image of the same size as the original
PImage centerImg = createImage(img.width, img.height, RGB);
// Loop through every pixel in the image
for (int y = 1; y < img.height-1; y++) { // Skip top and bottom edges
for (int x = 1; x < img.width-1; x++) { // Skip left and right edges
float sum = 0; // Kernel sum for this pixel
for (int ky = -1; ky <= 1; ky++) {
for (int kx = -1; kx <= 1; kx++) {
// Calculate the adjacent pixel for this kernel point
int pos = (y + ky)*img.width + (x + kx);
// Image is grayscale, red/green/blue are identical
float val = red(img.pixels[pos]);
// Multiply adjacent pixels based on the kernel values
sum += kernel[ky+1][kx+1] * val;
}
}
// For this pixel in the new image, set the gray value
// based on the sum from the kernel
centerImg.pixels[y*img.width + x] = color(sum);
}
}
// State that there are changes to edgeImg.pixels[]
centerImg.updatePixels();
image(centerImg, 0, 0); // Draw the new image
destination.loadPixels();
for (int y=0; y<img.height; y++) { // must include img. so that it takes the w/h of the image.
for (int x=0; x<img.width; x++) {
int loc = x+(y*img.width);
float r = red(img.pixels[loc]);
float g = green(img.pixels[loc]);
float b = blue(img.pixels[loc]);
float distance=dist(x, y, mouseX, mouseY);
float adjustBrightness = (50-distance)/50;//((float) mouseX / width) * 8.0;
r*=adjustBrightness; //a*=b
same as
a = a * b
g*=adjustBrightness;
b*=adjustBrightness;
r=constrain(r, 0, 255);
g=constrain(g, 0, 255);
b=constrain(b, 0, 255);
destination.pixels[loc]=color(r, g, b);
}
}
img.updatePixels();
destination.updatePixels();
image(destination, 400, 0); // top left is like the bottom
}
for reference this is the original :
I love this!!!
AWWW thank you !! <3