Concept:
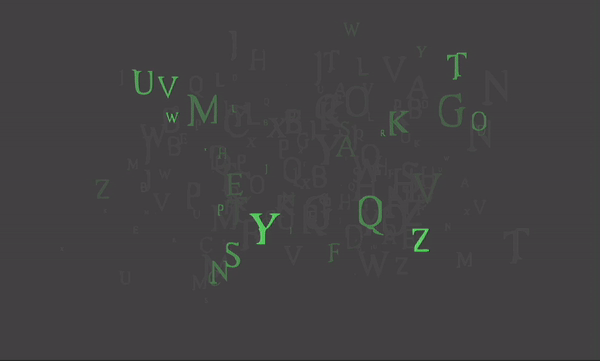
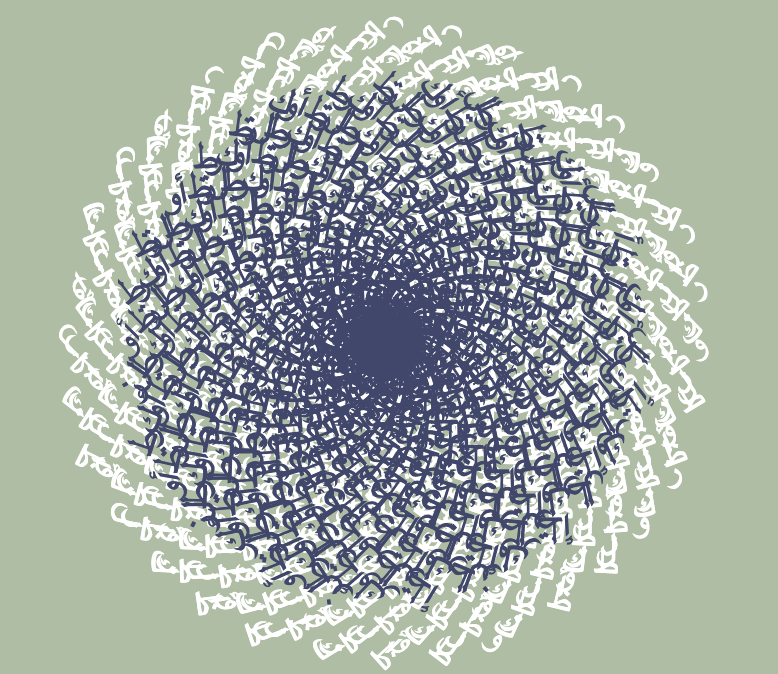
With this assignment, I didn’t have a particular vision in mind but instead wanted to focus on exploring and combining new skills that I haven’t tried yet. So, without an exact picture in mind, I searched up some tutorials on YouTube and found one that I really liked, which looked like this: 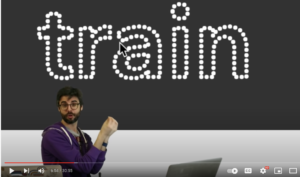
Process/Coding:
First things first, I had to figure out how to insert a font of my choice into p5.js because none of the default fonts appealed to me. For this I referenced this source, specifically the “custom font” section, from which I realized that I had to download a font file and insert it using a specific format name such as “.ttf” or “.otf.” Here’s the code that I used for uploading the font:
function preload(){
  font = loadFont('knewave.ttf');
}
My font was named Knewave, and it was taken from this website.
Once I had my font, I had to think of a quote or a phrase that I wanted to use, which was honestly the most no-brainer part of this assignment. I went with the first phrase that came into my mind, which was “go with the flow.”
For generating this text on screen, I used this code:
textFont(font);
 textSize(80);
 fill(255);
 noStroke();
 text('Go with the Flow',12,180);
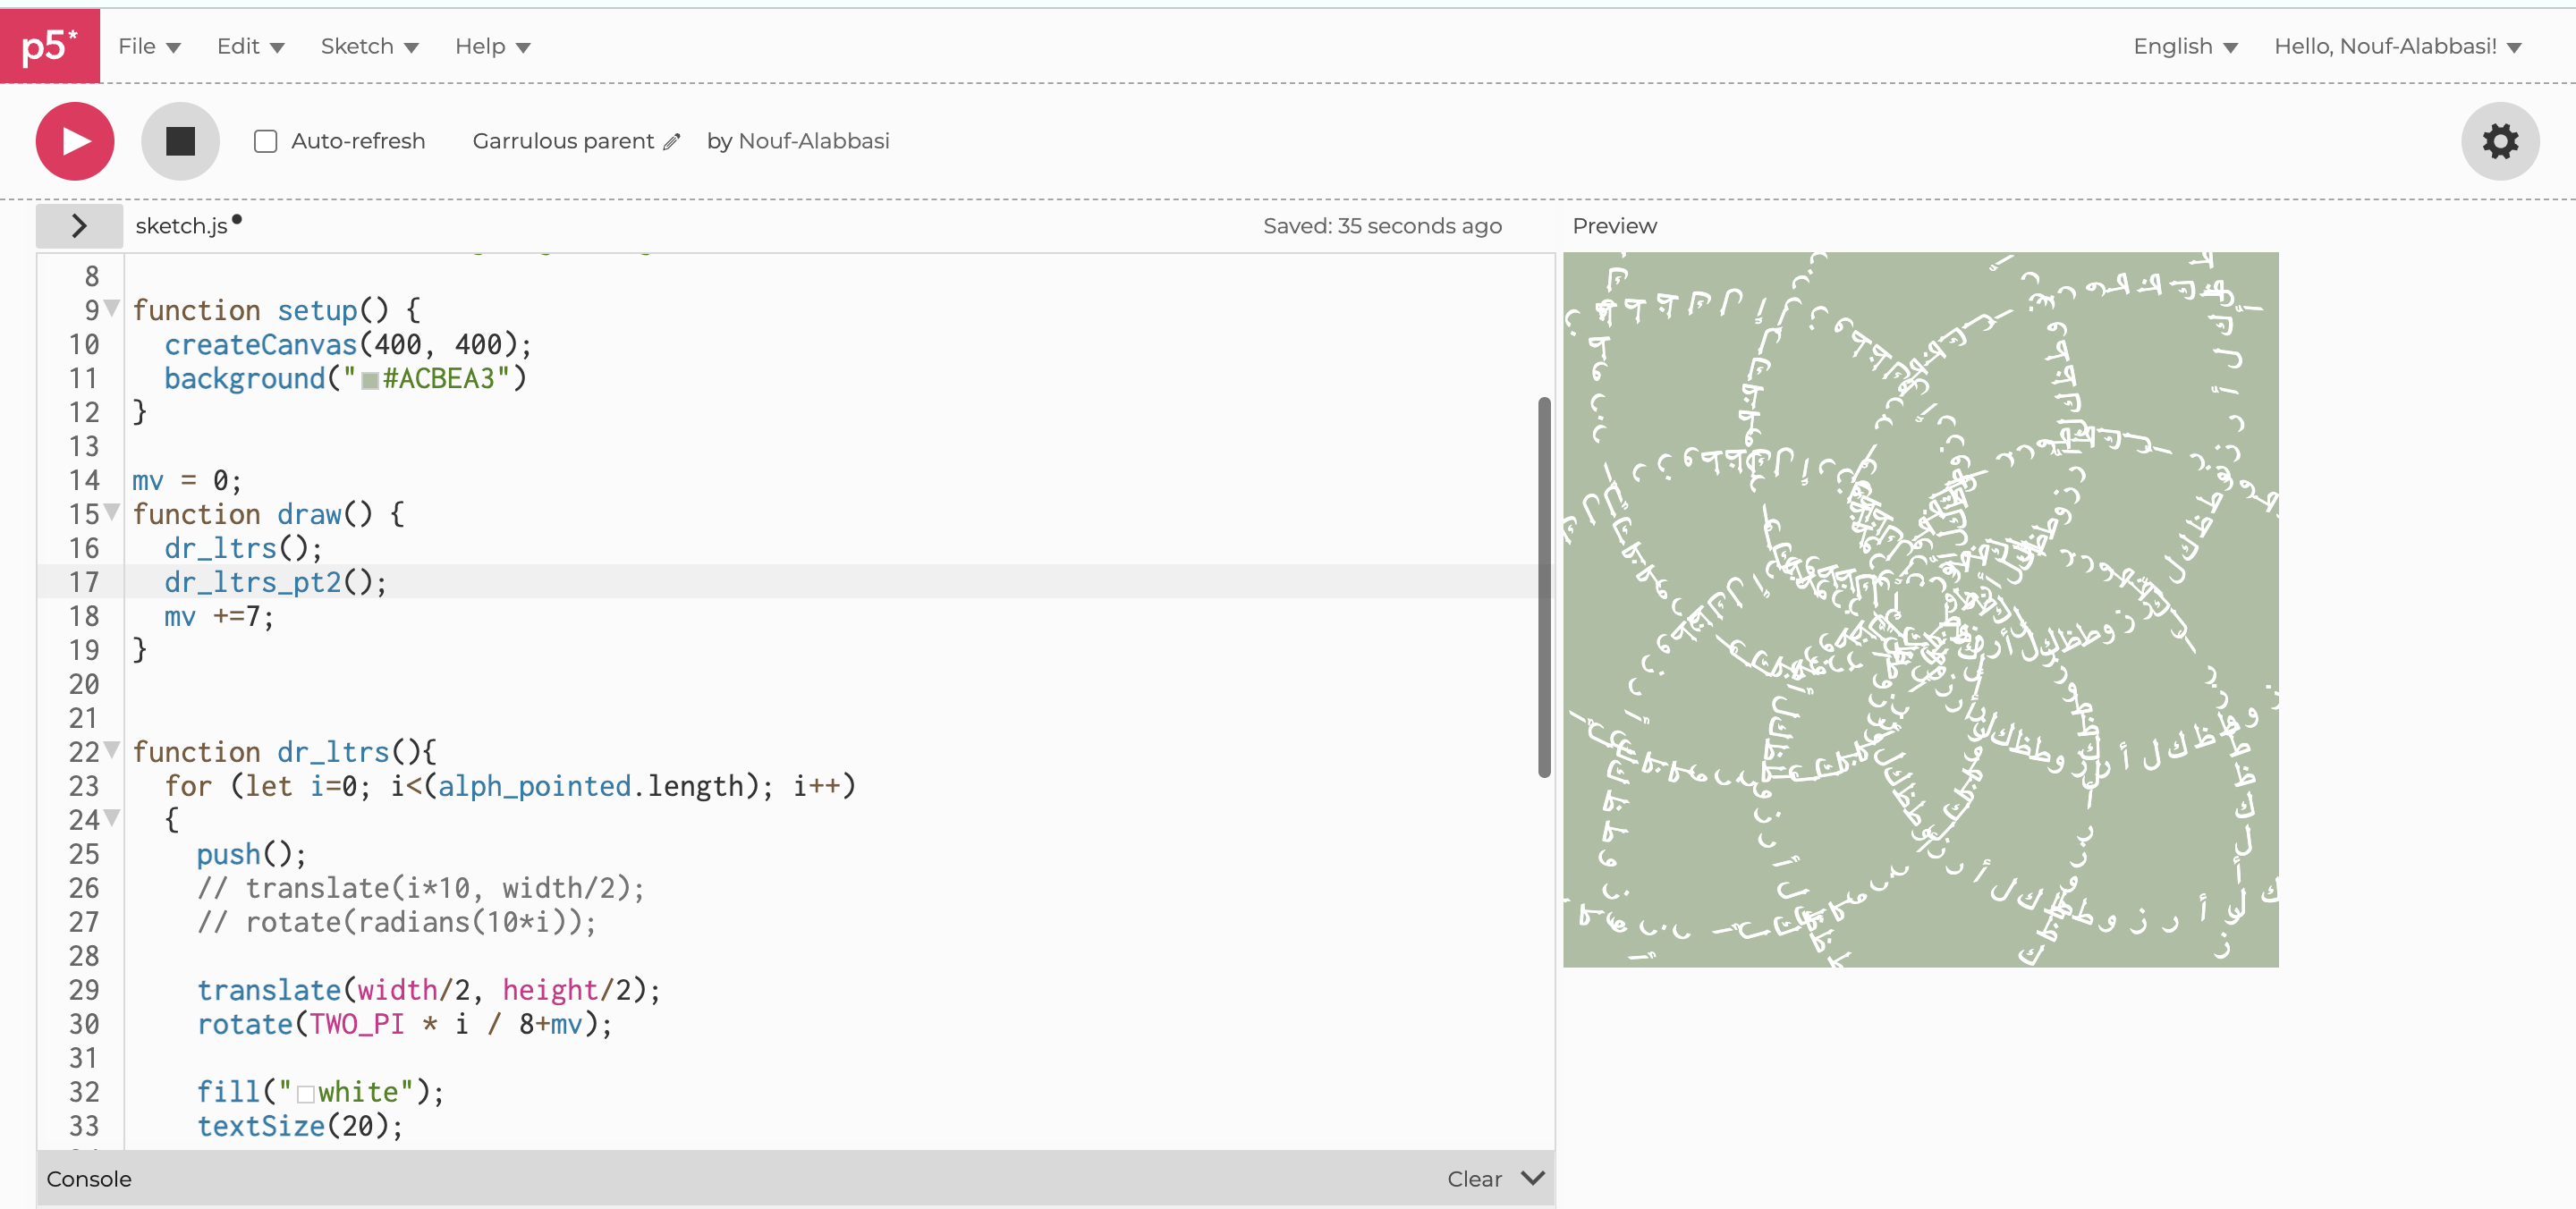
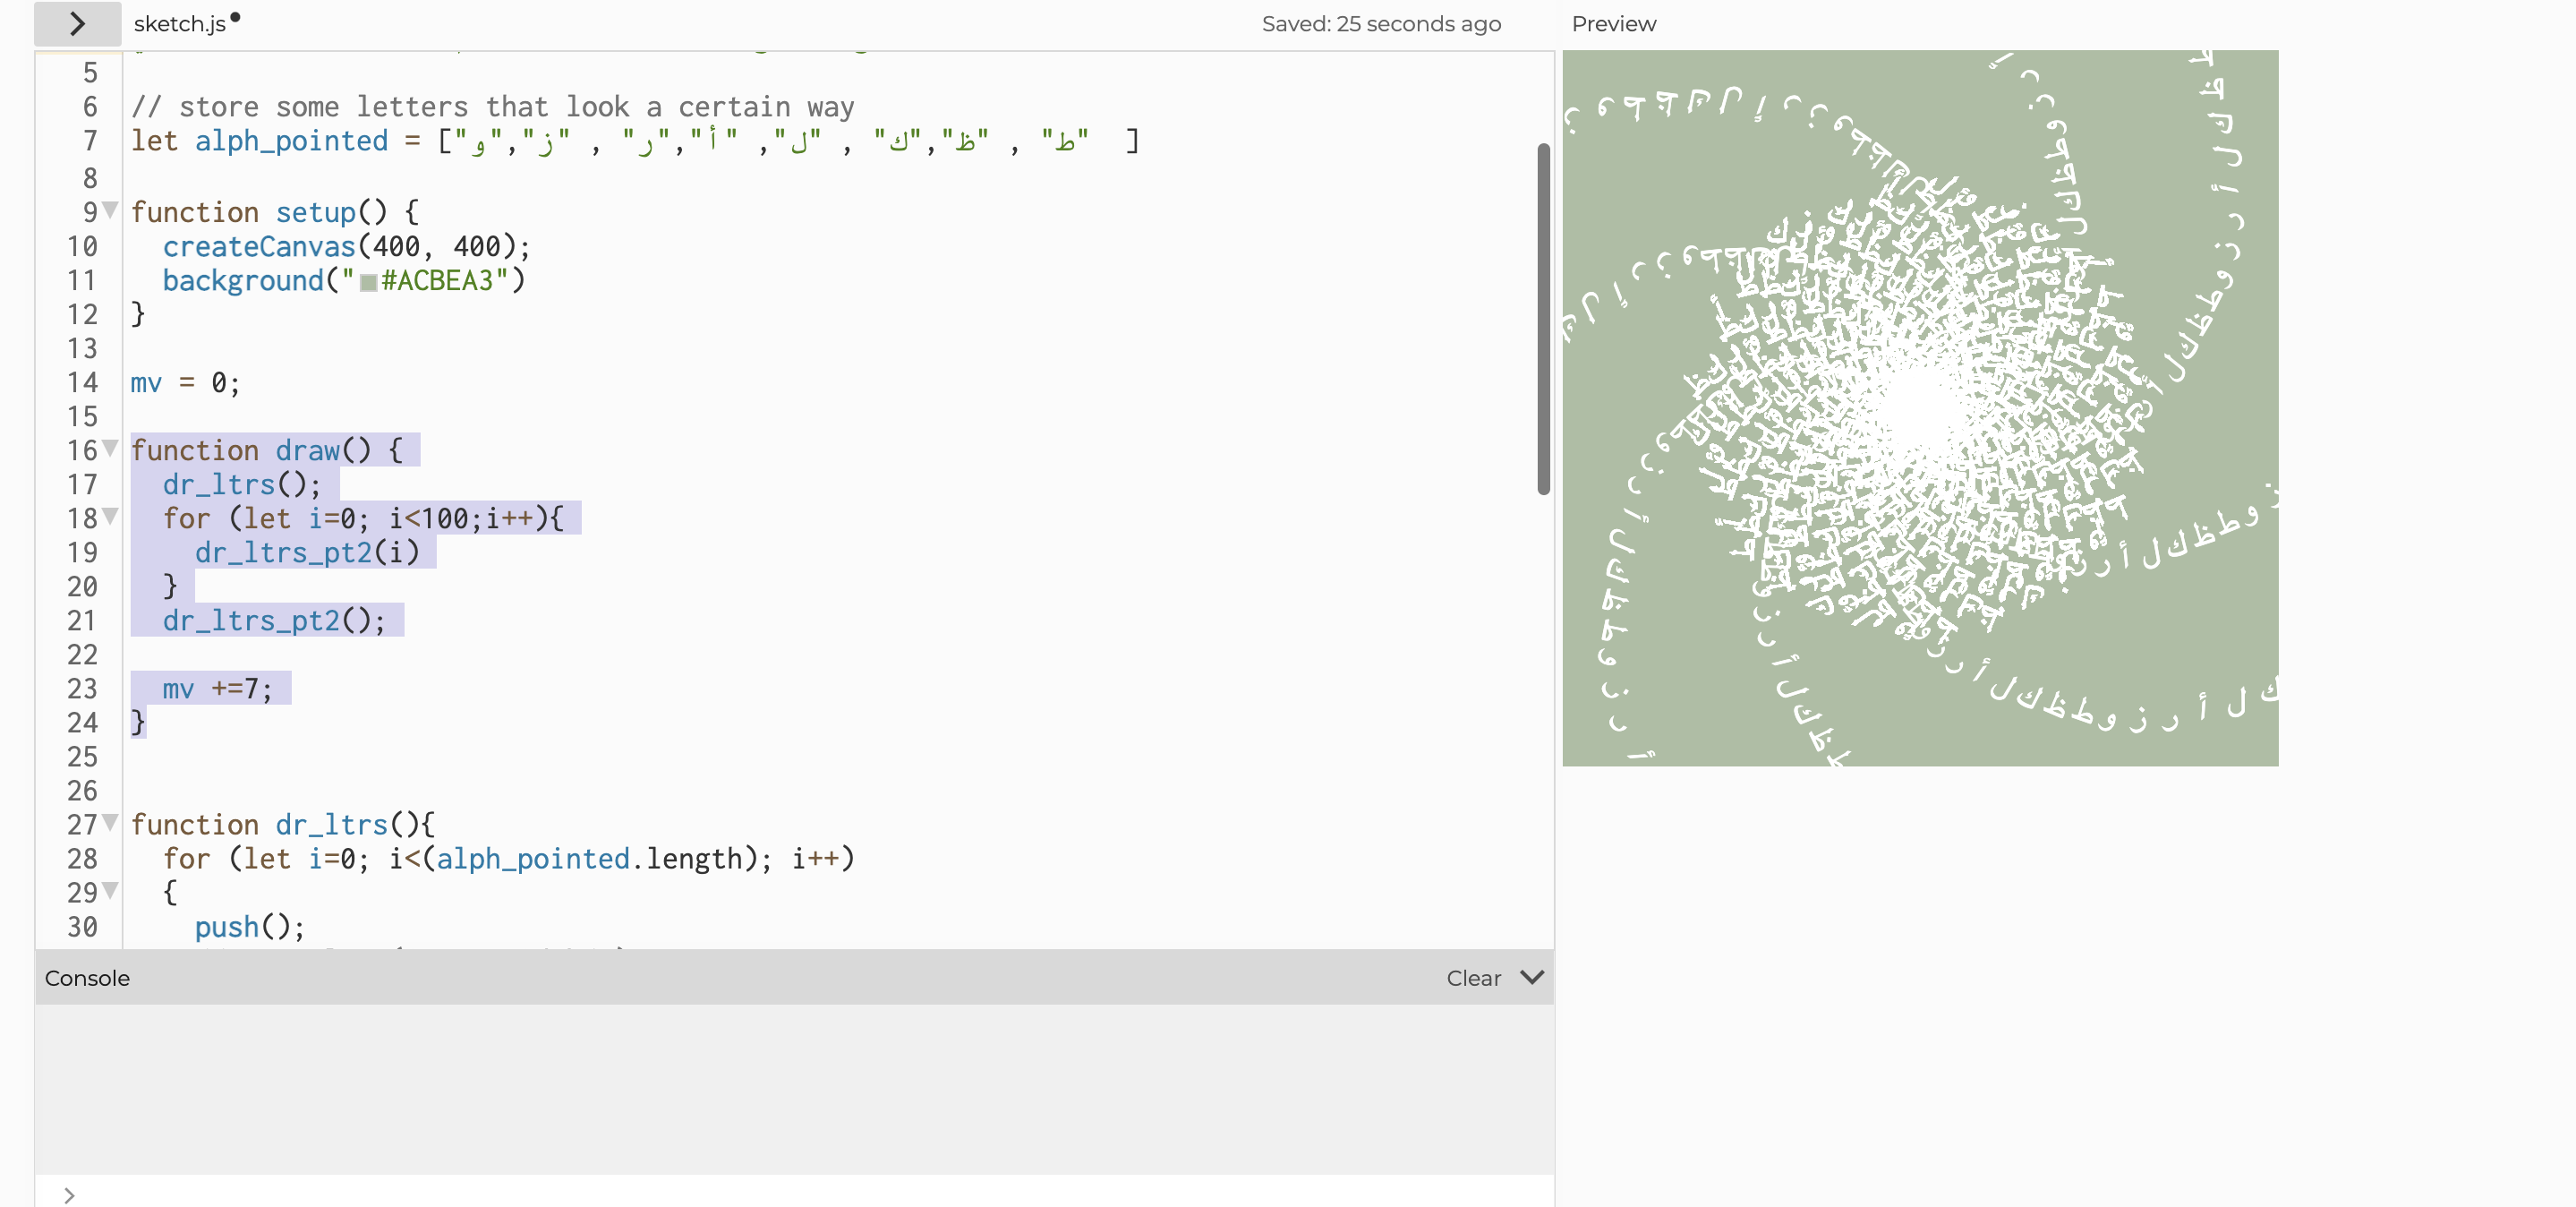
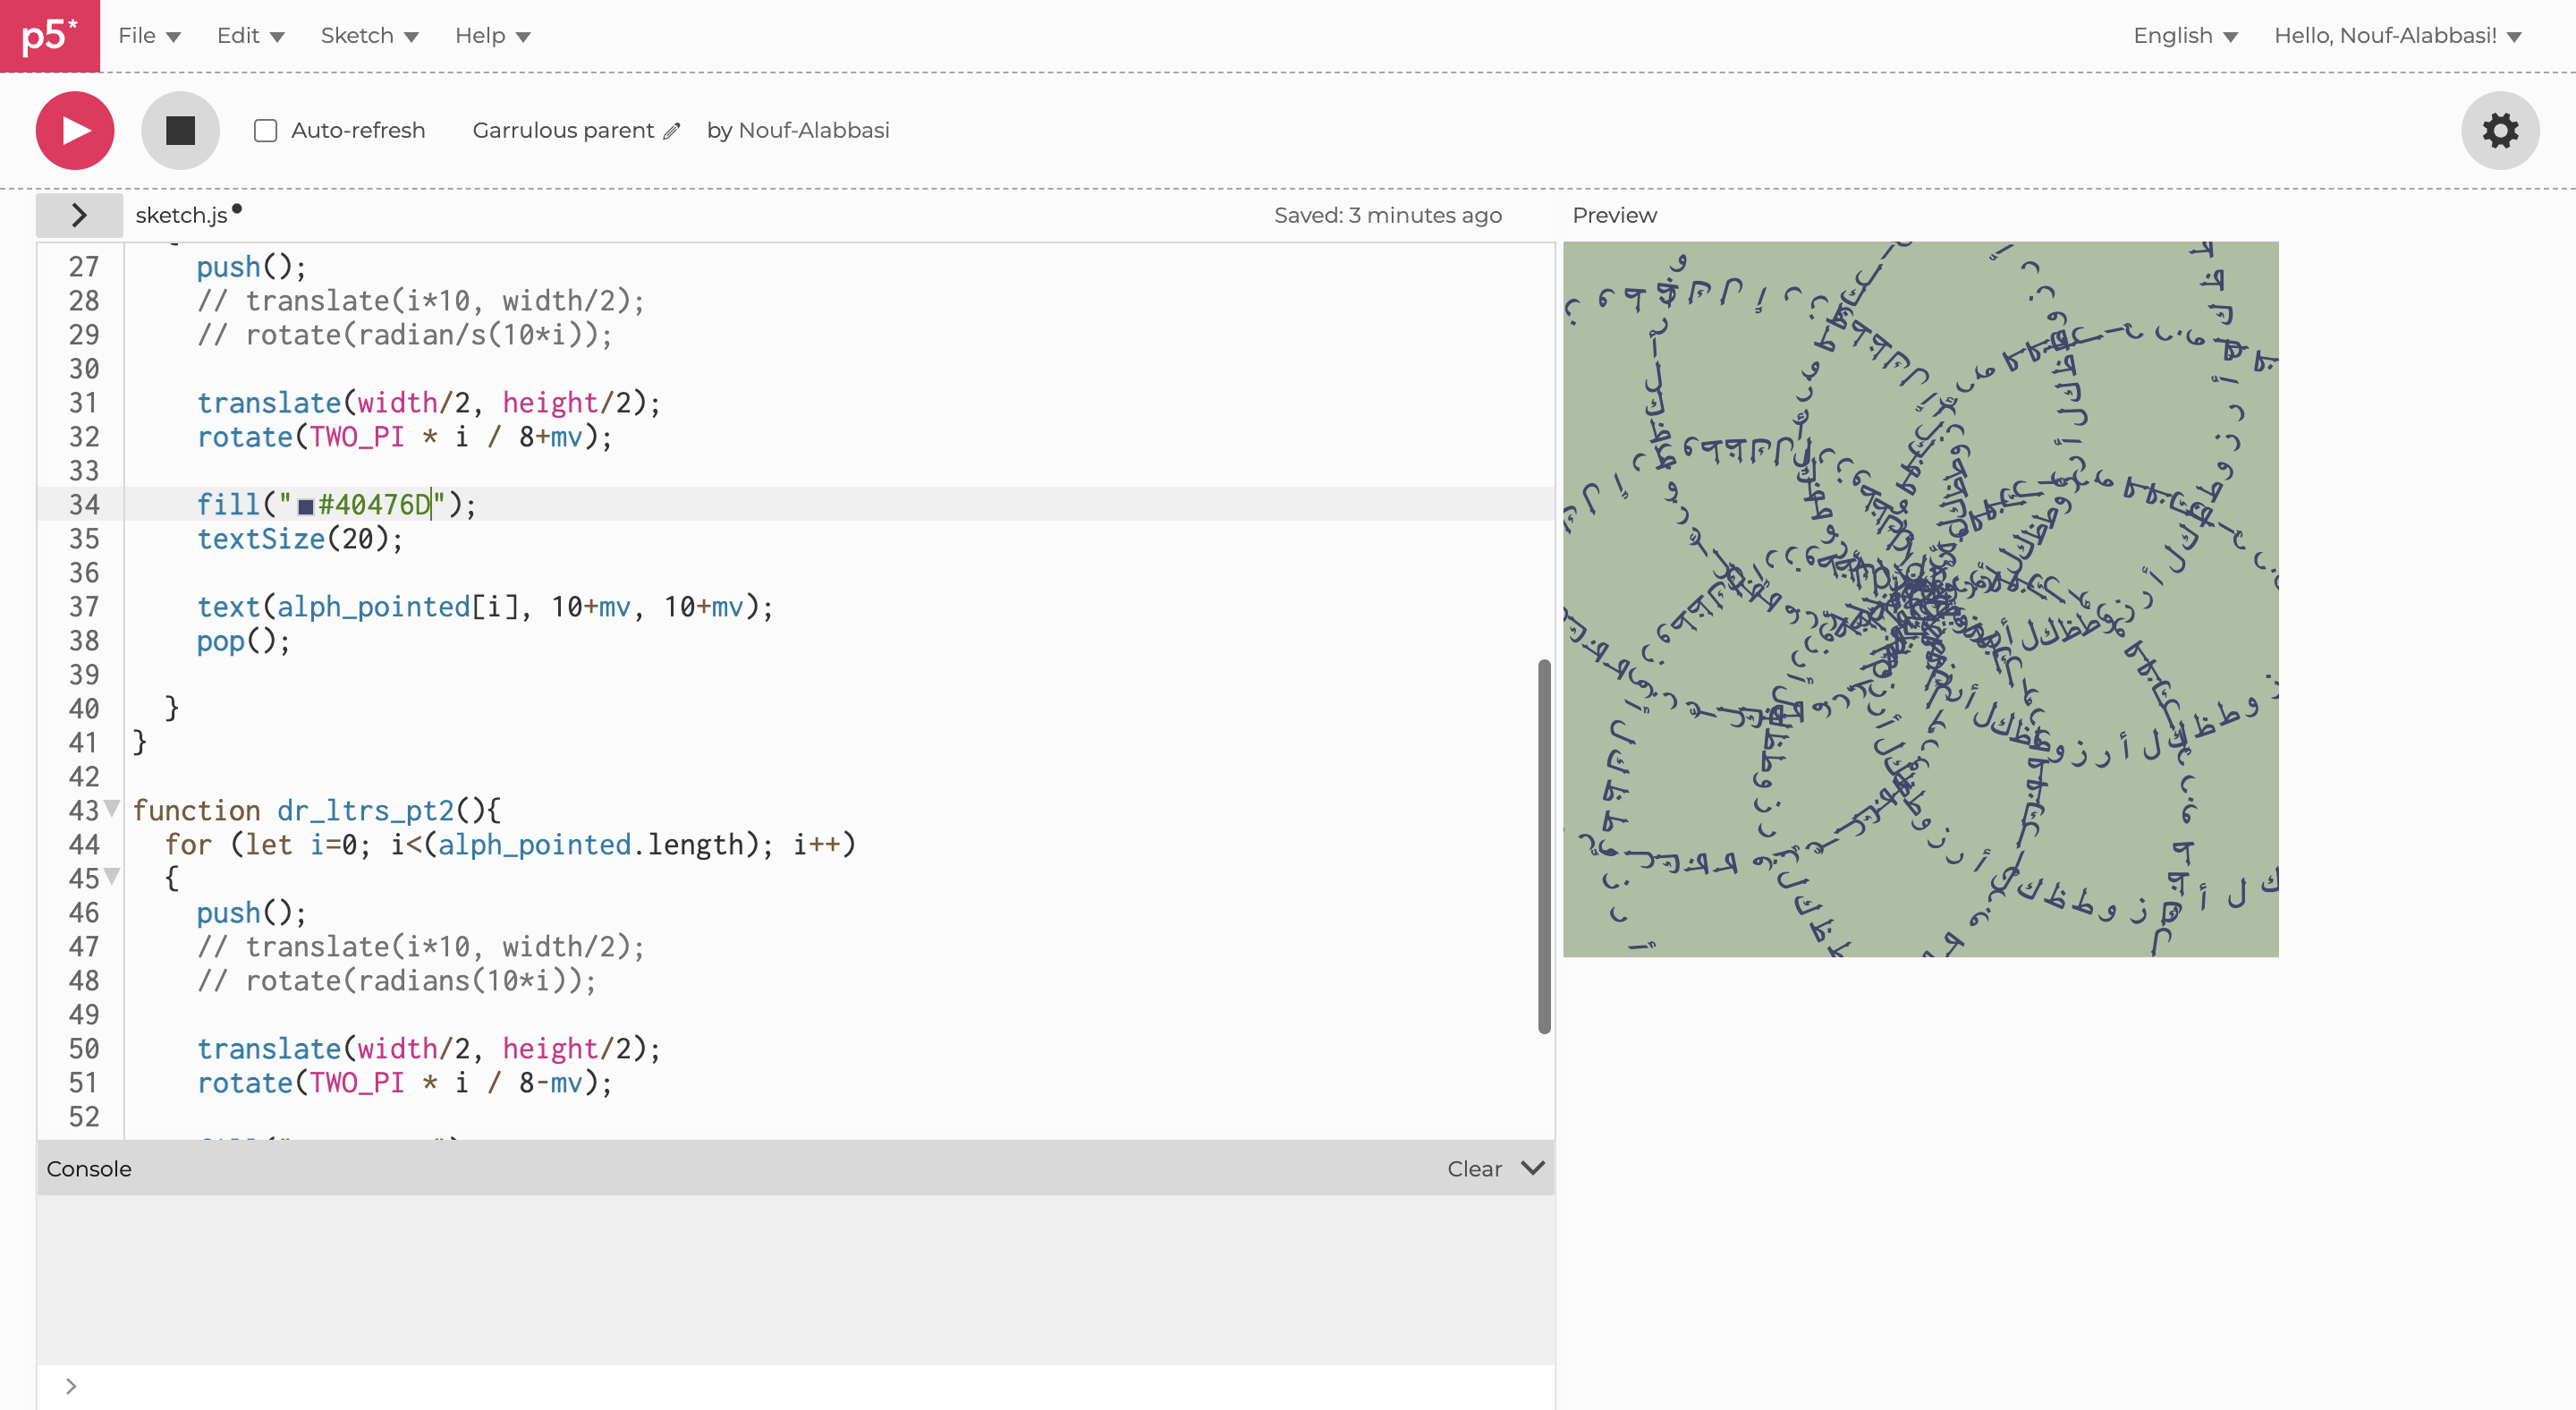
After this, it got tricky as I tried to make the dots form into the shape of the letters and have them bounce off from each other, making them disperse after its initial shape. For this, I went back to the tutorial by The Coding Train and learned the idea of “function Vehicle,” which was what controlled the dots’ movements such as velocity, dimension, position, etc. I was also able to control the colors and the thickness of the dots in this “vehicle.js” file as well, which is shown below:
function Vehicle(x,y){
  this.pos = createVector (x,y);
  this.target = createVector(x,y);
  this.vel = p5.Vector.random2D ();
  this.acc = createVector ();
  this.r = 8;
}

Vehicle.prototype.update = function(){
  this.pos.add(this.vel);
  this.vel.add(this.acc);
}

Vehicle.prototype.show = function(){
  stroke(199, 236, 242);
  strokeWeight(7);
  point(this.pos.x,this.pos.y);
}
(original author of the code: Daniel Shiffman, here’s the link to the code)
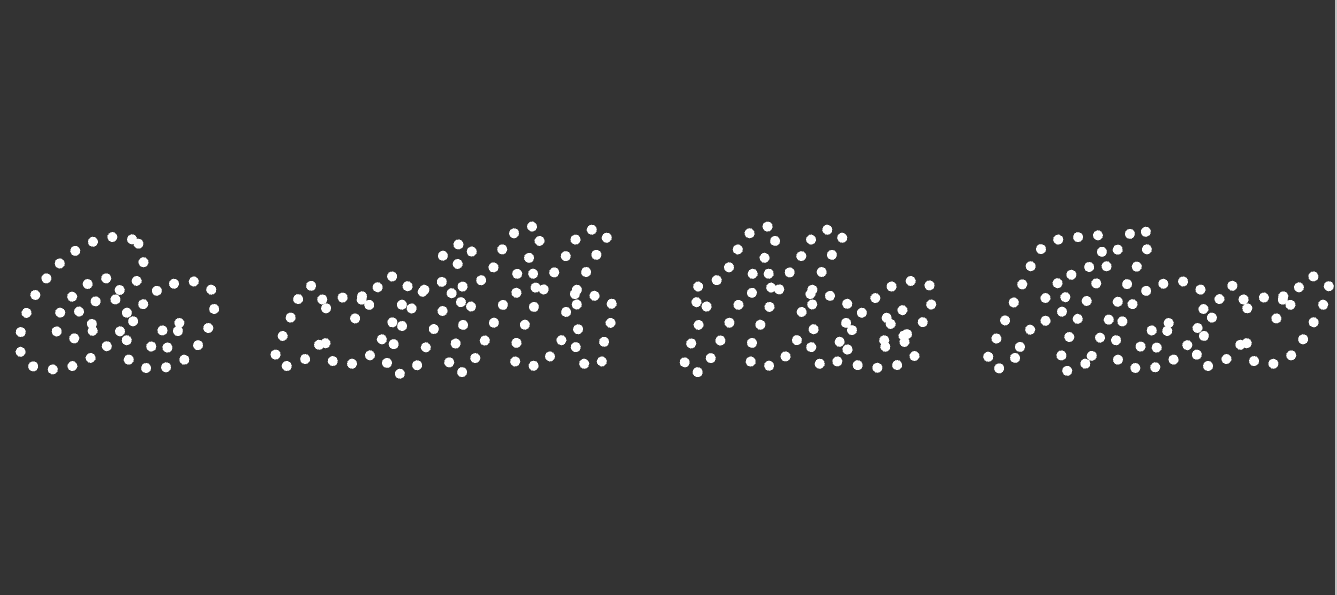
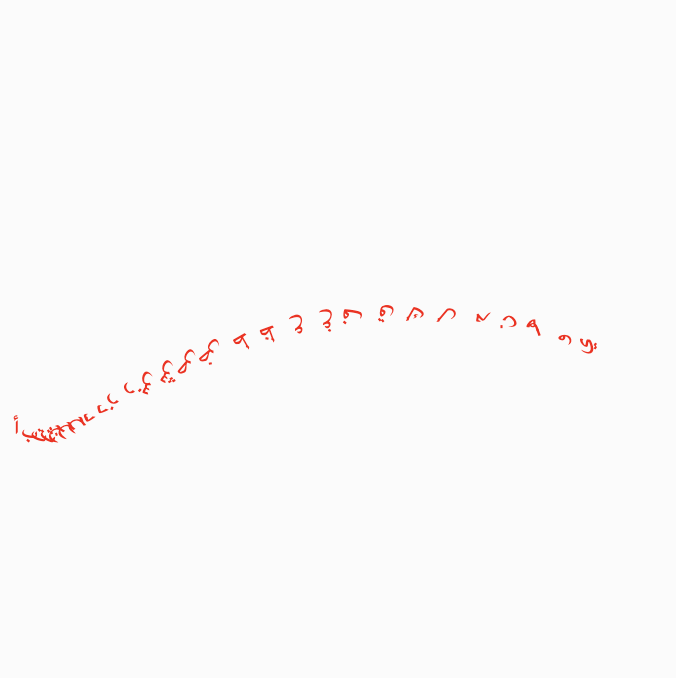
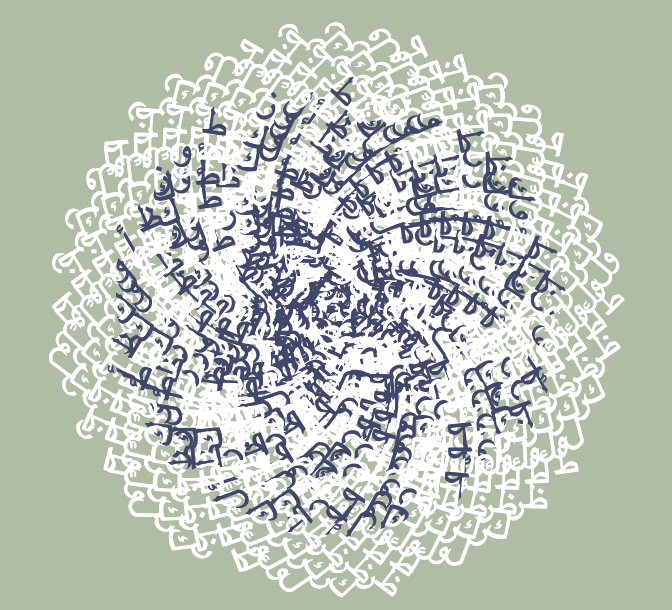
Then, in order to bring in this vehicle function and actually draw the dots, I plugged the according values of variable points back into the draw function. But unfortunately, when I ran the program, it didn’t stay in this format long enough as I wanted them to: 
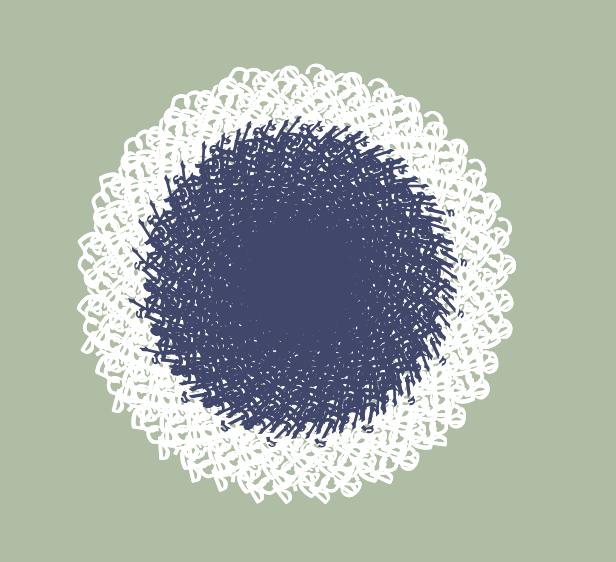
Instead, they dispersed into a formless shape way too fast. And since I didn’t quite figure out how to slow the movement, I decided to just create the phrase in text form and let it sit there, while the dots will just bounce off from the letters, like this: 
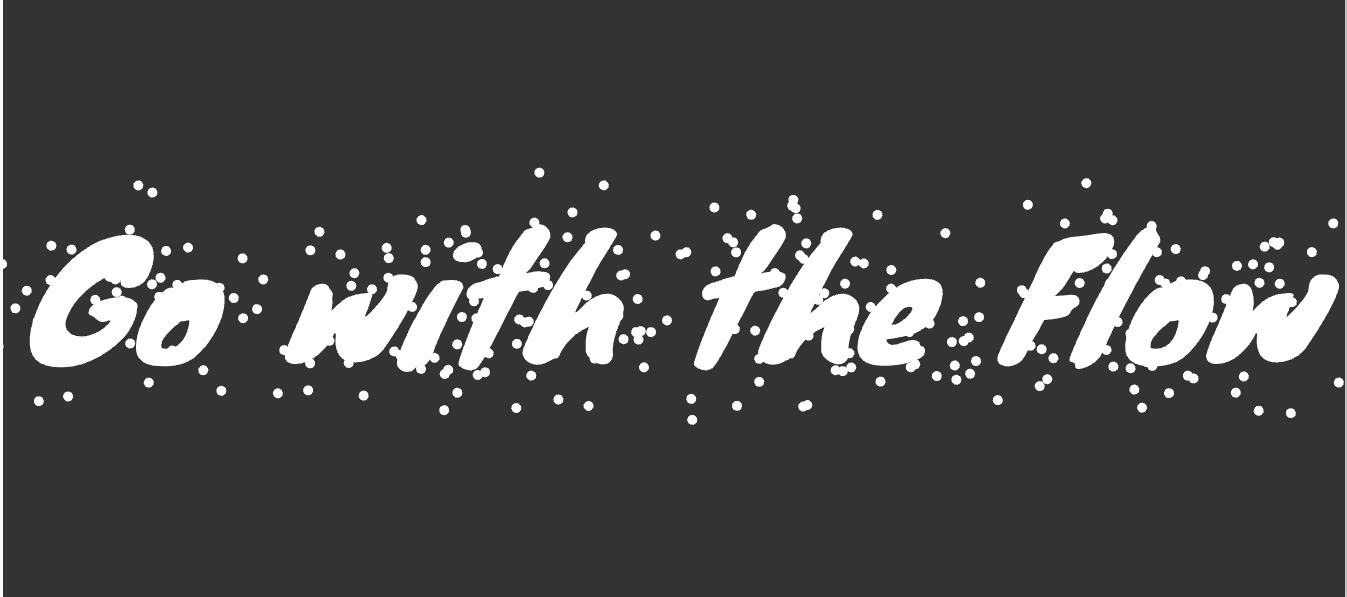
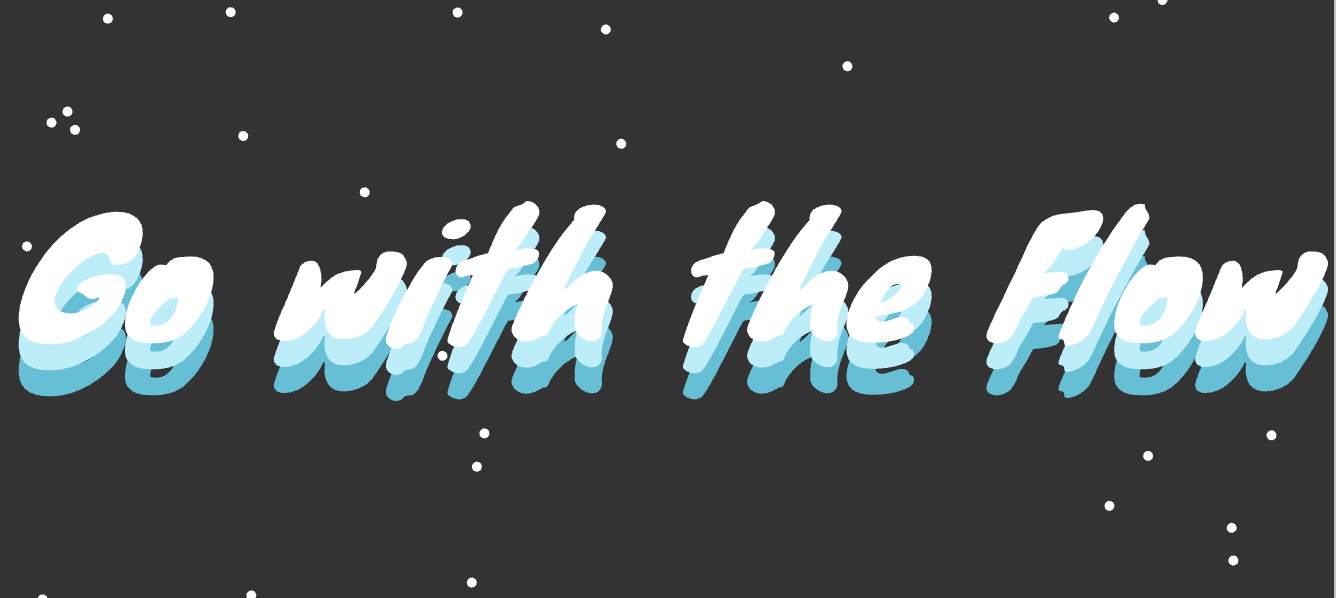
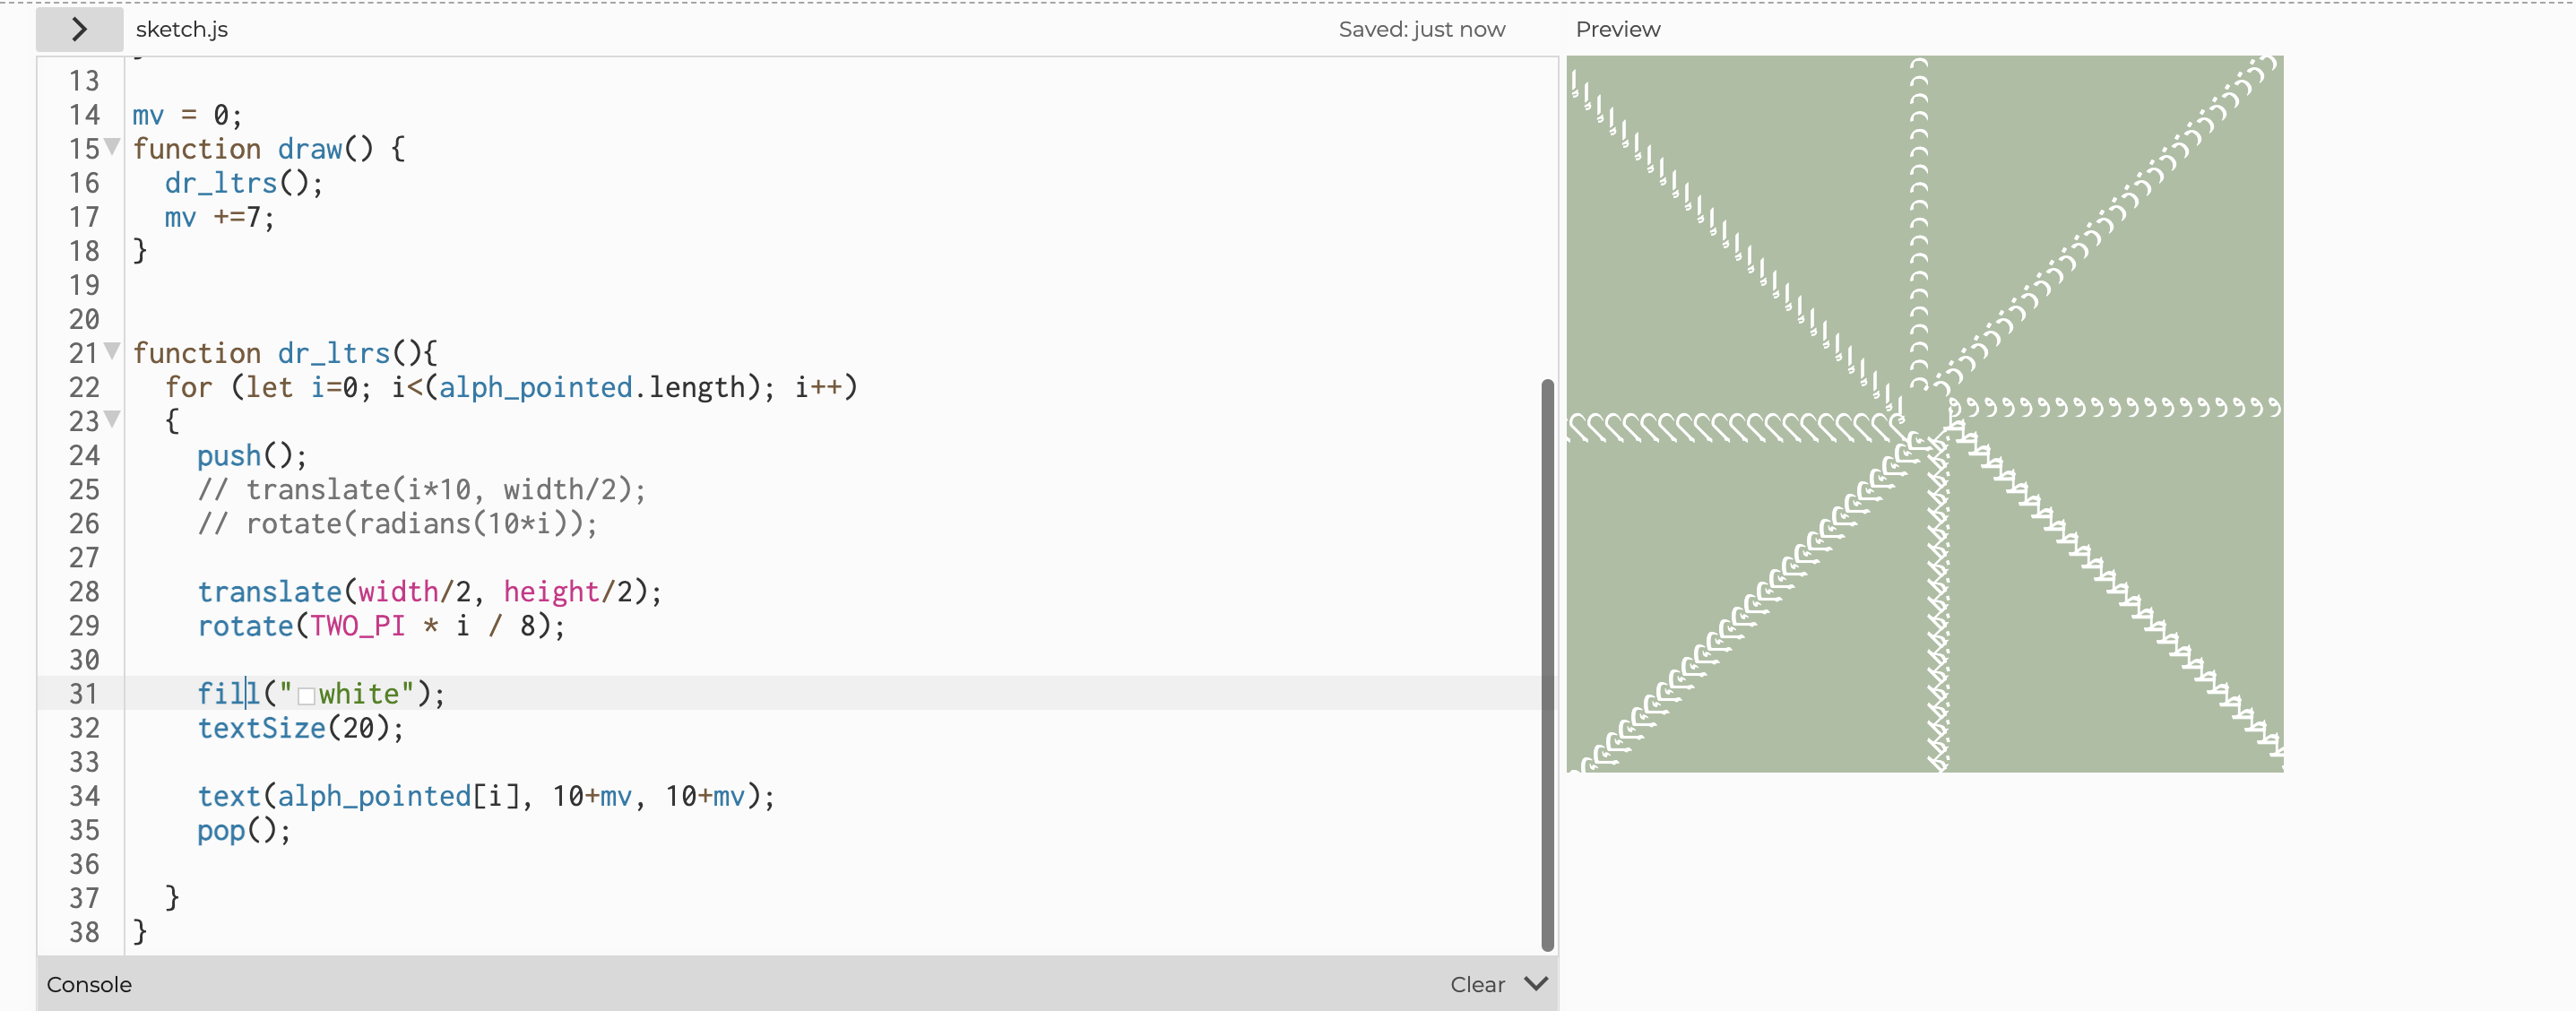
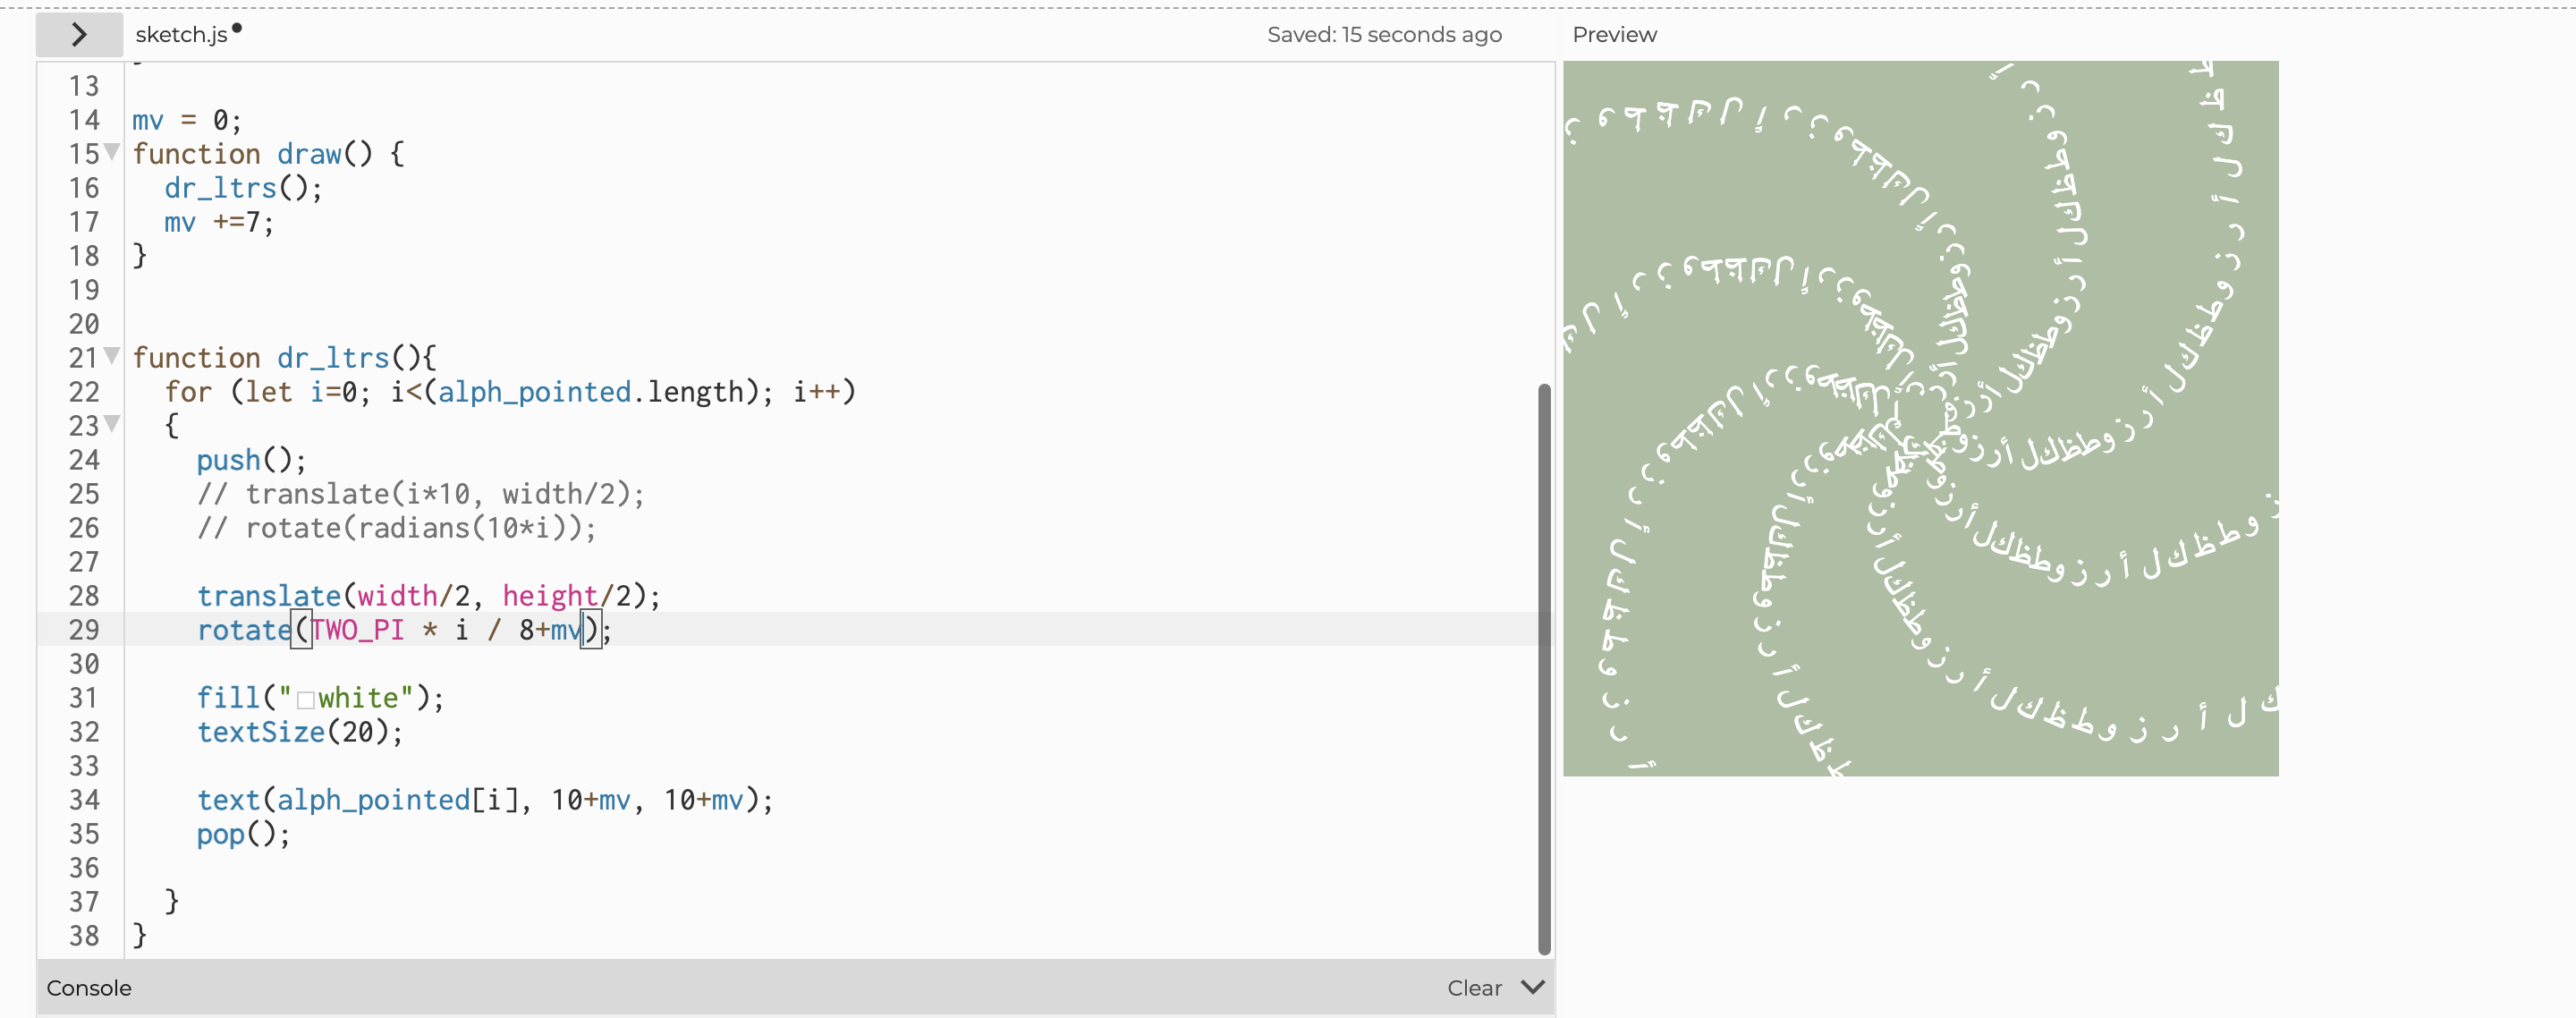
Because I wanted there to be more pop of a color rather than simply making it black and white only, I decided to create three text layers of gradient blue so that they will give an illusion of being more 3D. Here’s what it looked like after I was done layering the texts: 
And finally, I decided to add a simple loop using the click of a mouse so that I could freeze the moment of the dots dispersing when the dots were at the desired pattern. And once you clicked on the screen once, you’d have to continuously press down on the screen for the dots to continue moving; if you released the mouse, the dots will stay frozen. For this function, I used the following code:
//stopping the dots in the pattern that you'd like
function mousePressed() {
  loop();
}

function mouseReleased() {
  noLoop();
}
And here is the final product!
Reflection:
The process of learning a new function (function Vehicle) and also learning how to animate the dots in a way that they start in an assemble before they disperse was an interesting process! It was a pretty tough concept to get at first because I was introduced to many new functions, but it also made the satisfaction at the end when I saw the final product be extra special as well. One thing that I’d like to change about my product is to have a “reset” button which will reset all the dots into its original place once it is pressed – this is something that I’ll hope to achieve in my midterm project!

 Click to view the full image – you can zoom in to see the details
 Click to view the full image – you can zoom in to see the details
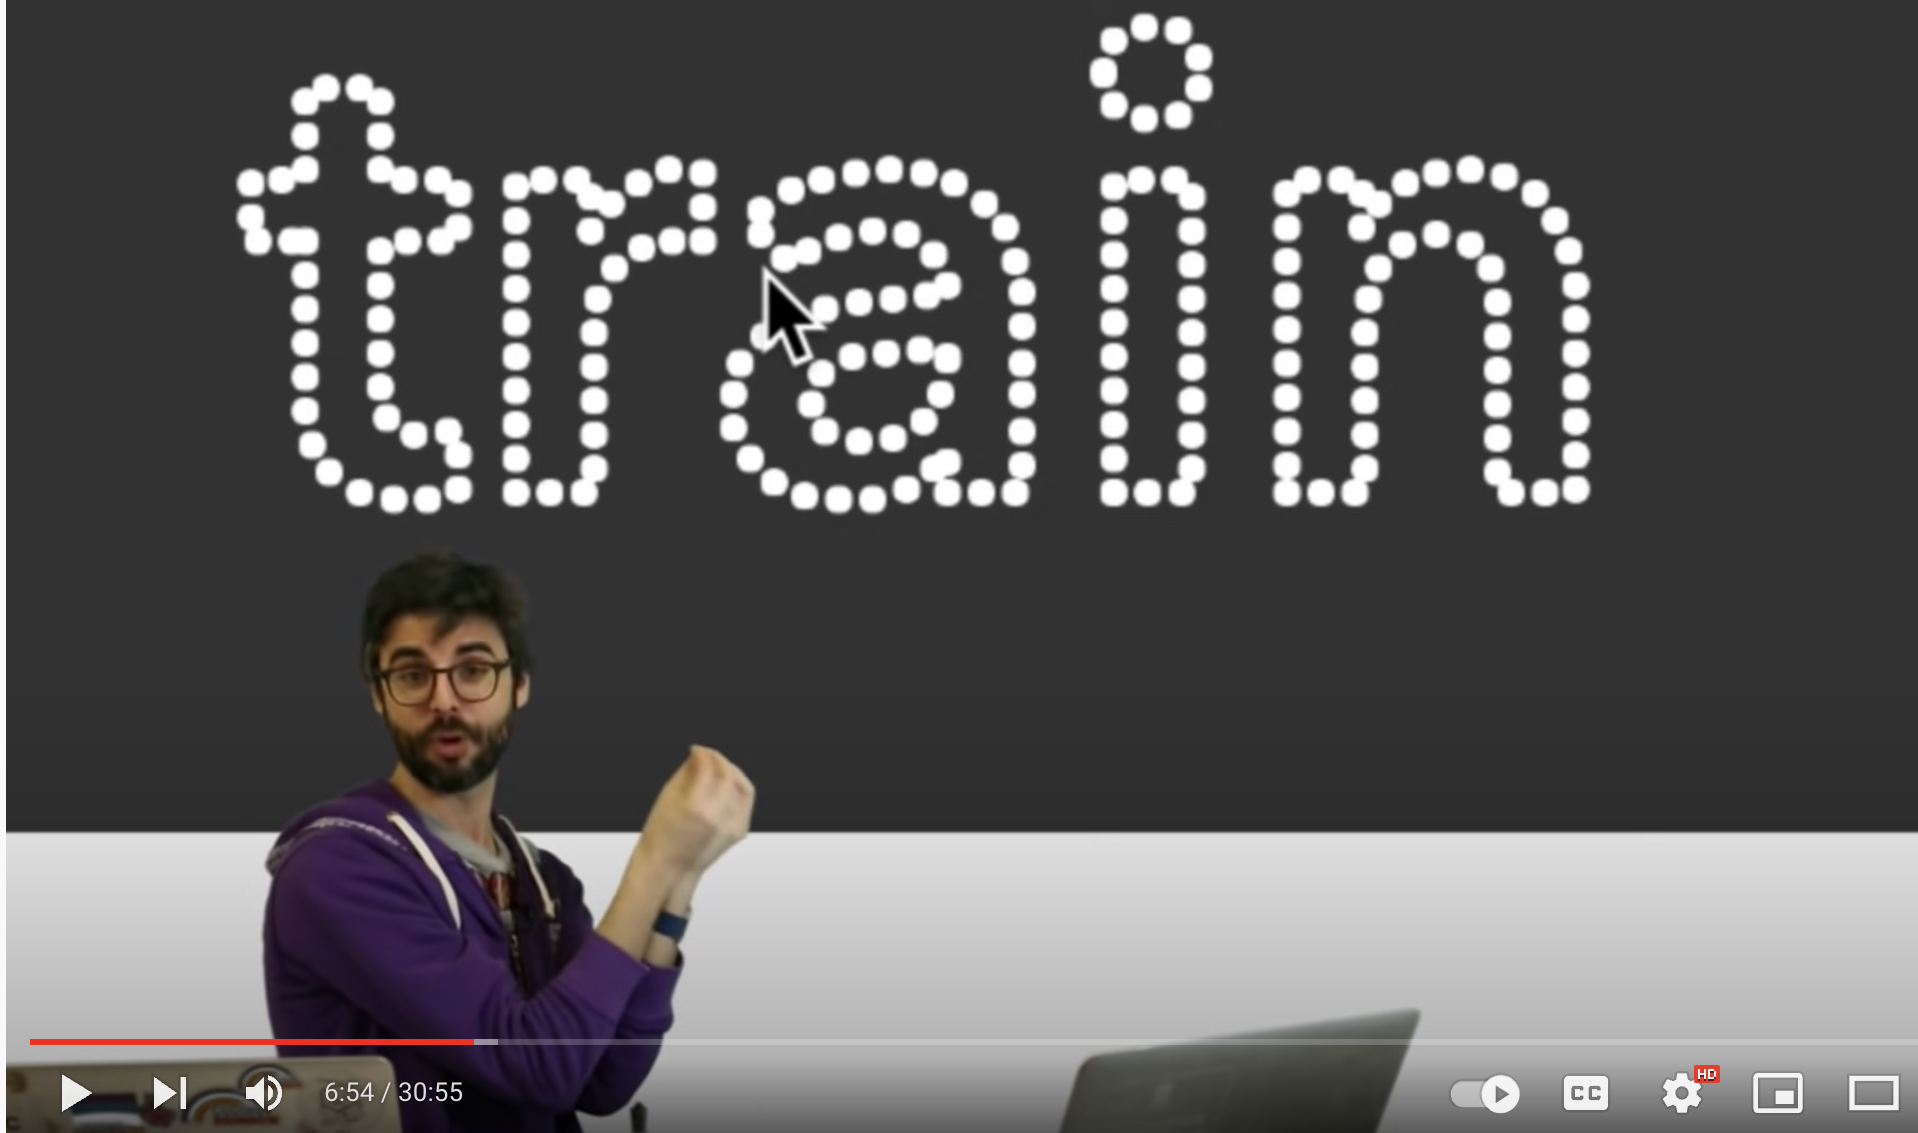
 The original game