Project Description:
My project is a generative drawing project where the user gets to draw with hands/joystick and then save the work they drew.
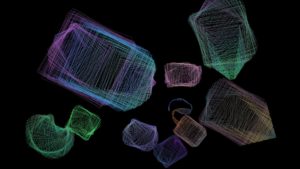
I started my work by exploring different shapes and types of brushes to choose one. After some time and looking around I decided it was best to give the user the option to use more than one brush in one piece.
I am still not done with the brush class but after testing the brushes separately, that is my unedited code for the brush class:
Main Class Function:
import java.util.*;
class Brush {
int brushN;
float stepSize;
float angle;
float x, y, tempX, tempY;
color col;
//
int counter;
PFont font;
float fontSize;
String letters;
float fontSizeMin;
//
float [] blurX={ -stepSize, -stepSize, 0, stepSize, stepSize, stepSize, 0, -stepSize};
float [] blurY={ 0, stepSize, stepSize, stepSize, 0, -stepSize, -stepSize, -stepSize};
//linemoduelw
PShape lineModule;
float linelength=100;
float [] numX={ -100, -70, 0, 70, 100, 70, 0, -70};
float [] numY={ 0, 70, 100, 70, 0, -70, -100, -70};
Brush(int defaultt, float step_size) {
// 1 blur
// 2 random cylinder
// 3 dynamic shapes
// 4 text lines
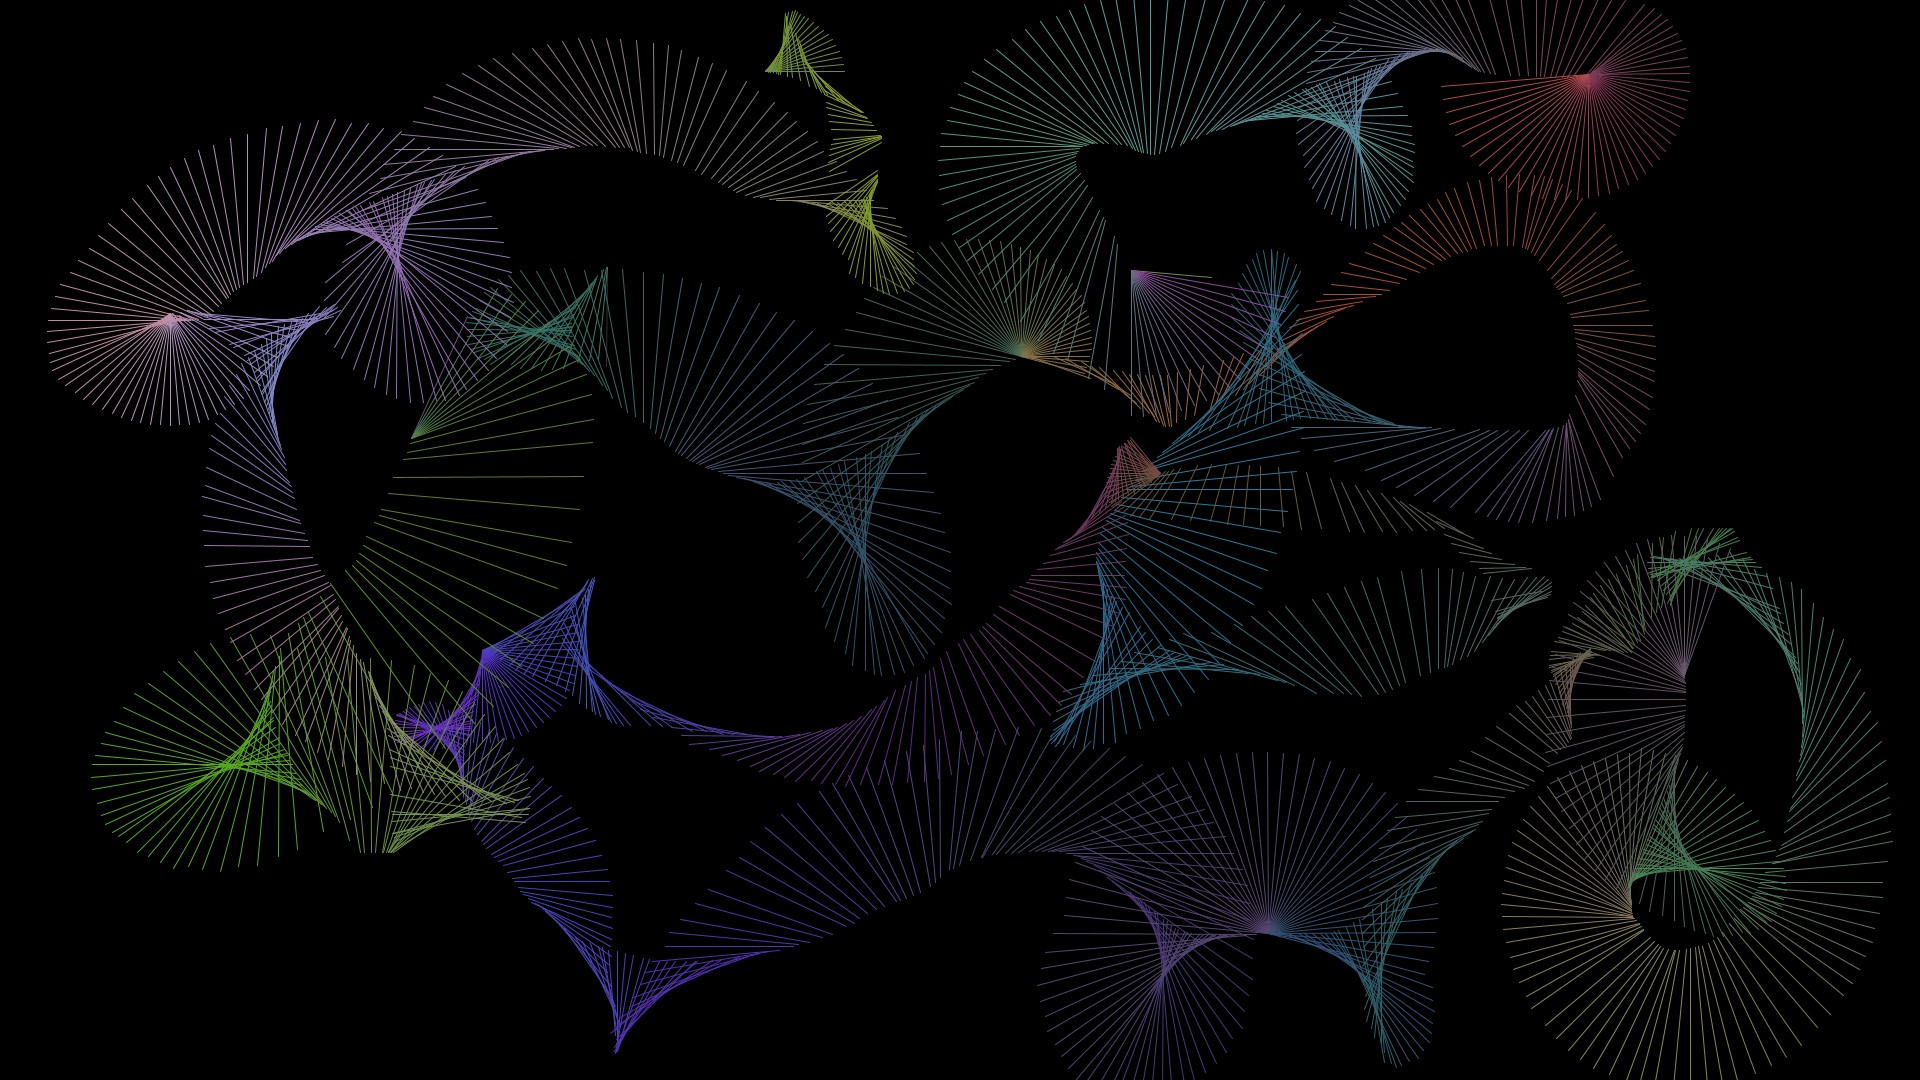
// 5 rotating lines
brushN = defaultt;
stepSize = step_size;
angle = 270;
x = mouseX;
y = mouseY;
col = color(255);
fontSizeMin=200;
fontSize=50;
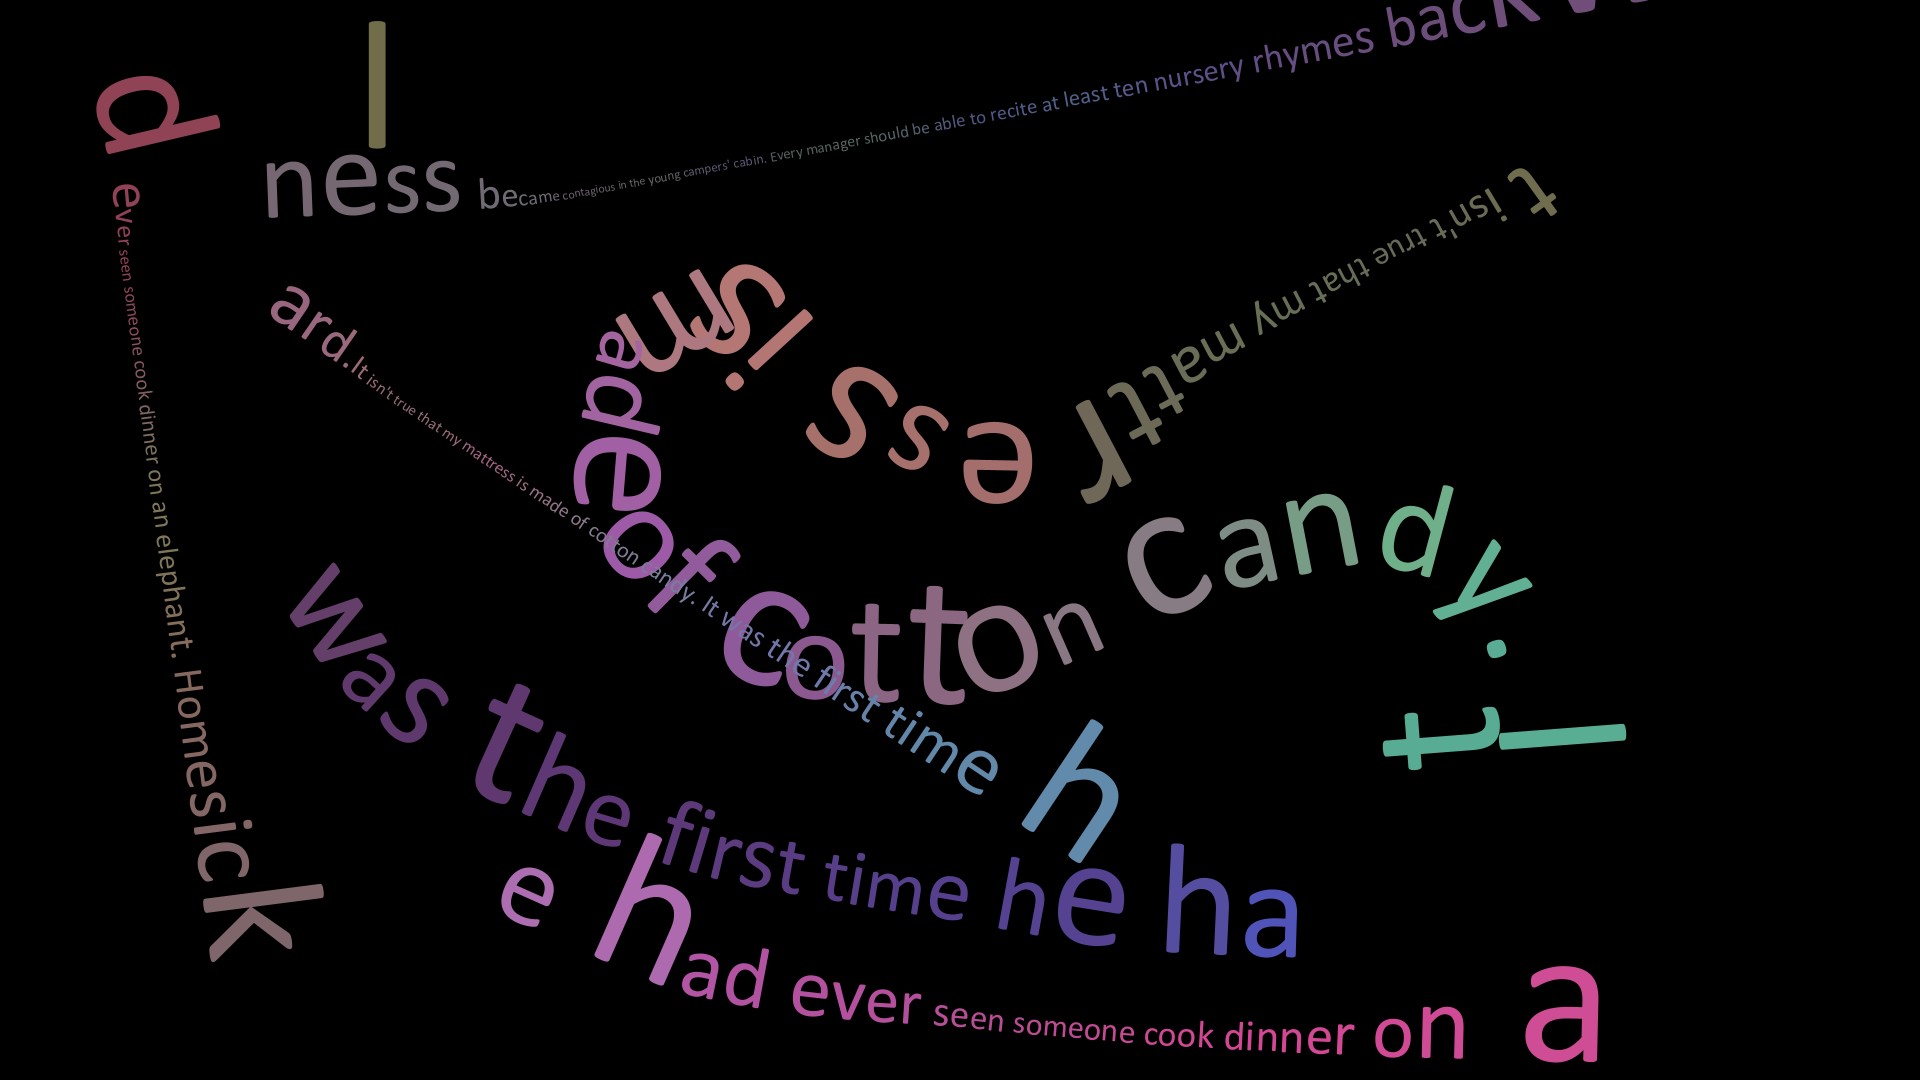
letters = "It isn't true that my mattress is made of cotton candy. It was the first time he had ever seen someone cook dinner on an elephant. Homesickness became contagious in the young campers' cabin. Every manager should be able to recite at least ten nursery rhymes backward.";
// for(int i; i<8; i++){
// numX = (float)acos()
// }
}
void setbrush(int brushn) {
brushN=brushn;
}
void setSize(int size) {
stepSize=size;
}
void draw() {
switch (brushN) {
case 1:
blur();
break;
case 2:
randomprisms();
break;
case 3:
dynamicShapes();
break;
case 4:
textlines();
break;
default :
rotatingLines();
break;
}
}
...
}
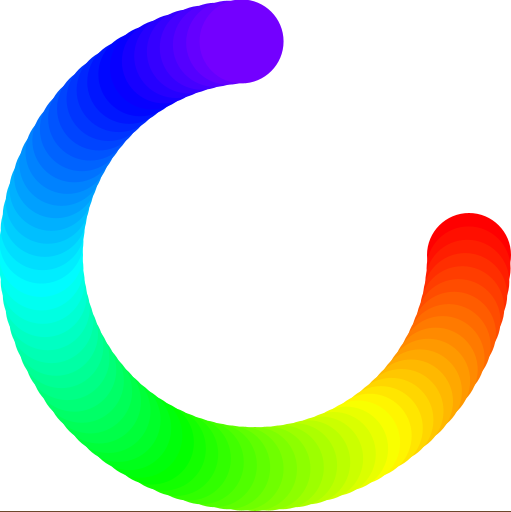
class ColorWheel{
}
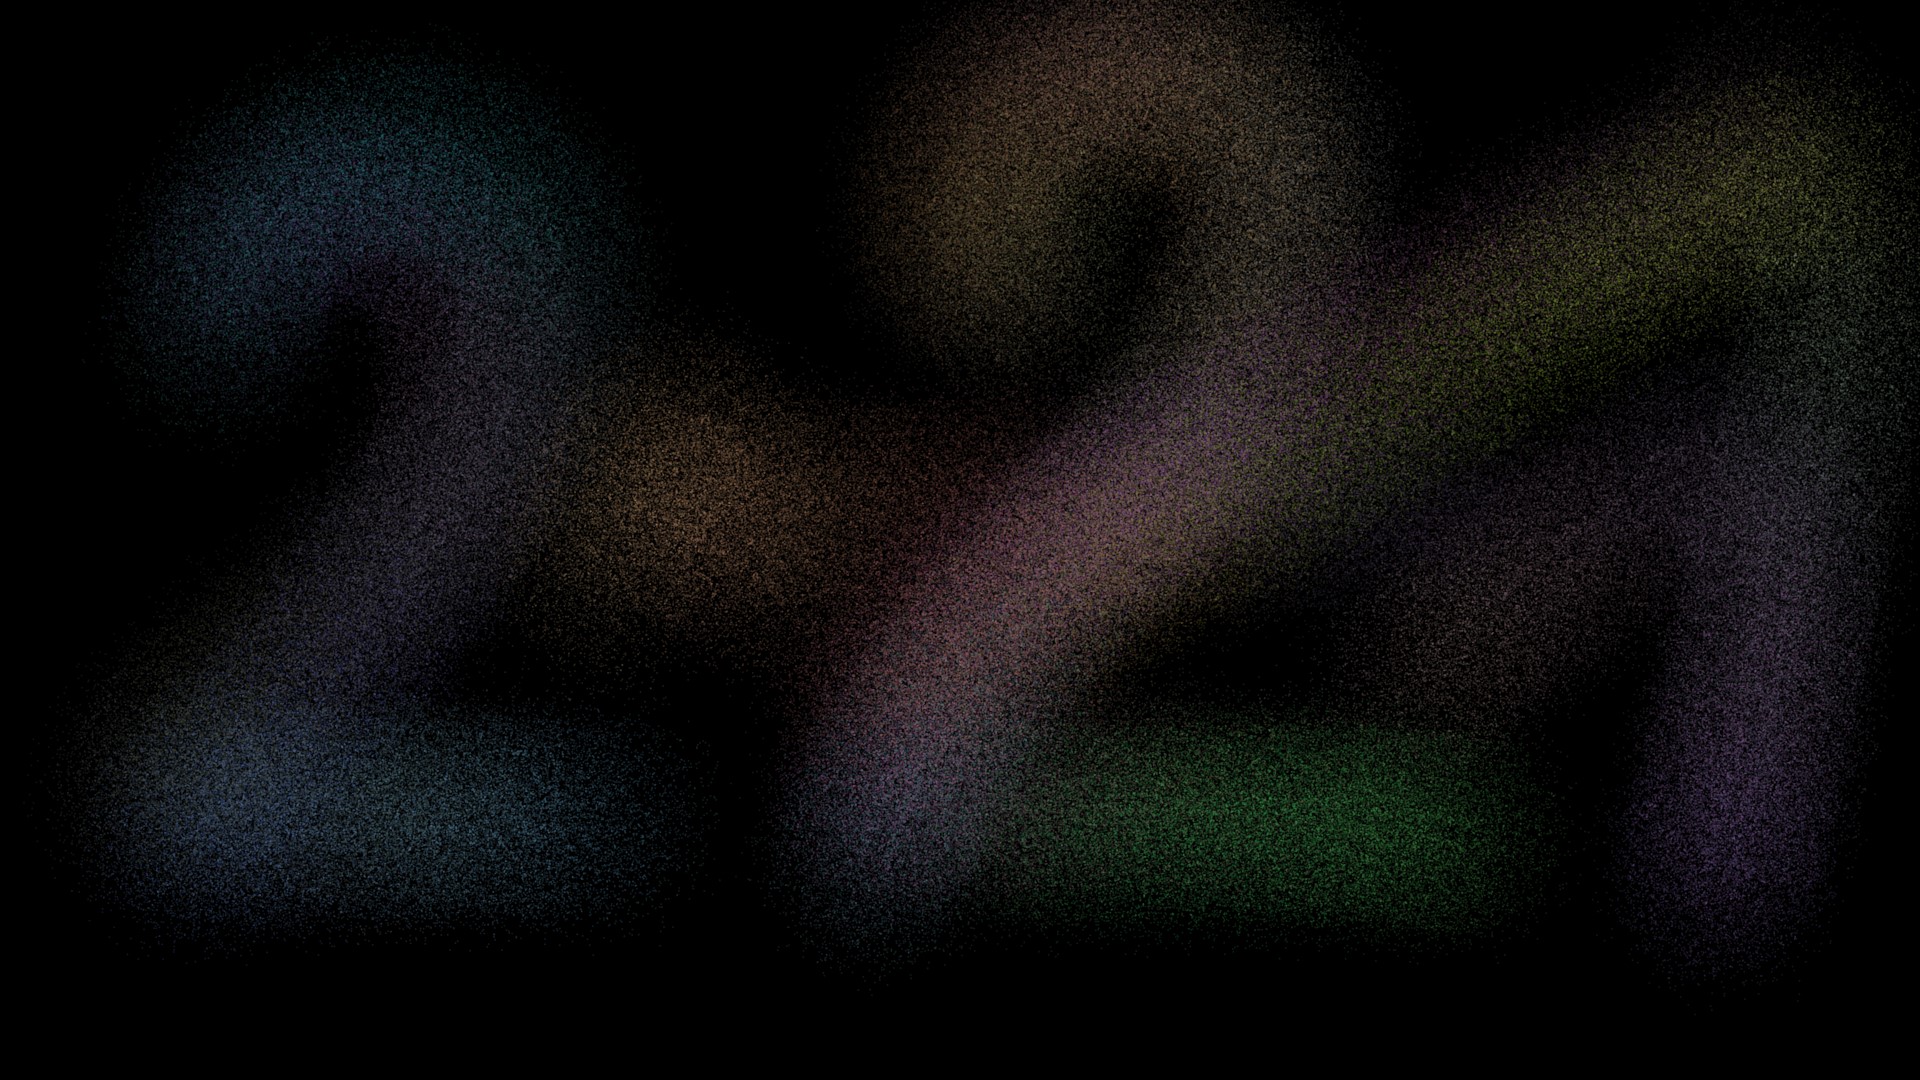
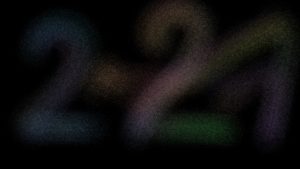
Blur:
void blur() {
  float diam = 1;
  if (mousePressed) {
    float d = dist(x, y, mouseX, mouseY);

    if (d > stepSize) {
      // gets the angle between the mouse and the location of the brush so that next point is drawn in the right intended location
      angle = (float)Math.atan2(mouseY-y, mouseX-x);

      tempX = x;
      tempY = y;

      pushMatrix();
      //
      translate(x, y);
      rotate(angle);
      noStroke();
      fill(col, 40);

      //
      for (int i=0; i<200; i++) {
        int dir =  int(random(0, 7));
        rotate(random(5));
        tempX=blurX[dir]*random(1, 10);
        tempY=blurY[dir]*random(1, 10);
        circle(tempX, tempY, diam);
      }
      //
      popMatrix();
      x=x+(float)Math.cos((angle))*stepSize;
      y=y+(float)Math.sin((angle))*stepSize;
    }
  }
  col = color(noise(100+0.01*frameCount)*255, noise(200+0.01*frameCount)*255, noise(300+0.01*frameCount)*255, 255);
}
Random Size Prisms Brush:
void randomprisms() {
  if (mousePressed) {
    float d = dist(x, y, mouseX, mouseY);

    if (d>stepSize) {
      // gets the angle between the mouse and the location of the brush so that next point is drawn in the right intended location
      angle = (float)Math.atan2(mouseY-y, mouseX-x);
      for ( int i=0; i<8; i++) {
        numX[i]+=random(0-stepSize/2, stepSize/2);
        numY[i]+=random(0-stepSize/2, stepSize/2);
      }

      pushMatrix();
      //
      translate(x, y);
      rotate(angle+random(-0.1, 0.1));
      stroke(col);
      strokeWeight(stepSize/4);
      // if (frameCount%2 == 0) stroke(100);
      // line(0, 0, 0, linelength*random(0.95, 1)*d/100);
      rectMode(CENTER);
      noFill();
      rect(0, 0, linelength*random(0.95, 1)*d/100, linelength*random(0.95, 1)*d/100);

      // noFill();
      // beginShape();
      // curveVertex(numX[0], numY[0]);///////////////
      // curveVertex(numX[0], numY[0]);///////////////
      // curveVertex(numX[1], numY[1]);//mid
      // curveVertex(numX[2], numY[2]);///////////////
      // curveVertex(numX[3], numY[3]);// mid
      // curveVertex(numX[4], numY[4]);///////////////
      // curveVertex(numX[5], numY[5]);//mid
      // curveVertex(numX[6], numY[6]);///////////////
      // curveVertex(numX[7], numY[7]);//mid
      // curveVertex(numX[0], numY[0]);///////////////
      // curveVertex(numX[0], numY[0]);///////////////


      // endShape();

      popMatrix();

      x=x+(float)Math.cos((angle))*stepSize;
      y=y+(float)Math.sin((angle))*stepSize;
      x=mouseX;
      y=mouseY;
    }
  }
  col = color(noise(100+0.01*frameCount)*255, noise(200+0.01*frameCount)*255, noise(300+0.01*frameCount)*255, 255);
}
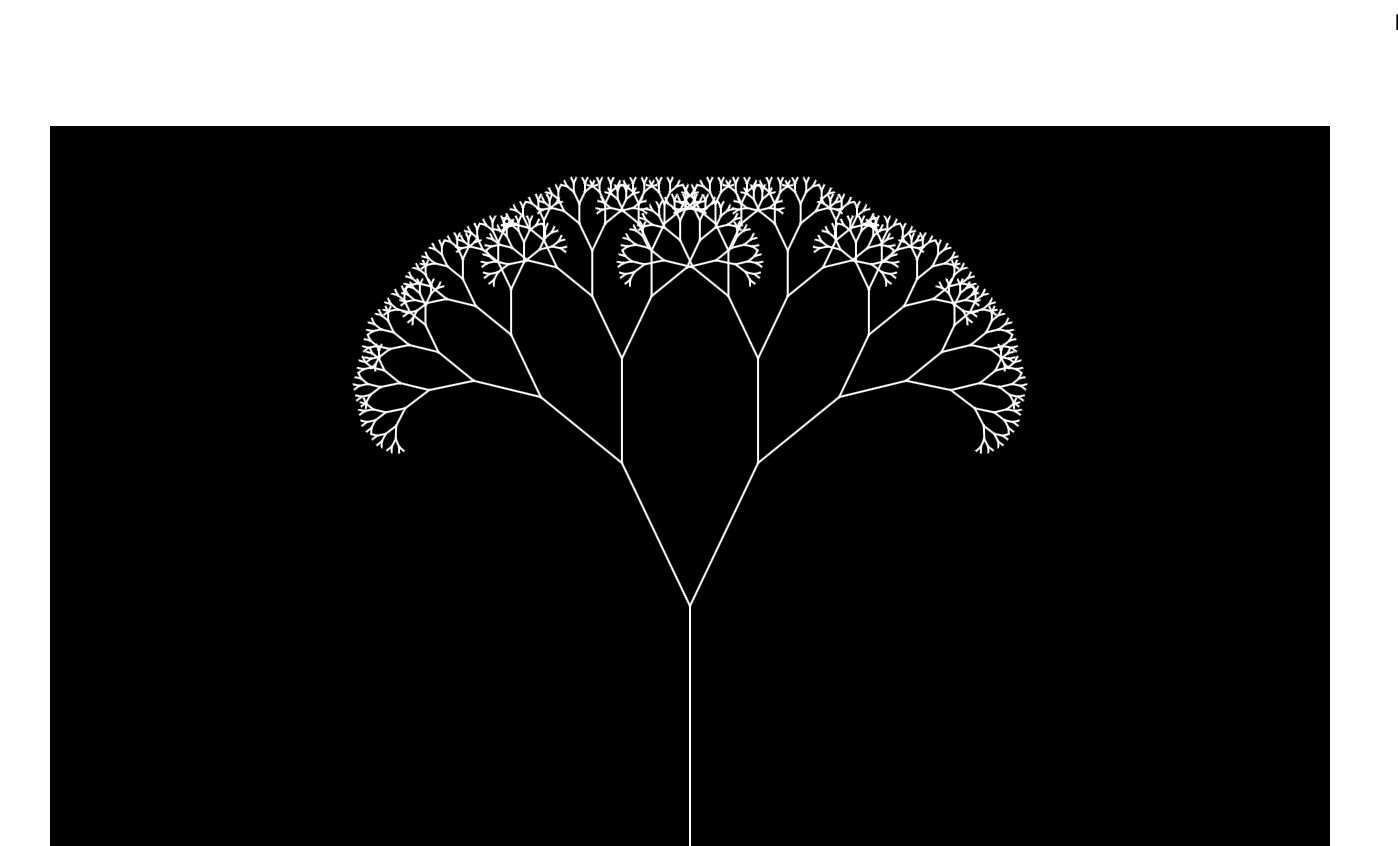
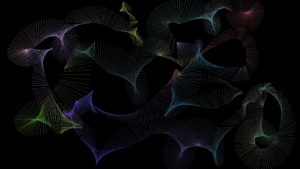
void dynamicShapes() {
  if (mousePressed) {
    float d = dist(x, y, mouseX, mouseY);

    if (d>stepSize) {
      //
      lineModule = createShape();
      stroke(col);
      strokeWeight(10);
      noFill();
      lineModule.beginShape();

      lineModule.vertex(100, 0); // first point

      lineModule.vertex(0, 100);// /
      lineModule.vertex(-100, 0);// \
      lineModule.vertex(0, -100);// /
      lineModule.vertex(100, 0);// \

      lineModule.endShape();

      // lineModule = createShape();
      // stroke(col);
      // strokeWeight(10);
      // fill(col);
      // lineModule.beginShape();
      // lineModule.vertex(50, 75); // first point
      // lineModule.bezierVertex(100, 100, 500, 100, 400, 300);
      // lineModule.endShape();
      //
      // gets the angle between the mouse and the location of the brush so that next point is drawn in the right intended location
      angle = (float)Math.atan2(mouseY-y, mouseX-x);


      pushMatrix();
      //
      translate(mouseX, mouseY);
      rotate((angle+PI));
      shape(lineModule, 0, 0, d, noise(1+frameCount*0.0001)*10);
      //
      popMatrix();


      x=x+(float)Math.cos((angle))*stepSize;
      y=y+(float)Math.sin((angle))*stepSize;
    }
  }
  col = color(noise(100+0.01*frameCount)*255, noise(200+0.01*frameCount)*255, noise(300+0.01*frameCount)*255, 255);
}
Text Brush:
void textlines() {
  if (mousePressed) {
    float d = dist(x, y, mouseX, mouseY);
    d= constrain(d, 60, 7000);

    if (d>stepSize) {
      // gets the angle between the mouse and the location of the brush so that next point is drawn in the right intended location
      angle = (float)Math.atan2(mouseY-y, mouseX-x);
      fontSize= fontSizeMin*60/d;
      println("d: "+d);
      font = createFont("Calibri", fontSize);

      textFont(font, fontSize);
      char newLetter = letters.charAt(counter);
      stepSize = textWidth(newLetter);
      fill(col);
      //stroke(col);


      pushMatrix();
      //
      translate(x, y);
      rotate(angle);
      text(newLetter, 0, 0);
      //
      popMatrix();

      counter++;

      if (counter>letters.length()-1) counter=0;

      x = x + (float)Math.cos(angle)*stepSize;
      y = y + (float)Math.sin(angle)*stepSize;
    }
  }
  col = color(noise(100+0.01*frameCount)*255, noise(200+0.01*frameCount)*255, noise(300+0.01*frameCount)*255, 255);
}

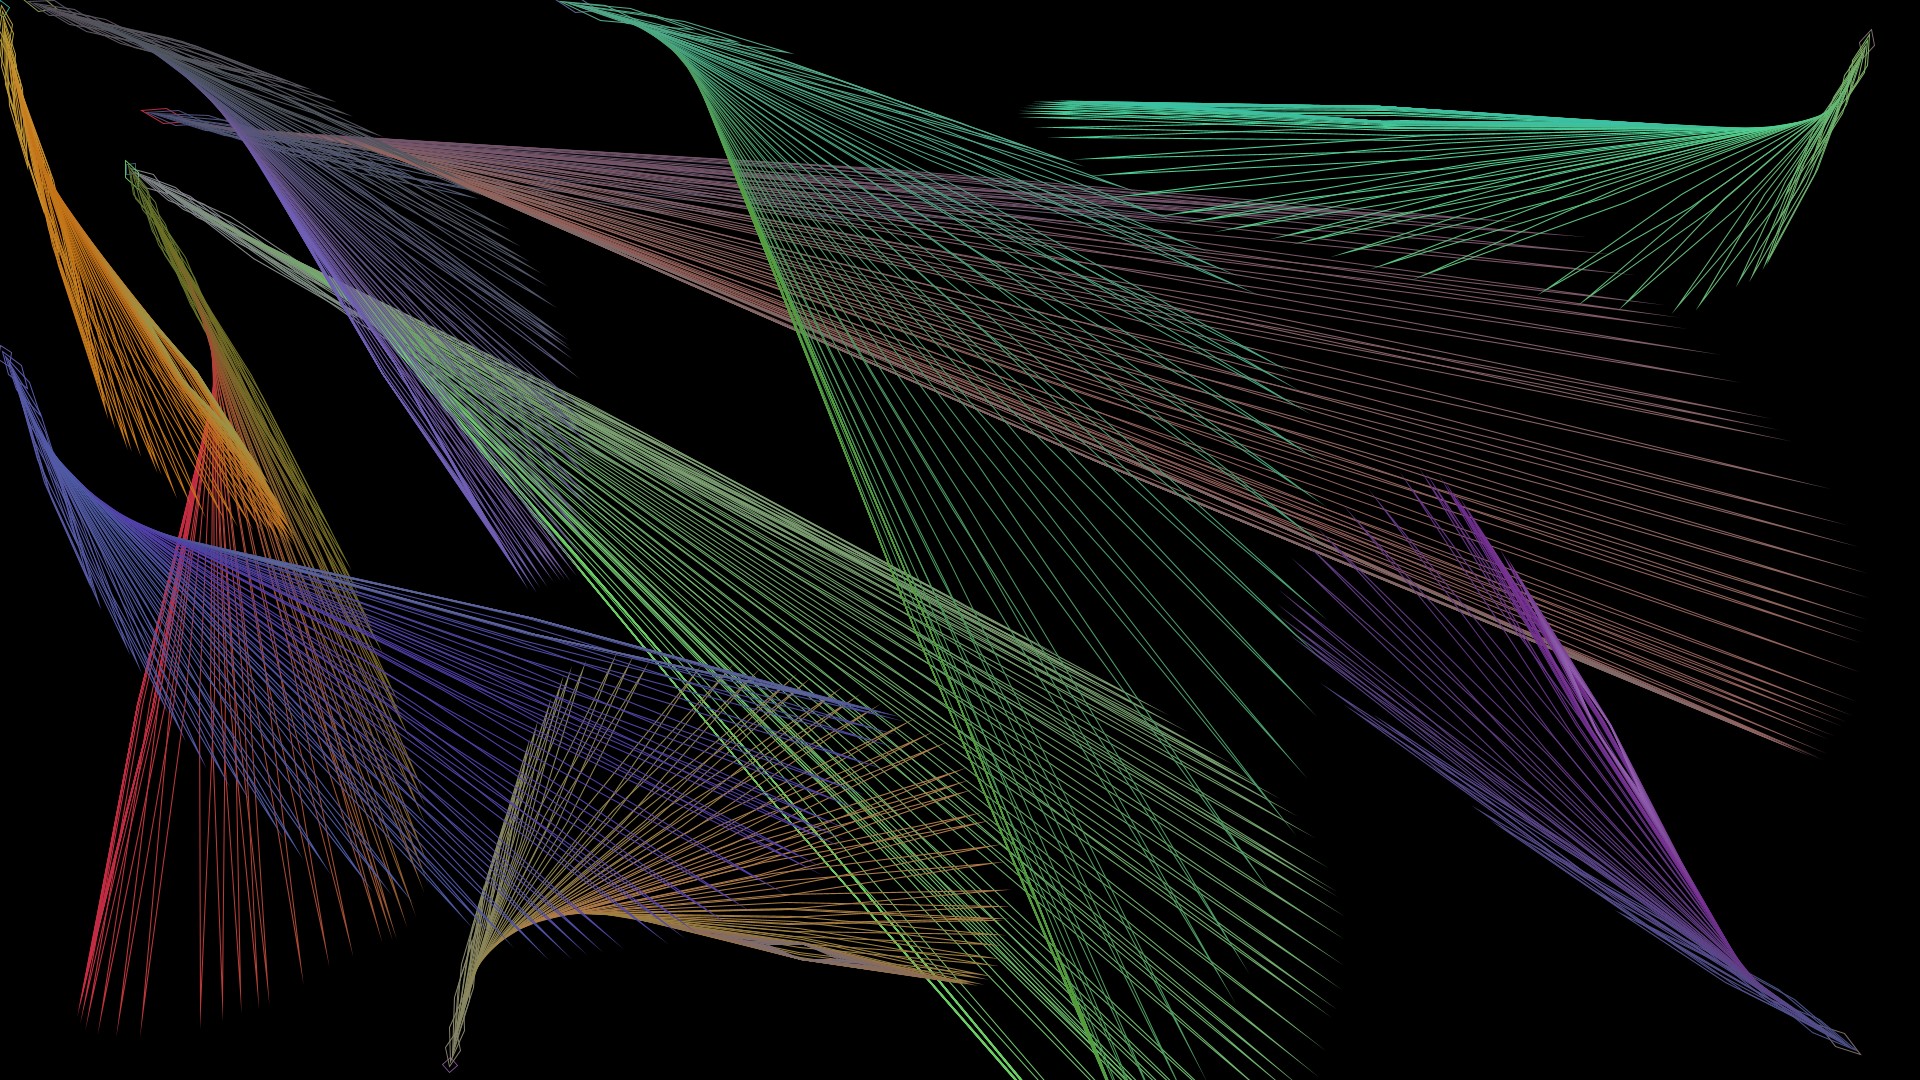
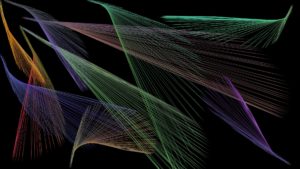
Rotating Brush:
void rotatingLines() {

  if (mousePressed) {
    pushMatrix();
    strokeWeight(3);
    stroke(col);
    //
    translate(mouseX, mouseY);
    rotate(radians(angle));
    line(0, 0, linelength, 0);
    //
    popMatrix();

    angle +=1;
    col = color(noise(100+0.01*frameCount)*255, noise(200+0.01*frameCount)*255, noise(300+0.01*frameCount)*255, 255);
    linelength= int(noise(50+0.01*frameCount)*300);
  }
}
Next Steps:
Processing:
1) Workout the user input method
2) Create the user interface and develop a collect pixels mechanism to restore the drawing after the color wheel appears when the user changes colors
3)Save the images and save files with people’s previous images to display images when the user saves the file.
Arduino:
1) Get readings from joyStick for color wheel and possibly brush.
2) Get readings from buttons for save and fader variable resistor for brush