Assignment 5: Creative Switch

The brainstorming process took longer than the creating of the switch. It’s really hard to think of a switch that doesn’t require using your hands at all. I kept thinking of ideas that indirectly used my hands, which I felt like is still considered a switch that uses my hands. For example, one idea I had was opening my water bottle will be switch the light on, but this meant using my hand to push the button of my water bottle to open it. Another idea I had was a hair clip, but again it required my hands to put the clip in my hair. I also thought of using earrings, but it was a bit complicated to get the switch connection.

As I was trying to figure out what to do for my switch, I realized that I spend so much time just sitting and tinkering with ideas. So why not create a switch that takes advantage of sitting?

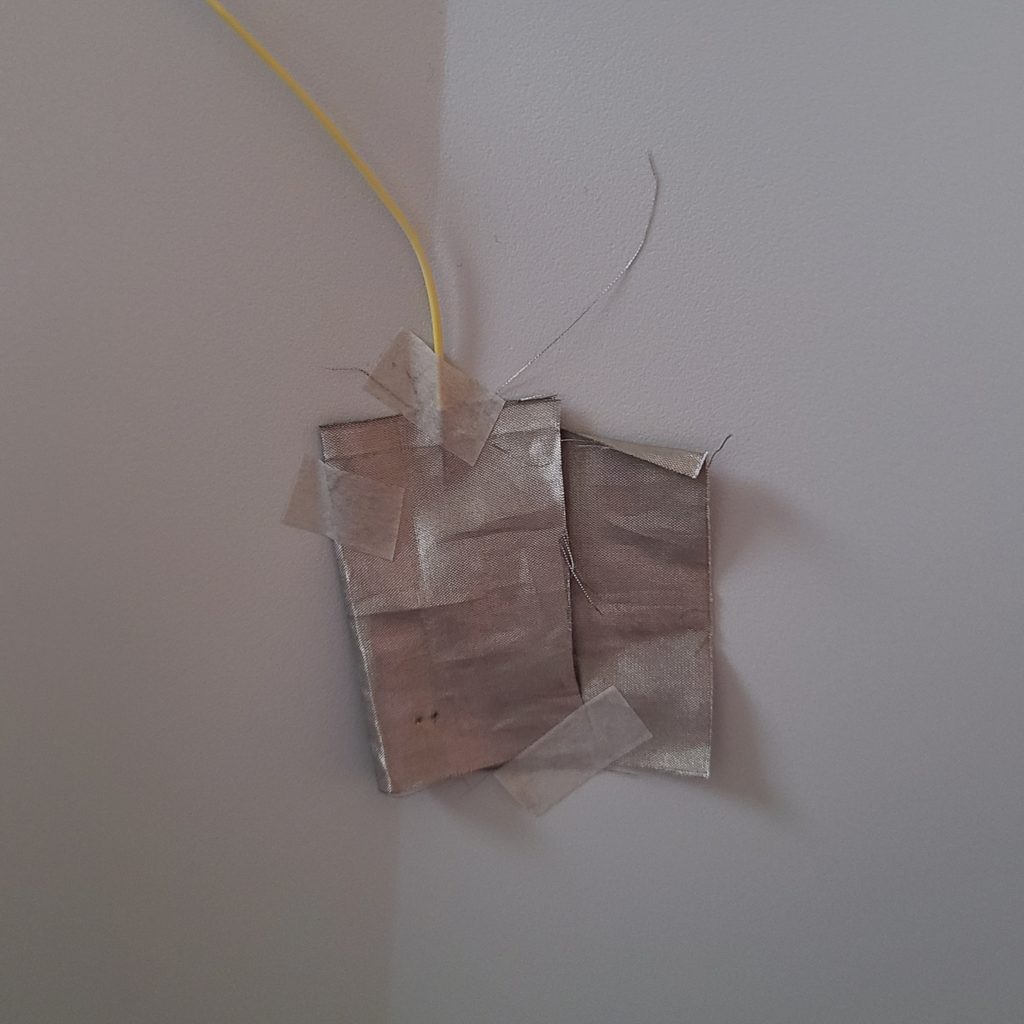
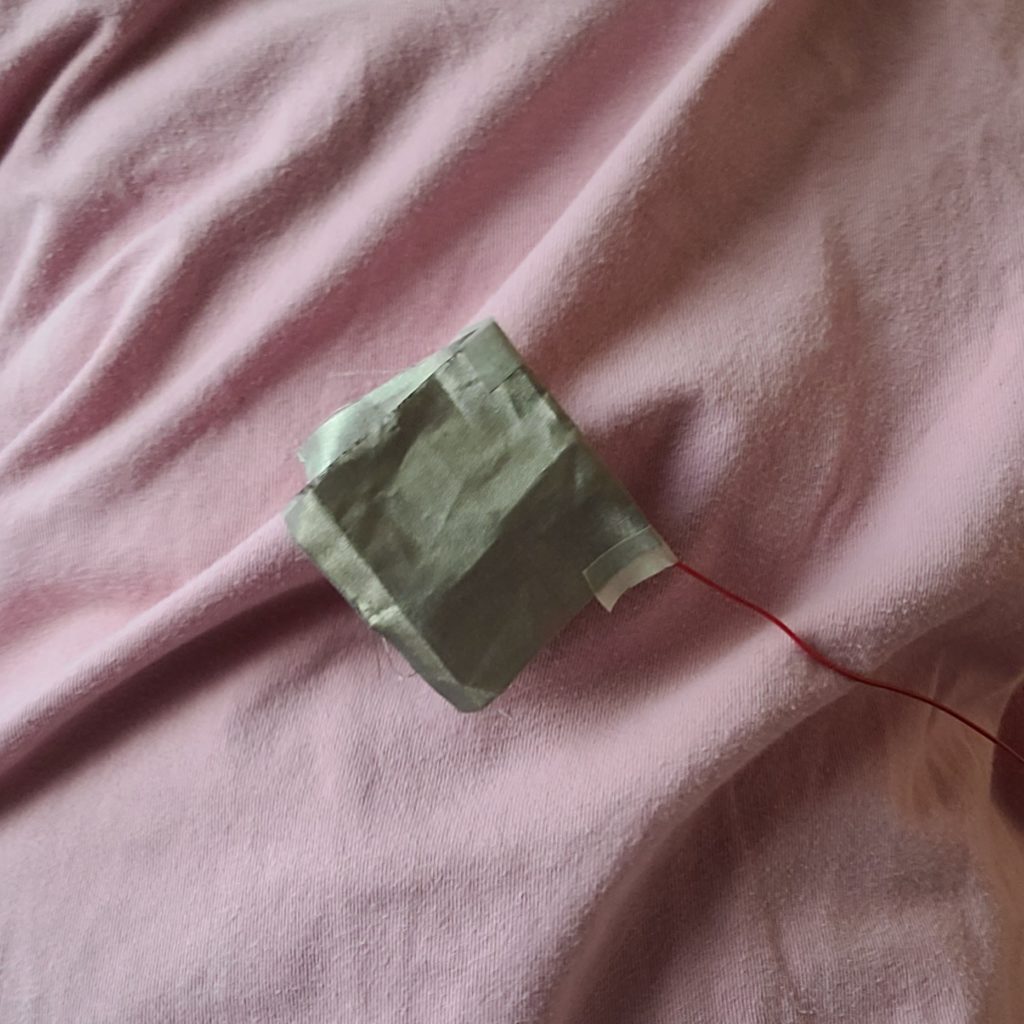
Once I got the idea, the process of creating it didn’t take too long. I found conductive fabric in the IM lab and decided to use it (note: it is surprisingly conductive because I got shocked twice holding the wire and fabric with my bare fingers). I just used tape to tape one end of the wire against the chair and one on my back. It’s kind of ridiculous, but it works! I tried to position it so that the LED lights up only when you sit with your back straight against the chair. So my idea for this switch is to help make your posture better, since I’m guilty of having bad posture as I’m staring at my laptop.

Here is the video of the switch in action:


Codeless LED Switch

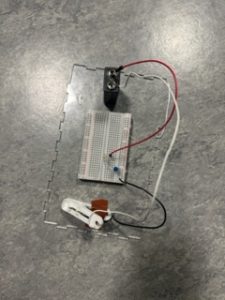
Concept: This switch is turned on when the brake pedals are pressed. The simple LED circuit is connected to a clothes pin (the brake pedal), a resistor, and a 9V battery.  I used a breadboard and different materials I found in the lab like wires.
recordedVid

Reflection: I loved working on a hands on project that involved no coding and seeing how we could be creative in so many ways.

Switch Assignment

Concept 

I wanted to create something that is creative and also has some historical influence. so i thought about a bunch of diffrent ideas. and then it clicked like the light bulb that shows up on top of your heads in cartoons. why don’t i use hats? so i decided to do something unique with the old custom of tipping your hat. tipping your hat is used as a symbol of greeting in cultures in the past, some people still use it to this day!

My Circuit 

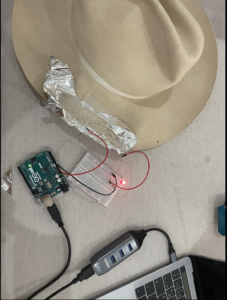
So i created a simple circuit the allows the LED to turn on when you tip your hat.

IMG_3691

Thing to improve 

SO i really wanted to wear the hat and be able to tip it but unfortunately the wires were too short. i tried to create a bridge with the foil but it kept failing. i also wanted to create a less obvious piece of foil. but overall i am really happy with how it turned out!

Creative Switch

Concept

When I first wanted to create a creative switch using the LED lights and the arduino, I was thinking about applications that would need very long wires and big spaces. Then, I decided to implement a simple creative switch using the simple short wires that I possess. As a result, I started testing out the conductivity of different materials in my room. I realized that the aluminum foil is a good conductor of electricity. Therefore, I decided to use it to come up with an interactive trash can.


I used the aluminum foil with the wires and the arduino and the bread board, to light up an LED light whenever I push to open the trash can. You can see this application below.

I tested it using my hand, but it would work in the same way using the feet. Moreover, I think this application can be helpful as it gives us an insight into whether a trash can is open or not. This is because the light only opens once the trash can is pressed otherwise the light turns off. This was done by connecting a wire to one aluminum foil piece and connecting another wire to the second aluminum foil piece. Whenever the two aluminum foils hit each other the light will turn on.

Assignment 5: Unusual Switch

Concept

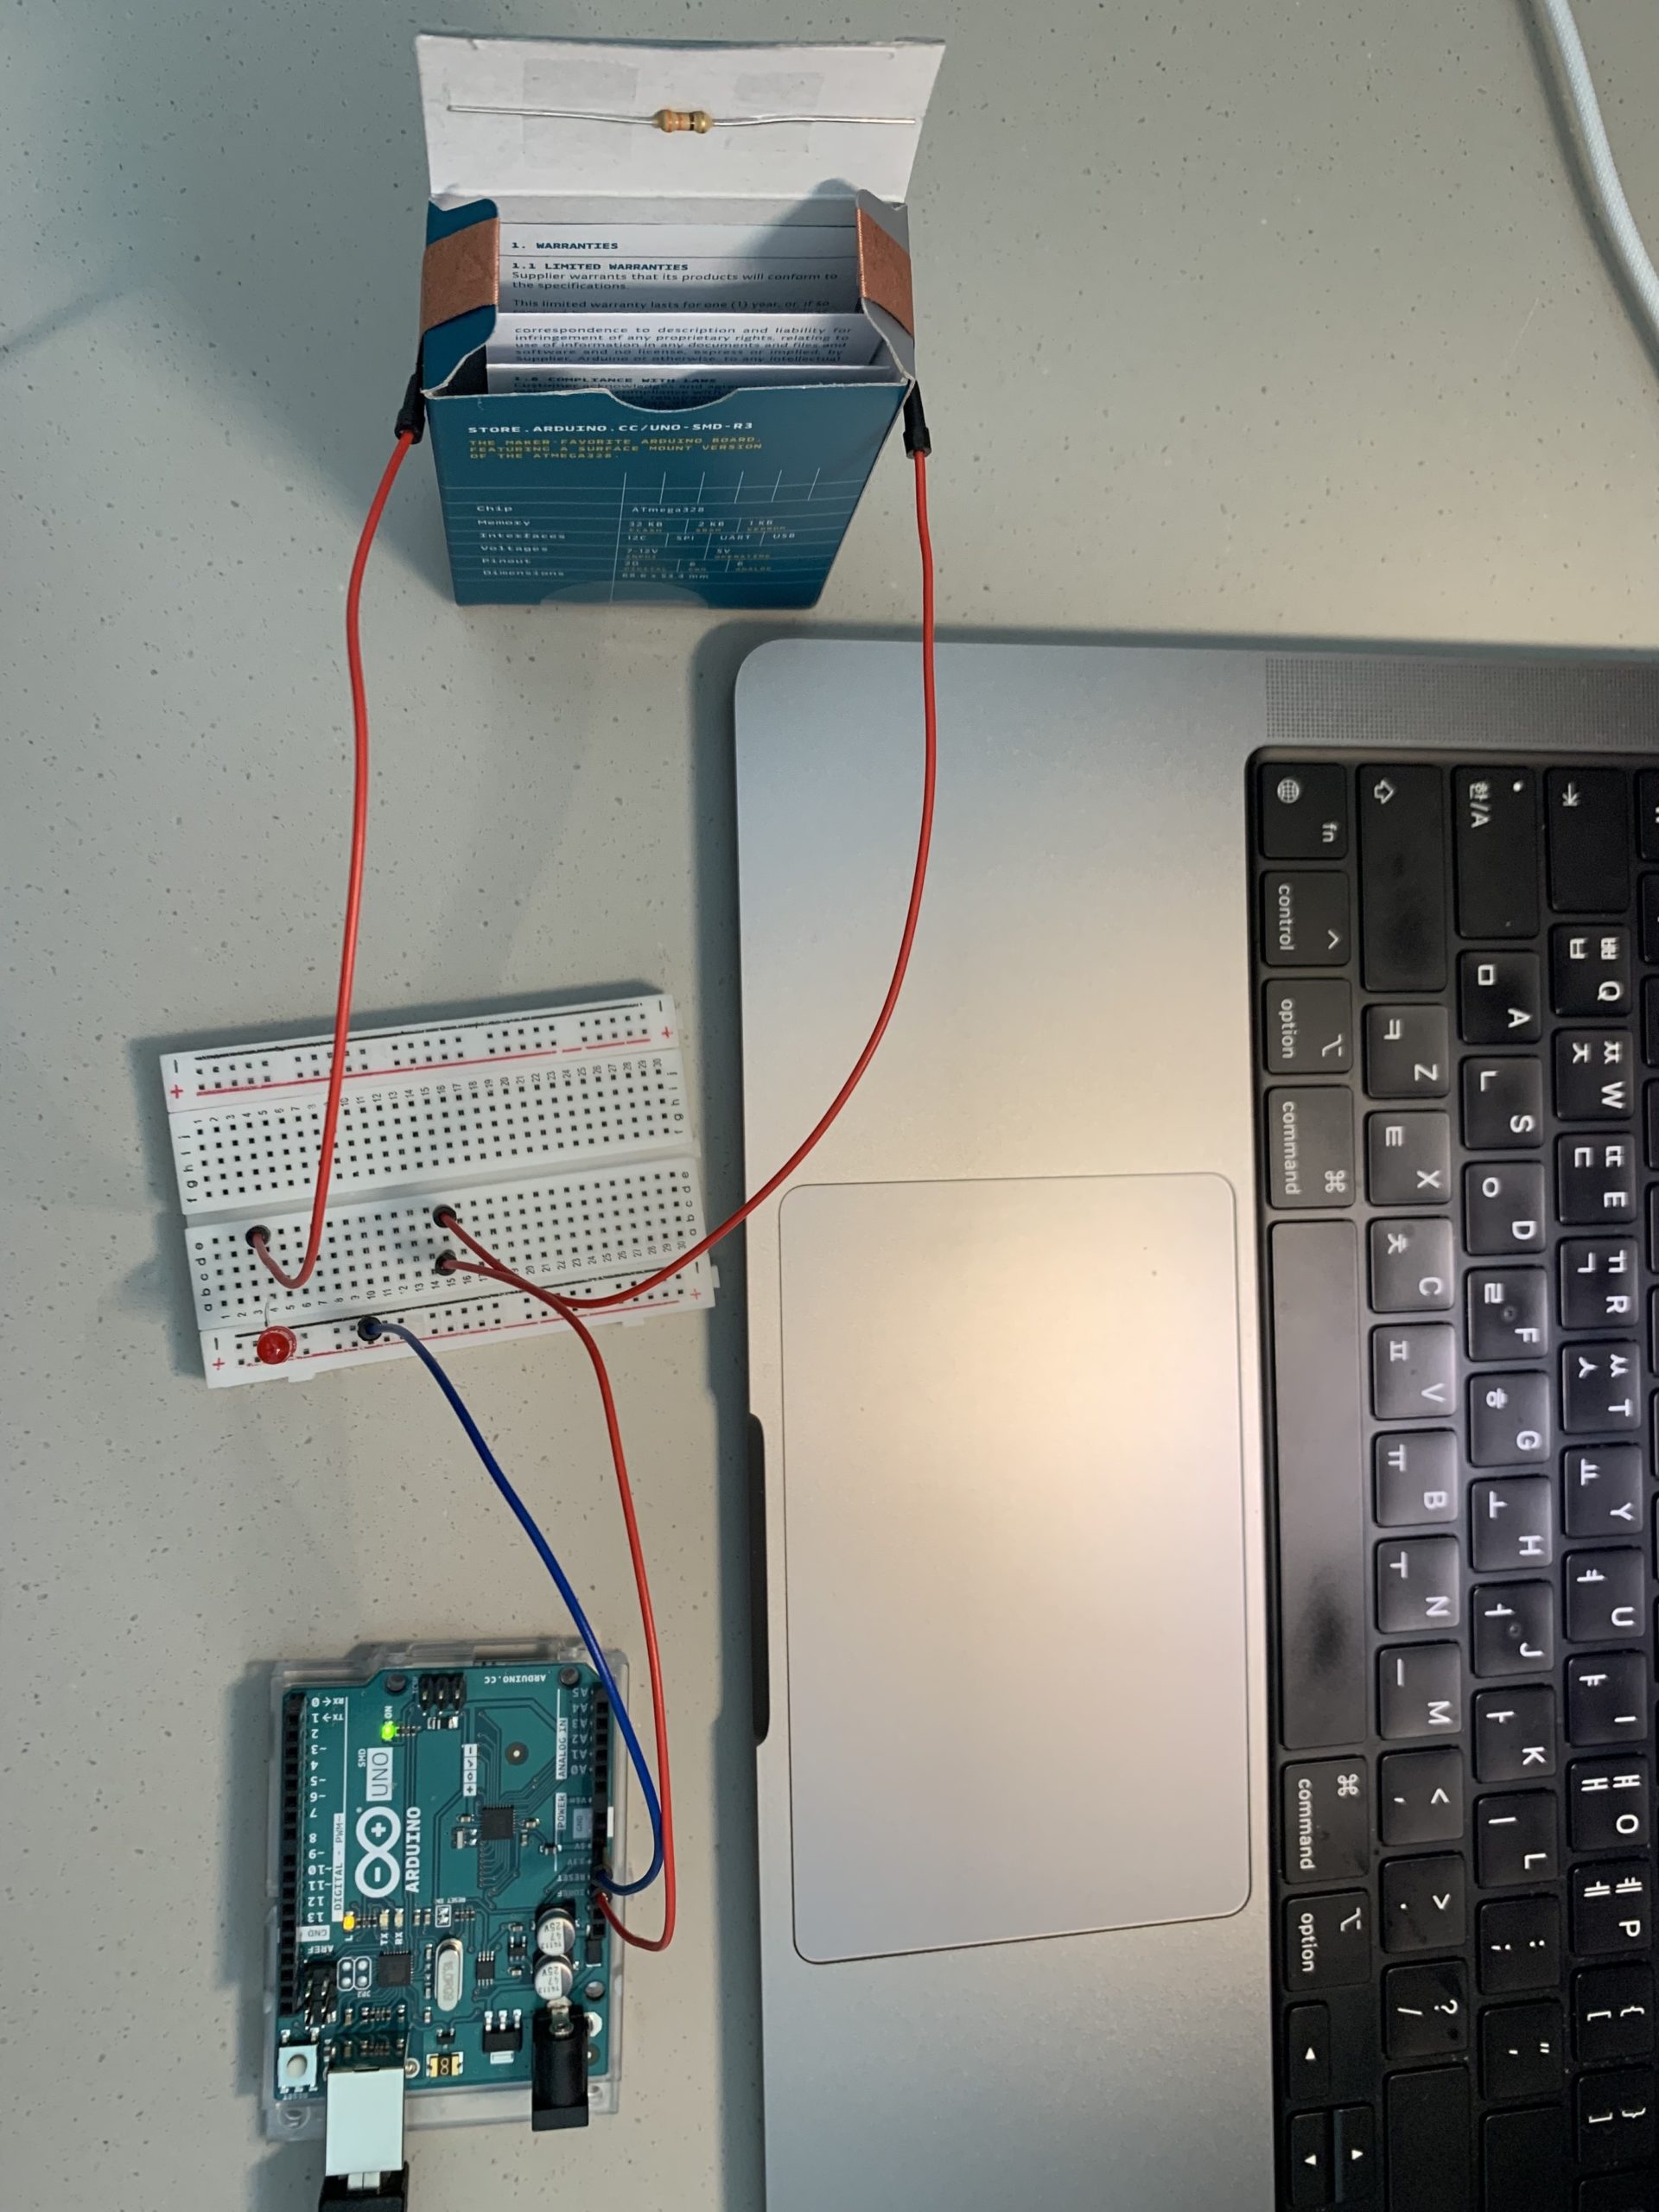
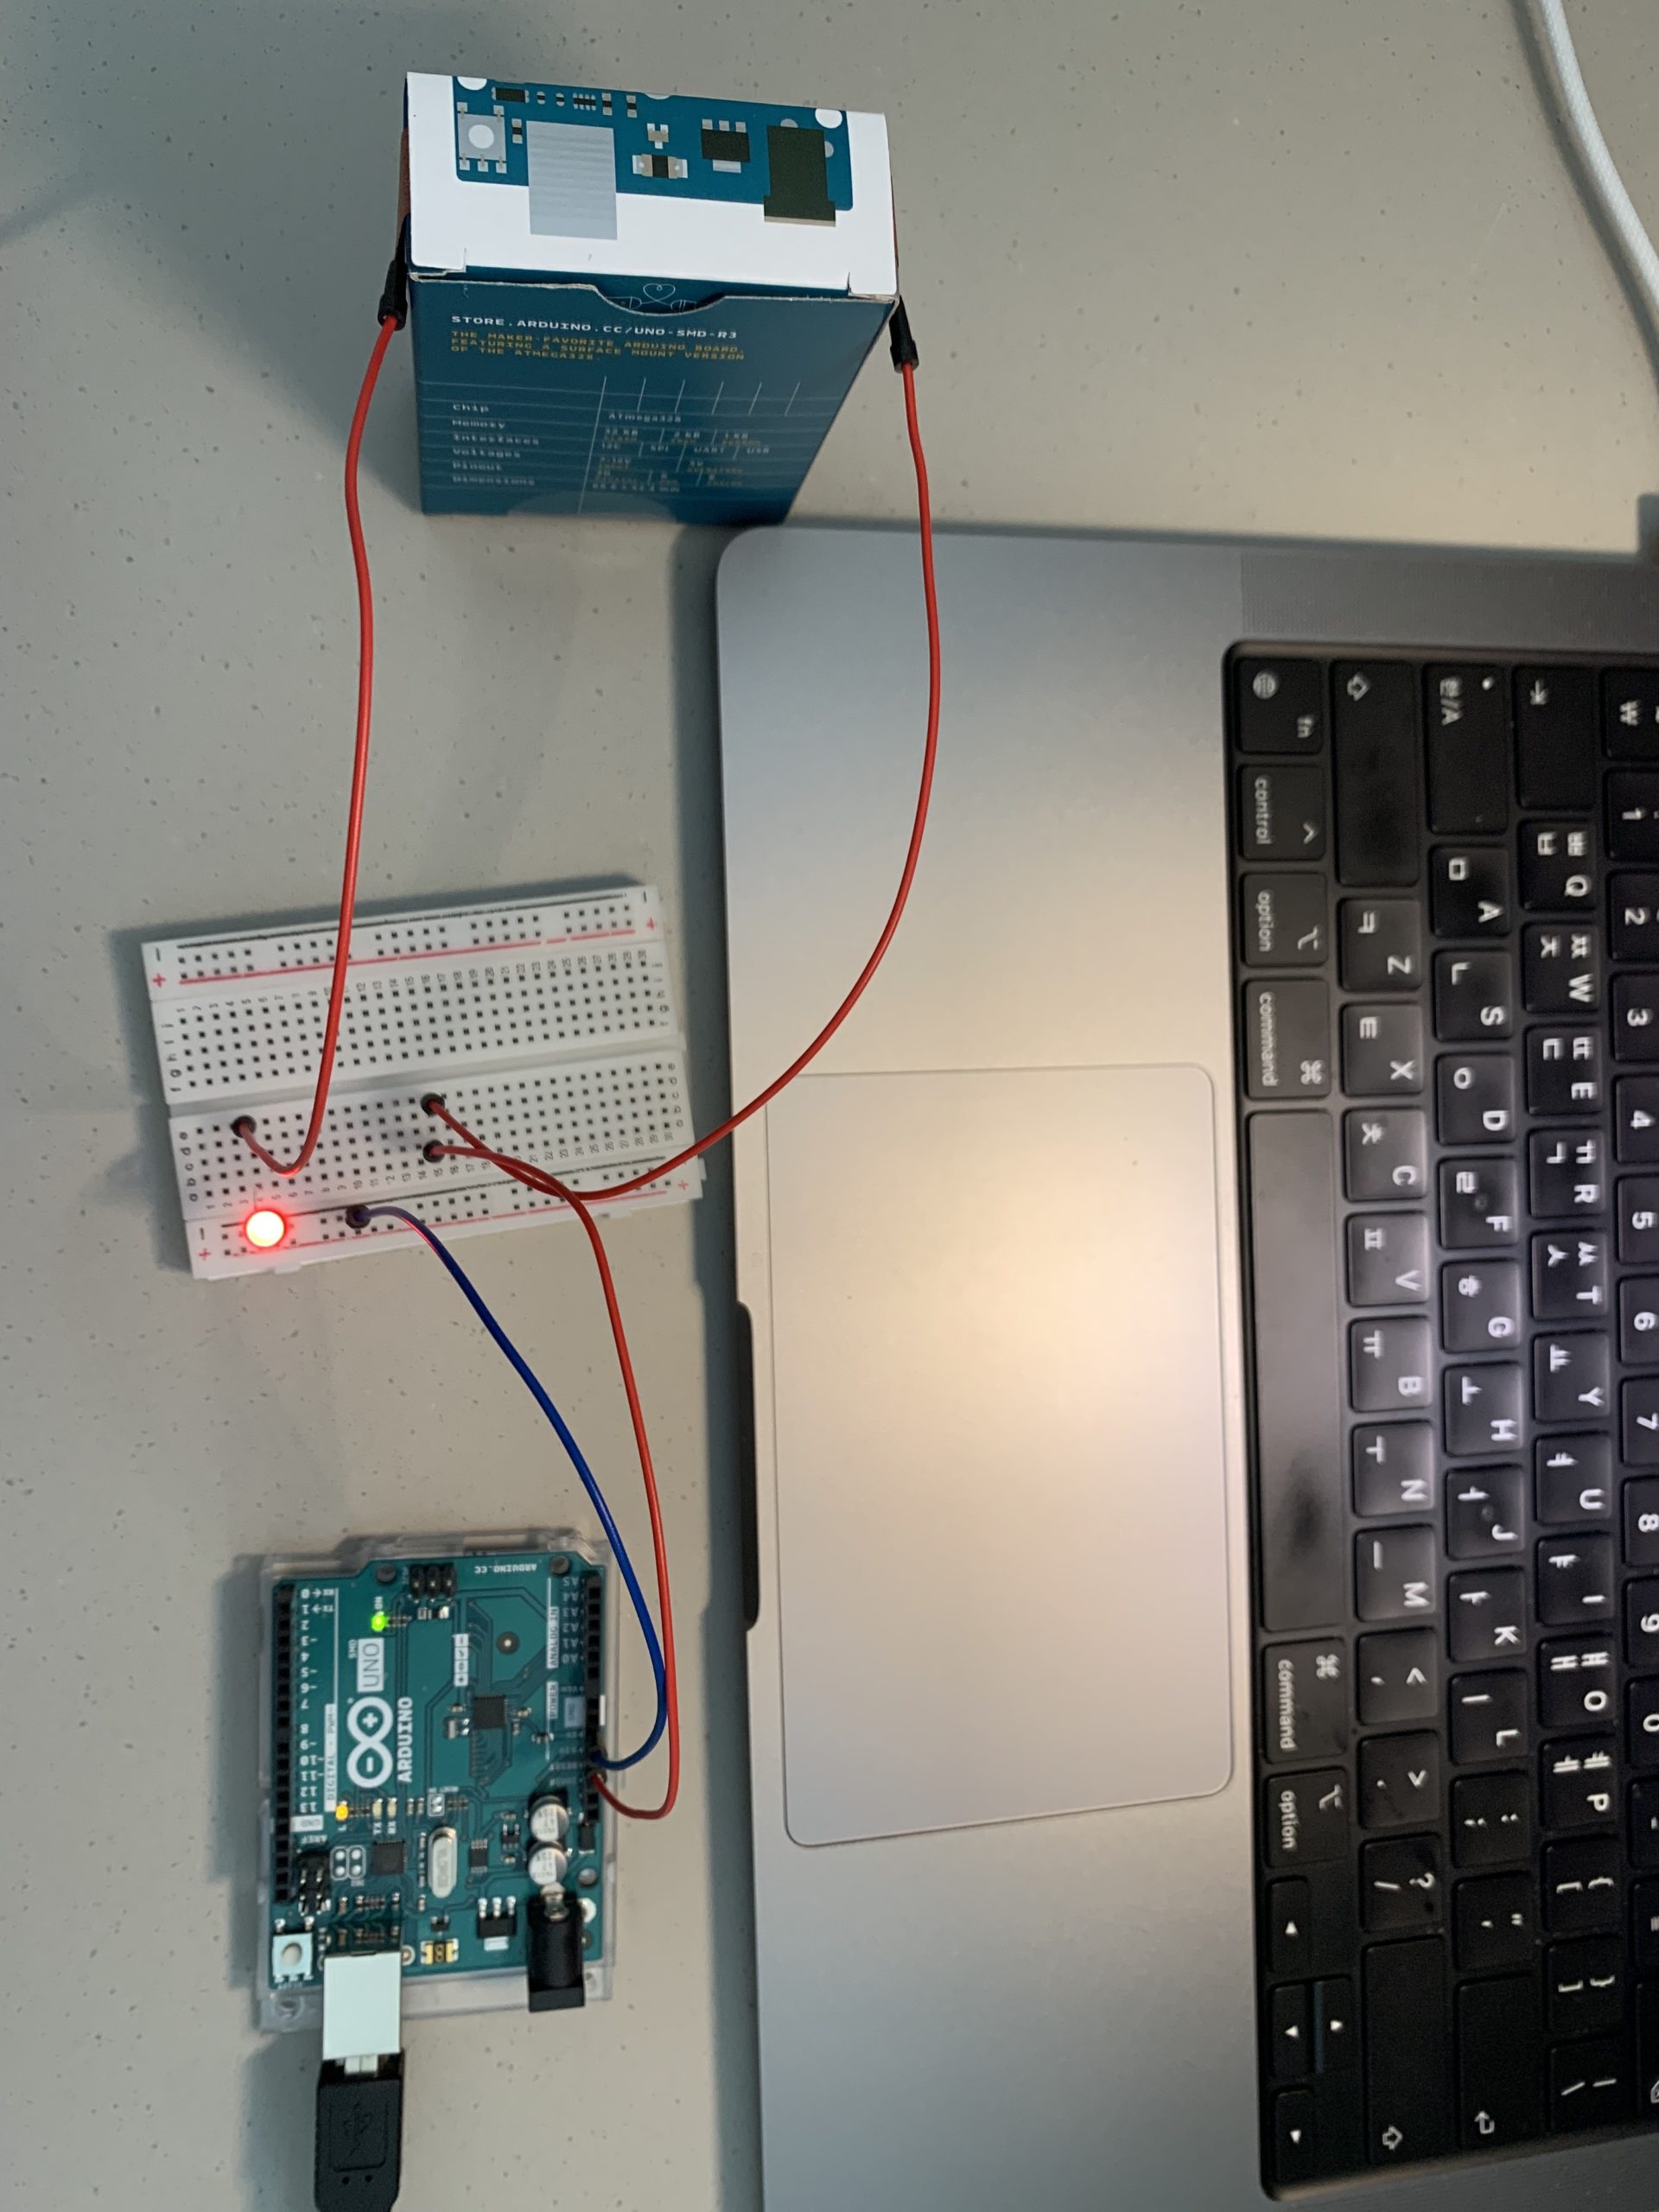
After procuring some conductive fabric from the IM Lab, I was fiddling around with the kit when a thought struck my head: instead of having a wire be dependent on the switch, I could have a resistor play the part. My eyes then turned to the box for the Arduino Uno board lying on its side—it looked quite dejected, emptied of its contents and all on its lonesome. I simply had no choice but to let it play a central role in my contraption. Looking at the box, an idea found itself in my mind: closing the box would act as a trigger for lighting up the LED. To work, then.

Process

After creating a simple circuit composed of four wires, a resistor, and an LED (5V → Wire → Wire → Resistor → Wire → LED → Wire → GND), I removed the resistor and unplugged each end of the two wires surrounding it. I then taped two slivers of the conductive fabric to the two side flaps of the box, creating small openings between the fabric and box within which I could slip in the ends of the wires. The final step was to tape the resistor to the inside of the box so that its tips would touch the fabric on both sides when the box is closed, thus completing the circuit. These pictures should help show what this looks like:

Off…and On!

And also a video:

Reflections

While it initially took me a little time to formulate the concept for my switch, things went quite smoothly after I settled on an idea! It was an exciting moment when the LED lit up as I had intended, akin to the thrill one feels when their code works. On that note, I look forward to what I can make by combining circuits with code—and especially to the doubled sense of satisfaction when things work out!

creative switch

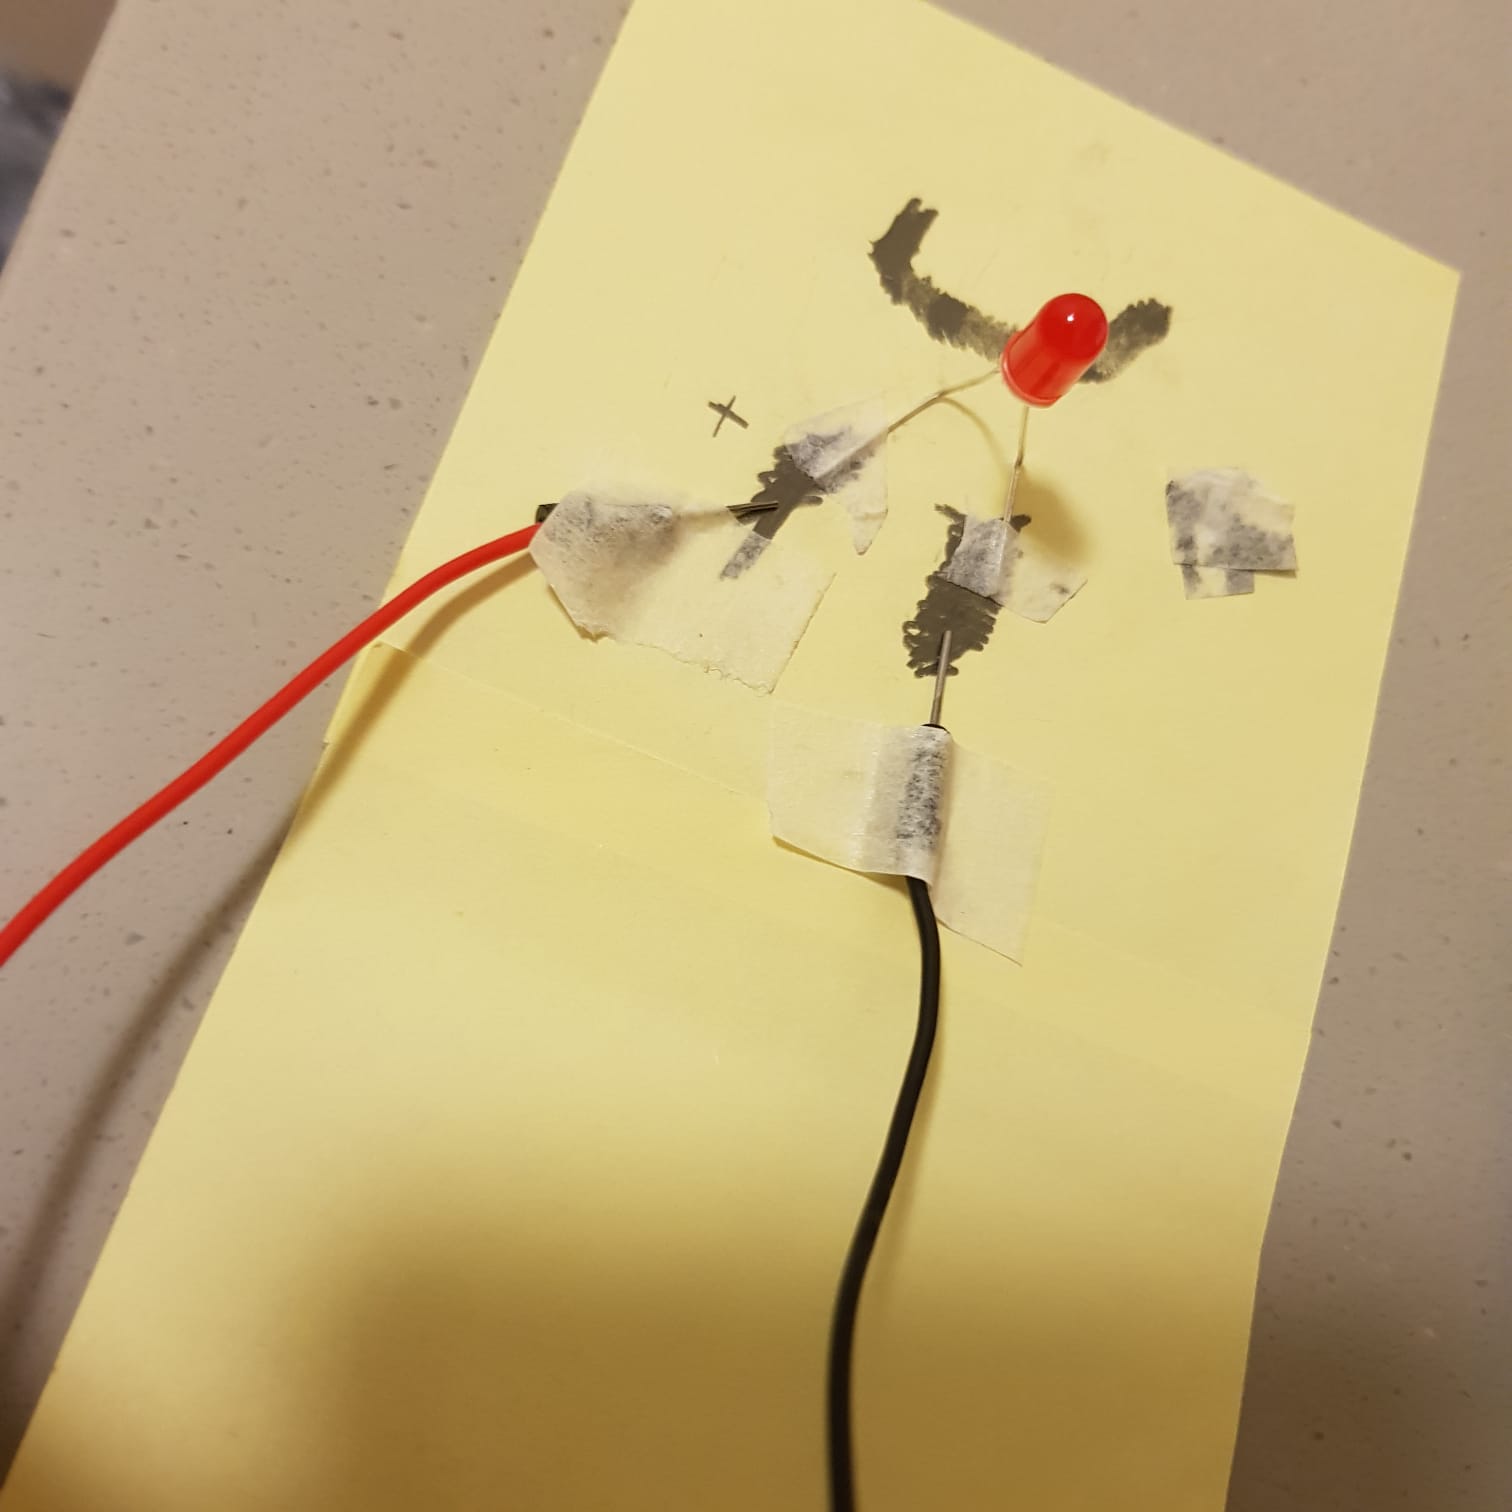
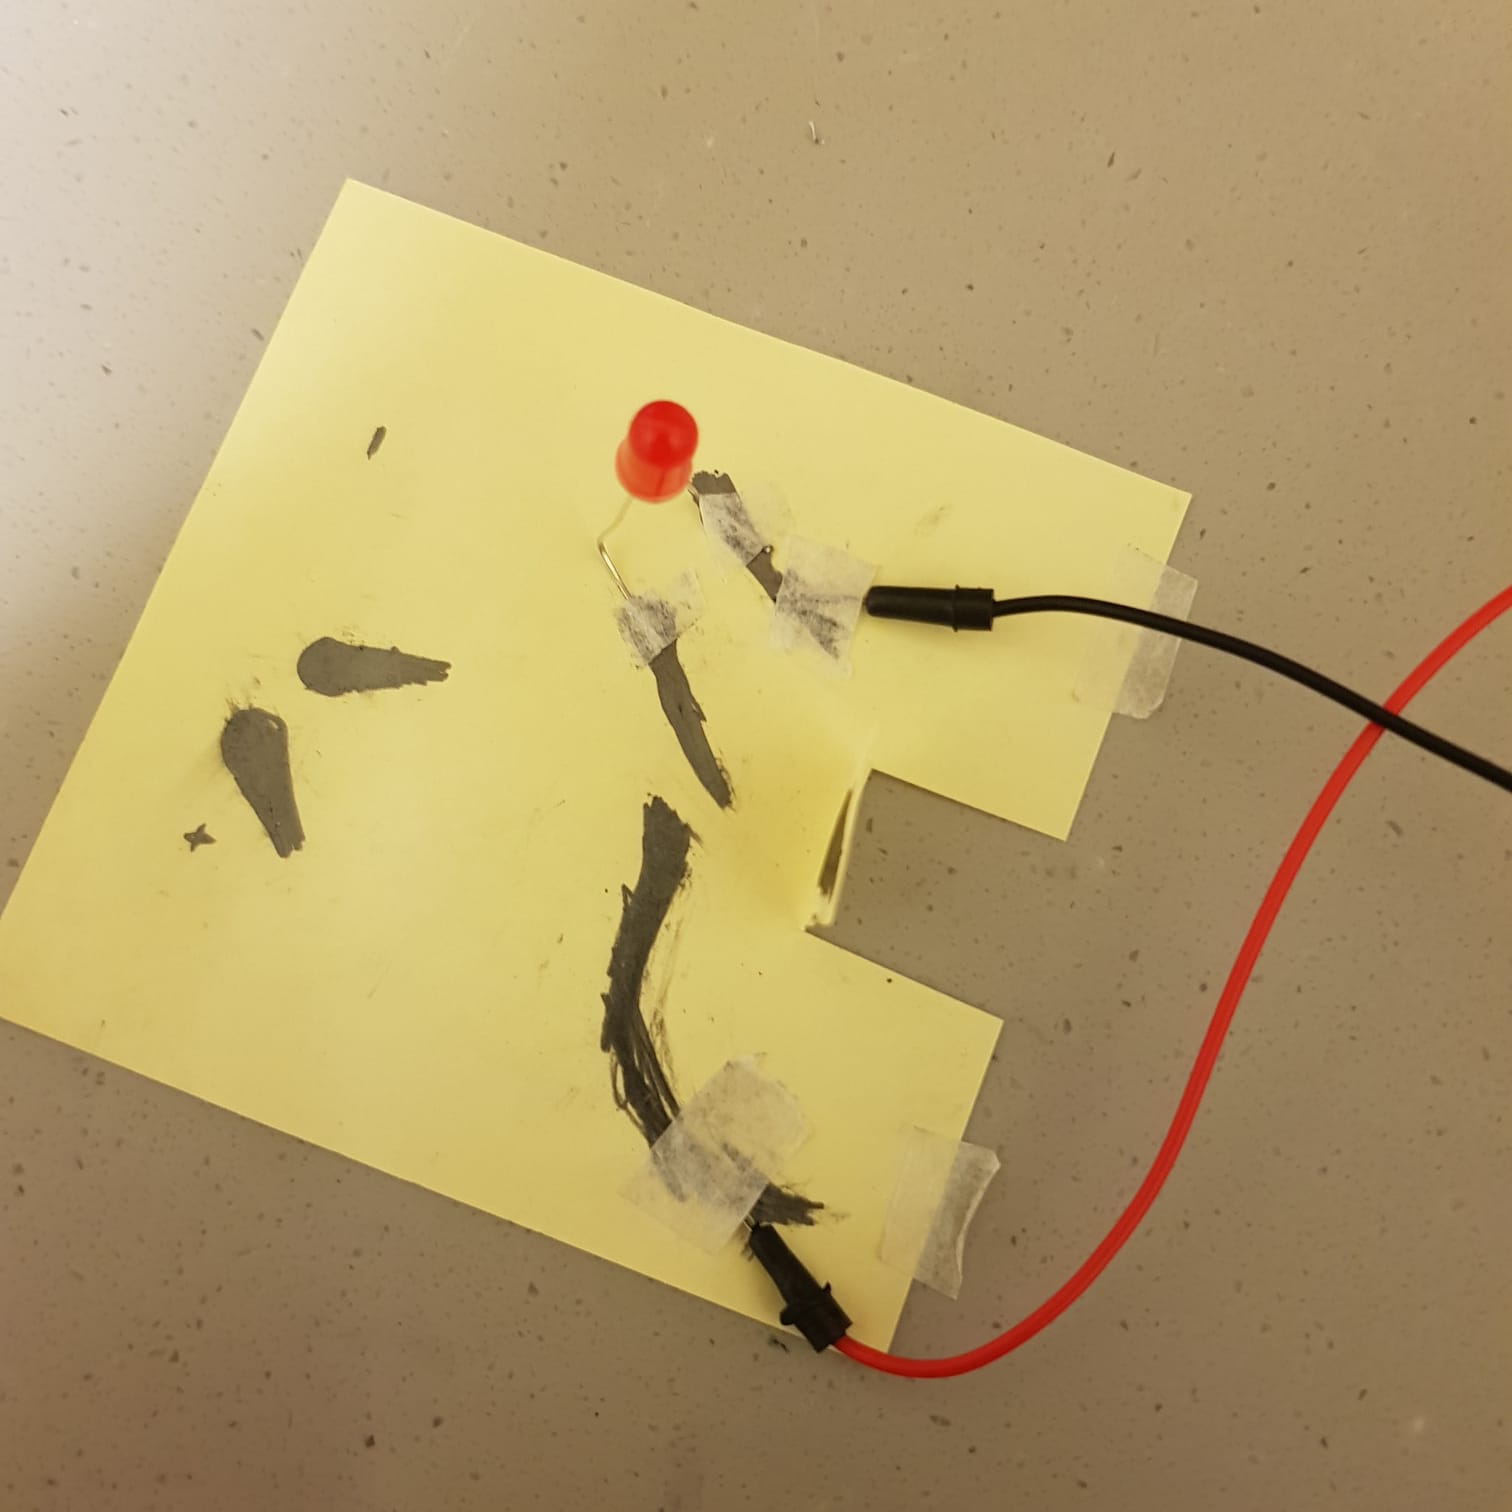
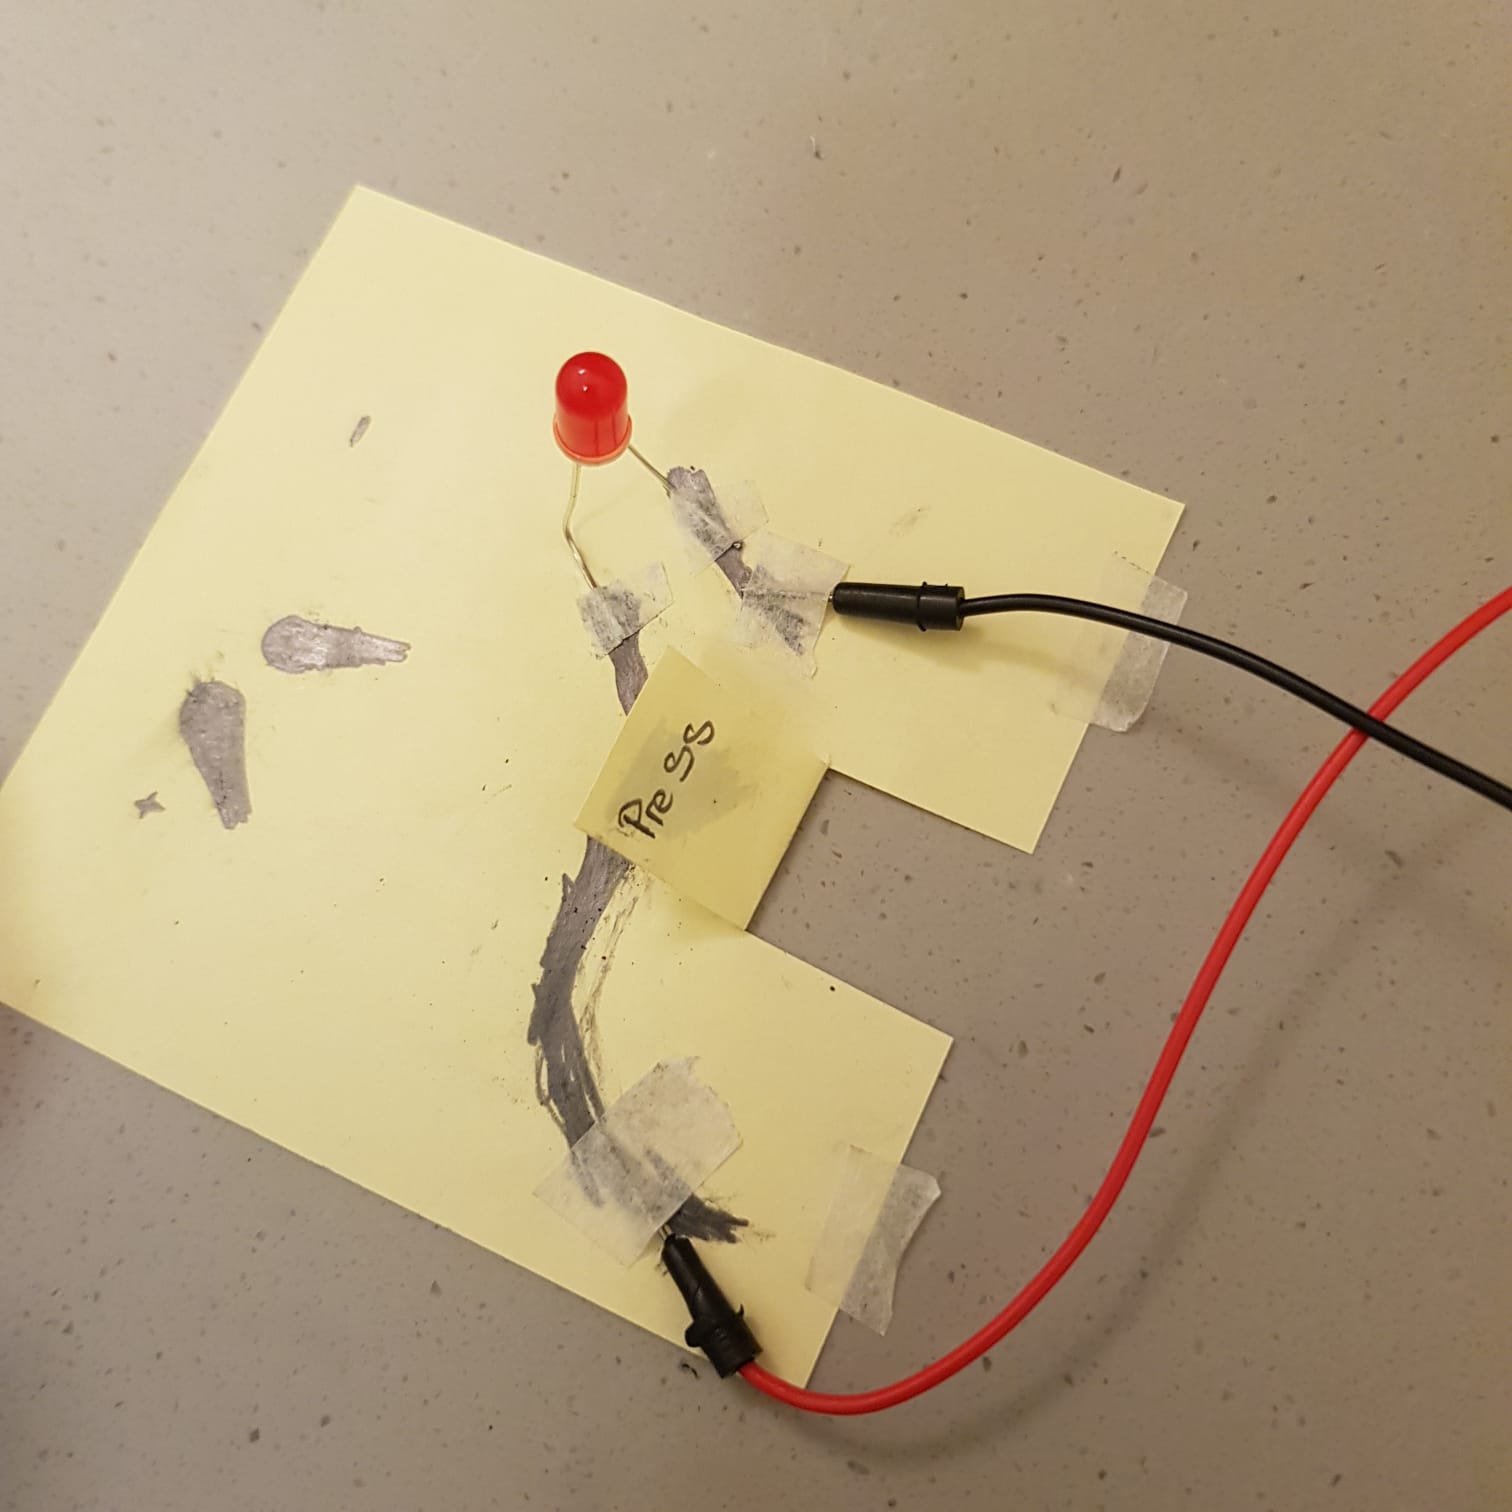
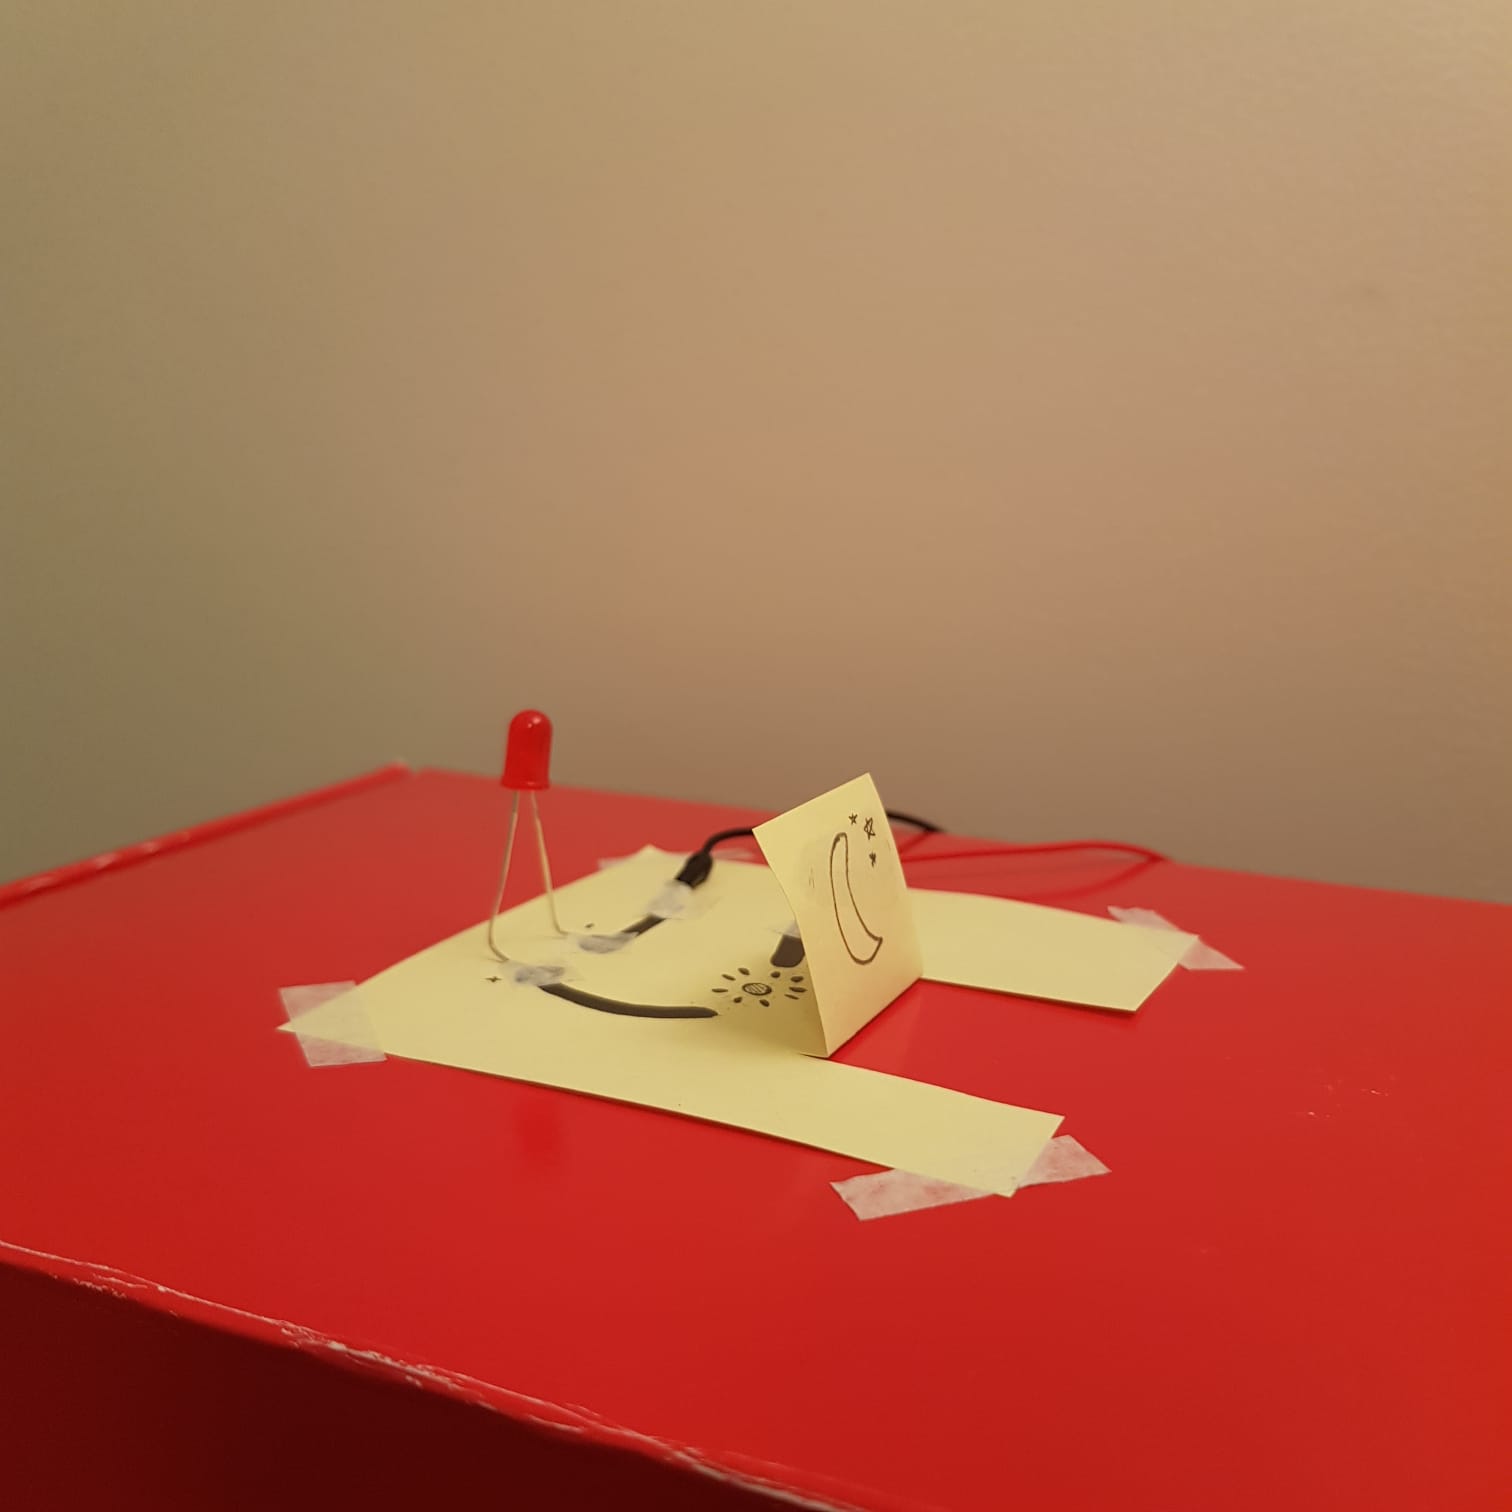
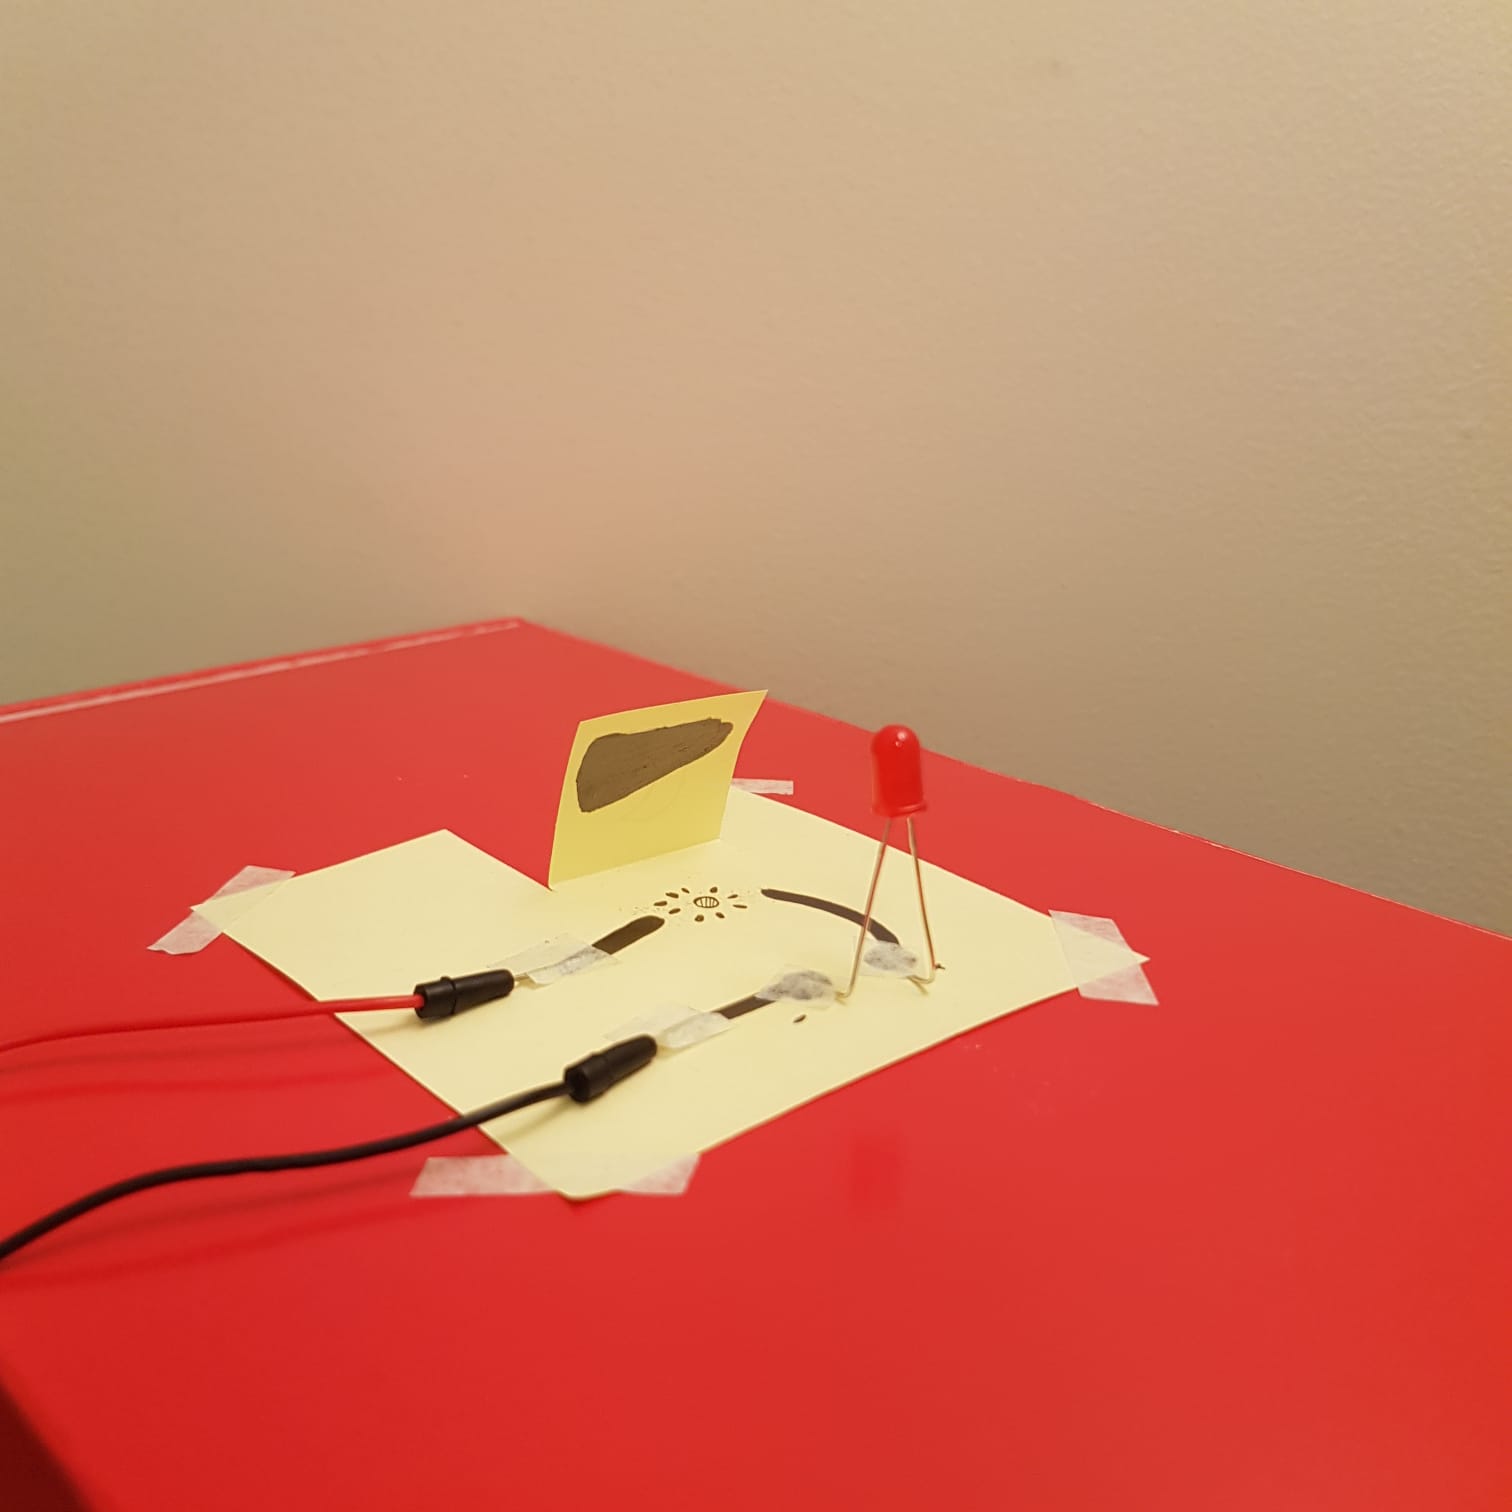
I wanted to experiment with conductive substances and I remembered that I’ve seen that graphite is a conductive substance. Once the internet confirmed that I began testing and creating the switch. This is the first simple circuit I created. I used the arduino connected to some batters as an energy source. I also didn’t use a resistance because graphite is a poor conductor(apparently graphite is used in resistors(this is based on a quick google search, this information could be wrong))


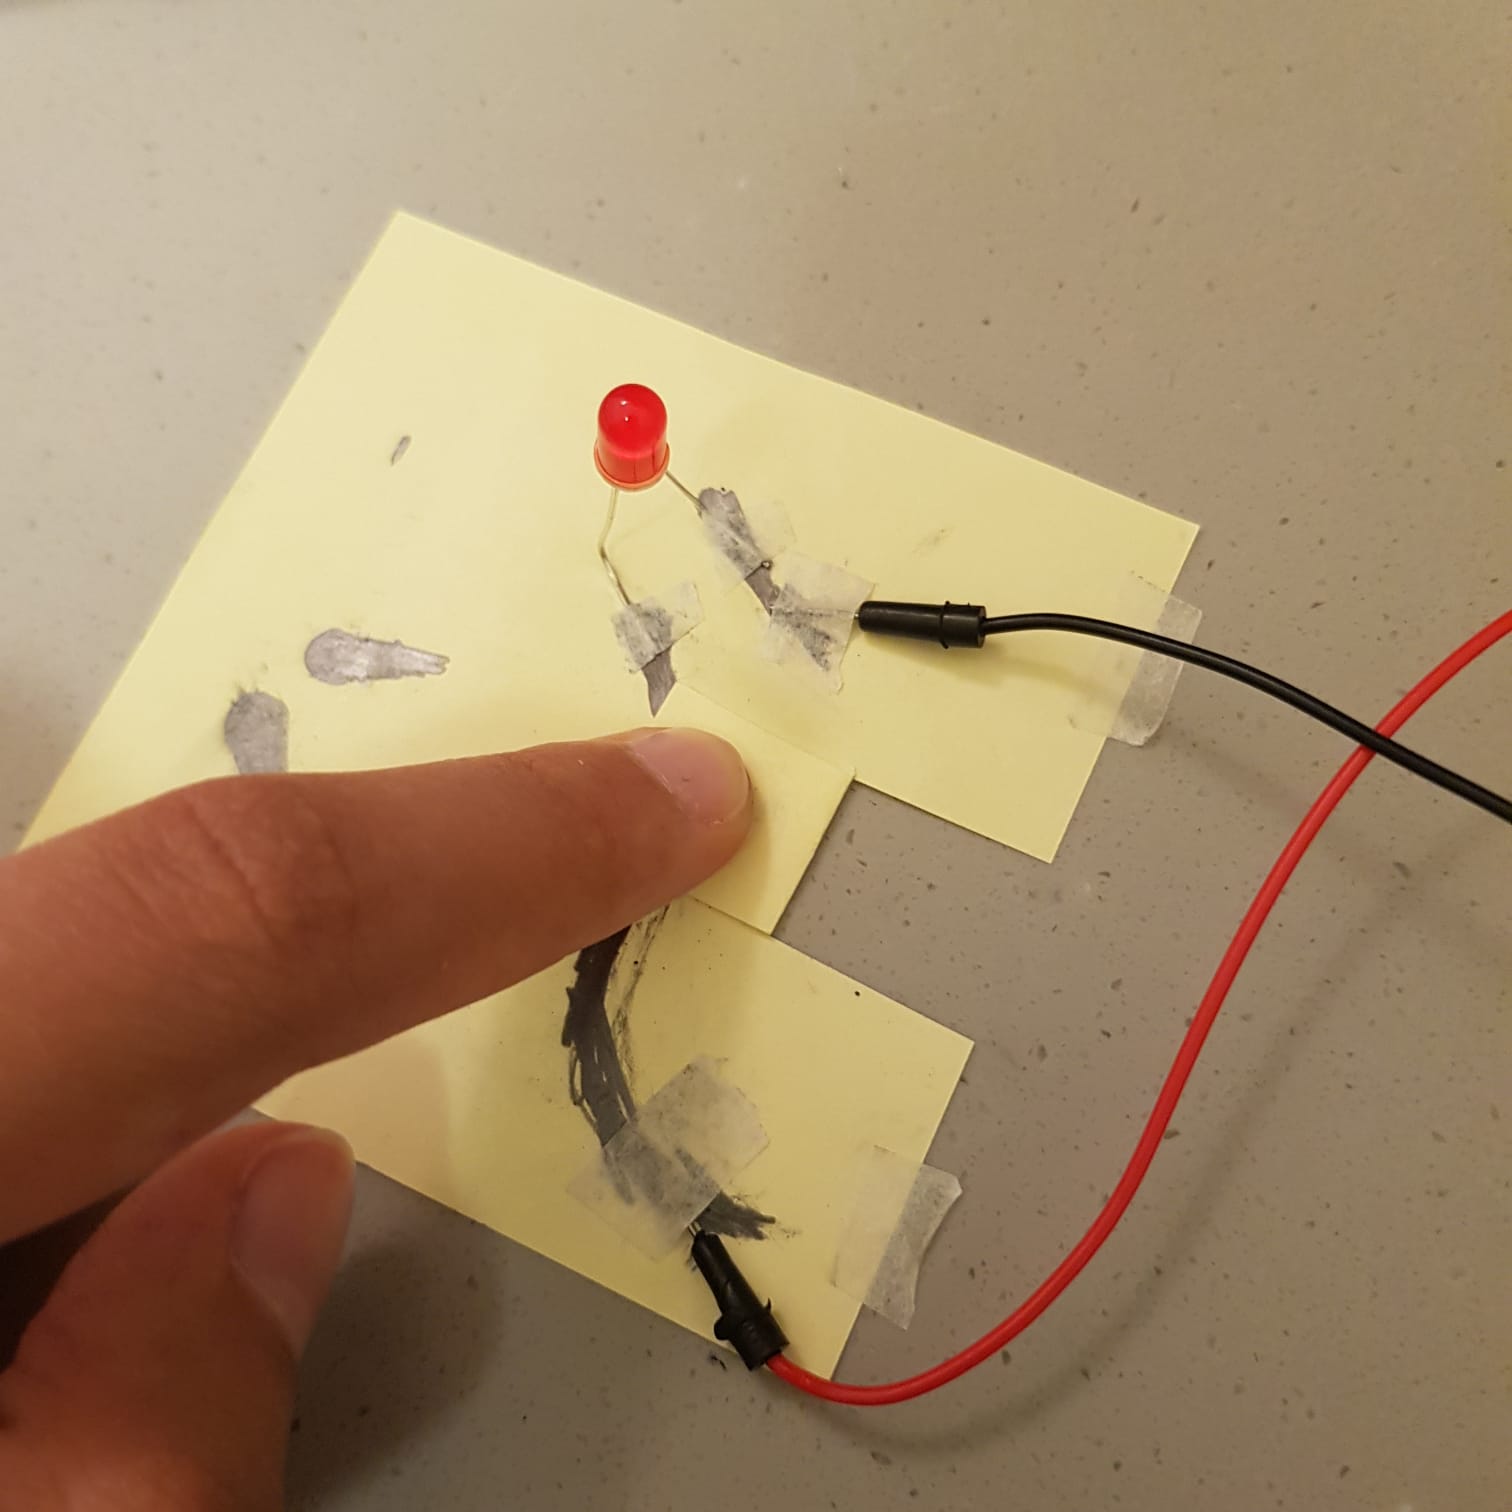
Once I made sure that the graphite lines on the paper were acting as conductors and that the LED does light up I tested out the switch. I drew the circuit with a disconnect. I folded a paper and drew a circle that connects the two lines when the flap is pressed down.

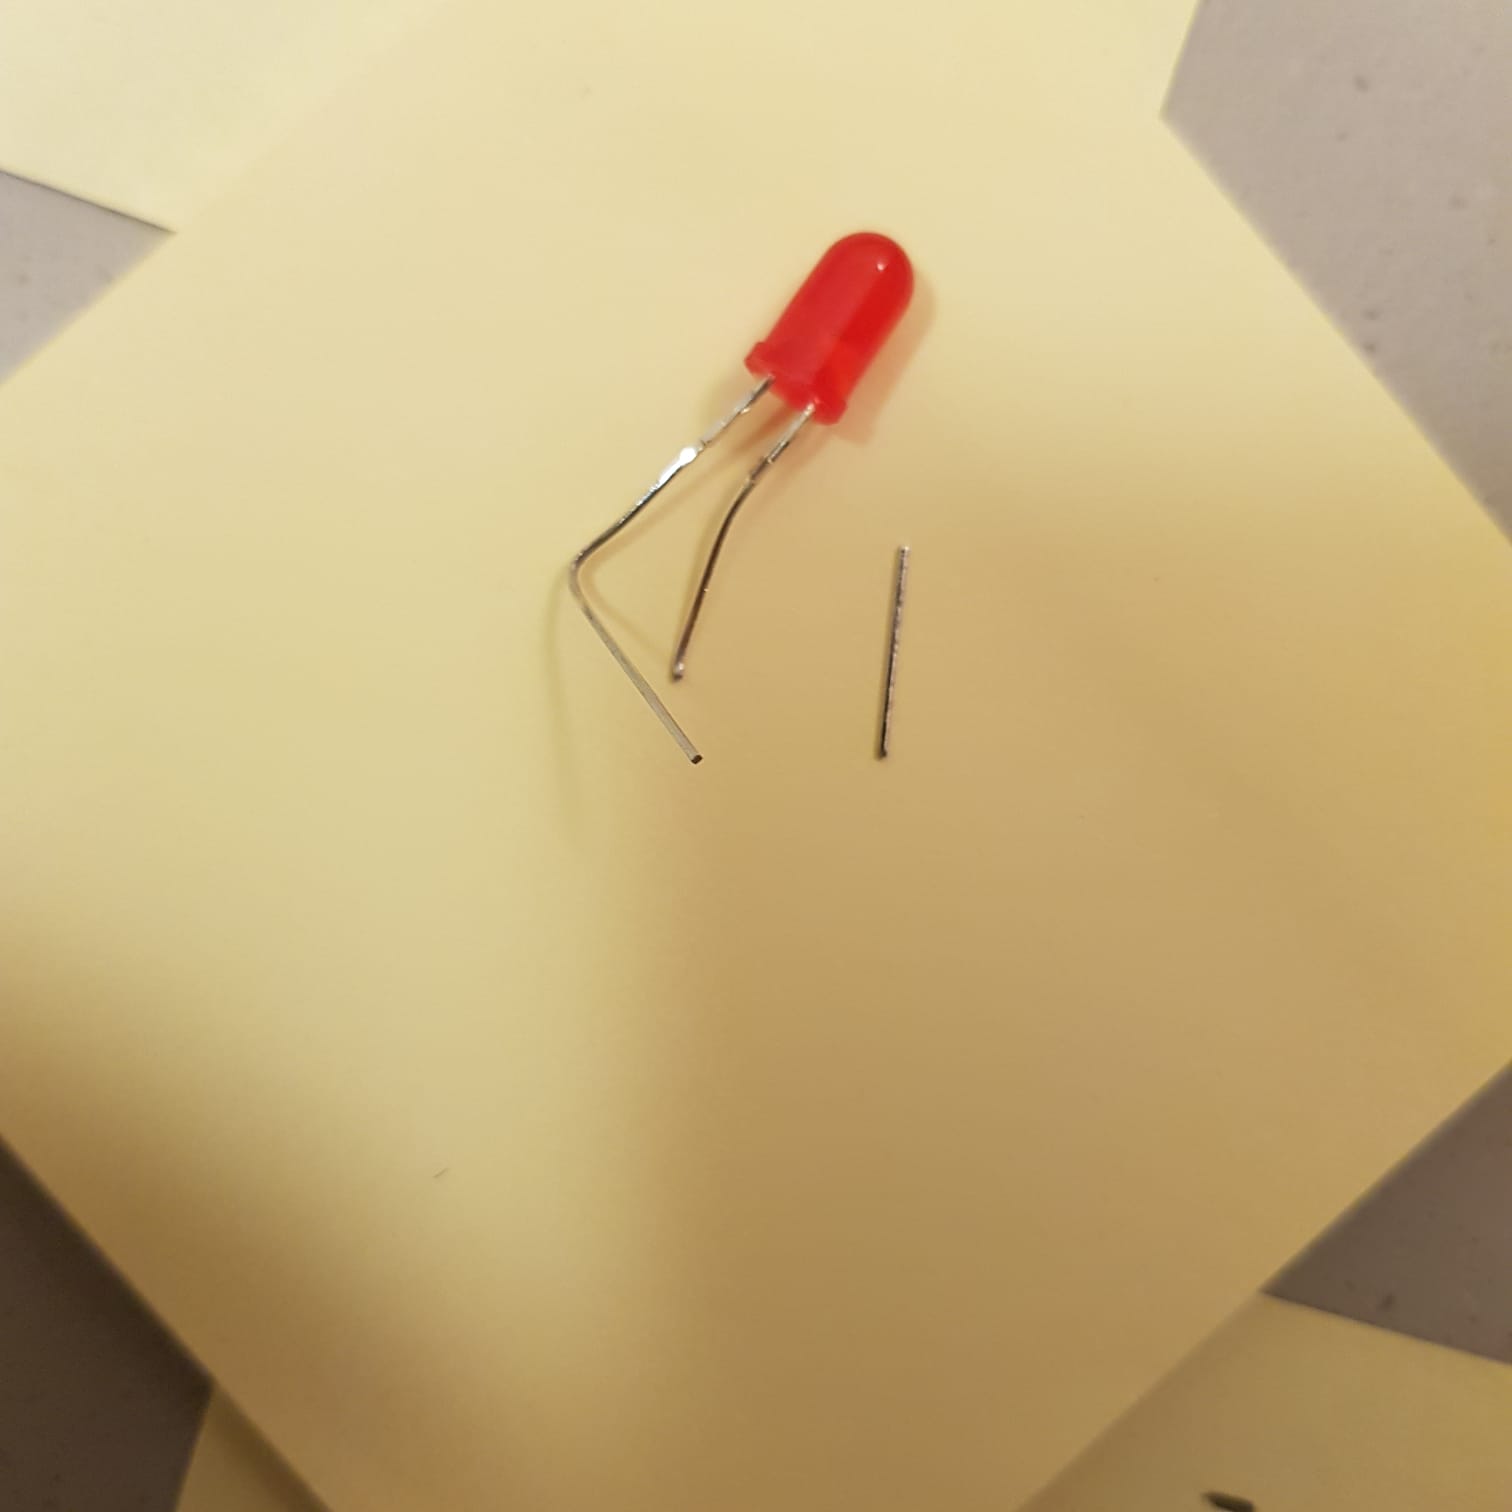
I also realized that the LED legs are wires, hence if you keep twisting and folding the legs they will eventually break off.

Here is a video of the final switch.


I drew a moon and sun so that the light turns on when it’s night(and the moon is on the circuit) and off when it’s morning(when the sun is on the circuit).

Improvement

I think it would be interesting to test how long the circuit could be and still light up the LED. it would also be cool to build a more interesting circuit like an interactive story or something!!

Unusual Switch Assignment #5 – Pull the Tissue

Concept: 

The idea of using tissue box as a part of my assignment came absolutely out of the blue while I was sitting in the IM lab in the dark, staring at the screen and having no clue where I should begin. Then I saw a tissue box in front of me, so I thought, ‘why not?’ and decided to make the LED turn on when I pull out a tissue paper from the box.

Process:

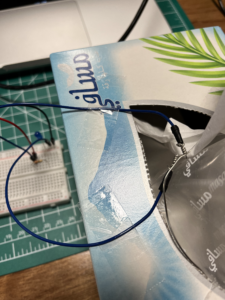
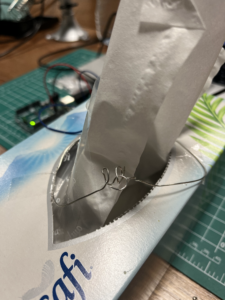
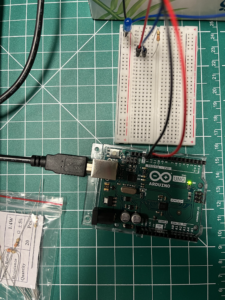
I first created a basic LED circuit, which I based off from one of the examples that professor Shiloh gave during this Tuesday’s lecture. Then, I played around with the wires’ positions and figured out which placements allowed the LED light to turn on. Once I had that down, I added two blue wires to the circuit that connected the LED light, to which I added two more pieces of wire that I cut from a thin wire coil. I wasn’t really sure whether wrapping the wire pieces around the end of each blue wire would work, but thankfully when I tested it by making the ends of wire pieces touch each other, it turned off the LED light that was previously on, which was what I was aiming for. Here’s how I wrapped the wire pieces around the ends of blue wires:

Then I just twisted the ends of the two wire pieces in a way so that they will be connected to each other but still loose enough so that they will be able to turn off and on based on the movement of the tissue being pulled out as the wires’ contact will be disrupted by it, like this:

Final Product: 

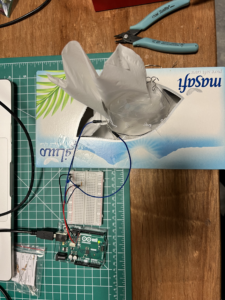
Here’s the final overview of the project:

…and final videos of it running!

IMG_9541

IMG_9546

Reflection: 

This was surprisingly simple and less time-consuming compared to all the other projects that I’ve done in this class so far; I think it’s because it didn’t involve any coding, which is what I usually struggle with! As a person who loves hands-on projects, I definitely enjoyed getting a tangible result at the end of the process. 🙂

Unusual Switch: Simple Water Sensor

Brainstorming

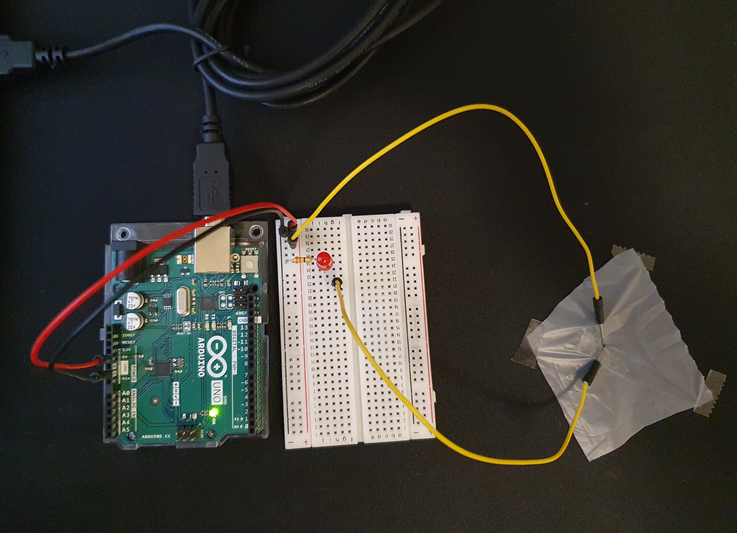
At first, I tried to create a switch that works via static electricity. Attach a conductive tape to a piece of plastic bag and make it connect each end of wires when static electricity is applied to the switch. However, I soon realized that there are two major problems:

      1. I need a lot of static electricity to effectively lift the plastic bag.
      2. A bit of wind can mess up the result.

To resolve these issues, I could have tried a balloon with lots of physical/spatial constraints (such as a box) that limit the position and rotation of the balloon, but since large, delicate systems often lead to lots of errors, I decided build something smaller and simpler: a water sensor.

Overview

Overview
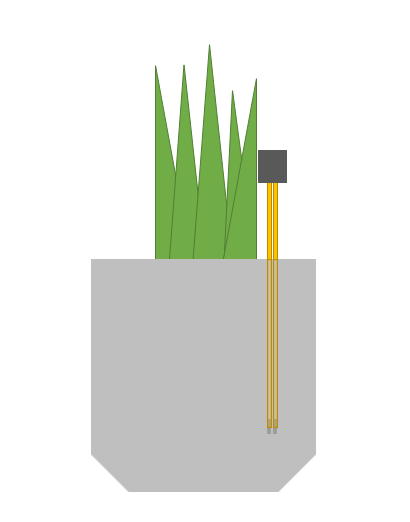
The idea here is very simple. I arranged so that each end of wire is placed very close to each other but not touching. With the fact that tap water is conductive, I can activate the switch with a drop of water.

Operation

Of course, if the water is removed manually or through evaporation, the switch disconnects and the light turns off.

Possible Application

Because the circuit completes at the presence of water, it may be able to tell whether you should water the plant.


week 4 work

To create this work, I was inspired by the concept of winter. In fact, some time before I saw examples of different interactive backgrounds and really wanted to try to do something like that. After that, I decided to add the lyrics to Frank Sinatra’s “Let it snow”.

Link:

I uploaded a CSV file and opened it with the loadStrings function. Then, I set it so that when mouseClicked, the text from the file appears on the canvas. After that, I started working on the background, which turned out to be interesting and very wintery 🙂

Link:

Here are some tutorials that helped me learn more about working with CSV files:
https://www.youtube.com/watch?v=hokTcLVtZs8
https://www.youtube.com/watch?v=QFVzJsyKngQ

And of course, it was not without advice from The Coding Train channel.

Unfortunately, I could not combine these works into one due to time constraints. But in the future, I would like to make them all in the same picture and make the end result more interesting, like changing the font and style of the letters. Also, I would add additional elements to this work.