# Jump To:
# Introduction
Hi there! 👋
These are a few in-class activities Zavier and I did this week (and had to post), resolving around serial communication between p5 and Arduino.
# Exercise 1: Arduino Affecting p5
 Task:
Task:
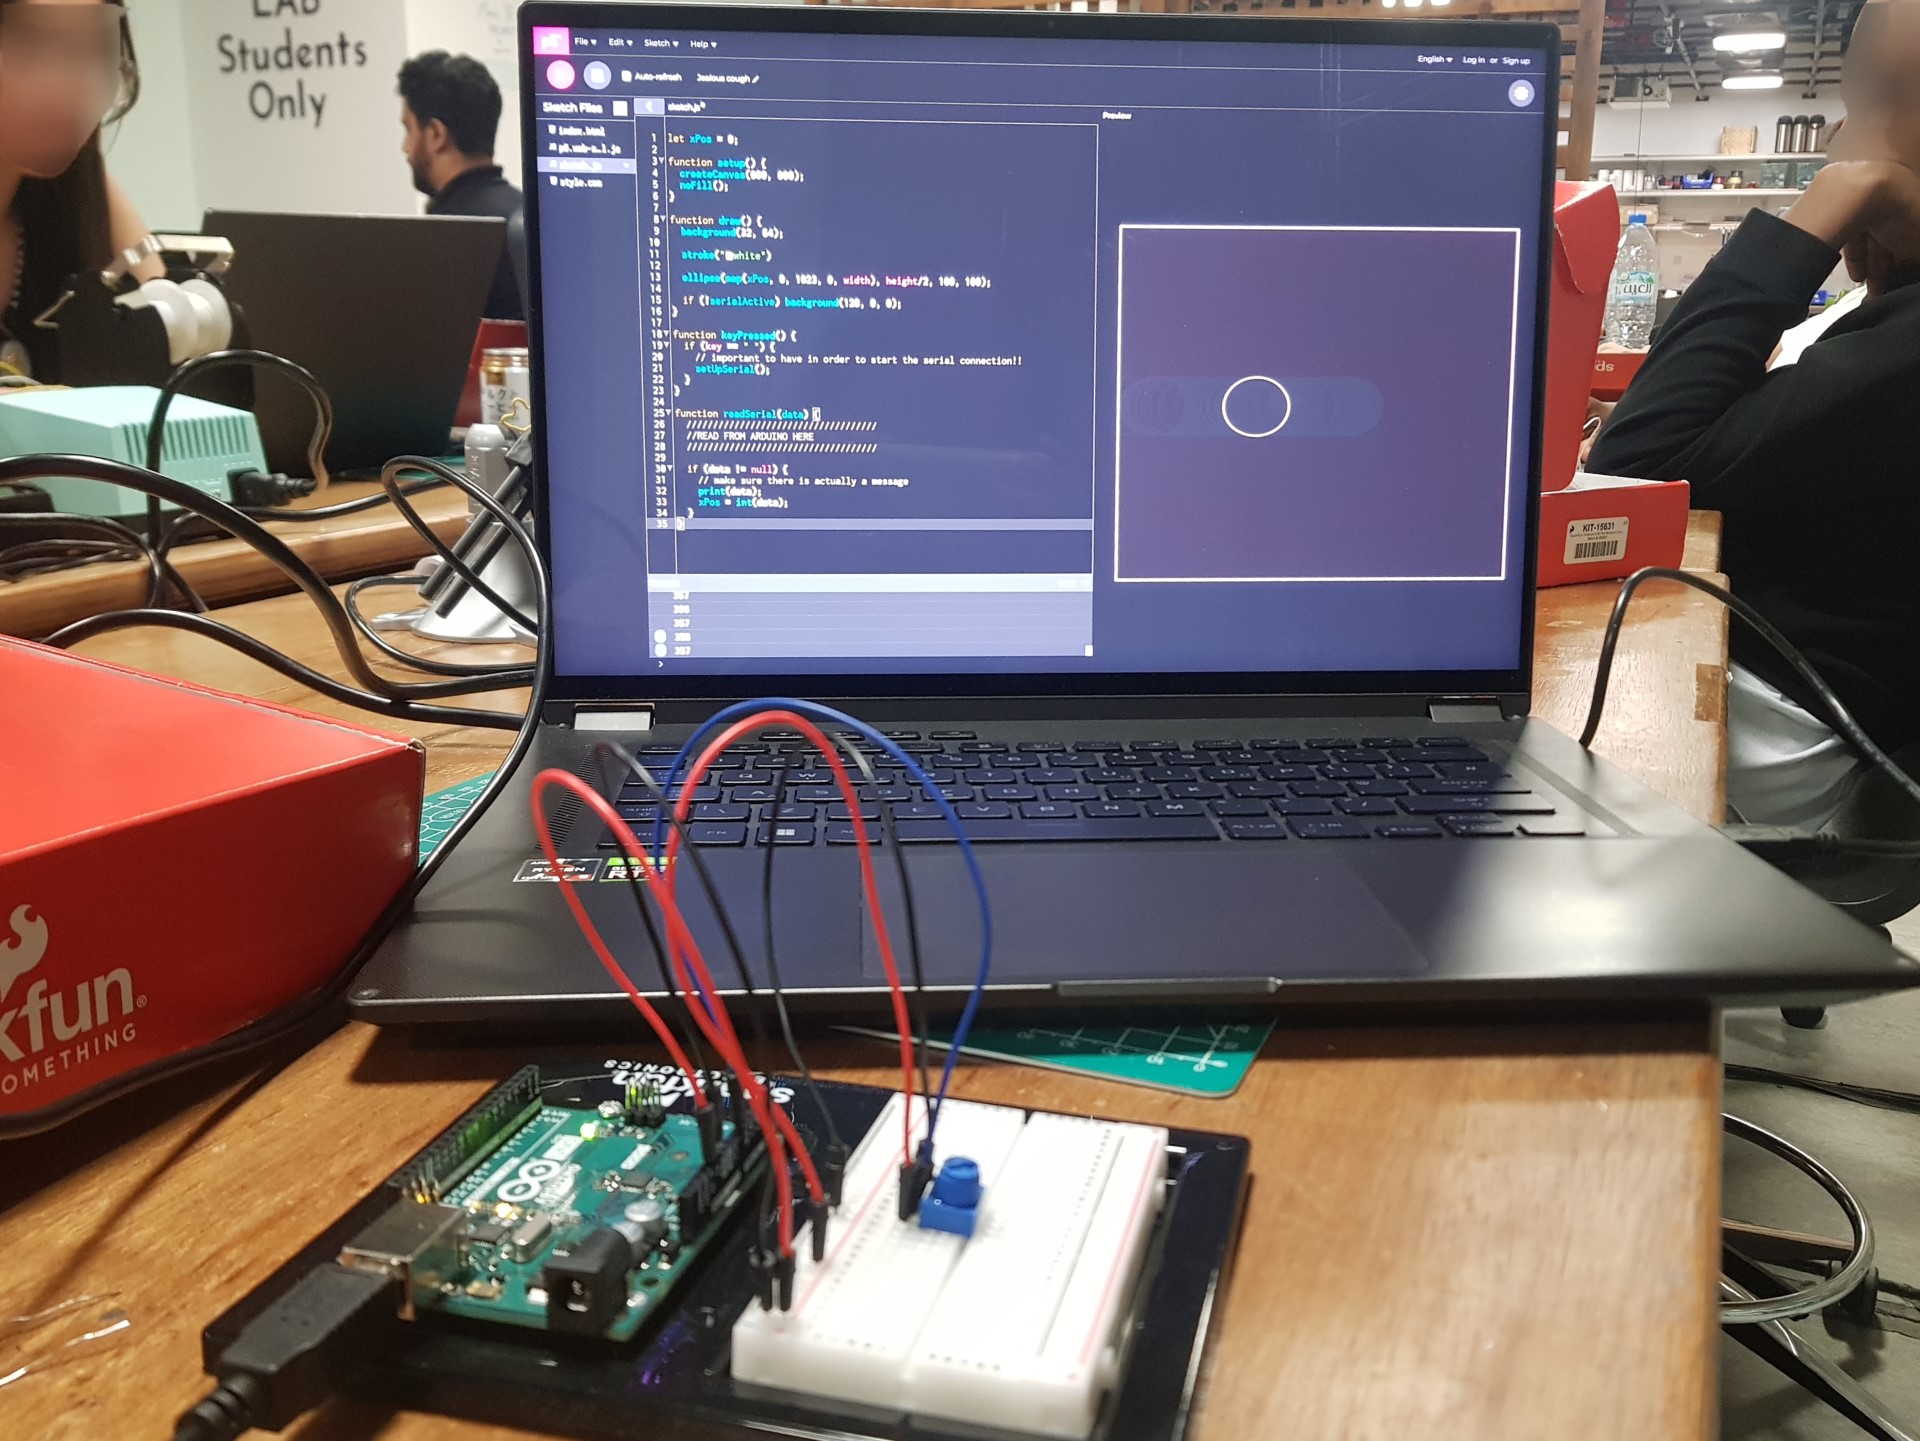
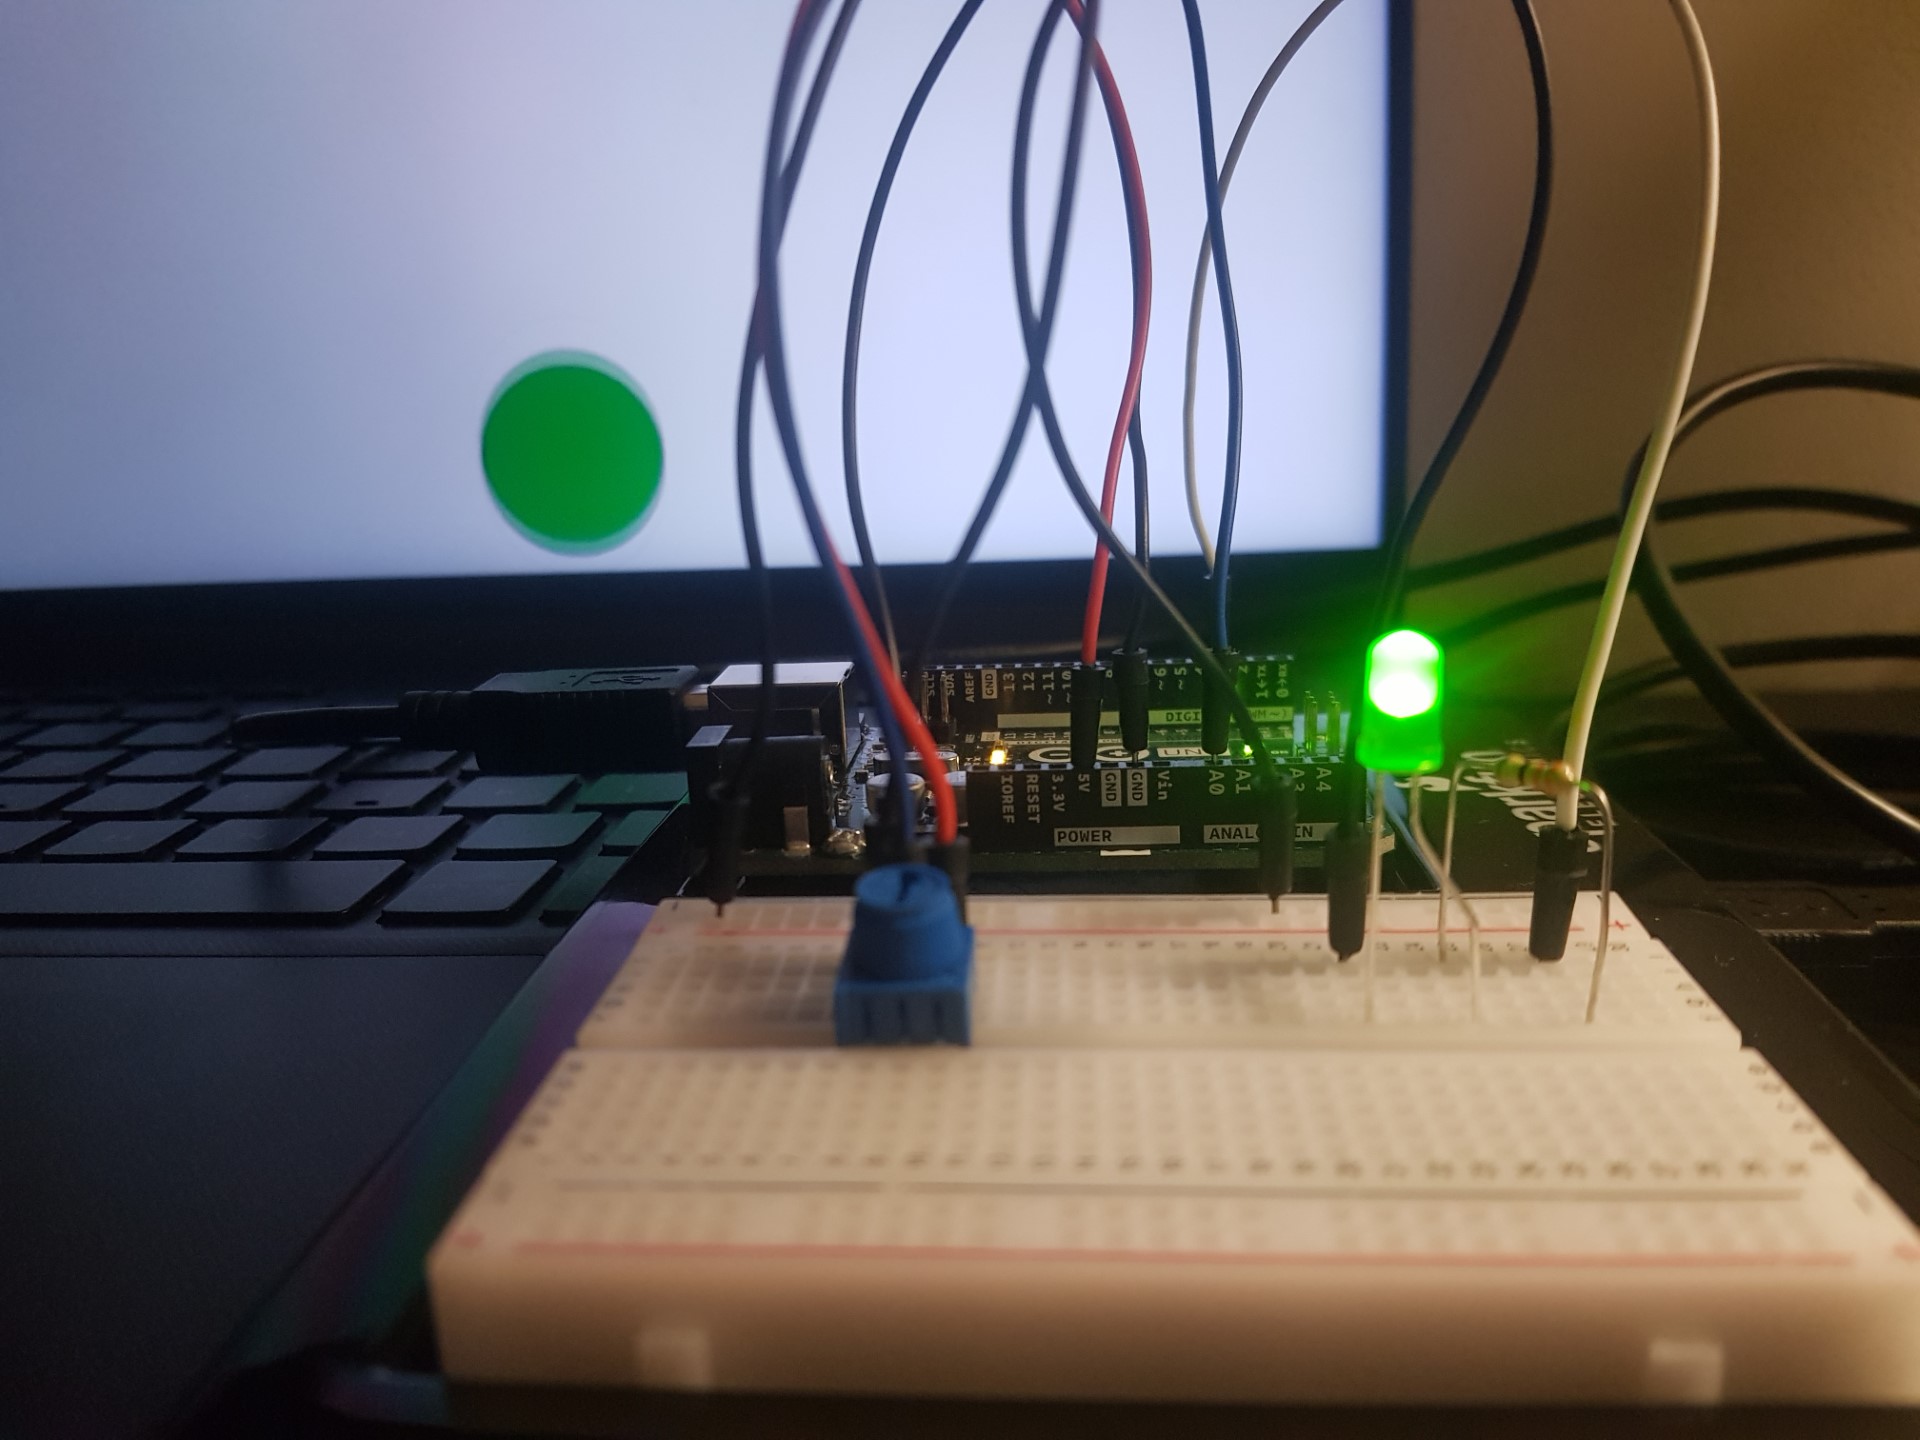
“Make something that uses only one sensor on Arduino and makes the ellipse in p5 move on the horizontal axis, in the middle of the screen, and nothing on arduino is controlled by p5.”
Code:
Arduino:
void setup() {
	Serial.begin(9600);
	pinMode(A0, INPUT);
}

void loop() {
	Serial.println(analogRead(A0));
	delay(10);
}
p5:
let xPos = 0;

function setup() {
	createCanvas(600, 600);
	noFill();
}

function draw() {
	background(32, 64);

	stroke("white")

	ellipse(map(xPos, 0, 1023, 0, width), height/2, 100, 100);

	// Turn the screen red to make it very clear that we aren't connected to the Arduino
	if (!serialActive)
		background(128, 0, 0);
}

function keyPressed() {
	if (key == " ")
		setUpSerial(); // Start the serial connection
}

function readSerial(data) {
	if (data != null) // Ensure there's actually data
		xPos = int(data);
}
# Exercise 2: p5 Affecting Arduino
Task:
“Make something that controls the LED brightness from p5.”
Code:
Arduino:
void setup() {
	Serial.begin(9600);
	pinMode(3, OUTPUT);
}

void loop() {
	analogWrite(3, Serial.parseInt());
	Serial.println();
	delay(10);
}
p5:
let xPos = 0;
let LEDBrightness = 0; // 0 - 255

function setup() {
	createCanvas(600, 600);
}

function draw() {
	if (keyIsDown(UP_ARROW) && LEDBrightness < 255) LEDBrightness += 1; else if (keyIsDown(DOWN_ARROW) && LEDBrightness > 0)
		LEDBrightness -= 1;

	// Just a visual indicator of the brightness level on p5
	background(LEDBrightness);
	fill(LEDBrightness < 128 ? 'white' : 'black')
	text(LEDBrightness, 25, 25);

	// Turn the screen red to make it very clear that we aren't connected to the Arduino
	if (!serialActive)
		background(128, 0, 0);
}

function keyPressed() {
	if (key == " ")
		setUpSerial(); // Start the serial connection
}

function readSerial(data) {
	writeSerial(LEDBrightness);
}
# Exercise 3: Arduino and p5 Affecting Each Other
Demo:
Task:
“Take the gravity wind example and make it so every time the ball bounces one led lights up and then turns off, and you can control the wind from one analog sensor.”
Code:
Arduino:
const int LED_PIN = 3;
const int POT_PIN = A0;

void setup() {
	Serial.begin(9600);
	pinMode(LED_PIN, OUTPUT);
	pinMode(POT_PIN, INPUT);

	// Start the handshake
	while (Serial.available() <= 0) {
		Serial.println("0"); // Send a starting message
		delay(300); // Wait ~1/3 second
	}
}

void loop() {
	while (Serial.available()) {
		int LEDState = Serial.parseInt(); // 0 or 1

		if (Serial.read() == '\n') {
			digitalWrite(LED_PIN, LEDState);
			Serial.println(analogRead(POT_PIN));
		}
	}
}
p5:
let position, velocity, acceleration, gravity, wind; // vectors
let drag = 0.99, mass = 50, hasBounced = false;

function setup() {
	createCanvas(640, 360);
	noFill();
	position = createVector(width/2, 0);
	velocity = createVector(0,0);
	acceleration = createVector(0,0);
	gravity = createVector(0, 0.5*mass);
	wind = createVector(0,0);

	textAlign(CENTER);
	textSize(18);
}

function draw() {
	background(255);
	applyForce(wind);
	applyForce(gravity);
	velocity.add(acceleration);
	velocity.mult(drag);
	position.add(velocity);
	acceleration.mult(0);
	fill(hasBounced ? 'green' : 'white')
	ellipse(position.x,position.y,mass,mass);
	if (position.y > height-mass/2) {
		velocity.y *= -0.9;  // A little dampening when hitting the bottom
		position.y = height-mass/2;

		if (!hasBounced && abs(velocity.y) > 1) {
			hasBounced = true;
			setTimeout(() => hasBounced = false, 100); // Set hasBounced to false after 0.1 s
		}
	}

	if (!serialActive) {
		background(8);
		fill('white');
		text("Press c to connect to the Arduino", width/2, height/2)
	}
}

function applyForce(force){
	// Newton's 2nd law: F = M * A
	// or A = F / M
	let f = p5.Vector.div(force, mass);
	acceleration.add(f);
}

function keyPressed(){
	if (key == ' '){
		mass = random(15,80);
		position.set(width/2, -mass);
		velocity.mult(0);
		gravity.y = 0.5*mass;
		wind.mult(0);

	} else if (key == 'c') {
		setUpSerial(); // Start the serial connection
	}
}

function readSerial(data) {
	if (data != null) { // Ensure there's actually data
		wind.x = map(int(data), 0, 1023, -2, 2);
		writeSerial((hasBounced ? 1 : 0) + '\n');
	}
}
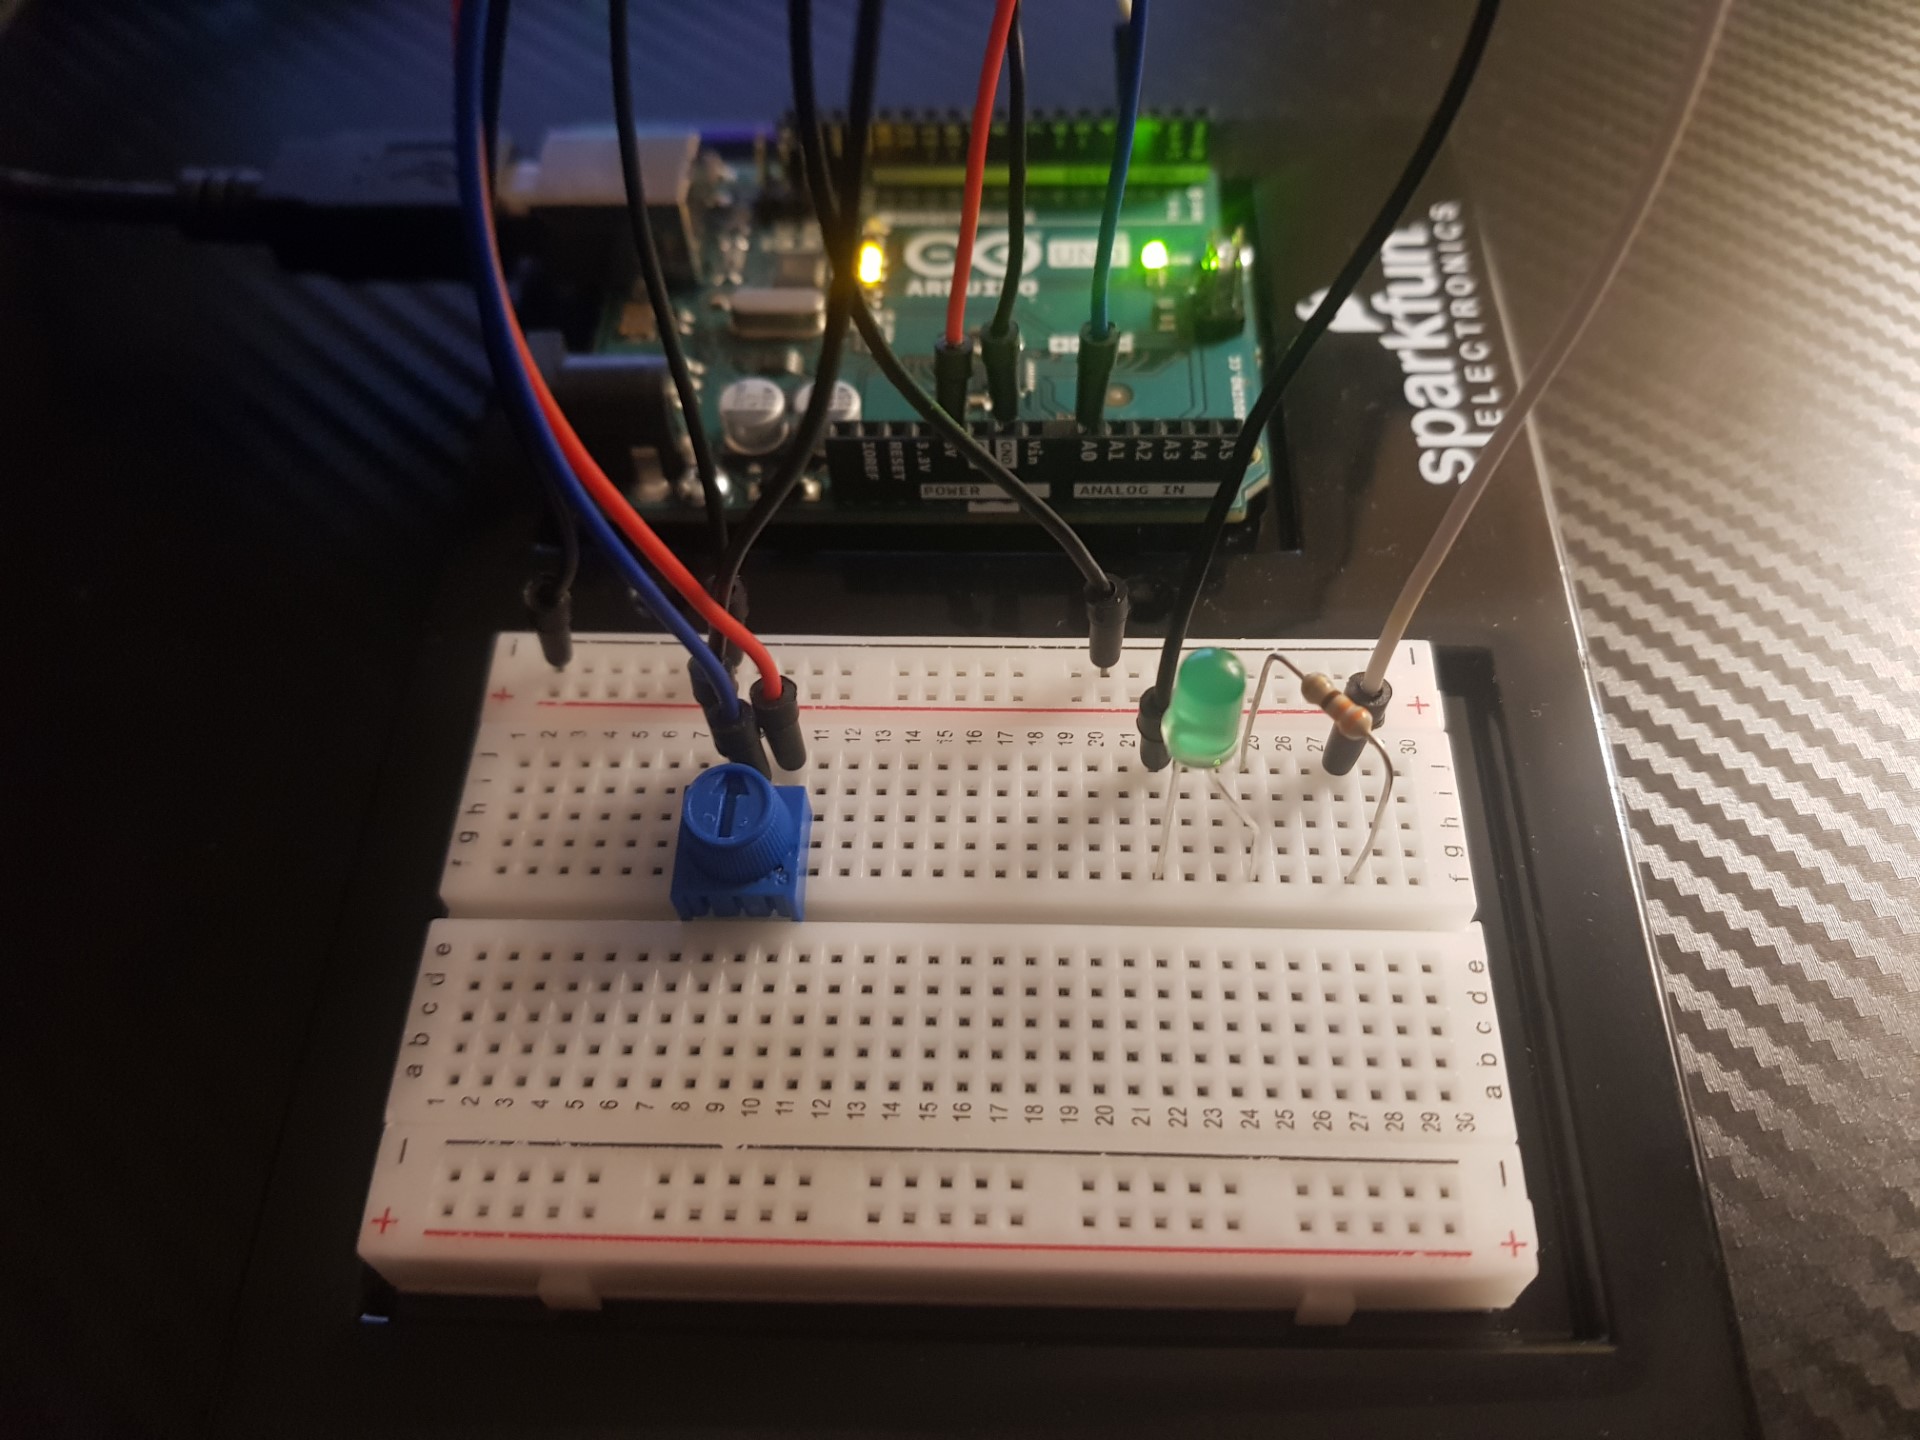
Circuit: