link to sketch: https://editor.p5js.org/parchinkos/full/6Wh1hDMjG
link to p5.js web editor: https://editor.p5js.org/parchinkos/sketches/6Wh1hDMjG
(for some reason the initial start screen music doesn’t play on full-screen)
concept:
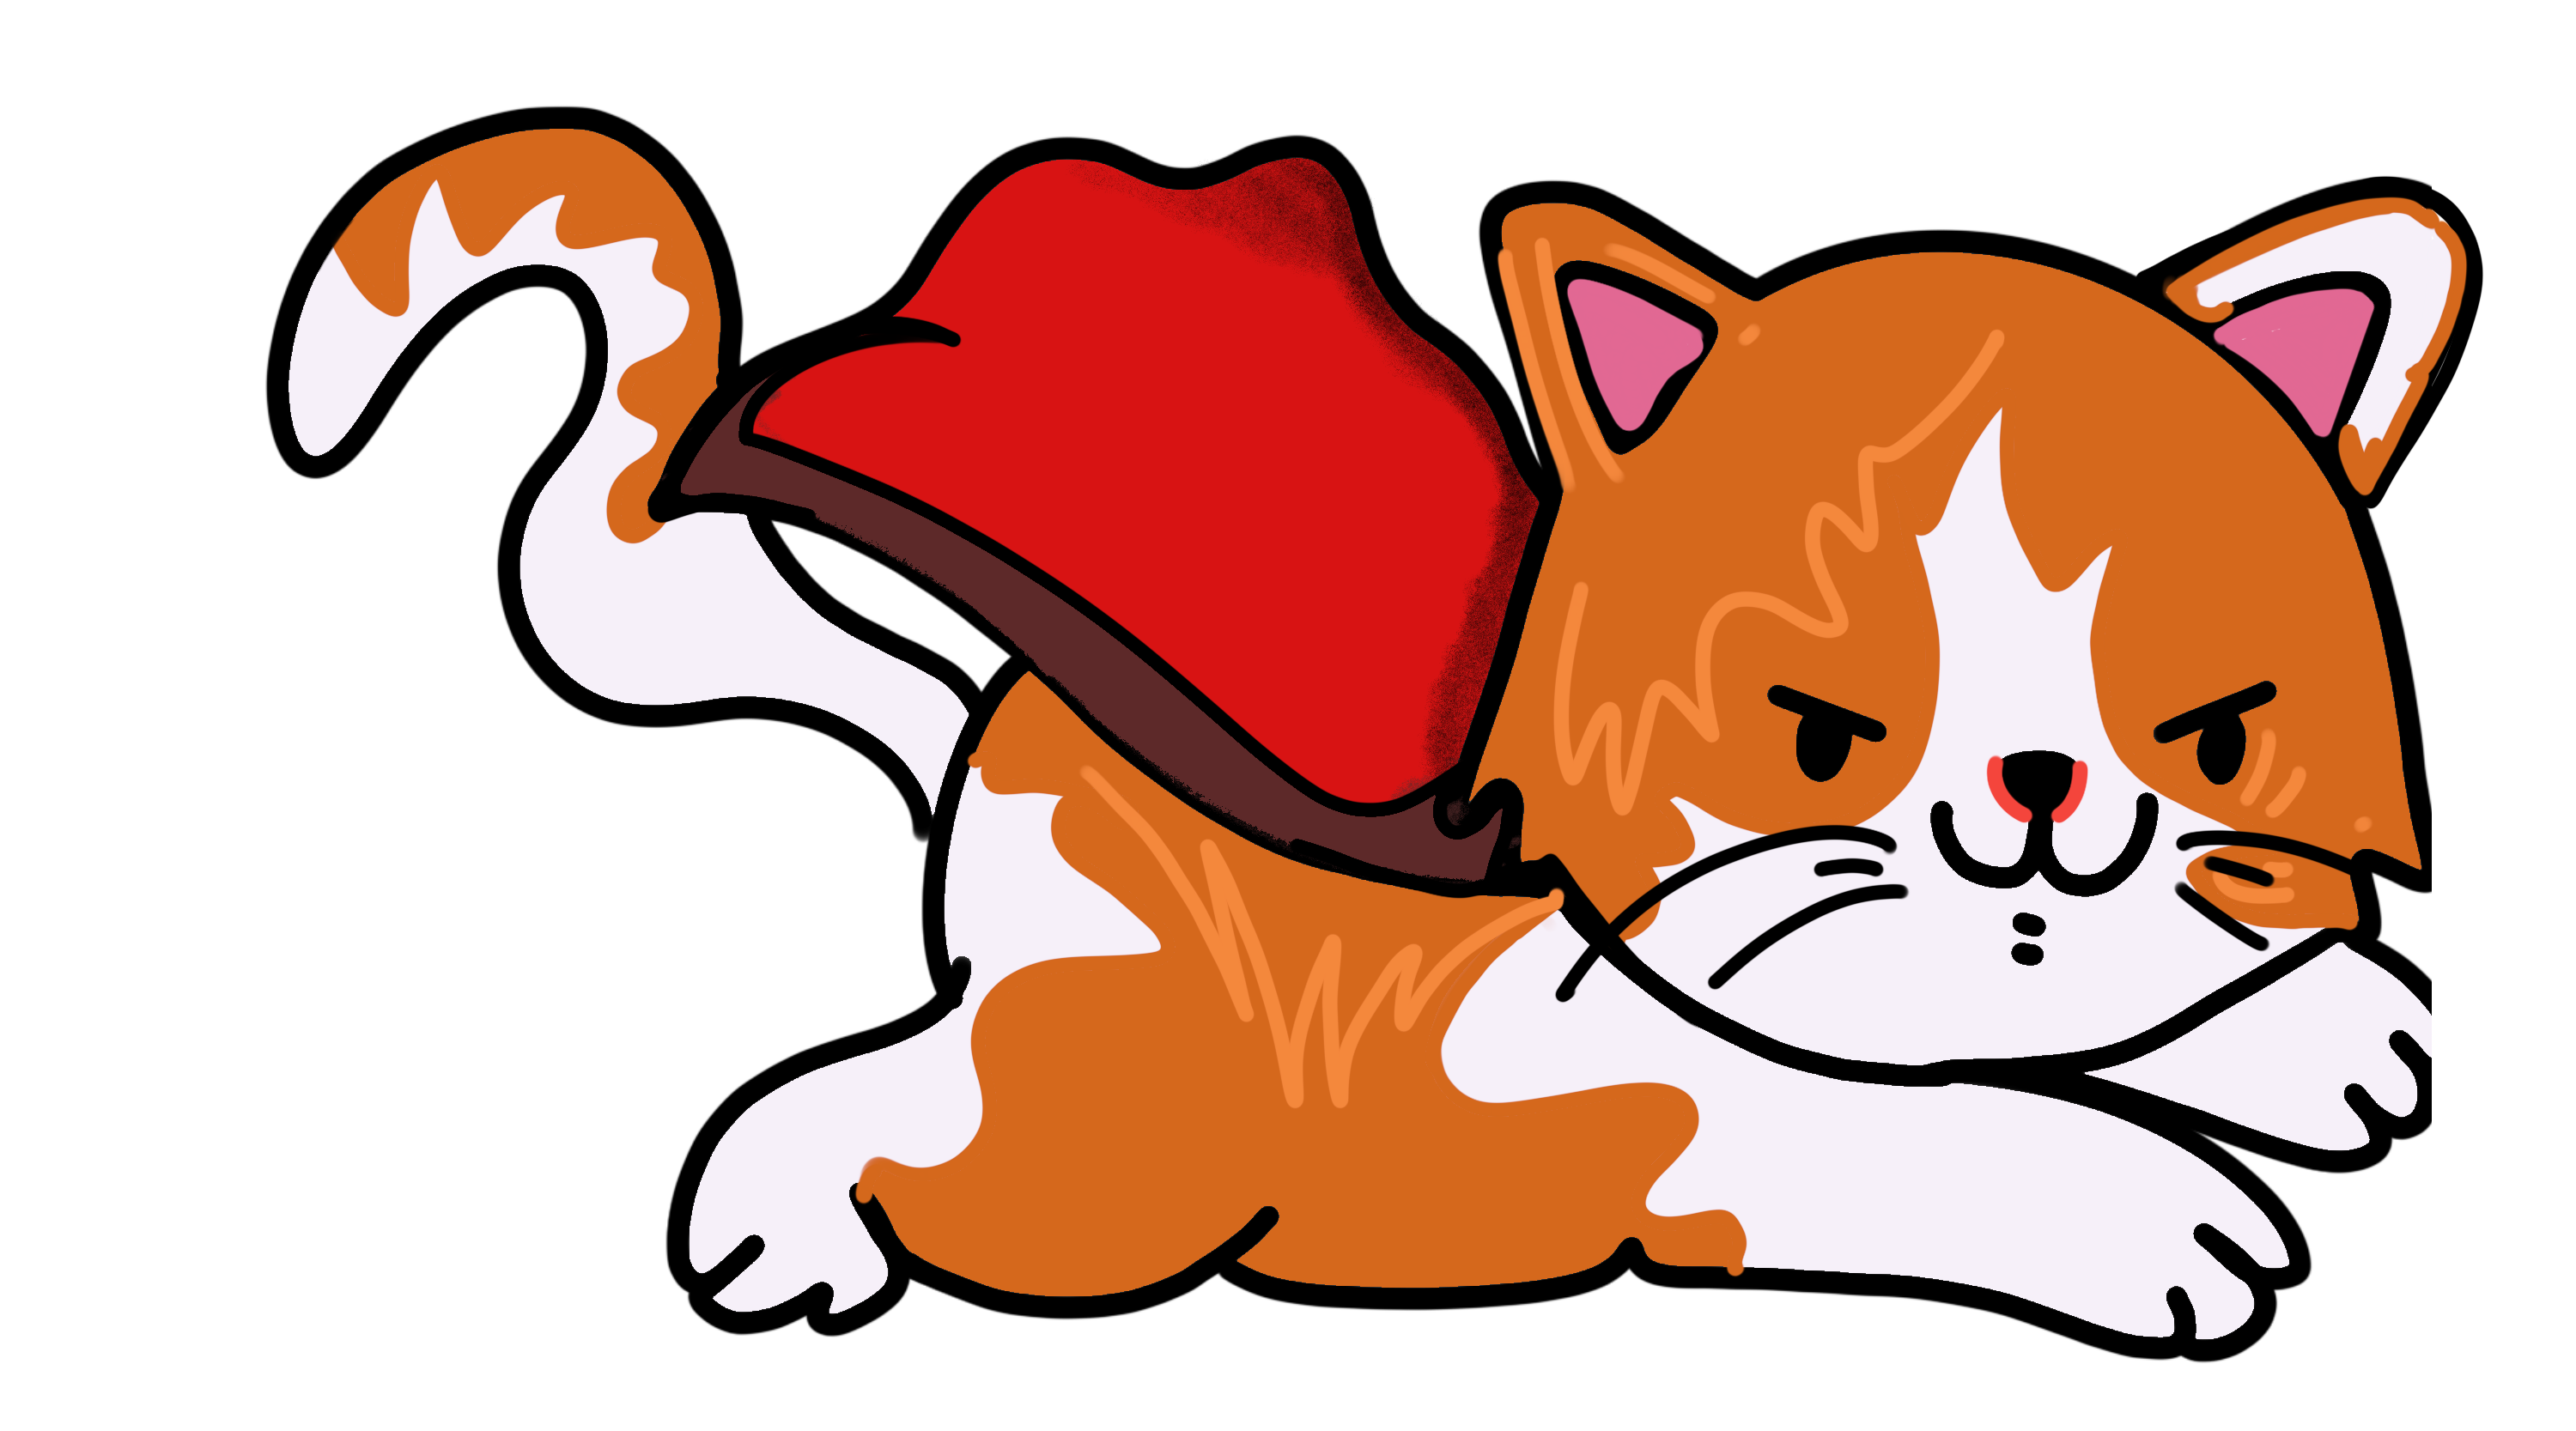
I knew from the beginning that I wanted to make a game. The aesthetics I had in mind for my project were always there, too – I’m a huge fan of 16-bit and 8-bit pixel art, and I knew I wanted to incorporate that art style into my work. I was also torn between the type of game I wanted to make; I could make it a complex story told through an RPG game format, or I could lean towards something more simple but with more gameplay. In the end, I ended up doing the latter, because it held one’s focus on the project for much longer. The gameplay for my project was inspired by simple platform games like Google’s T-Rex runner game or even Flappy Bird. Essentially, the player stays in one position throughout the game but has to avoid obstacles and/or hurdles throughout the way. My game has collectibles, which the player gathers for points, and obstacles which the user has to jump/avoid or else they lose points.
The main thing that I thought about was what I wanted the setting of the game to be. This semester, I’m taking a core class called Hindsight which focuses a lot on autobiographical story. So naturally, my mind went towards something similar: different life phases for different levels. Initially I was making it my own, but then I realized it would be infinitely more interesting if I loosely based the levels around my father’s life. He’s lived through much more different ‘settings’ (I’ve been in a city for my entire life). The game isn’t super focused on his life story, but the general inspiration for each level can be seen below.
chapter 1: the simple life
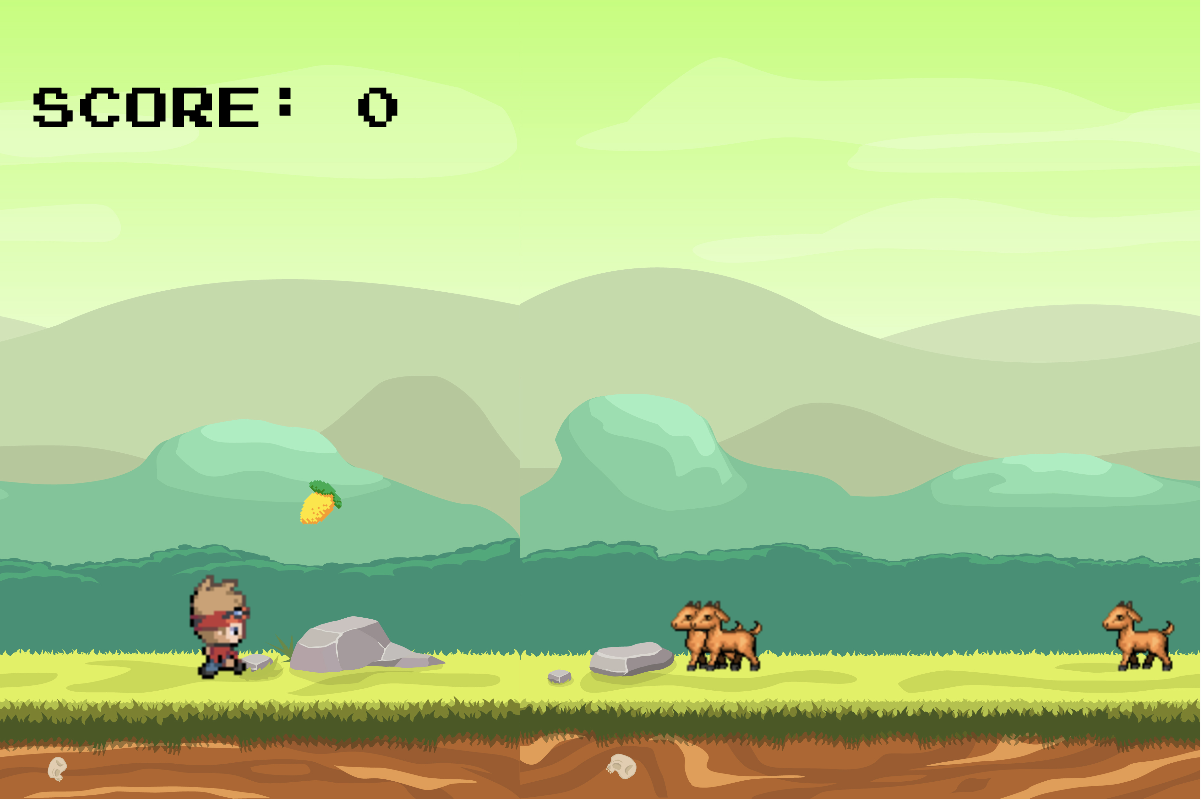 My dad grew up in a village, and on a farm, so the setting of this level is inspired by that! You also collect mangoes because that’s his favorite fruit.
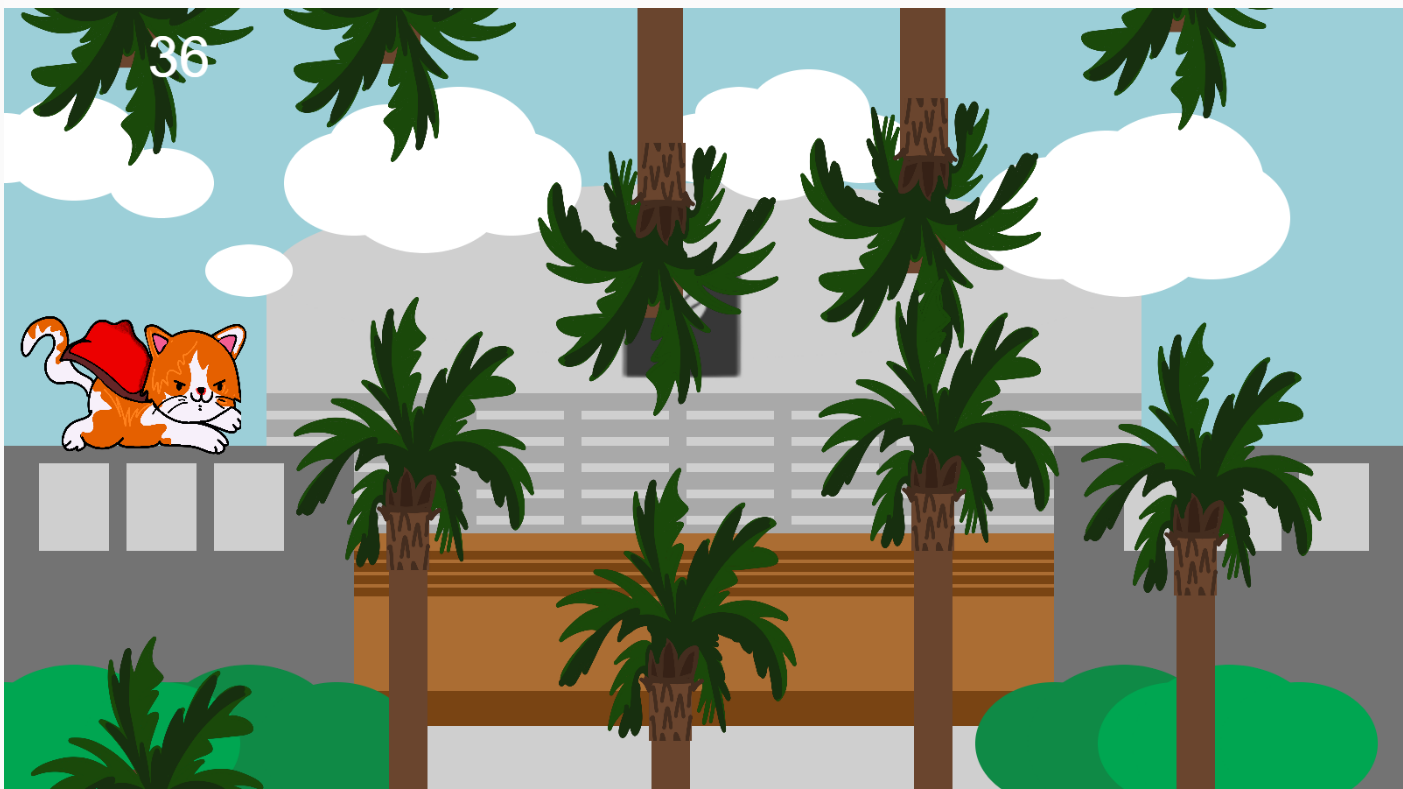
chapter 2: the concrete jungle
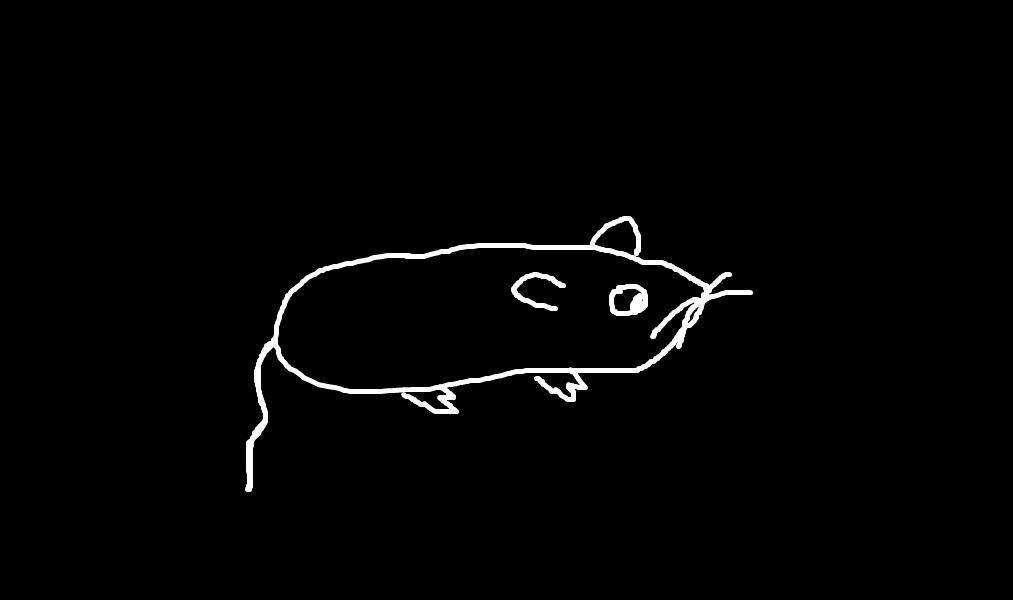
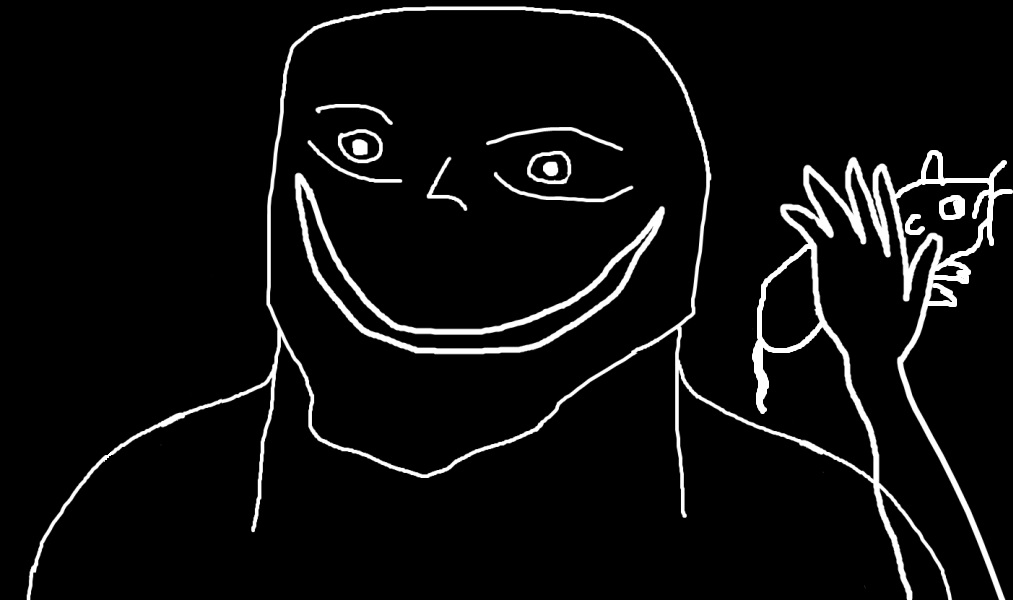
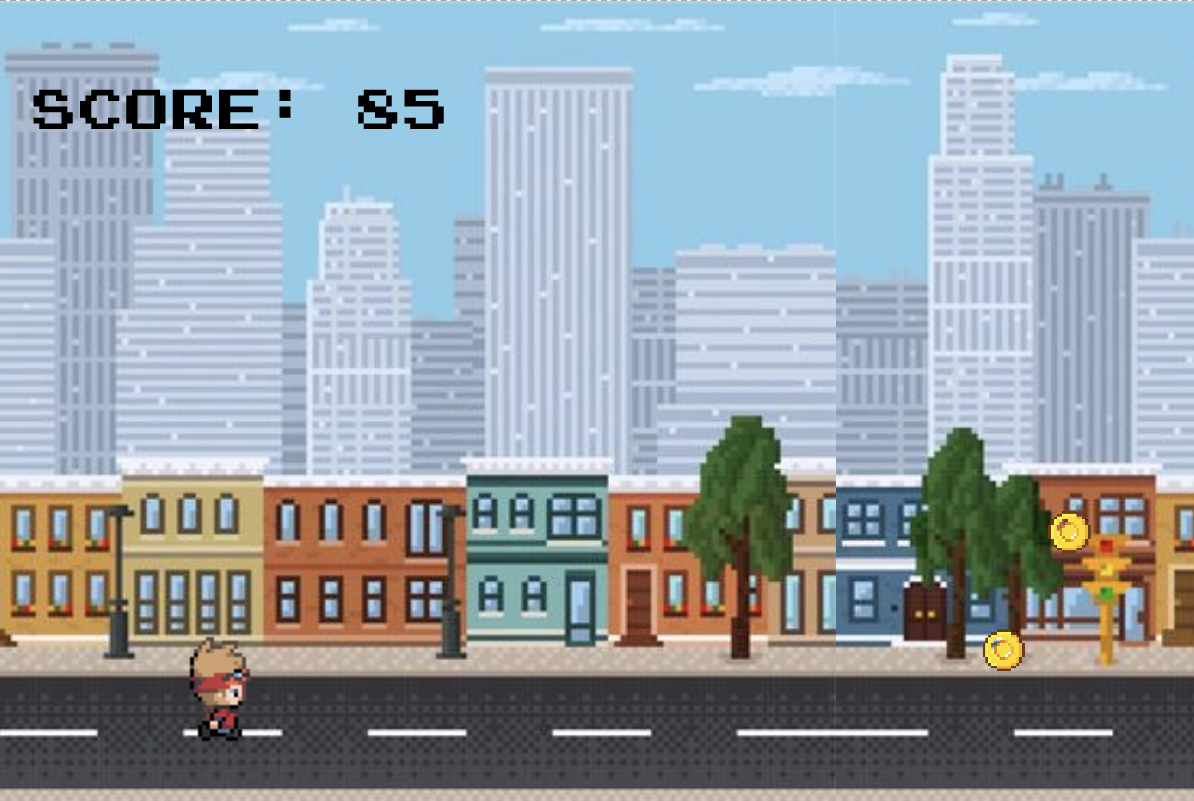 In his late teens/early twenties, he moved from his village to Karachi, a large metropolitan city. It was his first time being in such an environment, so the level is based on the novelty of that. Cars, crows and rats are things one often finds in big cities like this which is why they’re the obstacles.
chapter 3: setting sail
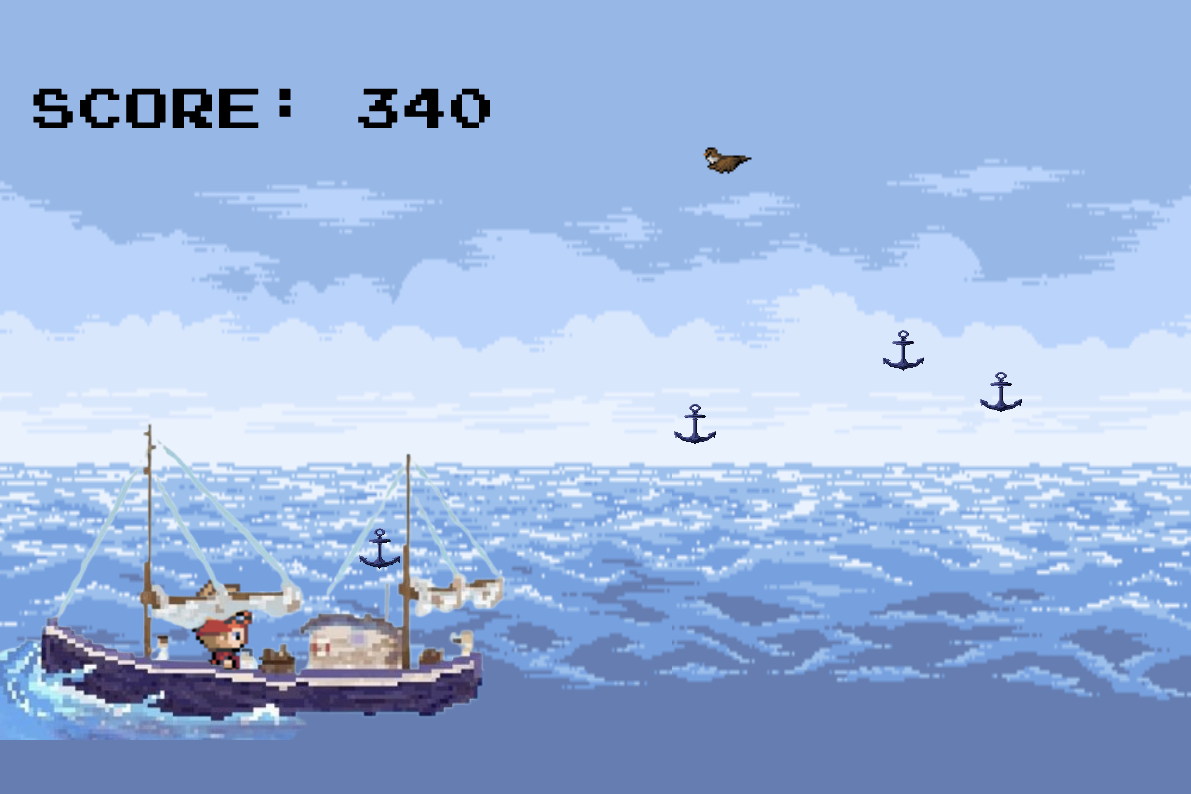 After completing training at his cadet college (which was why he moved in the first place), my dad officially joined the Navy. He spent a lot of time at sea in his early years, which is why the last level he’s on a boat. At first I wanted there to be fish or something, but that seemed a bit difficult so I just settled on making the obstacles birds.
how it works
The functionality is relatively straightforward. There is a player object, which actually stays in place the entire game. The only movement from the user is that it can jump (and double-jump!) using the spacebar. The player object is given the illusion of moving because everything else – the obstacles, the collectibles, the background – move towards the player. The collectables and obstacles essentially have speeds at which they move towards the user, and if the player collides with a collectible points are added and deducted for obstacles. The placement of the obstacles and the collectables are random. Once the user has passed all obstacles in the game, the game advances to the next level.
My player class can be seen below.
class Player {
  constructor(spritesheet, spritesAcross, spritesDown, x, y, speed) {
    this.w = int(spritesheet.width / spritesAcross);
    this.h = int(spritesheet.height / spritesDown);
    this.across = spritesAcross;
    this.down = spritesDown;
    this.direction = 2;
    this.sprites = [];
    for (let y = 0; y < spritesDown; y++) {
      this.sprites[y] = [];
      for (let x = 0; x < spritesAcross; x++) {
        this.sprites[y][x] = spritesheet.get(
          x * this.w,
          y * this.h,
          this.w,
          this.h
        );
      }
    }
    this.x = this.w + 15;
    this.y = y;
    this.ground = y;
    this.speed = speed;
    this.step = 0;
    this.jump = 15;
    this.vy = 0;
    this.canDoubleJump = true;
    this.g = 1;
    this.isMoving = true;
    // this.score = 0;
  }

  setGround(newY) {
    this.ground = newY;
  }

  updatePosition() {
    this.y += this.vy;
    // gx -= obstacleSpeed;

    if (this.y < this.ground) {
      this.vy += g;
    } else {
      this.vy = 0;
      this.y = this.ground;
      this.canDoubleJump = true;
    }

    if (this.isMoving) {
      if (frameCount % this.speed == 0) {
        this.step = (this.step + 1) % this.across;
      }
    }
    // print(isMoving);

    image(this.sprites[this.direction][this.step], this.x, this.y);
  }

  doAJump() {
    if (this.y >= this.ground) {
      this.vy = -this.jump;
      this.canDoubleJump = true;
    } else if (this.canDoubleJump) {
      this.vy = -this.jump;
      this.canDoubleJump = false; // Consume double jump
    }
  }
things i’m proud of
One of my favorite things to do when I’m working on a technical creative project is figuring out the ambiance/aesthetics of the piece. Sometimes, I spend more time on that than the actual code. So needless to say, I’m the most proud of the aesthetics of this project. Not only does it it looks very in line with my initial vision of a retro game project, but I’m proud of how I was able to create the atmosphere for every setting. The background graphics, the obstacles, the collectibles, and the music. I think it all ties together very well and makes the game super immersive.
improvements
While I’m happy with how my project turned out, there is definitely room for improvements, or small changes that could completely elevate the level of my work.
- Canvas size! I think because I was thinking of platform games on small screens, I kept the canvas size small. But I now wish it was bigger – unfortunately my code wasn’t typed in the most adaptable way, so it became a bit difficult to change the size towards the end.
- Small features like being able to turn off the music would help a lot as well as I know the game is a bit heavy on the sound, which can be a bit disruptive.
- Making the scoring system much more refined, i.e. adding points based on how elevated the collectable object is.
These changes seem relatively straightforward to implement, but I couldn’t mostly because of time restrictions.


 The examples of the each image of sofa created by me on Canva