Reading Reflection – Week 11

The articles profoundly challenged my assumptions about interaction design, particularly regarding our overreliance on flat touchscreen interfaces. While I’ve always appreciated the sleek aesthetics of modern devices, I now recognize how we’ve sacrificed the rich tactile experiences our hands are capable of experiencing.

The discussion about the trade-offs between physical and touch interfaces resonates strongly with my own experiences in technology. Like many others, I’ve noticed the satisfying feedback of mechanical keyboards versus the hollow experience of typing on glass surfaces. This observation extends beyond personal preference – it reflects a fundamental human desire for tactile feedback that current touch interfaces often fail to provide. In my own projects, I’m now exploring ways to incorporate haptic feedback and physical controls that complement, rather than replace, touch interfaces, understanding that different interaction methods serve different purposes and contexts.

The vision of future interfaces that better adapt to human capabilities has inspired me to think more boldly about interaction design. Rather than accepting the limitations of current technology, I’m now exploring how to create interfaces that engage multiple senses and leverage our natural ability to manipulate objects in three-dimensional space. This could mean developing prototypes that combine touch interfaces with physical controls, or experimenting with new forms of haptic feedback that provide more nuanced physical responses. The articles have helped me understand that the future of interaction design isn’t about choosing between physical and digital interfaces, but rather about finding innovative ways to blend them together to create more intuitive and satisfying user experiences.

Week 11: Final Project Proposal

For my final project I decided to put the user experience and immersion as the main priority, while being eye-catching and unique.

So, my idea at the very basic level is the “Escape the Room” type. We have a transforming robot (and arduino one, and connected to p5.js) trapped in a big box, which has puzzles to solve. On the other hand, our main task is to help the robot, and interact with it. However, we have our own share of puzzles which can grant the robot inside something special (I would have to think this one through).

However, to make this one completely unique, I decided to form a story around it. The basic premise of the story is simple:

A.R.I.S. (Adaptive Recollection and Interface System) is a memory-keeping robot that gets stuck in a safe box’s shutdown room after being sabotaged. To restart A.R.I.S., the player has to answer both physical and digital tasks. The robot’s broken memories and changing personality show shocking facts about its past.

The player works with Arduino-powered machinery and p5.js-based digital tasks to find clues inside the box. These clues are the author of A.R.I.S.’s last-ditch attempts to protect secret information. The Utopia Protocol is a secret plan that these pieces point to. It could change the course of human history. But things get more dangerous when A.R.I.S. starts to doubt its mission and goes back and forth between being a friend and a possible threat.

At the end of the story, there is a moral choice, which I haven’t figured out just yet. However, based on some ways in which we have interacted with A.R.I.S means that the player can experience at least two endings.

Week 11: In Class Exercise

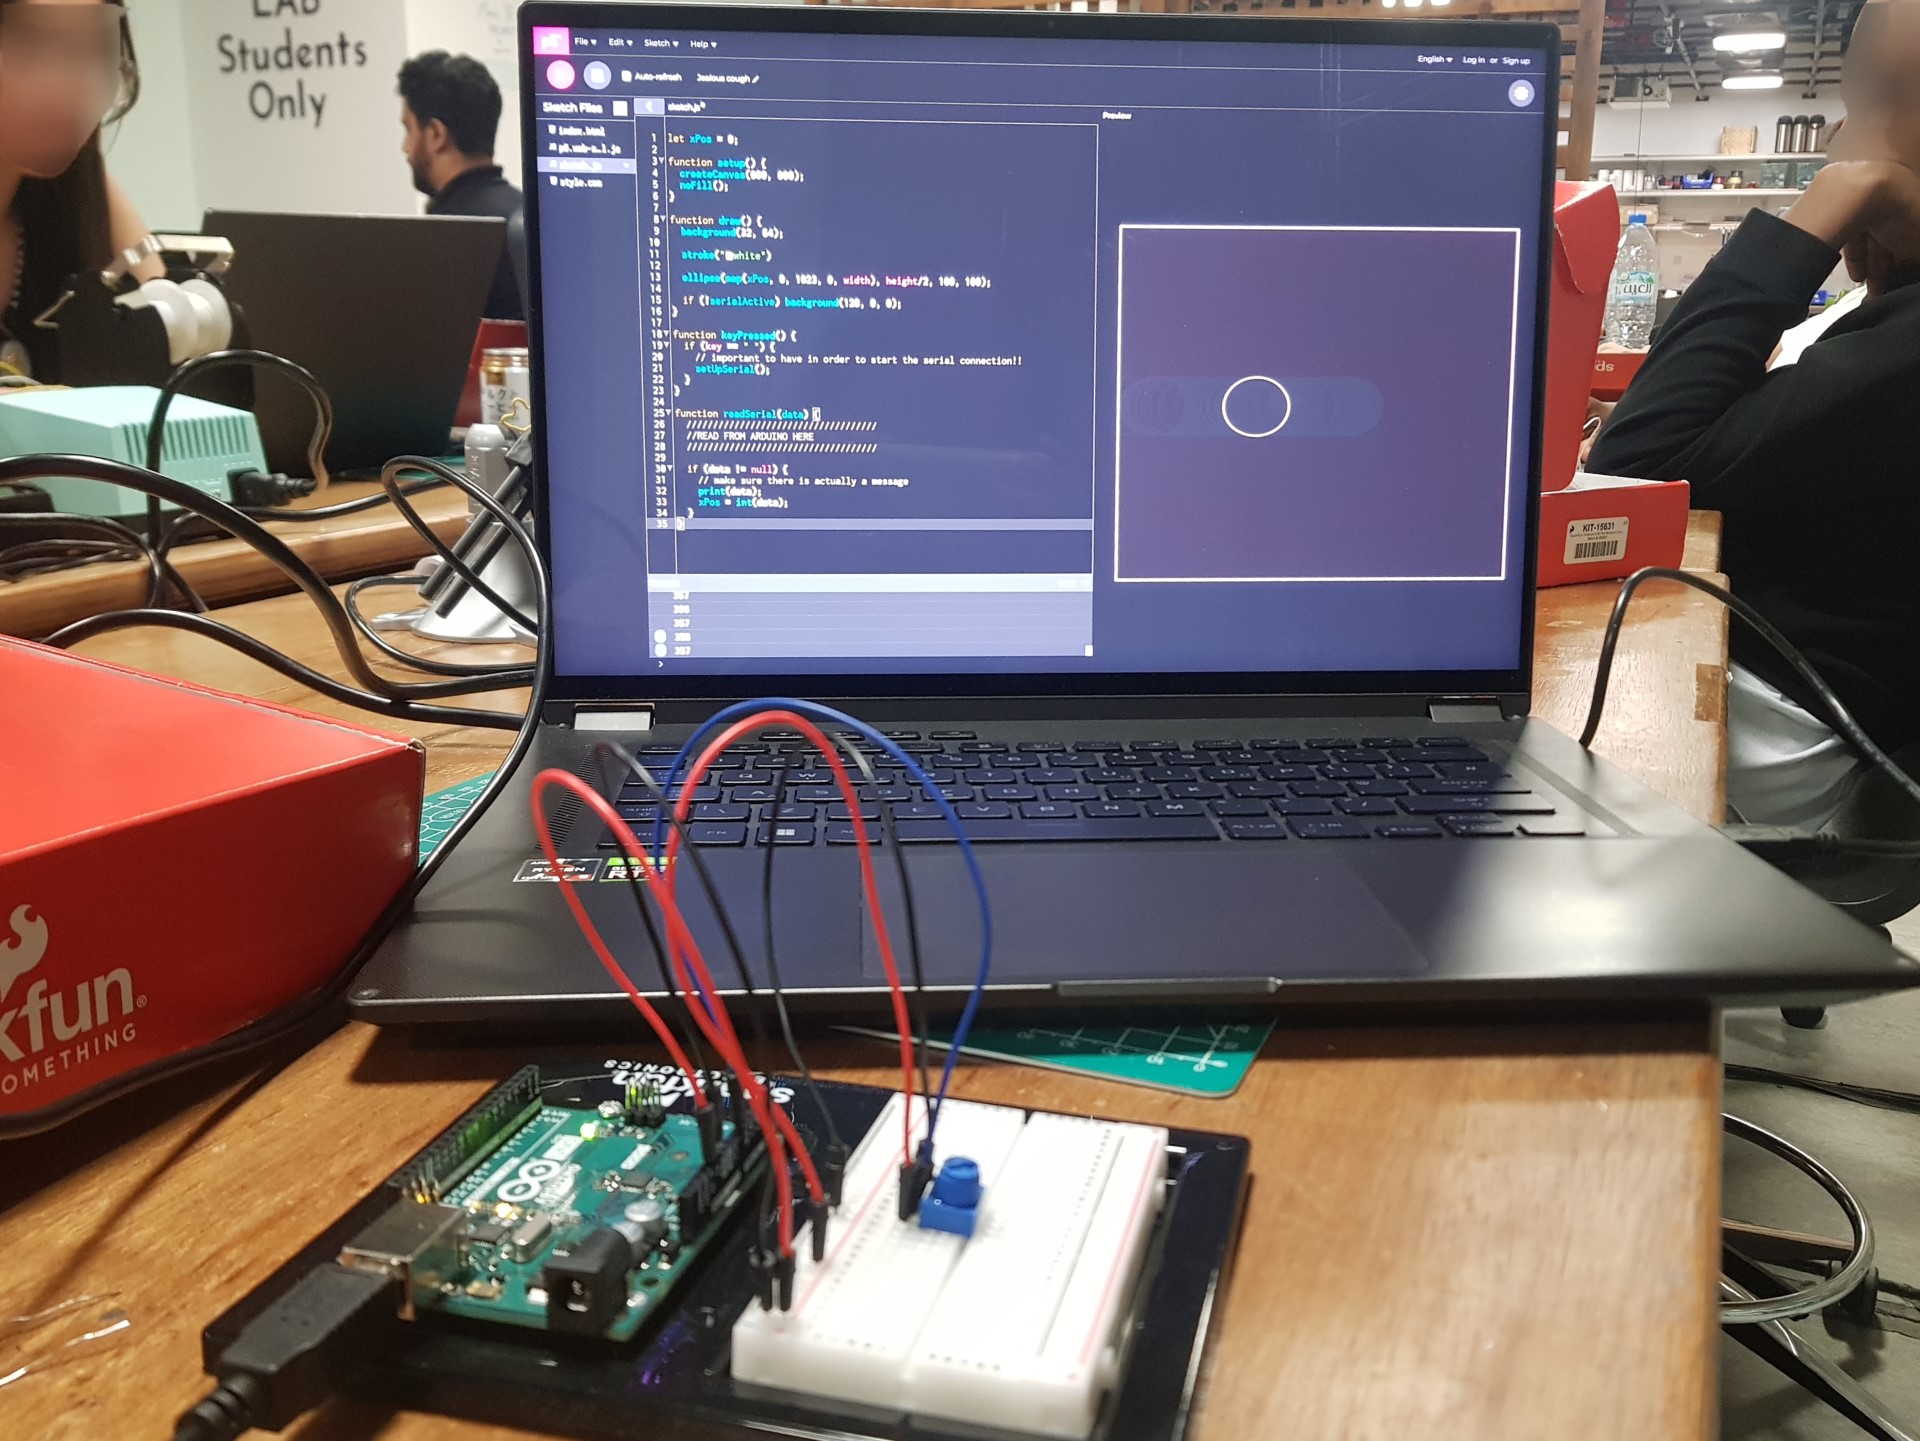
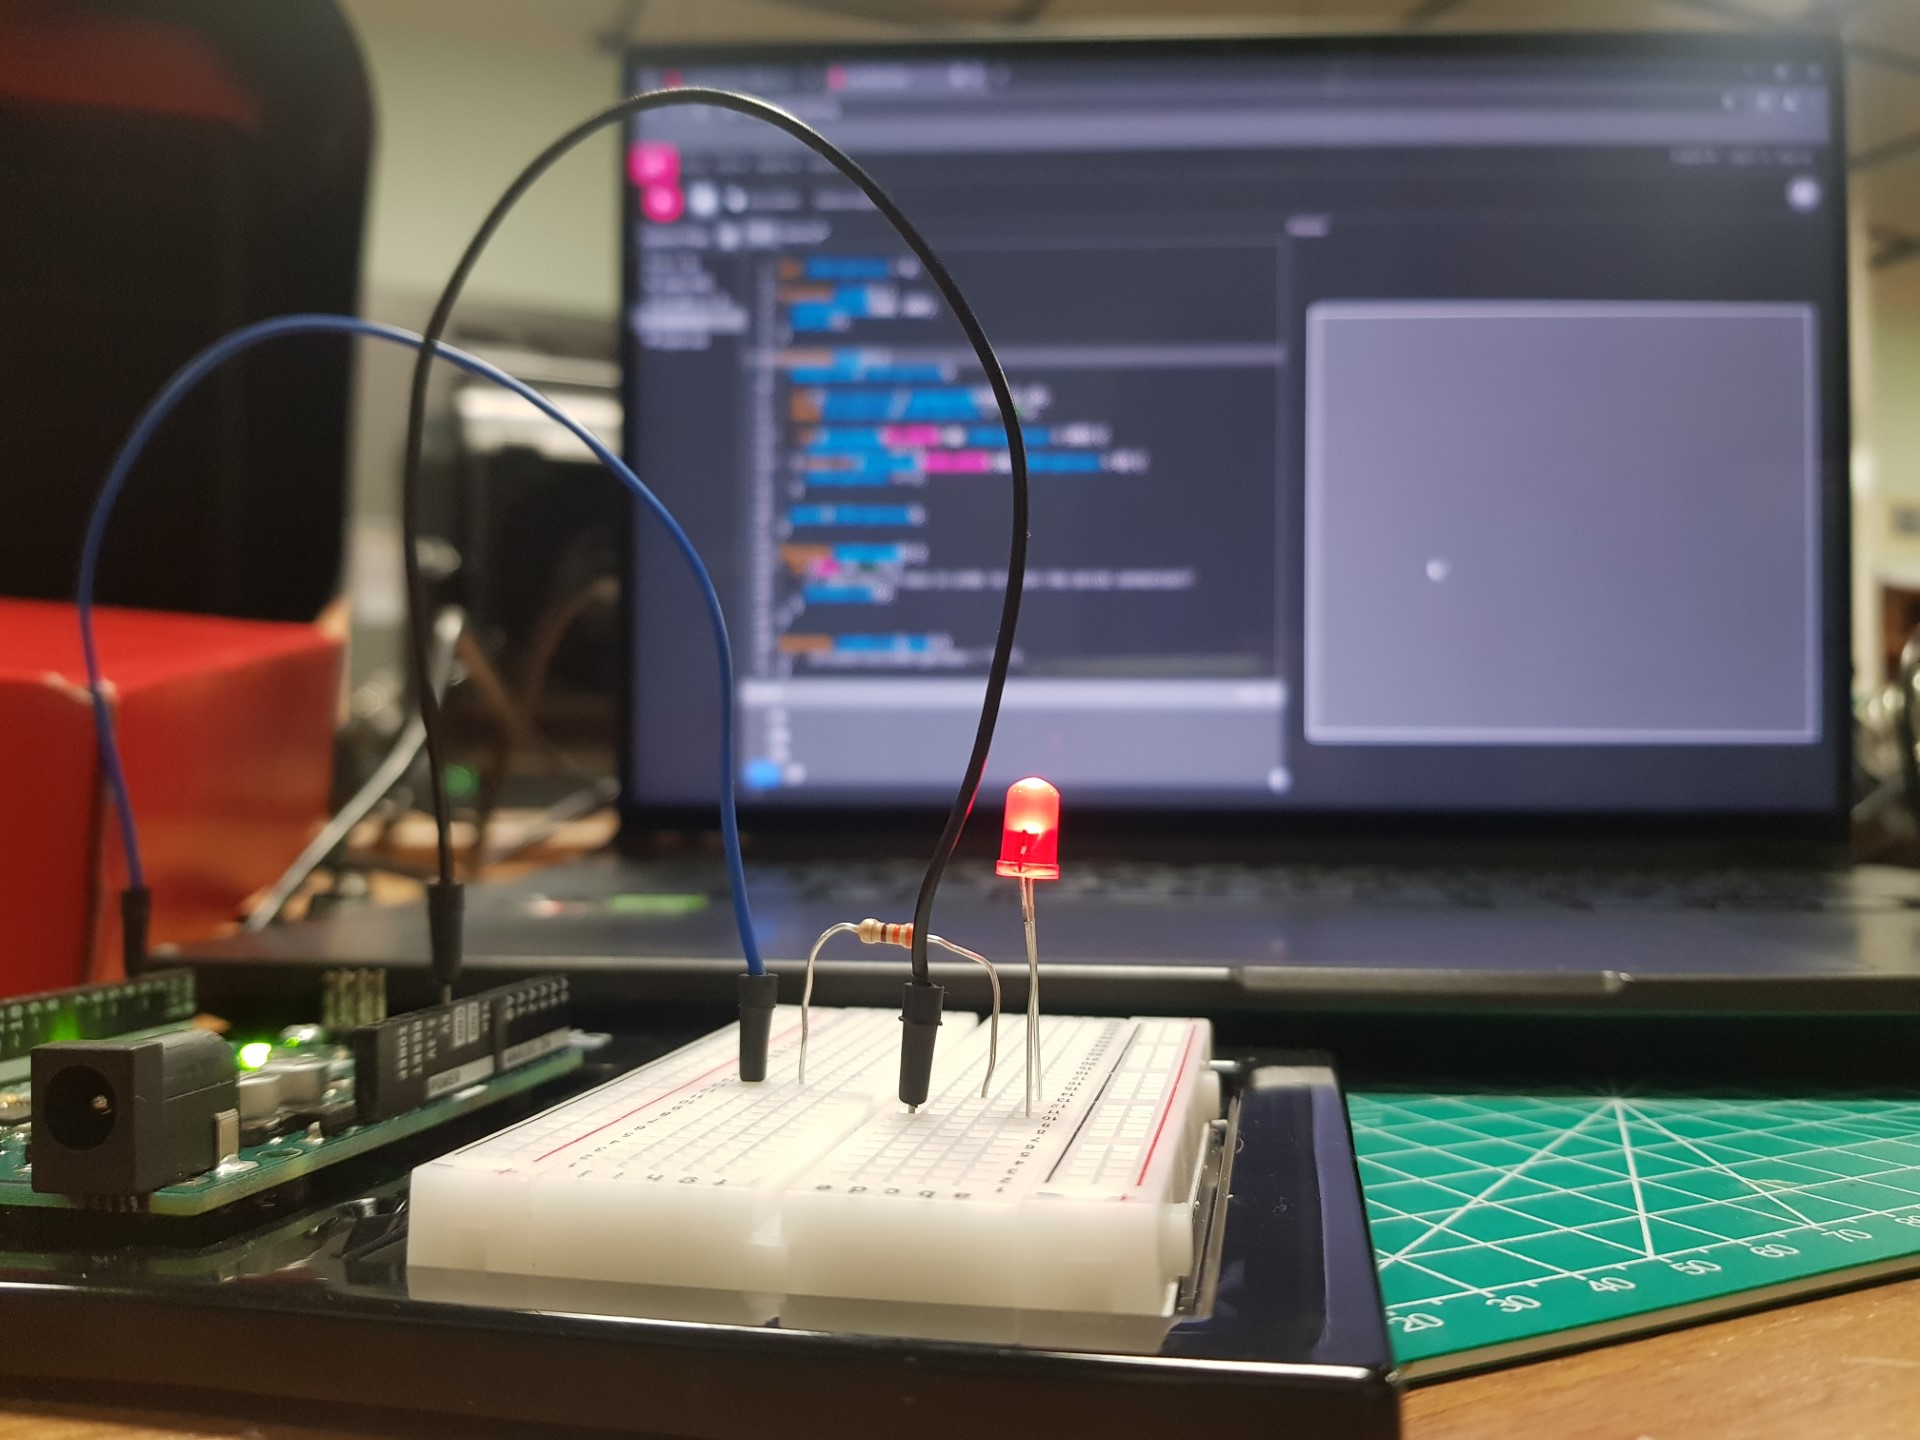
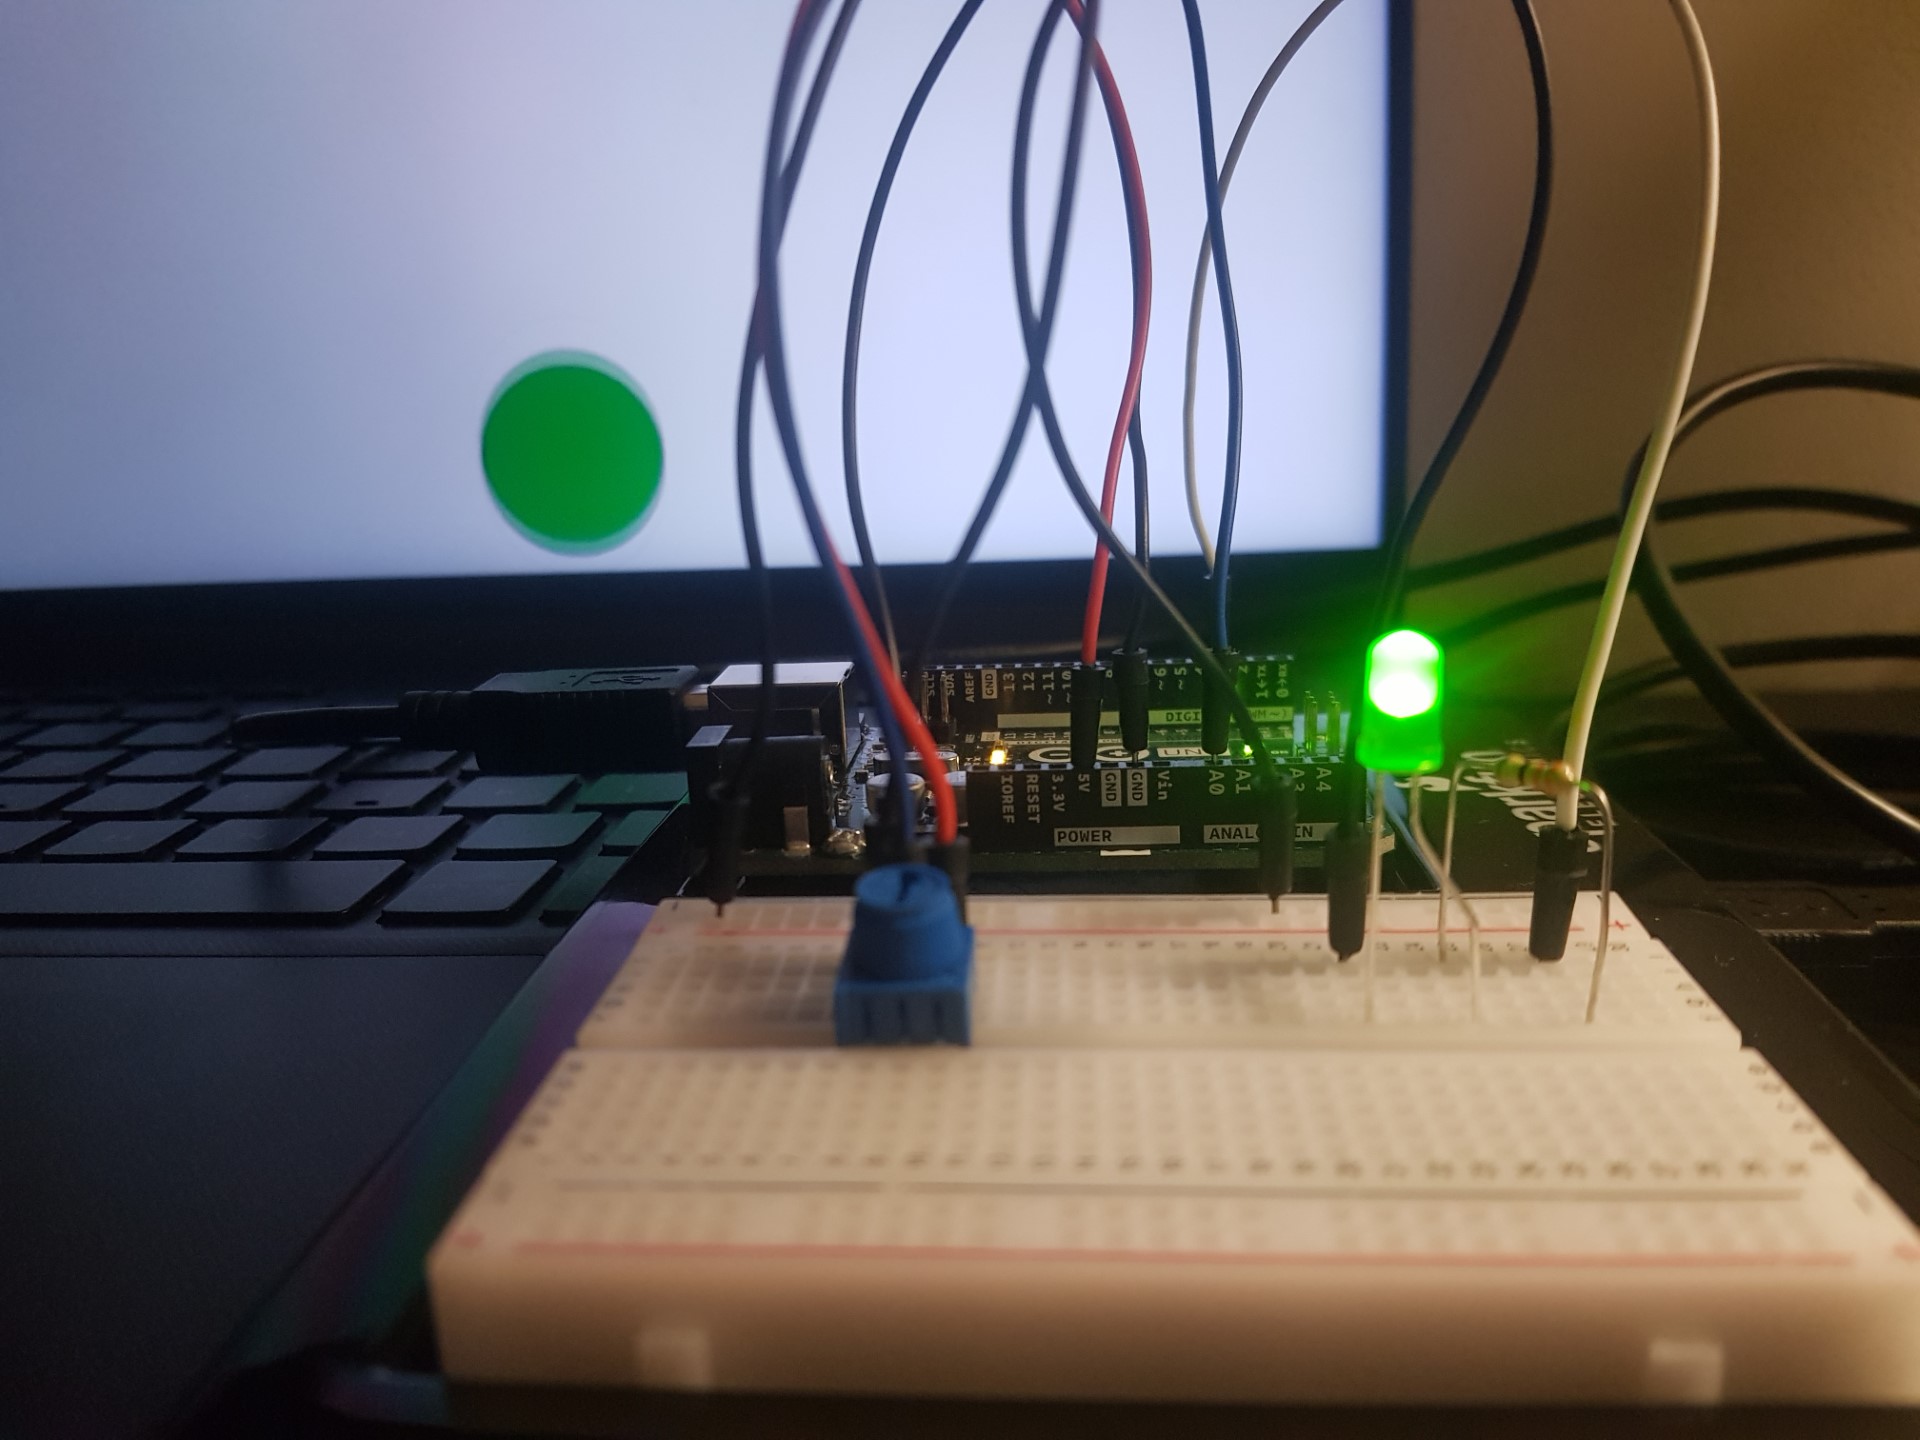
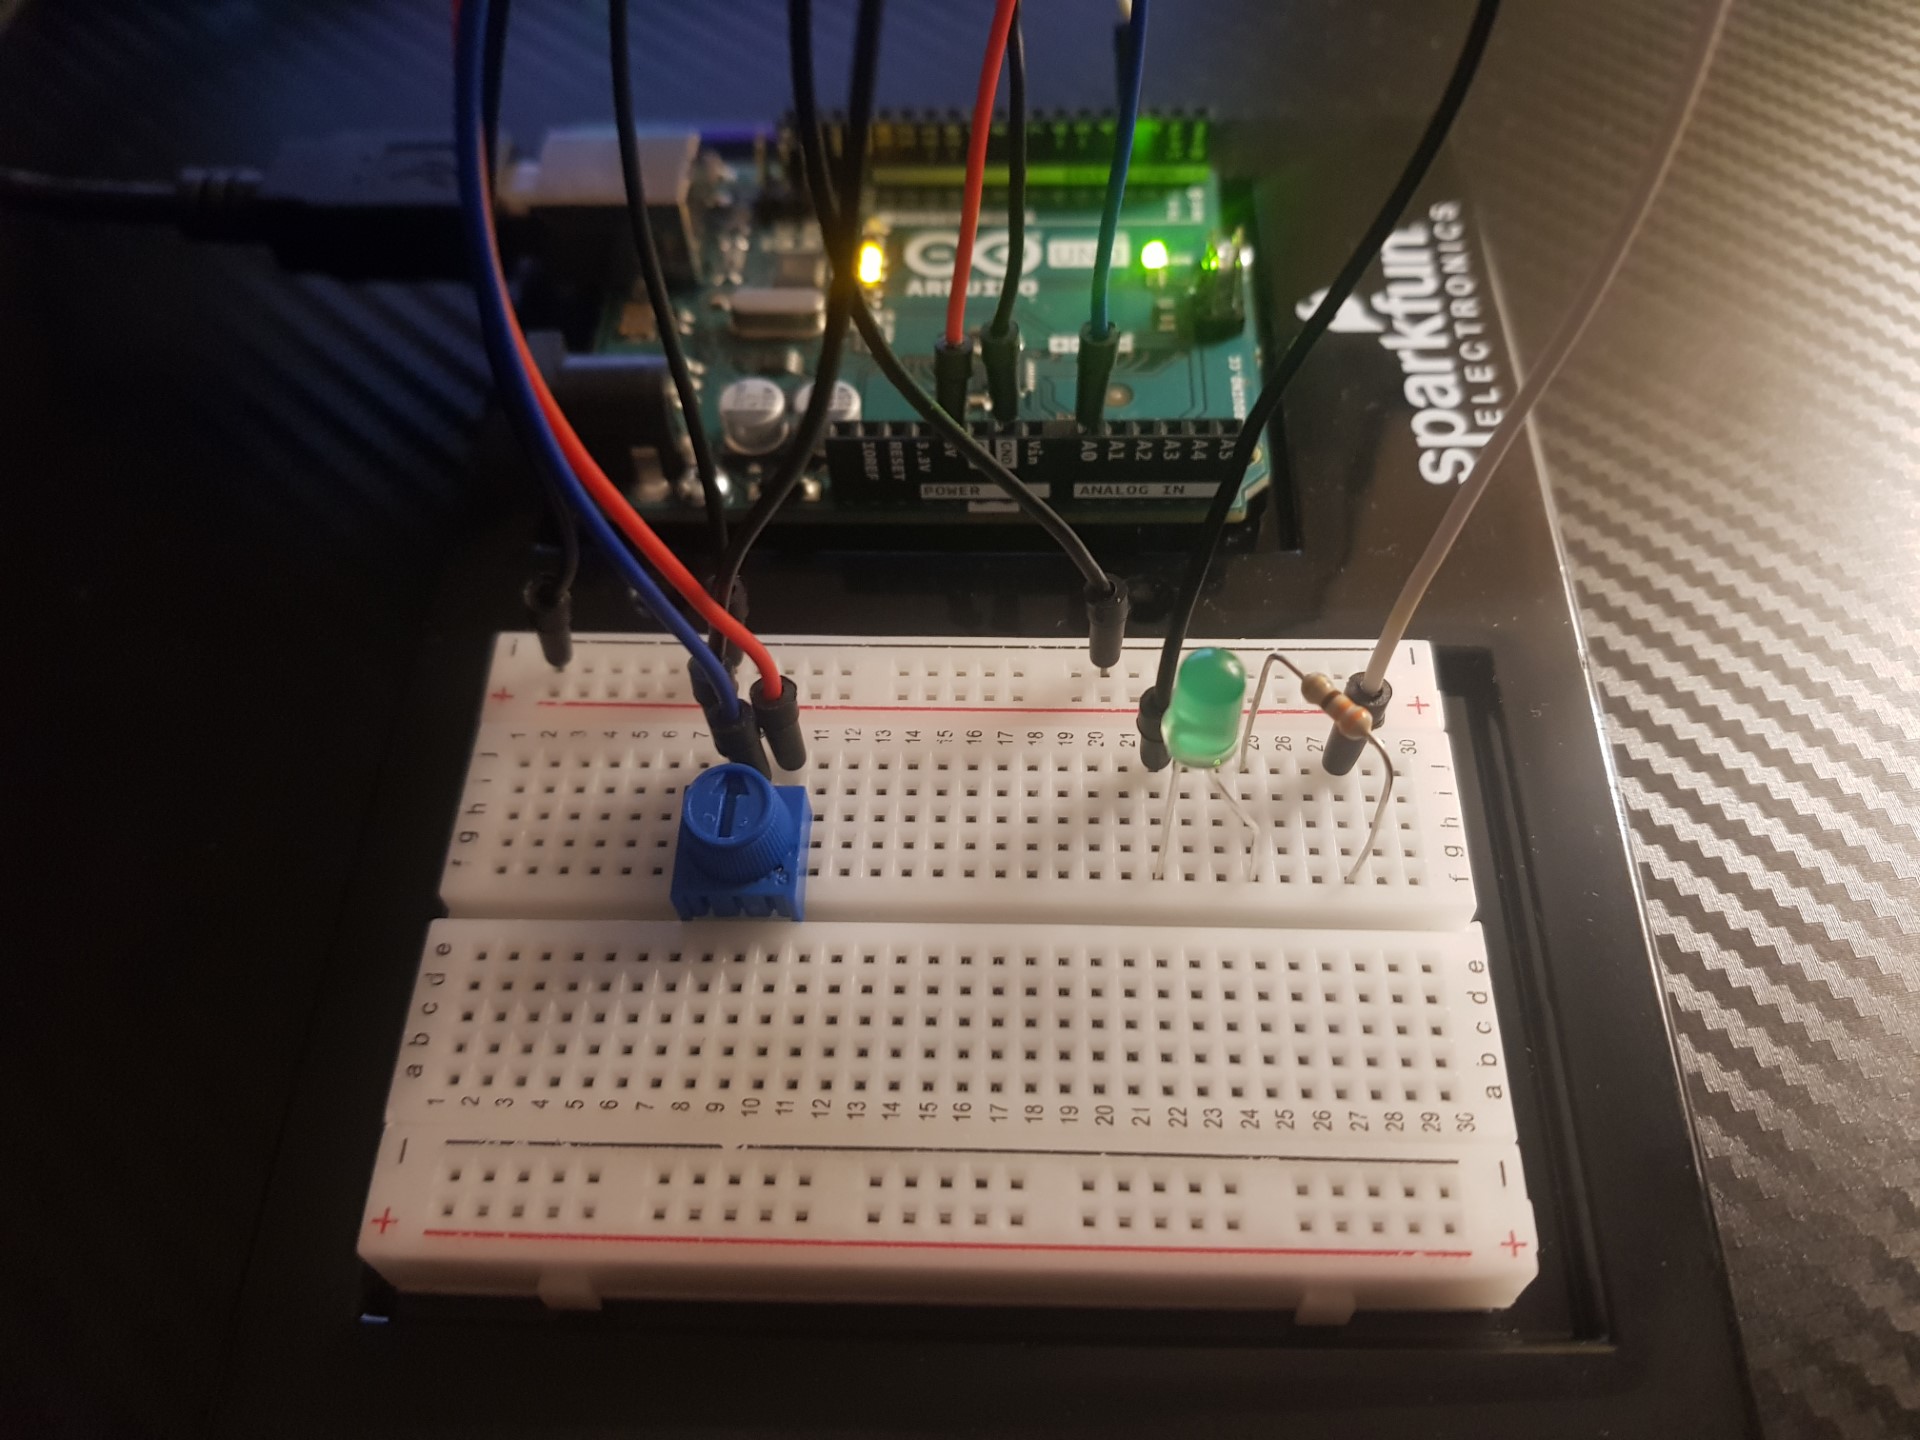
The provided code snippets include p5.js sketches and Arduino code for exercises completed during our class sessions. In these exercises, a potentiometer was utilized as the input sensor.

Exercise #1
Arduino code:

void setup() {
  // Initialize serial communication
  Serial.begin(9600);  
}

void loop() {
  // Read analog value from potentiometer on pin A0
  int sensorValue = analogRead(A0);
  // Print the sensor value to serial monitor
  Serial.println(sensorValue);
  delay(50);
}

P5.js code:

let serial;
let value = 0;

function setup() {
  createCanvas(800, 400);
}

function draw() {
  background(220);
  
  if (!serialActive) {
    text("Press Space Bar to select Serial Port", 20, 30);
  } else {
    text("Connected", 20, 30);
    
    // Display current sensor value
    text('value = ' + str(value), 20, 50);
  }
  
  // Map sensor value to canvas width for circle position
  let xPos = map(value, 0, 1023, 0, width);
  fill(255, 0, 0);
  
  // Draw circle at mapped position
  ellipse(xPos, height/2, 50, 50);  
}

function keyPressed() {
  if (key == " ") {
    // Initialize serial connection when spacebar is pressed
    setUpSerial();  
  }
}

function readSerial(data) {
  if (data != null) {
    // Split incoming data
    let fromArduino = split(trim(data), ",");  
    if (fromArduino.length == 1) {
      // Update value with received data
      value = int(fromArduino[0]);  
    }
    // Prepare mouse Y position to send
    let sendToArduino = mouseY + "\n";  
    // Send data to Arduino
    writeSerial(sendToArduino);  
  }
}

Demo:

Exercise #2
Arduino code:

// Define the pin for LED
const int ledPin = 11;

void setup() {
  Serial.begin(9600);
  
  // Set built-in LED as output
  pinMode(LED_BUILTIN, OUTPUT);  
  
  // Set external LED pin as output
  pinMode(ledPin, OUTPUT); 
  
  // Quick flash of external LED to indicate startup
  digitalWrite(ledPin, HIGH);
  delay(200);
  digitalWrite(ledPin, LOW);
  
  // Handshake loop: blink built-in LED and send "0" until serial data is received
  while (Serial.available() <= 0) {
    digitalWrite(LED_BUILTIN, HIGH);
    Serial.println("0");
    delay(300);
    digitalWrite(LED_BUILTIN, LOW);
    delay(50);
  }
}

void loop() {
  while (Serial.available()) {
    // Turn on built-in LED when receiving data
    digitalWrite(LED_BUILTIN, HIGH);  
    
    // Read brightness value from serial
    int brightness = Serial.parseInt();
    if (Serial.read() == '\n') {
      // Set LED brightness
      analogWrite(ledPin, brightness);  
      delay(5);
    }
  }
}

P5.js code:

let serial;
let value = 0;
let brightness = 0;

function setup() {
  createCanvas(800, 400);
}

function draw() {
  background(220);
  
  if (!serialActive) {
    // Display instruction if serial connection is not active
    text("Press Space Bar to select Serial Port", 20, 30);
  } else {
    // Display connection status and current values
    text("Connected", 20, 30);
    text('Brightness = ' + str(brightness), 20, 50);
    text('Value = ' + str(value), 20, 70);
  }

  // Map mouseY position to brightness value
  brightness = map(mouseY, 0, height, 0, 125);
  
  // Visual feedback: draw rectangle with current brightness
  fill(brightness);
  rect(100, 100, 200, 200);
}

function keyPressed() {
  if (key == " ") {
    // Start serial connection when spacebar is pressed
    setUpSerial();
  }
}

function readSerial(data) {
  if (data != null) {
    // Parse incoming data from Arduino
    let fromArduino = split(trim(data), ",");
    if (fromArduino.length == 1) {
      value = int(fromArduino[0]);
    }
    
    // Send brightness value to Arduino
    let sendToArduino = int(brightness) + "\n";
    writeSerial(sendToArduino);
  }
}

Demo:

Exercise #3
Arduino code:

// Define LED pin
const int LED_PIN = 2;    
// Define analog input pin
const int P_PIN = A0;     

void setup() {
  Serial.begin(9600);

  // Set LED pin as output
  pinMode(LED_PIN, OUTPUT);

  // Initially turn off LED
  digitalWrite(LED_PIN, LOW); 

  // Wait for the handshake
  while (Serial.available() <= 0) {
    Serial.println("0");
  }
}

void loop() {
  if (Serial.available()) {
    // Read integer from serial
    int bounce = Serial.parseInt();  
    if (Serial.read() == '\n') { 
       // Set LED state based on input from p5.js
      digitalWrite(LED_PIN, bounce);
    }
  }

   // Read and send analog value
  Serial.println(analogRead(P_PIN));
  
  // Short delay to prevent flooding the serial port
  delay(5);  
}

P5.js code:

let velocity, gravity, position, acceleration, wind;
let sensorData = 0;
const drag = 0.99;
let mass = 50;
let bounce = 0;

function setup() {
  createCanvas(640, 360);
    
  // Initialize vectors for physics simulation
  position = createVector(width/2, 0);
  velocity = createVector(0,0);
  acceleration = createVector(0,0);
  gravity = createVector(0, 0.5*mass);
  wind = createVector(0,0);
}

function draw() {
  background(255);
  
  if (!serialActive) {
    text("Press Space Bar to select Serial Port", 20, 30);
  } else {
    text("Connected", 20, 30);
    text('Sensor = ' + str(sensorData), 20, 50);
    
    // Apply forces when serial is active
    applyForce(wind);
    applyForce(gravity);
  }

  if (serialActive) {
    // Map sensor data to wind force
    wind.x = map(sensorData, 0, 1023, -2, 2);

    // Physics simulation
    applyForce(wind);
    applyForce(gravity);
    velocity.add(acceleration);
    velocity.mult(drag);
    position.add(velocity);
    acceleration.mult(0);

    // Draw the object
    ellipse(position.x, position.y, mass, mass);

    // Handle bouncing
    if (position.y > height-mass/2) {
      velocity.y *= -0.9;
      position.y = height-mass/2;
      bounce = 1;
    } else {
      bounce = 0;
    }
  }
}

// Function to apply force to the object
function applyForce(force) {
  let f = p5.Vector.div(force, mass);
  acceleration.add(f);
}

function keyPressed() {
  if (key == "b") {
    // Reset object with random mass
    mass = random(10,50);
    position.y = -mass;
    velocity.mult(0);
  }
  
  if (key == " ") {
    // Start serial connection
    setUpSerial();
  }
}

// Handle serial communication
function readSerial(data) {
  if (data != null) {
    let fromArduino = split(trim(data), ",");
    if (fromArduino.length == 1) {
      sensorData = int(fromArduino[0]);
    }
    
    // Send bounce state to Arduino
    let sendToArduino = int(bounce) + "\n";
    writeSerial(sendToArduino);
  }
}

Demo:

Week 11 – Final Project Proposal

What can physical computing provide/add on to the p5 experience? At least, this is the question for me when trying to devise my final project. It’s true that physicality is supposed to be more engaging, more intuitive, etc. While it is also true that the rich visual response p5 allows can easily overshadow the physical portion of a project. That being said, my mission would now become how to assigned the roles of p5 and physical computing.

Some tug-of-war staged in my mind, and it eventually came to me to stick to p5 as the centerpiece while harnessing physical computing as a means to improve the interactive experience. In a simple word, I’m thinking of leveraging my midterm project with the aid of the physical input—constructing a physical environment, simulating a pilot pod, and transforming the PVE experience into PVP.

From a technical perspective, there may be two approaches to achieving the vision that differ from each other by the number of computers involved in the project. On the one hand, if one computer plus an external screen would be supported by p5, then the physical installation should become easier; while if p5 does not allow it, then two computers may need to be set, and the burden on the physical part to communicate info would drastically increase. At this particular moment I believe it’s time to experiment a bit more with p5 and Arduino at large to find out the right pathway.

Week 11 – Reading Response

Graham Pullin’s Design Meets Disability is an insightful exploration of how design can transcend functionality to create assistive technologies that are inclusive, aesthetically appealing, and empowering for individuals with disabilities. Pullin’s central argument—that assistive devices should prioritize both usability and desirability—challenges conventional approaches that often view disability through a purely medical or technical lens.

What stood out most to me was Pullin’s emphasis on collaboration between designers and users. This participatory approach ensures that devices are not only practical but also reflective of personal identity and style. For instance, the idea of prosthetic limbs being treated as fashion statements rather than something to be concealed feels revolutionary, turning potential stigma into an opportunity for self-expression.

Pullin also highlights a broader societal impact: designing with disability in mind benefits everyone, not just individuals with disabilities. This aligns with the concept of universal design, where solutions developed for specific needs often lead to innovations applicable to all.

The reading left me questioning why more industries don’t adopt this approach. It’s a reminder that inclusive design is not just a moral imperative but a creative opportunity to enrich lives and push the boundaries of innovation.

Week 11 – In Class Practice

The following are the p5 codes and the Arduino code for the  exercises that we had done in class. I have used a potentiometer as my sensor.

Exercise 1 :
P5 Code

let serial;
let xPos = 0;

function setup() {
  createCanvas(800, 400);

  // Initialize serial
  serial = new p5.WebSerial();
  serial.open(); // Opens serial connection

  // Listen for incoming data
  serial.on("data", serialEvent);
}

function draw() {
  background(220);
  ellipse(xPos, height / 2, 50, 50);
}

function serialEvent() {
  let data = serial.readLine(); // Read data from Arduino
  if (data.length > 0) {
    xPos = map(Number(data), 0, 1023, 0, width); // Map sensor value to canvas width
  }
}

Arduino Code

int potPin = A0;

void setup() {
  Serial.begin(9600);
}

void loop() {
  int potValue = analogRead(potPin);
  Serial.println(potValue); // Send value to p5.js
  delay(10);
}

Exercise 2:
P5 Code

let serial;
let brightness = 0;

function setup() {
  createCanvas(400, 200);

  // Initialize serial
  serial = new p5.WebSerial();
  serial.open(); // Opens serial connection
}

function draw() {
  background(220);
  brightness = map(mouseX, 0, width, 0, 255); // Map mouse position to brightness
  serial.write(brightness + "\n"); // Send brightness to Arduino
  fill(0);
  text("Brightness: " + brightness, 10, 20);
}

Arduino Code

int ledPin = 9;

void setup() {
  pinMode(ledPin, OUTPUT);
  Serial.begin(9600);
}

void loop() {
  if (Serial.available() > 0) {
    int brightness = Serial.parseInt();
    analogWrite(ledPin, brightness); // Set LED brightness
  }
}

Exercise 3:
P5 Code

let serial;
let balls = [];
let wind = 0;

function setup() {
  createCanvas(400, 400);
  serial = new p5.WebSerial();
  serial.open();

  // Initialize balls
  for (let i = 0; i < 10; i++) {
    balls.push(new Ball(random(width), random(height / 2)));
  }

  serial.on("data", serialEvent);
}

function draw() {
  background(220);
  for (let ball of balls) {
    ball.applyForce(createVector(wind, 0.1)); // Apply wind
    ball.update();
    ball.display();
    if (ball.isBouncing()) {
      serial.write("bounce\n"); // Send bounce signal to Arduino
    }
  }
}

function serialEvent() {
  let data = serial.readLine();
  if (data.length > 0) {
    wind = map(Number(data), 0, 1023, -0.2, 0.2); // Map sensor value to wind
  }
}

class Ball {
  constructor(x, y) {
    this.pos = createVector(x, y);
    this.vel = createVector(0, 0);
    this.acc = createVector(0, 0);
    this.r = 10;
  }

  applyForce(force) {
    this.acc.add(force);
  }

  update() {
    this.vel.add(this.acc);
    this.pos.add(this.vel);
    this.acc.set(0, 0);

    // Check for bounce
    if (this.pos.y > height - this.r) {
      this.pos.y = height - this.r;
      this.vel.y *= -0.8; // Reverse and reduce velocity
    }
  }

  display() {
    ellipse(this.pos.x, this.pos.y, this.r * 2);
  }

  isBouncing() {
    return this.pos.y >= height - this.r;
  }
}

Arduino Code

int sensorPin = A0;
int ledPin = 13;

void setup() {
  pinMode(ledPin, OUTPUT);
  Serial.begin(9600);
}

void loop() {
  int sensorValue = analogRead(sensorPin);
  Serial.println(sensorValue); // Send sensor value to p5.js

  // Toggle LED for bounce feedback
  digitalWrite(ledPin, HIGH);
  delay(100);
  digitalWrite(ledPin, LOW);
}


FINAL PROJECT IDEA

For my Final project, I am still unsure of what I want to do. However, something came to mind that I think is a cool concept. I want to create an Interactive mood lamp with music integration.  So basically, the lamp changes colors and plays music based on the user’s actions and mood. The project will integrate the Arduino for a sensor-based interaction and P5 for a visual interface. For now I’m thinking of having 3 modes:

    • Mode 1: Calm (ambient sounds and soft colors).
    • Mode 2: Party (dynamic colors and upbeat music).
    • Mode 3: Focus (single-color light with lo-fi beats).

For the P5 visualization, which I’m still unsure if I’ll keep it this way, I might do a real-time visualization of soundwaves and color patterns that mirrors the lamp’s output on a screen.

A mood lamp for your reference:

mood lamp

For the design im planning to do something similar. I want to input the LEDs from the Arduino inside, like a lamp jar, to give. the aesthetic of the mood lamp, I still need to look into this more and see if there are other ways to do this.

Week 11: In-class Activity (by Taskin & Zavier)

# Jump To:


# Introduction

Hi there! 👋

These are a few in-class activities Taskin and I did this week (and had to post), resolving around serial communication between p5 and Arduino.

# Exercise 1: Arduino Affecting p5


Task:

“Make something that uses only one sensor on Arduino and makes the ellipse in p5 move on the horizontal axis, in the middle of the screen, and nothing on arduino is controlled by p5.”


Code:
Arduino:
 
void setup() {
	Serial.begin(9600);
	pinMode(A0, INPUT);
}

void loop() {
	Serial.println(analogRead(A0));
	delay(10);
}
 
p5:
 
let xPos = 0;

function setup() {
	createCanvas(600, 600);
	noFill();
}

function draw() {
	background(32, 64);
	
	stroke("white")

	ellipse(map(xPos, 0, 1023, 0, width), height/2, 100, 100);
	
	// Turn the screen red to make it very clear that we aren't connected to the Arduino
	if (!serialActive)
		background(128, 0, 0);
}

function keyPressed() {
	if (key == " ")
		setUpSerial(); // Start the serial connection
}

function readSerial(data) {
	if (data != null) // Ensure there's actually data
		xPos = int(data);
}			


# Exercise 2: p5 Affecting Arduino


Task:

“Make something that controls the LED brightness from p5.”


Code:
Arduino:
 
void setup() {
	Serial.begin(9600);
	pinMode(3, OUTPUT);
}

void loop() {
	analogWrite(3, Serial.parseInt());
	Serial.println();
	delay(10);
}
 
p5:
 
let xPos = 0;
let LEDBrightness = 0; // 0 - 255

function setup() {
	createCanvas(600, 600);
}

function draw() {
	if (keyIsDown(UP_ARROW) && LEDBrightness < 255) LEDBrightness += 1; else if (keyIsDown(DOWN_ARROW) && LEDBrightness > 0)
		LEDBrightness -= 1;
	
	// Just a visual indicator of the brightness level on p5
	background(LEDBrightness);
	fill(LEDBrightness < 128 ? 'white' : 'black')
	text(LEDBrightness, 25, 25);
	
	// Turn the screen red to make it very clear that we aren't connected to the Arduino
	if (!serialActive)
		background(128, 0, 0);
}

function keyPressed() {
	if (key == " ")
		setUpSerial(); // Start the serial connection
}

function readSerial(data) {
	writeSerial(LEDBrightness);
}


# Exercise 3: Arduino and p5 Affecting Each Other


Task:

“Take the gravity wind example and make it so every time the ball bounces one led lights up and then turns off, and you can control the wind from one analog sensor.”


Code:
Arduino:
 
const int LED_PIN = 3;
const int POT_PIN = A0;

void setup() {
	Serial.begin(9600);
	pinMode(LED_PIN, OUTPUT);
	pinMode(POT_PIN, INPUT);

	// Start the handshake
	while (Serial.available() <= 0) {
		Serial.println("0"); // Send a starting message
		delay(300); // Wait ~1/3 second
	}
}

void loop() {
	while (Serial.available()) {
		int LEDState = Serial.parseInt(); // 0 or 1
		
		if (Serial.read() == '\n') {
			digitalWrite(LED_PIN, LEDState);
			Serial.println(analogRead(POT_PIN));
		}
	}
}
 
p5:
 
let position, velocity, acceleration, gravity, wind; // vectors
let drag = 0.99, mass = 50, hasBounced = false;

function setup() {
	createCanvas(640, 360);
	noFill();
	position = createVector(width/2, 0);
	velocity = createVector(0,0);
	acceleration = createVector(0,0);
	gravity = createVector(0, 0.5*mass);
	wind = createVector(0,0);
	
	textAlign(CENTER);
	textSize(18);
}

function draw() {
	background(255);
	applyForce(wind);
	applyForce(gravity);
	velocity.add(acceleration);
	velocity.mult(drag);
	position.add(velocity);
	acceleration.mult(0);
	fill(hasBounced ? 'green' : 'white')
	ellipse(position.x,position.y,mass,mass);
	if (position.y > height-mass/2) {
		velocity.y *= -0.9;  // A little dampening when hitting the bottom
		position.y = height-mass/2;
		
		if (!hasBounced && abs(velocity.y) > 1) {
			hasBounced = true;
			setTimeout(() => hasBounced = false, 100); // Set hasBounced to false after 0.1 s
		}
	}  
	
	if (!serialActive) {
		background(8);
		fill('white');
		text("Press c to connect to the Arduino", width/2, height/2)
	}
}

function applyForce(force){
	// Newton's 2nd law: F = M * A
	// or A = F / M
	let f = p5.Vector.div(force, mass);
	acceleration.add(f);
}

function keyPressed(){
	if (key == ' '){
		mass = random(15,80);
		position.set(width/2, -mass);
		velocity.mult(0);
		gravity.y = 0.5*mass;
		wind.mult(0);
		
	} else if (key == 'c') {
		setUpSerial(); // Start the serial connection
	}
}

function readSerial(data) {
	if (data != null) { // Ensure there's actually data
		wind.x = map(int(data), 0, 1023, -2, 2);
		writeSerial((hasBounced ? 1 : 0) + '\n');
	}
}


Circuit:


Demo:

Reading Reflection – Week #11

Design Meets Disability is an extremely captivating piece that raised interesting questions for me to contemplate. I find the first example, with glasses, to be the most compelling, as it illustrates that design is a necessary component even for seemingly medical tools and devices. It is surprising to learn that glasses were initially not intended to be styled at all, whereas nowadays they belong to their own branch of fashion. The fact that glasses are not simply used but worn gives them importance from a different perspective: as a social tool rather than purely a medical one. Similarly, design is critical for various prosthetics, and each one of them has its own specifics. Unlike glasses, prosthetics are integrations of the body, a crucial factor for designers to consider.

The text also touches upon the universality of design, a concept I approach with caution. While design can aim for inclusivity, I don’t believe a single design can ever accommodate everyone at once. This goal is elusive and should not be the designer’s primary focus. It was interesting to point out two different approaches to “universality” in design: one that tries to include everything so it works for everyone, and another that, on the contrary, makes the design as simplistic as possible to ensure it is universally straightforward to use.

Both methods are quite problematic, and the task of a good designer is to situate their work somewhere in between these two extremes. However, what is certain is that universality should not be the primary goal of design; simplicity should be valued above all. I agree with the text’s author that good design is not only about how an object looks but, more importantly, about how it works, as Steve Jobs aptly stated. This principle applies to everything, from iPod to an arm prosthetic.

Week 11 – In-Class Practice

Following codes are built upon the bidi serial example

Practice 1: Shifting Ellipse

let rVal = 0;

function setup() {
  createCanvas(640, 480);
  textSize(18);
}

function draw() {
  background(10);

  fill(map(rVal, 0, 1023, 100, 255));

  if (!serialActive) {
    text("Press Space Bar to select Serial Port", 20, 30);
  } else {
    text("Connected", 20, 30);
    
    // Print the current values
    text('rVal = ' + str(rVal), 20, 50);

    ellipse(map(rVal, 150, 600, 0, width), height /2, map(rVal, 150, 600, 50, 200));
  }
}

function keyPressed() {
  if (key == " ") {
    // important to have in order to start the serial connection!!
    setUpSerial();
  }
}

// This function will be called by the web-serial library
// with each new *line* of data. The serial library reads
// the data until the newline and then gives it to us through
// this callback function
function readSerial(data) {
  ////////////////////////////////////
  //READ FROM ARDUINO HERE
  ////////////////////////////////////

  if (data != null) {
    // make sure there is actually a message
    // split the message
    let fromArduino = split(trim(data), ",");
    // if the right length, then proceed
    if (fromArduino.length == 1) {
      // only store values here
      // do everything with those values in the main draw loop
      
      // We take the string we get from Arduino and explicitly
      // convert it to a number by using int()
      // e.g. "103" becomes 103
      rVal = int(fromArduino[0]);
    }

    //////////////////////////////////
    //SEND TO ARDUINO HERE (handshake)
    //////////////////////////////////
    let sendToArduino = 0 + '\n';
    writeSerial(sendToArduino);
  }
}

/* Arduino Code

void setup() {
  // Start serial communication so we can send data
  // over the USB connection to our p5js sketch
  Serial.begin(9600);

  // We'll use the builtin LED as a status output.
  // We can't use the serial monitor since the serial connection is
  // used to communicate to p5js and only one application on the computer
  // can use a serial port at once.
  pinMode(LED_BUILTIN, OUTPUT);

  // start the handshake
  while (Serial.available() <= 0) {
    digitalWrite(LED_BUILTIN, HIGH); // on/blink while waiting for serial data
    Serial.println("0,0"); // send a starting message
    delay(300);            // wait 1/3 second
    digitalWrite(LED_BUILTIN, LOW);
    delay(50);
  }
}

void loop() {
  // wait for data from p5 before doing something
  while (Serial.available()) {
    digitalWrite(LED_BUILTIN, HIGH); // led on while receiving data

    if (Serial.read() == '\n') {
      int sensor = analogRead(A0);
      delay(5);
      Serial.println(sensor);
    }
  }
  digitalWrite(LED_BUILTIN, LOW);
}

*/

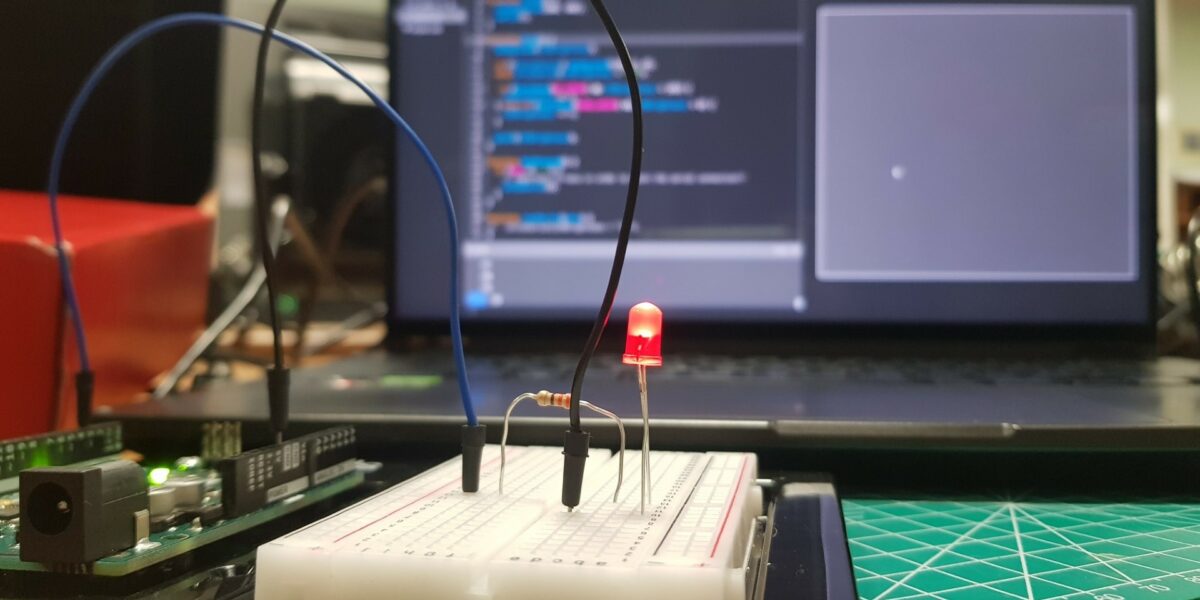
Practice 2: Brightness Control

let brightness = 0;
let rVal = 0;

function setup() {
  createCanvas(640, 480);
  textSize(18);
  background(0);
}

function draw() {
  background(map(brightness, 0, 255, 0, 255), 0, 0);

  fill(255);
  if (!serialActive) {
    text("Press 'Space' to connect to Serial Port", 20, 30);
  } else {
    text("Connected to Arduino", 20, 30);
    text('Brightness: ' + brightness, 20, 60);
    text('rVal: ' + rVal, 20, 90);

    // Map mouseX to brightness (0-255)
    brightness = map(mouseX, 0, width, 0, 255);
    brightness = int(constrain(brightness, 0, 255));

    // Display instructions
    text("Move mouse horizontally to change LED brightness", 20, height - 20);
  }
}

function keyPressed() {
  if (key === ' ') {
    setUpSerial();
  }
}

// This function will be called by the web-serial library
// with each new *line* of data. The serial library reads
// the data until the newline and then gives it to us through
// this callback function
function readSerial(data) {
  ////////////////////////////////////
  //READ FROM ARDUINO HERE
  ////////////////////////////////////
  if (data != null) {
    // make sure there is actually a message
    // split the message
    let fromArduino = split(trim(data), ",");
    // if the right length, then proceed
    if (fromArduino.length == 1) {
      // only store values here
      rVal = fromArduino[0];
    }

    //////////////////////////////////
    //SEND TO ARDUINO HERE (handshake)
    //////////////////////////////////
    let sendToArduino = brightness + '\n';
    writeSerial(sendToArduino);
  }
}

/*

// LED Brightness Control via Serial
const int ledPin = 9; 

void setup() {
  // Initialize serial communication at 9600 baud
  Serial.begin(9600);
  
  // Set LED pin as output
  pinMode(ledPin, OUTPUT);
  pinMode(LED_BUILTIN, OUTPUT);
  pinMode(2, OUTPUT);
  
  // Blink them so we can check the wiring
  analogWrite(ledPin, 255);
  delay(200);
  analogWrite(ledPin, 0);

  // start the handshake
  while (Serial.available() <= 0) {
    digitalWrite(LED_BUILTIN, HIGH); // on/blink while waiting for serial data
    Serial.println("0,0"); // send a starting message
    delay(300);            // wait 1/3 second
    digitalWrite(LED_BUILTIN, LOW);
    delay(50);
  }
}

void loop() {
  // Check if data is available on the serial port
  while (Serial.available()) {
    digitalWrite(LED_BUILTIN, HIGH);

    // Read the incoming byte:
    int brightness = Serial.parseInt();
    // Constrain the brightness to be between 0 and 255
    brightness = constrain(brightness, 0, 255);
    if (Serial.read() == '\n') {
      // Set the brightness of the LED
      analogWrite(ledPin, brightness);
      delay(5);
      // Send back the brightness value for confirmation
      Serial.println(brightness);
    } 
  }
  digitalWrite(LED_BUILTIN, LOW);
}

*/
Practice 3: Windy Balls Bouncing

let velocity;
let gravity;
let position;
let acceleration;
let wind;
let drag = 0.99;
let mass = 50;

// for uno connection
let rVal = 0;
let LED = 0; 

function setup() {
  createCanvas(640, 360);
  noFill();
  position = createVector(width/2, 0);
  velocity = createVector(0,0);
  acceleration = createVector(0,0);
  gravity = createVector(0, 0.5*mass);
  wind = createVector(0,0);
}

function draw() {
  background(255);

  fill(10);
  
  if (!serialActive) {
    text("Press S to select Serial Port", 20, 30);
  } else {
    text("Connected", 20, 30);
  
    // Print the current values
    text('rVal = ' + str(rVal), 20, 50);
  }
  
  if (rVal > 0) {
    wind.x += map(constrain(rVal, 200, 600), 200, 600, -0.5, 0.5);
    applyForce(wind);
  }
  
  applyForce(gravity);
  velocity.add(acceleration);
  velocity.mult(drag);
  position.add(velocity);
  acceleration.mult(0);
  ellipse(position.x,position.y,mass,mass);
  if (position.y > height-mass/2) {
      LED = 1;
      velocity.y *= -0.9;  // A little dampening when hitting the bottom
      position.y = height-mass/2;
  } else {
    LED = 0;
  }
}

function applyForce(force){
  // Newton's 2nd law: F = M * A
  // or A = F / M
  let f = p5.Vector.div(force, mass);
  acceleration.add(f);
}

function keyPressed(){
  if (key == "s") {
    // important to have in order to start the serial connection!!
    setUpSerial();
  }

  if (key==' '){
    mass=random(15,80);
    position.y=-mass;
    position.x=width/2;
    acceleration = createVector(0,0);
    velocity.mult(0);
    wind = createVector(0,0);
  }
}

function readSerial(data) {
  ////////////////////////////////////
  //READ FROM ARDUINO HERE
  ////////////////////////////////////

  if (data != null) {
    // make sure there is actually a message
    
    // split the message
    let fromArduino = split(trim(data), ","); 
    
    // if the right length, then proceed
    if (fromArduino.length == 1) {
      // convert it to a number by using int()
      rVal = int(fromArduino[0]);
    }

    //////////////////////////////////
    //SEND TO ARDUINO HERE (handshake)
    //////////////////////////////////
    let sendToArduino = LED+'\n';
    writeSerial(sendToArduino);
  }
}

/*

int ledPin = 9;

void setup() {
  // Start serial communication so we can send data
  // over the USB connection to our p5js sketch
  Serial.begin(9600);

  // We'll use the builtin LED as a status output.
  // We can't use the serial monitor since the serial connection is
  // used to communicate to p5js and only one application on the computer
  // can use a serial port at once.
  pinMode(LED_BUILTIN, OUTPUT);
  pinMode(ledPin, OUTPUT);

  // Blink them so we can check the wiring
  analogWrite(ledPin, 255);
  delay(200);
  analogWrite(ledPin, 0);

  // start the handshake
  while (Serial.available() <= 0) {
    digitalWrite(LED_BUILTIN, HIGH); // on/blink while waiting for serial data
    Serial.println("0,0"); // send a starting message
    delay(300);            // wait 1/3 second
    digitalWrite(LED_BUILTIN, LOW);
    delay(50);
  }
}

void loop() {
  // wait for data from p5 before doing something
  while (Serial.available()) {
    digitalWrite(LED_BUILTIN, HIGH); // led on while receiving data

    int ledState = Serial.parseInt();
    if (Serial.read() == '\n') {
      digitalWrite(ledPin, ledState);
      int sensor = analogRead(A0);
      delay(5);
      Serial.println(sensor);
    }
  }
  digitalWrite(LED_BUILTIN, LOW);
}


*/