Final Project – Preliminary Concept

For the final project, I have decided to create an immersive experience where people could make their own NYUAD ID cards.

Usually, people do not like the photographs on their ID cards. This issue inspired me to program a way in which we can take our own photos for the ID. For instance, a user can press a button and take their photo live by looking at the camera. Maybe I will also mirror the final photograph so that it looks just as when you look at yourself in the mirror. According to my research, people actually think that a mirror reflection is much more attractive to you than a photograph.

Moreover, I have some friends who chose or go by a different name than the one in the passport. This will also be incorporated in this program, where a person could write their preferred name on a touch screen, which will be reflected on their ID.

Also, I believe that many students can relate to the issue that our ID cards are not unique and do not show any individuality. In my program, there will be an option to add accessories to their photos. For instance, I plan to incorporate different images of scarves, jewelry, hats, mustaches, etc.

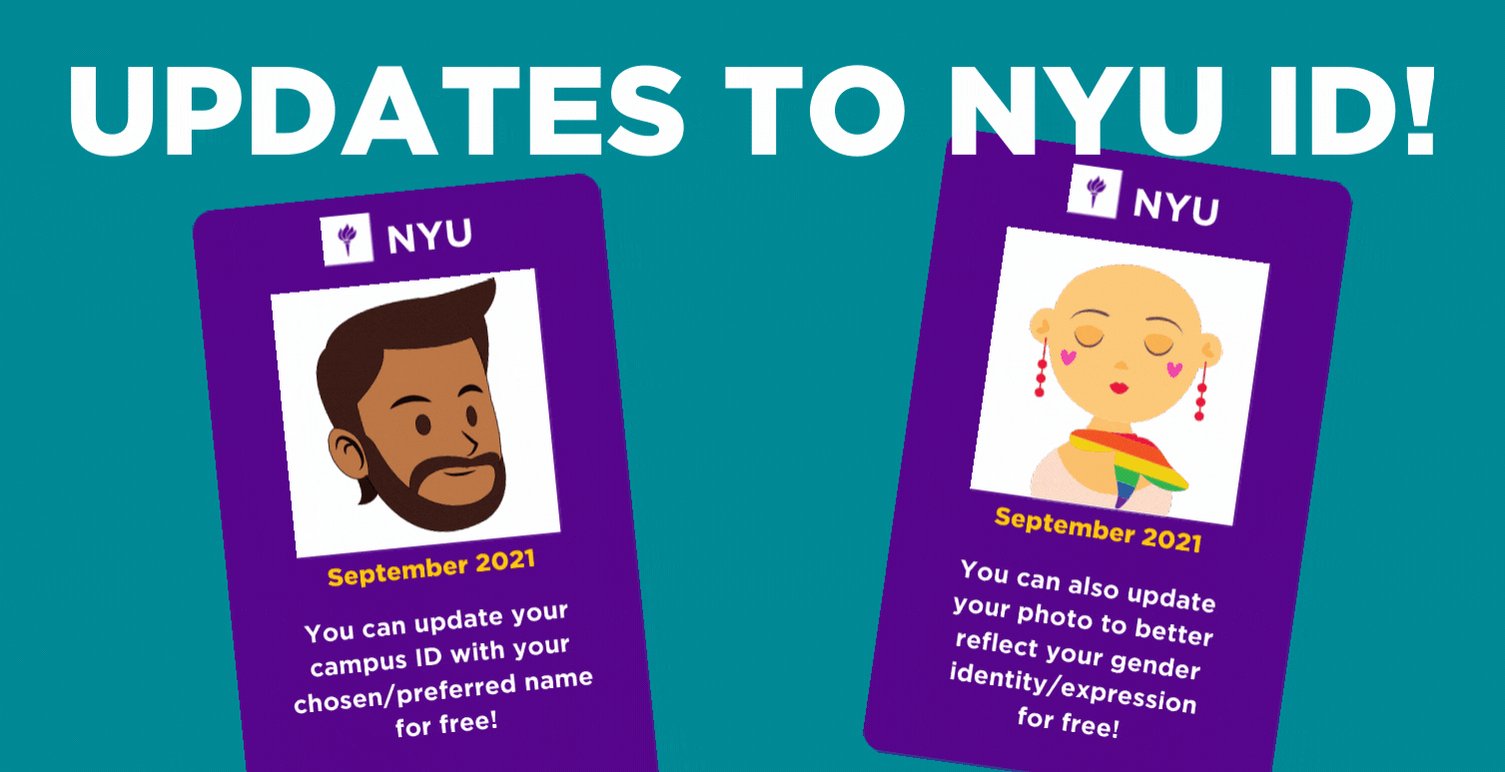
NYU New York has already made some changes to their ID cards, where students can change their ID cards for free.

New York University on X: "NYU community members who would like to: • have  their NYU ID card replaced to reflect their chosen/preferred name, or •  have the photo on their card

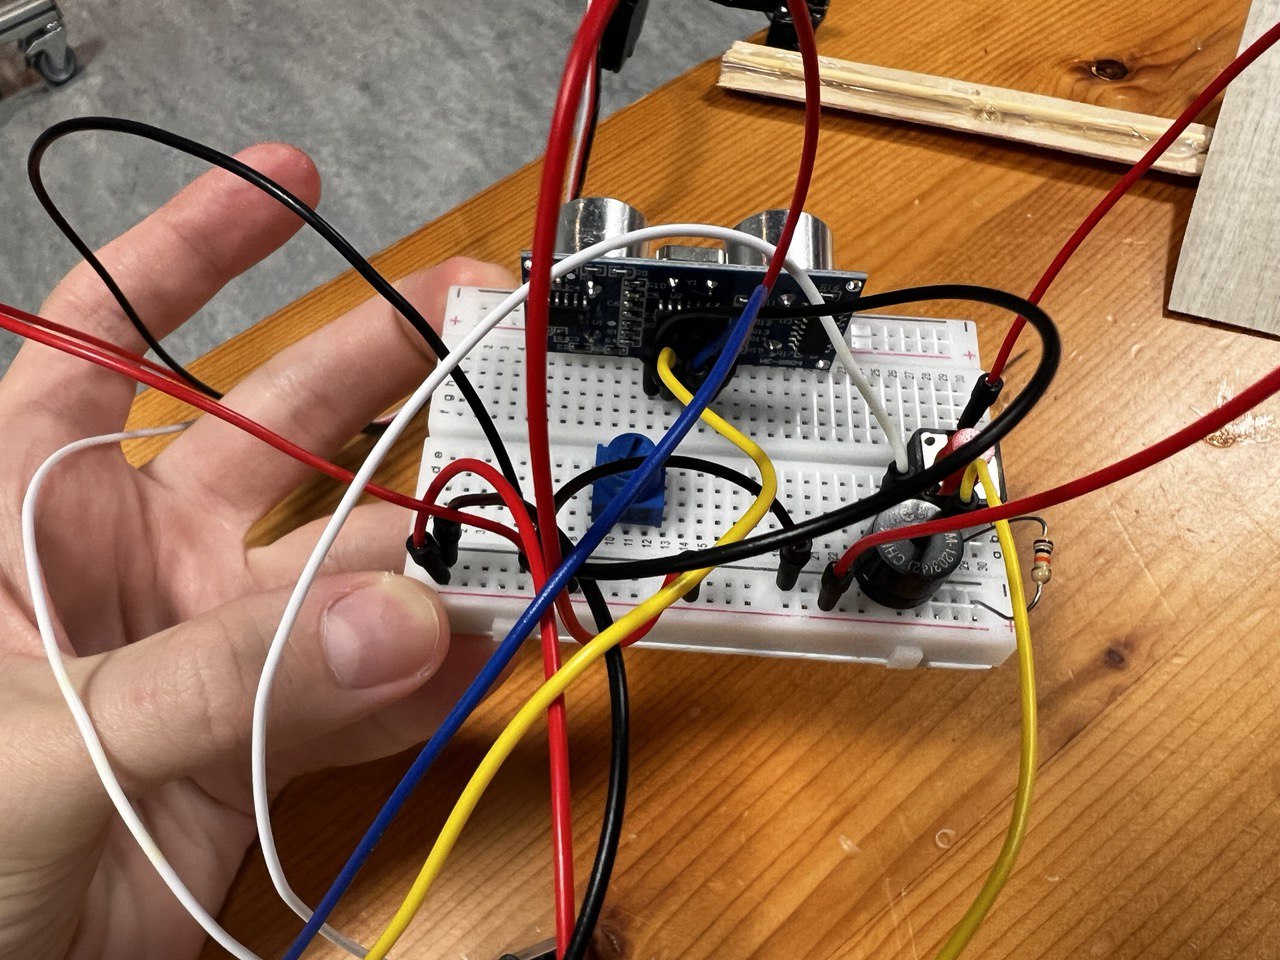
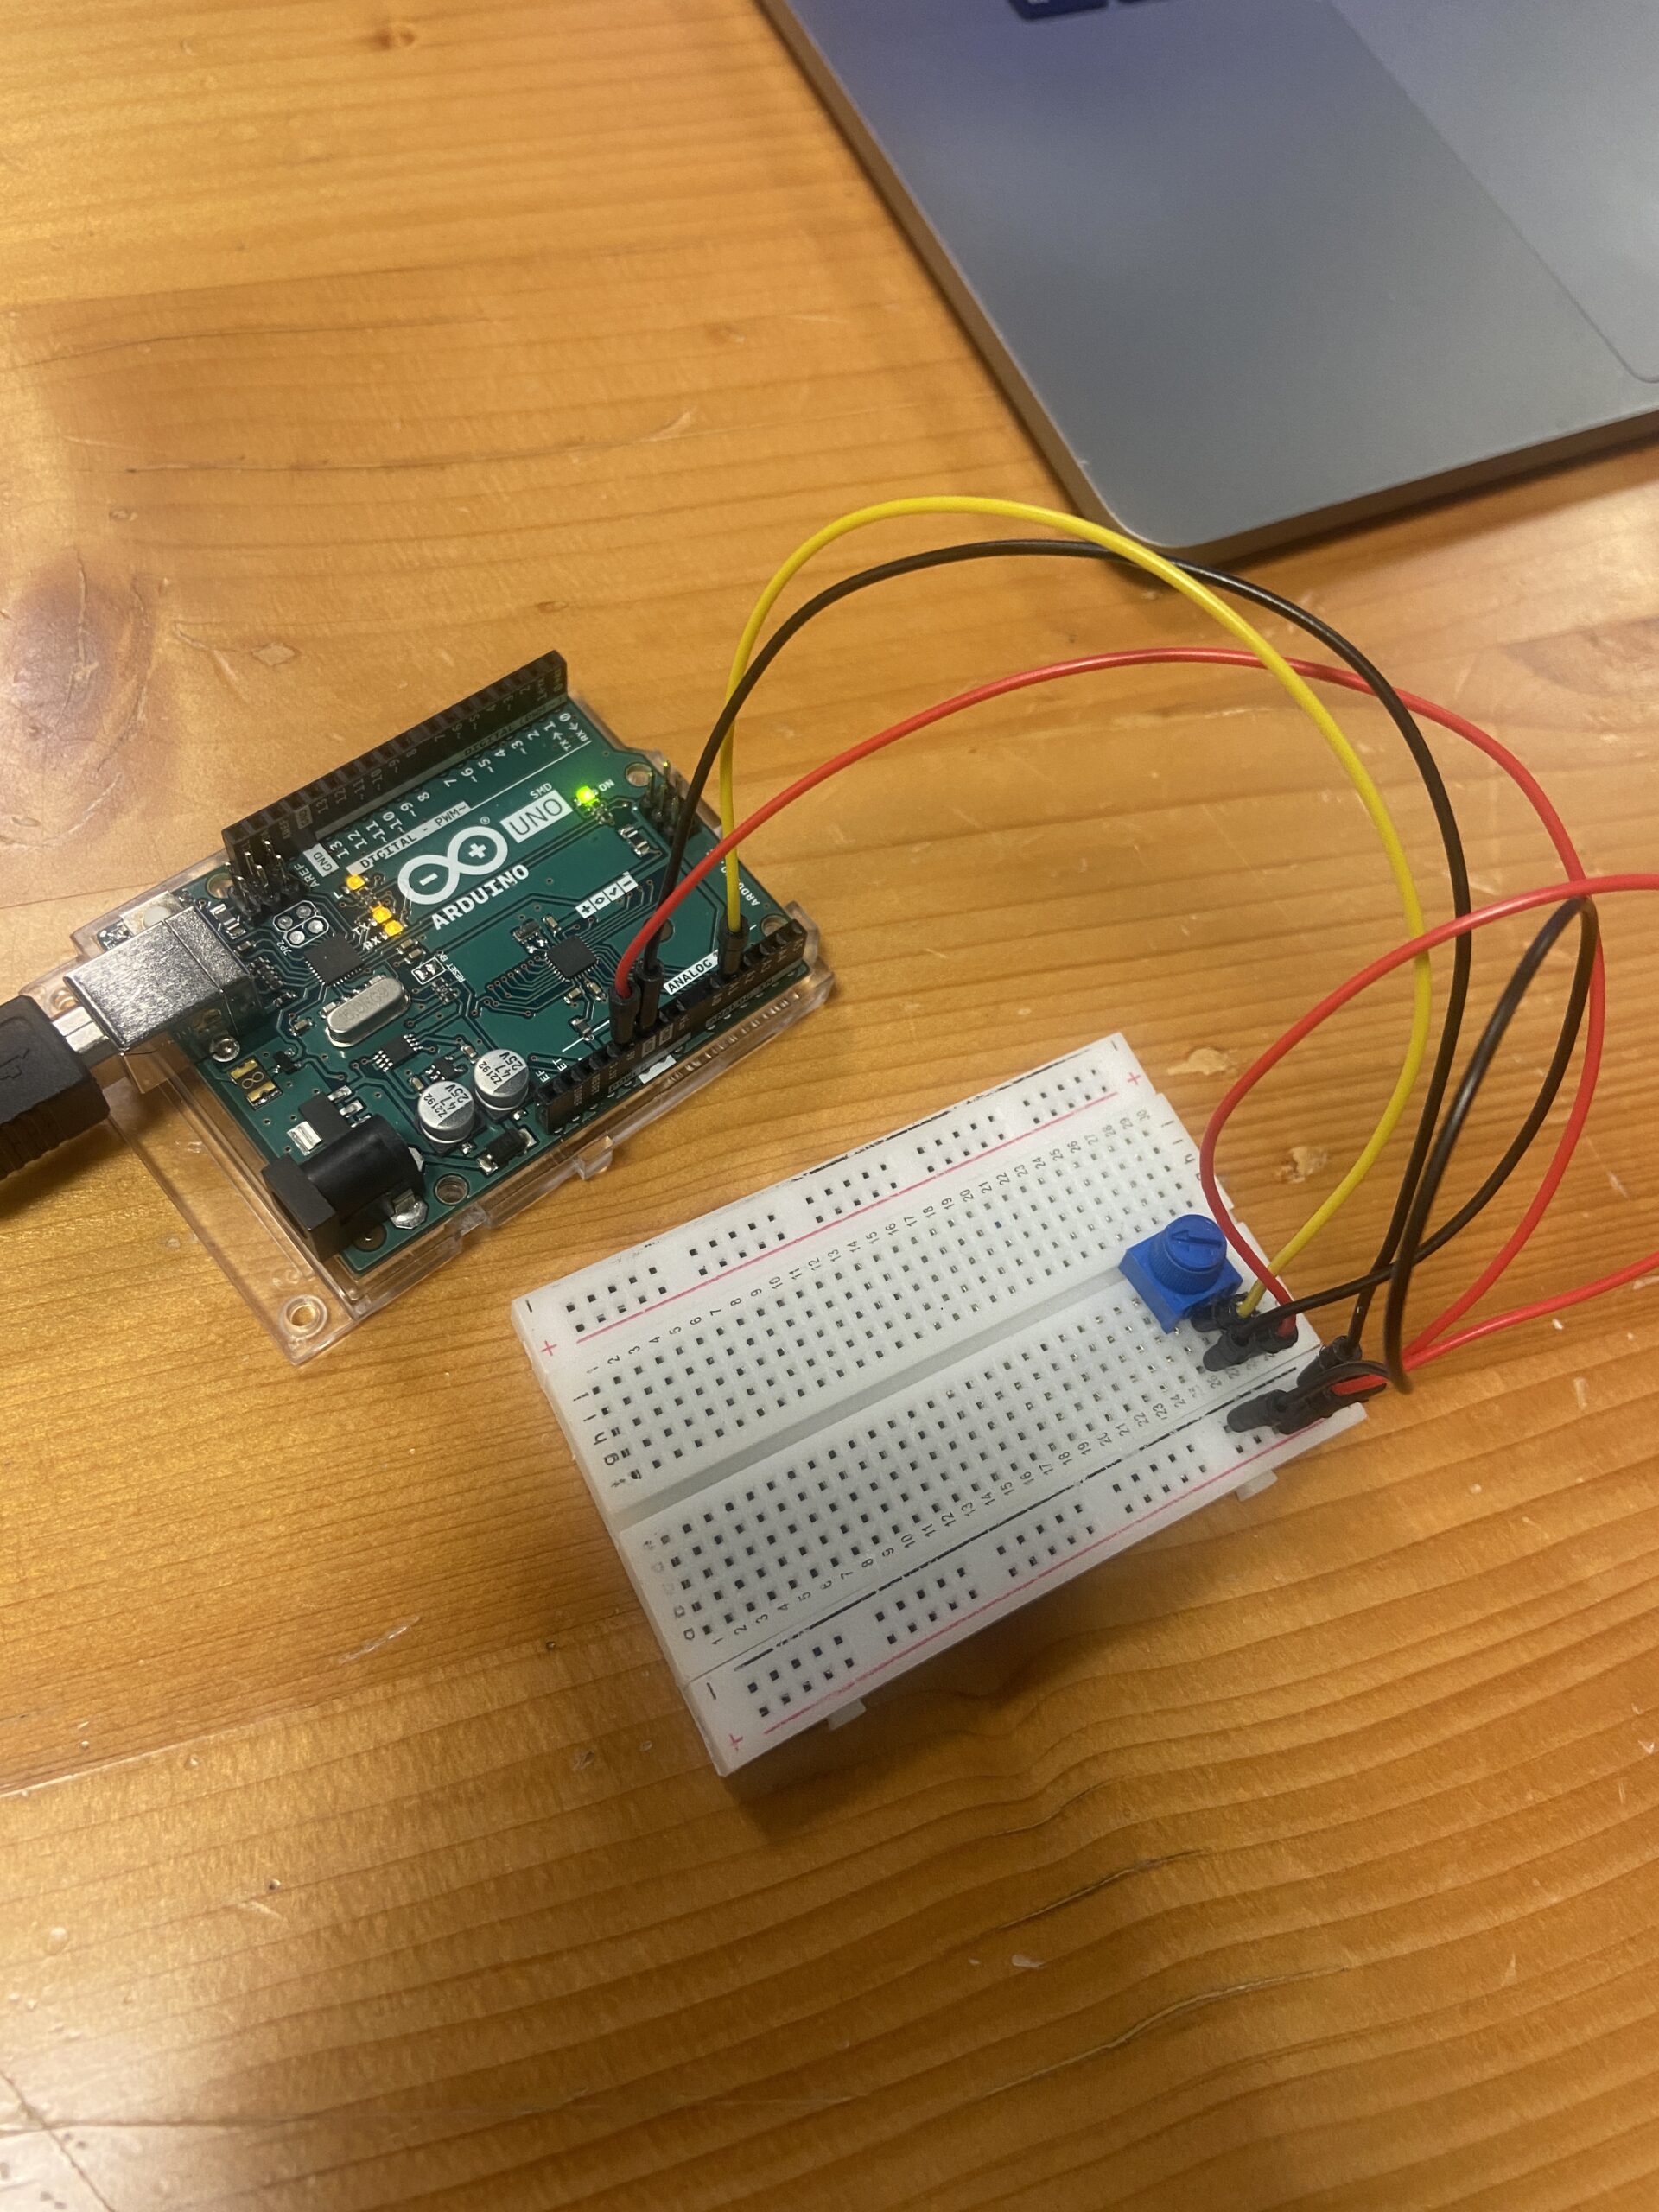
Furthermore, as suggested by my classmates and Professor Shiloh during the class discussion, I can add an option to control lighting using a ring light (brightness through a potentiometer and color of the light by linking the remote to Arduino). In this way, people can control the setting in which they take the photo, which is also very important to the quality of your final photograph.

The ID card will resemble the NYU ID, however, incorporating all the features mentioned above should produce a fun and engaging project.

Week #11 – Reading reflection

Design Meets Disability

I really liked the discussion on the tension between fashion and discretion. Specifically, Graham Pullin shows how glasses become not just an assistive medical device, but it transformed into a fashionable item of “our garderobe”. In my own experience, I have many friends who used to wear glasses without lenses or lenses without dioptri. I chose glasses according to my aesthetic tastes and only then I would think about their practicality and the medical parameters. These examples prove the point made by Pullin and point to the rightness of her arguments.

It is not the first time I have heard that disability is not solely a medical issue. Instead, it stands as a social and cultural one. In the field of disability studies, this is called a medical model.

The Medical Model views disability as resulting from an individual person’s physical or mental limitations, and is not connected to the social or geographical environments. The Medical Model focuses on finding a “cure” or making a person more “normal.”

© University of Oregon

Having taken a course in disability studies previously, this reading was not really eye-opening to me. However, I understand that the topic of discussion in this article is thought-provoking and relates to our class material a lot. Such question as to how we make designs more accessible is important. I believe we should try and pursue designs that are suitable for everyone. We, as designers, can make things accessible and take action towards building a  more inclusive society.

Self- playing dancing instrument

Concept

For this assignment, we decided to do a musical instrument that will produce music on its own. Typically, musical instruments are associated with a person playing them. However, in our project, we devised a system wherein a performer assumed the dual role of both playing the instrument and acting as the player. The servo motor symbolizes the player, while a piece of cardboard mounted on a stick symbolizes the instrument.

How music is produced:

As the servo motor moves, the attached pad also moves, causing variations in the distance detected by the ultrasonic sensor. Depending on these different distances, the speaker emits sounds with varying frequencies.

Setup

Video


Code and highlights of the procedure
  1. We have used the example in the kit’s documentation (you can find it here) to code the distance sensor, adjusting some aspects of it.
  2. We manipulated the position of the servo motor by using myservo.write() and delay(). Here, we played with degrees and set up the delay to be 50ms for the servo to reach the position.
  3. We used the function of a map() and constrain() together, as learned in class, to match the distance values to the frequency values.
  4. We also added a button, which when pressed can change the frequency range, so that all the melody’s frequencies are higher.
// assign the variables for distance and button
#define trigPin 13
#define echoPin 12
#define buttonPin 2

// include library for Servo motor
#include <Servo.h>

Servo myservo;  // create servo object to control a servo
// twelve servo objects can be created on most boards

// assign the first position
// variable to store the servo position
int pos = 0;


void setup() {
  Serial.begin(9600);
  pinMode(trigPin, OUTPUT);  //distance
  pinMode(echoPin, INPUT);
  myservo.attach(9);  // attaches the servo on pin 9 to the servo object

  pinMode(buttonPin, INPUT);  // switch
}

int frequency;  // assign the frequency variable

void loop() {
  // from distance sensor example
  long duration, distance;
  digitalWrite(trigPin, LOW);  // Added this line
  delayMicroseconds(2);        // Added this line
  digitalWrite(trigPin, HIGH);
  //  delayMicroseconds(1000); - Removed this line
  delayMicroseconds(10);  // Added this line
  digitalWrite(trigPin, LOW);
  duration = pulseIn(echoPin, HIGH);
  distance = (duration / 2) / 29.1;


  if (distance >= 200 || distance <= 0) {
    Serial.println("Out of range");
  } else {
    Serial.print(distance);
    Serial.println(" cm");
  }


  // we contrain the distance to be from 0 to 50 and map the distance values to the frequency values
  // if the button is not pushed then the melody plays in low frequencies
  // if the button is pushed, then the frequency  is higher


  if (digitalRead(buttonPin) == LOW) {
    frequency = map(constrain(distance, 0, 50), 0, 50, 100, 1000);
  } else {
    frequency = map(constrain(distance, 0, 50), 0, 50, 500, 2000);
  }

  //code for SERVO position
  myservo.write(90);
  delay(50);
  myservo.write(45);
  delay(50);
  myservo.write(25);
  delay(50);
  myservo.write(70);
  delay(50);
  myservo.write(100);
  delay(50);
  myservo.write(60);
  delay(50);  // waits 50ms for the servo to reach the position

  // play the sound from pin 6
  tone(6, frequency);
}
Reflection

We faced one issue when building the setup. We wanted to use a bigger servo motor which is stronger and could hold the stick, however, it was not working the way we planned (not like a mini one in our kit). As we researched, we found out that actually, this servo motor allows for full-speed rotation at the value of 180 and a stop at the value of 0. This was not suitable for our project, so we proceeded with using a hot glue gun to connect the stick to the servo motor we had in the kit.

We could also make the appearance better by decorating the cardboard using for example an image of a robot.

Moreover, for future projects, we could actually play different melodies and control the volume using the potentiometer. Otherwise, we could use a potentiometer to manipulate the movements of the servo motor, by coding different patterns of the moves produced by the servo motor.

Overall, I think this was a fun project to do and I liked the final result a lot!


Alien Intelligence w/Professor Leach

Attending professor’s Leach conference about his opinion about AI is certainly an interesting experience. He mostly spoke about how AI is this extremely smart web that connects all human minds and thoughts into one place, making it smarter than 5 people combined. Professor Leach praises the concept that AI is an extremely helpful tool that is open to all. 

My thoughts were mostly concerned with ethics. Should we as a community come up with regulations and a set of requirements to not make others use AI for their advantage. As an artist who mostly uses digital art (tablet and pen) I think people need to realize how harmful it is to use AI tools without proper manners. In the end AI is made from people’s thoughts and work, if people get used to “creating” art whether it be a drawn piece or a song I personally would consider it theft. Because it uses copies of other artists to replicate what a person wants. It might be fine to have it for personal use, however publicly claiming their own hard work is a little shameful. 

I really think regulations should be set for AI, and people should be mindful of the type of work they do.

Week 11: Final Project Ideas

I haven’t selected a particular idea yet, but I have decided what I want to integrate into the project. Here are the ideas that I will be incorporating:

Interesting Input Design:

I want my project to have an interesting interaction interface for the user. Because of this, I want to limit the use of sensors to take input, and instead use a different approach. One idea that I had was to give the user the access to a bare breadboard. This breadboard wouldn’t be the main one that houses the circuitry for the project, but another one whose purpose is to act as input. This breadboard would be paired with wires, or some other type of plug that completes a circuit and thus provides some information as input.

Another type of input I thought of relates back to one of my earlier Arduino projects, which is to use some water as a conductive interface. I could have a few wooden floats that send a signal to the Arduino if put in the containers. The combinations of different floats in different containers serve as input to the project.


WEEK 11 EXERCISES W/PIERRE

Exercise 1

IMG_7102

let rVal = 0;
let potentiometerInput = 0;
let circleX;


function setup() {
  createCanvas(640, 480);
  textSize(18);
  circleX = width/2;
}

function draw() {
  // one value from Arduino controls the background's red color
  background(255);

  // the other value controls the text's transparency value

  if (!serialActive) {
    text("Press Space Bar to select Serial Port", 20, 30);
  } else {
    text("Connected", 20, 30);
    

    // Print the current values
    text('potentiometerInput = ' + str(potentiometerInput), 20, 70);

  }
  
  //Draws the circle 
  circle(circleX,height/2,100);
}

function keyPressed() {
  if (key == " ") {
    // important to have in order to start the serial connection!!
    setUpSerial();
  }
}

// This function will be called by the web-serial library
// with each new line of data. The serial library reads
// the data until the newline and then gives it to us through
// this callback function
function readSerial(data) {
  ////////////////////////////////////
  //READ FROM ARDUINO HERE
  ////////////////////////////////////

  if (data != null) {
    // make sure there is actually a message
    // split the message
    let fromArduino = split(trim(data), ",");

    // if the right length, then proceed
    if (fromArduino.length == 1) {
      // only store values here
      // do everything with those values in the main draw loop
      
      // We take the string we get from Arduino and explicitly
      // convert it to a number by using int()
      // e.g. "103" becomes 103
      
      
      potentiometerInput = int(fromArduino[0]);
      
      //Maps the potentiometer input value to the width of the canvas.
      circleX = map(potentiometerInput,0,1023,0,width);


    }
    let sendToArduino = "\n";
    writeSerial(sendToArduino);
    
  }
}

P5 ⬆️

void setup() {

  Serial.begin(9600);

  // start the handshake
  while (Serial.available() <= 0) {
    digitalWrite(LED_BUILTIN, HIGH); // on/blink while waiting for serial data
    Serial.println("0,0"); // send a starting message
    delay(300);            // wait 1/3 second
    digitalWrite(LED_BUILTIN, LOW);
    delay(50);
  }
}

void loop() {
  // wait for data from p5 before doing something
  while (Serial.available()) {
    digitalWrite(LED_BUILTIN, HIGH); // led on while receiving data
      
      delay(5);
       if (Serial.read() == '\n') {
      int potentiometer = analogRead(A1);
      delay(5);
      Serial.println(potentiometer);
      Serial.print(',');
      Serial.println(potentiometer);
       }
    }
      digitalWrite(LED_BUILTIN, LOW);
  }

Arduino ⬆️

Exercise 2

 ASSIGNMENT 2

while (Serial.available()) {
    Serial.println("0,0");
    digitalWrite(LED_BUILTIN, HIGH); // led on while receiving data
    int value = Serial.parseInt();
    int value2 = Serial.parseInt();
    if (Serial.read() == '\n') {
      analogWrite(ledPin, value);
      analogWrite(ledPin2, value2);
    }
  }

Arduino ⬆️

function readSerial(data) {
  if (data != null) {
    //////////////////////////////////
  //SEND TO ARDUINO HERE (handshake)
  //////////////////////////////////
  value = int(map(mouseY,0, height, 0, 255));
  value2 = int(map(mouseX,0, width, 0, 255));
  let led1 = value + "\n";
  let led2 = value2 + "\n";
  writeSerial(led1);
  writeSerial(led22);
  print(value);
  print(value2)
    
    
  }

p5 ⬆️

ASSIGNMENT 3

void loop() {
  // wait for data from p5 before doing something
  while (Serial.available()) {
    // led on while receiving data
    digitalWrite(LED_BUILTIN, HIGH); 
    // gets value from p5
    int value = Serial.parseInt();
    // led switch from p5 value input
    if (Serial.read() == '\n') {
      if (value == 1) {
        digitalWrite(ledPin, HIGH);
      }
      else {
        digitalWrite(ledPin, LOW);
      }
      
      // gets sensor value
      int sensor = analogRead(A0);
      delay(5);
      // sends sensor value to p5
      Serial.println(sensor);
    }
  }
  digitalWrite(LED_BUILTIN, LOW);
  
}

Arduino ⬆️


W11 assignments

Assignments

Assignment 1:

P5 Code snippet:

function readSerial(data) {
  ////////////////////////////////////
  //READ FROM ARDUINO HERE
  ////////////////////////////////////

  if (data != null) {
    // make sure there is actually a message
    // split the message
    let fromArduino = split(trim(data), ",");

    // if the right length, then proceed
    if (fromArduino.length == 1) {
      // only store values here
      // do everything with those values in the main draw loop
      
      // We take the string we get from Arduino and explicitly
      // convert it to a number by using int()
      // e.g. "103" becomes 103
      
      
      potentiometerInput = int(fromArduino[0]);
      
      //Maps the potentiometer input value to the width of the canvas.
      circleX = map(potentiometerInput,0,1023,0,width);


    }
    let sendToArduino = "\n";
    writeSerial(sendToArduino);
    
  }
}

Arduino code snippet:

void setup() {

  Serial.begin(9600);

  // start the handshake
  while (Serial.available() <= 0) {
    digitalWrite(LED_BUILTIN, HIGH); // on/blink while waiting for serial data
    Serial.println("0,0"); // send a starting message
    delay(300);            // wait 1/3 second
    digitalWrite(LED_BUILTIN, LOW);
    delay(50);
  }
}

void loop() {
  // wait for data from p5 before doing something
  while (Serial.available()) {
    digitalWrite(LED_BUILTIN, HIGH); // led on while receiving data
      
      delay(5);
       if (Serial.read() == '\n') {
      int potentiometer = analogRead(A1);
      delay(5);
      Serial.println(potentiometer);
      Serial.print(',');
      Serial.println(potentiometer);
       }
    }
      digitalWrite(LED_BUILTIN, LOW);
  }


Assignment 2: Video2

Code snippet Arduino:

while (Serial.available()) {
    Serial.println("0,0");
    digitalWrite(LED_BUILTIN, HIGH); // led on while receiving data

    int value = Serial.parseInt();
    int value2 = Serial.parseInt();

    if (Serial.read() == '\n') {
      analogWrite(ledPin, value);
      analogWrite(ledPin2, value2);
    }
  }

p5 snippet:

function readSerial(data) {
  if (data != null) {
    //////////////////////////////////
  //SEND TO ARDUINO HERE (handshake)
  //////////////////////////////////
  value = int(map(mouseY,0, height, 0, 255));
  value2 = int(map(mouseX,0, width, 0, 255));
  let led1 = value + "\n";
  let led2 = value2 + "\n";
  writeSerial(led1);
  writeSerial(led22);
  print(value);
  print(value2)
    
    
  }

Assignment 3: video3

Arduino snippet:

void loop() {

  // wait for data from p5 before doing something
  while (Serial.available()) {

    // led on while receiving data
    digitalWrite(LED_BUILTIN, HIGH); 

    // gets value from p5
    int value = Serial.parseInt();

    // led switch from p5 value input
    if (Serial.read() == '\n') {
      if (value == 1) {
        digitalWrite(ledPin, HIGH);
      }
      else {
        digitalWrite(ledPin, LOW);
      }
      
      // gets sensor value
      int sensor = analogRead(A0);
      delay(5);

      // sends sensor value to p5
      Serial.println(sensor);
    }
  }

  digitalWrite(LED_BUILTIN, LOW);
  
}


Homework – In class Assignments

Example 1:

// Map the sensor value to the width of the canvas
  ellipseX = map(latestData, 0, 1023, 0, width);

  // Draw the ellipse at the mapped position
  ellipse(ellipseX, height/2, 50, 50);

Example 2:

I simply map the mouseX coordinate to the light’s brightness!

if (mouseIsPressed) {
light=map(mouseX,0,width,0,1023);
}


Example 3:

let velocity;
let gravity;
let position;
let old_position;
let acceleration;
let wind;
let wind_arduino=0;
let drag = 0.99;
let mass = 50;
let light =0;

function setup() {
  createCanvas(640, 360);
  noFill();
  position = createVector(width/2, 0);
  velocity = createVector(0,0);
  acceleration = createVector(0,0);
  gravity = createVector(0, 0.1*mass);
  wind = createVector(0,0);
  noLoop();
}

function draw() {
  background(255);
  
  if(wind_arduino<512)
    wind.x=-1;
  else
    wind.x=1;
  applyForce(wind);
  applyForce(gravity);
  velocity.add(acceleration);
  velocity.mult(drag);
  old_position=position.y;
  position.add(velocity);
  acceleration.mult(0);
  ellipse(position.x,position.y,mass,mass);
  if (position.y > height-mass/2) {
      velocity.y *= -0.9;  // A little dampening when hitting the bottom
      position.y = height-mass/2;
    }
   print(height-mass/2);
  if (position.y >= 334)
  {
    light=1;
  }
  else
    light=0;
  if(old_position==position.y)
    light=0;
}

function applyForce(force){
  // Newton's 2nd law: F = M * A
  // or A = F / M
  let f = p5.Vector.div(force, mass);
  acceleration.add(f);
}

function keyPressed(){
  if (key==' '){
    loop();
    setUpSerial();
  }
}

// This function will be called by the web-serial library
// with each new *line* of data. The serial library reads
// the data until the newline and then gives it to us through
// this callback function
function readSerial(data) {
  ////////////////////////////////////
  //READ FROM ARDUINO HERE
  ////////////////////////////////////

  if (data != null) {
    // make sure there is actually a message
    // split the message
    let fromArduino = split(trim(data), ",");
    // if the right length, then proceed
    if (fromArduino.length == 1) {
      // only store values here
      // do everything with those values in the main draw loop
      
      // We take the string we get from Arduino and explicitly
      // convert it to a number by using int()
      // e.g. "103" becomes 103
      print(fromArduino[0]);
      wind_arduino = int(fromArduino[0]);
    }

    //////////////////////////////////
    //SEND TO ARDUINO HERE (handshake)
    //////////////////////////////////
    let sendToArduino = light+"\n";
    writeSerial(sendToArduino);
  }
}

Final Project Idea – Rob the Robot

My idea for the final project involves building a robot like character that can do simple interaction with a person in front of it. On the Arduino side, this will involve the use of several sensors such as the distance sensor, and the buttons.

This project can be as complicated as necessary and the interactions can be altered at any point.

Some example interactions include petting the robot – and it will make a sound. and talking to it.

Another interaction could be using 2 distance sensors as the eyes and then calculating an object’s distance – then using a servo motor to follow the object.

On the p5 side, I plan to use the p5.speech library that has both speech transcription and text to speech functionality. Additionally, if possible I’d like to use the ChatGPT API to generate the speech, and additionally keep track of each interaction that can be used to define the robot’s current ‘mood” -which decides the further interactions.

Weekly Reading Reflection

Design Meets Disability

Reflecting on “Design and Disability,” it’s clear that the approach to designing for disabilities is evolving. The shift from a medical to a social model highlights that disability is shaped by societal attitudes, not just medical conditions. This is exemplified by the transformation of eyewear from medical devices to fashion statements, challenging traditional views of assistive devices.

However, the integration of disability-focused design into mainstream design must be handled carefully. There’s a need to balance inclusivity with recognizing the unique needs of people with disabilities, avoiding a one-size-fits-all approach.

The role of constraints in driving innovation is also key. Design limitations, especially in disability contexts, can lead to creative, functional, and aesthetically pleasing solutions.

The reading broadens this perspective, urging us to rethink design beyond functionality, considering cultural and aesthetic impacts. Design isn’t just about creating objects; it’s about shaping cultural values and perspectives.

Lastly, design plays a crucial role in influencing societal attitudes towards disabilities. Embracing inclusive design is a step towards a more equitable society, where creativity caters to everyone’s needs. The readings collectively underscore the importance of considering both functional and societal aspects in designing for disability.