Concept:
We created a basic radio that switched between two channels, each playing different songs, by adjusting a potentiometer. Inspired by the upcoming festive season, even though it is too early, we decided to integrate the beloved tune “Jingle Bells” into our project.
Video Demonstration: musical instrument
Implementation:
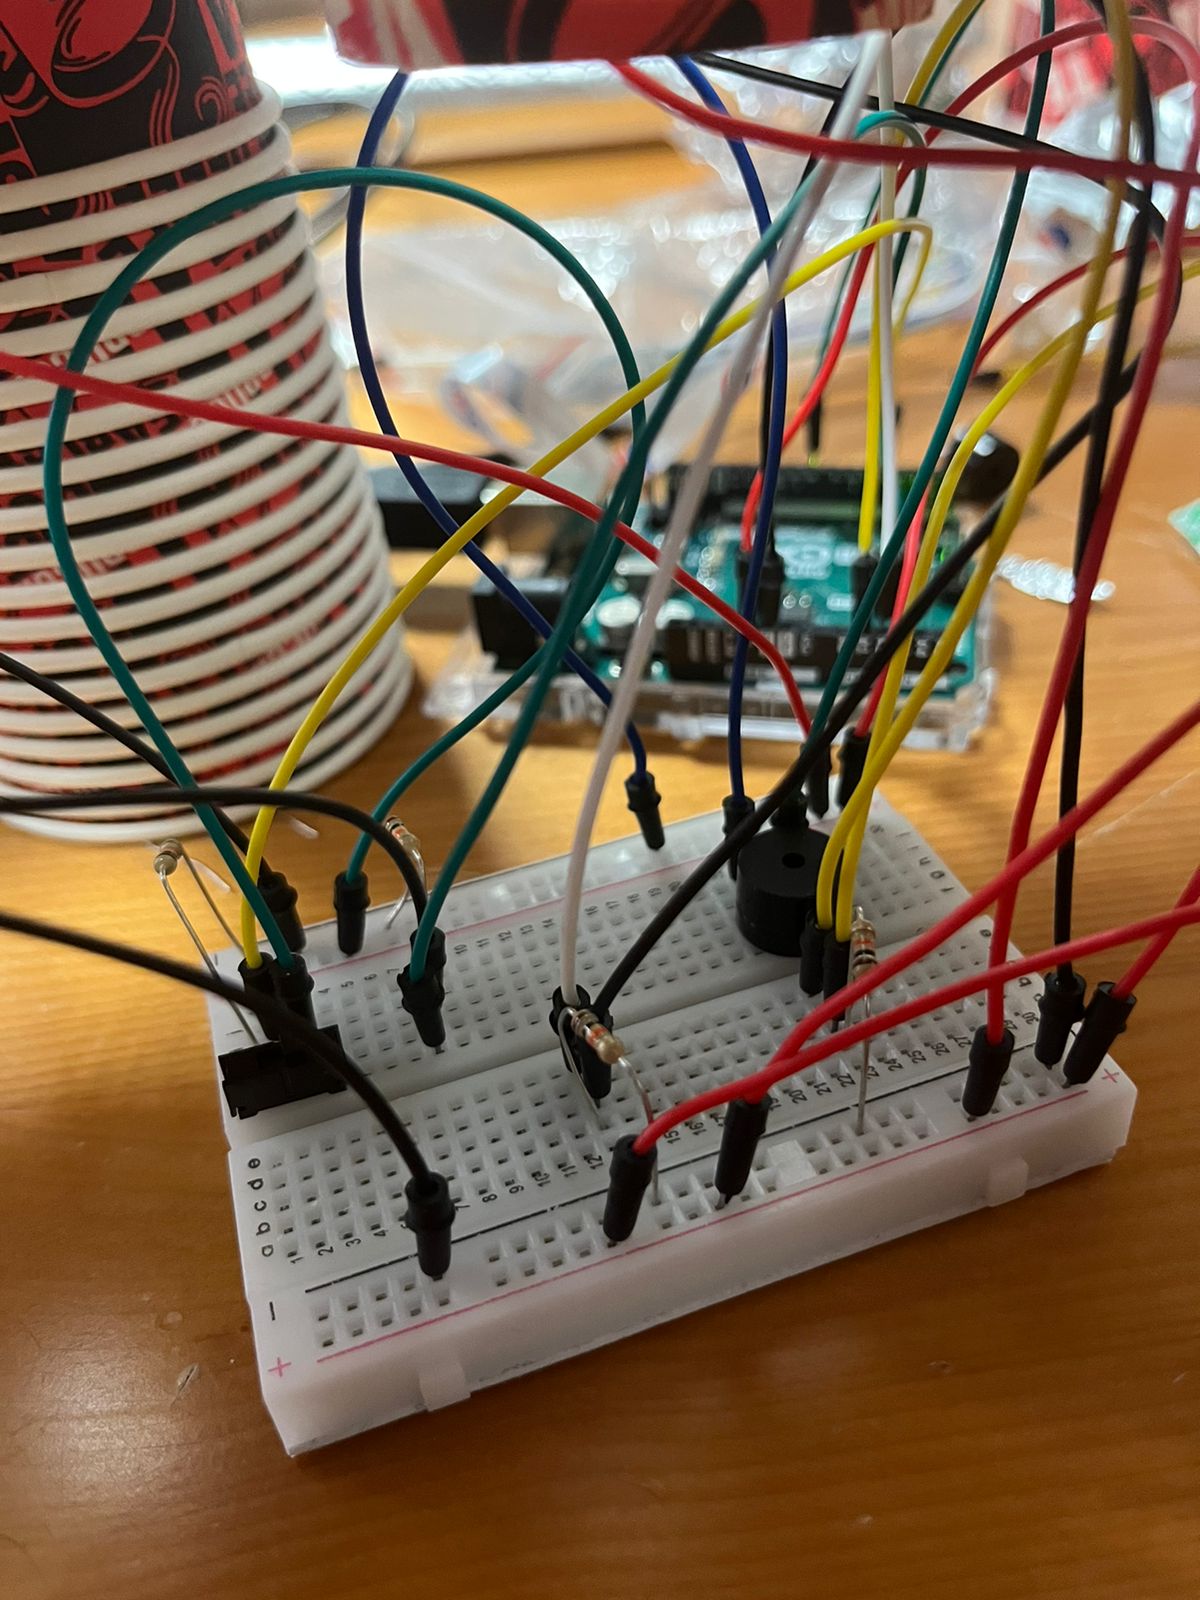
We used a switch, a potentiometer, and a buzzer in our setup. The switch turns on and off the radio, and the potentiometer switches between channels. Initially, we planned to include two songs: “Jingle Bells” and “Let It Be.” However, converting “Jingle Bells” into playable chords was a bit of a challenge. Consequently, the potentiometer plays “Jingle Bells” when set in the first half and stays silent in the second half.
To achieve the authentic “Jingle Bells” melody, we discovered the chords and their timing online. These chords, when played together, compose a recognizable tune. We organized this chord information into an array named “melody” in our code. Each chord in this array was linked to a specific frequency, dictating the notes played. Assigning these frequencies to each chord enabled us to establish a precise sequence of notes within the melody array, ultimately generating the iconic “Jingle Bells” tune. Later in the loop, it iterates through the melody array. Within the loop, it retrieves each note’s frequency and plays it for a specified duration using the buzzer.
const int POTENTIOMETER_PIN = A0;
const int BUZZER_PIN = 3;
const int threshold = 512;

// Define each chord's frequency
#define C 261
#define D 294
#define E 329
#define F 349
#define G 392
#define A 440
#define B 493
#define REST 0

void setup() {
  pinMode(BUZZER_PIN, OUTPUT);
  Serial.begin(9600);
}

void loop() {
  int analogValue = analogRead(POTENTIOMETER_PIN);
  Serial.println(analogValue);

  if (analogValue > threshold) {
    playJingleBells();
  } else {
    noTone(BUZZER_PIN);
    delay(100); // Delay to reduce loop frequency
  }
}

void playJingleBells() {
  // Melody and Timing
  int melody[] = {
    E, E, E, REST,
    E, E, E, REST, E, G, C, D, E, REST,
    F, F, F, F, F, E, E, E, E, D, D, E, D, REST, G, REST,
    E, E, E, REST,
    E, E, E, REST, E, G, C, D, E, REST,
    F, F, F, F, F, E, E, E, G, G, F, D, C, REST
  };
  int noteDurations[] = {
    4, 4, 4, 4,
    4, 4, 4, 4, 4, 4, 4, 4, 4, 4,
    4, 4, 4, 4, 4, 4, 4, 4, 4, 4, 4, 4, 4, 4, 4, 4,
    4, 4, 4, 4,
    4, 4, 4, 4, 4, 4, 4, 4, 4, 4,
    4, 4, 4, 4, 4, 4, 4
  };

  int melodySize = sizeof(melody) / sizeof(melody[0]);

  for (int i = 0; i < melodySize; ++i) {
    int noteDuration = 1000 / noteDurations[i];

    if (melody[i] != REST) {
      tone(BUZZER_PIN, melody[i], noteDuration);
      delay(noteDuration); // Let the note play for its duration
    } else {
      delay(noteDuration); // If it's a rest, delay without tone
    }

    noTone(BUZZER_PIN); // Stop the note
    delay(50); // Delay between notes for spacing
  }
}
Reflection & Future Improvements:
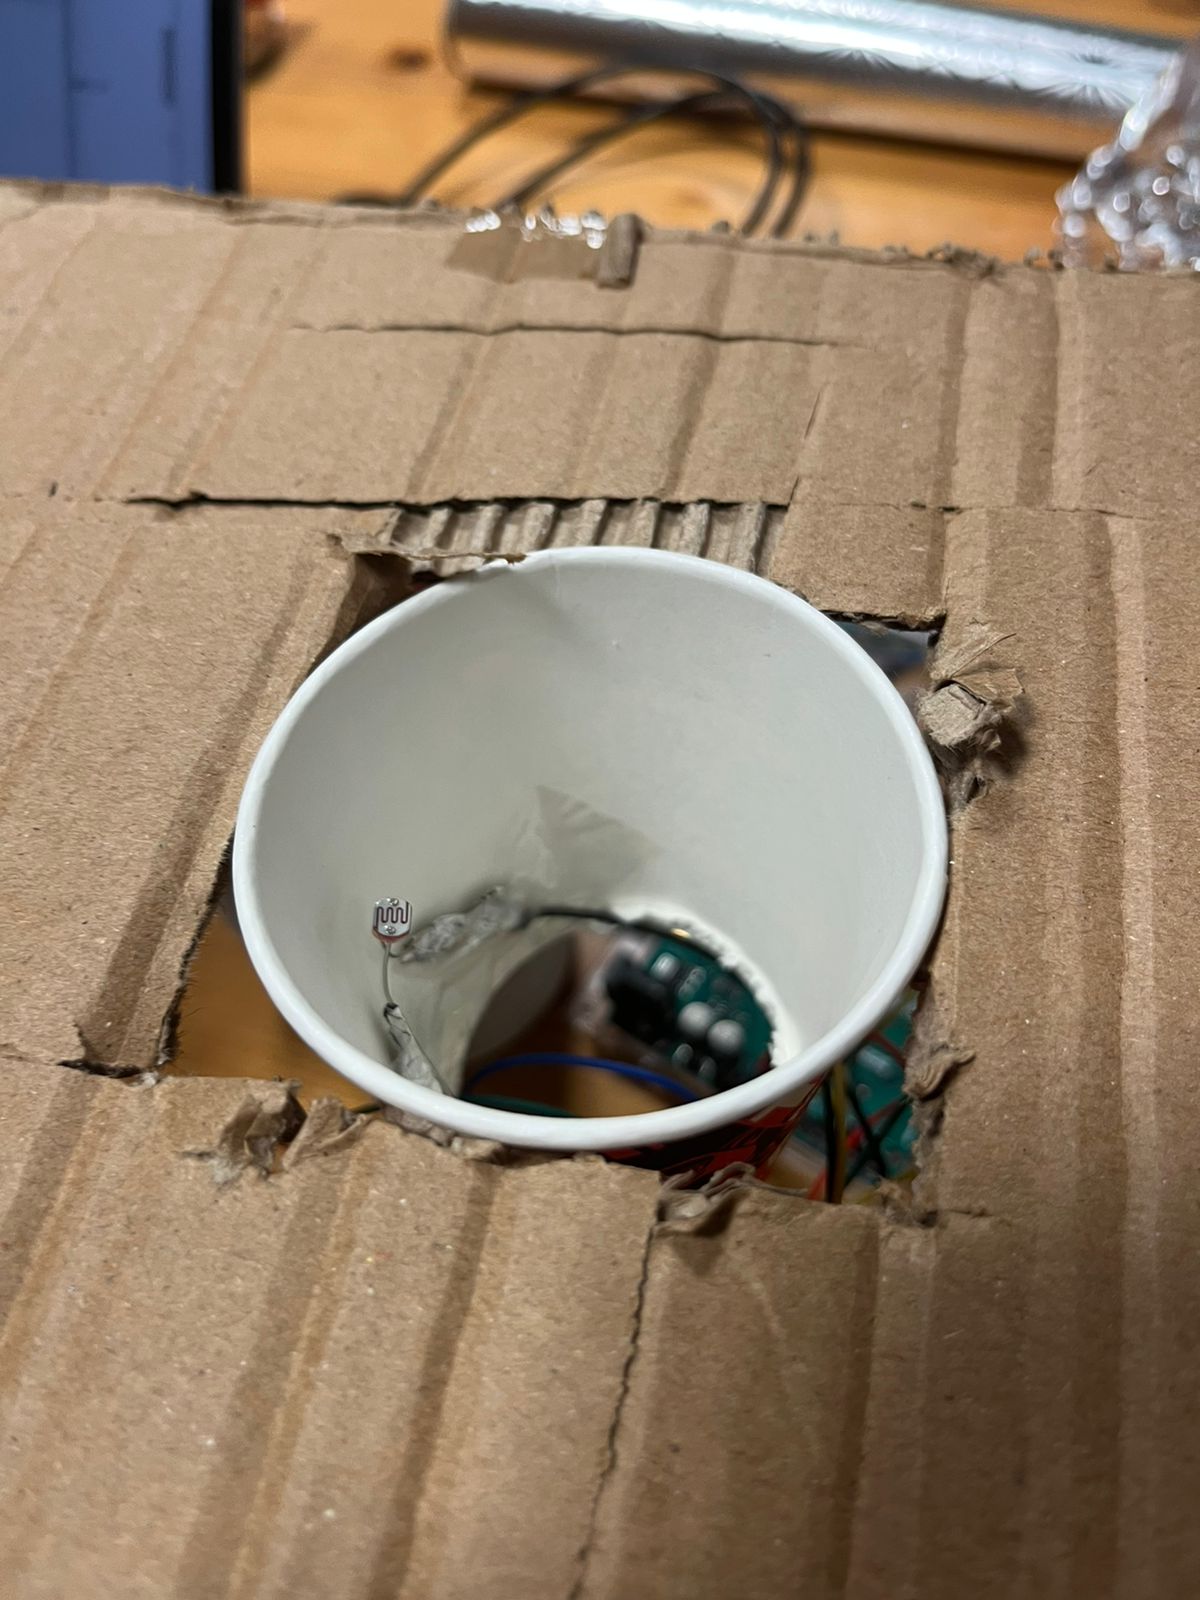
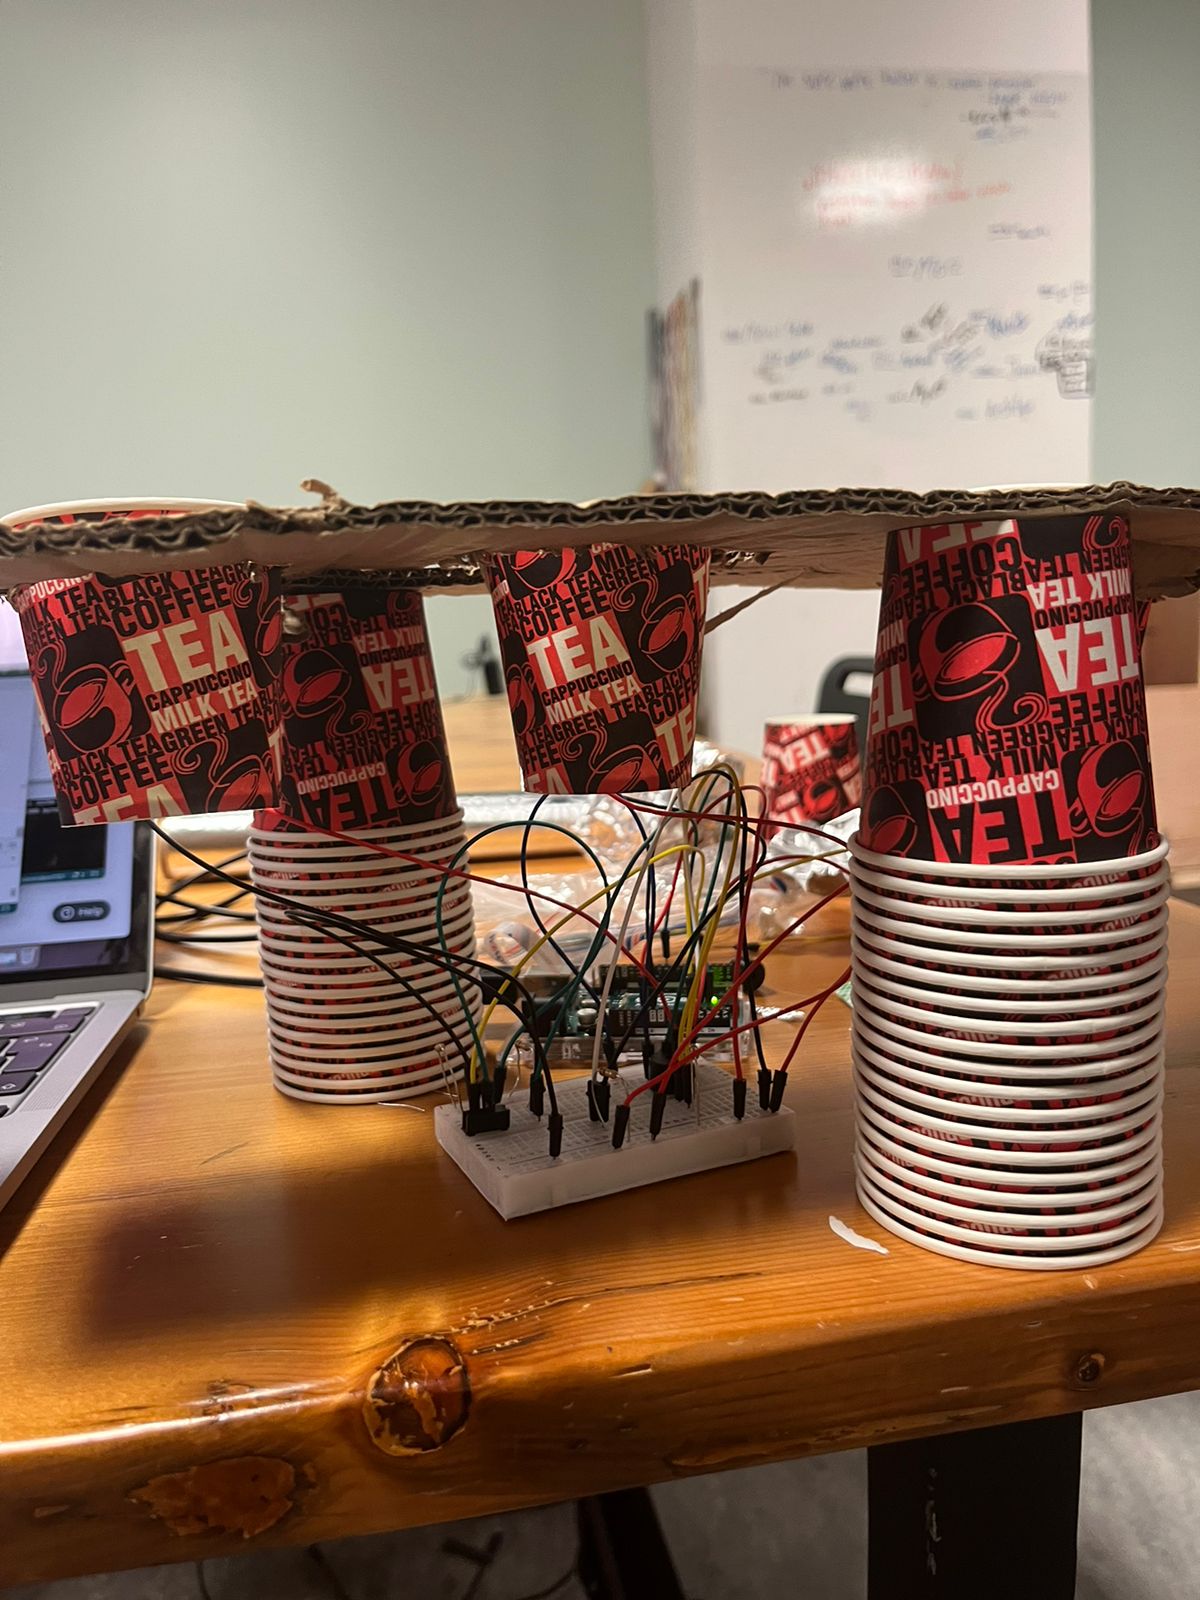
As it was mentioned before, we wanted to create a radio with two channels, playing two different songs such as “Jingle Bells” and “Let It Be”, depending on the resistance of the potentiometer: the first half plays one song, and the second half another. However, we spent a lot of time working on our beloved Christmas song, finding the right chords, and frequencies, and figuring out the logic of making it play, so we didn’t have much time left to work on the second song. Because of this, we decided to make another channel of our radio empty for now, so we could add the song in the future. In addition to that, we would like to work on the aesthetics in the future by creating the painted cardboard in the form of the radio in order to create a more realistic experience.