CONCEPT:
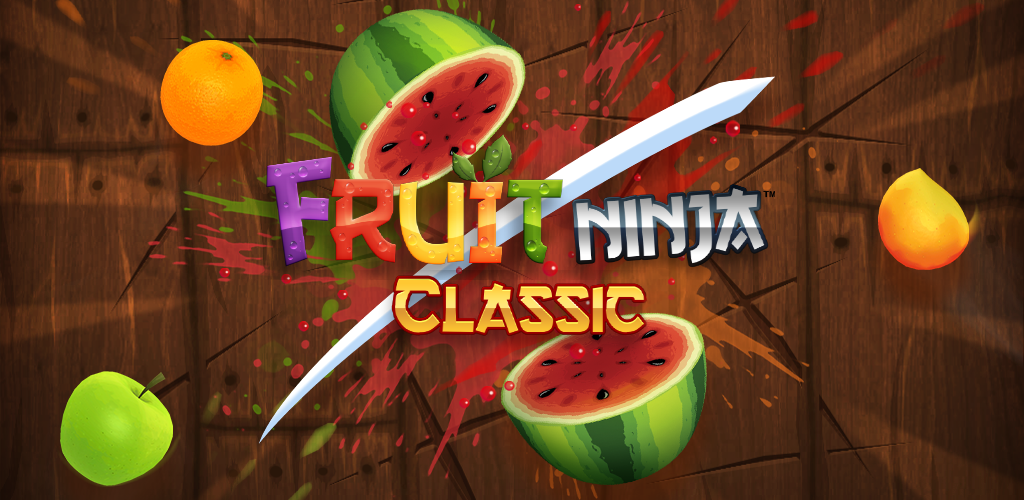
The idea for my project initially came from my nostalgia for Fruit Ninja.

This was a game I enjoyed during my childhood, and I wanted to capture that excitement in my own way. I began by recreating the core mechanics: objects falling from above, mimicking the action of fruits being thrown up in Fruit Ninja. The player interacts by catching these items, with some scoring points and others, like the scorpions, leading to an instant loss. It took me a while to fine-tune these functions and get the timing, speed, and interactions to feel as responsive and engaging as the original game. At first, I struggled with the mechanics, as I wanted the motion and flow to feel natural and intuitive, just like in Fruit Ninja.
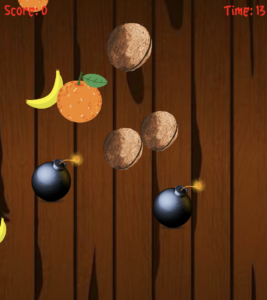
After a lot of trial and error, I was able to get the objects falling at varying speeds and from random positions, which gave the game a sense of unpredictability and challenge. I also added a cutting effect, just like in the game. This process helped me understand the importance of small details in game development, such as timing and object positioning. I also experimented with different speeds and sizes to make the game challenging yet enjoyable. The initial version was simple, but it felt exciting to see it come to life and mirror the familiar feeling of Fruit Ninja while incorporating my own twist. Here’s how it came out:
However, as I progressed, I realized that directly copying Fruit Ninja wouldn’t fully reflect my own creativity or bring anything new to the experience. This led me to reflect on my childhood memories. I recalled family trips to the desert in the UAE, where we would snack on dates and sweets under the open sky. I remembered the joy and the relaxed environment, but also my fear of scorpions, which were common in the desert. It struck me that this blend of joy and tension could provide a compelling twist to the game. I decided to adapt Fruit Ninja’s concept to incorporate elements of these desert trips. Instead of slicing fruits, the player would catch falling dates and sweets in a basket to score points, which was the cultural twist I wanted to add. Dates and traditional sweets, which are common in Emirati gatherings, served as the main items to catch, reflecting my childhood memories of trips to the desert with family. However, there was also a twist that added suspense to the game: scorpions. Just as scorpions are a real concern in the desert, they posed a threat in the game. If the player accidentally catches a scorpion, the game instantly ends, mirroring the risk and danger associated with encountering one in real life. To add more depth, I included power-ups like coins for extra points and clocks to extend the timer. These power-ups fall less frequently, requiring the player to remain alert and responsive. This combination of culturally inspired items, the risk of game-ending threats, and occasional rewards created a gameplay experience that balances fun and challenge. The game’s aesthetic, from the falling items to the traditional Arabic music, all contribute to the cultural theme. Overall, the game became not just a nostalgic tribute to Fruit Ninja but also a playful representation of a personal childhood experience infused with elements of Emirati culture.
HERES MY GAME:
LINK TO FULL SCREEN: https://editor.p5js.org/aaa10159/full/rZVaP6MKc
HIGHLIGHT OF MY CODE:
The gameplay mechanics involve the basket interacting dynamically with various falling items, including sweets, dates, scorpions, and power-ups. Each of these elements serves a unique purpose in the game. For example, catching sweets and dates earns points, catching a scorpion ends the game, and catching power-ups like coins or a clock offers bonuses that enhance the gameplay experience. Integrating these interactions smoothly required attention to detail and precision in coding, as I needed to ensure that each item type was recognized and handled correctly by the basket.
To handle collisions between the basket and the falling items, I implemented a collision detection method within the basket class. This method calculates the distance between the basket and each item, determining if they are close enough to be considered “caught.” If they are, the game then applies the appropriate action based on the type of item. This collision detection is crucial for the game’s functionality, as it allows the basket to interact with different items dynamically.
// Define the Basket class, which represents the player's basket in the game.
class Basket {
  // Constructor initializes the basket with an image and sets its position, size, and speed.
  constructor(img) {
    this.img = img;           // The image used to represent the basket.
    this.x = width / 2;       // Horizontal position, initially centered on the screen.
    this.y = height - 50;     // Vertical position, near the bottom of the screen.
    this.size = 150;          // Size of the basket, controls the width and height of the image.
    this.speed = 15;          // Movement speed of the basket, determining how fast it can move left or right.
  }

  // Method to control the movement of the basket using the left and right arrow keys.
  move() {
    // Move left if the left arrow;is pressed and the basket is within screen bounds.
    if (keyIsDown(LEFT_ARROW) && this.x > this.size / 2) {
      this.x -= this.speed;   // Update the x position by subtracting the speed.
    }
    // Move right if the right arrow is pressed and the basket is within screen bounds.
    if (keyIsDown(RIGHT_ARROW) && this.x < width - this.size / 2) {
      this.x += this.speed;   // Update the x position by adding the speed.
    }
  }

  // Method to display the basket on the screen.
  display() {
    // Draw the basket image at its current position with the specified size.
    image(this.img, this.x, this.y, this.size, this.size);
  }

  // Method to check if the basket catches an item (e.g., a date or power-up).
  catches(item) {
    // Calculate the distance between the basket's center and the item's center.
    let distance = dist(this.x, this.y, item.x, item.y);

    // Check if the distance is less than the sum of their radii.
    // If true, this means the basket has caught the item.
    return distance < this.size / 2 + item.size / 2;
  }
}
In this code, the ‘catches()’ function plays a central role. It calculates the distance between the basket and the center of each item. If this distance is smaller than the sum of their radii (half their sizes), it means the item is “caught” by the basket. This collision detection method is efficient and works well for circular objects, which is perfect for the various falling items in the game.
By using this approach, I was able to ensure that the basket can accurately catch power-ups, dates, and sweets, and also end the game when a scorpion is caught. It’s a simple yet effective way to handle interactions between the player and game objects, which is essential for my game. This method also ensures that players can control the basket smoothly, making it feel natural as they try to avoid scorpions and collect items to score points.
FUTURE IMPROVMENT:
One of the specific challenges I encountered was perfecting the basket’s interaction with falling items, particularly when it came to maintaining accuracy in collision detection. Initially, I found that the items would sometimes pass through the basket without registering a catch, which was frustrating. To resolve this, I adjusted the bounding boxes for each object and tuned the distance calculations in the ‘catches’ function. However, this process revealed another area for improvement: the scorpion’s animation. Currently, the scorpion is static, but animating it would add a dynamic and slightly intimidating effect, enhancing the player’s experience.
Another improvement I’d like to make involves expanding the game by introducing different game modes. Currently, the game focuses on catching dates and sweets while avoiding scorpions, but I envision adding modes with unique objectives and challenges. For instance, one mode could intensify the difficulty by increasing the speed of falling items, while another could introduce new types of falling objects that require different strategies to catch or avoid.
Additionally, I would like to explore a survival mode where players have to last as long as possible, with gradually increasing difficulty as more scorpions and fewer power ups appear over time. By adding these game modes, It would offer players more choices and variety, encouraging them to keep playing and exploring new strategies within the game. This would not only add depth to the gameplay but also align with my goal of making the game more engaging and enjoyable for a broader audience.