For this week’s instrument assignment, I originally planned to make something similar to Ons and David’s project, where I use the ultrasonic proximity sensor to make a “keyboard” where I can play notes and music. However, as I saw their projects in class, I thought I might change mine up a little bit to avoid having similar projects.
First, my original idea was to have a digital input button that triggered sound whenever it was pressed. The sound played will be decided by the distance sensed by the ultrasonic proximity sensor. The distances correlated with an octave of notes.
A problem that I noticed with this approach, however, was that the music I played was usually chopped up. The interface required me to constantly remember where I have to put the “distance blocker”, and the sound of pressing the button interfered with the song every time I pressed it.
Due to these concerns, I decided that I want my project to just play ONE song, and the distance measurements won’t correlate to notes in order, but the order of the notes in the song. This way, as the “distance blocker” moves further, the song just progresses by itself, and the player could continue to hold down the button.
Tweaks
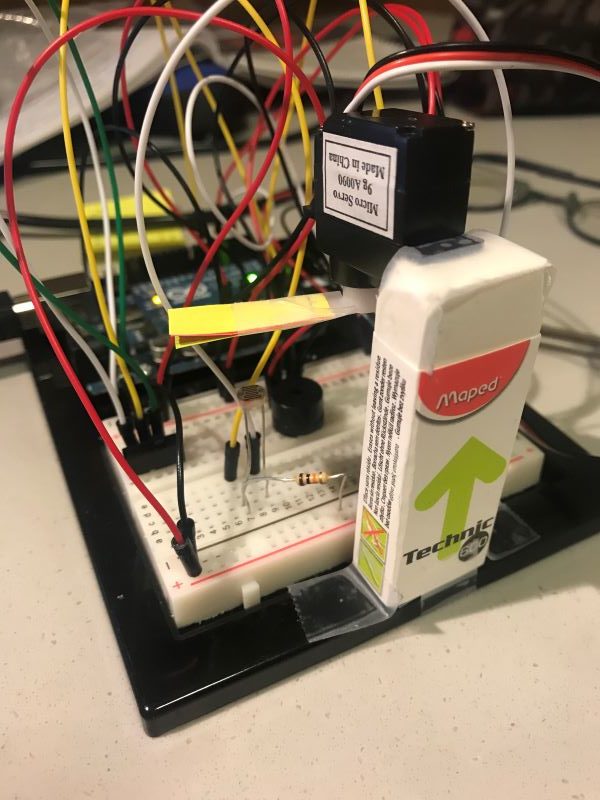
As I re-designed my project, one obvious problem that would arise is the length of the interface. The song I want to play is City of stars. To code all of the song into arduino, while correlating with distance is problematic. I can’t reduce the space given to each note because of sensitivity issues, where it’d be too hard for the player to control the distance. However, giving each note enough distance would also make the interface too long, and the player wouldn’t be able to reach the end of it.
The solution I came up with is to integrate a knob. The entire rotation of the knob is separated into three parts. When the knob is in the first part, the interface is programmed to play part 1 of the song. Similarly, the second part of the knob programs the interface to play part 2, and the same for part 3. This way I could (sort of) dynamically change the interface when I’m done with a part of the song.
Full code:
#include "pitches.h"
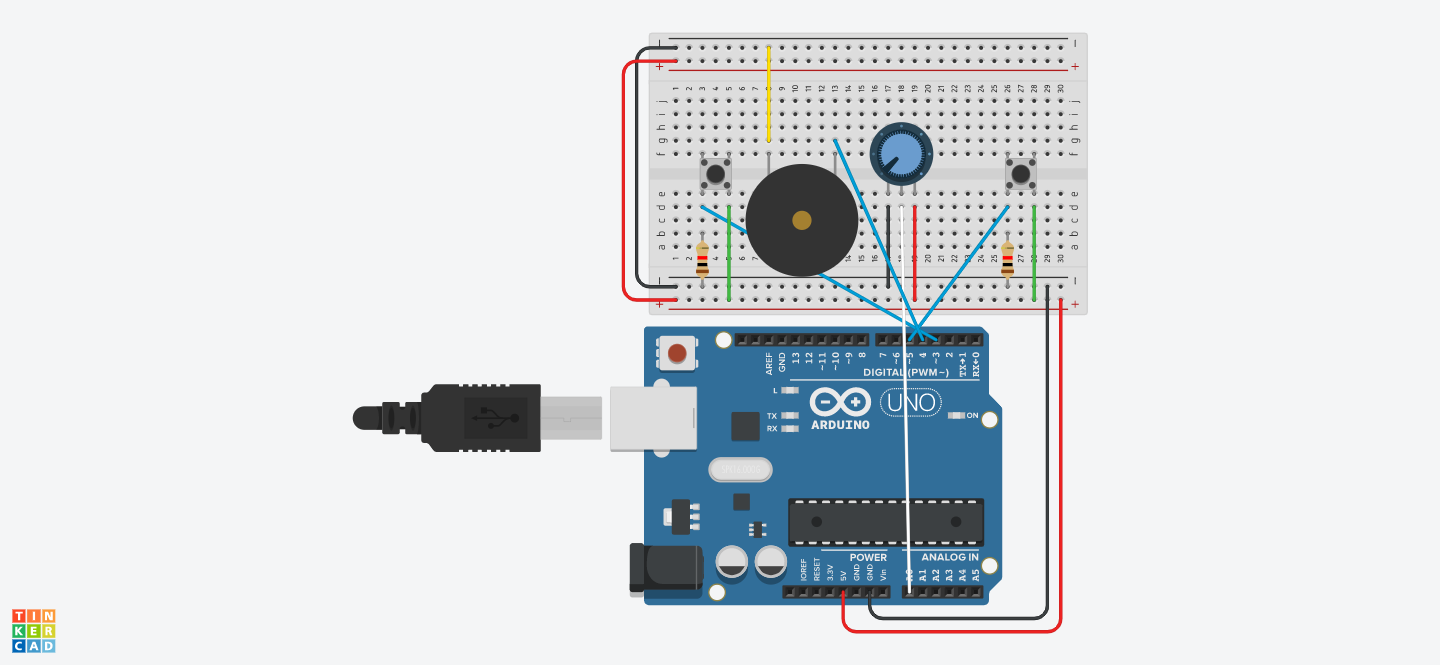
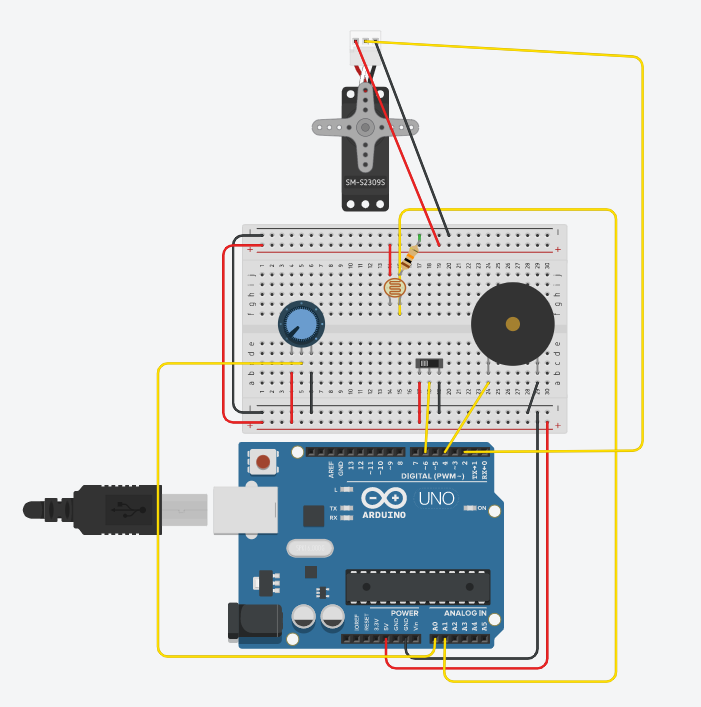
int trig = 7;
int echo = 6;
int piezo = 12;
int button = 2;
int buttonState = 0;
//part 1
int notes[11] = {G3, A3, AS3, D4, E4, F4, D4, E4, C4, D4, A3};
//part 2
int notes2[11] = {A3, AS3, D4, C4, D4, A3, A4, G4, D4, E4, C4};
//part 3
int notes3[11] = {C4, D4, A4, G4, F4, D4, 0, 0, 0, 0, 0};
void setup() {
Serial.begin (9600);
pinMode(trig, OUTPUT);
pinMode(echo, INPUT);
pinMode(button, INPUT);
}
void loop() {
int time;
int distance;
digitalWrite(trig, HIGH);
delay(0.01);
digitalWrite(trig, LOW);
time = pulseIn(echo, HIGH);
//speed of sound = 343 m/s = 0.0343 cm/µs
// distance = time * speed
// "taken from David thank you David"
distance = time * 0.0343 / 2;
// Serial.print(distance);
// Serial.println(" cm");
int knobValue = analogRead(A0);
Serial.println(knobValue);
int note = map(distance, 2, 40, 0, 11);
int note2 = map(distance, 2, 40, 0, 11);
int note3 = map(distance, 2, 40, 0, 11);
buttonState = digitalRead(button);
if (buttonState == true){
if (knobValue <= 1023 && knobValue >= 682){
tone(piezo, notes[note]);
}
else if (knobValue < 682 && knobValue >= 341){
tone(piezo, notes2[note2]);
}
else if (knobValue>=0 && knobValue < 341){
tone(piezo, notes3[note3]);
}
}
else if (buttonState == false){
noTone(piezo);
}
}
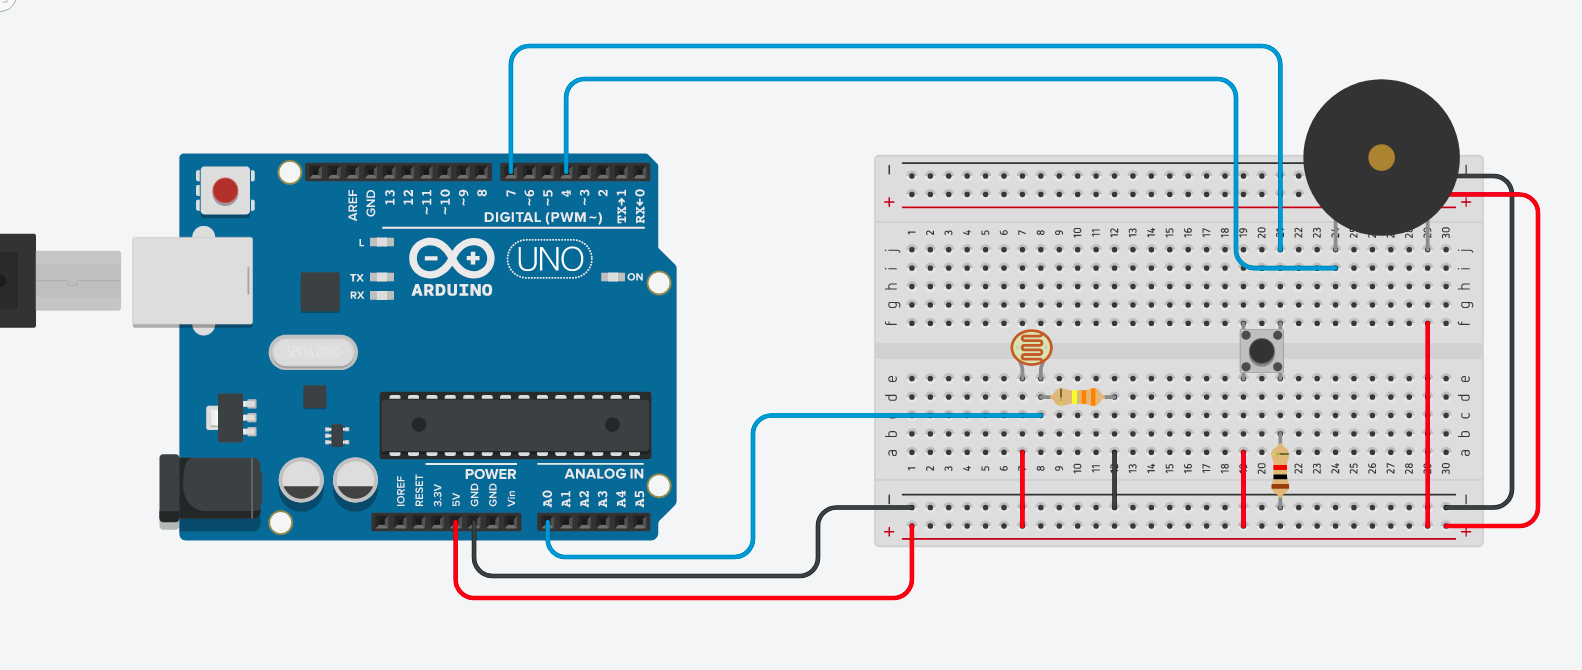
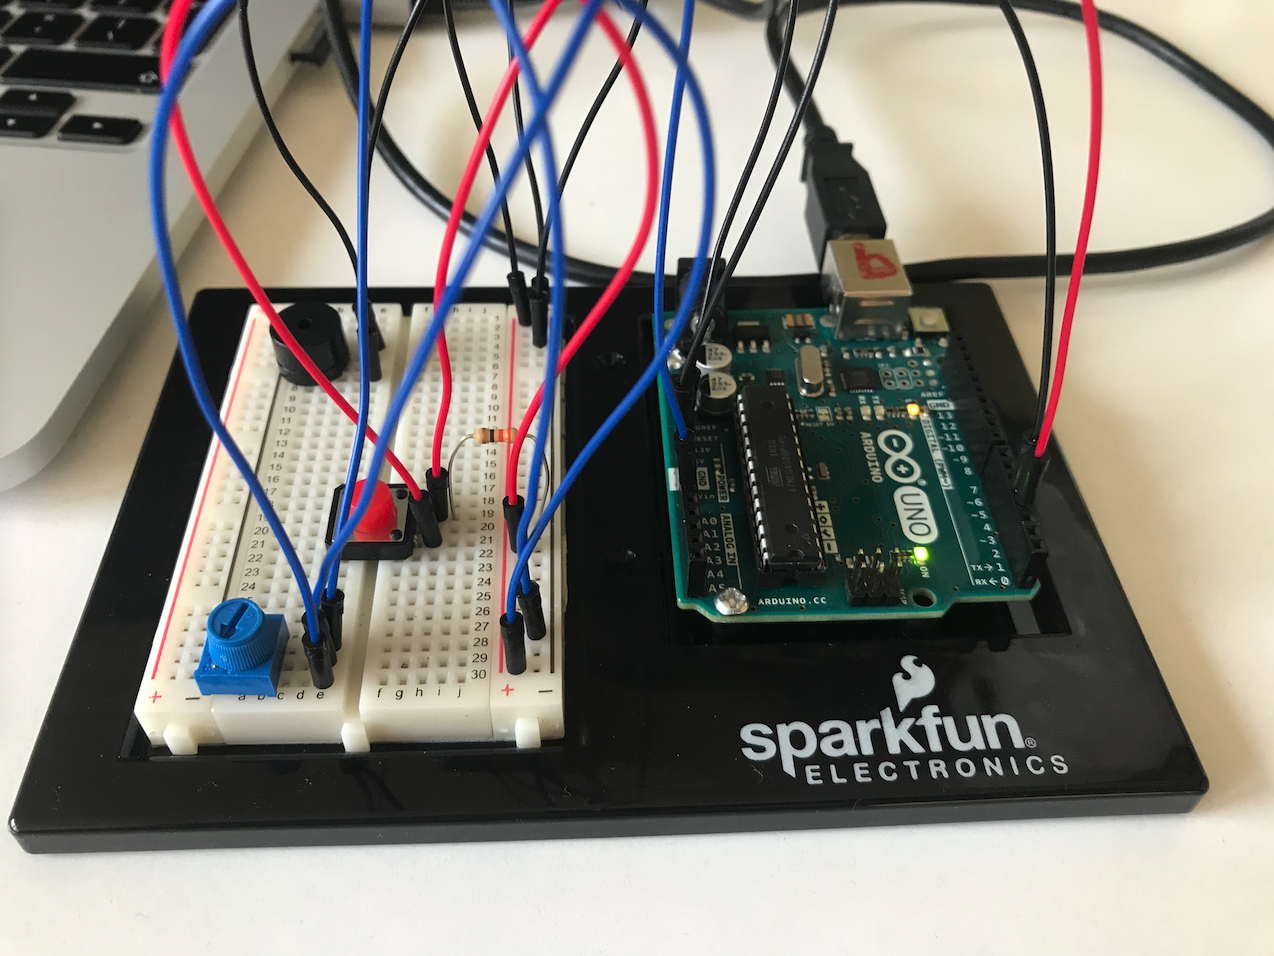
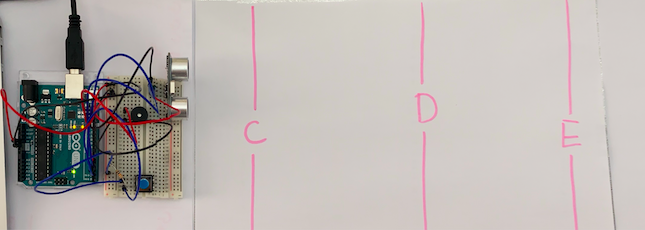
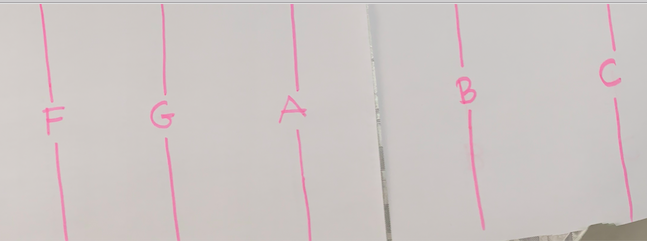
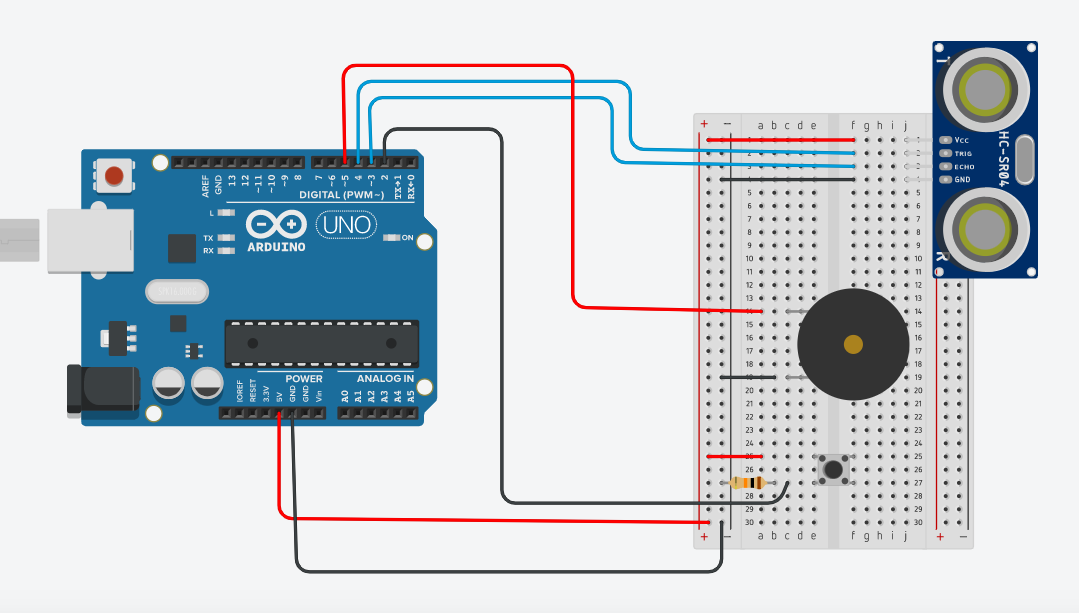
Arduino Layout

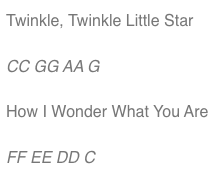
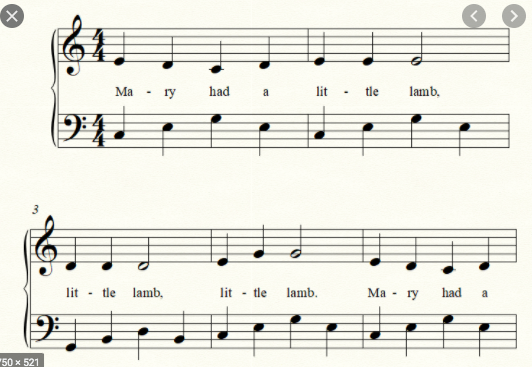 Twinkle Twinkle Little Star