CONCEPT:
This midterm project was honed to be a simplistic learning experience, where users get to learn new words related to household, in the Moroccan dialect through sound and interactivity. It is a project that holds to my heart because it represents a part of my culture and my dialect. I can’t be happier to share it, now that it’s done!
The idea turned out exactly how it was imagined and planned which makes me very proud of the way I’ve come from the first assignments which were purely trial and error. After this assignment, I feel like I grasp more what should be done, how and when. From brainstorming to design to implementation, it went smoothly.
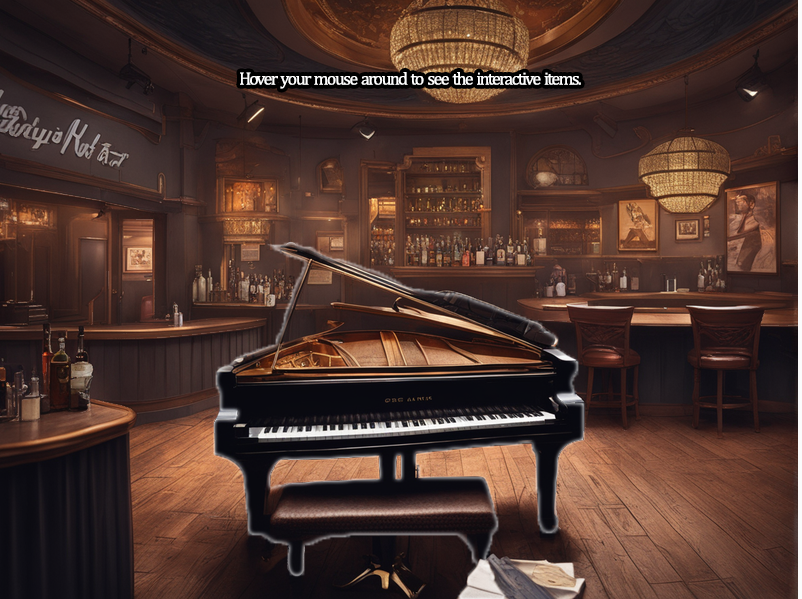
I present to you the outcome of my midterm: Merhba, Alf Merhba (Welcome a Thousand Welcome!):
Link to the full screen sketch : https://editor.p5js.org/aa8915/full/75GdtC-n2
HOW DOES IT WORK?
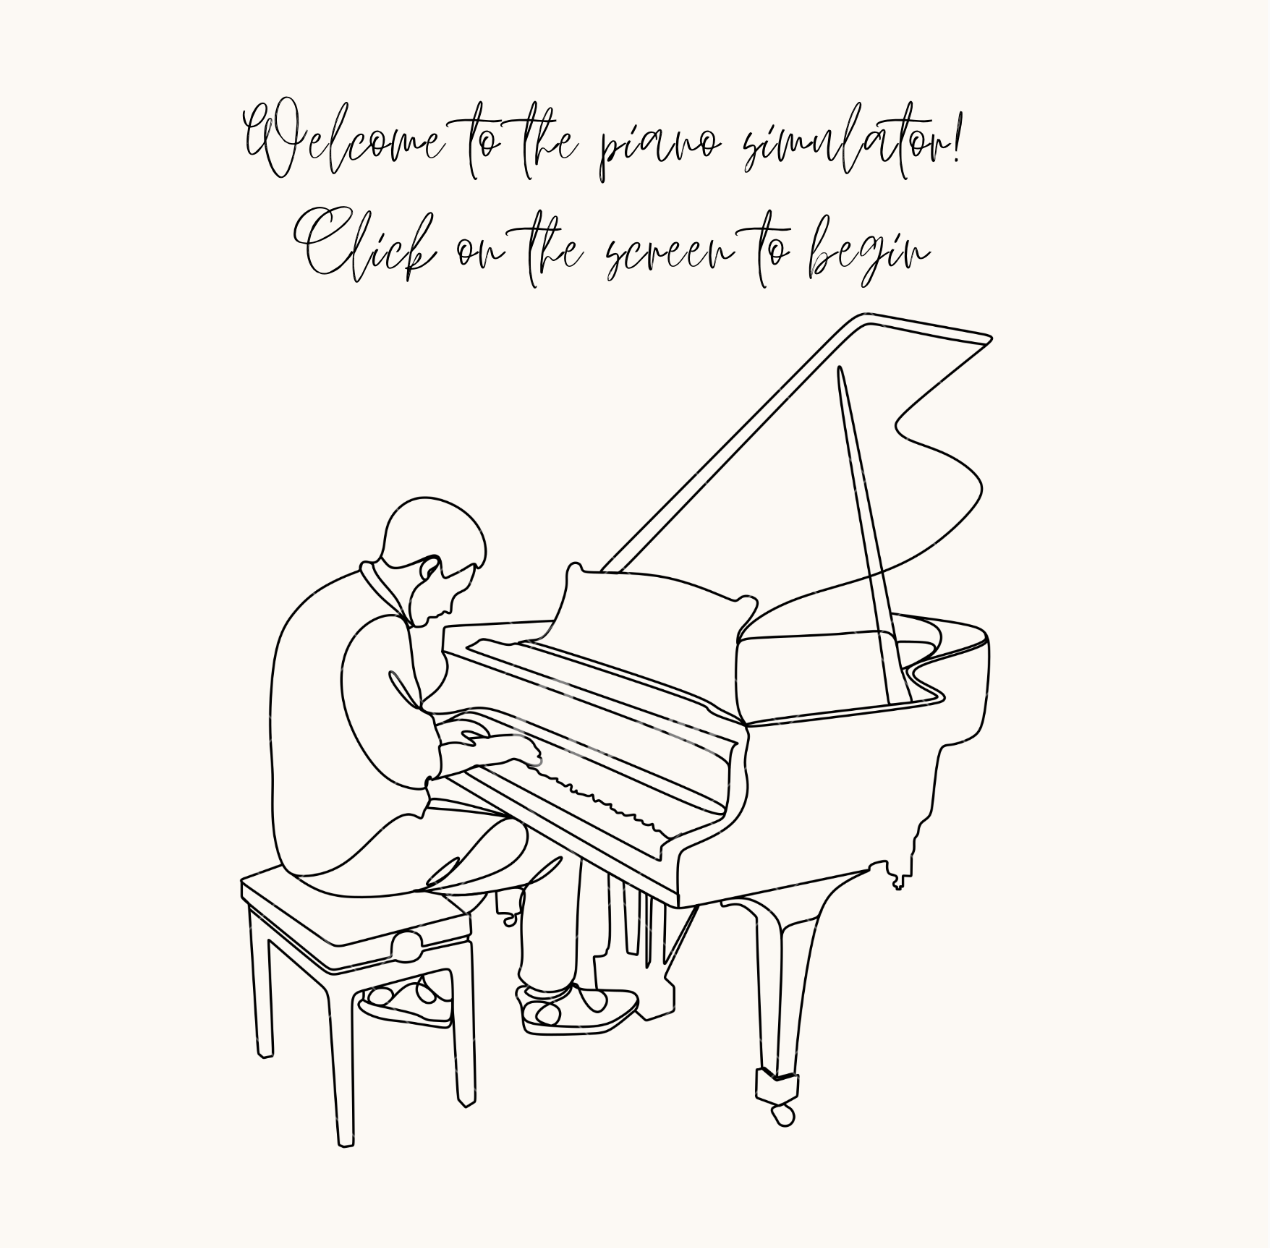
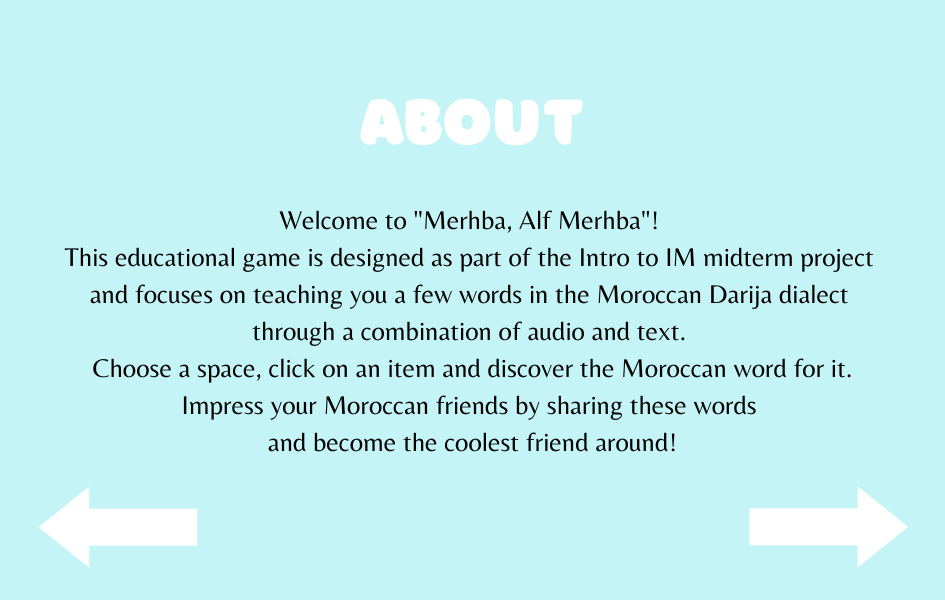
-Home Screen: Click on audio graphic for the pronunciation of the title (this sentence is used to welcome people to your space). Click on PLAY to start the experience. 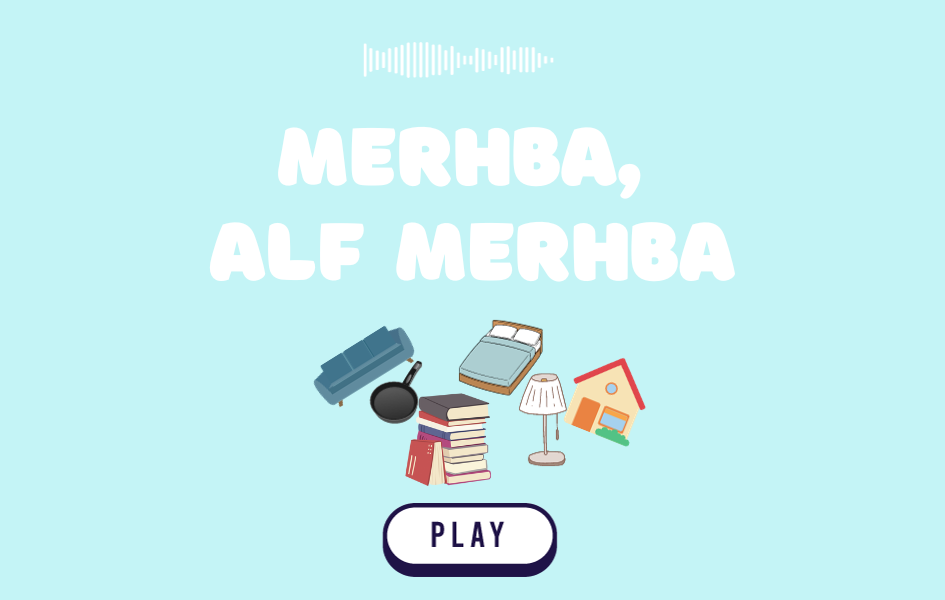 -Instructions: You’ll be presented with a screen containing the idea of the experience, as well as how to proceed. Click on left arrow to go back to the home screen, or right arrow to proceed.
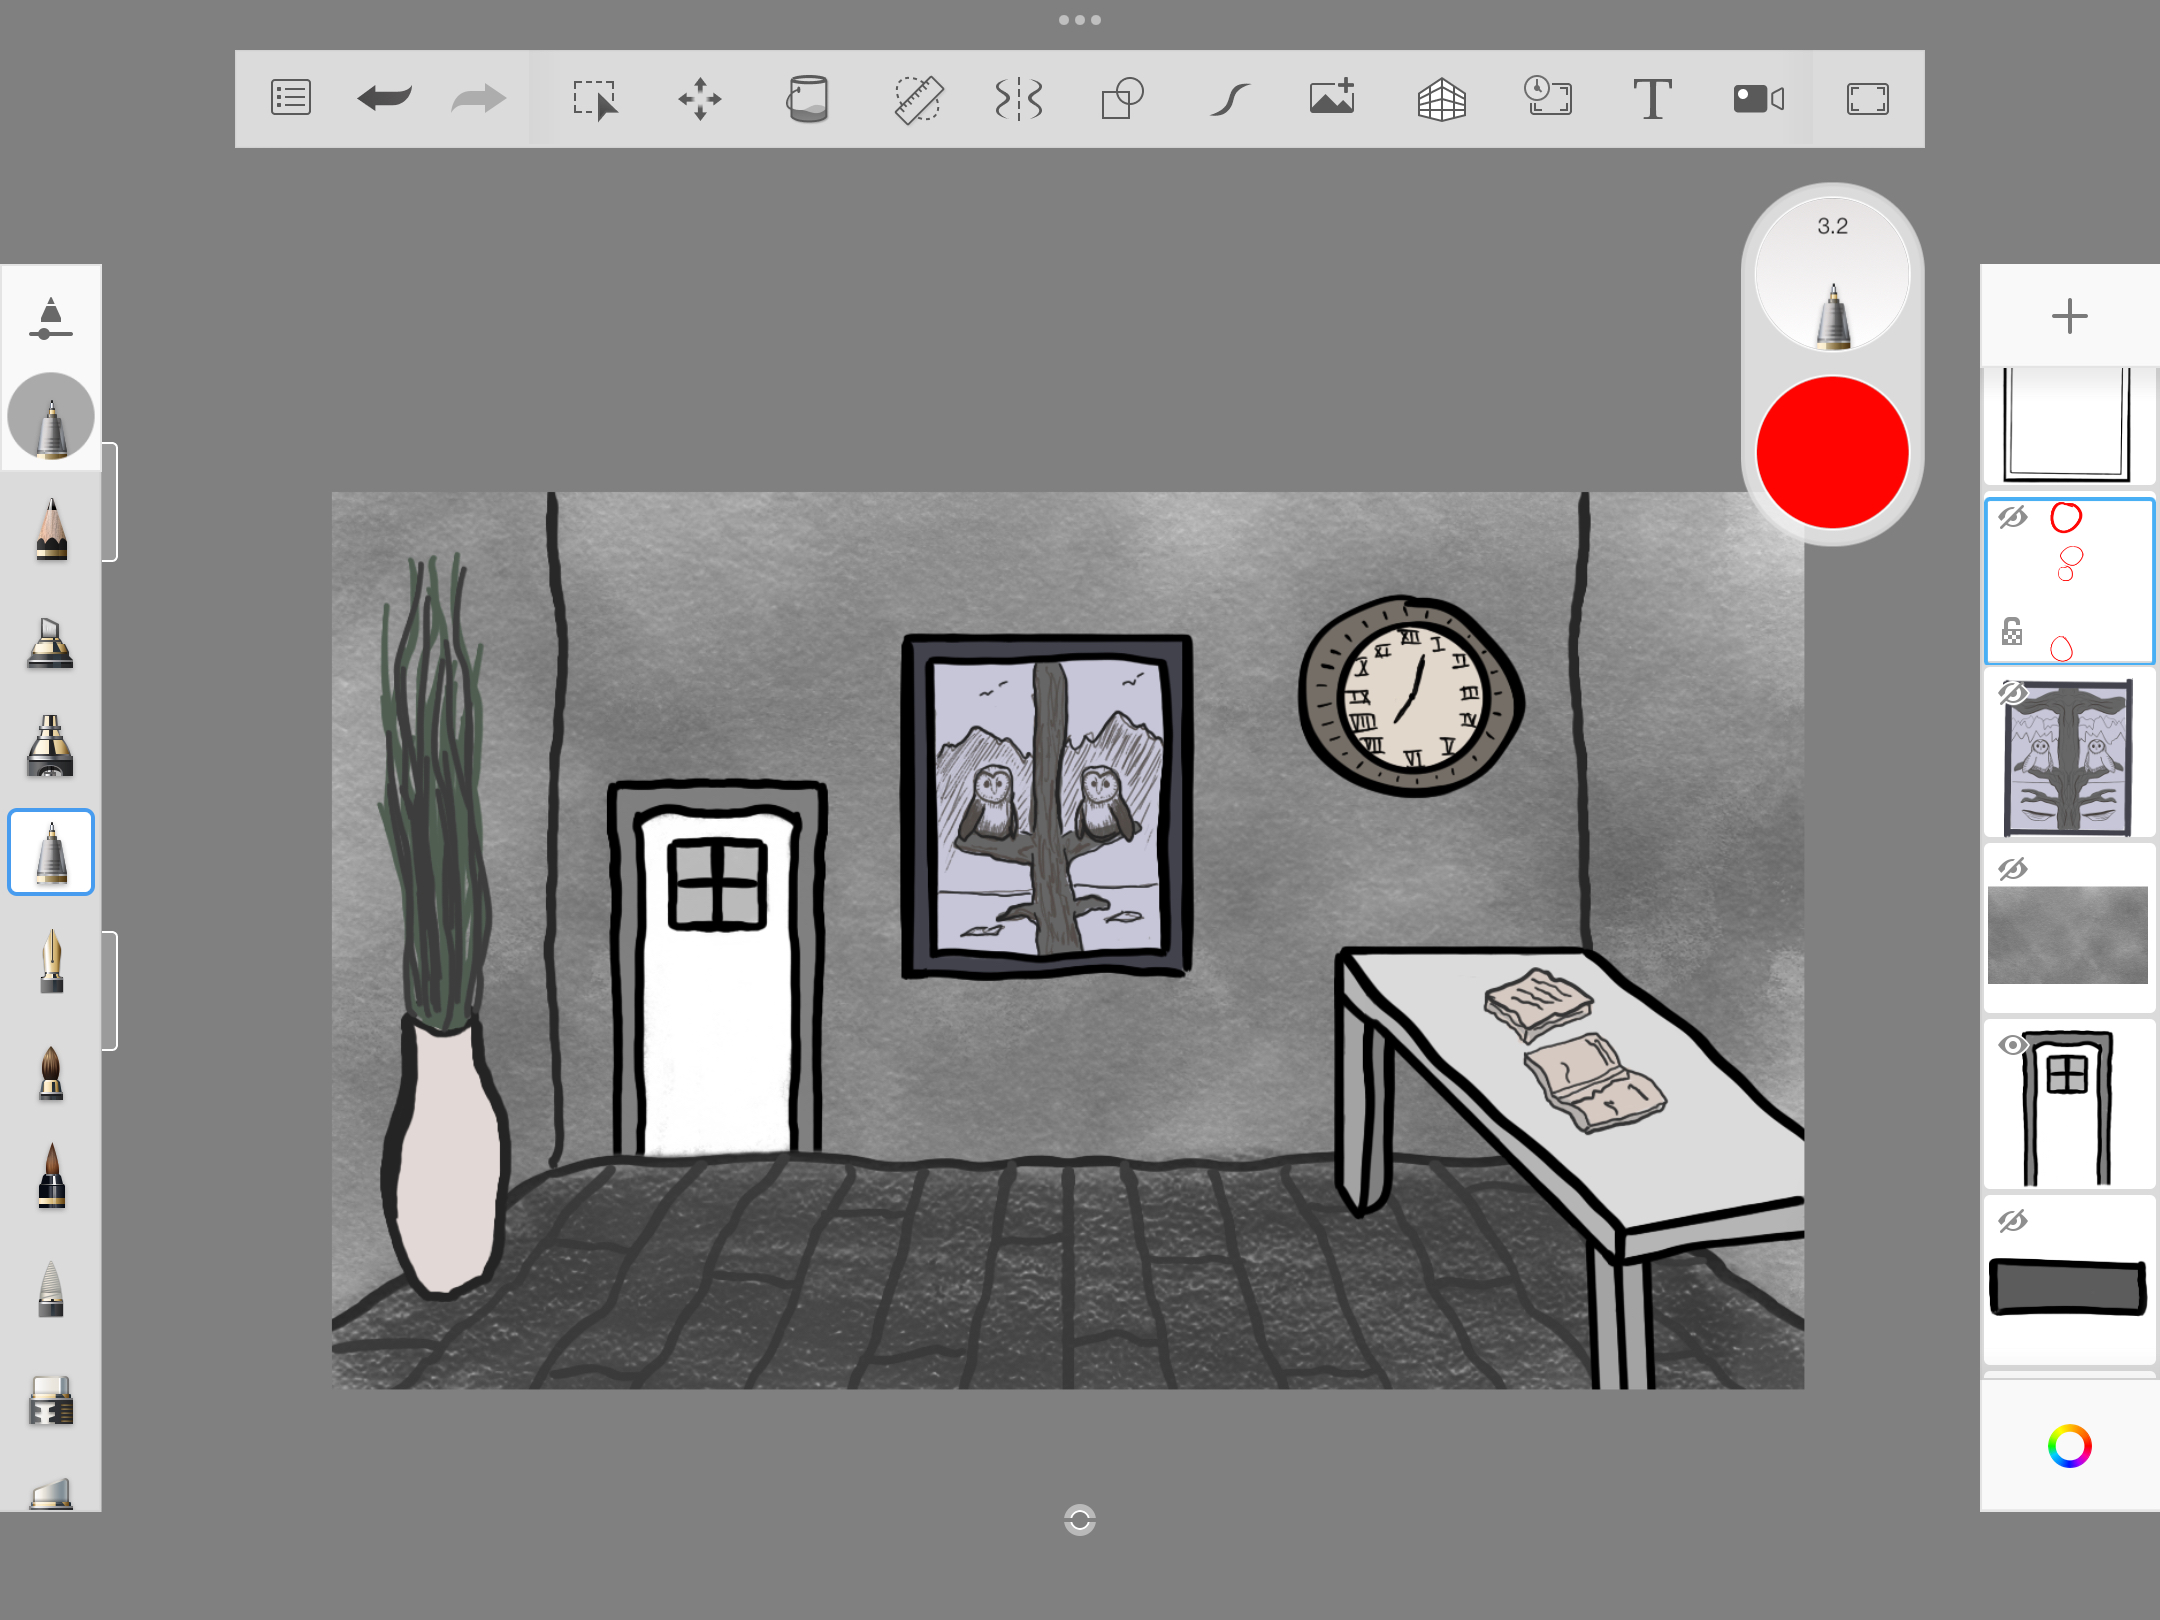
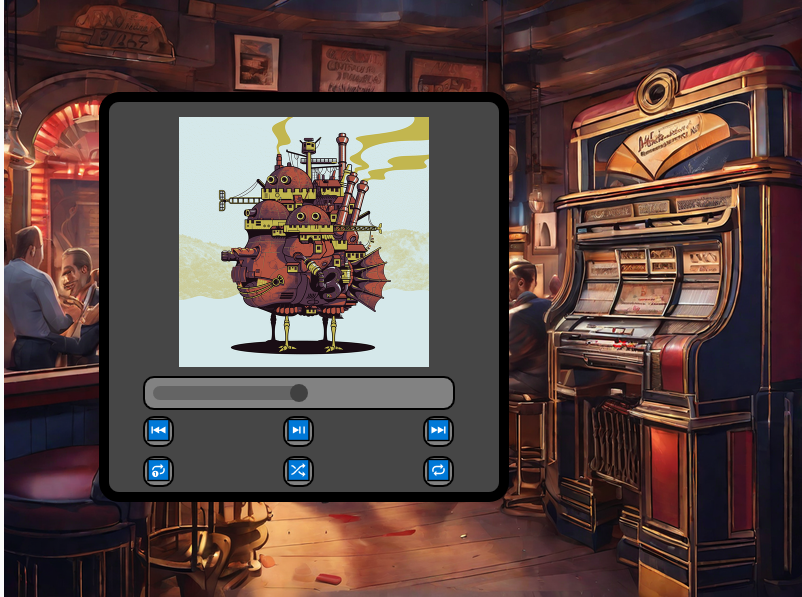
-Inside the house: Now you have six spaces to choose from (room 1, room 2, bathroom, kitchen, dining room and lounge). Click on any space to discover the pronunciation of Moroccan words for objects related to that space.
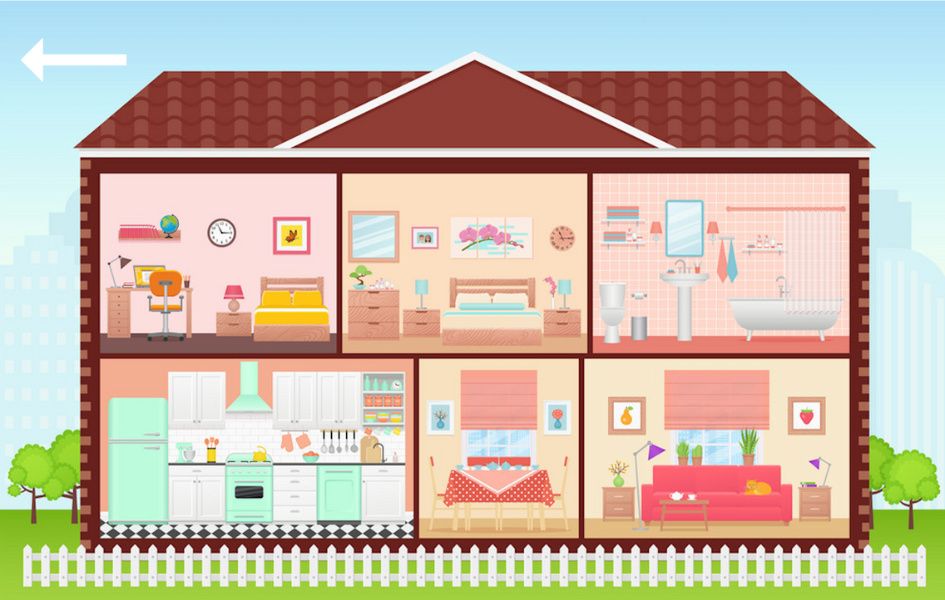
-In any space x: Click on any object and discover how it sounds in this dialect! Use the arrow (on top or in the bottom), to go back to the house.
PROCESS & DIFFICULTIES FACED:
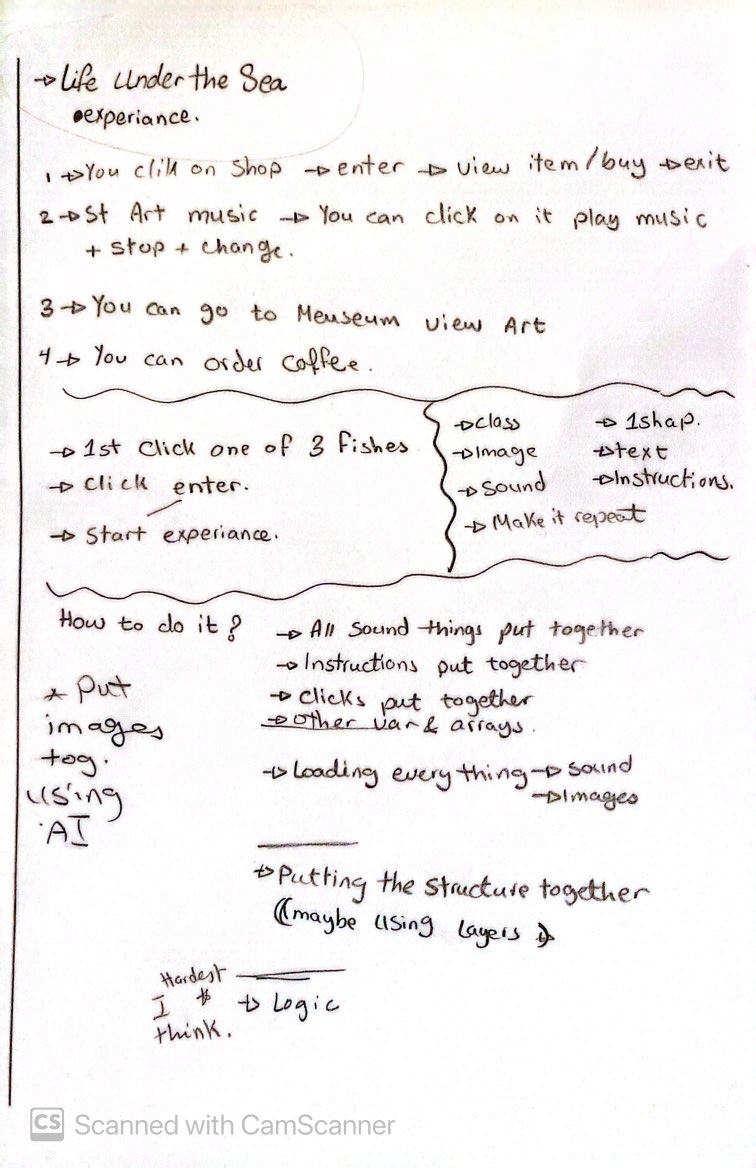
- Brainstorming: I didn’t spend a lot of time in this step because as soon as I read “midterm … experience”, I knew I wanted to do something related to something I identify with, but at the same time fun and useful for users to spend few minutes of their time interacting with. It took a few days to choose this concept among three other interesting concepts.
- Design: I was slowed down a bit by this step because I had many ideas for my concept that I was struggling to imagine in a visual format. I knew from the beginning that I wanted the setting to be a house, but didn’t know if I should have a single space hand drawn with interactive elements or something else. Many thanks to my friend Nourhane for helping me decide on a vector based image with multiple spaces, to be made interactive. Then, I designed the home screen and instructions screen by myself to align with the color palette of the house.
- Sound Recordings: My favorite part! I had so much fun recording the pronunciation of the words. I had to re-do many of the recordings multiple times because they either sounded weird, mispronounced or noisy. This part took about half a day.
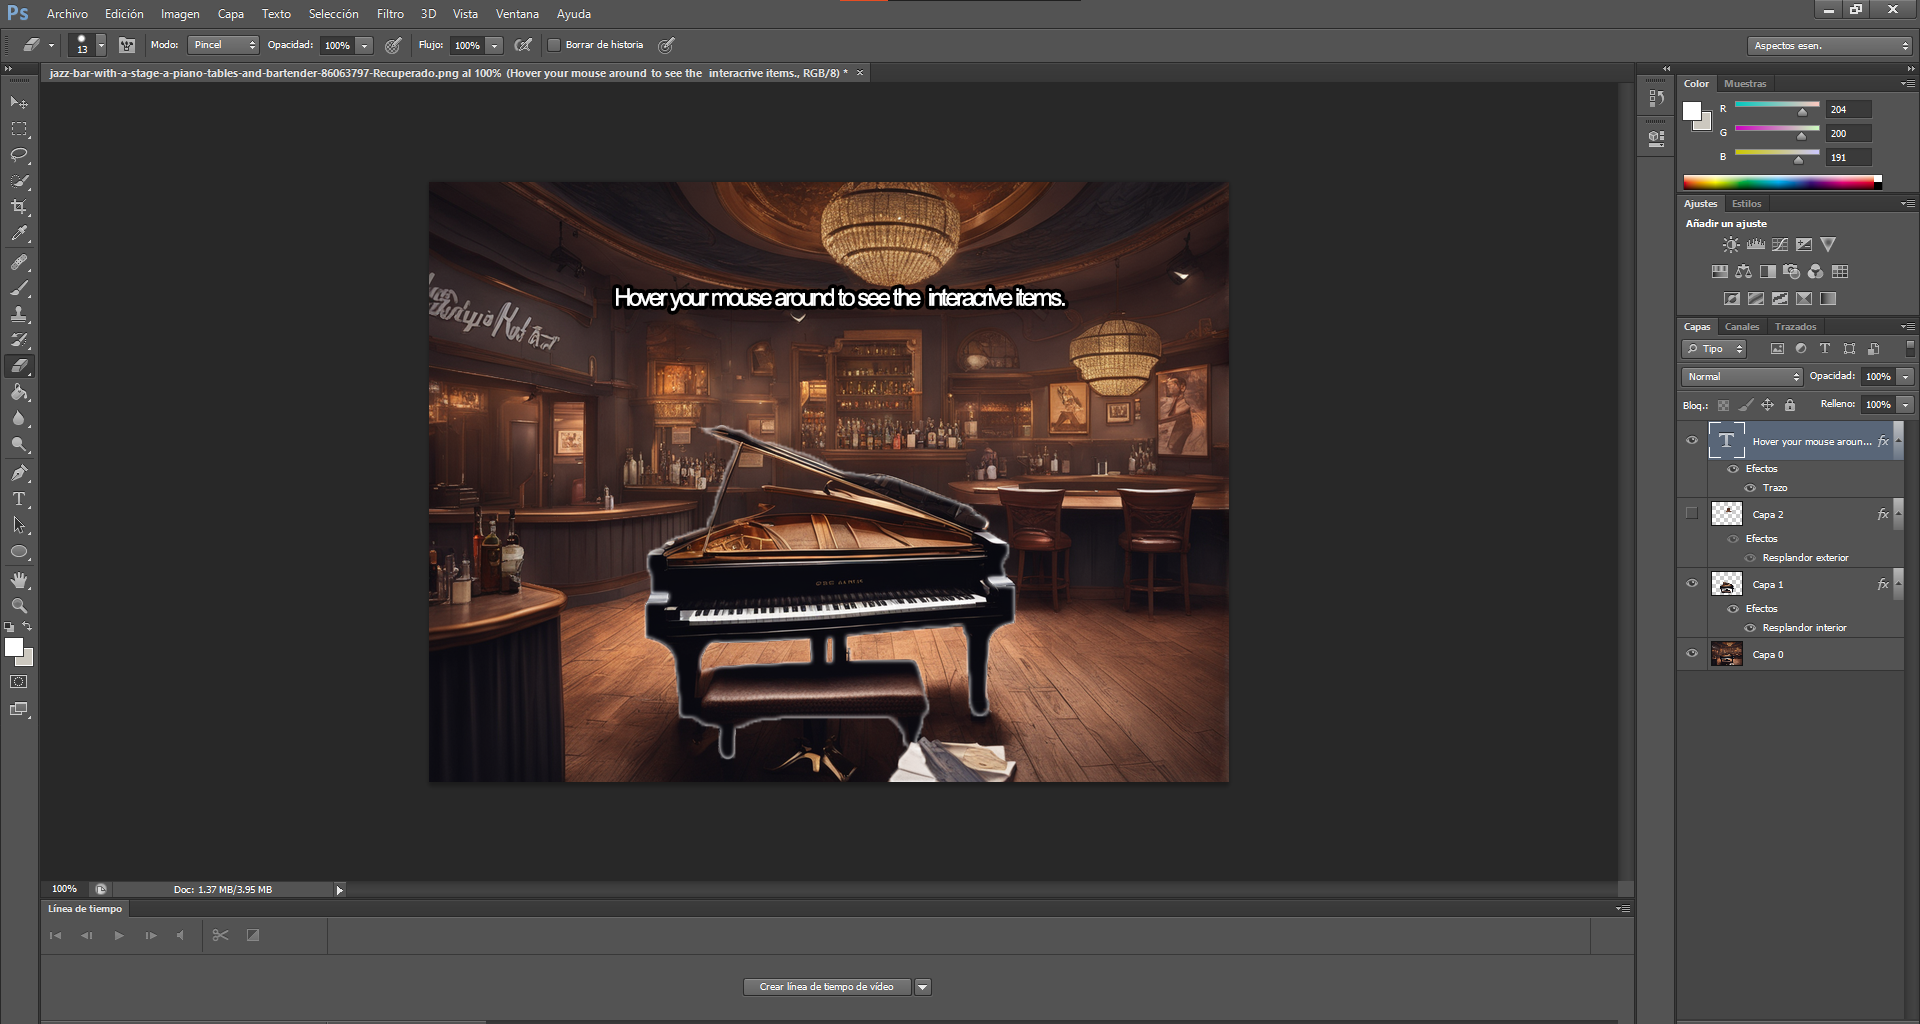
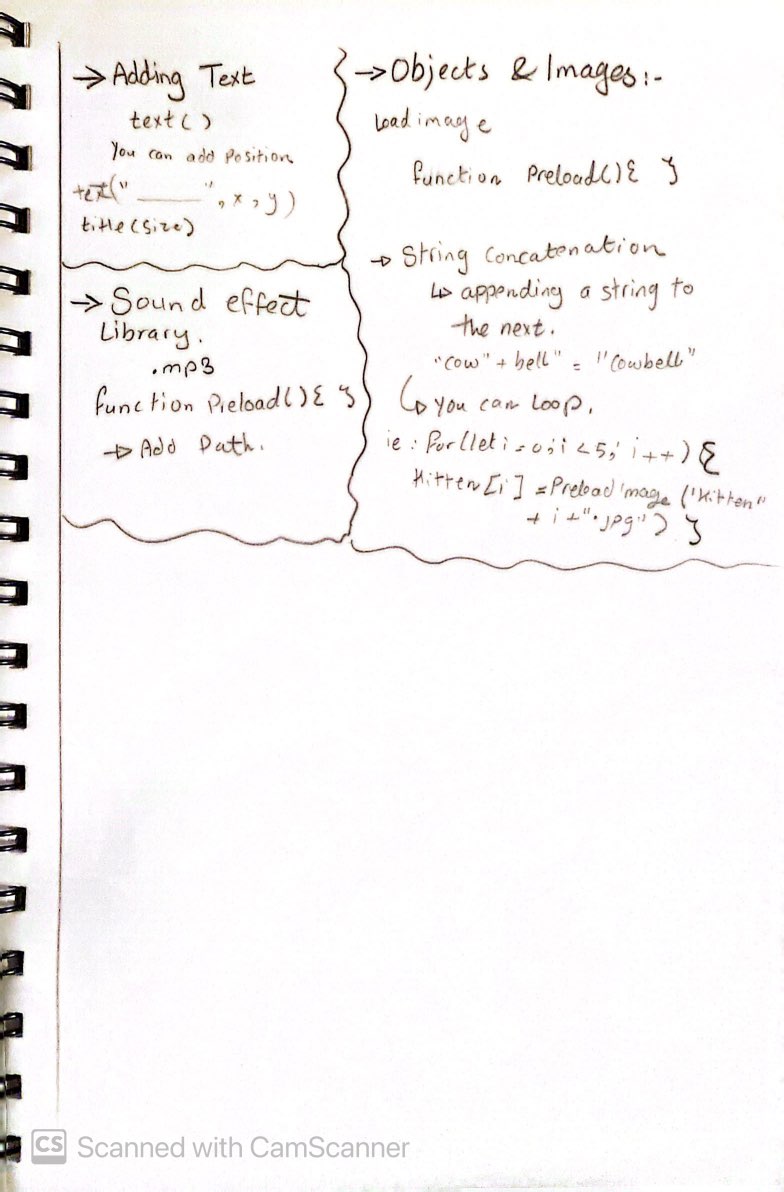
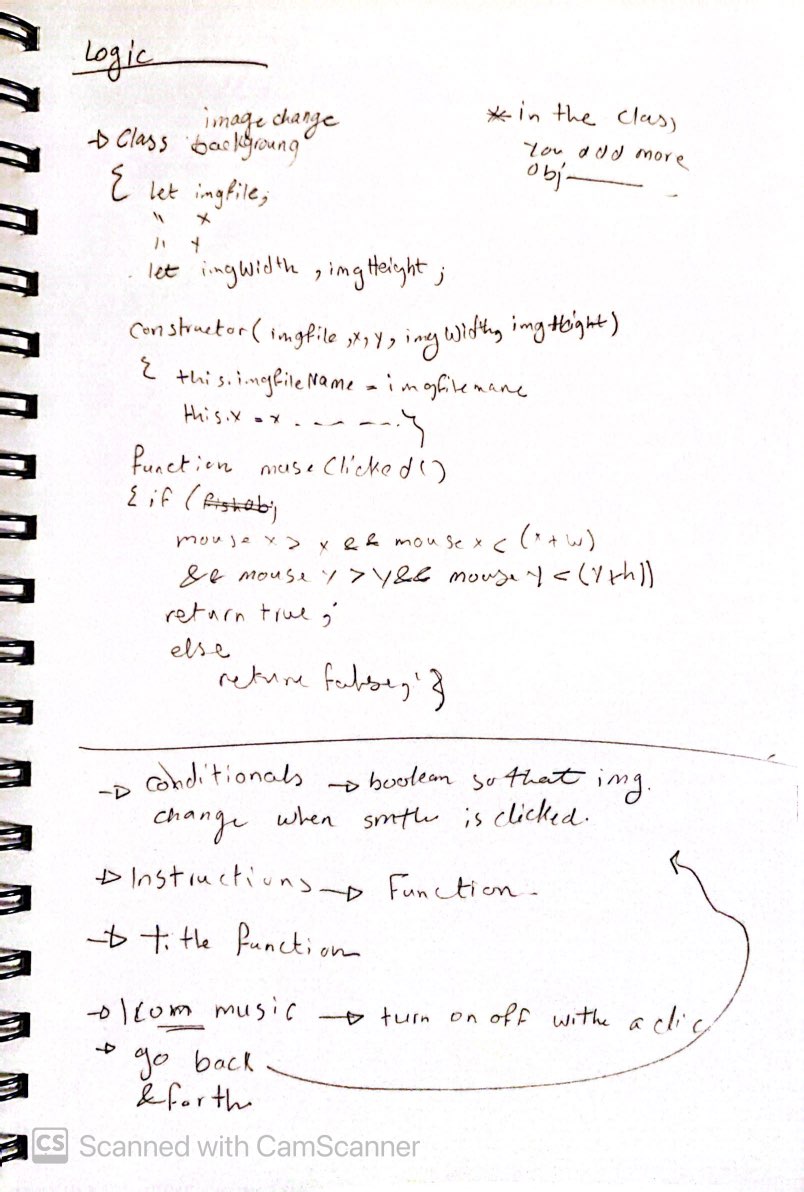
- Implementation: Implementing all the fun ideas was always my least fun part! Luckily enough this time, I enjoyed this part where I got to try different ways to make the project work. I was first confused with layering because I had 9 layers to include, but later on managed it by creating a SceneManager class.
The hardest part in the implementation of this project was the clickable object. Since my objects were a part of the image itself, I could not figure out any other way but using conditional statements for each and every object (about 60 objects). I measured the position of each object in order to make it clickable and add sound to it. The process to do this was not complicated, but very monotonous, but I’m glad it works. The only downside about this method is that only a specific part of each object is clickable. As a result, if a part of the sofa is hidden by a table, only the clear part is clickable. Depends on where the user decides to click, some parts may not work if clicked. Now that I think about it, I think it would have been a better idea to have vectors of the objects as separate images as well as a separate empty space. This way I could have created a Clicked Object class, have instances for each object image and make them clickable by using a conditional whenever X object is selected.
HIGHLIGHT
There isn’t a part I’m specifically proud of this time, because I’m proud that the whole code worked without errors. I would say I appreciate all the efforts and time I put into measuring the position of each and every object.
if (sceneManager.onRoom2){
     //to go back to house
     if(mouseX>=0 && mouseX<=107){
       if (mouseY>=0 && mouseY<=49){
         clear();
    sceneManager.onWScreen = false;
    sceneManager.onHouse = true;
    sceneManager.onRoom = false;
    sceneManager.onRoom2 = false;
    sceneManager.onKitchen = false;
    sceneManager.onBathroom = false;
    sceneManager.onDiningRoom = false;
    sceneManager.onInstructions = false;
    sceneManager.onLounge = false;
    return;
       }
     }
     //mirror object
     if (mouseX>=0 && mouseX<=206){
       if(mouseY>=61 && mouseY <= 274){
         mraya.play();
       }
     }
     //picture object
     if (mouseX>=259 && mouseX<= 368){
       if (mouseY>=128 && mouseY<=217){
         tswera.play();
       }
     }
     //painting object
     if (mouseX>=421 && mouseX<= 757){
     if (mouseY >= 87 && mouseY<= 251)
       {
         tablo.play();
       }
     }
     //bed object
     if(mouseX>=390 && mouseX<=795){
       if(mouseY>=341 && mouseY <= 500){
         namousiya.play();
       }
     }
     //desk object
     if(mouseX>=0 && mouseX<=205){
       if(mouseY>=390 && mouseY<=600){
         comoda.play();
       }
     }
     //lamp object
     if(mouseX>=273 && mouseX<=324){
       if(mouseY>=347 && mouseY<=465){
         bola.play();
       }
     }
     //lamp 2 object
     if(mouseX>=872 && mouseX<=921){
       if(mouseY>=345 && mouseY<=467){
         bola.play();
       }
     }
     //table object
     if(mouseX>=223 && mouseX<=377){
       if (mouseY >= 472 && mouseY <= 600){
         tabla.play();
       }
     }
     //table 2 object
     if(mouseX>=810 && mouseX<=945){
       if(mouseY>=493 && mouseY<=600){
         tabla.play();
       }
     }
     //plant object
     if (mouseX>=0 && mouseX<=86){
       if(mouseY>=287 && mouseY<=383){
         nebta.play();
       }
     }
     //vase object
     if(mouseX>=815 && mouseX<=861){
       if(mouseY>=336 && mouseY<=465){
         vase.play();
       }
     }
     //clock object
     if(mouseX>=833 && mouseX<=938){
       if(mouseY>=124 && mouseY<=224){
         magana.play();
       }
     }

   }
REFLECTION:
One element of the project that is missing is text. I could not figure out how to make the text for each object pop in an aesthetic way without creating a mess, so I decided to give up on it. However, I still want to improve the project even after turning it in, so I will work on finding an efficient and visually pleasing text to incorporate text.
Overall, I’m happy of the result of this project, I hope the users will also have a fun (and bug-free) experience with it!