
CONCEPT:
My midterm project attempts to showcase the beauty of the Indian classical dance of Kathak. The project was ideated based on my experience pursuing the dance form for six years. Living in the UAE, I saw learning Kathak as a way to discover and connect to my cultural roots. The graceful yet swift movements and the jingling of the footbells in Kathak always leave me awestruck.
MAIN IDEA:
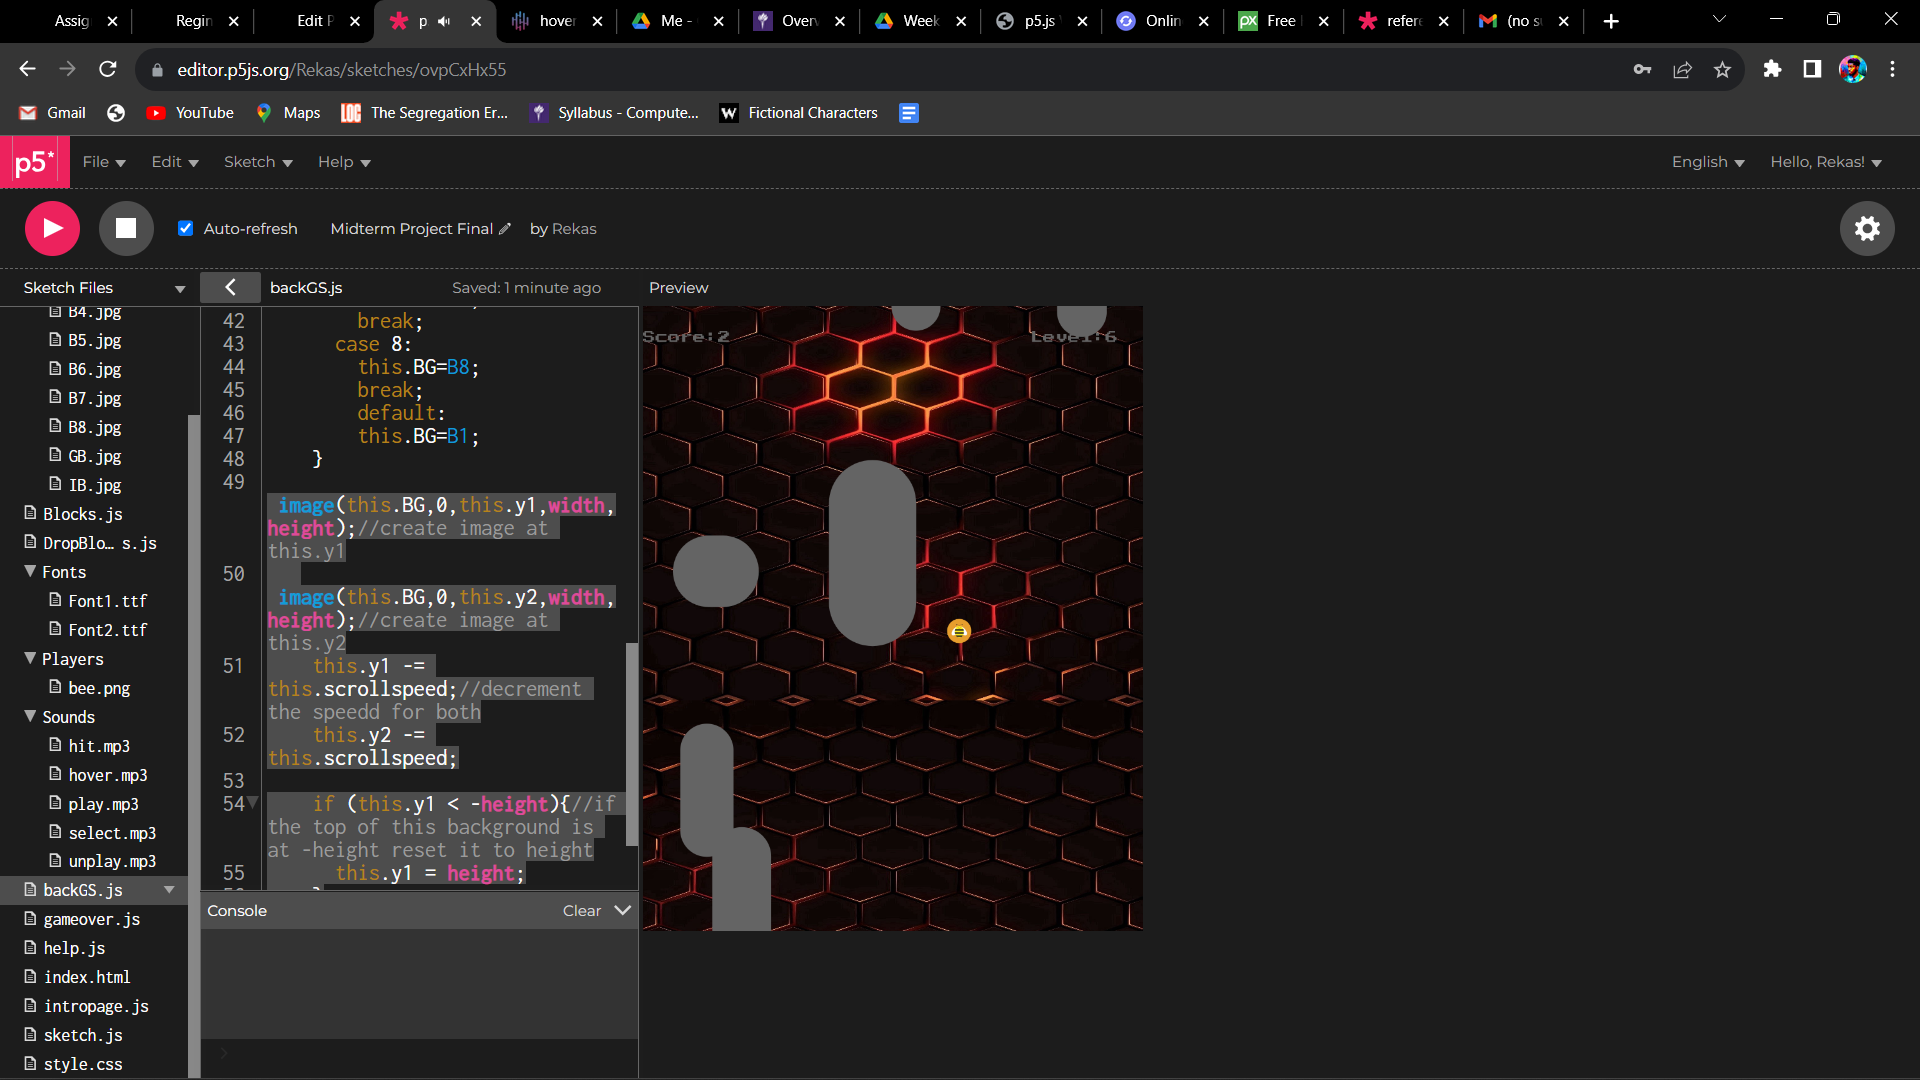
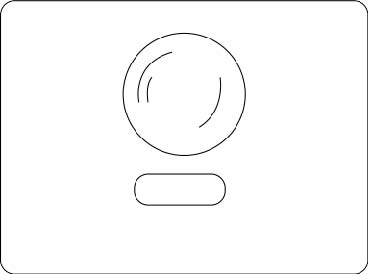
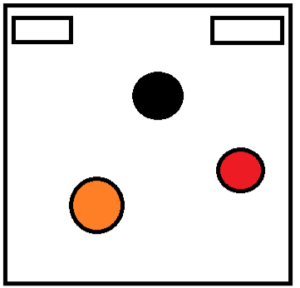
The project depicts an interactive book that provides insight into some of the fundamental movements of Kathak. Flipping through the pages, the user encounters interactive animations that add visual detail to the description provided. Below is the basic layout of each page that I had in mind as I began the project.
![]()
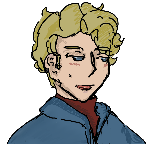
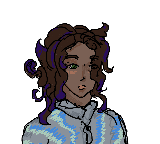
I wanted to depict the dance movements realistically and decided to adopt the concept of sprite sheets for this task. I began working on the project by collecting all relevant media including images for the spritesheets. It was challenging to create the sprite sheets as I had to ensure that the sizes of the images were all the same. Below are the sprite sheets used in the project.
![]()
![]()
![]()
![]()
CODING:
The project has been implemented using object-oriented programming. I have created a separate class for each page. This approach helped me organize the various functions involved. The main highlight of my project is the execution of spritesheets based on the example discussed in class.
Using sprite sheets, I was able to have a layer of interactivity on each page. The animations allow the user to view the demonstration of each dance movement at their own pace using the arrow keys. The functionality of the keys was created using the following code.
function keyPressed() {
  if (currentPage === 1) {
    if (keyCode === RIGHT_ARROW) {
      step1 = (step1 + 1) % sprites1.length; //Determines the frame number
      pages[currentPage].display(); // Redraws the page to update sprite animation
    }
  }
  if (currentPage === 2) {
    if (keyCode === RIGHT_ARROW) {
      step2 = (step2 + 1) % sprites2.length;
      pages[currentPage].display();
    }

  }
  if (currentPage === 3) {
    if (keyCode === LEFT_ARROW) {
      step3 = (step3 + 1) % sprites3.length;
      pages[currentPage].display();
    }
  }
  if (currentPage === 3) {
    if (keyCode === RIGHT_ARROW) {
      step4 = (step4 + 1) % sprites4.length;
      pages[currentPage].display();
    }
  }
}
PROJECT SKETCH:
Throughout the project, I paid attention to details such as the fonts and choice of images which helped make the project visually appealing. The background music is a classical composition involving the Tabla and Sitar, two instruments that form an integral part of any Kathak performance.
CHALLENGES:
The first major challenge that I faced was in trying to change the screen for each page. I overcame this challenge by creating separate classes for each page. Also, I had initially imagined an animation to depict the page flip, however due to my limited knowledge of the use of videos in p5, I was unable to implement it.
IMPROVEMENT:
An improvement that I would like to bring about in this project would be to include the corresponding sound of footbells for each movement on the page about footwork. I tried implementing this idea but was not able to achieve the desired result.
Overall, I believe the project is simple yet unique and involves most of the concepts covered in class. It was a great learning experience which enabled me to tackle all concepts at once.


