
Author: Aaron
Week 2 – Digital Read/Write Circuit & Code
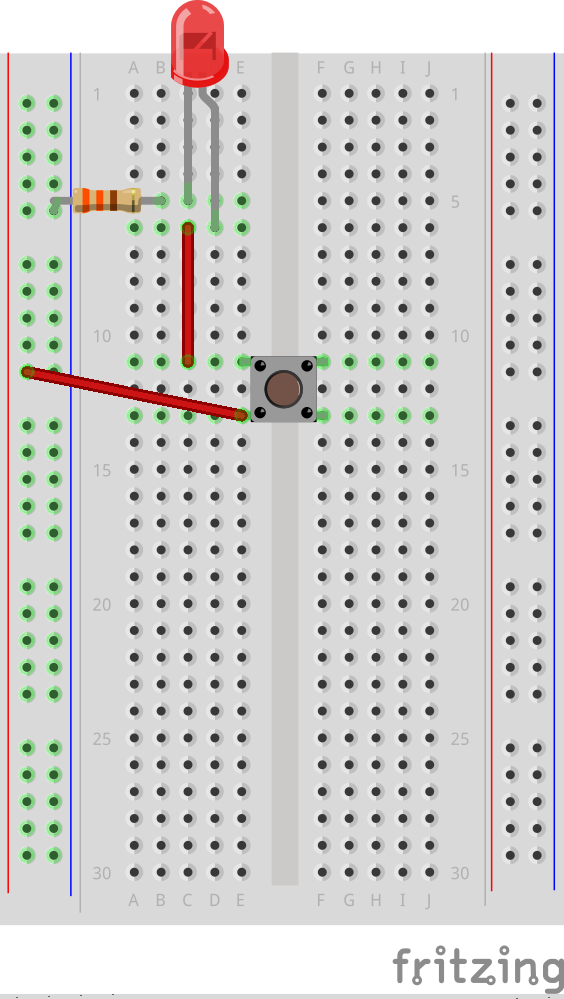
Digital Read a button on pin 2 and digital write an LED on pin 3:

Remember to include a 330 ohm resistor for the LED and a 10k ohm pull down resistor to ground for the button.
int buttonPin = 2;
int ledPin = 3;
int ledState = LOW;
int prevButtonState = LOW;

void setup() {
  // set pin modes
  pinMode(ledPin, OUTPUT);
  pinMode(buttonPin, INPUT);
  // needed in order to start serial communication
  Serial.begin(9600);
}

// PSUEDO CODE:
// check if button is currently pressed
// if button is pressed then check to see if it was pressed during the last frame too
// (we need to remember our button state)
// if button is bressed and previous button is not pressed then flip our LED state

 void loop() {
  // check to see what state our button is in, and store that information
  int currentButtonState = digitalRead(buttonPin);

  // if the button is currently being prssed down, AND during the last frame is wasn't pressed down
  if (currentButtonState == HIGH && prevButtonState == LOW) {
      // flip the LED state
      if (ledState == HIGH){
        ledState = LOW;
      } else if (ledState == LOW){
        ledState = HIGH;
      }
  }
  // if you want to print out the LED state
//  Serial.println(ledState);

  // set our LED to turn on and off according to our variable that we flip above
  digitalWrite(ledPin, ledState);

  //we need to remember the state of our button for the next time through LOOP
  prevButtonState = currentButtonState;
}
Processing Community Day
Week 1 Slides
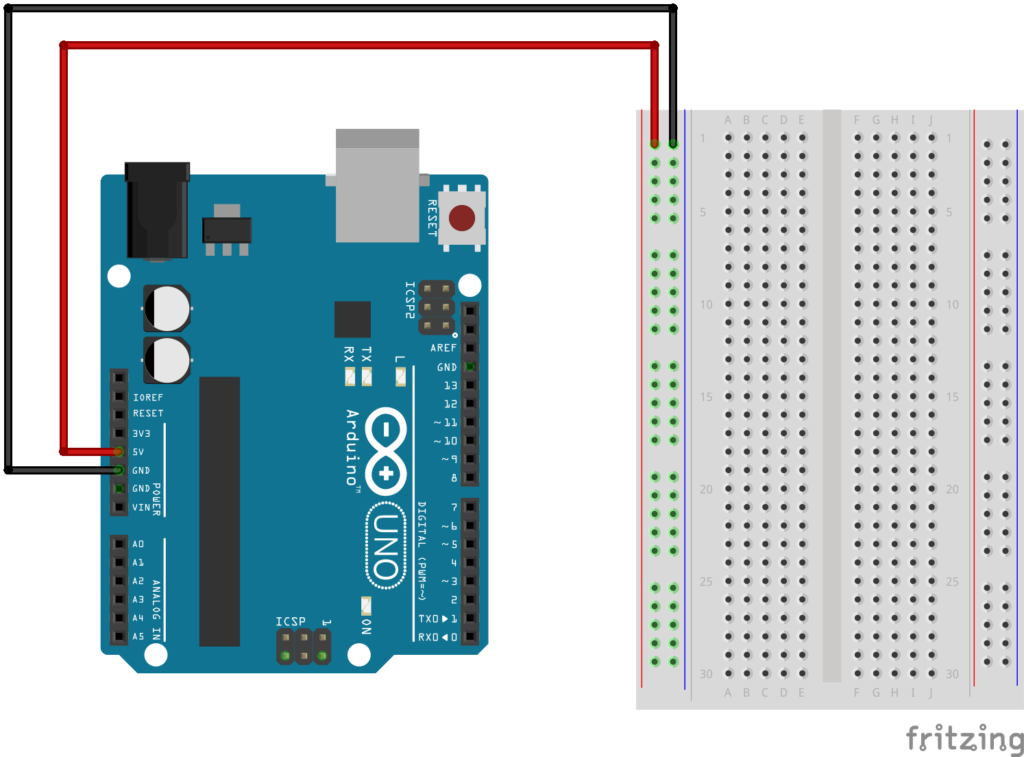
Week 1 Circuits
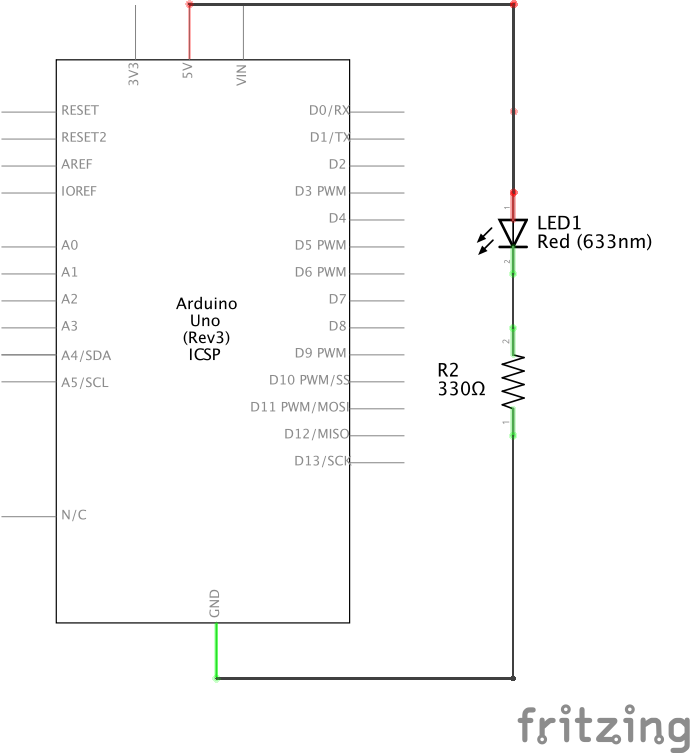

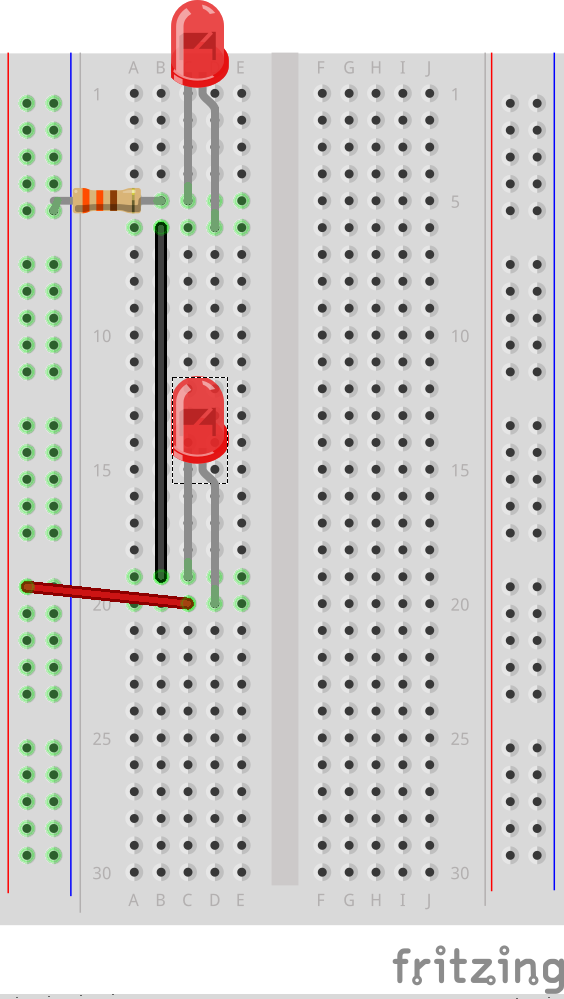
Series
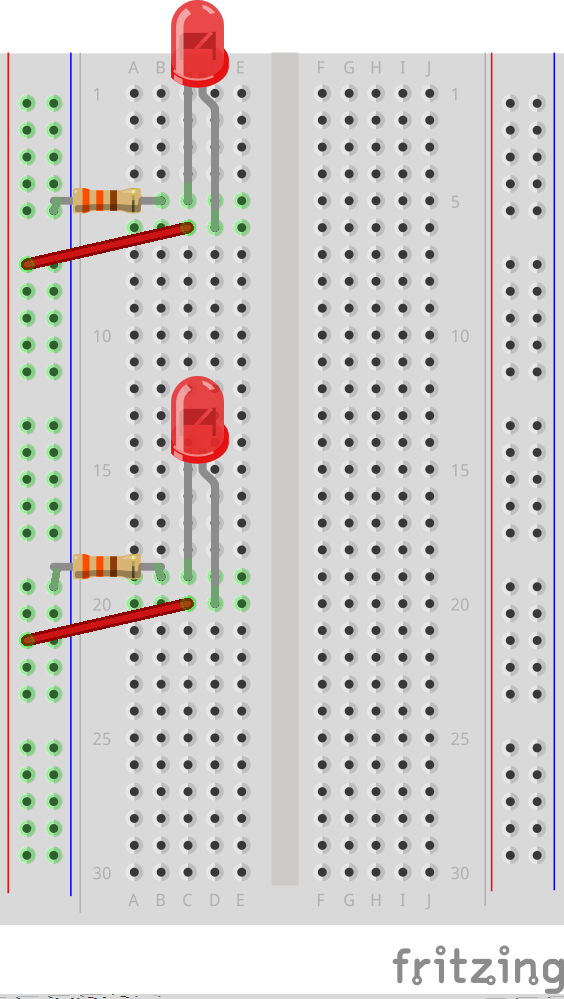
Parallel
Button
Series with Button
Parallel with Button
Examples
Video and Images for fun and profit
Serial Communication is the greatest thing ever
And here’s the code from class to prove it
Arrays and Strings
Code from class on arrays and strings
Code from class on classes and functions
Here’s the code from class