Week 3 Generative Artwork using Object Oriented Programming – Rhythm Kukreja

Description:

For this week’s assignment, I created a generative artwork using Object-Oriented Programming. Using mainly lines, I played around with Perlin noise to create a wavy circle.

I used variables and functions to create that.  I started by sketching the circle and then draws a line from one point to the other. I computed the reverse by adding pi to the actual angle that turns 180° if you use radians. The two circumference points were then extrapolated using the identical sine and cosine methods.

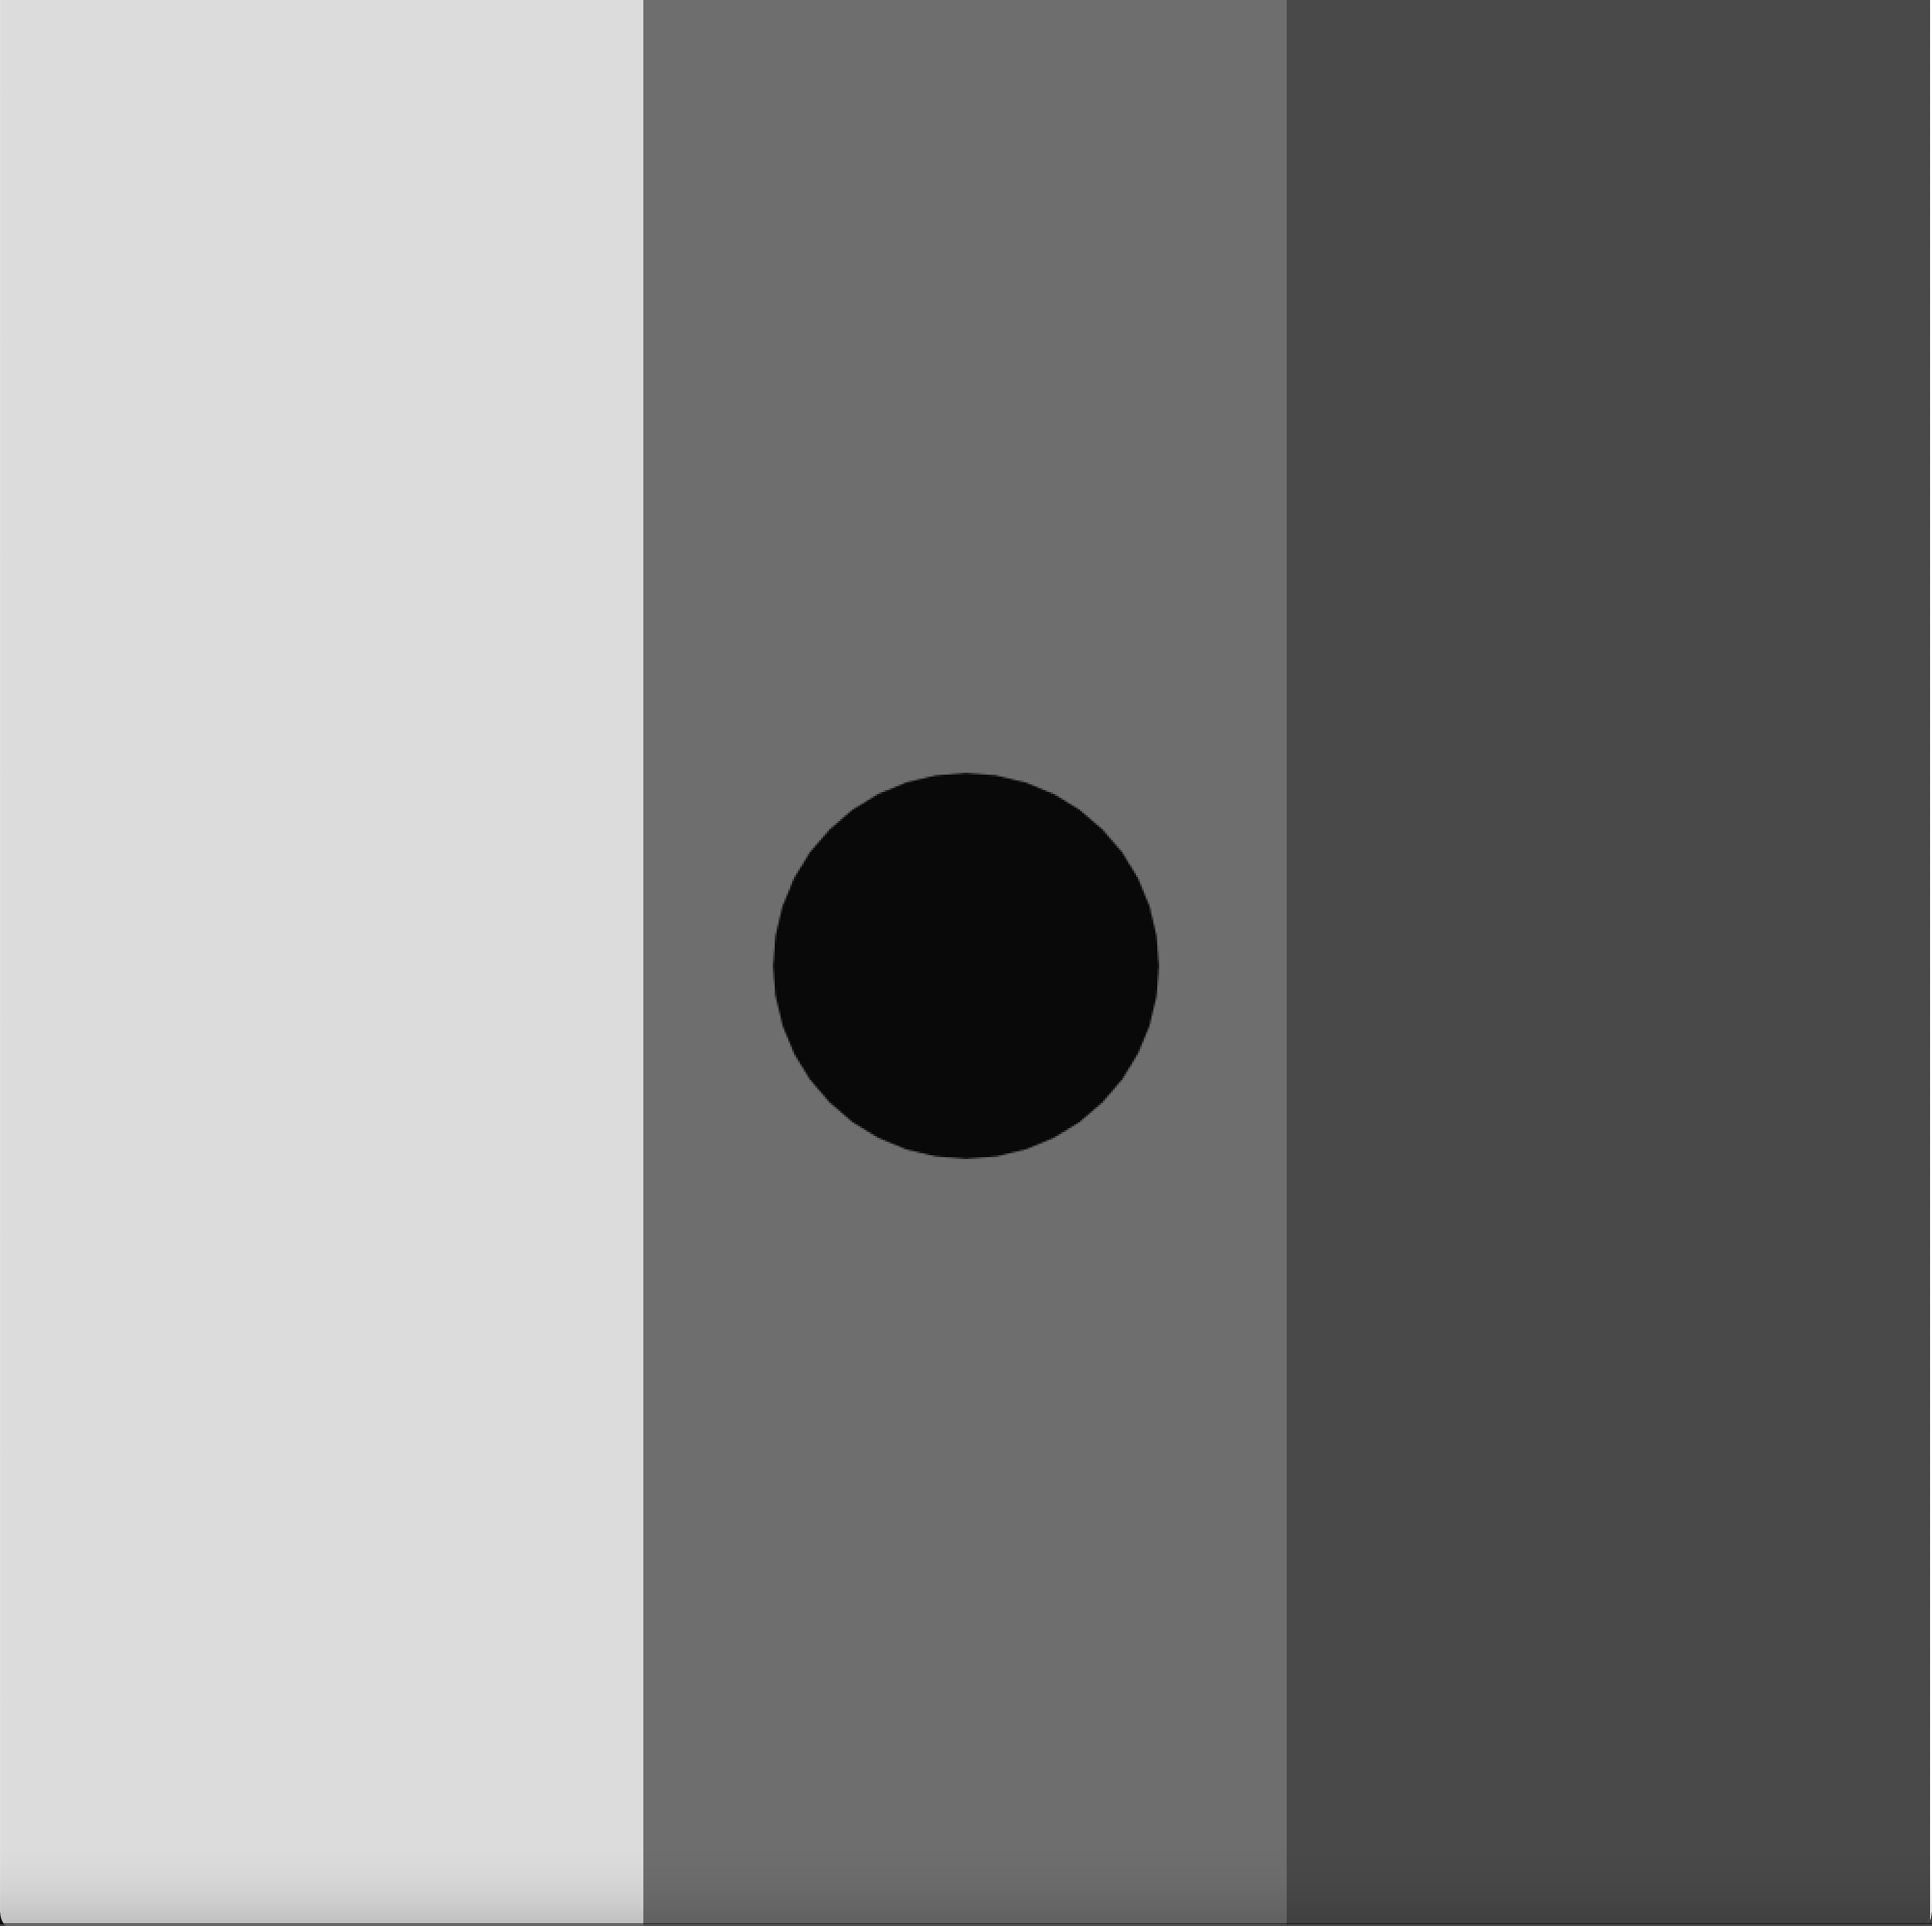
The circle was smooth. I’ve added a few lines to change the color of the stroke.
I defined a variable StrokeCol, began with 255 (white), and decreased every frame by 1 up to 0. (black). Then I reversed the procedure to an endless level of 255.

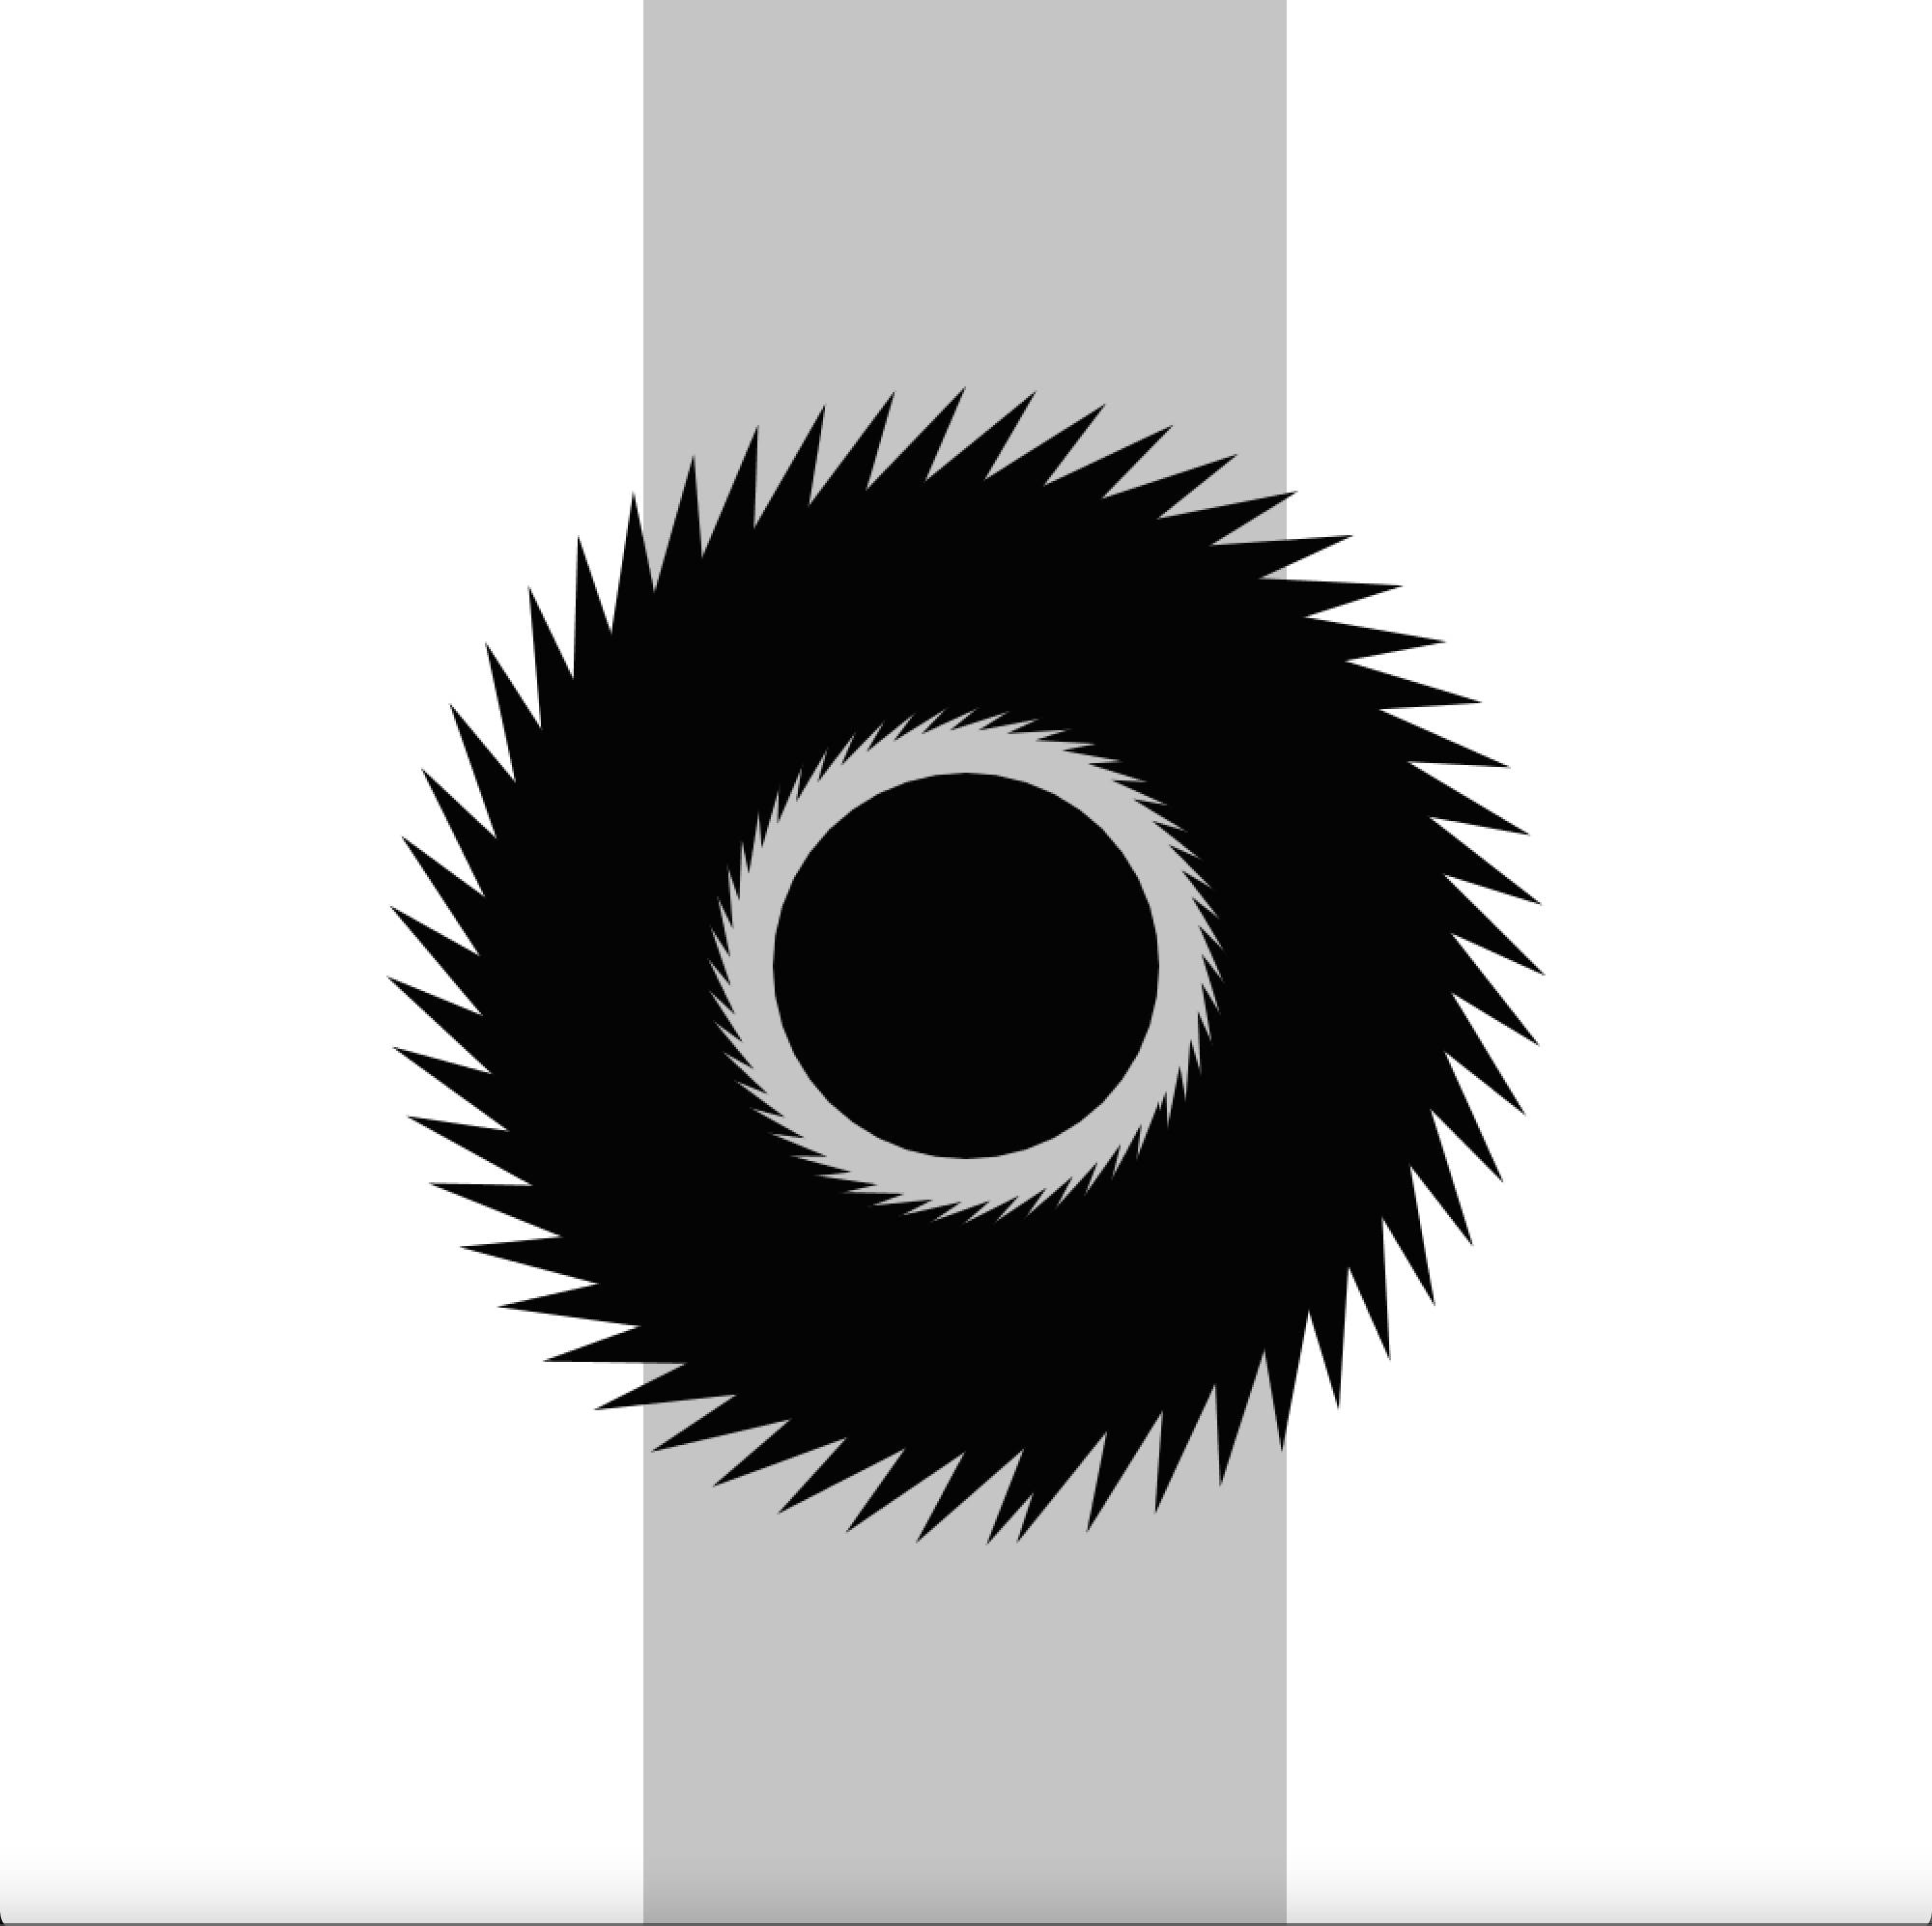
Next, I changed the length of the connection line by changing the radius with a noise value.

Then, to change it a little more, I added noise to its angle. I allowed the angle to be increased or decreased so that it could reverse.

Furthermore, I changed the center of the circle to give it a better effect.

This is what it looked like.

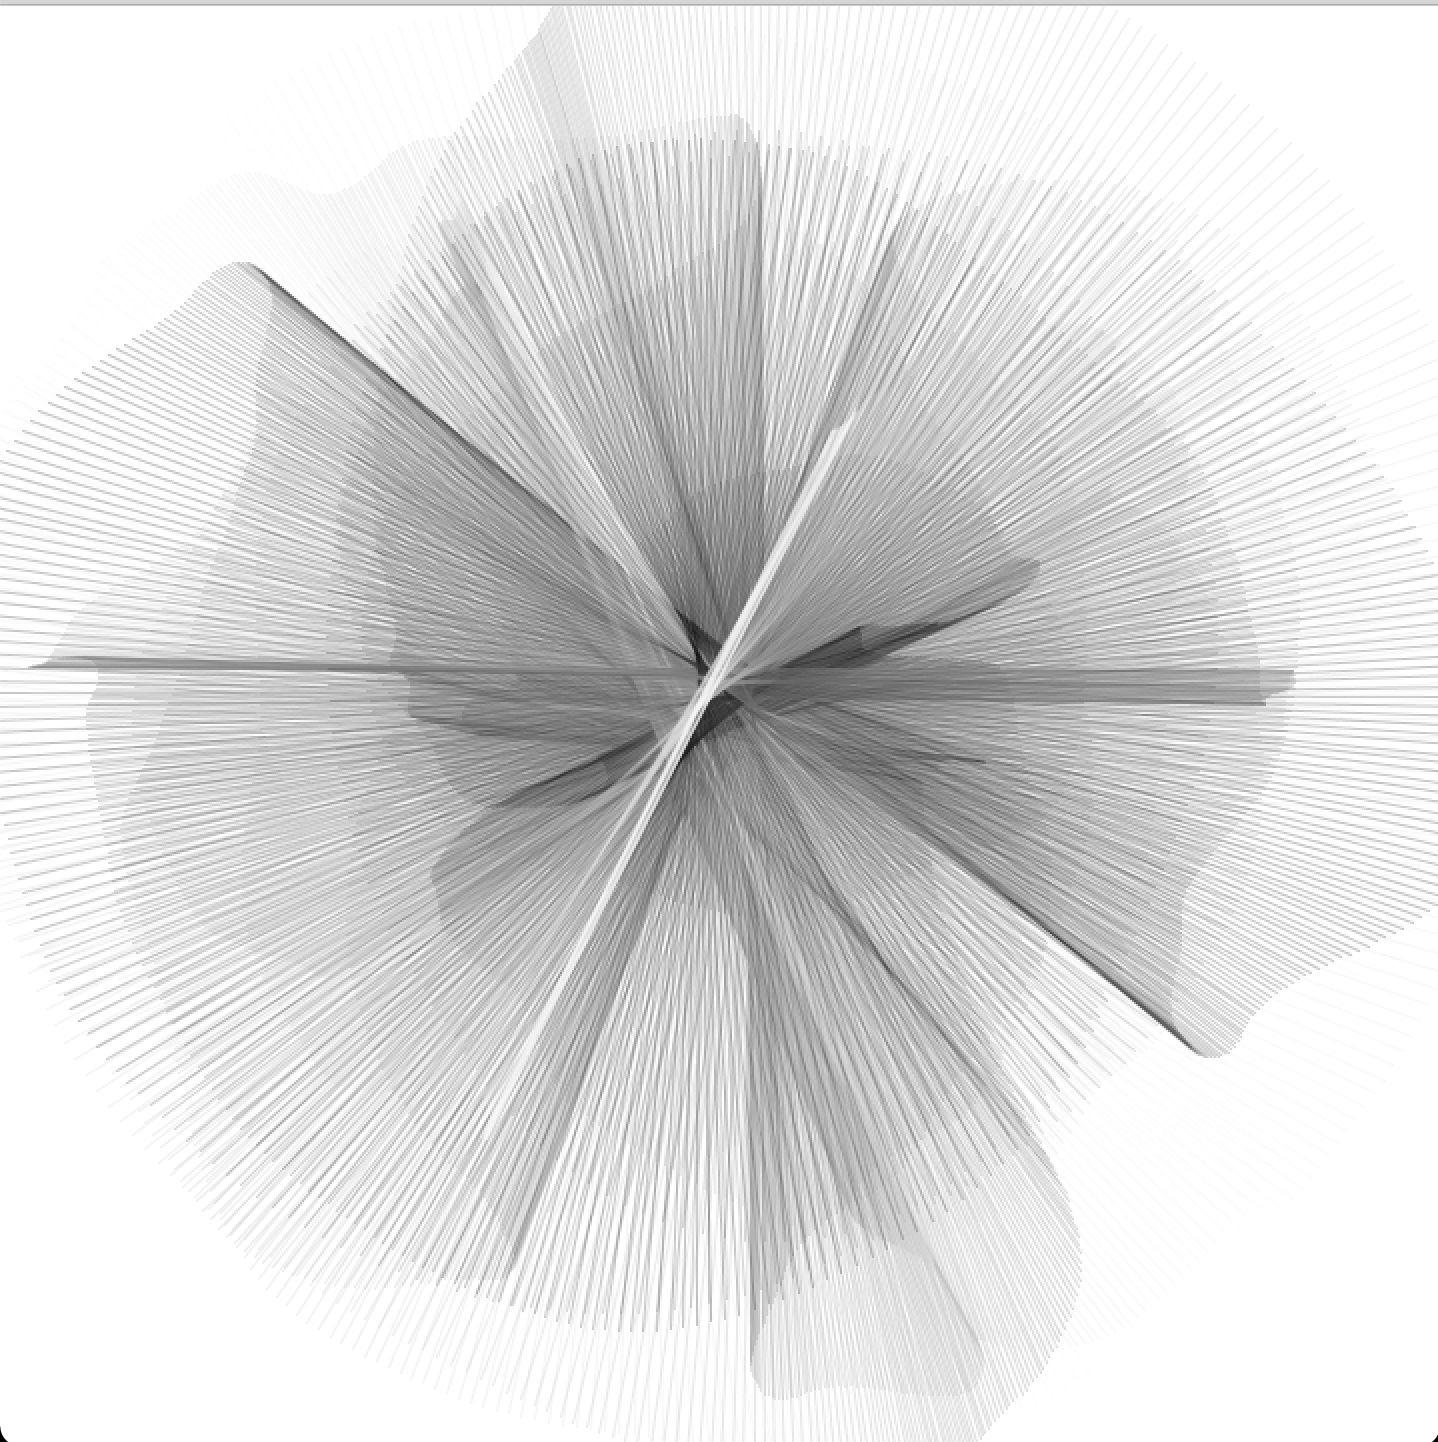
I have attached the video below:

The code of the above art is below:

//defining the variables
float angle_noise;
float radius_noise;
float x_noise; 
float y_noise;
float angle = -PI/2;
float radius;
float strokeCol = 255;
int strokeChange = -1;
//initialising the setup
void setup() {
 size(720, 720);
 smooth();
 frameRate(30);
 background(255);
 noFill();

//using random values to use it further in the code
 angle_noise = random(10);
 radius_noise = random(10);
 x_noise = random(10);
 y_noise = random(10);
 
}
void draw() {

 radiusVar();

 angularSpin();
 
 circleProp();

}
//the radius function that changes the radius using perlin noise 
void radiusVar(){
 radius_noise += 0.005;
 radius = (noise(radius_noise) * 550) + 1 ;
}
//using noise for angular spin
void angularSpin(){
 angle_noise += 0.005;
 angle += (noise(angle_noise) * 6) - 3;
 if (angle > 360) { angle -= 360; }
 if (angle < 0) { angle += 360; }
}
//defining the properties of the circle 
void circleProp(){
 x_noise += 0.01;
 y_noise += 0.01;
 float centerX = width/2 + (noise(x_noise) * 100) - 50;
 float centerY = height/2 + (noise(y_noise) * 100) - 50;
 
 float radius_ = radians(angle);
 float x1 = centerX + (radius * cos(radius_));
 float y1 = centerY + (radius * sin(radius_));

 float oppradius = radius_ + PI;
 float x2 = centerX + (radius * cos(oppradius));
 float y2 = centerY + (radius * sin(oppradius));
 //changing the color of the stroke 
 strokeCol += strokeChange;
 if (strokeCol > 254) { strokeChange = -1; }
 if (strokeCol < 0) { strokeChange = 1; }
 stroke(strokeCol, 60); 
 strokeWeight(1); 
 line(x1, y1, x2, y2);

}


Week 2 Make a simple work of Art – Rhythm Kukreja

Description of this assignment:

Using loops (for() and while()) in some way, along with everything that you’ve learned so far, make a simple work of art.

Process:

I wanted to be very creative with this assignment. Since I love playing around with shapes and learning more about animations in processing, I checked out all the things animations in processing referencing I wanted to use. I really liked the milliseconds’ idea in processing, so I played around with some of the code and came up with this.

The picture showed above changes its color on the grayscale. I used the colorMode() function which changes the numerical range of specifying colors and switches color systems. This was followed by fill().

Then I added a morph to my artwork. It means changing one shape into another by interpolating vertices from one to another. It changed from a square to a circle in a loop.

This was an animation. So until now, the rectangle color in the background is changing on the basis of the grayscale and so is the shape of the circle and the square.

Then I added a bunch of triangles in a for loop and used popMatrix(), pushMatrix(), and rotate(). pushMatrix() is used for pushing the current transformation matrix onto the matrix stack. popMatrix() is used for popping the current transformation matrix off the matrix stack. rotate() is used for rotating the amount mentioned by the angled perimeter.

After that, I used the same functions like popMatrix(), pushMatrix(), and rotate() to play with lines.

This was the final result. I would say that this project was personally very challenging because I had to play around with functions to understand what they did, since I used functions I have never studied before. I used some code from the processing references which helped me achieve this. I hope you all liked it. Thank you.

float x = 300;
float y = 300;
float angle;
float scale;
// Two ArrayLists to store the vertices for two shapes
ArrayList<PVector> circle = new ArrayList<PVector>();
ArrayList<PVector> square = new ArrayList<PVector>();

// An ArrayList for a third set of vertices, the ones we will be drawing
// in the window
ArrayList<PVector> morph = new ArrayList<PVector>();

// This boolean variable will control if we are morphing to a circle or square
boolean state = false;


void setup(){
  size(1000,1000);
  noStroke();
  //Increases or decreases the size of a shape by expanding and contracting vertices.
 scale = width/3;
 
  for (int angle = 0; angle < 360; angle += 9) {
    // Note we are not starting from 0 in order to match the
    // path of a circle.  
    PVector v = PVector.fromAngle(radians(angle-135));
    v.mult(100);
    circle.add(v);
    // Let's fill out morph ArrayList with blank PVectors while we are at it
    morph.add(new PVector());
  }

  // A square is a bunch of vertices along straight lines
  // Top of square
  for (int x = -50; x < 50; x += 10) {
    square.add(new PVector(x, -50));
  }
  // Right side
  for (int y = -50; y < 50; y += 10) {
    square.add(new PVector(50, y));
  }
  // Bottom
  for (int x = 50; x > -50; x -= 10) {
    square.add(new PVector(x, 50));
  }
  // Left side
  for (int y = 50; y > -50; y -= 10) {
    square.add(new PVector(-50, y));
  }
 
}

void draw(){
  
    for (int i = 0; i < scale; i++) {
    //function colorMode is used to change the numerical range used for specifying colors and to switch color systems.
    colorMode(RGB, (i+1) * scale * 5);
    //fills the color of the ractangle on the basis of the colorMode
    fill(millis()%((i+1) * scale * 10));
    noStroke();
    //specifies the arguements of the rectangle
    rect(i*scale, 0, scale, height);
  }
  //used to specify an amount to displace the object within the display window
  translate(width/2, height/2);
  for (float a=0; a<360; a+=7)  {
    //Pushes the current transformation matrix onto the matrix stack.
    pushMatrix();
    //Rotates a shape the amount specified by the angle parameter.
    rotate(radians(a));
    strokeWeight(1);
    //specifies the triangle in the art work
    triangle(x*sin(radians(angle)), y, 100, 70, 100, 200);
    //Pops the current transformation matrix off the matrix stack.
    popMatrix();
    
}

  for (float a=0; a<360; a+=10) {
    pushMatrix();
    rotate(radians(a));
    stroke(255,255,255);
    strokeWeight(5);
    line(x*cos(radians(angle)), 500, 400 ,300);
    popMatrix();


}

  // We will keep how far the vertices are from their target
  float totalDistance = 0;
  
  // Look at each vertex
  for (int i = 0; i < circle.size(); i++) {
    PVector v1;
    // Are we lerping to the circle or square?
    if (state) {
      v1 = circle.get(i);
    }
    else {
      v1 = square.get(i);
    }
    // Get the vertex we will draw
    PVector v2 = morph.get(i);
    // Lerp to the target
    v2.lerp(v1, 0.1);
    // Check how far we are from target
    totalDistance += PVector.dist(v1, v2);
  }
  
  // If all the vertices are close, switch shape
  if (totalDistance < 0.1) {
    state = !state;
  }
  
  strokeWeight(4);
  // Draw a polygon that makes up all the vertices
  beginShape();
  for (PVector v : morph) {
    vertex(v.x, v.y);
  }
  endShape(CLOSE);
 
angle++;

}


Week 1 Self Portrait – Rhythm Kukreja

Description of the Assignment: 

We were asked to create a self-portrait using simple drawing functions taught in class. I used circle, ellipse, rectangle, arc, and triangle to do the same.

Process:

I started this assignment by designing a rough sketch in my notebook. Later on, I figured out the shapes I could use to replicate the notebook sketch virtually.

First, I started by setting the dimensions of the screen and the background color. I chose a mixture of Teal colors. After that, I added the face and ears. I used an ellipse for the face and arcs for the ears.

Then I added a neck, shoulders, and a sun. I used rectangles for both neck and shoulders and a circle for the sun.

After that, I added the eyes, iris, and pupils. I used ellipses for the eyes and circles for the irises and pupils.

Coming onto the challenging part, I had to design my porcupine hairstyle. I had to use multiple triangles at different coordinates which took a really long time. But, the result was pretty cool. I also had to design a nose for which I used three lines at different coordinates.

Finally, I added a smile using an arc and a mole using a circle.

This was the final result. Conclusively, the assignment was really fun.

CODE:

int centerX;
int centerY;

void setup () {
    //size of the viewer 
    size(640, 480);
    background(0, 128, 139);
    centerX = width/2;
    centerY = height/2;
};

void draw() {
 
    //ears
    fill(255, 219, 172);
    stroke(128,128,128);
    arc(220,230, 80, 90, HALF_PI, PI+ HALF_PI);
    arc(425,230, 80, 90,PI+HALF_PI, TWO_PI+HALF_PI );
    
    
    //face
    fill(255, 219, 172);
    stroke(128,128,128);
    ellipse(width/2, height/2, 250, 350);
    
    //sun
    fill(255,215,0);
    circle(70, 90, 100);
    
    //neck and body
    stroke(255, 219, 172);
    fill(255, 219, 172);
    rect((centerY)+30, (centerX)+40, 100, 100);
    rect((centerY)-90, 460, (centerX)+20, 20);
    
    //eyes
    fill(255, 255, 255);
    stroke(128,128,128);
    ellipse((centerY)+10, height/2.75, 50, 30);
    ellipse((centerX)+45, height/2.75, 50, 30);
    
    //iris
    fill(160,82,45);
    circle((centerX)+45, height/2.75, 30);
    circle((centerY)+10, height/2.75, 30);
    
    //pupil
    fill(0,0,0);
    circle((centerX)+45, height/2.75, 10);
    circle((centerY)+10, height/2.75, 10);
    
    //nose
    fill(255, 219, 172);
    line((centerY)+55, centerY-20, centerY+50, (centerY)+30);
    line((centerY)+50, (centerY)+30, centerX-10, centerY+40);
    line(centerX, (centerY)+30, centerX-10, centerY+40);
    
    
    //hair texture
    stroke(90, 56, 37);
    fill(90, 56, 37);
     
    triangle((centerY)+30, 100, (centerX)+30, 50, (centerX)+90,  (centerY)-120);
    triangle((centerY)+30, 100, (centerX)+30, 50, (centerX)+70,  (centerY)-120);
    triangle((centerY)+10, 100, (centerX)+10, 50, (centerX)+60,  (centerY)-120);
    triangle((centerY)-20, 100, (centerX)-10, 50, (centerX)+30,  (centerY)-120);
    triangle((centerY)-20, 130, (centerX)-10, 50, (centerX)+40,  (centerY)-120);
    triangle((centerY)-40, 110, (centerX)-10, 50, (centerX)+30,  (centerY)-115);
    
    triangle((centerY)-30, 120, 310, 50, 320, 120);
    triangle((centerY)-30, 110, 310, 60, 350, 120);
    
    triangle(centerX, 180, (centerX)+60, 70, (centerX)+100,  (centerY)-120);
    triangle((centerX)-20, 170, (centerX)+60, 70, (centerX)+100,  (centerY)-120);
    triangle((centerY)+20, 170, (centerX)+60, 70, (centerX)+100,  (centerY)-120);
    triangle((centerY)+10, 160, (centerX)+60, 70, (centerX)+100,  (centerY)-120);
    triangle((centerY)+10, 150, (centerX)+60, 70, (centerX)+100,  (centerY)-120);
    triangle((centerX)+140, 250, (centerX)+60, 135, (centerX)+100, (centerY)-120);
    triangle((centerX)+140, 250, (centerX)+60, 120, (centerX)+100, (centerY)-120);
    triangle((centerX)+100, 250, (centerX)+60, 120, (centerX)+100, (centerY)-120);
    triangle((centerX)+160, 250, (centerX)+60, 120, (centerX)+100, (centerY)-120); 
    

    //smile
    fill(233,150,122);
    stroke(233,150,122);
    arc((centerX)-10, centerX, 80, 70, 0, PI);
    
    //mole
    fill(0,0,0);
    circle(centerX+10, centerY+140, 5);
};