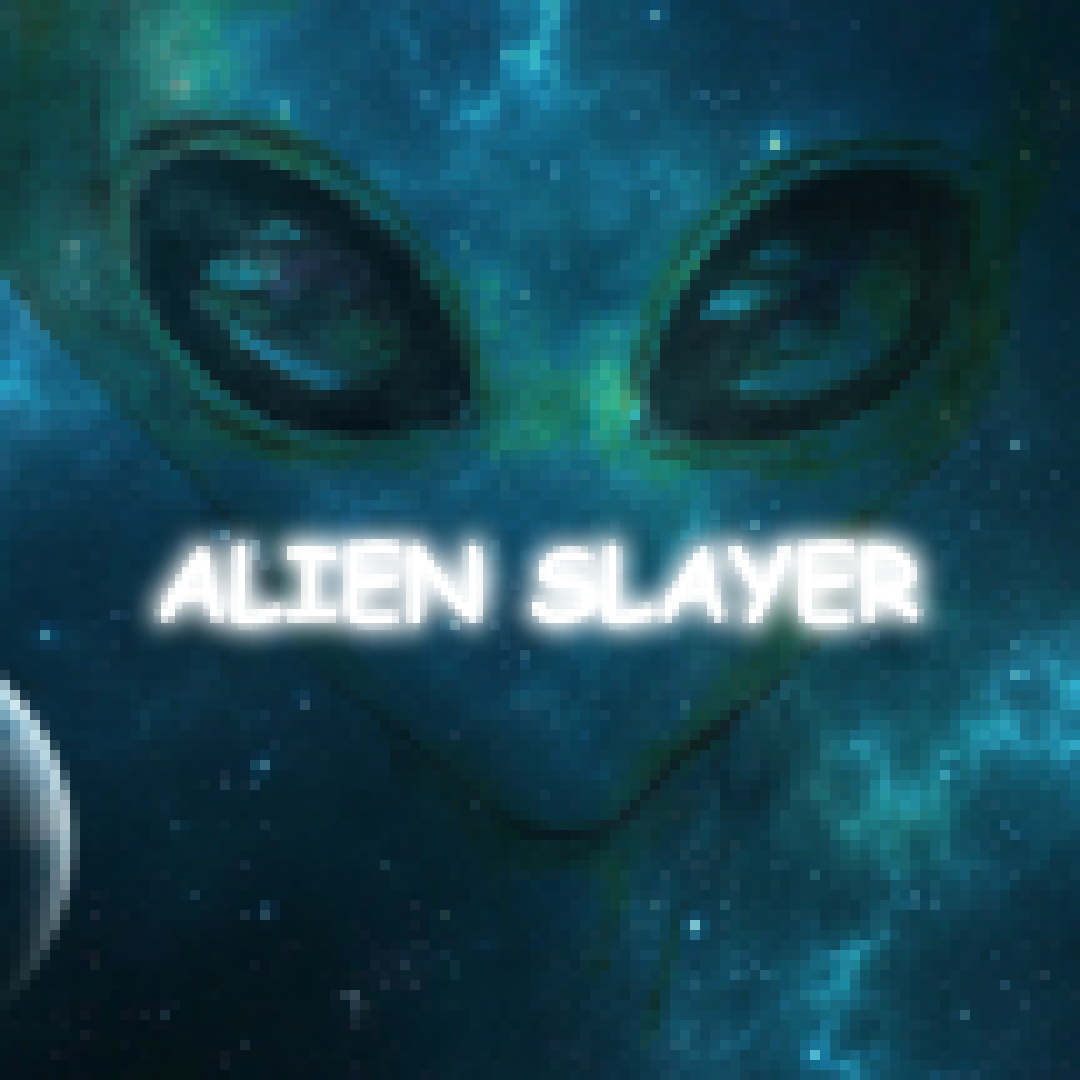
Overall concept:
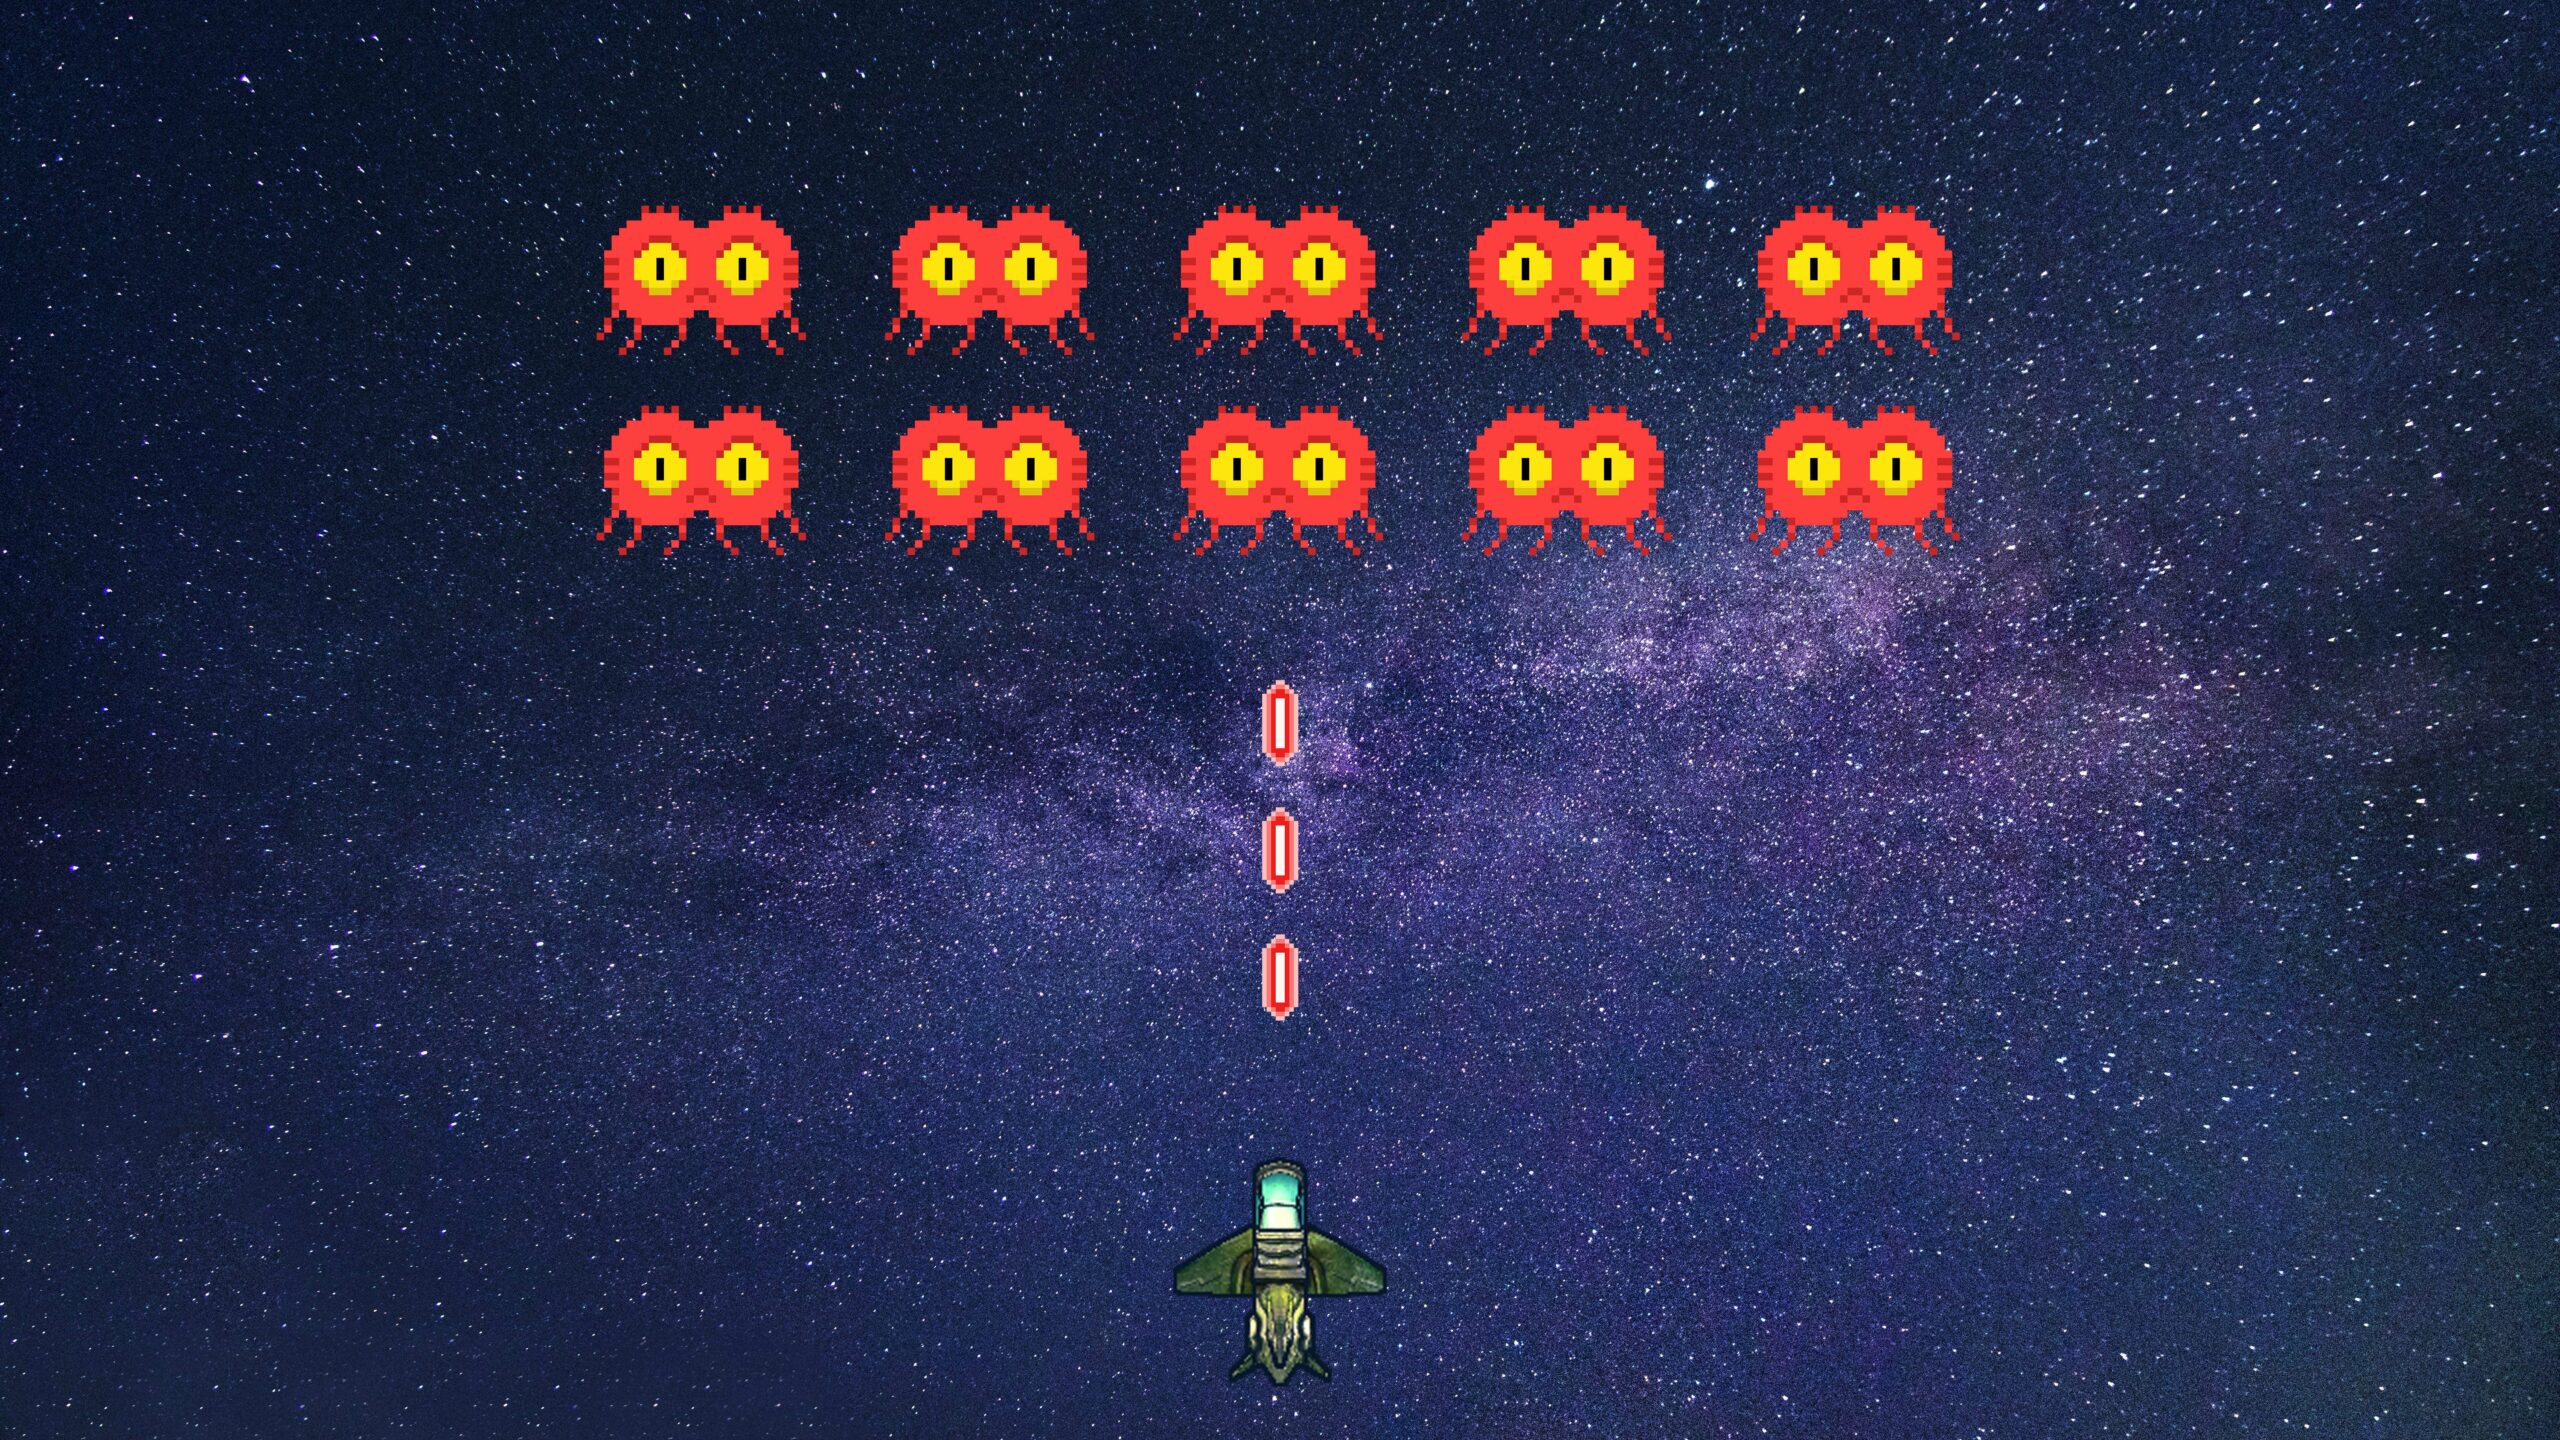
When I was a kid, I was obsessed with the game Chicken Invaders. I remembered spending 2-3 hours playing it every time I was free from school and homework. It was a way of life for my PC back then. And so, I wanted to emulate the engine of that game for this mid-term project and have fun creating it. I call my interactive game “Alien Slayer.” This is my initial sketch/design for the game. I ended up not following up in terms of arranging the aliens. This is because I approached designing the game using arrays and randomness. And creating lines of aliens did not feel realistic at all.
How the project works:
Here are the images of the game that use:


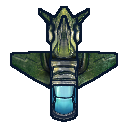
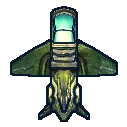

I found a sprite sheet for the spaceship and edited it down into just 4 basic movement directions.
The rules of the game are very intuitive: to kill all the aliens. That said, the number of aliens generated and the speeds at which they ascend down the screen are randomized using this:
if (random(1) < 0.008) {
    aliens.push(
      new alien(
        width / 10,
        width / 10,
        random(width - 40),
        random(-10, 0),
        random(1, 3)
      )
    );
  }
So the difficulty of the game is randomized throughout the game.
The spaceship is first created and placed at the starting position using the class:
class spaceship {
  constructor(w, h, x, y, direction, speed) {
    this.w = width/10;
    this.h = height/10;
    this.x = width/2;
    this.y = height - 60;
    this.direction = 0;
    this.speed = 5;
  }

  move() {
    if (keyIsPressed) {
      if (keyCode == UP_ARROW) {
        if (0 < this.y) {
          this.direction = 0;
          this.y -= this.speed;
        }
      }

      if (keyCode == DOWN_ARROW) {
        if (this.y < height - this.h) {
          this.direction = 1;
          this.y += this.speed;
        }
      }

      if (keyCode == LEFT_ARROW) {
        if (0 < this.x) {
          this.direction = 2;
          this.x -= this.speed;
        }
      }

      if (keyCode == RIGHT_ARROW) {
        if (this.x < width - this.w) {
          this.direction = 3;
          this.x += this.speed;
        }
      }
    }
  }

  display() {
    if (this.direction == 0) {
      image(spaceshipUP, this.x, this.y, this.w, this.h);
    }

    if (this.direction == 1) {
      image(spaceshipDOWN, this.x, this.y, this.w, this.h);
    }

    if (this.direction == 2) {
      image(spaceshipLEFT, this.x, this.y, this.w, this.h);
    }

    if (this.direction == 3) {
      image(spaceshipRIGHT, this.x, this.y, this.w, this.h);
    }
  }

  setW(w){
    this.w=w;
  }

  setH(h){
    this.h=h;
  }

  setX(x){
    this.x=x;
  }
  setY(y){
    this.y=y;}

  setDir(direction){
    this.direction = direction;
  }
}
The laser beams are also created using class:
class laser {
  constructor(w, h, x, y, direction) {
    this.w = w;
    this.h = h;
    this.x = x;
    this.y = y;
    this.direction = direction;
    this.speed = 5;
  }

  display() {
    if (this.direction == 0) {
      image(laservertical, this.x, this.y, this.w, this.h);
    }

    if (this.direction == 1) {
      image(laservertical, this.x, this.y, this.w, this.h);
    }
  }

  move() {
    if (this.direction == 0) {
      this.y -= this.speed;
    }
    if (this.direction == 1) {
      this.y += this.speed;
    }
  }
}
And the aliens are also PRE-created using class:
class alien {
  constructor(w, h, x, y, speed) {
    this.w = w;
    this.h = h;
    this.x = x;
    this.y = y;
    this.speed = random(1, 3);
  }

  move() {
    this.y += this.speed;
  }

  display() {
    image(alien_image, this.x, this.y, this.w, this.h);
  }

  hits(obj) {
    return (
      obj &&
      obj.x > (this.x - obj.w) + 10 &&
      obj.x < (this.x + this.w) - 10 &&
      obj.y > (this.y - obj.h) + 12 &&
      obj.y < (this.y + this.h) - 15
    );
  }
}
When the user presses the space bar, a laser beam is released. The user can press the space bar multiple times. The number of laser beams released correspond to the number of times the space bar is hit.
//   Display laser beams
  for (let i = lasers.length - 1; i >= 0; i--) {
    drawingContext.shadowBlur = 10;
    drawingContext.shadowColor = color("rgb(181,0,255))");
    lasers[i].display();
    drawingContext.shadowBlur = 0;
    lasers[i].move();

  }
}

// Add the laser beams to an array to shoot with sound
function keyPressed() {
  if (key == " ") {
    lasers.push(
      new laser(
        width / 12,
        width / 12,
        spaceship1.x + spaceship1.w / 10,
        spaceship1.y - spaceship1.h / 1.4,
        spaceship1.direction
      )
    );
    beam.play();
  }
}
When the laser beam hits the alien:
for (let j = 0; j < lasers.length; j++) {
      if (aliens[i].hits(lasers[j])) {
        aliens.splice(i, 1);
        lasers.splice(j, 1);
        counter_scores++;
        break;
      }
    }
When the alien hits the spaceship:
if (aliens[i].hits(spaceship1)) {
      counter_lives--;
      aliens.splice(i, 1);
      continue;
    }
I am particularly proud of these two code snippets because I had such a hard time figuring out how to slice and make either the laser beam or the obliterated alien disappear on the screen. The hardest part was to figure out the loop using continue() and break so as the game can continue. I spent a lot of time fixing the errors relating to this.
The final rule is when the alien hits the Earth, at which point there is no return and the player will automatically lose:
if (aliens[i].y > height) {
      console.log("Game Over");
      textStyle(BOLD);
      textAlign(CENTER);
      aliens.splice(i, 1);
      gameState = "stop";
      continue;
    }
In terms of statistics, there is a score counter and a lives counter. Lives counter determines how the player progresses through out the game.
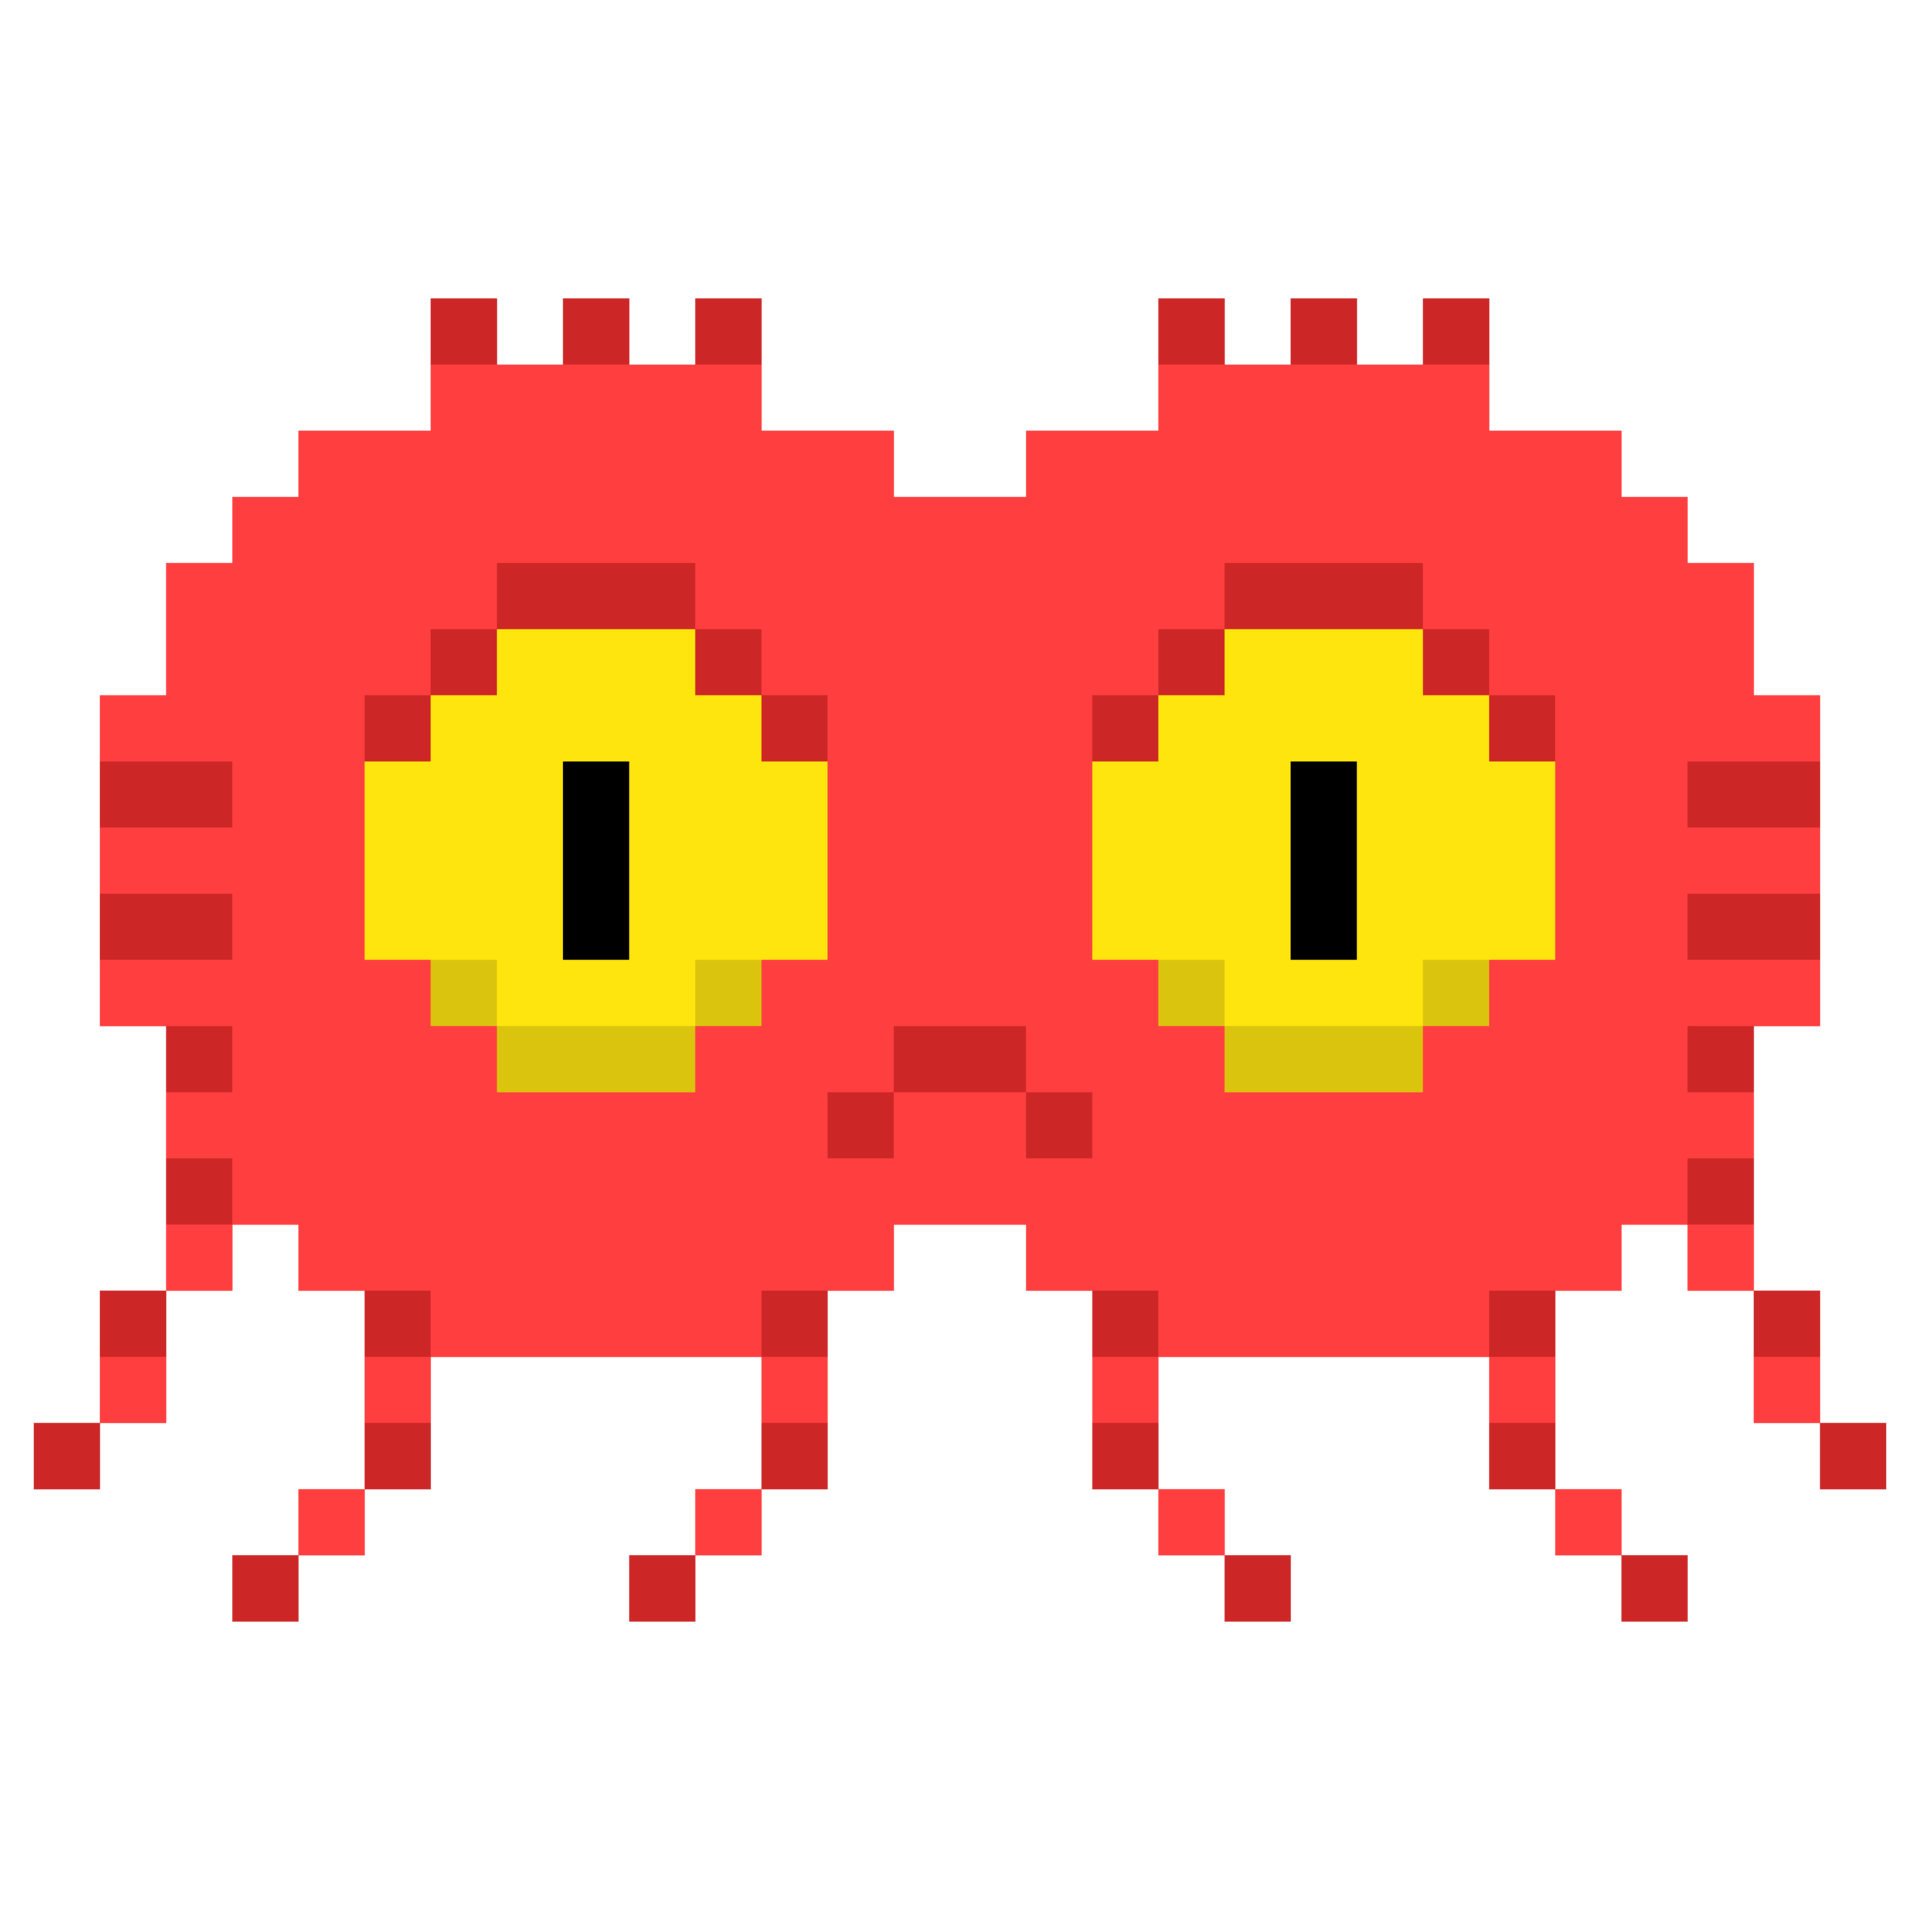
Besides checking the hit conditions, other parts that I’m proud of include coding the movement of the spaceship, coding the reset of the game, figuring out the coordinates where the spaceship meets the alien and the coordinates where the laser beam hits the alien, and creating the backgrounds and images that I use:
![]()


Creating the game start, instructions, and game restart screens also took me a lot of time. I had to refer the example sketch “Ramsha Bilal” by Save the Ocean from last year given by you to figure it out. It took me a lot of time until I could do it right, ie. creating user input before starting and creating a new session start after the previous session is completed.
Areas for improvement and problems:
In terms of using arrays, I want to make some aliens appear next to one another and move down the screen at the same time. It will vary the difficulty of the game even more. I also wanted to make the buttons for getting user’s input more aesthetic and varied, instead of what I have now.
Problems I ran into:
I couldn’t generate the stars properly so I had to refer to this YouTube tutorial from Back to Code: https://www.youtube.com/watch?v=xbmwfg5U9-s
I couldn’t make the game run in full screen properly without the elements shifting around although it still run:
https://editor.p5js.org/luke.s.ng/full/g7Hnh5lV4
There was a minor break error. If the user shoots many lasers at the same time to kill the alien, sometimes this error will pop up. During testing, the error appeared with a random number of lasers, REGARDLESS of the high score (or number of aliens killed) and the number of aliens on screen. It was a random bug while playing. But I figured out I had to add “break” to the checking condition when the laser beam hits the alien.

The lives counter initially didn’t display the number of lives when it reaches 0 properly.
I also had a lot of problems creating the starting/restarting user input pages mainly because of the buttons’ coordinates. It took me a lot of time to figure out.
Overall, it has been a fun process with lots of trial and error. I learned a lot about Object-Oriented Programming as well as debugging.