For my final project, I wanted to create an interactive museum exhibit from the distant future, that describes and showcases our current technology in the 2010s. I specifically chose to talk about the iPhone and its uses as well as the culture around our smartphone devices and apps such as Snapchat.
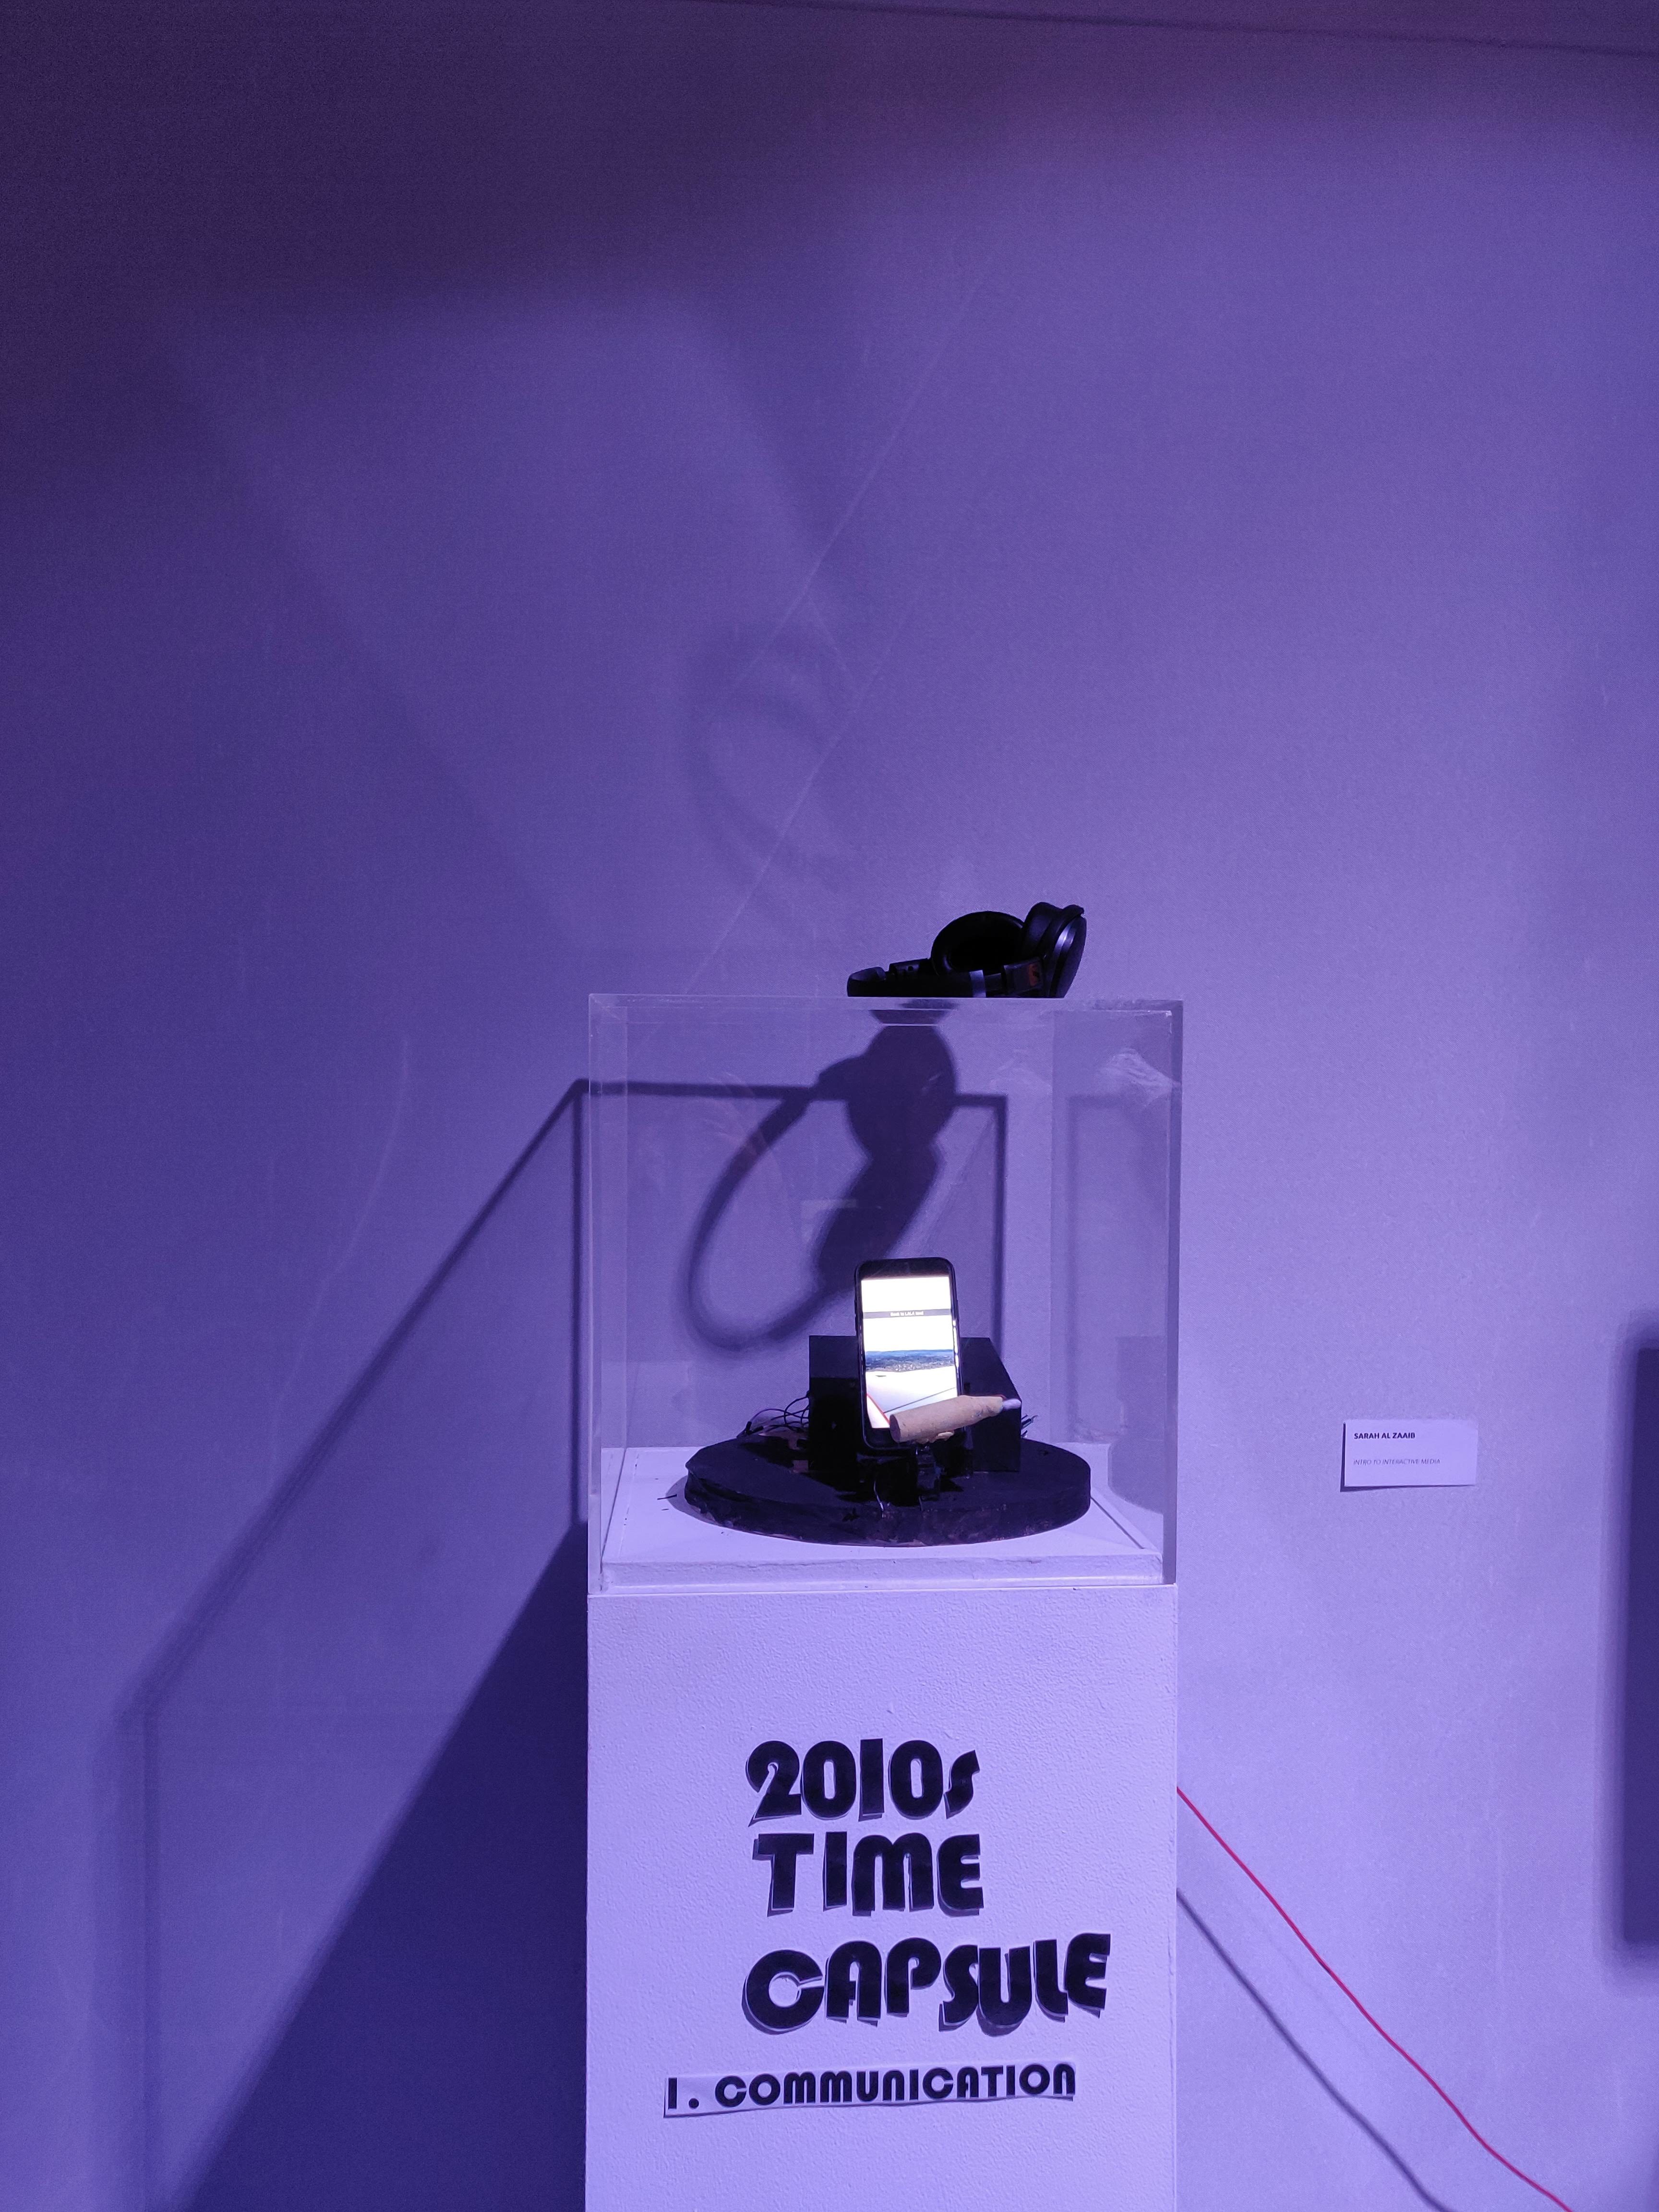
To do this, I had two parts. The first was a pedestal with the only remaining artifact from Apple in the future, an iPhone:
For this part, I used a servo motor attached with a finger made of cork and a cotton bud that is connected to electricity to show how people “used to” have to physically control their devices using their fingers. At first, I hoped that the motor would be triggered by people’s movement in front of an IR sensor, but seeing as the sensor could not always detect the range of distance accurately and there was a lot of movement in front of it, I chose to have the motor rotate continuously instead. Here’s the simple Arduino code I used for that:
#include "Servo.h"

float distance = 0;

int pos = 0;

Servo myservo;

void setup()
{
  Serial.begin (9600);

  myservo.attach(10);

}

void loop() {
  //read distance
  distance = analogRead(A0);
  Serial.println("someone there");

  if (distance > 600) {  //close distance
    for (pos = 0; pos <= 100; pos += 1) {
// goes from 0 degrees to 180 degrees // in steps of 1 degree
myservo.write(pos); // tell servo to go to position in variable 'pos'
delay(15); // waits 15ms for the servo to reach the position
}
for (pos = 100; pos >= 0; pos -= 1) {
// goes from 180 degrees to 0 degrees
myservo.write(pos); // tell servo to go to position in variable 'pos'
delay(15); // waits 15ms for the servo to reach the position
}
  }
}
It was also connected to a Kinect device, which played a soundtrack where I gave a “tour” of the exhibition. The soundtrack played depending on how close the viewer is to the exhibit. However, this was one of the challenges that I faced during the showcase, because the space was very loud and even with speakers, the soundtrack was not loud enough. I replaced the speakers with headphones, but ideally, I would have liked them to play based on the viewer’s motion within the space. I had two separate soundtracks for each part of the exhibit, and using maximum and minimum depth thresholds as well as if statements to determine the distance, the code worked in a way that it controlled which soundtrack played based on where people were standing:
// Credits: Daniel Shiffman, Depth thresholding example

import org.openkinect.freenect.*;
import org.openkinect.processing.*;
import processing.sound.*;

Kinect kinect;

SoundFile soundfile;
SoundFile soundfile2;
// Depth image
PImage depthImg;

//soundtrack playing
boolean playing = false;

// pixels to be shown
//int minDepth =  100;
//int maxDepth = 900;


int maxDepth = 950;
int minDepth = 60;

// kinect's angle
float angle;
float L;

void setup() {
  size(1280, 480);

  kinect = new Kinect(this);
  kinect.initDepth();
  angle = kinect.getTilt();

  // blank image showing everything
  depthImg = new PImage(kinect.width, kinect.height);

  //load soundtrack
  soundfile = new SoundFile(this, "iPhone.aif");
  soundfile2 = new SoundFile (this, "Snapchat.aif");
  //println("Duration= " + soundfile.duration() + " seconds");
  //L=soundfile.duration();
  // for (int i = 0; i < files.length; i++) {
  //  files[i] = new SoundFile(this, (i+1) + ".aif");
  //}
}

void draw() {
  // draw the raw image
  image(kinect.getDepthImage(), 0, 0);

  // threshold the depth image
  int[] depth = kinect.getRawDepth();
  int counter =0;
  int left_counter =0, right_counter = 0;
  for (int x = 0; x < kinect.width; x++) {
    for (int y = 0; y < kinect.height; y++) {

      int offset =  x + y*kinect.width;
      // Grabbing the raw depth
      int rawDepth = depth[offset];

      if (rawDepth >= minDepth && rawDepth <= maxDepth && y<345  && y >170) {
        depthImg.pixels[offset] = color(255);

        if (x<240){

          right_counter++;
        }
        if (x>260 && x<500){

          left_counter++;
        }
      } else {
        depthImg.pixels[offset] = color(0);
      }
    }
  }
  //println(mouseX);

  //if (left_counter > 3600 || right_counter > 3600){

  //  if (!playing)
  //  {
  //    soundfile.play();
  //    playing = true;
  //  }
  //}

  //if (left_counter <= 3600 && right_counter <= 3600)
  //{
  //  if (playing)
  //  {
  //    soundfile.stop();
  //    playing = false;
  //  }
  //}
  if (left_counter > 3000)
  {
    if (!playing)
    {
      soundfile.play();
      playing = true;
    }
  } else
  {
    if (playing)
    {
      soundfile.stop();
      playing = false;
    }
  }

  //if (left_counter > 3000)
  //{
  //  if (!playing)
  //  {
  //    soundfile2.play();
  //    playing2 = true;
  //  }
  //} else
  //{
  //  if (playing)
  //  {
  //    soundfile.stop();
  //    playing = false;
  //  }
  //}

  // Draw the thresholded image
  depthImg.updatePixels();
  image(depthImg, kinect.width, 0);

  fill(0);
  text("TILT: " + angle, 10, 20);
  text("THRESHOLD: [" + minDepth + ", " + maxDepth + "]", 10, 36);
}
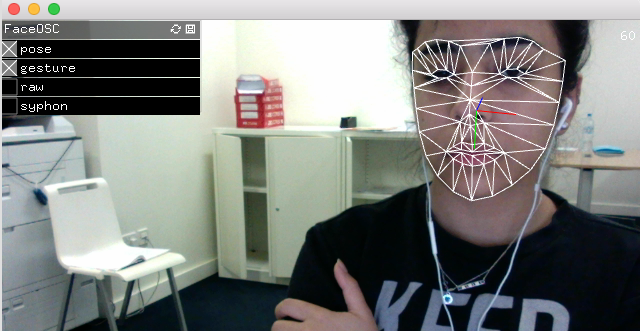
For the second part of the exhibit, I wanted to create some form of a Snapchat “simulator”, where people in the future could learn about one of the first ways in which facial recognition was used in a social media setting, as well as its influences in popular culture and so on. I had to try several examples and libraries on Processing, one of which used FaceOSC:
Here’s the initial code I tried working with on Processing:
// Face It
// Daniel Shiffman
// FaceOSC Example
// Adapted from Greg Borenstein: https://gist.github.com/atduskgreg/1603230

// Use with: https://github.com/downloads/kylemcdonald/ofxFaceTracker/FaceOSC.zip

import oscP5.*;
OscP5 oscP5;

import processing.video.*;

Capture cam;

PVector posePosition;
PVector poseOrientation;

boolean found;
float eyeLeftHeight;
float eyeRightHeight;
float mouthHeight;
float mouthWidth;
float nostrilHeight;
float leftEyebrowHeight;
float rightEyebrowHeight;

float poseScale;

PImage img;
PImage img2;


void setup() {
  size(640, 480);
  frameRate(30);

  img = loadImage("nose.png");
  img2 = loadImage("tongue.png");


  String[] cameras = Capture.list();

  if (cameras == null) {
    println("Failed to retrieve the list of available cameras, will try the default...");
    cam = new Capture(this, 640, 480);
  }
  if (cameras.length == 0) {
    println("There are no cameras available for capture.");
    exit();
  } else {
    println("Available cameras:");
    printArray(cameras);

    // The camera can be initialized directly using an element
    // from the array returned by list():
    cam = new Capture(this, cameras[0]);
    // Or, the settings can be defined based on the text in the list
    //cam = new Capture(this, 640, 480, "Built-in iSight", 30);

    // Start capturing the images from the camera
    cam.start();
  }

  posePosition = new PVector();
  poseOrientation = new PVector();

  oscP5 = new OscP5(this, 8338);
  oscP5.plug(this, "mouthWidthReceived", "/gesture/mouth/width");
  oscP5.plug(this, "mouthHeightReceived", "/gesture/mouth/height");
  oscP5.plug(this, "eyebrowLeftReceived", "/gesture/eyebrow/left");
  oscP5.plug(this, "eyebrowRightReceived", "/gesture/eyebrow/right");
  oscP5.plug(this, "eyeLeftReceived", "/gesture/eye/left");
  oscP5.plug(this, "eyeRightReceived", "/gesture/eye/right");
  oscP5.plug(this, "jawReceived", "/gesture/jaw");
  oscP5.plug(this, "nostrilsReceived", "/gesture/nostrils");
  oscP5.plug(this, "found", "/found");
  oscP5.plug(this, "poseOrientation", "/pose/orientation");
  oscP5.plug(this, "posePosition", "/pose/position");
  oscP5.plug(this, "poseScale", "/pose/scale");
}


void draw() {
  background(0);
  stroke(0);
  if (cam.available() == true) {
    cam.read();
  }
  imageMode(CORNER);
  image(cam, 0, 0);
  println(poseScale);
  if (found) {
    translate(posePosition.x, posePosition.y);
    //translate(width/2, height/2);
    scale(poseScale*.5, poseScale*.5);


    noFill();

    //ellipse(0,0, 3,3);
    //stroke (250);
    //rect(-20, eyeLeftHeight * -9, 20, 7);
    //rect(20, eyeRightHeight * -9, 20, 7);

    imageMode(CENTER);
    //image(img, 0, nostrilHeight * -1, 7, 3);
    image(img, 0, nostrilHeight * -1, 40, 30);

    //image(img2, 0, 20, mouthWidth* 3, mouthHeight * 3);
    image(img2, 0, 20, 30, 30);
    //image (img, 5, nostrilHeight * -1, 7, 3);
    //rectMode(CENTER);
    ////fill(0);
    //rect(-20, leftEyebrowHeight * -5, 25, 5);
    //rect(20, rightEyebrowHeight * -5, 25, 5);
  }
}

public void mouthWidthReceived(float w) {
  //println("mouth Width: " + w);
  mouthWidth = w;
}

public void mouthHeightReceived(float h) {
  //println("mouth height: " + h);
  mouthHeight = h;
}

//public void eyebrowLeftReceived(float h) {
//  //println("eyebrow left: " + h);
//  leftEyebrowHeight = h;
//}

//public void eyebrowRightReceived(float h) {
//  //println("eyebrow right: " + h);
//  rightEyebrowHeight = h;
//}

//public void eyeLeftReceived(float h) {
//  //println("eye left: " + h);
//  eyeLeftHeight = h;
//}

//public void eyeRightReceived(float h) {
//  //println("eye right: " + h);
//  eyeRightHeight = h;
//}

public void jawReceived(float h) {
  //println("jaw: " + h);
}

//public void nostrilsReceived(float h) {
//  //println("nostrils: " + h);
//  nostrilHeight = h;
//}

public void found(int i) {
  //println("found: " + i); // 1 == found, 0 == not found
  found = i == 1;
}

public void posePosition(float x, float y) {
  //println("pose position\tX: " + x + " Y: " + y );
  posePosition.x = x;
  posePosition.y = y;
}

public void poseScale(float s) {
  //println("scale: " + s);
  poseScale = s;
}

public void poseOrientation(float x, float y, float z) {
  //println("pose orientation\tX: " + x + " Y: " + y + " Z: " + z);
  poseOrientation.x = x;
  poseOrientation.y = y;
  poseOrientation.z = z;
}


void oscEvent(OscMessage theOscMessage) {
  if (theOscMessage.isPlugged()==false) {
    //println("UNPLUGGED: " + theOscMessage);
  }
}
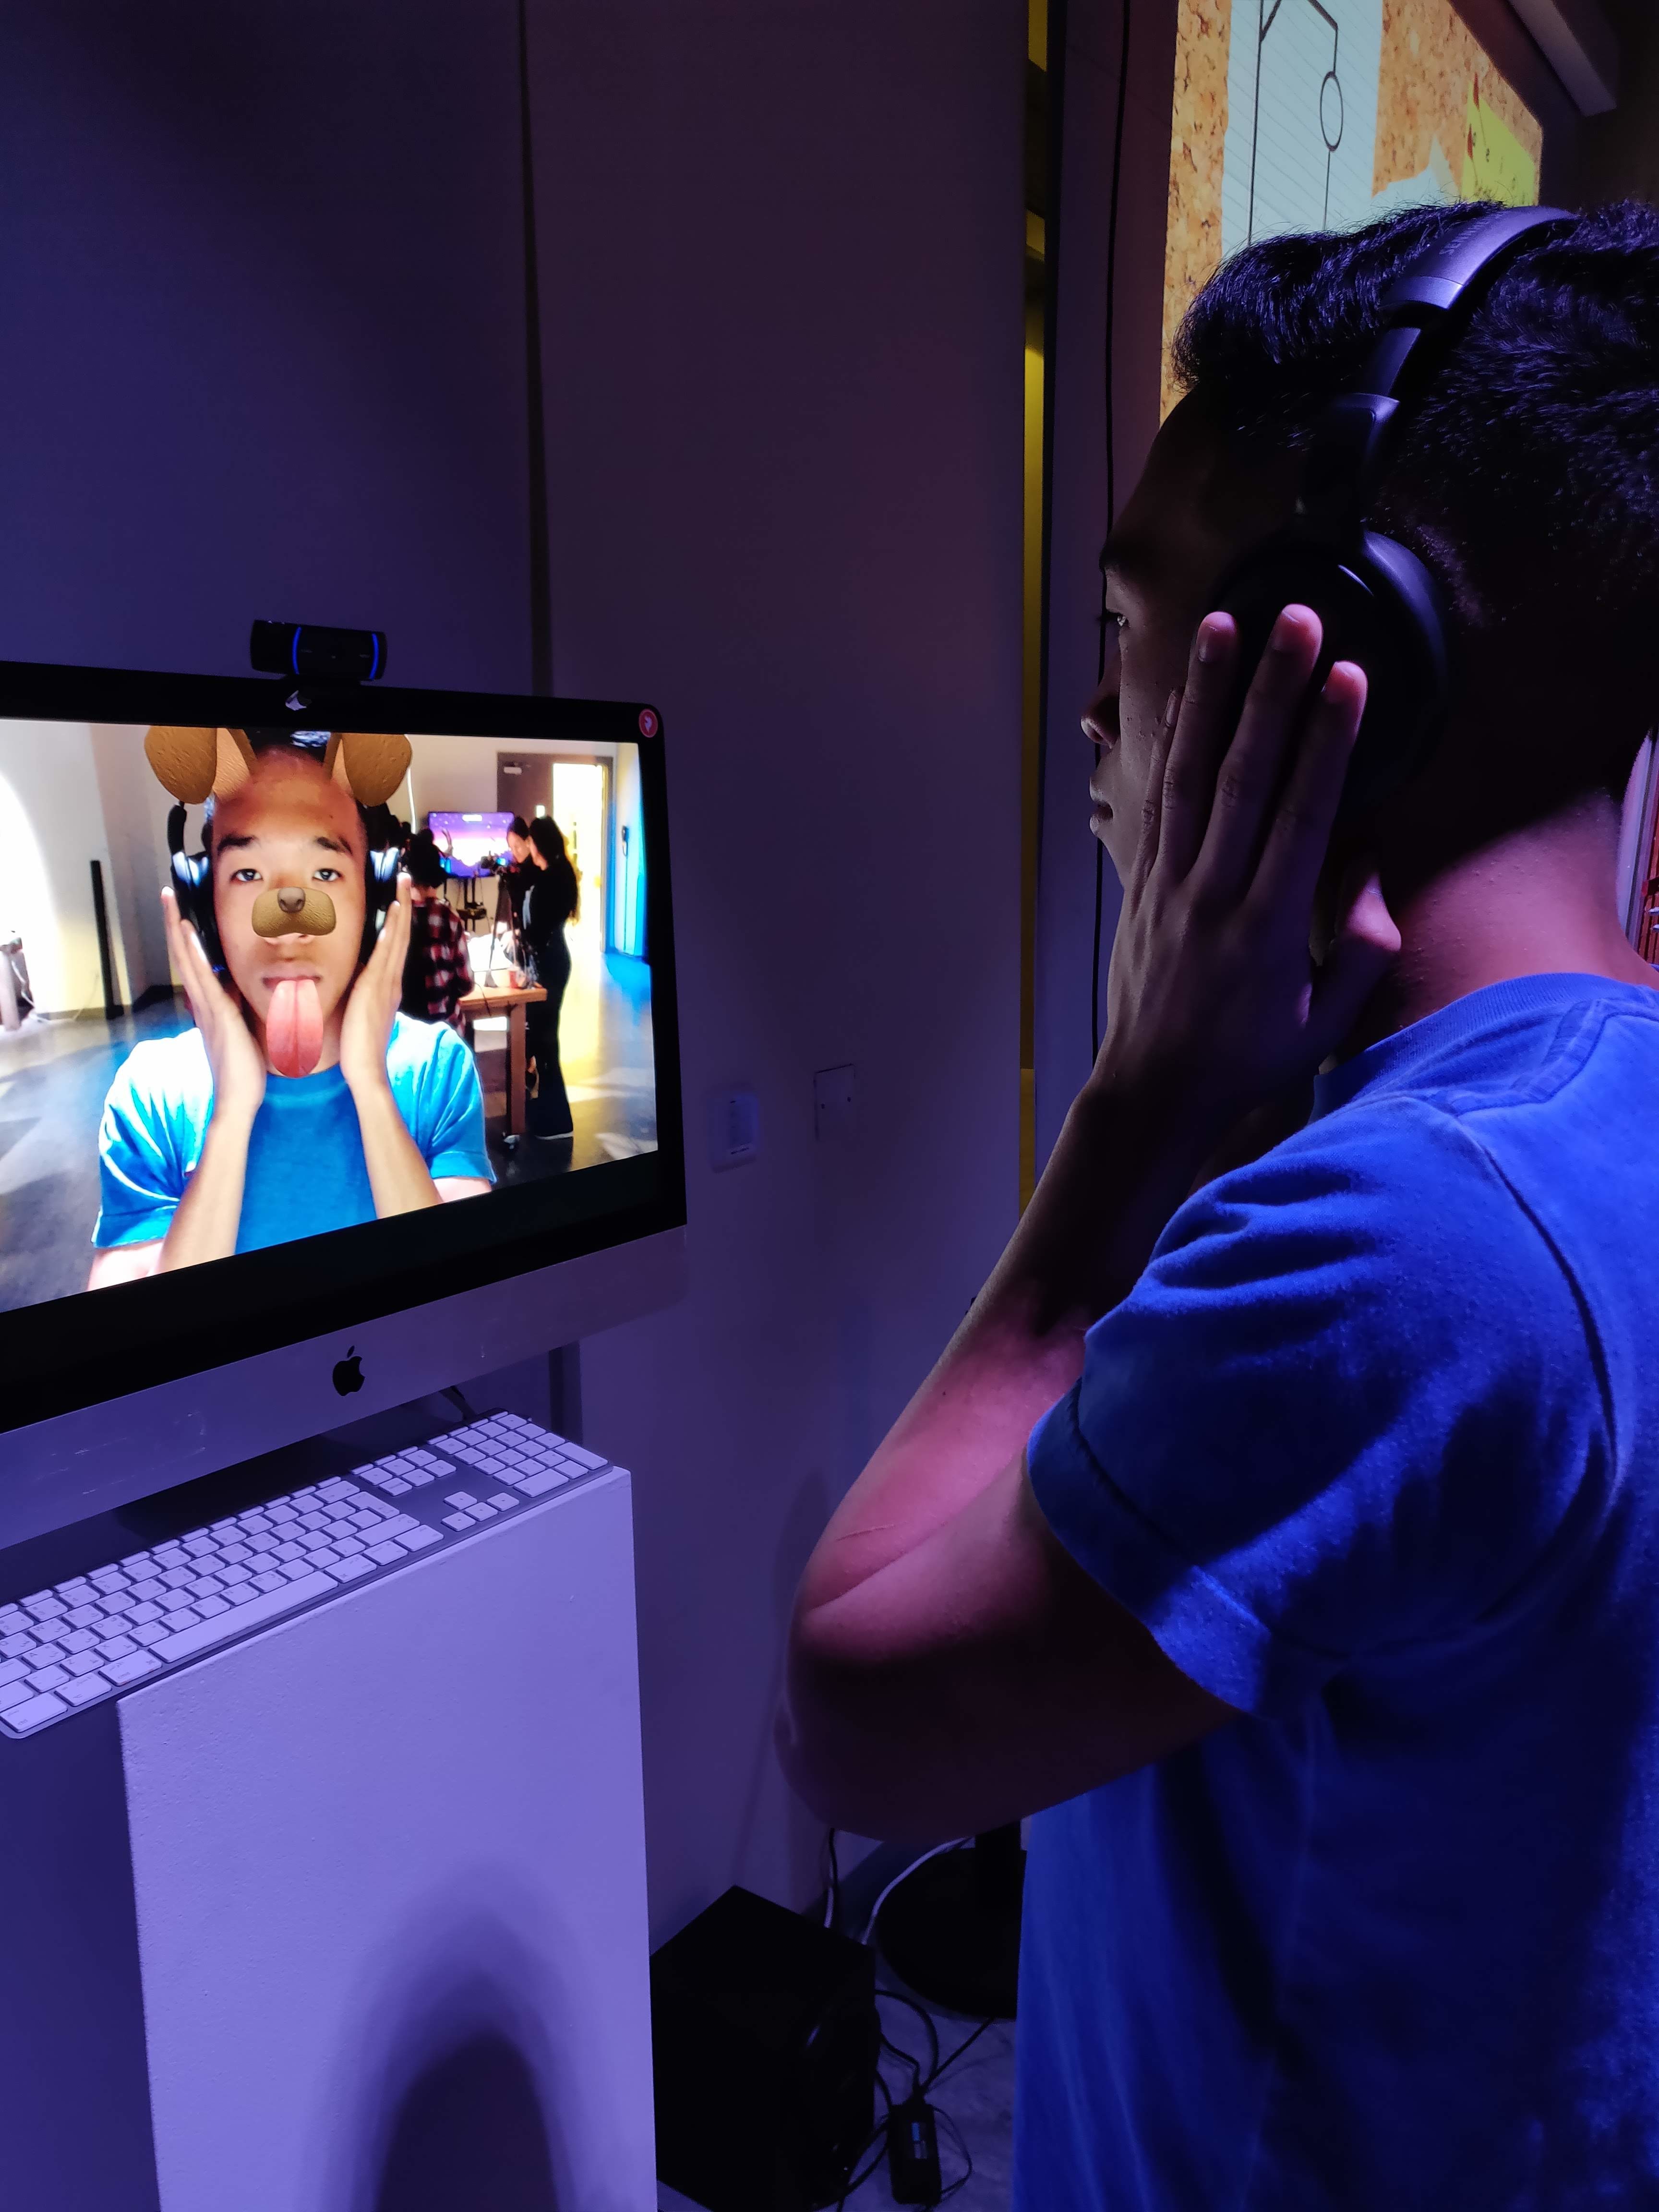
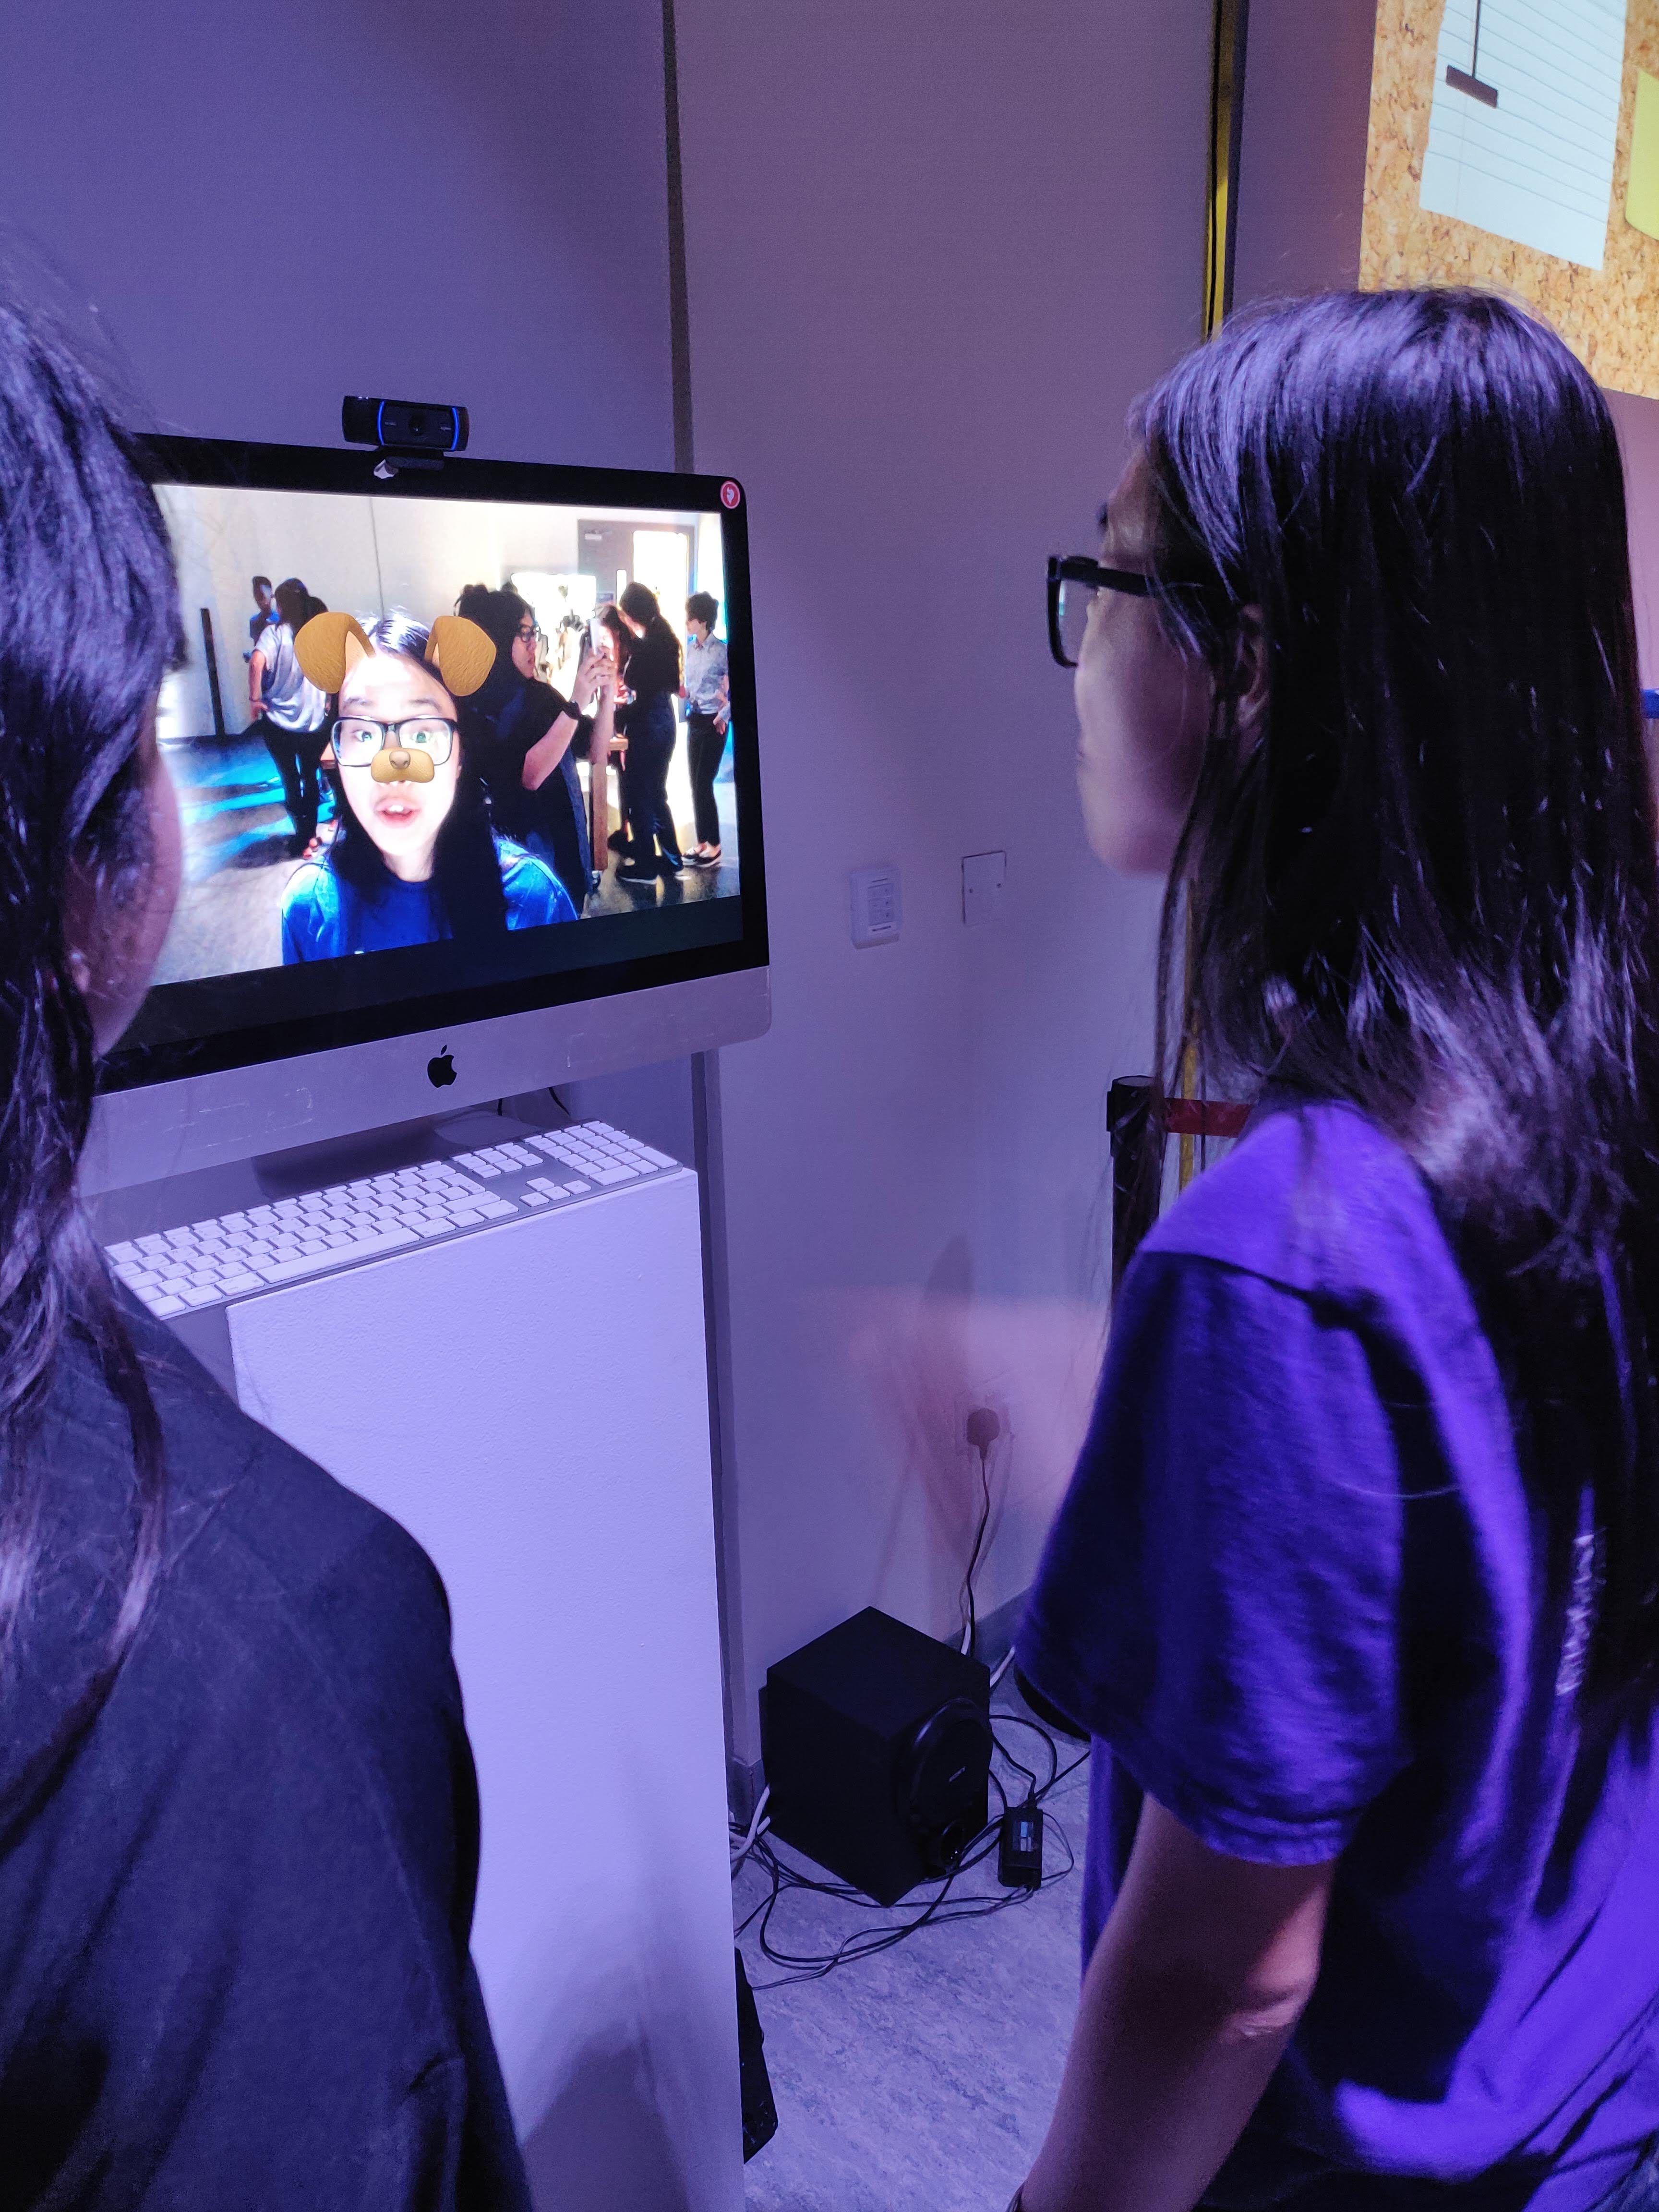
But seeing as face detection was really slow using FaceOSC and Processing, Aaron suggested I use one of the demos from a collection of code written using Jeeliz, a “Javascript/WebGL lightweight face tracking library designed for augmented reality webcam filters.”
Here’s the dog filter demo I used:
Here’s a link to the code I used:
https://github.com/jeeliz/jeelizFaceFilter/tree/master/demos/threejs/dog_face


