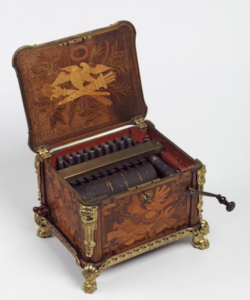
For this project, Jheel came up with this really cool idea of a music box. The basic concept is that the music box will play music when exposed to light and pause when it’s dark. To achieve this, we used a photoresistor as the analog sensor to detect light and a button as the digital sensor for manual control over music playback.
Please find the demonstration here
Components and Setup
To make it achieve the soothing effect of a music box, we also adjusted the appearance and the speaker.
- Adafruit Arduino Music Maker Shield: This allows us to play music files from an SD card, controlled via the Arduino. By downloading the corresponding library, we ensured smooth playback.
- Speaker Attachment: We initially tried a buzzer, but it produced a harsh, mechanical sound that didn’t match our desired soothing effect. We switched to a consumable speaker from the IM lab, which provided a richer and more pleasant sound. We connected the speaker to the Music Maker Shield for optimal sound quality.
- Circuit with Photoresistor: We programmed the photoresistor to detect light levels, pausing music playback when it’s dark and resuming when light is detected.
- Push Button: We added a push button to switch between multiple music files, allowing users to vary their listening experience.
- Prototyping Shield and Battery: To make the setup compact enough to fit inside the box, we transitioned from a breadboard to a prototyping shield. Adding a battery also made the setup portable, enhancing usability.
Code
Please find the Github Link here
Challenges
One major challenge was achieving the desired sound quality. As tested in class, the initial buzzer didn’t deliver the calm, melodic experience we wanted, so switching to a consumable speaker improved the overall audio quality. There was wiring & compatibility issue with the speaker, thus we have to fix it by adjusting the breadboard.
Since traditional music boxes are often crafted from wood, we used our recent woodworking skills to create an elegant wooden enclosure. We sourced templates for the box online and used a laser cutter (ofc with the help of lab asisstants) to make a precise, polished exterior.
After a few rounds of trial and error with different templates, we arrived at a design that worked well for housing the components. To personalize it further, we designed an engraving for the top using Adobe Illustrator and laser-cut the design, adding a refined aesthetic touch.
After laser-cutting the box and engraving the design, we assembled all the components inside. The transition from breadboard to prototyping shield and the compact battery setup allowed everything to fit neatly within the box.

