
-
Make something that uses only one sensor on Arduino and makes the ellipse in p5 move on the horizontal axis, in the middle of the screen, and nothing on Arduino is controlled by p5
- Make something that controls the LED brightness from p5
For these two exercises, we made it so that the potentiometer that is connected to the Arduino controls the LED on the breadboard and the ellipse in the p5 sketch in the middle of the screen, and also when the keyboard keys are pressed up or down it would change the brightness of that LED light.
P5.js Code:
let LEDbrightness = 0;

function setup()
{
  createCanvas(400, 400);
}


function textDisplay() //display text in the starting
{
  text("PRESS SPACE TO START SERIAL PORT", width/2 - 109, height/2 - 5);
}

function draw()
{

  background(255);

  if (serialActive) //if serial is active
  {
    text("CONNECTED", width/2 - 27, height/2 - 5);
    text("PRESS UP/DOWN ARROW KEYS TO CHANGE BRIGHTNESS!", width/2 -180, height/2 + 15);
  }
  else
  {
    textDisplay();
  }
}


function keyPressed() //built in function
{
  if (key == " ") //if space is pressed then
  {
    setUpSerial(); //setup the serial
  }
  else if (keyCode == DOWN_ARROW)
  {
    if (LEDbrightness != 0)
    {
      LEDbrightness = LEDbrightness - 20;
    }
  }
  else if (keyCode == UP_ARROW)
  {
    if (LEDbrightness != 250)
    {
      LEDbrightness = LEDbrightness + 20;
    }
  }

}

//callback function
function readSerial(data)
{
    let sendToArduino = LEDbrightness + "\n"; //add the next line to dimness counter
    writeSerial(sendToArduino); //write serial and send to arduino
}
Arduino Code:
const int LED_PIN = 5;
int brightness = 0;

void setup()
{
  Serial.begin(9600);

  pinMode(LED_PIN, OUTPUT);

  while (Serial.available() <= 0)
  {
    Serial.println("CONNECTION STARTED");
  }
}
void loop()
{

    while (Serial.available())
    {
      brightness = Serial.parseInt();
      Serial.println(brightness);

      if (Serial.read() == '\n')
      {
        analogWrite(LED_PIN, brightness);
      }
    }
}
Video and Photos for Exercise 1: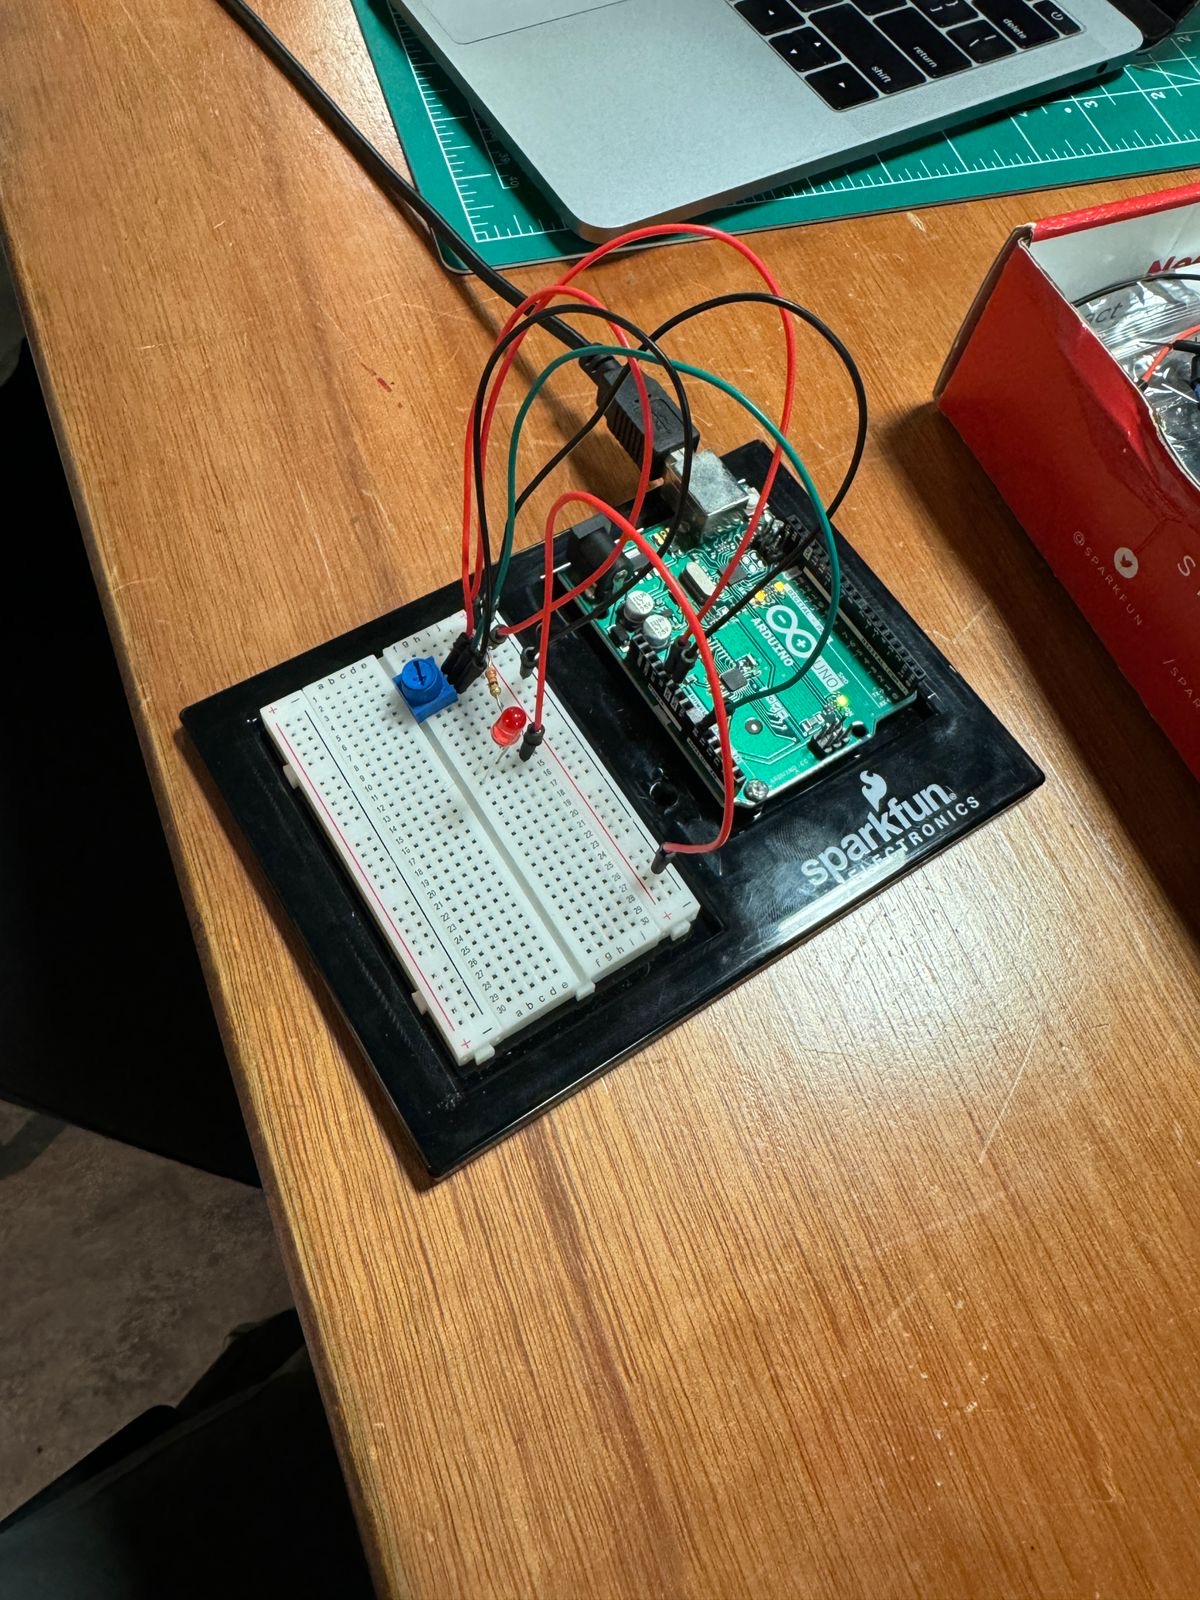
For exercise 1, since we were just getting started, the main problem was understanding how serial communication works. We had some kind of idea when it was being presented to us, but until we started working, we didn’t really know. Other than that, there weren’t really any specific challenges. We didn’t need to use the trim() method, we had one value coming in from the Arduino, which was the potentiometer, and we had some troubles at first, but once we casted it as an integer value (it’s received as a string), then mapped it to the width and made the mapped value the x-position of the ellipse the project was done.
You’ll notice in the image that there’s an LED. The LED was there to test whether or not there was power being outputted from the potentiometer. We added it while we were debugging.
Video and Photos for Exercise 2:
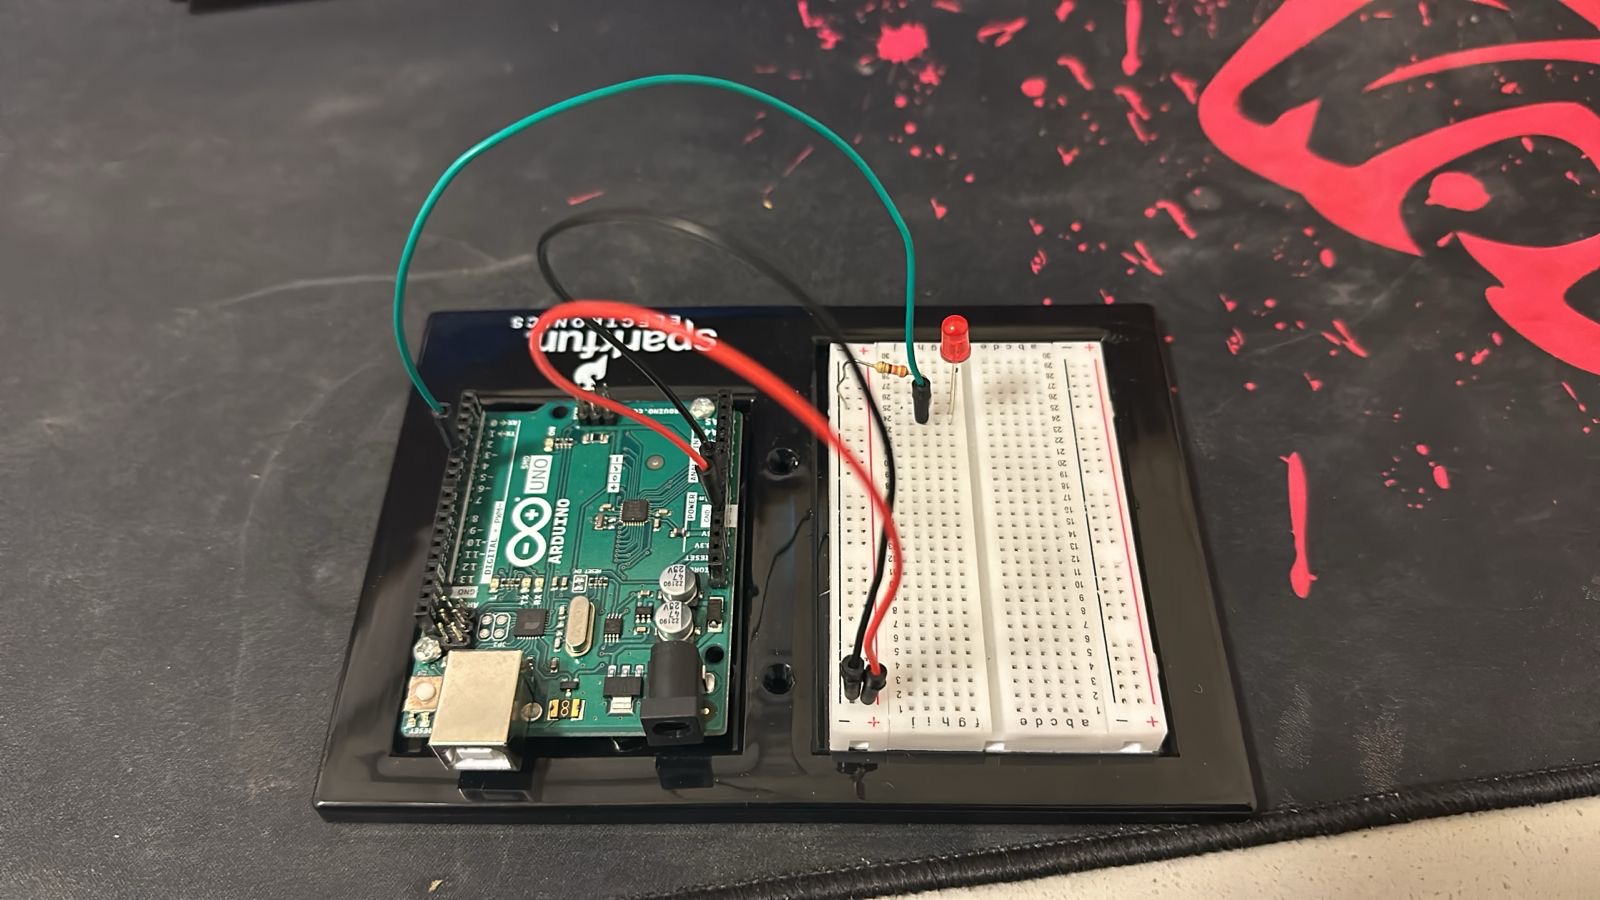
Like the previous exercise there was only one value that was being communicated between the arduino and the p5js code so it was fairly simple. The hard part was just getting it such that tapping it reduced the brightness value by a specific amount and increasing it by a certain amount.
3. Take the gravity wind example and make it so every time the ball bounces one led lights up and then turns off, and you can control the wind from one analog sensor
For this exercise, the code creation uses p5, where physics principles like gravity and wind influence the ellipse’s motion. The sketch also communicates with the Arduino, which can control an LED based on the object’s motion, specifically if it bounces.
P5.js Code:
let dragForce = 0.99;
let mass = 20;
let ledState = 0;
let velocity;
let gravity;
let position;
let acceleration;
let wind;
let force;
let bounced = false;


function setup() {
  createCanvas(640, 480);
  textSize(18);
  position = createVector(width / 2, 0);
  velocity = createVector(0, 0);
  acceleration = createVector(0, 0);
  gravity = createVector(0, 0.3 * mass);
  wind = createVector(0, 0);
}

function draw() {
  background(0,40);
  // background(0);
  // background(255);

  if (!serialActive) {
    fill(255);
    text("Press Space Bar to select Serial Port", 20, 30);
  } else {

    noStroke();
    force = p5.Vector.div(wind, mass);
    acceleration.add(force);
    force = 0;
    force = p5.Vector.div(gravity, mass);
    acceleration.add(force);
    force = 0;
    velocity.add(acceleration);
    velocity.mult(dragForce);
    position.add(velocity);
    acceleration.mult(0);

    ellipse(position.x, position.y, mass, mass);
    if (position.y > (height - mass / 2)-30 ) {
      velocity.y *= -0.9;
      position.y = (height - mass / 2)-30;
      ledState= 1;

      if (!bounced) {
        fill(255, 0, 0); // Red when just bounced
        bounced = true; // Update bounce state
      } else {
        fill(255); // White otherwise
        bounced = false; // Reset bounce state
      }
    } else {
      ledState = 0;
    }


  }

  rect(0,height-30,width,30);

}

function keyPressed() {
  if (key == " ") {
    // important to have in order to start the serial connection!!
    setUpSerial();
  }
}

function readSerial(data) {
  if (data != null) {
    // make sure there is actually a message
    // split the message
    let fromArduino = split(trim(data), ",");
    // if the right length, then proceed
    if (fromArduino.length == 1) {
      let windCurrent = int(fromArduino[0]);
      wind.x = map(windCurrent, 0, 1023, -1, 1);
    }

    //////////////////////////////////
    //SEND TO ARDUINO HERE (handshake)
    //////////////////////////////////
    let sendToArduino = ledState + "\n";
    writeSerial(sendToArduino);
  }
}
Arduino code:
int ledPin = 5;
int potPin = A0;

void setup() {
  Serial.begin(9600);

  pinMode(LED_BUILTIN, OUTPUT);

  // Outputs on these pins
  pinMode(ledPin, OUTPUT);

  // start the handshake
  while (Serial.available() <= 0) {
    digitalWrite(LED_BUILTIN, HIGH); // on/blink while waiting for serial data
    Serial.println("0"); // send a starting message
    delay(300);            // wait 1/3 second
    digitalWrite(LED_BUILTIN, LOW);
    delay(50);
  }
}

void loop() {
  // wait for data from p5 before doing something
  while (Serial.available()) {
    digitalWrite(LED_BUILTIN, HIGH); // led on while receiving data

    int right = Serial.parseInt();
    if (Serial.read() == '\n') {
      digitalWrite(ledPin, right);
      int potValue = analogRead(potPin);
      delay(5);
      Serial.println(potValue);
    }
  }
}
Video and Photos for Exercise 3:
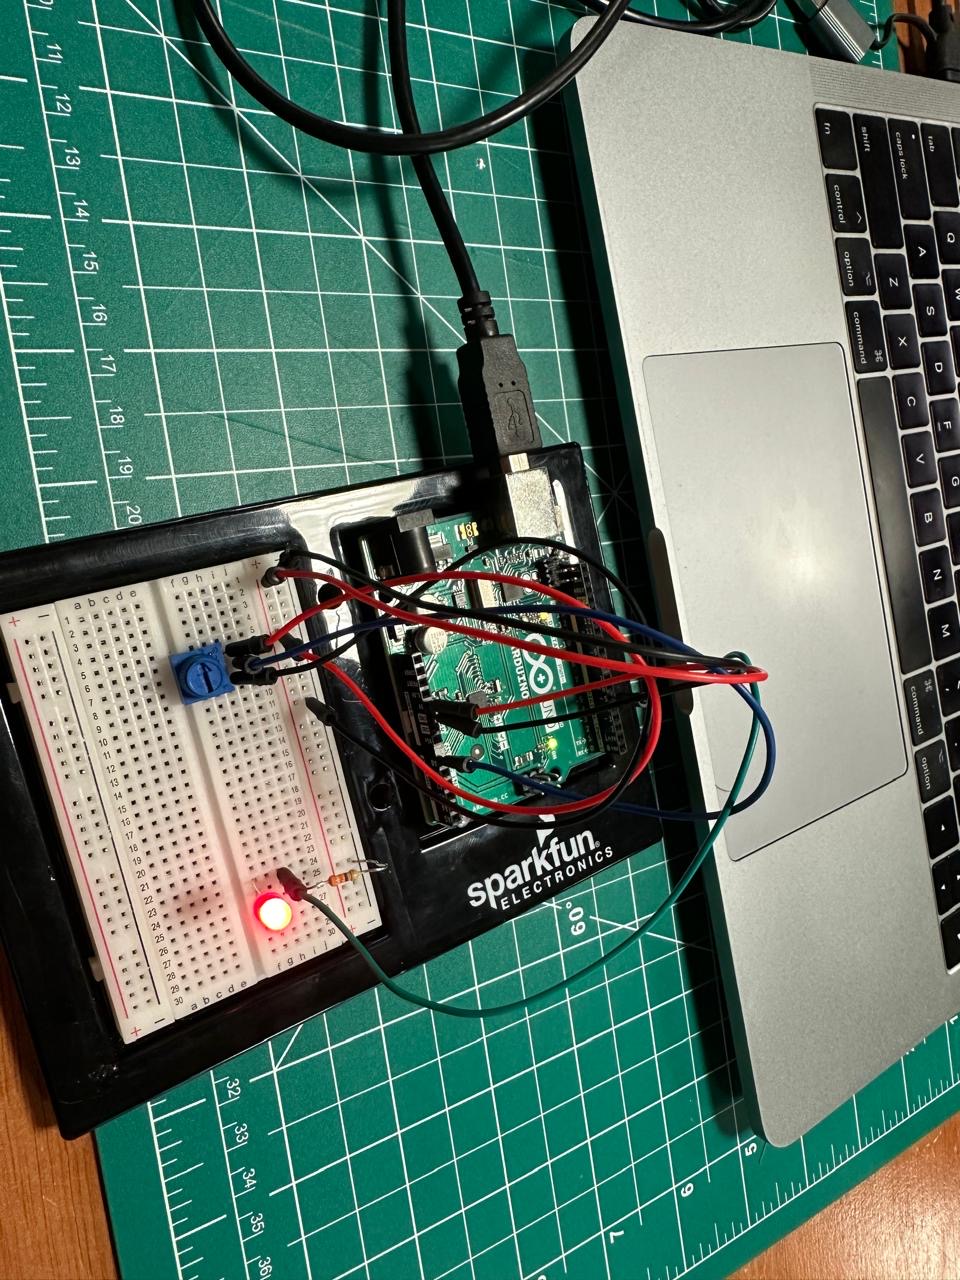
Understandably, this was the hardest of the 3. We first manipulated the code given to us (which had the wind and ball code). We changed the wind global variable in much the same way as the first exercise: The potentiometer value was mapped to the wind variable. The hard part was the bouncing. There was a point during the exercise where we felt we had written everything correctly, and after going through the code together, we couldn’t see what was wrong. We made a variable called bounced and had it such that inside of the if statement, which would be called upon when the ball was supposed to bounce, the variable would be the opposite of what it was previously (if true then false, if its false then true). We then realized we were initializing the bounced variable inside of the draw function. We made it a global variable, and then it worked.