
Summary
This project explores the interaction between LEDs, buttons, a potentiometer, and a buzzer to create an engaging sensory experience. Let’s break down the idea and reflect on the process.
Components and Functionality
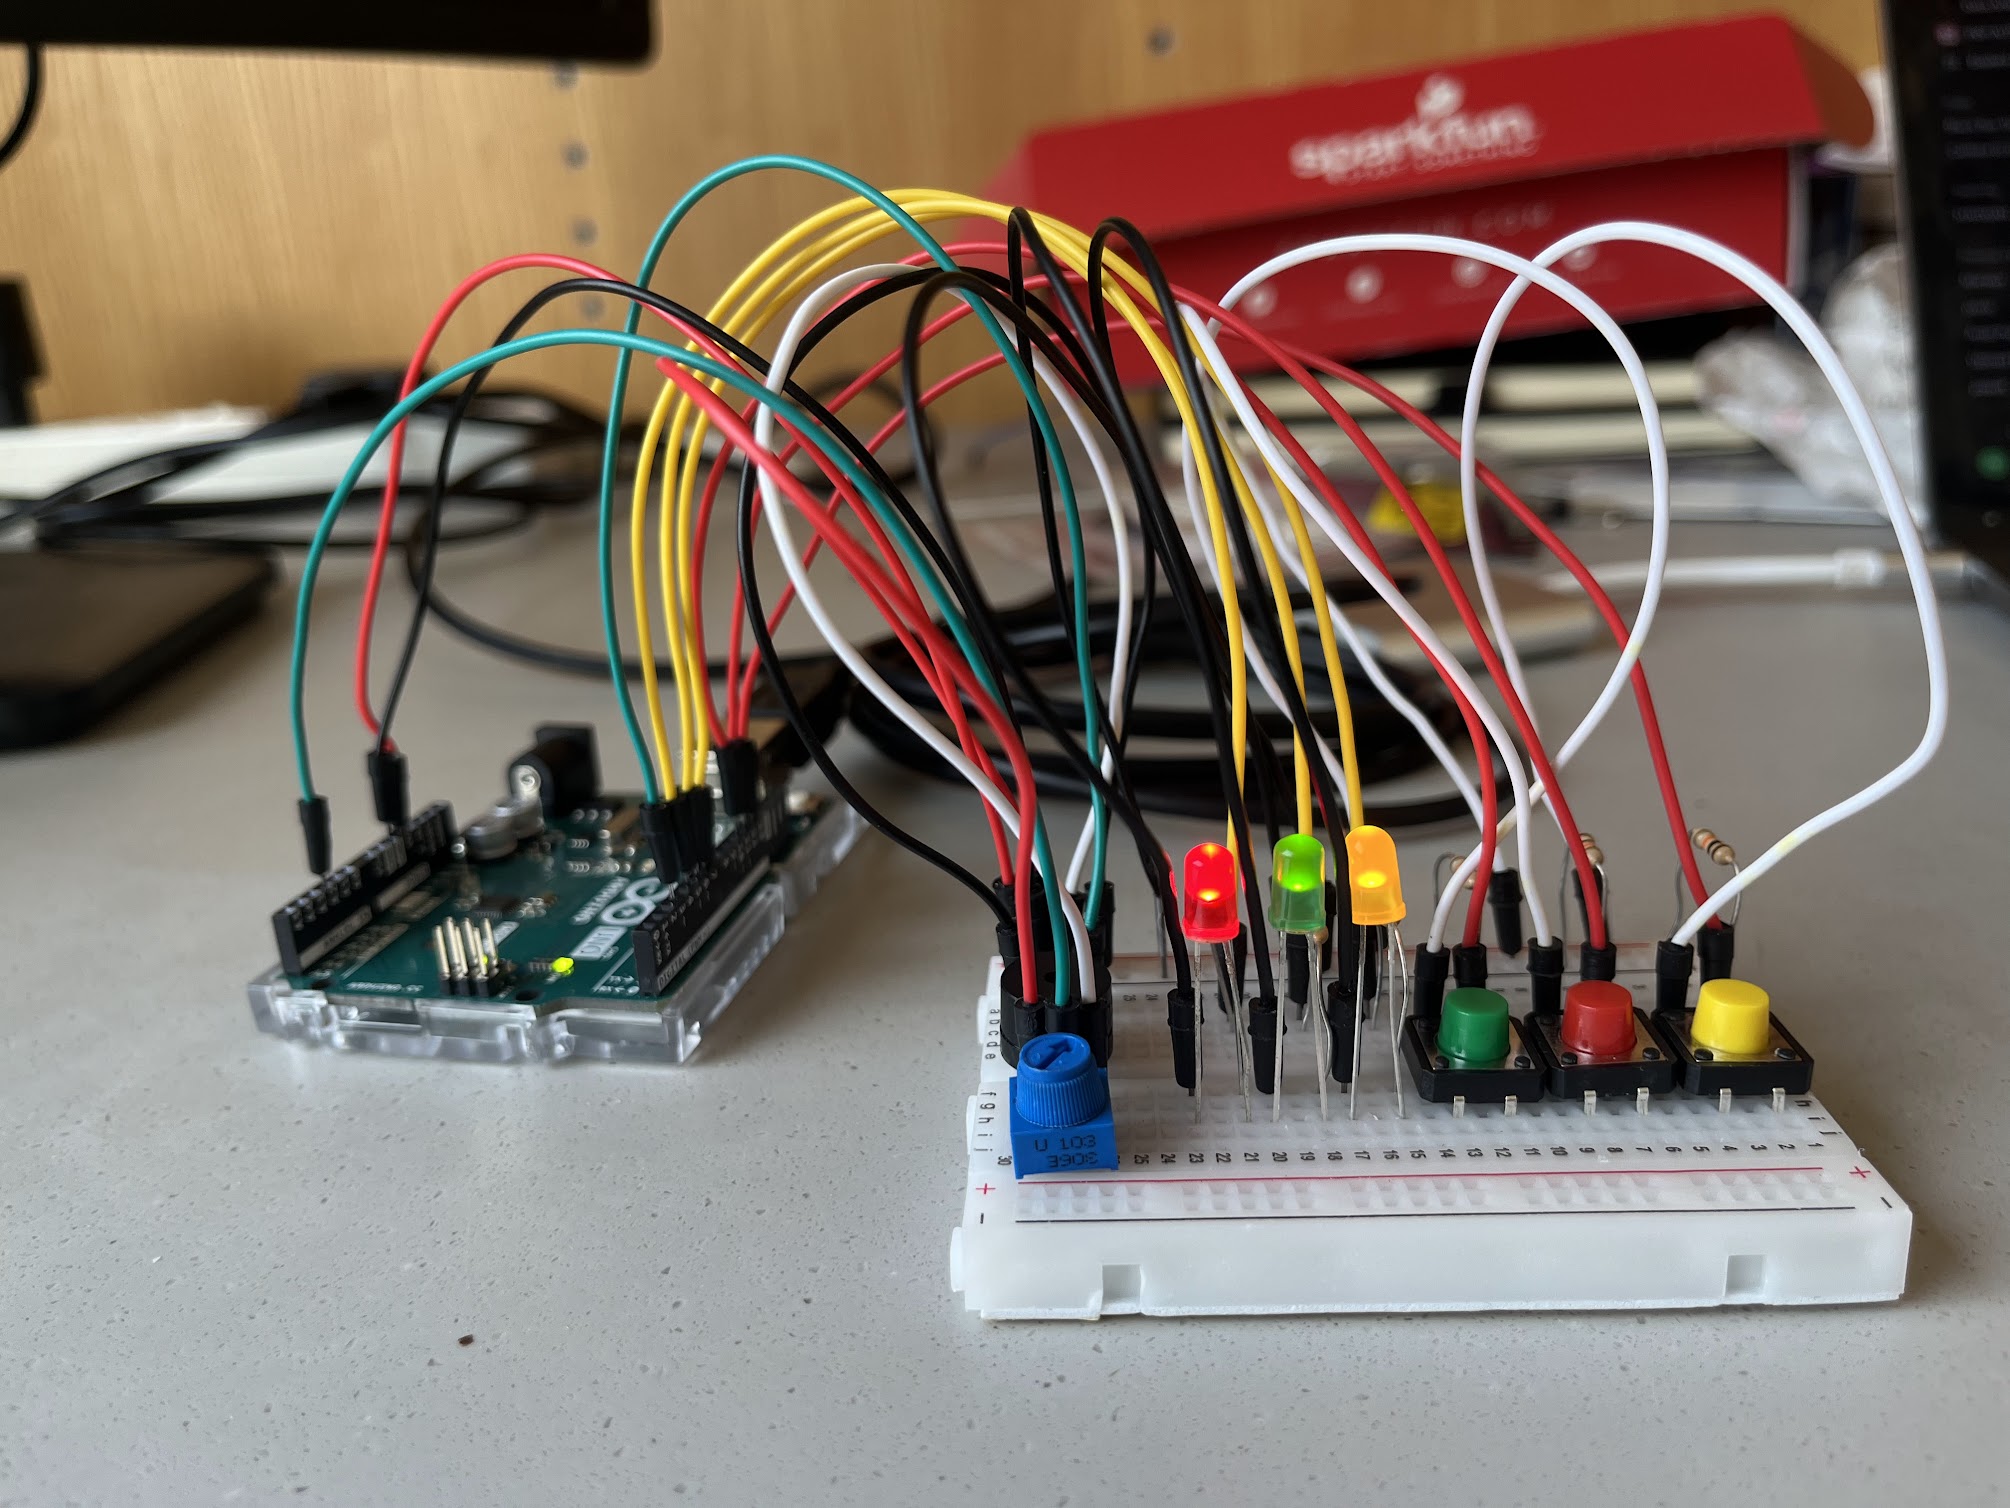
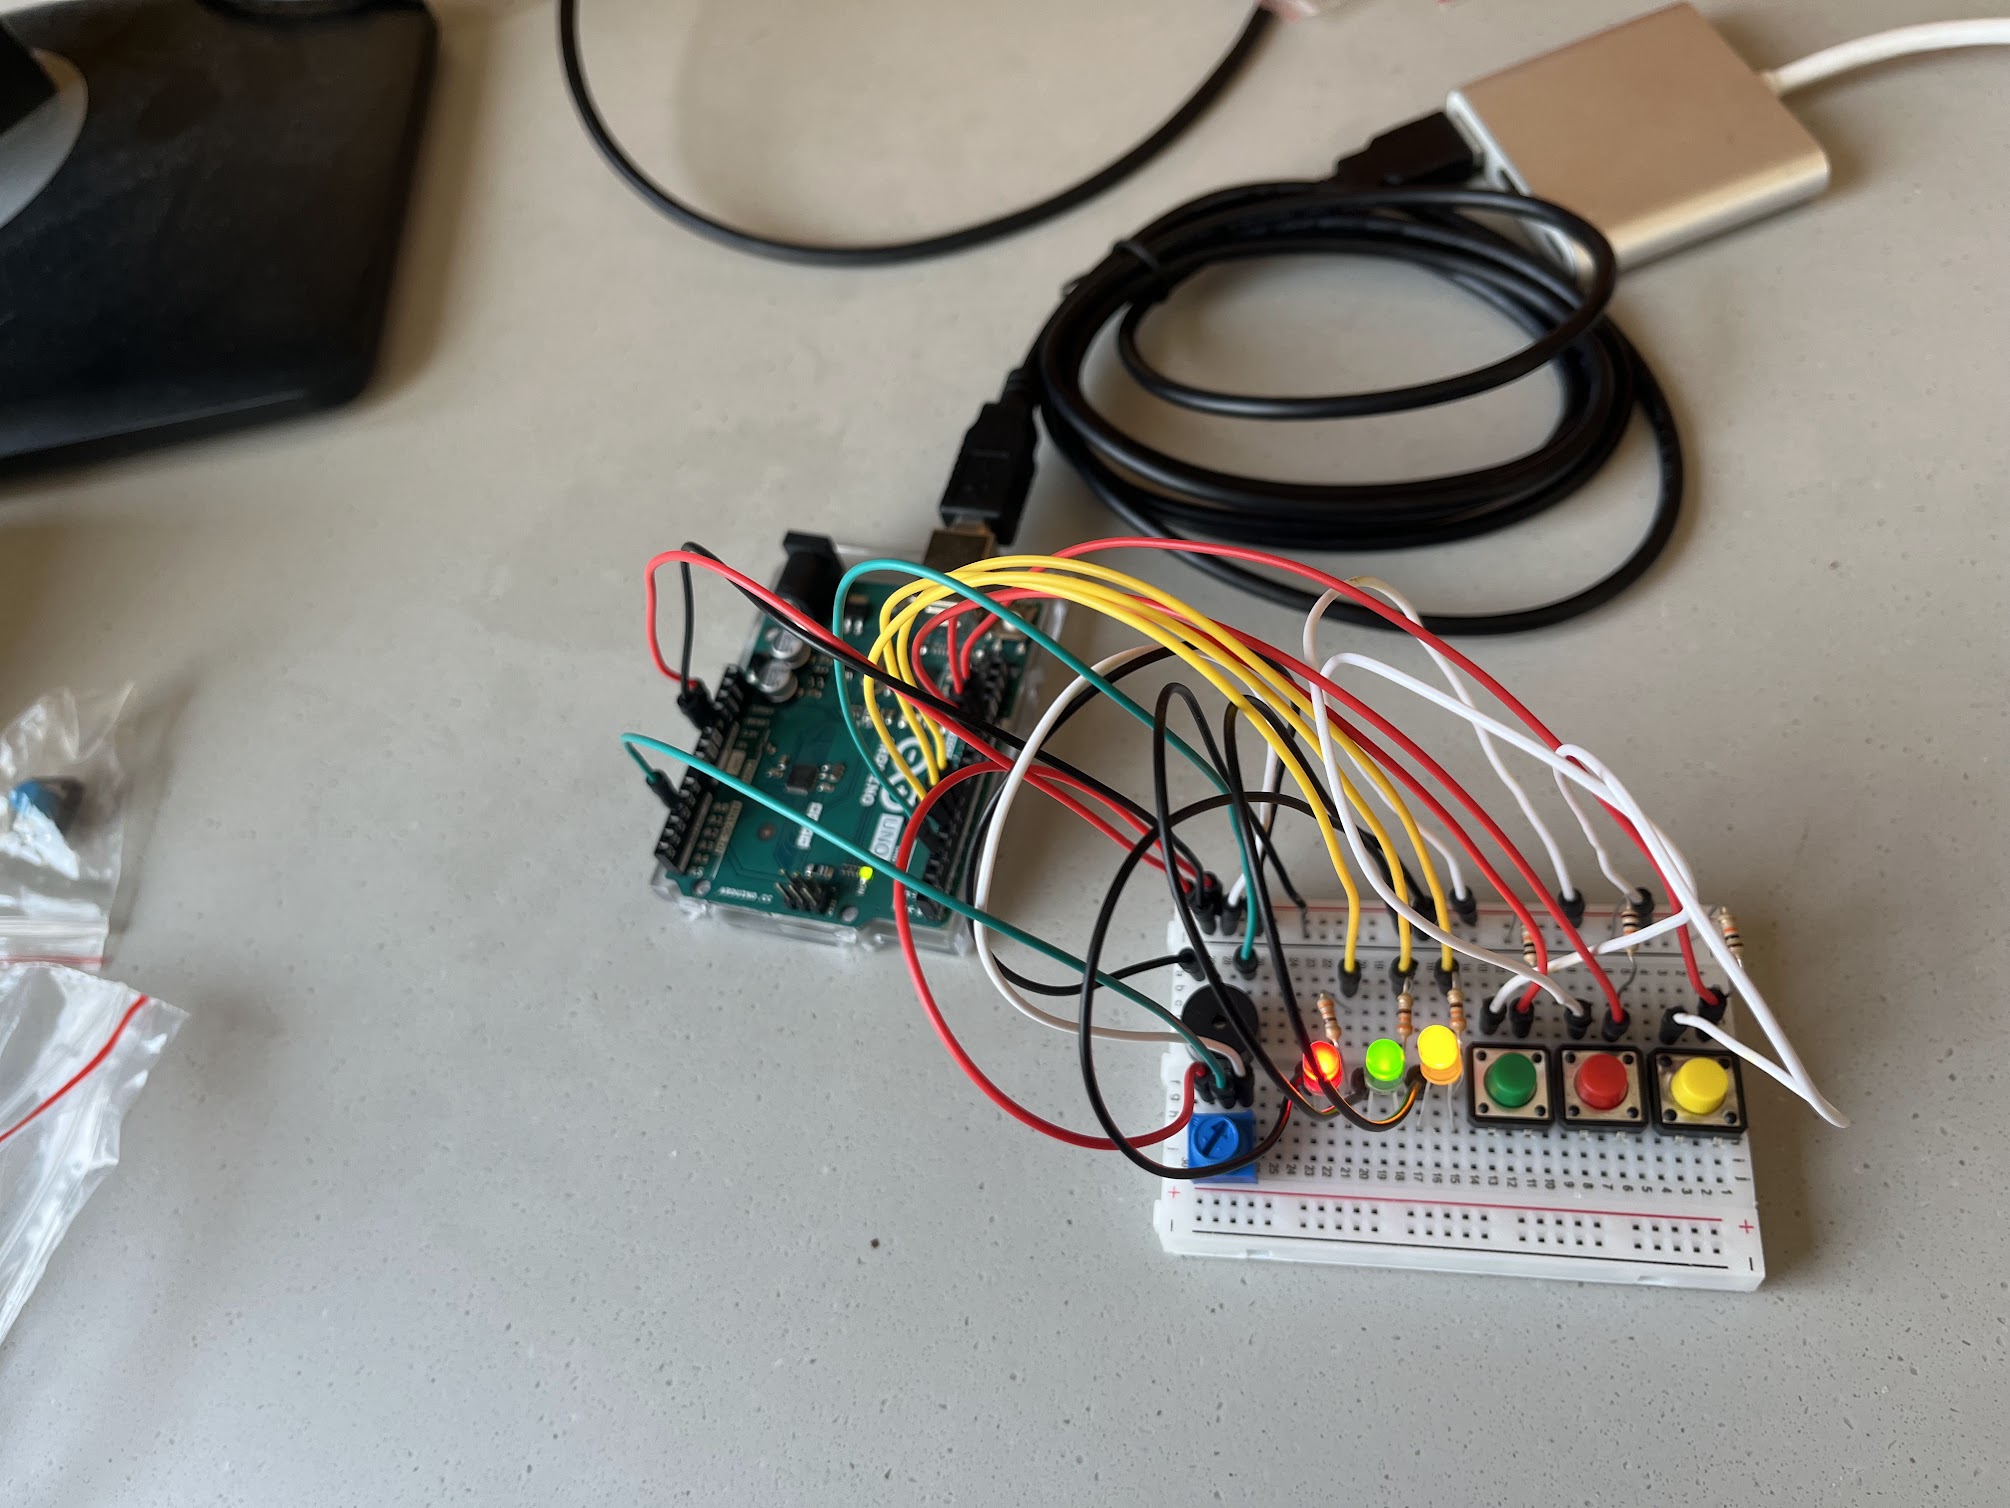
Breadboard
Arduino UNO
LEDs: These provide visual feedback based on button presses.
Buttons: Each button is associated with a specific LED. Pressing a button activates the corresponding LED and triggers a sound.
Potentiometer: controls the pitch of the sound produced by the buzzer.
Buzzer: generates sound based on the button press and the potentiometer’s readings.
330-ohm resistors (3)
10k ohm resistors (3)
Photo
Video
Schematic 
Code
const int redLED = 6;
const int greenLED = 5;
const int yellowLED = 7;
const int redButton = 12;
const int greenButton = 11;
const int yellowButton = 13;
const int potPin = A2;
const int buzzerPin = 3;

void setup() {
  pinMode(redLED, OUTPUT);
  pinMode(greenLED, OUTPUT);
  pinMode(yellowLED, OUTPUT);

  pinMode(redButton, INPUT_PULLUP);
  pinMode(greenButton, INPUT_PULLUP);
  pinMode(yellowButton, INPUT_PULLUP);

  // Initialize Serial for debugging
  Serial.begin(9600);
}

void loop() {
  // Read potentiometer value
  int potValue = analogRead(potPin);
  // Map potentiometer value to a frequency range (e.g., 100 Hz to 2000 Hz)
  int frequency = map(potValue, 0, 1023, 100, 2000);

  // Check each button and activate the corresponding LED and buzzer
  if (digitalRead(redButton) == LOW) {
    digitalWrite(redLED, HIGH);
    tone(buzzerPin, frequency);  // Play buzzer at mapped frequency
    delay(100);  // delay
  } else {
    digitalWrite(redLED, LOW);
  }

  if (digitalRead(greenButton) == LOW) {
    digitalWrite(greenLED, HIGH);
    tone(buzzerPin, frequency + 100);  // Slightly higher pitch for green button
    delay(100);  // Debounce delay
  } else {
    digitalWrite(greenLED, LOW);
  }

  if (digitalRead(yellowButton) == LOW) {
    digitalWrite(yellowLED, HIGH);
    tone(buzzerPin, frequency + 200);  // Even higher pitch for yellow button
    delay(100);  // Debounce delay
  } else {
    digitalWrite(yellowLED, LOW);
  }
  delay(10);
}
Reflections
Seeing the LEDs light up and hearing the buzzer’s pitch change in response to my actions was incredibly satisfying. It’s amazing how these simple components, combined with code, can create such an engaging experience.
I particularly enjoyed the challenge of mapping the potentiometer’s value to the buzzer’s frequency. Finding the proper range to create pleasing sounds and ensuring smooth transitions between pitches was a fun puzzle.
Challenges
– Debouncing: Ensuring buttons register single presses can be tricky. The current code uses simple delays, but more robust debouncing techniques could be implemented.
– Sound Complexity: The buzzer produces simple tones. Exploring libraries like Mozzi could enable more complex and engaging soundscapes.
Potential Enhancements
Light patterns: Explore blinking or fading LEDs for more dynamic visuals.
Multiple tones/melodies: Utilize libraries to create richer audio experiences.
Interactive games: Design games based on button presses and timing.
LCD display: Incorporate a display to show instructions or scores.